15 Weekend Home Renovation Projects for Your Home
Plan weekend home renovation projects around room size, tools, cure times, and safety limits. Compare quick wins for walls, doors, lights, floors, and cabinets.

A weekend can change how a room feels, but it is not a magic window in which every repair, installation, and finish can be rushed. The most dependable weekend projects have a small footprint, surfaces that are already in decent shape, materials on hand before Saturday, and a clear point where the room can be used again even if a finish is still curing.
Use this list as a menu, not a dare to tackle several dusty projects at once. A painted accent wall and a new cabinet pull are realistic companions; removing flooring, painting cabinets, and swapping a light fixture in the same weekend may leave you with three unfinished rooms. Pick one main project, then add a short cosmetic task only if the main one finishes early.
Choose a project that fits the actual weekend
Before buying anything, walk the room and write down what needs to happen before the visible work starts: moving furniture, removing hardware, patching holes, cleaning grease, cutting material, or waiting for a surface to dry. Those steps often consume more time than the final coat or installation. If the room needs repair or deep cleaning, count that as part of the project rather than assuming it will disappear into a Friday night.
| Your constraint | Better-fit options | Watch for |
|---|---|---|
| A few hours of active work | New door hardware, plug-in sconces, a small wallpaper panel, shelf styling | Measure first and confirm the product fits the surface |
| One full day plus drying time | One-room paint, front-door paint, grout colorant | Dry-to-touch is not the same as ready for heavy use |
| Two days and basic tools | One interior door slab, a small click-lock floor, a short wall of paneling | Uneven framing, damaged subfloors, and extra trim can add work |
| More than one person or specialist skill | Fan installation, complex lighting, large built-ins | Electrical changes or structural surprises can push the work beyond Sunday |
Make Friday the decision day: choose the exact wall, door, or floor; check dimensions; buy enough materials from the same product batch; read the manufacturer’s instructions; and borrow or rent specialty tools. Keep a small buffer for cleanup and a run for forgotten supplies. A schedule that uses every hour assumes that no measurement is wrong and nothing needs another coat.
The age of the home matters too. In a U.S. home built before 1978, old painted surfaces may contain lead. Sanding, scraping, or cutting into them can create hazardous dust, so do not treat an old painted door or window as an ordinary prep job. Read the EPA’s lead-safe renovation guidance before disturbing paint; if lead may be present or the work falls under the rule, stop and use the required lead-safe approach or a qualified certified firm. Renters should also get written permission before painting, attaching wallpaper, changing fixtures, or altering floors.
Refresh walls, doors, and architectural details
Wall projects offer a visible change without changing a room’s layout. They are most weekend-friendly when the surface is sound, the color or pattern is chosen in advance, and the work stays within one wall or one room rather than expanding after the furniture is moved.
1. Repaint one room
A fresh coat is still one of the clearest ways to change a room, but prep decides whether the finish looks fresh or simply hides the old problems. Choose a small bedroom, office, or dining room with stable paint; fill minor holes, let the patches dry, sand smooth, remove dust, and protect the floor before opening the can. Test the color on the wall and look at it in morning and evening light before committing to the whole room.
Work from the ceiling and trim toward the walls if those surfaces are part of the plan, and keep a wet edge as you roll so lap marks are less obvious. The roller cover should suit the wall texture; This Old House’s painting guide explains why tool choice and surface prep affect both speed and finish. Read the paint label for recoat and ventilation directions, and reserve Sunday for touch-ups only if the second coat has had enough time to dry. Heavy patching, a ceiling, or a dramatic color change can turn a nominal one-room job into more than a weekend.
2–3. Add removable wallpaper or a painted mural
2. Try peel-and-stick wallpaper on one wall. A single accent wall gives the room pattern without committing every surface. Check that the wall is smooth, clean, dry, and compatible with the paper; texture, fresh paint, humidity, or a fragile finish can weaken adhesion or make removal damaging. Buy a little extra for pattern matching, mark a plumb line for the first strip, and test a sample in an inconspicuous place before applying the full panel. “Removable” describes a product’s design, not a guarantee that it will leave every wall untouched.
3. Paint a simple mural. A two- or three-color arch, broad stripe, or low horizon line can feel custom while staying manageable. Sketch the layout at full scale, use a level and low-tack tape where appropriate, and paint the largest area first; tiny repeating shapes and multiple colors add edge work quickly. Test tape on the existing finish because it can lift weak or recently applied paint. Keep the design on one wall and avoid painting over dampness, stains, or cracking that needs repair rather than decoration.

9–10. Add decorative molding or a shiplap accent wall
9. Frame a wall with decorative molding. Picture-frame trim or a chair rail creates structure with relatively little material, especially on one wall or below a rail line. Measure the wall, map every frame on paper, and use painter’s tape to test spacing before cutting. A miter box or saw, level, adhesive or finish nails, filler, caulk, primer, and paint all take time; the project is easiest when trim is pre-primed and the wall is flat. Uneven spacing is more visible than a slightly simpler design, so measure from a fixed corner and keep the layout symmetrical.
10. Install shiplap on a small feature wall. Lightweight boards or panels add texture, but the lines look neat only if the first course is level and each later row follows it. Locate studs before fastening, account for outlets and baseboards, and cut around openings carefully. Do not cover a damp wall, suspected mold, or a surface that needs access for repair. A small, clear wall may fit a weekend; a room with many corners or windows can become a finish-carpentry project with lots of custom cuts.
Update doors and lighting with the right safety boundary
Doors and light can change the character of a room, but these projects range from a screwdriver-level hardware swap to electrical work that should be left to a qualified person. Decide which category your project falls into before removing anything.
4–5. Replace an interior door or repaint the front door
4. Replace one interior door slab. A slab door is the panel alone, without its frame. It is a reasonable weekend candidate when the opening is square and the replacement matches the old door’s width, height, thickness, swing, hinge positions, and latch location. Measure the old slab rather than relying on a nominal label, then move hardware one piece at a time and test the swing before finishing. Replacing a prehung door, changing the opening, or correcting a sticking frame adds trim and carpentry work; painting the existing door or replacing its knob can give a similar visual lift with less risk.
5. Repaint the front door. This is a high-visibility project with a small surface area. Pick a dry stretch of weather, remove or mask hardware, clean the door, scuff-sand only when safe for the existing coating, and use an exterior-rated primer and paint compatible with the door material. Leave enough time for the product’s handling and curing instructions before closing the door against weatherstripping. If the only entrance cannot be left open safely, paint one face at a time or choose a less disruptive task.

6. Replace a light fixture
A like-for-like swap can be a fast visual upgrade when the new fixture fits the existing electrical box and the wiring is in good condition. Turn off the circuit at the breaker, confirm the circuit is de-energized with an appropriate tester, and follow the fixture’s instructions. Never rely only on a wall switch. The CPSC’s home electrical-safety guidance flags electrical warning signs such as frequent breaker trips; damaged, unfamiliar, or ungrounded wiring is a reason to stop and call an electrician.
Do not force a heavier fixture onto an unverified box, add a new location, or attempt unfamiliar wiring just to keep the weekend schedule. If the project requires a new box, switch, circuit, or wiring route, it is no longer a simple fixture swap. Once the fixture is safely installed, a compatible LED bulb can reduce lighting energy use; the Department of Energy’s LED lighting guidance explains the efficiency advantage. Match bulb base, brightness, dimmer compatibility, and the fixture’s enclosure rating rather than buying by wattage alone.
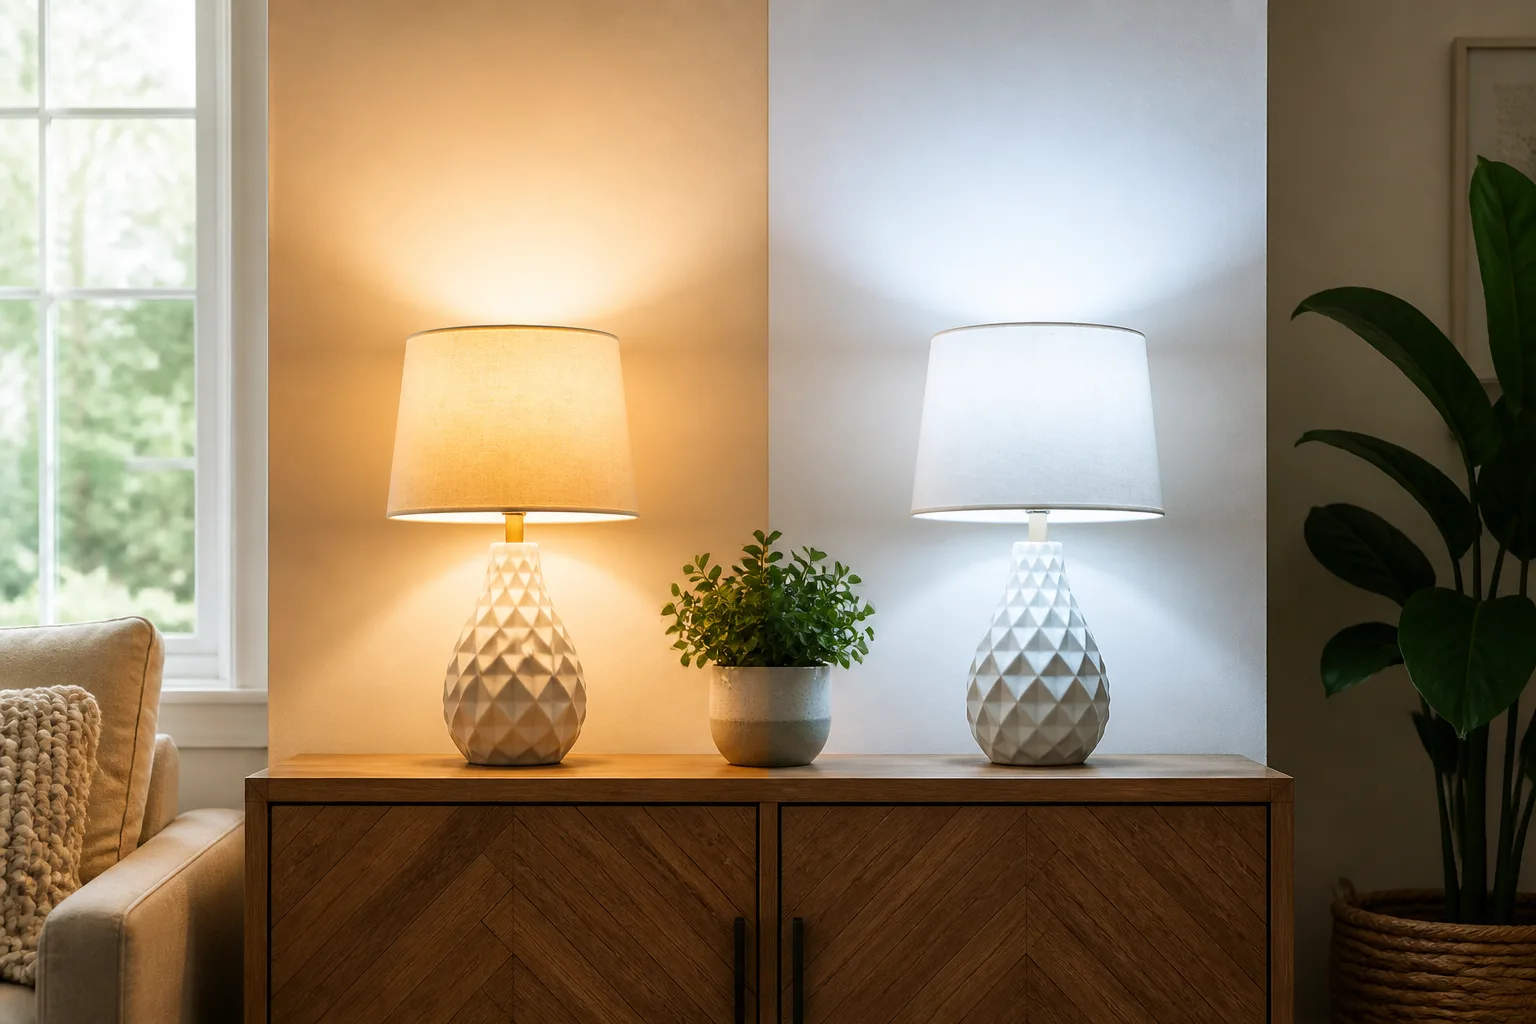
14. Add plug-in wall sconces
If you want light beside a bed, sofa, or reading chair but do not want electrical work, plug-in sconces use an existing outlet and avoid cutting into a wall. Check cord length and the outlet location before mounting, use the supplied hardware for the wall type, and keep the cord out of walkways. A cord cover can make the route neater, but it should not pinch the cord or substitute for a proper outlet. This is one of the better choices for renters when the owner allows screw holes and the fixture can be removed cleanly.
12. Install a ceiling fan only when the support is suitable
Replacing an existing fan with a compatible unit can be a weekend task for someone who already understands household wiring and has another person to help support the assembly. A standard light box may not be rated to hold a fan’s weight and movement. Verify the box and mounting method against the fan manufacturer’s instructions before starting; if the support is unknown, a new box is needed, or wiring differs from the diagram, stop and hire an electrician. Family Handyman’s beginner DIY roundup also treats an existing fixture and basic wiring ability as important conditions for this kind of upgrade.
The fan also has to fit the room’s ceiling height and blade clearance. Confirm the model’s required clearance, use the correct downrod or flush mount, and do not energize the circuit until the canopy and blades are secured as directed. If those checks cannot be completed carefully in the available time, choose plug-in sconces or a fixture swap instead.
Refresh the kitchen or bath without rebuilding it
Kitchen and bath surfaces see grease, water, heat, and frequent cleaning, so shortcuts that work on a bedroom wall may fail here. Choose a small surface in good condition, use products intended for that surface, and leave the room out of service for the cure time listed by the manufacturer.
13. Repaint cabinet fronts
Cabinet paint can change a kitchen or bathroom without replacing the boxes, but “a few hours” describes only the painting itself. Remove doors and drawers, label each one and its hardware, degrease thoroughly, scuff the finish, repair chips, and use a bonding primer when the existing coating or material requires it. A clean, organized labeling system saves a surprising amount of time when it is time to rehang everything.
Paint doors flat and keep them out of dust while they dry. The slower part is often the waiting: a surface that feels dry may still mark when it is stacked, handled, or closed against a bumper. If the cabinetry is large, the finish is peeling, or the kitchen must be usable Sunday night, paint only a small island or bathroom vanity and schedule the remaining doors later. New pulls are a quick alternative when the old finish is intact.
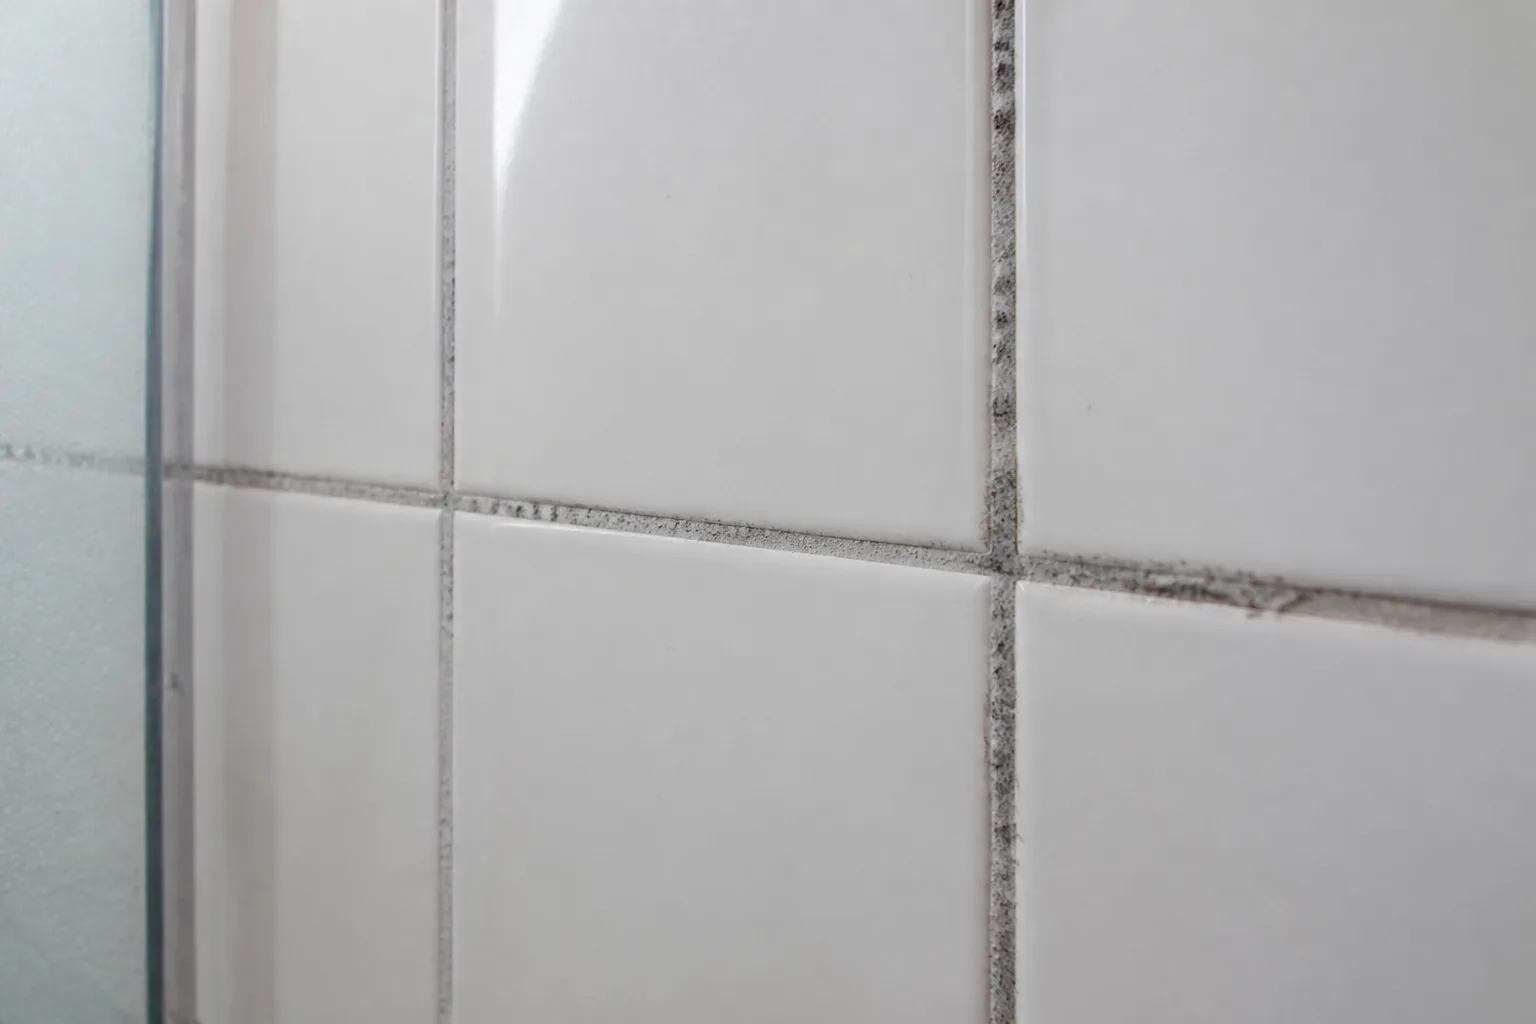
11. Refresh grout
Grout colorant can make sound, clean grout look more even without removing every joint. First scrub off soap, oils, and residue and let the tile dry fully; colorant will not fix a loose tile, failed waterproofing, or a joint that keeps cracking. Test the product in a hidden area, apply it with a small applicator, wipe tile faces as directed, and respect the cure time before exposing the surface to water.
Do not apply grout colorant over silicone caulk or use it to conceal a leak. If grout is crumbling, tiles move, or moisture returns after cleaning, investigate the underlying issue before making the surface look new. A bathroom floor or backsplash with sound joints is more likely to be a realistic weekend refresh than a shower that must remain dry for longer than the weekend.
15. Cover a sound countertop
Countertop film, a resurfacing kit, or a fitted wood overlay can change the look of a dated surface without removing the counter. The quickest option is usually a film designed for counters, but it depends on careful cleaning, precise cuts, smooth adhesion, and well-finished edges. Test a small area first and check the manufacturer’s limits for heat, moisture, and food contact. Around a sink, water can work into an edge; next to a cooktop, heat can damage products that are not rated for it.
Tile overlays, concrete skim coats, and wood tops involve more cutting, curing, sealing, or added weight than a surface film. They may be better projects for a longer schedule, especially if the existing counter is swollen, cracked, or not firmly supported. A cover is a cosmetic layer, not a repair for water damage or an unstable base.
Make a small room work harder
Flooring and storage updates can make a room feel more finished, but they involve more measuring and furniture movement than their simple product photos suggest. Limit the project to a small room with predictable edges and a sound, dry base.

7. Install click-lock flooring in a simple space
Click-lock vinyl plank or laminate can work in a small rectangular room if the existing floor is an approved base and the subfloor is flat, dry, and firm. Read the flooring instructions before removing trim: many products need acclimation, a specific underlayment, and an expansion gap around the perimeter. Measure transitions at doorways and check finished-floor height before you start so doors still swing and nearby flooring meets cleanly.
Remove carpet, repair soft spots, address moisture, and level out irregularities before installing. A floating floor should not bridge loose boards or hide water damage. The work may fit a weekend when the room is cleared and the perimeter is uncomplicated; stairs, multiple closets, built-in cabinets, uneven transitions, or cutting around fixed fixtures add difficulty. Keep extra planks from the same batch for future repairs.
8. Create a built-in look with bookcases
Stock bookcases or modular cabinets can give a wall storage and a built-in appearance without fabricating every box from scratch. Measure ceiling height, baseboard depth, outlet locations, and the full run of the wall before shopping; a unit that is just a little too tall can be difficult to trim cleanly. Use filler strips or a top rail to close small gaps, then paint the units and wall the same color for a more integrated finish.
Secure tall furniture to wall framing with the hardware and method specified by the manufacturer, and keep heavy items on lower shelves. Do not block a return-air grille, panel, or outlet you still need to reach. A one-wall arrangement is realistic; a wall-to-wall library with lighting, trim, and custom doors belongs in a longer plan. If you want it to look intentional, spend as much time on a level base and aligned faces as on styling the shelves.
Conclusion
The best weekend renovation is the one that fits the room and still has a clean stopping point if prep takes longer than expected. Paint, wallpaper, hardware, plug-in lighting, and a small grout refresh tend to be manageable when the surface is sound and the products are ready. Floors, fans, cabinet finishes, and built-ins demand more checking because they can expose hidden problems or require longer cure and installation windows.
Choose one main project, measure before shopping, and count prep, cleanup, and cure time as part of the schedule. If you find lead paint, damaged wiring, moisture, a soft subfloor, or a surface that needs structural repair, pause and solve that problem first. A completed small update usually feels better than three ambitious projects waiting for Monday.