5 Designer-Approved Ways to Hide a Garden Hose
Learn how to hide a garden hose without kinks or awkward access. Compare hose pots, boxes, reels, screens, and low-cost camouflage.
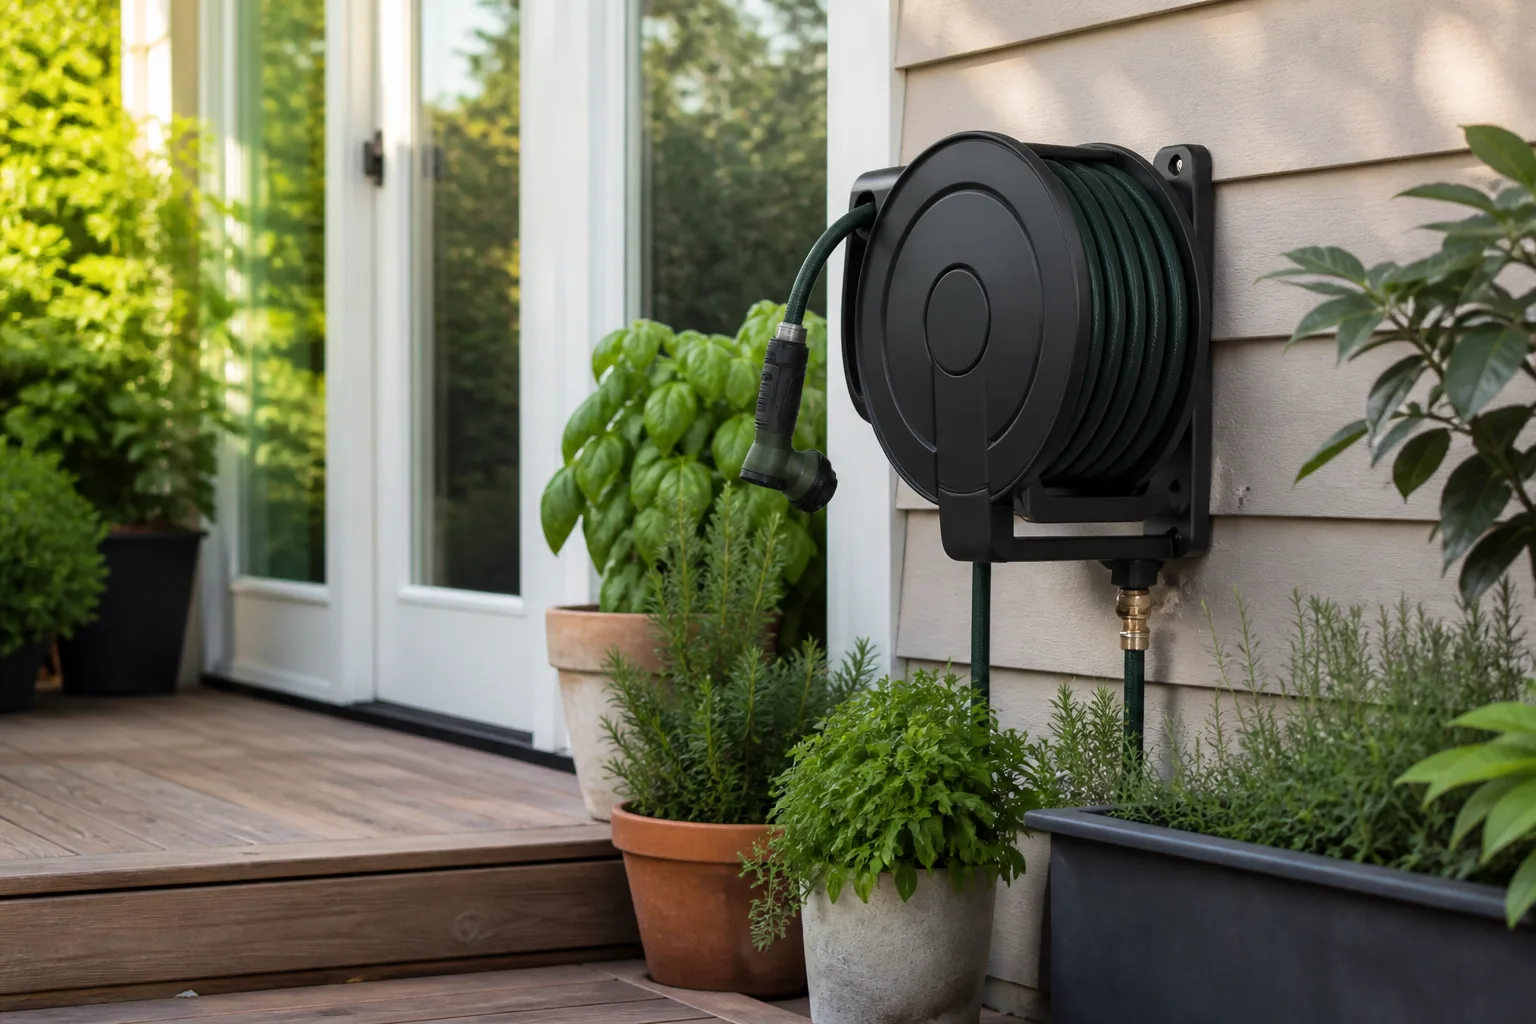
A garden hose only looks messy when it has no assigned place. Left in a loose coil beside the patio, it becomes a bright visual interruption, catches on chair legs, and can turn a short watering job into a wrestling match. The fix is not always to buy the most elaborate reel. It is to give the hose a home that matches how you use the yard.
The five best-looking approaches are a hose pot, an enclosed bench or deck box, a wall-mounted reel, a small screen or planting pocket, and a deliberately chosen hose color with a cleaner route. The right choice depends on four things: the hose’s length and weight, how often you pull it out, where the spigot sits, and whether your outdoor style is formal, rustic, modern, or natural.
Choose the hiding strategy by hose and yard
Start with the hose, not the accessory. A 25-foot lightweight hose used to water containers on a balcony has a different storage problem from a 100-foot, 5/8-inch hose dragged across a large lawn. If you buy storage first, you may end up forcing an overstuffed coil into a pretty container or mounting a small hanger where the hose needs a cart.
Your storage should shorten the hose’s visible journey. Place it close to the water source, then make the route to the most-used bed or patio zone as direct as possible. A hose that must cross the full width of a yard before it reaches a vegetable bed will still look untidy every time you water, no matter how attractive the holder is.
Check five constraints before you spend
Measure the hose and note whether it is a standard, heavy-duty, expandable, or flat style. Capacity claims vary, and a reel that technically accepts your length may be unpleasantly tight once a nozzle, coupler, or thicker wall is involved. Leave room for a generous coil rather than treating the advertised maximum as your target.
Next, map the access radius around the spigot. Can you pull the hose out without walking through a seating area? Does a door swing into the reel? Will a box block a gate, a drain, or the path used to wheel a mower? A hidden hose that creates a new obstacle is a design failure, not a storage success.
Then check the surface and the weather. Masonry, a solid post, and a framed wall can accept a substantial mount when fastened correctly; thin siding alone may not. A damp corner under a deck may hide the hose beautifully but keep it wet, while an exposed south-facing wall may make a dark enclosure hot and accelerate material aging.
Finally, decide whether convenience or concealment matters more. A pot and box hide the coil completely, but you lift or pull the hose out by hand. A reel keeps the hose visible in a controlled shape and makes deployment quicker. A screen costs less than a cabinet, but it needs enough clearance to let you retrieve the hose without crushing nearby plants.
1. Put the coil in a purpose-built hose pot
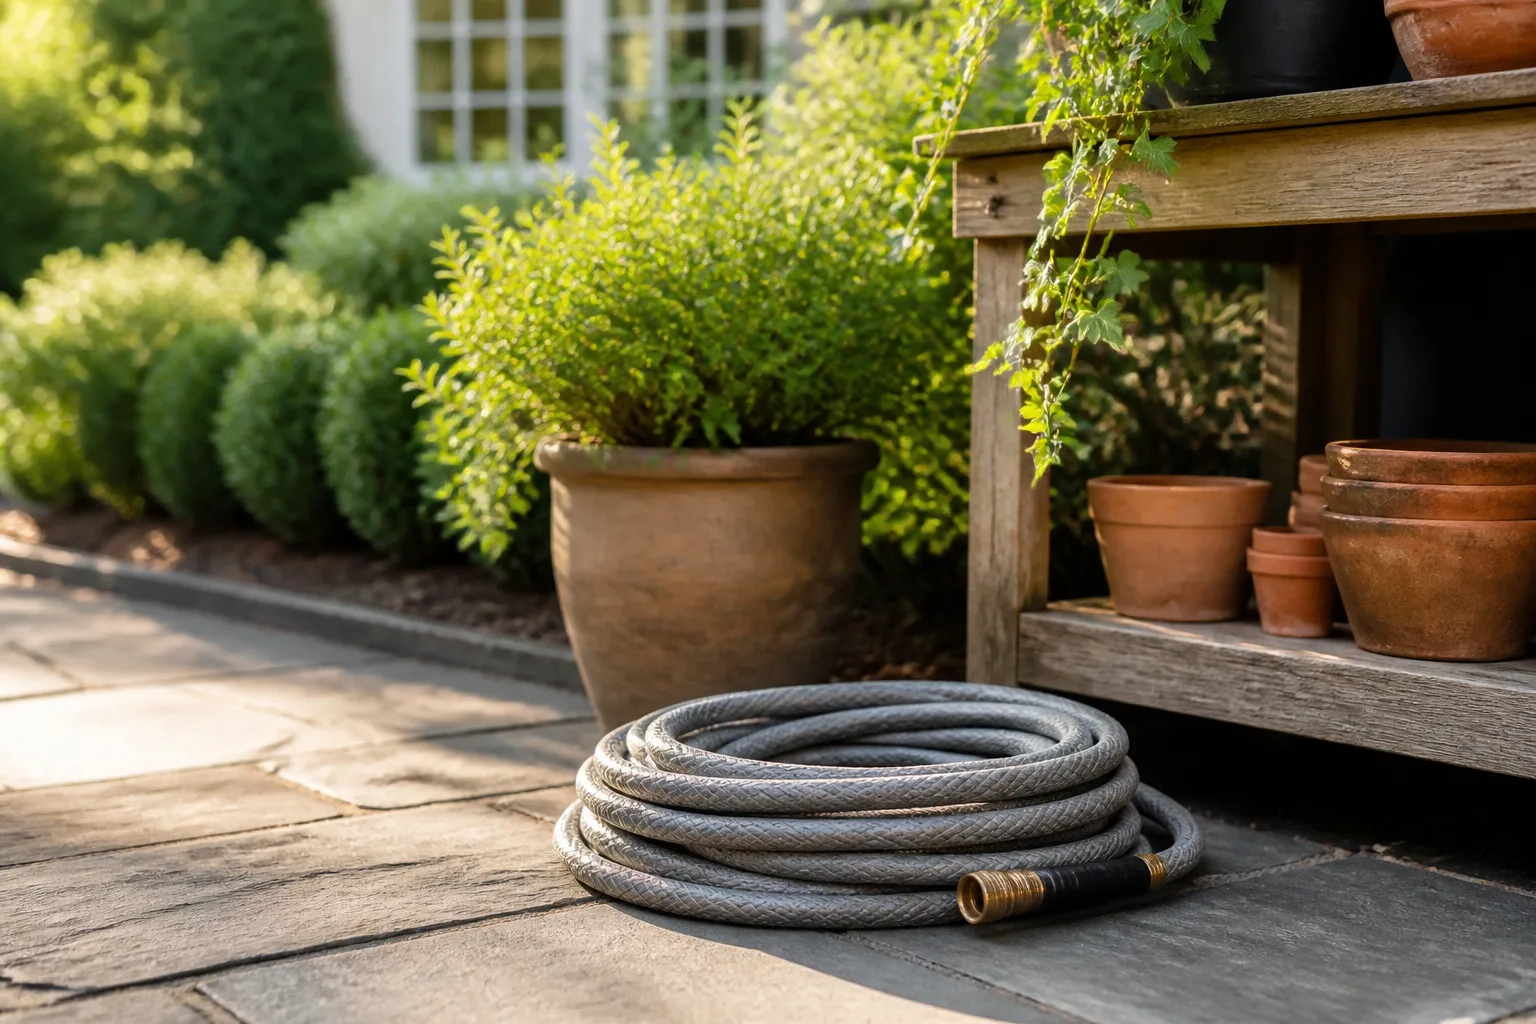
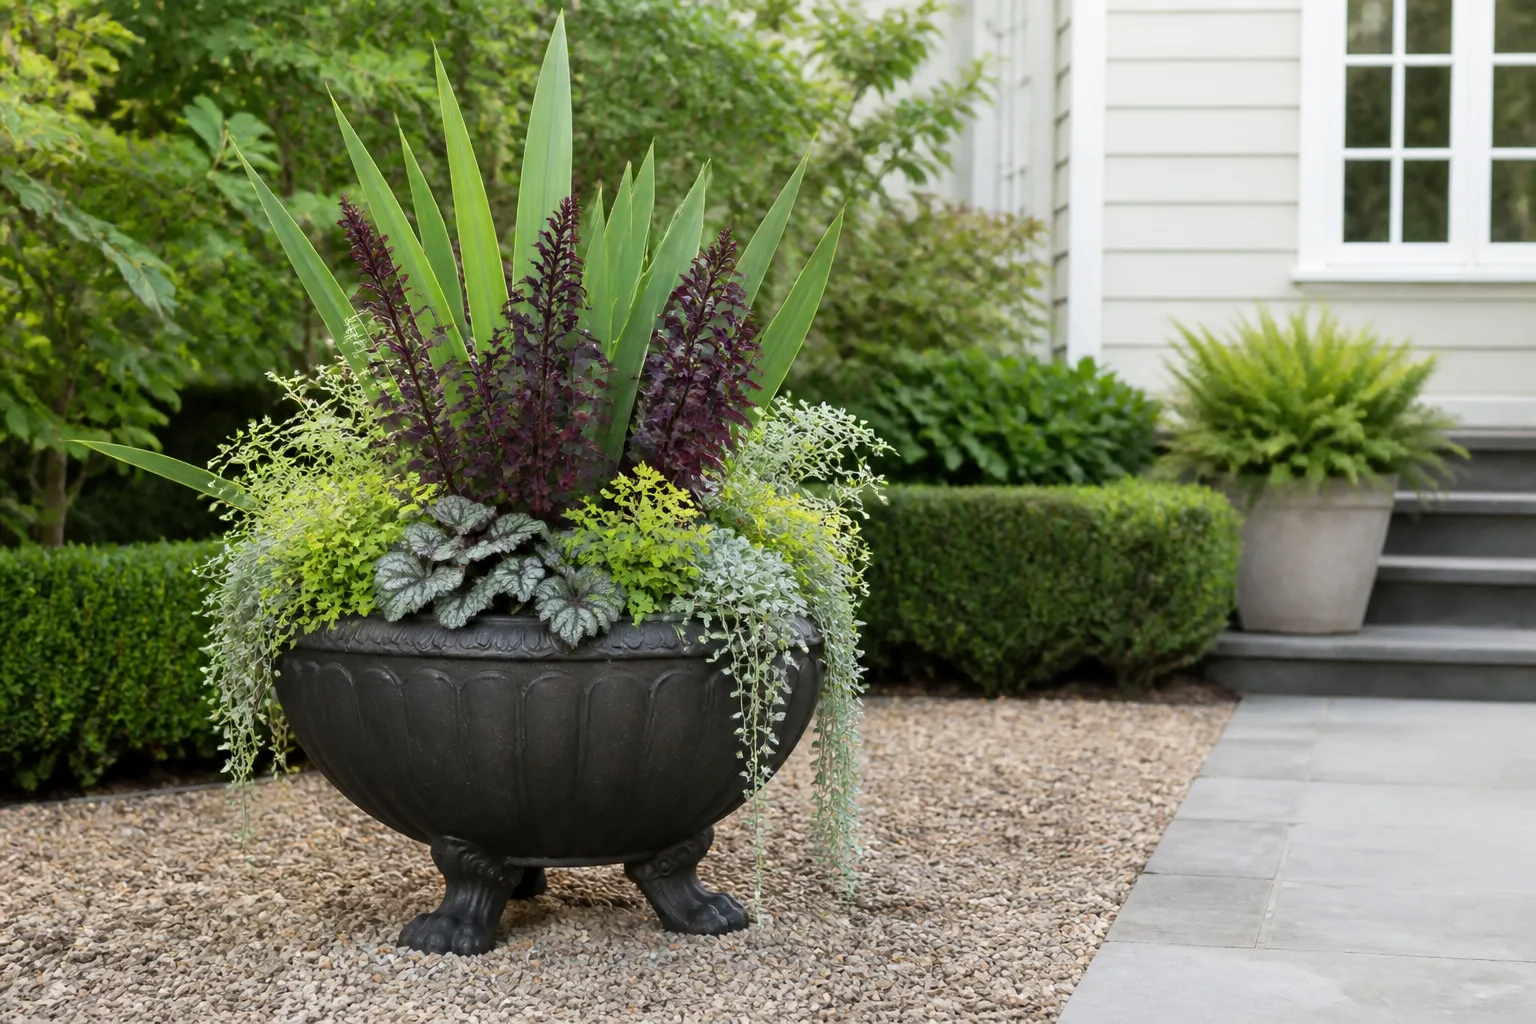
A hose pot is the easiest way to make a loose coil look like part of the landscape. It reads as a planter or garden accent from across the yard, while the hose stays contained inside. This works especially well beside a patio, at the corner of a deck, or near a spigot that sits in an otherwise finished planting bed.
The important detail is the side opening. A purpose-built hose pot lets the hose connect to the spigot through a low side hole while the rest of the coil stays inside. The opening prevents you from draping the hose over the rim, and it reduces the sharp bend that often forms where the hose exits an ordinary container. Some hose pots also include a center guide or internal post so the coil stays organized.
Choose the pot after measuring the hose’s relaxed coil. Set the hose on the ground in broad loops, measure the outside diameter, and compare that with the container’s usable interior rather than its outside dimensions. A 100-foot hose may fit on paper but become difficult to retrieve if the pot is narrow, shallow, or crowded by a permanently attached nozzle.
Make the pot look intentional
Treat the hose pot as a piece of the garden composition. Repeat a finish already used nearby—aged metal with dark hardware, terracotta beside clay planters, charcoal resin beside a modern fence—or choose a quiet neutral that recedes into mulch. The goal is not to make the pot the star. It should support the surrounding planting and make the hose look like it belongs there.
Keep a little breathing room around it. A pot jammed into a shrub’s interior is technically hidden but frustrating to use and hard to clean around. Leave the side opening facing the spigot, keep the base level, and set it where the coil can come straight out without scraping a wall or crossing a narrow walkway.
If the hose is heavy, use a stable, wide-based pot that will not tip when you pull. A lightweight decorative vessel can slide across paving or crack under repeated impact. For windy patios, weight and a non-skid base matter more than an ornate finish.
Avoid the damp-pot trap
Do not assume every large planter is a good hose pot. A container with no side opening forces awkward bends, and a completely sealed vessel can trap rainwater and condensation around the coil. Look for drainage, a raised internal base, ventilation, or a lid that sheds water without sealing in dampness.
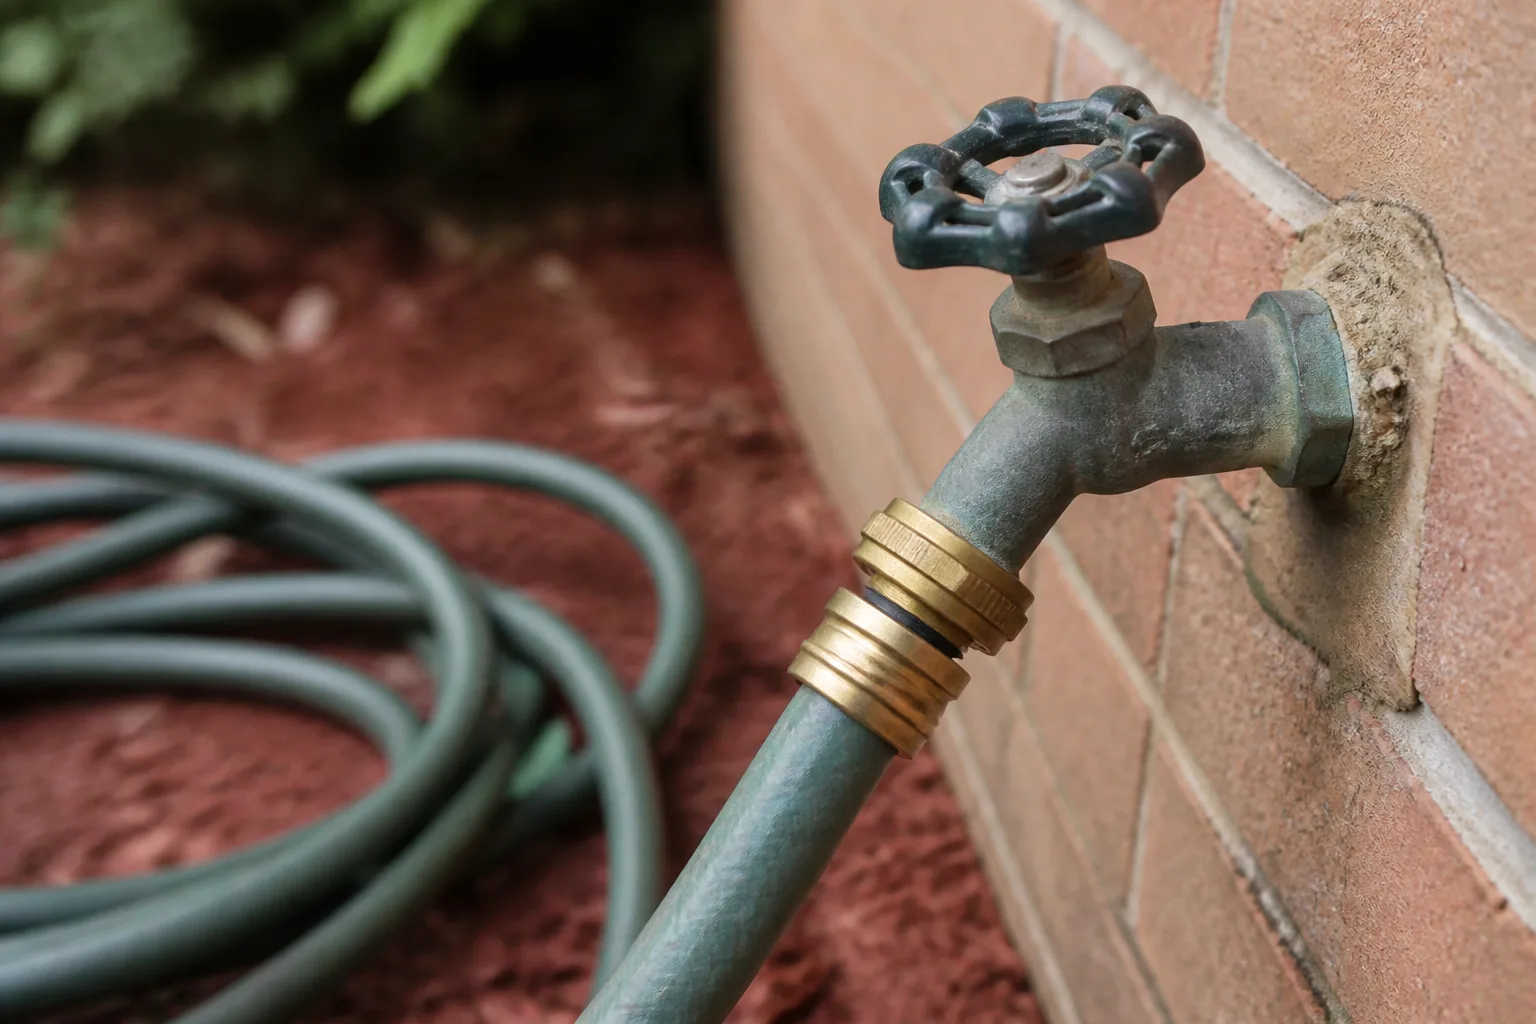
Before coiling, shut off the water and let the nozzle drain. If you put a saturated hose straight into a dark container, it may stay wet far longer than it would on an open reel. Periodically lift the coil, rinse grit from the pot, and check the coupler for green corrosion or a flattened washer.
2. Enclose it in a bench or deck box
If your patio already needs seating or cushion storage, a storage bench can hide the hose while doing a second job. This is the best fit for a finished entertaining area where a freestanding pot would feel like one more object. A low outdoor box can work just as well near a deck, shed, or pool area, provided it does not narrow the main circulation route.
Use the box to store the hose in a broad coil or on a low-profile reel. Do not cram a wet hose into a shallow compartment and hope the lid will solve the problem. Measure the interior opening, not just the exterior length, and allow clearance for your hands. A box that requires you to dig through a tight coil every time you water will quickly become an open box with the hose spilling out.
A bench is also a good answer when you need to hide multiple outdoor eyesores in one zone. The same enclosure may hold a nozzle, spare washers, a watering wand, or small hand tools, but keep sharp-edged tools away from the hose wall. An accessory bin inside prevents the nozzle from puncturing or snagging the coil.
Pick a box that can breathe
Look for weather-resistant construction, a lid that sheds rain, and some path for trapped moisture to escape. Ventilation does not mean large gaps that admit driving rain; it means the interior is not an airtight cavity. A removable lid or access panel makes it easier to inspect the hose and clean out grit.
Keep the box slightly off soil or standing water. A level paver or compacted gravel pad gives the base a more stable seat and makes the storage easier to open after rain. Avoid placing it directly under a downspout, where runoff can flood the compartment and wash mulch against the hinges.
The trade-off is that a bench or box takes up more space than a hose pot and usually costs more. It earns that footprint when you need seating, when the patio has room for a substantial piece of furniture, or when you want the hose completely out of sight. It is overkill for a small side path where a simple wall hanger would keep the floor clear.
3. Mount a reel where the architecture does the hiding
A wall-mounted reel is the cleanest solution when the spigot is beside the house, garage, shed, or a sturdy fence post. Instead of trying to disguise the hose in the middle of the yard, you keep the coil vertical and let the building edge, a corner, or a planting bed provide the visual background. A covered or retractable reel can make the result even quieter.
This option usually wins for frequent use because the hose pulls out in a controlled direction and returns to the same place. It also keeps the coil off the ground, away from mower wheels, pets, and foot traffic. The more often you water, the more valuable that repeatable motion becomes.
The basic choice is between an open hanger, a manual reel, and a retractable reel. An open hanger is inexpensive and easy to inspect, but you must coil the hose yourself. A manual reel adds a crank and guide for a more even wrap. A retractable reel gives the fastest reset, but its housing is larger, its mechanism adds cost, and it still needs enough clearance for the hose to pull straight.
Match reel location to the spigot
Put the reel close enough to the spigot that the short connector, or leader hose, does not loop across the walking path. Mounting the reel several feet away may seem visually convenient, but it creates a permanent exposed run between the faucet and the reel. A small, tidy connection is easier to live with than a long leader stretched along a wall.
The reel should also point toward the work. If most watering happens to the right of the faucet, position the guide so the hose exits naturally in that direction. When the hose has to bend sharply around the reel housing before it can extend, you will fight the bend on every use and eventually leave the coil on the ground.
Choose a broad arch or reel drum rather than a narrow single peg for a long hose. Practical storage guidance from HGTV’s garden hose storage guide notes that a narrow hook concentrates pressure in one place, increasing the chance of a kink. The same guide separates storage choices by hose length, weight, and frequency of use—useful criteria even when you are not buying one of its featured products.
Make wall mounting safe
Do not judge a mount only by how much hose the reel can hold. A full reel can be heavy, and pulling the hose sideways adds force to the bracket. Fasten into framing, masonry anchors, or a solid fence post appropriate to the surface; do not rely on a thin cladding panel to carry the entire load.
Keep the reel high enough to clear the ground but low enough that you can comfortably guide the hose onto it. Protect the wall behind it from constant rubbing, and leave space for the crank, handle, or swing arm to move. If the mount would sit beside a door, gate, or narrow passage, choose a compact vertical hanger or a freestanding option instead.
For a long property, a wheeled reel cart may be more practical than a wall mount. Bob Vila’s storage coverage includes wall holders, carts, hose pots, boxes, and bags because each solves a different access problem. A cart is not as visually quiet as a fixed reel, but it can follow the watering job and keep a long, heavy hose from being dragged across the ground.
4. Screen the coil with fencing or planting
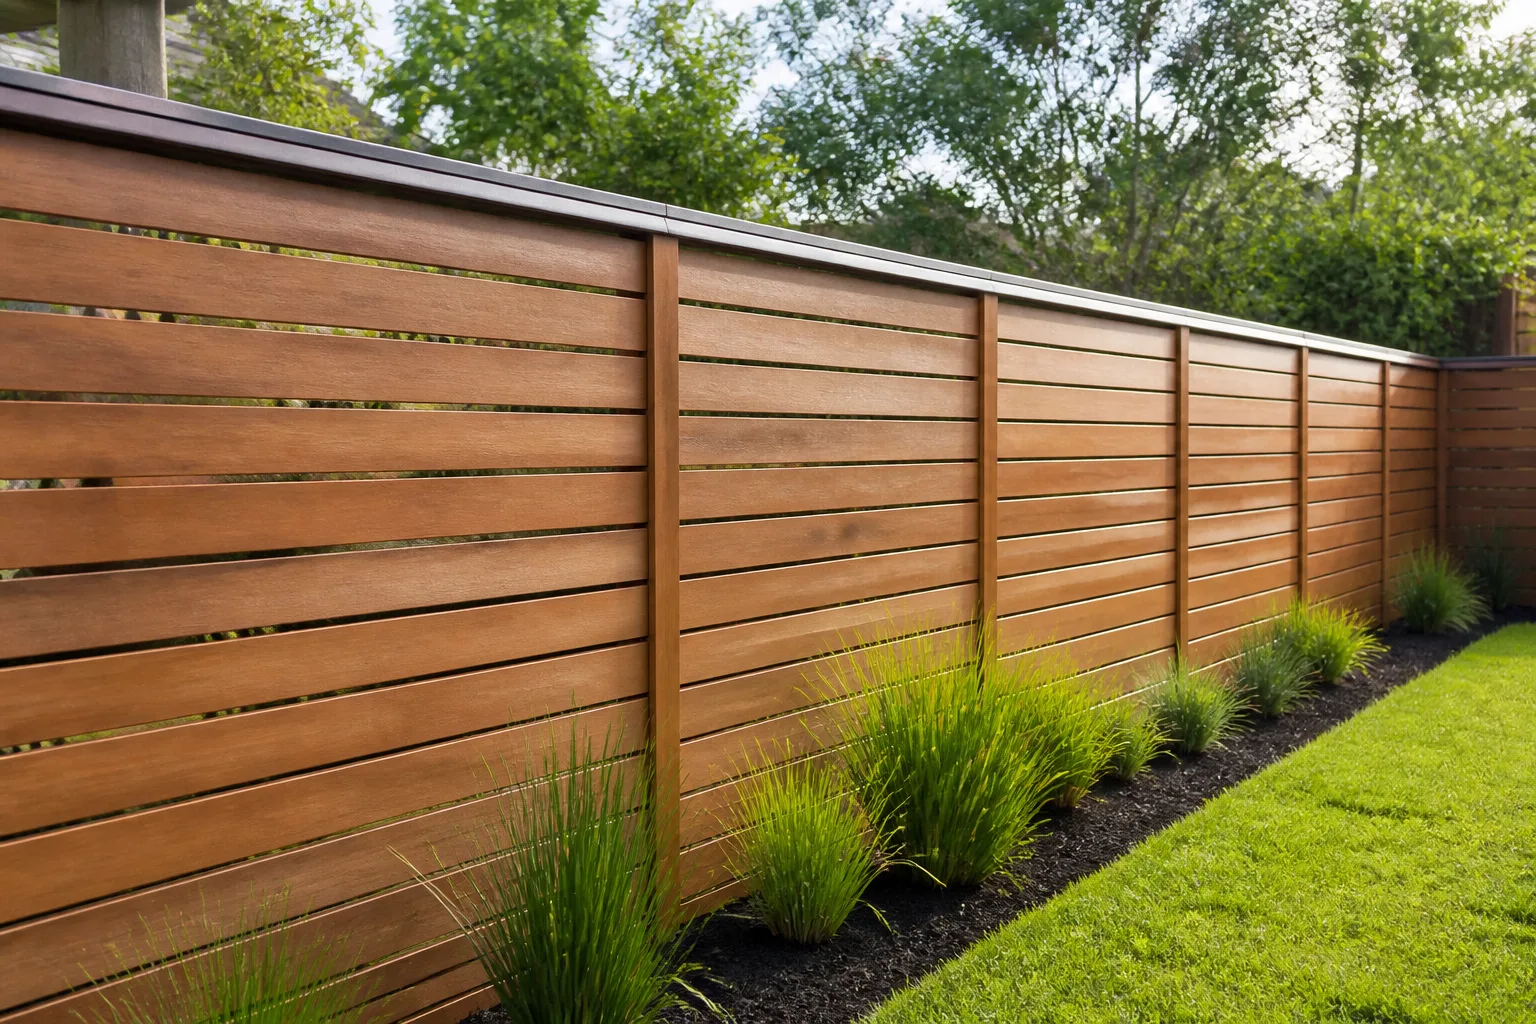
Sometimes the best hiding place already exists. A hose can disappear behind a short fence return, a slatted screen, a trellis, or a dense evergreen shrub positioned near the spigot. This approach is especially effective in a side yard or service zone where you want the hose accessible but not visible from the patio or main garden view.
The screen must conceal the coil from the viewpoints that matter. Stand on the patio, look from the kitchen window, and walk past the path; if the hose is visible from one of those angles, shift the screen rather than adding more height blindly. A low, correctly placed panel often works better than a tall barrier that looks like a new wall.
Match the screen to something already in the yard. Horizontal boards can echo a fence, a dark metal panel can repeat window trim, and a trellis can connect hose storage to a planted border. Keep the screen’s footprint narrow enough that it does not create a dead corner where leaves and water collect.
Use an evergreen screen as background, not a tangle catcher
Shrubs can soften a hose-storage zone, but the hose should sit behind a support, not inside the plant. Pulling a coil through branches breaks stems, catches leaves in the couplers, and makes pruning harder. Install a low hook, reel, or pot first, then use the shrub as a visual backdrop.
Choose plants suited to the site rather than planting a fast-growing hedge solely to hide one tool. Consider mature width, root competition, irrigation needs, and the view you will have in winter. Evergreen structure can provide year-round concealment, but it also needs room for maintenance. A removable screen is often the better answer if the hose must be reached often or the bed is already full.
Keep access on the open side of the screen. If you have to reach through foliage or move a chair to retrieve the hose, the storage idea will slowly fail. Place the opening toward the path you naturally use, and leave enough turning room for the coil rather than hiding it so tightly that it cannot come out in one piece.
5. Make the hose blend with color and route
The least expensive way to hide a garden hose is to make it visually quiet. Deep green, charcoal, brown, or gray usually recedes better against mulch, fencing, stone, or shadow than a bright contrast color. This does not make the hose invisible, but it lowers the visual noise when the hose must remain on an open hanger or run a short distance between the spigot and a bed.
Color works best when it repeats a color already doing useful work. A charcoal hose can echo a dark fence or planter; a green hose can disappear into a hedge; a neutral hose can sit beside gravel without competing with flowers. Avoid choosing a color solely because it is fashionable if it makes the hose hard to see across a walkway. A hose that blends into paving can become a trip hazard.
Routing is more important than color. Run the hose along the edge of a bed, behind a low retaining wall, or beside a fence line rather than diagonally across a lawn. Use a broad guide at corners and keep the route away from gates, steps, and the path between the house and the car. If the hose must cross a route temporarily, move it immediately after watering instead of designing the whole yard around leaving it there.
The two-minute reset that keeps it hidden
At the end of watering, close the nozzle, turn off the spigot, and open the nozzle or end fitting briefly to release pressure. Walk the hose back toward its storage point while straightening it. Wide loops are easier on the hose and faster to make than a tight, twisted ball.
Coil from the storage end so the hose follows the curve of the reel, pot, or hanger. If a loop flips or kinks, stop and reverse that section rather than forcing it into place. Keep the coupler and nozzle on top where you can find them, and leave the hose’s exit aligned with the next use.
For a lightweight hose used daily, this reset may be all the storage you need. Add a broad wall hook or freestanding stand if the coil keeps spreading. The design win comes from making the tidy action easier than dropping the hose wherever you finish.
How to choose among the five options
Choose a hose pot when concealment is the priority, the hose lives near a patio or planted bed, and you want a freestanding accent with no wall installation. Choose a bench or deck box when you also need seating or general outdoor storage and have enough room for a larger footprint.
Choose a wall-mounted reel when the hose is used often, the spigot is beside a structurally sound wall, and you value a fast, repeatable pull-and-return motion. Choose a screen or planting pocket when the hose sits in a service area that can be visually separated from the main view and you are willing to preserve retrieval clearance.
Choose color and routing when you rent, have a small budget, or need a temporary solution. It is also a useful finishing layer: a quiet-colored hose on a broad hanger behind a fence line can look more intentional than a bright hose hidden inside an overfilled box.
If you are unsure, make a one-week test. Coil the hose in the proposed location using a temporary hook or crate. Notice whether you can reach the spigot, open the gate, mow, and water the farthest bed without dragging the coil through furniture. A storage idea that works in a five-minute test is more valuable than one that looks perfect in a product photograph.
Winter storage and hose care
Freezing weather changes the storage question from appearance to prevention. Water left inside a hose expands as it freezes, which can split the hose and put stress on connected plumbing. Oklahoma State University Extension recommends draining and storing garden hoses and closing interior valves that supply outdoor hose bibs as part of cold-weather preparation.
Disconnect the hose from the faucet before a hard freeze, remove the nozzle if it traps water, and drain the hose completely. A practical method from Oregon State University Extension is to run the hose over a tall place so gravity helps residual water exit. That guidance also makes an important distinction: a drained hose can remain outside, but temperature swings age the material faster and may limit it to only a few seasons.
If possible, move the drained hose into a garage, shed, or other protected space. Store it in wide loops on a broad reel or hanger, away from sharp tools and rodents. Do not bend a cold, stiff hose sharply around a tiny hook. Let it warm enough to become flexible, then coil it without twists.
For hose pots and boxes that stay outside, clear leaves from the side opening and check that the interior can drain. Empty any water pooled at the base. In spring, inspect the fittings, washers, and first few feet near the coupler before turning the water on fully. A slow opening lets you spot a split before the hose becomes a pressurized spray.
Mistakes that make hose storage worse
Choosing a container by its outside size. The interior may be too small for the actual coil, especially with a thick or heavy hose. Measure the hose loosely and leave retrieval clearance.
Using a narrow peg for a long hose. A single small hook concentrates weight and forces tight bends. Use a broad arch, reel drum, or cart suited to the hose’s length and weight.
Hiding the coil in a planting bed with no support. Shrubs are a backdrop, not a storage mechanism. A hose left among branches will catch, collect debris, and damage plants during retrieval.
Sealing a wet hose in an airtight box. Concealment does not cancel moisture. Drain the hose, provide ventilation or drainage, and inspect the box rather than assuming the lid keeps everything healthy.
Mounting too far from the spigot. The exposed leader hose becomes the new eyesore, and the connector may cross a path. Keep the reel close to the faucet or use a short, neatly routed connection.
Ignoring the walking route. A coil beside a gate or across a step is a trip hazard even when it matches the mulch. Keep the main path clear and move temporary runs as soon as watering ends.
Leaving water and pressure in the hose. Turn off the spigot, release pressure at the nozzle, and drain before coiling. This reduces stress on fittings and makes the coil easier to handle.
Treating a color change as the whole solution. A charcoal hose can still look messy if it lies diagonally across a lawn. Route it along an edge and give it a consistent storage point.
Conclusion
The most successful garden hose storage is easy to reach, easy to reset, and quiet from the views you care about. Use a hose pot for freestanding concealment, a bench or deck box when you need furniture and storage, a reel when speed matters, a screen or planting backdrop when the service area can be separated, and color-plus-routing when the simplest fix is the best one.
Measure before buying, support the hose in broad curves, keep the spigot connection short, and protect the coil from trapped moisture and freezing water. Once the hose has a home that fits the way you garden, the yard looks calmer because the tool is no longer competing with it.