Weed Control and Prevention: A Practical Yard Guide
Learn when to pull, smother, mow, or use a labeled herbicide—and how to prevent weeds without damaging lawns, garden plants, soil, or nearby wildlife.
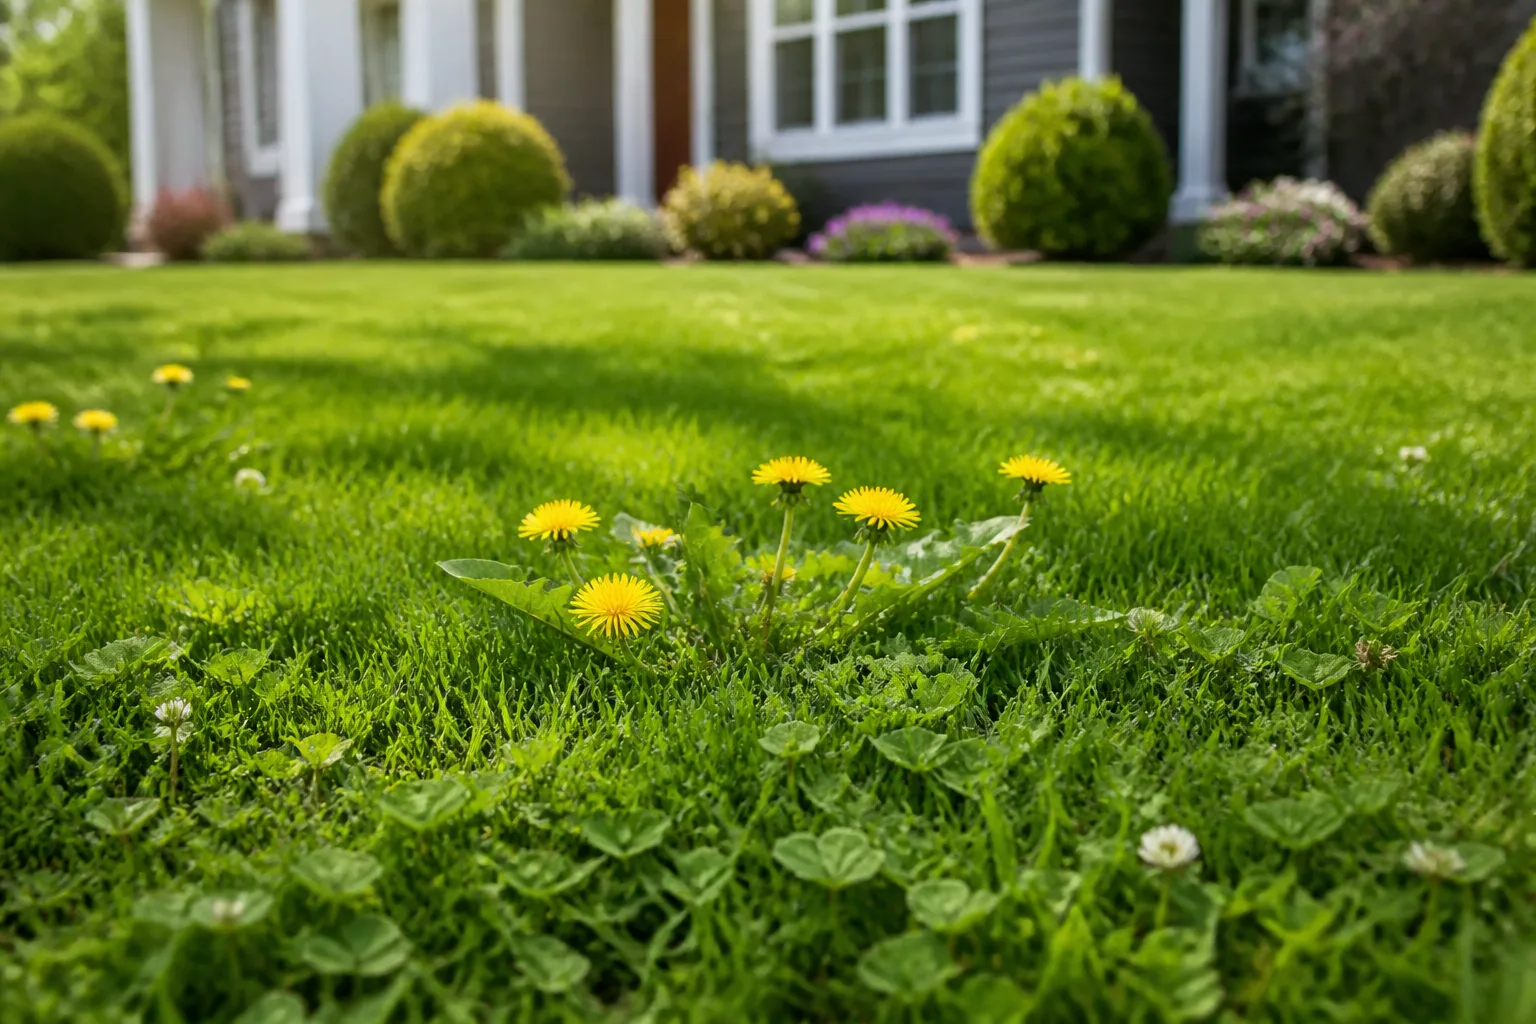
The fastest route to a manageable yard is not to spray every green thing or pull every plant on sight. First work out what the weed is, how it spreads, and where it is growing; then use the least disruptive method that can actually stop that plant from reproducing.
That sequence matters because a seedling dandelion, a patch of creeping grass, and crabgrass in a lawn have different weak points. The right plan may combine early removal, mulch, stronger turf or garden plants, and a carefully chosen herbicide only when it fits the site and label.
Start with the site and identify the plant
“Weed” describes a plant growing where you do not want it. Before removing one, decide whether it is truly a problem in that spot: a flowering native plant in a low-traffic meadow may feed pollinators, while the same plant spreading into a vegetable row may compete with crops. The goal is to manage risk and competition, not to keep every square foot bare.
Look at the whole plant before acting. Note whether its leaves are broad or grasslike, how leaves attach to stems, whether it has a taproot or fibrous roots, and whether runners or underground stems connect separate shoots. Photograph the leaves, stem, flower or seedhead, and the full growing site; location, season, and neighboring plants help an extension office or plant key narrow an identification. Do not handle an unfamiliar plant with bare hands if it may irritate skin or be toxic.
In lawns, also identify the turfgrass and the conditions around the weed. UC IPM notes that weeds often exploit thin turf, overwatering, poor mowing, and compaction, so a patch can point to the lawn problem that needs correcting as well as the species that needs removal. Its weed identification guide and lawn-management notes are useful for separating broadleaf weeds, grasses, and sedges.
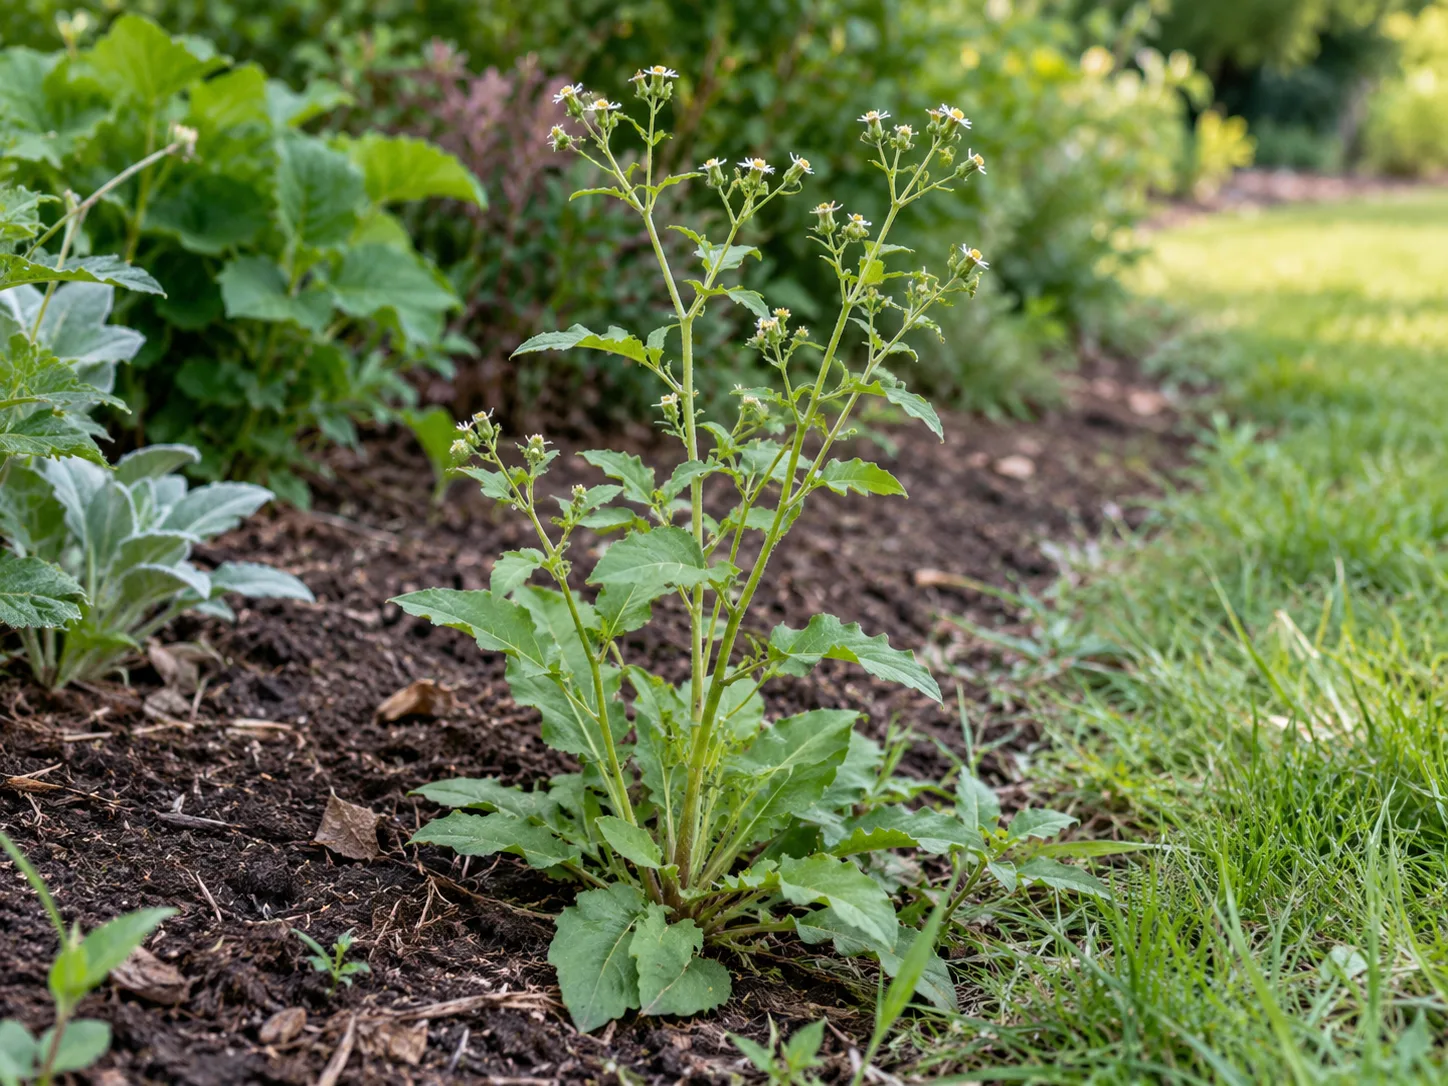
Use the weed’s life cycle to predict its next move
Life cycle tells you whether preventing seeds is likely to solve the problem or whether the plant can return from roots and stems. Colorado State University Extension divides weeds into annuals, biennials, simple perennials, and creeping perennials; it also stresses that control works best when it interrupts the plant before seed set or vegetative spread. Read the extension overview of weed management alongside the visual traits, rather than guessing from a common name alone.
Annual and biennial weeds
An annual completes its life cycle in one growing season. Summer annuals such as crabgrass usually emerge as the weather warms, grow, set seed, and die; winter annuals germinate in cooler weather, persist through winter in mild regions, and set seed as spring advances. Pulling or hoeing these while they are small and before seed matures can prevent a new crop, while mulch or a correctly timed pre-emergent product can reduce germination in the right setting.
A biennial typically grows leaves in its first season, then flowers and produces seed in the next. For these plants, removing a rosette before it sends up a flowering stalk is often easier than dealing with a mature plant. Calendar dates vary by climate, so watch the plant’s growth stage: the useful deadline is before viable seed forms, not a specific week printed for another region.
Perennials that return from roots and stems
Perennials live for multiple years and can reproduce by seed, underground rhizomes, surface runners called stolons, bulbs, tubers, or a persistent root crown. A dandelion’s taproot can regrow if its crown remains; creeping weeds such as bindweed or quackgrass can send shoots from underground structures. A spray or cut that only removes the leaves may make the patch look better briefly without exhausting what is below ground.
Choose a method that fits the weed and growing site
Use this quick match as a starting point, then check the species and product directions where relevant:
| Situation | First method to try | Main limitation |
|---|---|---|
| A few small annual seedlings in a bed | Shallow hoeing or hand-pulling before seed forms | Recheck for another seedling flush |
| A taprooted perennial in loose soil | Loosen and lift the crown and as much root as practical | A broken root can regrow; repeat inspections |
| A rhizomatous patch among ornamentals | Carefully tease out connected stems and monitor regrowth | Digging or tilling can spread fragments |
| Weeds emerging through bare garden soil | Remove existing weeds, then mulch or fill the space with desired plants | Mulch will not reliably kill established root systems |
| Broadleaf weeds in a lawn | Correct turf stress; hand-remove isolated plants | “Lawn weed killer” is not safe for every turf or nearby plant |
| Weeds in paving joints | Scrape or pull, then repair the open joint where practical | Seed can blow back in; runoff and nearby plants constrain sprays |
| A regulated, toxic, or water-edge species | Confirm identification and contact local extension or land managers | DIY removal may create a safety or spread problem |
Colorado State University Extension recommends combining cultural, mechanical, biological, and chemical methods as an integrated approach; prevention can reduce the need for repeated treatments. This is more useful than looking for one permanent weed killer: start with the tool that addresses the weed’s survival method, then add prevention so the cleared space does not stay empty.
Remove young weeds before they seed
Small seedlings are easier to remove and have used less energy to establish roots. Hand-pull them after rain or irrigation when soil is workable, or skim them just below the crown with a hoe on a dry day. In a bed, keep the blade shallow: deep cultivation can cut desirable roots and bring buried weed seeds up into light.
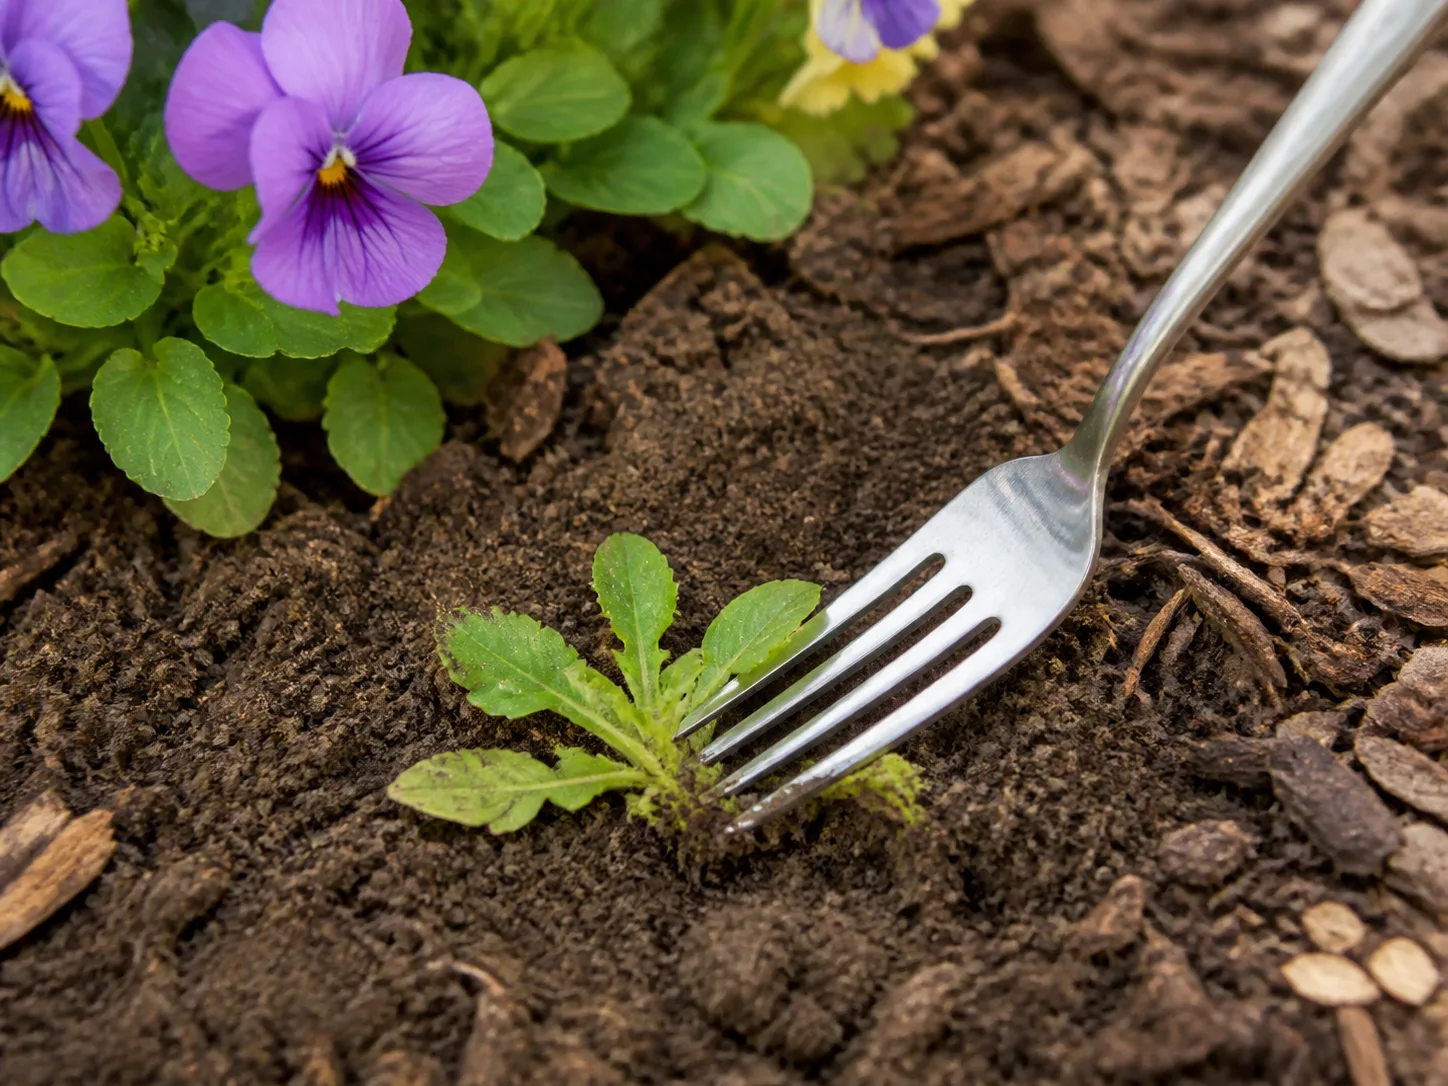
For taprooted plants, use a narrow weeder or fork to loosen soil beside the root, then lift from under the crown rather than yanking the leaves. If the root snaps, mark the location and check it again instead of assuming the plant is gone. A short weekly pass through beds is easier than waiting until weeds are tall, tangled, and already dropping seed.
When a weed has flowered or formed seedheads, avoid shaking or dragging it through clean areas. Cut or bag the seed-bearing top before moving the rest, and follow local waste guidance; many home compost piles do not maintain conditions that reliably kill viable seeds and invasive plant fragments. Keep tools and mower decks clean when moving from a heavily infested patch to an uninfested area.
Handle taproots, runners, and rhizomes differently
Removing a taprooted weed means getting below its crown. Moistened soil usually makes the job easier; a dandelion fork, hori-hori knife, or narrow trowel can help lift the root with less disturbance than a spade. If a deep root breaks, repeated cutting of new growth can weaken the plant over time, but it takes follow-up and is not the same as removing it in one pass.
Runners root at points along the surface, while rhizomes travel underground. For either, trace the connecting stems, loosen soil gently with a fork, and lift pieces rather than chopping through them. Fine Gardening’s guide to weeding by survival strategy highlights this difference: the root or stem system is the reason some patches rebound after ordinary pulling.
Do not rototill a persistent rhizome-forming weed as a shortcut. Small fragments can start new shoots, turning a single patch into a wider one; repeated careful removal, cutting back new growth, and temporary smothering may be more effective. For species known to spread aggressively or subject to local control rules, verify the recommended disposal method before moving roots or stems off-site.
Use mulch and plant competition to close bare soil
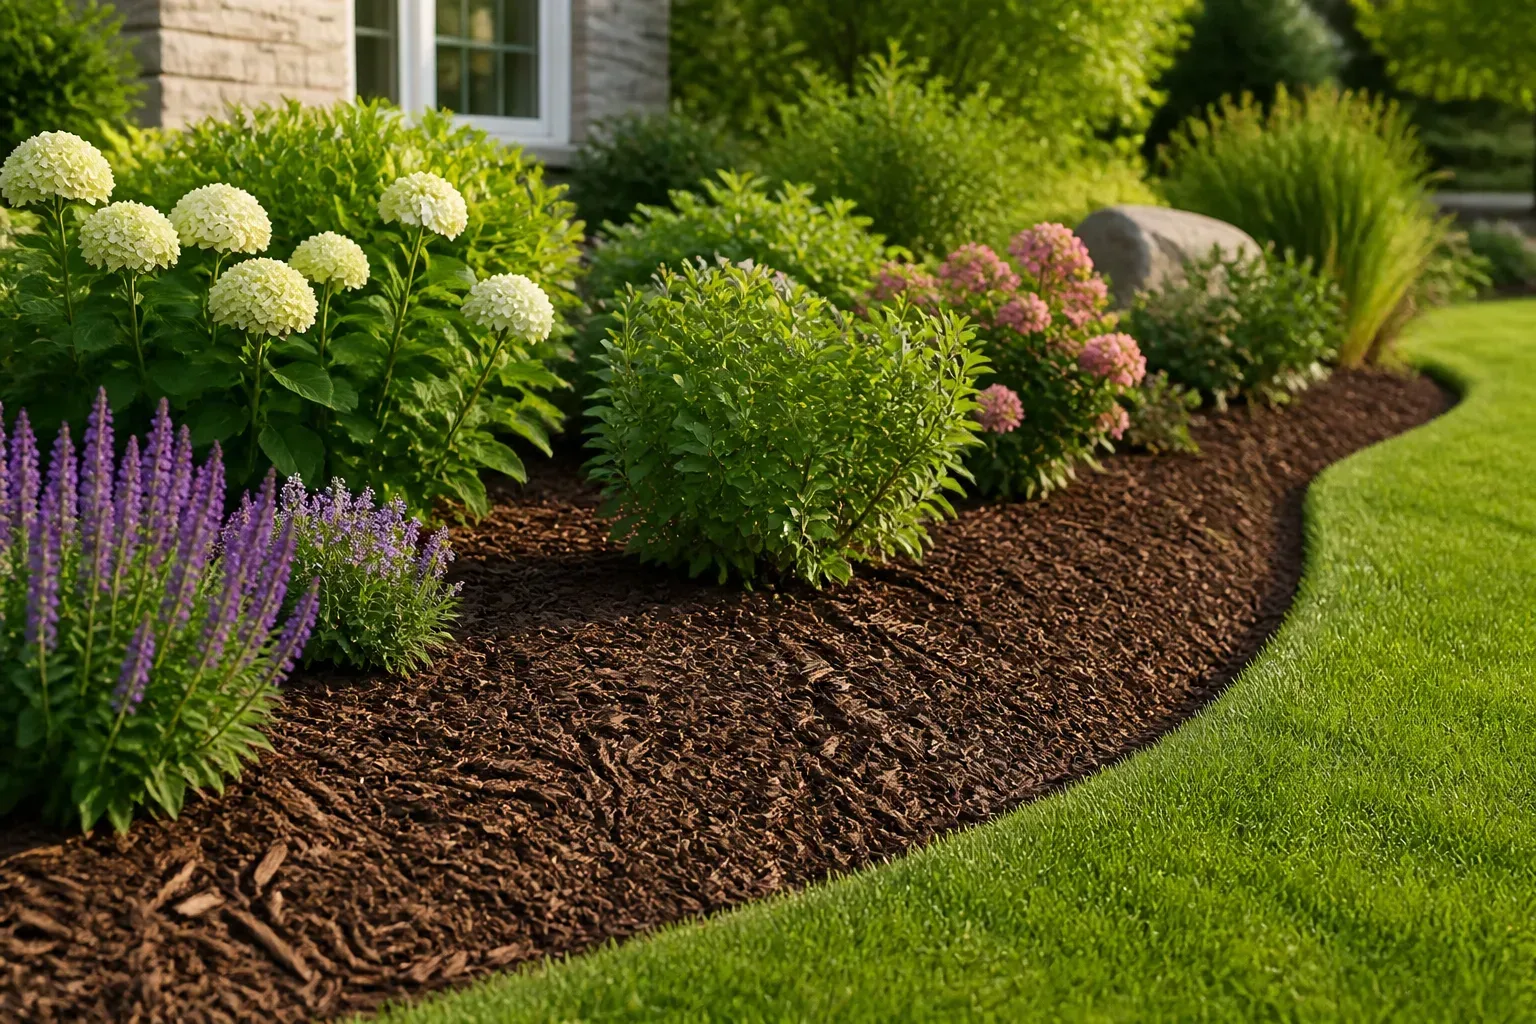
Mulch reduces the light that reaches many weed seeds at the soil surface, and it helps keep a garden bed from becoming bare, open ground. After removing existing weeds, apply a consistent layer of clean organic mulch; around established plants, keep it away from stems and crowns so moisture is not held against them. A layer around 2 to 3 inches is commonly used for weed suppression, but the right depth depends on the material and plants beneath it.
Mulch is a barrier, not a cure for established bindweed, nutsedge, or other weeds with energy stored underground. If a perennial is already pushing through, remove or weaken it first, then cover the soil and check edges regularly. The Farmers’ Almanac guide to mulching describes organic materials such as leaves, straw, and wood chips; match the material to the crop and replace it as it thins or decomposes.
Living plants can do part of the work too. Close spacing that still allows healthy airflow, a suitable groundcover, or a cover crop can shade soil and compete with weed seedlings. Avoid crowding plants so tightly that they become stressed or diseased; a dense planting suppresses weeds only when the desired plants are thriving.
Make a lawn less welcoming to weeds
In turf, the long-term fix is often to improve the grass’s growing conditions. Mow at the height recommended for the turf species rather than scalping it, avoid removing too much leaf at one time, and correct thin or bare patches with suitable seed or sod at the locally recommended season. UC IPM explains that shallow, frequent irrigation and low mowing can favor certain weeds; deep, less frequent watering can support deeper turf roots once the lawn is established, but exact schedules depend on grass type, soil, and weather.
Do not fertilize or water on autopilot. Too little or too much can weaken turf or create favorable conditions for particular weeds; compaction and poor drainage can also open space for them. Diagnose the pattern first: weeds concentrated along a wet low spot, a compacted path, or a shaded edge may need a site correction more than another lawn product. If you use a pre-emergent herbicide, check whether it conflicts with overseeding or new lawn establishment.
Smother large patches only when conditions suit
For a new bed or an open patch, an opaque tarp or overlapping cardboard and mulch can suppress growth by blocking light. This is slow: keep the cover in place long enough for the target plants to weaken, inspect the edges where light and shoots can enter, and remove perennial roots that continue to push beyond it. The approach works best when you can leave the area undisturbed and are not trying to save plants under the cover.
Solarization uses clear plastic and strong sun to heat moist soil; it is most useful in a hot, sunny period before planting, not in a shaded spot or among established tree and shrub roots. It can affect beneficial soil organisms as well as weeds near the surface, and it will not reliably solve every deep-rooted perennial. If the patch borders prized plants, a waterway, or combustible dry material, choose a less disruptive approach rather than improvising with flame or plastic.
Know what herbicides can and cannot do
Herbicides can be useful when weeds are widespread, difficult to extract, or growing where mechanical removal would damage wanted plants. They work only when the active ingredient, timing, application method, and site fit the target weed. A product that controls one group may miss another, and a treatment that kills a weed may also damage turf, flowers, shrubs, or newly seeded areas.
Pre-emergent versus post-emergent products
A pre-emergent herbicide acts before a weed seed germinates; it does not remove a mature plant already growing above ground. Timing is tied to the weed’s germination window and local conditions, not a universal date. Many pre-emergent products also interfere with germination of desirable seeds, so they may conflict with lawn overseeding or direct-sown vegetables and flowers unless the label specifically permits the combination.
A post-emergent product treats an emerged weed, often through its foliage. Small, actively growing plants are often easier targets than mature, drought-stressed weeds, but perennial species may need repeat treatment or a different method because roots or rhizomes remain. Do not repeat an application sooner or at a higher rate than the label allows.
Selective, nonselective, contact, and systemic action
“Selective” means a herbicide is intended to control certain plant groups while leaving specified plants unharmed under listed conditions; it does not mean harmless to every nearby plant. “Nonselective” products can injure or kill a wide range of plants they contact. Even selective lawn treatments can damage ornamentals through drift, direct contact, or root uptake, so identify both the weed and the desirable plants before choosing.
Contact herbicides damage the tissue they reach, so they can scorch leaves while leaving perennial roots alive. Systemic herbicides move through a plant and may reach growing points or roots, which can help with some perennials, but they still have strict use limits and non-target risks. Colorado State University Extension’s weed-control overview explains these categories; a product’s own label, not a general category description, determines what it can be used on.
Follow the label and protect people, pets, plants, and water
If you choose a herbicide, read the entire label before buying and again before applying. In the United States, use a pesticide only for the sites, weeds, rates, equipment, protective gear, timing, and precautions listed on that product label; Colorado State University Extension notes that label directions are legally binding. A phrase such as “natural,” “organic,” or “lawn weed control” does not replace the directions or prove that a product is safe for your particular garden.
Check whether the label covers your exact setting—lawn, vegetable garden, ornamental bed, driveway, or another site—and whether it lists the weed you want to control. Follow instructions about gloves, eye protection, wind, temperature, rain, re-entry, children, pets, pollinators, and water buffers. Do not spray on a windy day or where drift could reach desirable plants, storm drains, ponds, or neighboring property; do not mix products or make stronger batches unless the label explicitly directs it.
Use the smallest labeled treatment area that will do the job, and clean equipment and store or dispose of leftovers exactly as directed. Keep pesticides in their original containers, away from children and pets, and never pour leftover product down a drain or into a waterway. If the label is unclear or the weed is close to edible plants, sensitive ornamentals, or water, pause and ask a local extension educator or licensed applicator.
Why common household weed-killer recipes can backfire
UConn Extension cautions that improvised household mixtures used to kill weeds are still pesticides, even when they are described as natural remedies. Vinegar burns only the plant tissue it touches and may leave perennial roots able to regrow; because it is nonselective, it can also injure desirable plants. Repeated salt applications can build up in soil and harm plants, while dish detergent does not make a mixture selective or reliably measured, as explained in UConn’s fact sheet on homemade pesticides.
For a weed in a garden bed, hand removal, mulch, or a labeled spot treatment usually gives you more control over what is affected than pouring household mixtures across the soil. For pavement cracks, remove the plant and address the open joint when practical; do not trade a small weed for contaminated runoff or injury to plants at the edge. If you still consider a product, verify that it is approved for the exact site and follow its label.
Prevent seeds and fragments from moving around the yard
Keep weeds from setting seed, especially along fences, paths, compost areas, and property edges where they can spread unnoticed. If you cannot remove a large plant immediately, cut off the developing flower or seedhead and bag it before carrying the rest away. Do not mow or string-trim mature seedheads and then drive through clean lawn: equipment can scatter seed and plant pieces.
Inspect new compost, manure, straw, topsoil, mulch, and nursery plants before spreading or planting them. Colorado State University Extension lists contaminated amendments, new plants, irrigation water, and nearby infestations among routes by which weeds enter a landscape. Clean soil from tools, boots, and mower decks after working in an infested patch, and follow local rules for any listed invasive or noxious weed.
Follow a simple seasonal weed-control routine
Early in the growing season: walk the beds and lawn before weeds flower. Identify unfamiliar plants, pull young annuals, dig taproots while soil is workable, and note bare or compacted spots that need repair. If using a pre-emergent herbicide, time it to the target species and local germination conditions and keep its effect on reseeding plans in mind.
During active growth: make brief, regular checks instead of waiting for one exhausting cleanup. Hoe tiny seedlings, remove or cut seedheads, monitor perennial patches for regrowth, maintain mulch, and water or mow lawns in a way that supports the turf species. Keep notes on where each weed appears; a repeated patch often points to a recurring source, wetness, shade, thin turf, or disturbed soil.
Before the next planting season: close open ground with healthy plants, mulch, or a cover crop; repair lawn bare spots; and review which method actually worked. Repeatedly pulling a rhizomatous weed from one corner, for example, may require gentler root removal and continued checks rather than more aggressive tilling. A persistent seed bank can take more than one season to decline, so judge success by fewer seedlings and less seed production, not instant zero weeds.
Get local help for invasive, hazardous, or aquatic weeds
Some weeds are regulated because they threaten agriculture or natural areas, and the designated species and required action vary by state and locality. Before moving a suspected invasive plant, check your state or county list and disposal directions. The USDA Agricultural Research Service Weeds Atlas provides a national resource for weed and invasive-plant activities; local extension and natural-resource offices can help confirm regional identification.
Get expert advice when the plant is difficult to identify, causes a rash, is spreading through a wetland or pond edge, or has returned repeatedly despite careful treatment. Aquatic herbicides and invasive-plant removals can require special methods or permits, and cutting a plant that spreads through fragments can worsen its reach. A short call before acting can prevent a bigger problem than the original patch.
Conclusion: aim for fewer weeds, not a bare yard
Reliable weed control starts with identification, then matches the method to the plant’s life cycle, roots, location, and the plants you want to keep. Remove seedlings before they seed, lift taproots carefully, avoid fragmenting rhizomes, cover bare soil, and make lawns and garden beds more competitive; bring in a herbicide only when its label fits the site and target.
Expect to revisit persistent patches. When you prevent new seeds and fragments while reducing the conditions that favor weeds, each season can take less effort—even if a healthy garden never becomes completely weed-free.



