How to Use Old Leaves in the Garden for Better Soil
Learn how old leaves improve soil, when to shred them, how thick to spread them, and how to turn fall leaves into leaf mold or compost.
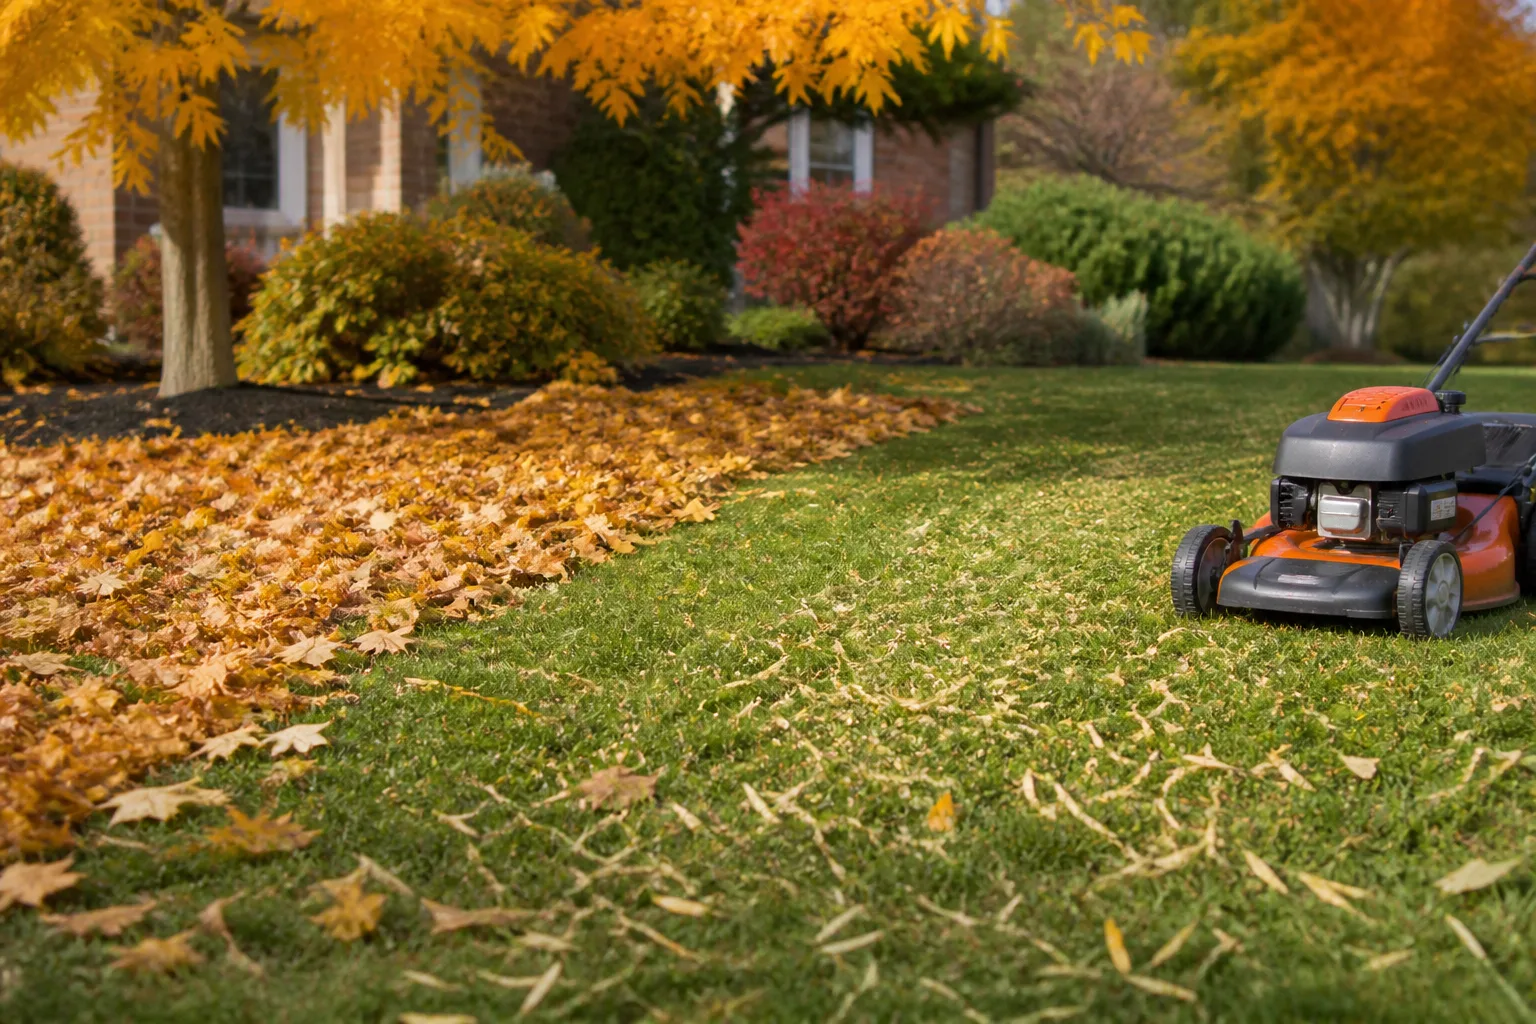
Those brown leaves on the ground are not useless yard waste. Old leaves can become mulch, leaf mold, or compost, each of which helps your garden in a different way. They shade bare soil, slow evaporation, soften temperature swings, and gradually return organic matter as fungi, bacteria, earthworms, and other decomposers break them down.
The important detail is that leaves are not a magic fertilizer. The best use depends on the surface, the leaf texture, how much time you have, and whether the material is clean and free of disease. Save the right leaves, process them to match the job, and you can turn fall cleanup into better spring soil without creating a wet blanket that smothers your lawn or plant crowns.
The short answer: old leaves are a slow soil-building resource
Yes, old leaves can help your garden grow, especially when you use them as a thin mulch or allow them to decompose into leaf mold. Oregon’s Department of Environmental Quality explains that organic-matter amendments and compost can help soil stay loose and fertile while reducing evaporation, erosion, weeds, and temperature swings (Oregon DEQ). Leaves deliver those benefits slowly, so they improve the root environment rather than acting like a quick dose of plant food.
The safest default is simple: shred leaves for lawns and thin mulch layers; leave some whole leaves in suitable beds for habitat or winter cover; reserve a separate pile for leaf mold; and keep visibly diseased or contaminated material out of the garden. A layer that is light enough for air and water to move through is useful. A thick, wet, unshredded layer is a problem.
What old leaves become as they age
Gardeners often use “leaf mulch,” “leaf mold,” and “composted leaves” as if they mean the same thing. They overlap, but the difference matters when you are deciding whether to spread a pile today or wait until next year.
Leaf litter, leaf mulch, leaf mold, and compost
| Material | What it is | Best use | Main watch-out |
|---|---|---|---|
| Leaf litter | Whole leaves lying on the soil surface | Wildlife habitat and winter cover in appropriate areas | Thick layers can mat, stay wet, and smother small plants or turf |
| Leaf mulch | Shredded or chopped leaves used as a surface layer | Garden beds, trees, shrubs, paths, and carefully managed lawns | Apply a thin, even layer and keep it off crowns and trunks |
| Leaf mold | Leaves decomposed mostly by fungi with moisture and time | Soil conditioner, moisture management, and finished mulch | It is slow to make and is not a complete fertilizer |
| Compost | Leaves mixed with nitrogen-rich “green” materials and other compost ingredients | Building a finished amendment for beds and soil | The pile needs a balanced recipe and proper management |
The RHS describes leafmould as a free soil conditioner made from decaying leaves. It also notes that well-rotted material is useful for mulching and soil improvement, while the finished texture and timing vary with leaf type and preparation (RHS leafmould guide). Think of fresh or shredded leaves as a protective surface material and finished leaf mold as a soft, moisture-holding amendment.
The garden benefits you can actually expect
Leaves help most through the soil surface. They are valuable because they change the conditions around roots while decomposers gradually turn their carbon-rich tissue into organic matter.
Soil structure and moisture
A leaf layer protects bare soil from hard rain, wind, and rapid drying. As it breaks down, the organic matter helps a heavy soil hold more air and helps a sandy soil retain water for longer. That does not mean leaves can repair every soil problem overnight; the benefit builds over repeated seasons and is strongest when leaves are used as part of a broader soil-care routine.
The RHS specifically recommends leafmould as a conditioner and mulch, and its guidance notes that even partially decomposed leafmould can be useful as a soil covering while older material becomes finer and more soil-like (RHS leafmould guide). Use that distinction to set expectations: fresh leaves protect the surface now, while aged leaves improve texture more noticeably.
Leaves also reduce the number of times you need to water and weed. They do not eliminate either task, but a stable layer slows moisture loss and blocks light from many newly germinating weed seeds. Keep the layer open and even; compacted leaves can reverse those benefits by blocking air and water.
Winter protection and wildlife habitat
A leaf layer acts as a buffer around shallow roots and overwintering perennial crowns. It is especially useful on bare vegetable beds, around established trees and shrubs, and in beds where plants tolerate a natural-looking winter surface. Shredded leaves settle more evenly, but whole leaves can be appropriate where a little habitat and winter cover are the goal.
Leaving some leaf litter also supports insects and the animals that feed on them. Michigan EGLE reports that fallen leaves provide overwintering habitat for insects and other wildlife, while mulching leaves on a lawn can preserve some soil and habitat benefits without leaving a dense cover over the turf (Michigan EGLE). UF/IFAS likewise recommends retaining or redistributing leaf litter when possible because moths, butterflies, beetles, worms, spiders, and other organisms use it for shelter (UF/IFAS Gardening Solutions).
There is a real trade-off here. A wildlife-friendly garden does not require every square inch to stay covered. Leave some low-traffic areas natural, keep access to soil for ground-nesting insects, and manage thick leaf mats over turf, seedlings, crowns, and drainage-sensitive plants.
Choose the right leaf strategy for each surface
Before you rake, decide where the material will go. The same bag of leaves may be ideal for one part of your yard and a poor choice for another.
| Surface or goal | Best starting choice | Why it works |
|---|---|---|
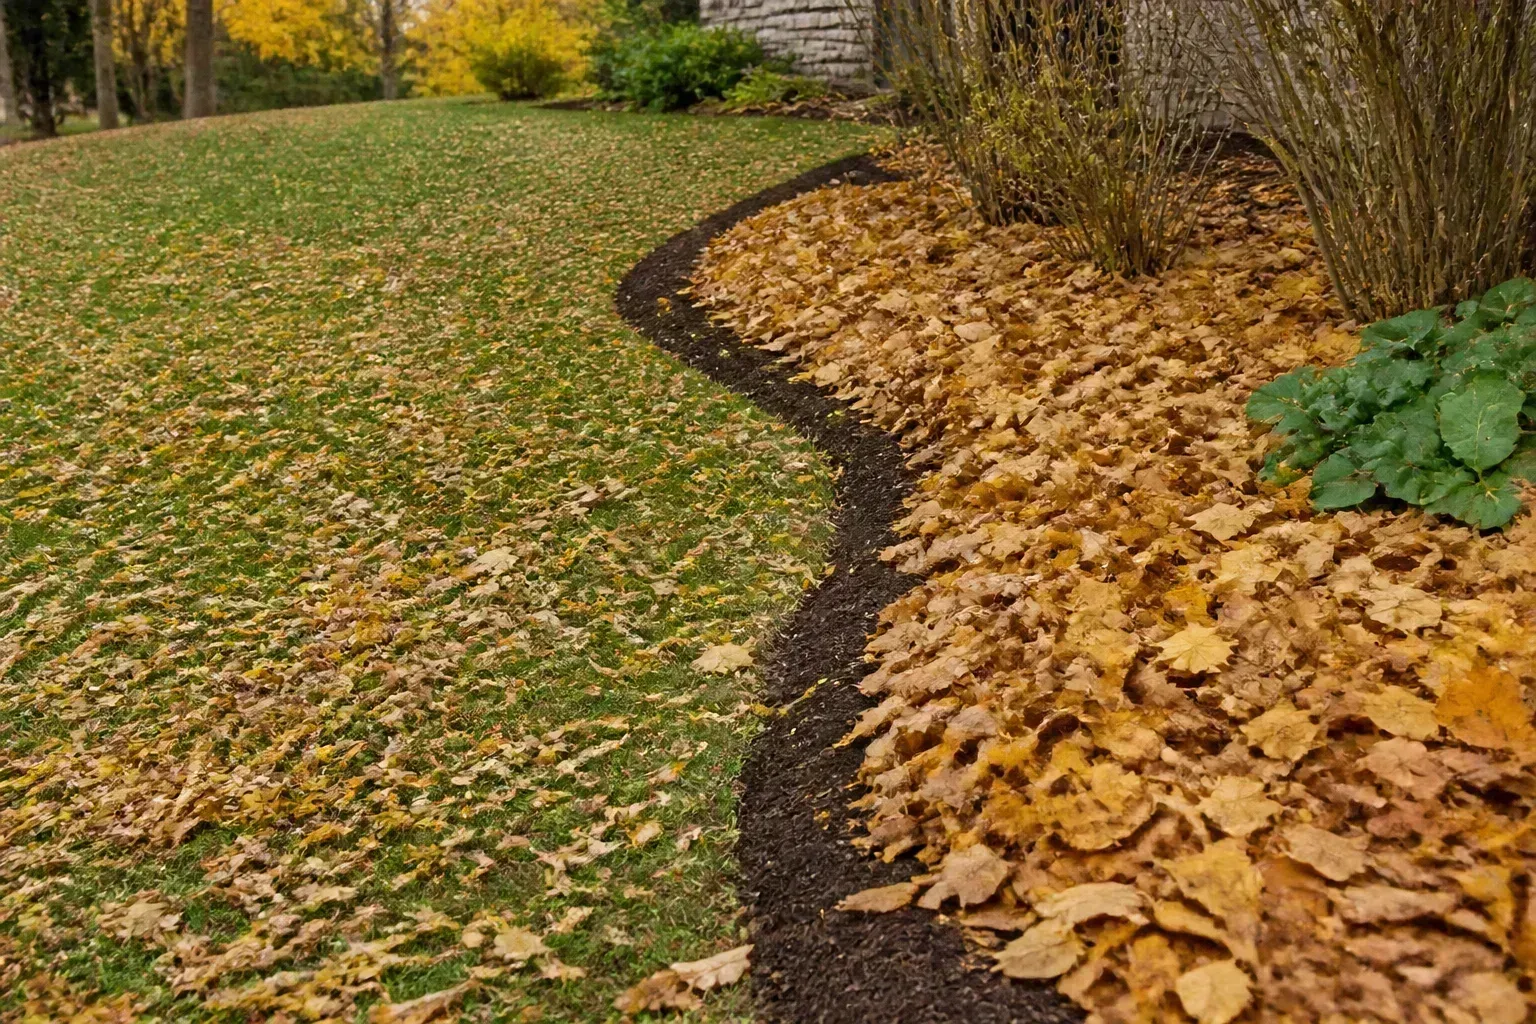
| Vegetable or perennial bed | Shredded leaves, about 2–3 inches deep | Protects bare soil and breaks down into organic matter |
| Established tree or shrub | Shredded leaves or a loose whole-leaf layer | Protects the root zone without burying the trunk |
| Lawn | Mow a thin layer into small pieces | Lets leaf particles fall between grass blades instead of forming a mat |
| Empty bed over winter | Shredded leaves or a light whole-leaf cover | Limits erosion and keeps the soil surface protected |
| Future soil conditioner | Leaf mold pile | Produces a finer, crumbly material over time |
| Hot compost pile | Shredded leaves mixed with green material | Supplies carbon-rich “browns” to balance nitrogen-rich ingredients |
| Path between beds | Thin shredded layer only where it stays stable | Reuses leaves, but avoids slippery or windblown piles |
This is why “save all your leaves” is less useful than “save leaves for the right job.” Keep one portion ready for immediate mulch, one portion in a leaf-mold corral, and one portion dry enough to add gradually to compost.
Prepare leaves before you use or store them
Preparation does not need to be elaborate. It mainly prevents the two common leaf failures: a dense mat that blocks air and water, and a contaminated pile that spreads problems where you intended to build soil.
Shred first when leaves are large or wet
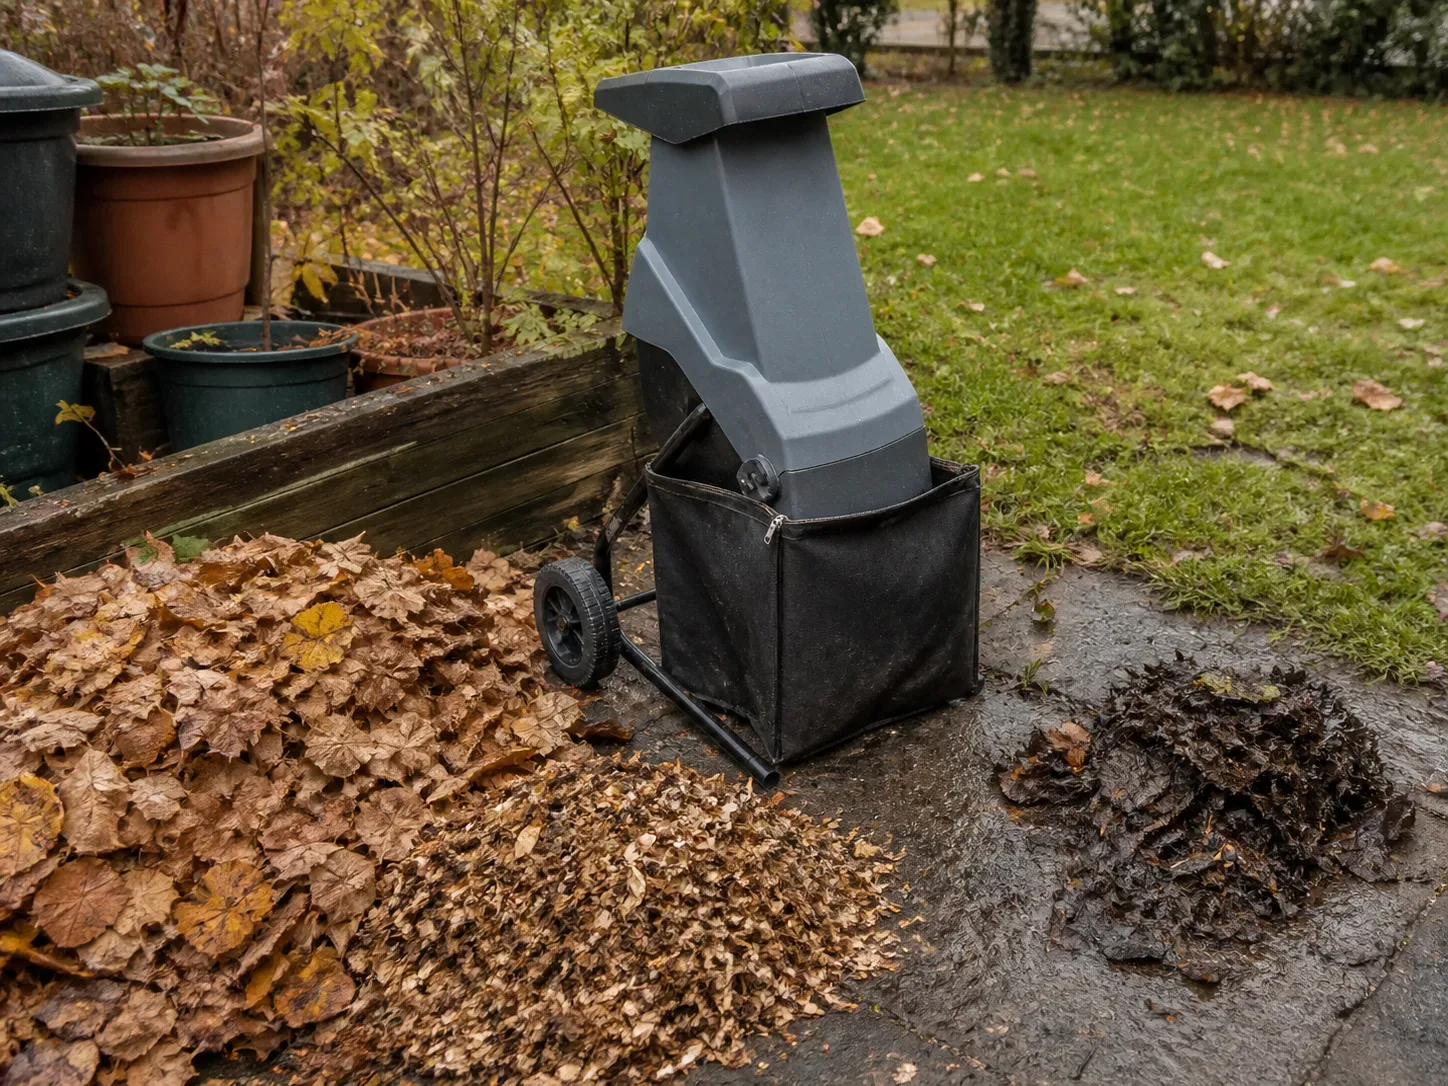
Shredding increases the exposed surface area and makes leaves less likely to knit into a waterproof blanket. Run a mulching mower over dry leaves in several passes, use a leaf vacuum with a shredding function, or use a purpose-built shredder according to its instructions. Savvy Gardening recommends protective equipment such as eye and hearing protection when using powered equipment to make leaf mulch (Savvy Gardening).
You do not need powder-fine pieces. A useful target is a mix of small flakes and a few larger pieces that still allow air spaces. If leaves are wet enough to clump, let them dry before shredding or use thinner passes. Wet, compacted material is harder on equipment and more likely to mat in the garden.
Shredded leaves are especially important on turfgrass. A thin layer of chopped leaves can fall between grass blades and break down in place; a thick layer of whole leaves blocks light and traps moisture. If you cannot see the grass through the layer after mowing, collect the excess and move it to a bed or leaf pile.
Sort out problem material
Remove sticks, plastic, stones, litter, and anything that does not belong in an organic pile. The RHS cautions that leaves collected near busy roads may be affected by pollution and that street leaves may contain litter, so leaves from your own yard or a clean, quiet site are the safer starting material (RHS leafmould guide).
Do not spread leaves from a plant showing a clear, active disease around healthy plants of the same type. Put suspicious material in the disposal stream recommended by your municipality or isolate it in a managed compost system that reaches the conditions required for that material. UGA Cooperative Extension similarly advises removing diseased spent plants from the compost stream when preparing a garden for winter (UGA Cooperative Extension).
When in doubt, make three piles: clean leaves for garden use, slow or special leaves for a separate leaf-mold pile, and questionable material for disposal or municipal composting. That small sorting step prevents one bad batch from being distributed across every bed.
Use old leaves in garden beds
For most beds, start with 2–3 inches of shredded leaves spread evenly over moist but not waterlogged soil. You can use a little more on an exposed empty bed, but check the layer after the first heavy rain and pull back any place where it has formed a solid mat.
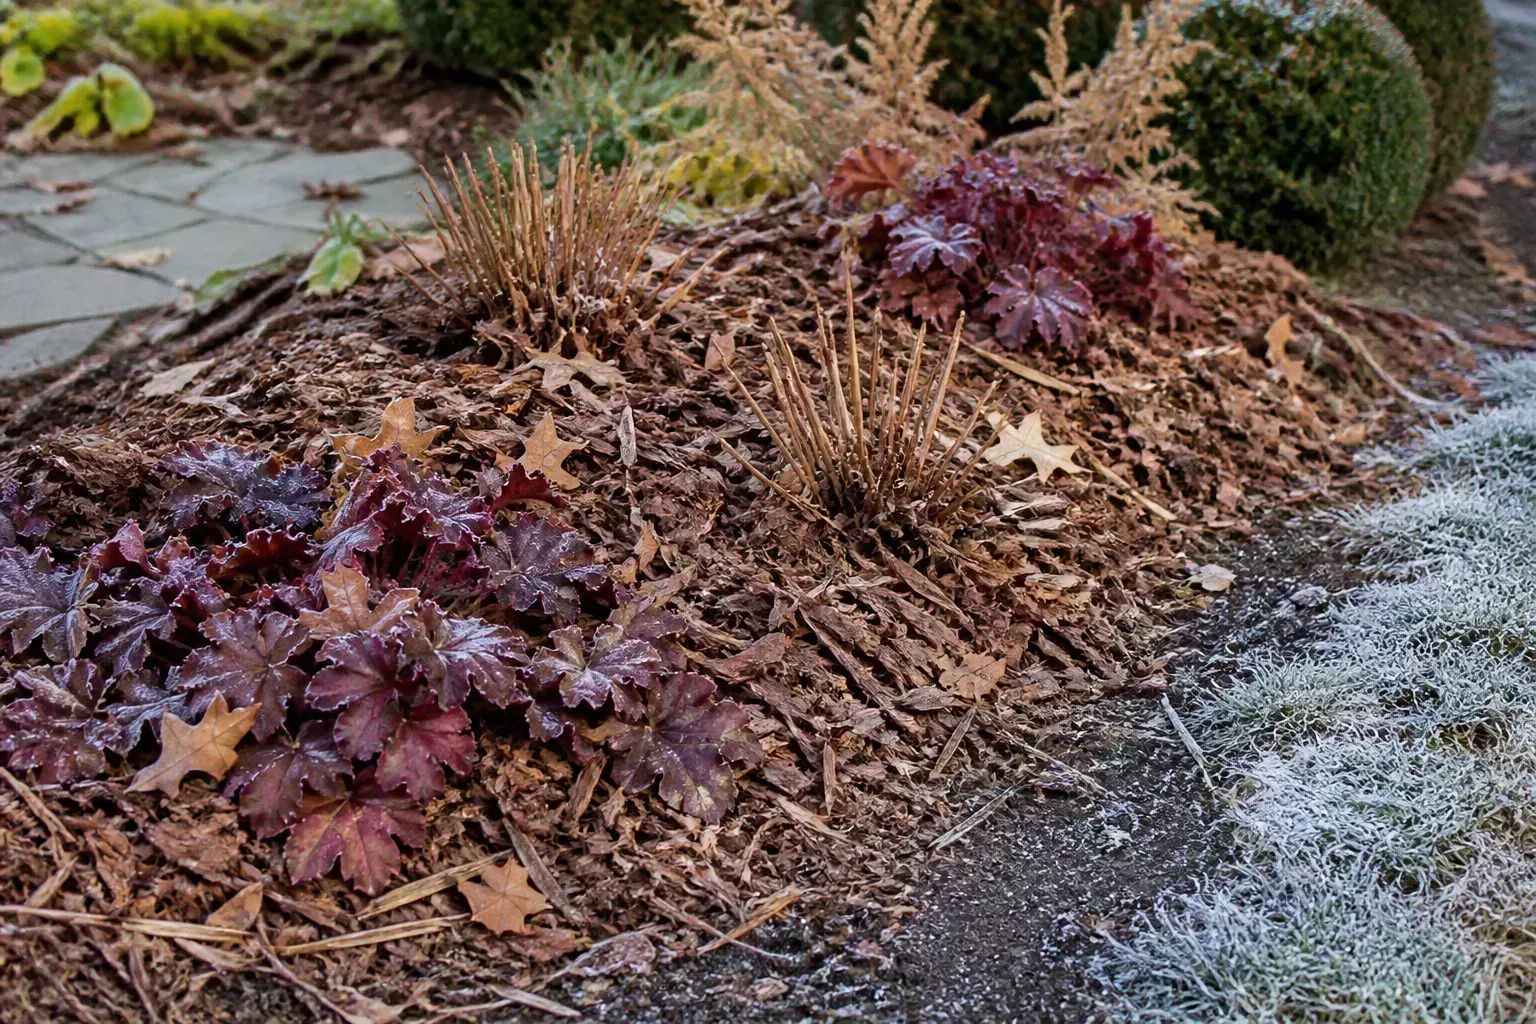
Leave a clear ring around plant crowns, basal rosettes, and woody stems. The RHS recommends applying mulch without burying the plant, and its school-garden guidance uses a layer up to 10 centimeters around a tree or shrub while keeping the stem clear (RHS mulch guidance). In a home bed, a 2–3 inch starting layer with a 2–3 inch gap around the base is easier to manage than a deep pile pressed against the plant.
Do not till a thick layer of fresh whole leaves into the soil just before planting. They can tangle, temporarily occupy space, and leave coarse material around young roots. Instead, leave them on the surface to decompose, add finished leaf mold, or mix well-shredded material into a compost pile before using the finished product.
In spring, you do not have to remove every leaf. Move any remaining coarse pieces away from seed rows, pull them back from crowns that are beginning to grow, and leave the rest as a light mulch between established plants. If a bed is slow to warm or stays wet, reduce the layer rather than assuming more organic matter is always better.
Use leaves on lawns without smothering grass
Lawns need a different approach because turfgrass must still receive light and air. Michigan EGLE reports that mulching leaves with a mower can preserve benefits while breaking up dense cover and allowing sunlight to reach the grass (Michigan EGLE).
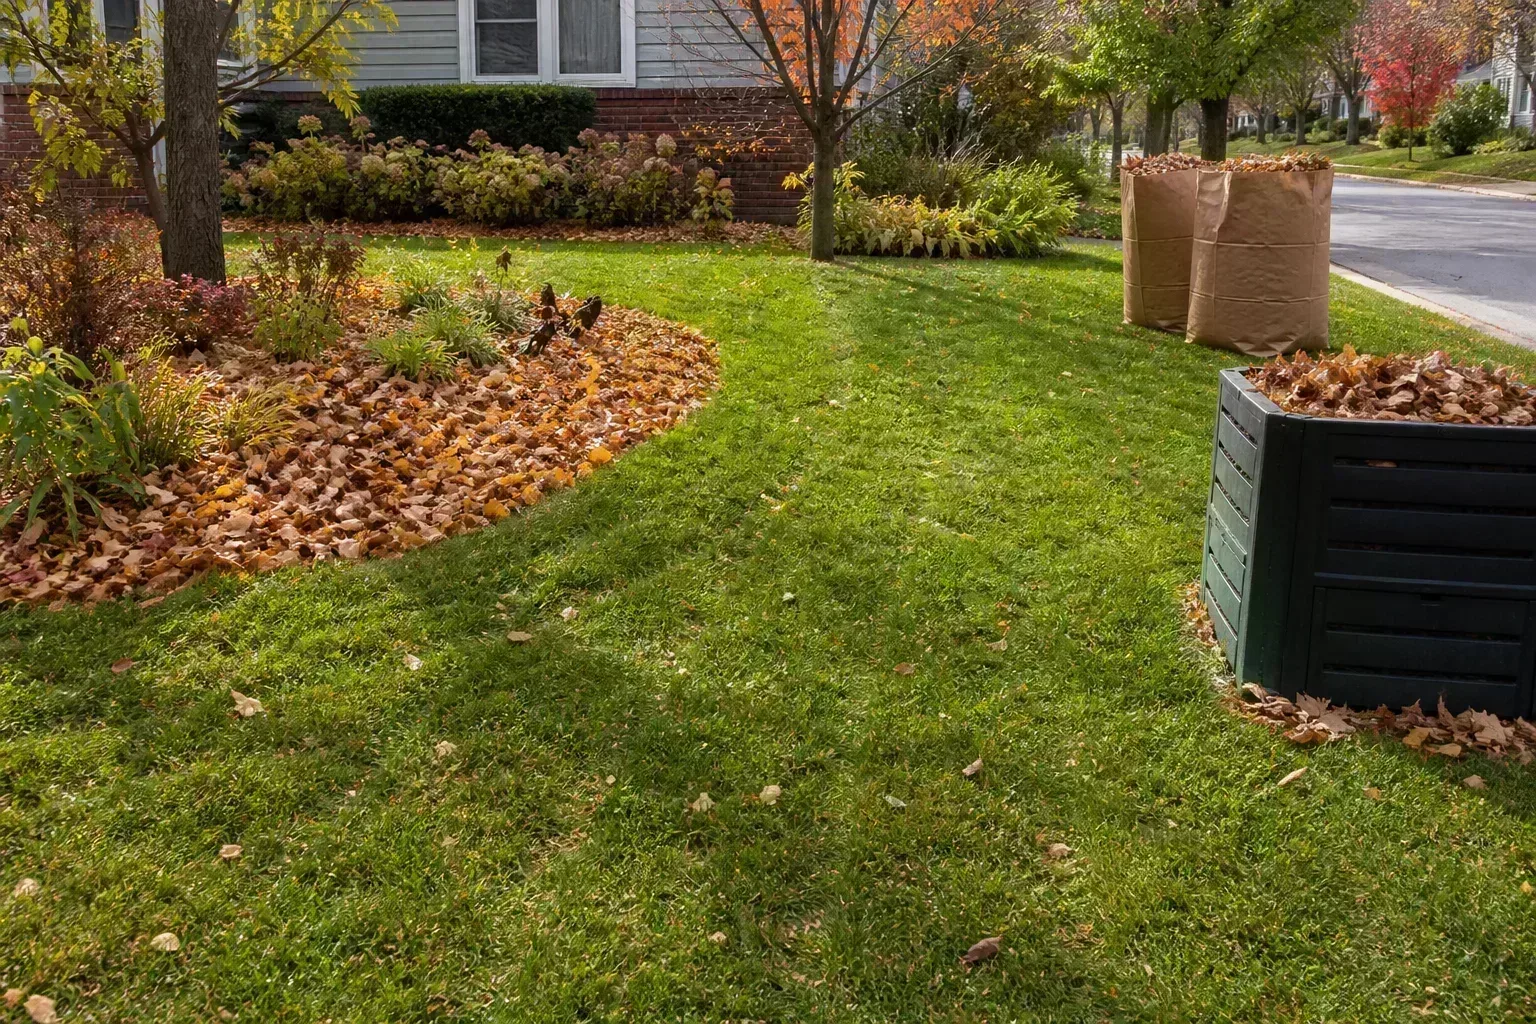
Mow when the leaves are dry enough to shred, use a sharp blade, and make several passes in different directions. Stop when the pieces are small enough to settle into the canopy without forming visible piles. If leaves still blanket the grass after mowing, bag or rake the excess and use it in beds, compost, or a leaf-mold pile.
The easiest test is visual: you should still be able to see plenty of grass between the chopped leaf pieces. If the lawn turns pale, the surface feels spongy, or leaves remain in deep windrows, remove material promptly. A lawn under heavy leaf fall may need several light mowing sessions rather than one aggressive cleanup at the end.
Make leaf mold for next season
Leaf mold is the patient option. It is made primarily from leaves and moisture, decomposes through a cool fungal process, and becomes a dark, crumbly soil conditioner rather than a high-nitrogen fertilizer. The RHS says most leaves take about two years to break down, while its senior horticultural adviser notes that shredded leaves in a cool, damp setup can produce a usable fine-textured material in roughly 6–12 months; expect the result to vary with leaf type, pile size, and climate (RHS leafmould guide; RHS fallen-leaves guide).
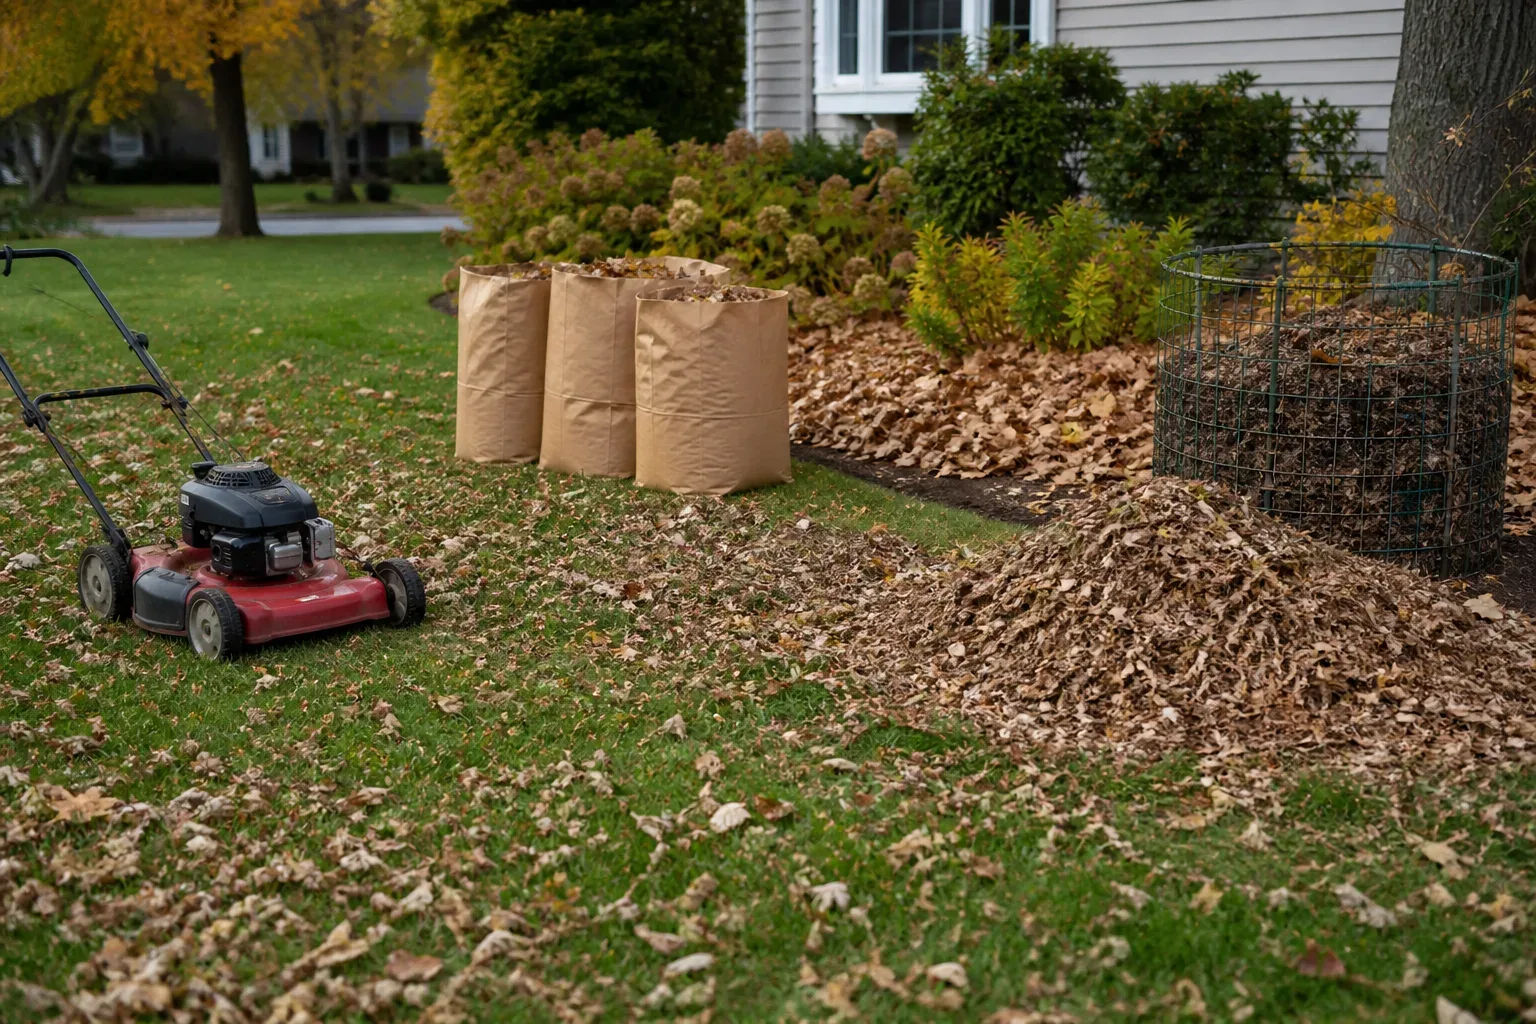
Build the pile and recognize finished leaf mold
- Shred the leaves if you can. Whole leaves still work, but they break down more slowly and can compact.
- Moisten the pile. Aim for the feel of a damp sponge, not dripping wet material.
- Contain it. A wire corral, open bin, or perforated bags keeps leaves from blowing away while allowing airflow.
- Keep it cool and shaded. Leaf mold needs moisture more than intense heat; a sheltered corner that receives some rain works well.
- Check it occasionally. Add water during a dry spell and fluff or turn the pile if the center is compacted.
- Use it when the texture matches the job. Coarse, partly decomposed material is a mulch. Dark, crumbly, soil-like leaf mold is ready for soil conditioning or blending into a growing mix.
Leaf mold is not the same as finished compost. It can improve moisture management and soil structure, but it should not be the only fertility source for heavy-feeding vegetables. Epic Gardening also recommends considering leaf size, leaf type, moisture, and time when building a leaf-mold pile, rather than expecting every species to decompose at the same speed (Epic Gardening).
Add leaves to a hot compost pile
If you need a more balanced soil amendment sooner, add leaves to a managed compost pile rather than making leaf mold alone. Fallen leaves are carbon-rich “brown” material; combine them with nitrogen-rich “green” material such as fresh grass clippings or suitable kitchen scraps, plus enough moisture and air for active decomposition.
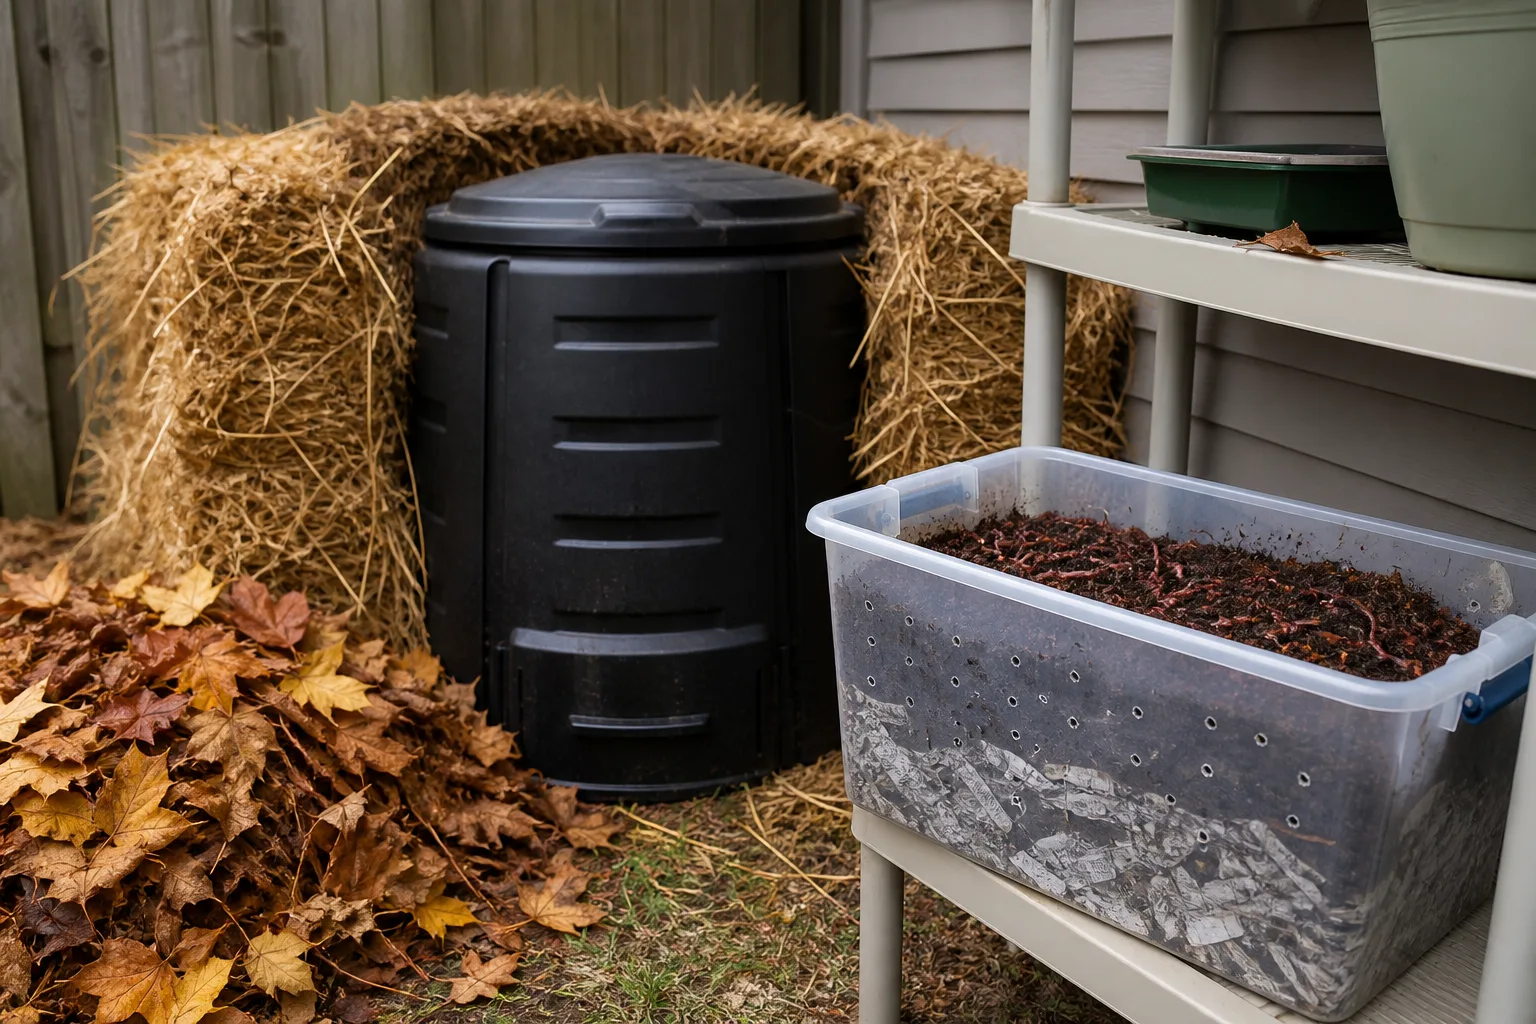
Shredded leaves are easier to mix through a compost pile and less likely to form a dry pocket. Add them in layers or handfuls as you add greens, and keep a reserve of dry leaves nearby to cover a wet or smelly pile. Epic Gardening describes fall leaves as a useful brown component and suggests mixing them into compost as green material is added (Epic Gardening).
Use finished compost when it is dark, crumbly, and no longer recognizable as the original ingredients. If the pile still contains whole leaves, return it to the pile or use the coarse material as a surface mulch; do not assume unfinished compost has the same stability as a mature amendment.
Which leaves need extra caution
Most clean leaves from healthy deciduous trees are useful. Some simply need more shredding or a longer wait, while others deserve separation from your everyday mulch.
- Oak, beech, hornbeam, birch, and maple: generally useful; tougher leaves may take longer, so shredding helps.
- Sycamore, walnut, horse chestnut, sweet chestnut, and other thick leaves: use them, but shred them or give them more time in a leaf-mold pile. The RHS identifies several of these as slower to break down (RHS leafmould guide).
- Pine needles and conifer material: they can decompose, but needles may take two or three years. A separate pile is useful, especially if you want the resulting material for acid-loving plants; hedge clippings are better handled as compost material (RHS leafmould guide).
- Black walnut leaves: do not use fresh leaves as a thick mulch around sensitive plants. Epic Gardening advises giving juglone-containing plant material extra decay time before garden use, while other garden guidance recommends composting it first (Epic Gardening). When the risk matters, isolate the leaves, let them fully decompose, and avoid using an untested batch around seedlings.
- Visibly diseased leaves or leaves mixed with litter: keep them out of clean garden mulch. Do not distribute a problem just because the material is free.
You do not need to identify every tree before using its leaves. Focus on the practical signals: clean or questionable source, thin or thick texture, shredded or whole condition, and whether the material will touch turf, seedlings, or established woody plants.
Follow a seasonal plan and store the overflow
In fall, collect leaves after the heaviest drop, while they are dry enough to move and shred. Set aside clean shredded material for immediate mulch, build the leaf-mold pile, and keep a dry reserve for the compost bin. A wire corral or perforated bag works when you do not have room for an open pile; RHS guidance recommends moistening bagged leaves and piercing the bags so they can breathe (RHS fallen-leaves guide).
In winter, leave some leaf litter in low-traffic habitat areas and keep paths, drains, building edges, and turf clear enough to stay safe and functional. Do not seal dripping-wet leaves in a warm, airtight container. If a stored pile shrinks and settles, top it up with more leaves and loosen the sides so air can move through.
In spring, inspect before spreading. Use finished leaf mold as a conditioner or light mulch, move coarse leaves away from emerging seedlings, and return unfinished material to the corral or compost pile. UF/IFAS notes that waiting until late spring to remove leaf litter can allow overwintering insects to emerge successfully, so time cleanup around habitat goals as well as the needs of the plants (UF/IFAS Gardening Solutions).
Fix common leaf-mulch and leaf-pile problems
The leaves form a slick, solid mat. Shred them, lift and fluff the layer, and spread it more thinly. Whole leaves on wet soil are the usual cause; do not solve a mat by adding even more leaves.
The pile smells sour or stays slimy. Spread it out, mix in dry shredded leaves, and improve airflow. A leaf-mold pile should be moist, not saturated. If the material came from a diseased source, do not rescue it by spreading it around healthy plants.
Wind keeps scattering the pile. Use a wire corral, perforated bags, or a loose cover that still allows air exchange. A sheltered site behind a fence or shrub is more useful than a pile placed where every gust crosses it.
The lawn disappears under the leaves. Mow or rake before the layer becomes deep and wet. Keep the finely chopped fraction on the lawn only when grass remains visible; move the rest to a bed, compost pile, or leaf-mold corral.
Slugs and snails gather under the mulch. Leaf litter creates shelter as well as soil cover. Around vulnerable seedlings, use a thinner layer, inspect underneath after wet weather, and leave a little open soil for access rather than creating a deep, continuously damp refuge.
The leaves are still recognizable in spring. That is not a failure. Use coarse pieces as mulch, shred them now, or return them to the leaf-mold pile. Leaf decomposition is a process, not a deadline, and tough leaves may need another season.
Conclusion
Old leaves help gardens grow when you match the material to the surface and give decomposition the conditions it needs. Shred leaves for lawns and tidy bed mulch, leave some whole litter where habitat matters, turn a separate damp pile into leaf mold, and mix extra leaves into compost when you need a balanced amendment. Keep layers thin enough for air and water, clear of trunks and crowns, and separate from disease, litter, and questionable roadside material.
The payoff is gradual but durable: less exposed soil, steadier moisture, fewer weeds, more winter cover, and a free stream of organic matter for future beds. Instead of treating fall leaves as a one-day cleanup problem, treat them as a seasonal resource with several useful destinations.



