When to Harvest Turnips: Size, Timing, and Storage
Find the best turnip harvest size for eating raw or cooked, how to lift roots without damage, and when to refrigerate, freeze, or leave them in ground.
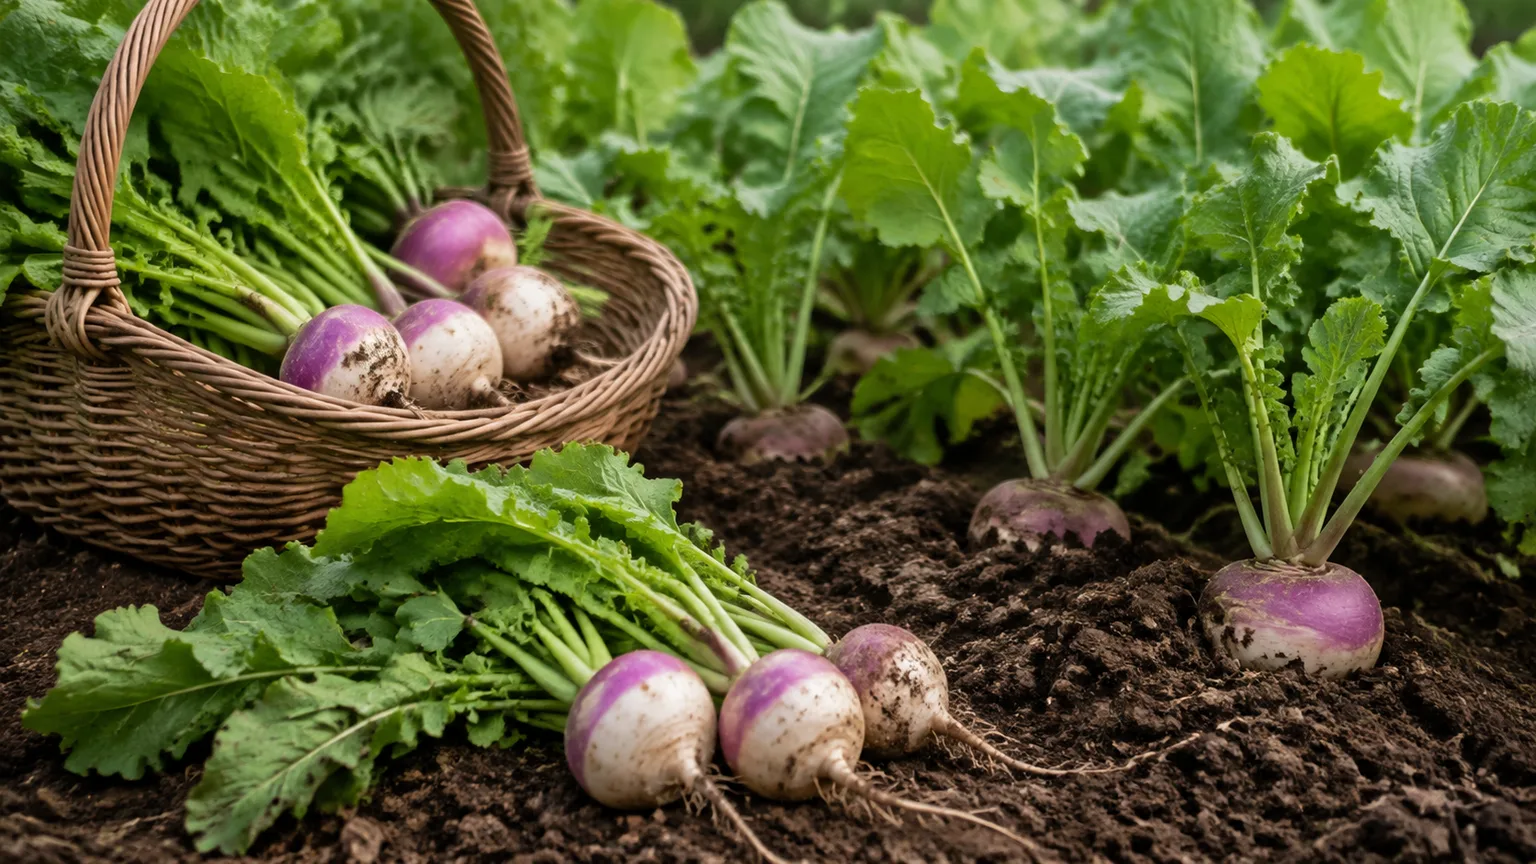
The best time to harvest turnips is usually earlier than new gardeners expect. Start checking the roots around the seed packet’s days-to-maturity date, then use the visible shoulder and the size that suits your meal as the final decision. For most varieties, roots around 2 to 3 inches across are a dependable tender eating size; baby turnips can be pulled closer to 1 to 2 inches, while oversized roots are more likely to become fibrous.
The crop is not one harvest, either. You can pick young leaves while the root develops, pull a few roots at a time for fresh meals, or lift the whole row before severe weather. The key is to match the harvest method to the weather and your intended use, rather than waiting for every plant to reach the same “perfect” size.
Quick answer: harvest turnips by size, not the calendar alone
Turnips commonly mature in about 30 to 60 days from sowing, although some cultivars fall outside that range. Early types may be ready in four to five weeks, while larger maincrop varieties can need eight to ten weeks. The RHS turnip growing guide gives roughly six weeks for early roots and about ten weeks for maincrops, depending on growing conditions; Gardening Know How reports a broader 28- to 75-day range.
Use those numbers as a check-in date, not an instruction to pull every plant on one morning. Count from the date you sowed, read the expected mature size on the seed packet, and inspect the shoulders as they begin to rise above the soil. A hot, dry spell can slow or stress the crop, while cool, evenly moist weather can bring it along quickly.
If you do not know the variety, pull one test turnip. A firm, smooth root with crisp flesh and a mild smell is usually a better guide than a guessed calendar date. If the test root is still tiny but healthy, give the row another week and check again; if it is already the size you want, harvest selectively rather than waiting for larger roots.
Choose harvest size by how you will use the roots
Turnips are unusually flexible because the best size depends on the plate. Small salad turnips such as Hakurei and Tokyo Cross are prized for crisp, mild flesh and are often best at about 1 to 2 inches in diameter. A standard purple-topped turnip can be delicious at 2 to 3 inches, while a larger root may make sense for peeling, roasting, mashing, or soup—provided it has not turned stringy.
| Intended use | Good starting size | What to expect |
|---|---|---|
| Raw slices, slaw, or salads | 1–2 inches | Mild, crisp, thin-skinned, and usually less pungent |
| General fresh eating | 2–3 inches | A useful balance of tenderness, flavor, and yield |
| Roasting, soup, or mash | 2–4 inches, cultivar-dependent | More substantial pieces; peel if the skin is thick |
| Long-term storage | Firm roots at the packet’s mature size | Choose undamaged roots; do not leave them oversized just to gain weight |
The size ranges are guides, not rules. Some “baby” varieties stay tender at a larger diameter, and some quick growers lose quality soon after reaching their listed size. Epic Gardening recommends roughly 2 to 3 inches for tender roots and warns that large roots can become dense, fibrous, or woody. When in doubt, sacrifice one root to learn what your particular planting is doing.
Harvest turnip greens without sacrificing root growth
You can harvest turnip leaves while the roots are still developing. Young greens are ready when they are roughly 4 to 6 inches tall and still soft. Pick a few outer leaves at a time, leaving the central growing leaves in place. This gives you greens for a meal while keeping enough leaf area to photosynthesize and continue filling the root.
If the row is planted specifically for greens, cut a bunch about 1 to 2 inches above the crown with a clean knife or snips. Cool conditions may allow another flush, but repeated cutting naturally reduces the energy available to a root below ground. For a root crop, do not strip every leaf from every plant; that is one of the easiest ways to delay or shrink the bulb.
There is a useful compromise for a small garden: harvest outer leaves from plants you plan to leave, then pull the thinnings and crowded plants whole. The tiny roots and leaves from thinning are edible, and the remaining plants get more space to size up. The RHS notes that leaves can be harvested repeatedly, but taking too many reduces root growth.
Let spring heat and fall frost set the final harvest date
Season changes matter because turnips are cool-season vegetables. A spring planting should be harvested before early summer heat turns the leaves coarse and the roots sharp or woody. If the plants stall during a hot spell, do not assume that more fertilizer will solve it; wait for cooler conditions if the roots are otherwise healthy, keep moisture even, and check for bolting.
Fall turnips often have a wider flavor window. A light frost may make roots taste sweeter, but frost is not a license to leave them outside indefinitely. The roots are not completely hardy. The RHS recommends lifting late-sown turnips before harsh frost, or protecting them in mild regions with cloches or fleece and lifting them through winter.
Use this weather rule:
- Cool, dry, and roots at eating size: harvest what you need now.
- One or two light frosts forecast: you can wait briefly for a fall crop if the soil drains well and the roots are still tender.
- Hard freeze, repeated freeze-thaw, or frozen soil forecast: lift the crop you want to save before the ground locks up.
- Mild winter and protected bed: leave only sound, correctly sized roots in the ground and plan to finish before spring growth resumes.
Gardening Etc describes a roughly 6-inch straw or bracken layer as protection for in-ground storage, while RHS root-vegetable storage guidance also cautions that wet soil and hard frost increase the risk. In a cold or wet garden, lifting into controlled storage is safer than trying to force an outdoor winter harvest.
Read the turnip before you pull it
The upper shoulder is the most useful visual clue. Brush loose soil away from one plant, or pull back the leaves without disturbing the root. Measure the widest part of the exposed crown rather than guessing from the leaves; some vigorous tops sit over surprisingly small roots, and a crowded row can hide larger shoulders.
Look for a root that is firm, smoothly shaped, and free of soft spots. A little soil staining is normal. Cracks, deep insect tunnels, mushiness, or a sour smell are reasons to harvest that individual root for immediate use or discard it—not reasons to wait for the whole row.
Leaf appearance is supporting evidence, not a maturity test by itself. Healthy tops should be upright enough to show active growth, but older lower leaves may yellow naturally. If the plant has bolted and is sending up a flower stalk, pull and use the root promptly; it is unlikely to improve by waiting.
Harvest turnips cleanly and without bruising
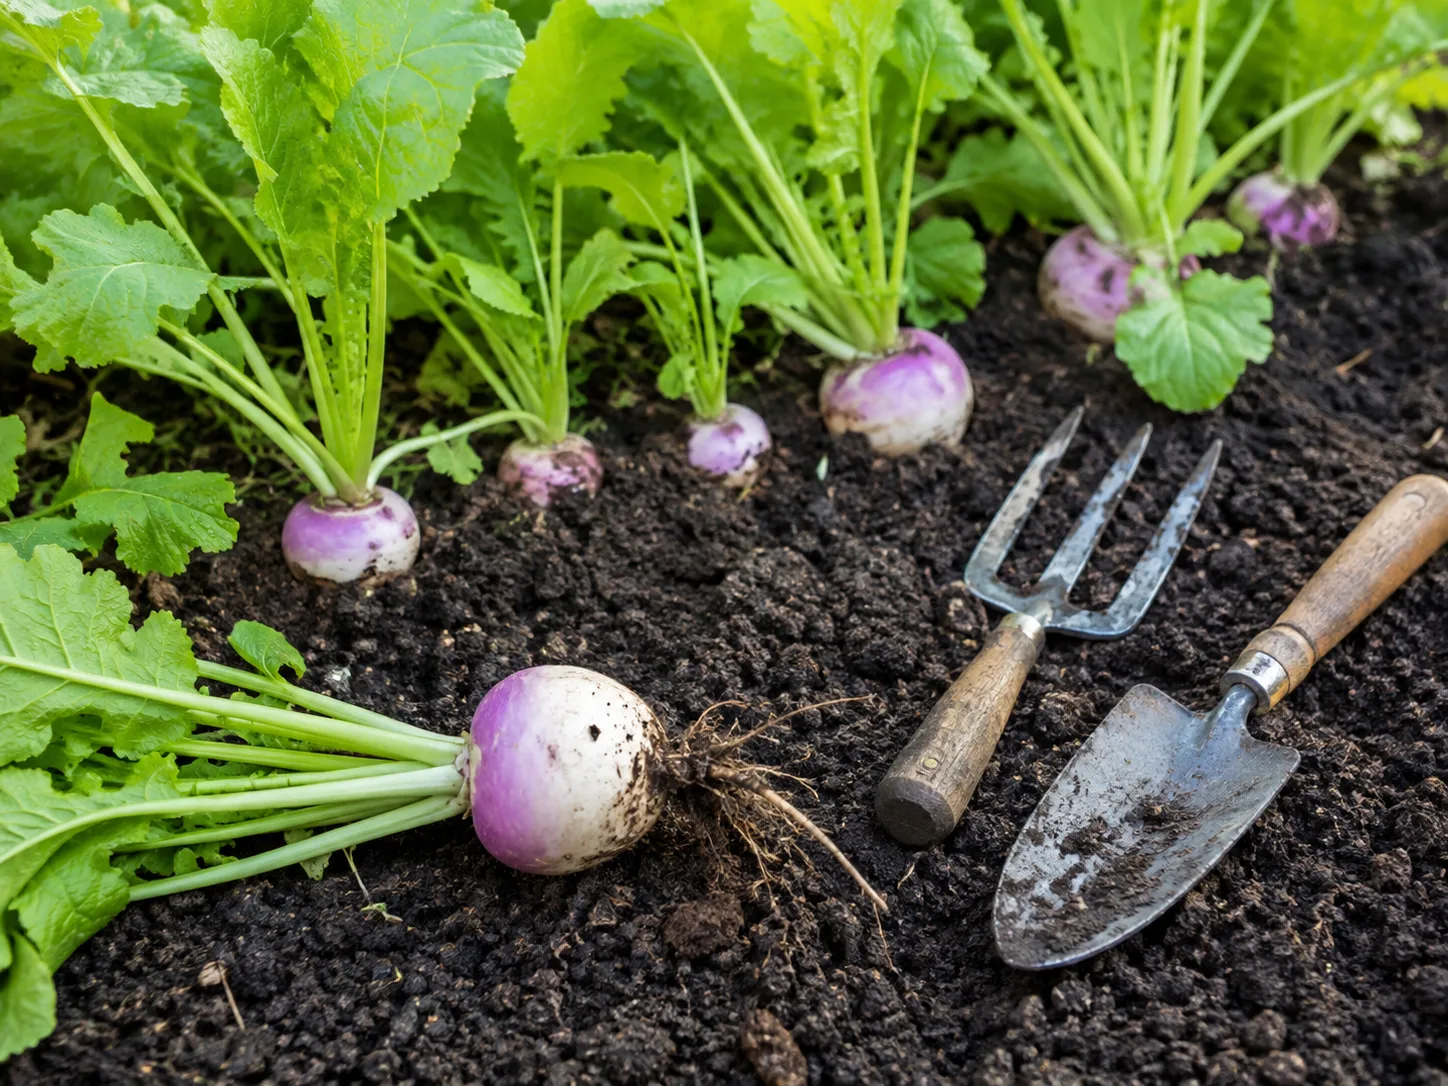
Choose a cool, relatively dry day. Damp soil can be workable, but muddy roots are harder to inspect and more difficult to dry before storage. If the ground is hard, water lightly the day before—not immediately before pulling—so the soil loosens without becoming saturated.
For a small crop, harvest in this order:
- Pull back leaves and check the shoulder of the root you want.
- Loosen soil beside the root with a hand fork or trowel, staying far enough away that you do not cut into the swollen crown.
- Grip the leaf stems close to the crown and lift steadily. Do not yank a leaf blade; it can tear while the root remains anchored.
- Shake or brush off loose soil. Do not scrub a root destined for storage.
- Twist or cut the greens away from the crown, keeping the leaves for separate use.
- Set damaged or cracked roots aside for the next meal and the firm, intact roots aside for storage.
Gloves are sensible because turnip leaves can feel scratchy or irritating, especially when you harvest a large row. A fork is safer than repeated hard pulling in compacted soil, and a clean cut at the crown helps keep the harvest orderly. The goal is to lift an intact root with minimal bruising; every puncture becomes a potential entry point for rot.
Leave turnips in the ground or lift them now?
Leaving turnips in the ground is convenient when you want a few at a time and the bed is well drained. It also avoids filling the refrigerator with roots you are not ready to eat. In a mild climate, mulch can insulate the soil and make winter lifting easier.
Lift them now when the bed stays wet, a hard freeze is approaching, rodents are active, the roots are already at your preferred size, or the soil will soon be needed for another crop. An in-ground root can keep growing past its best eating stage, and repeated freezing and thawing can crack the flesh. Even in a favorable winter, plan to finish the row before spring growth begins; plants that resume their second-year cycle tend to produce tougher roots.
This is a management choice, not a contest. Leave a few sound roots under protection as a live pantry experiment and lift the rest if you are uncertain. That small split harvest tells you more about your soil and local weather than a blanket rule about every turnip.
Triage the crop immediately after harvest
The first hour after pulling has more effect on storage than a perfect harvest date. Separate roots by condition and decide which ones are for tonight, this week, or later. Never put a bruised, split, or soft root in the same container as sound roots.
Keep greens and roots separate
Leaves continue losing water after harvest. If they stay attached, they draw moisture from the root and wilt sooner. Cut the tops close to the crown, but keep the long, thin taproot intact unless you are preparing the turnip for cooking. The tops are edible; they simply need their own short storage plan.
Put roots and greens into separate containers as soon as practical. If you want bunches with leaves attached for a farmers’ market or a same-day meal, keep them cool and use them quickly rather than treating them like long-term storage roots.
Clean, sort, and dry without overhandling
Brush off loose soil and inspect every root. Home gardeners can store firm roots unwashed, especially if the soil is dry and loose. If you wash them, drain and dry them thoroughly before bagging; trapped water and a sealed container encourage decay. This is where commercial advice and home practice differ: Utah State University Extension describes washing, cooling, and packing roots for controlled storage, while a home refrigerator needs careful drying and airflow.
Do not “cure” turnips like onions or sweet potatoes. They need cooling and moisture management, not a long warm drying period. A short spell in shade or a cool, airy room is enough to remove surface dampness. Keep roots out of direct sun while you finish sorting.
Store turnip roots in the refrigerator or a cold room
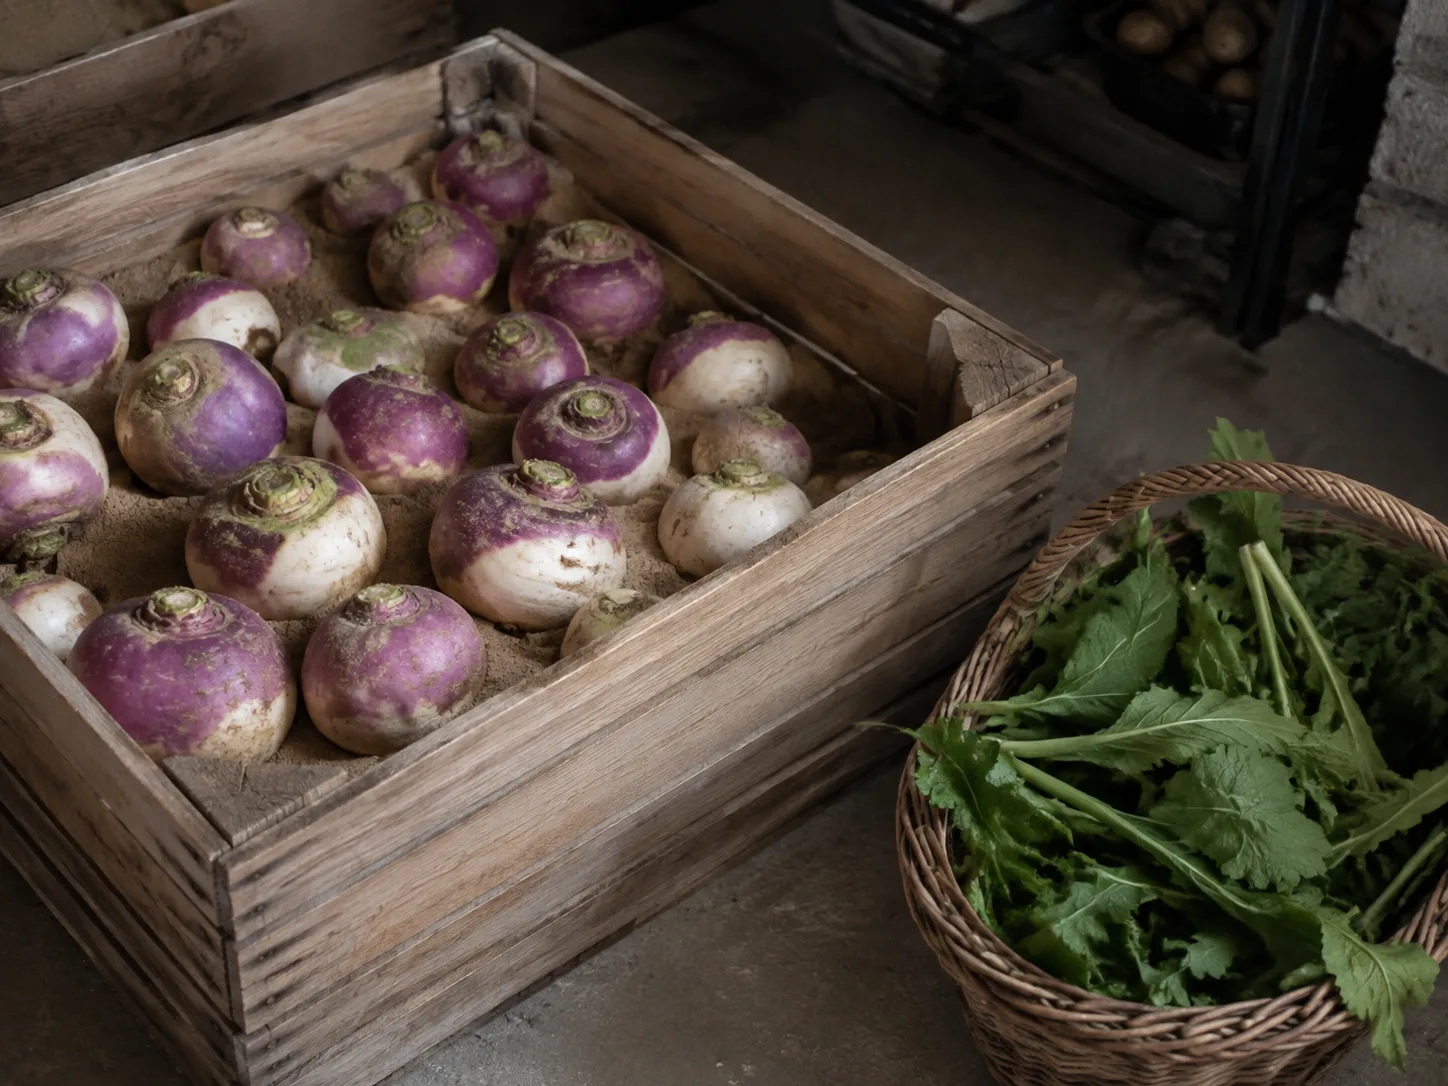
For an ordinary home harvest, the refrigerator is the simplest choice. Put dry roots in a perforated produce bag or a container that allows some air exchange, then place them in the crisper. A lightly damp cloth can help prevent shriveling, but it should be damp—not wet—and should not press against a damaged root.
Use small salad turnips first because their tender skins and crisp texture are best fresh. Sound topped roots can last for weeks in a good crisper; a large, carefully managed crop can last for months in near-freezing, humid storage. Do not promise yourself a fixed shelf life: refrigerator temperature, humidity, cultivar, and root condition all matter.
For a root cellar, unheated basement, or other cold room, layer intact roots in moist, not wet, sand or coir, keeping them from touching. The RHS storage guide recommends a dark, frost-free setup and notes that roots losing moisture benefit from a slightly damp packing medium. Check the box regularly and remove any soft or moldy root immediately.
Utah State University Extension gives a commercial storage target of about 32–35°F with 95–100% relative humidity for turnips and rutabagas, with storage potential measured in months under controlled conditions. A household garage can swing far above and below that range, so use a thermometer and do not treat a garage as a root cellar until you have measured it through a cold night and a warm afternoon.
Store turnip greens and freeze the surplus
Turnip greens are at their best shortly after picking. Remove damaged leaves, wrap sound unwashed greens in a damp paper towel, and place them in a perforated bag or vented container in the crisper. Aim to cook them within a few days; older leaves become tougher and more assertive. Wash just before use unless you can dry them completely after washing.
Freezing is useful when the crop produces more greens than the refrigerator can handle. Strip away thick or woody stems, wash the leaves, and blanch them in boiling water for about 2 minutes, then cool them rapidly in ice water. Drain very well, portion into freezer bags or containers, and label the date. Excess water becomes ice and degrades texture, so a salad spinner or a clean towel helps.
For turnip roots, peel thick-skinned roots if needed, cut them into uniform cubes, and blanch for about 2 minutes before cooling, draining, and freezing. The National Center for Home Food Preservation lists 2 minutes for turnip or parsnip cubes. Frozen turnips are best destined for soup, mash, or cooked dishes; they will not have the same crisp bite as a fresh baby root.
Why turnips become woody, bitter, or cracked
Quality problems usually point to timing or growing stress rather than a mysterious harvest disease. The same row can contain sweet, tender roots and coarse ones because the plants germinated on different days, competed for space, or experienced different moisture around their roots.
Oversize roots and warm weather
The longer a turnip stays in warm conditions after reaching eating size, the more likely the flesh is to become dense, fibrous, pungent, or woody. The RHS advises harvesting small and warns that roots larger than a tennis ball can become woody and bitter. Hot weather can also make leaves and roots less pleasant even when the roots look healthy.
The fix is selective harvesting. Pull the largest roots first, keep the small ones growing, and harvest spring plantings before the season turns hot. If the crop is meant for storage, choose a sound mature root—not the biggest root in the row.
Uneven moisture and rapid growth
Dry soil can produce small, tough roots and may encourage bolting. Heavy rain or a sudden return to abundant water after drought can make fast-growing roots split. Splits are not automatically poisonous, but they shorten storage life because the exposed tissue dries and decays more easily.
Keep moisture even during root swelling, improve drainage if water sits around the crowns, and harvest cracked roots for prompt cooking. The RHS specifically links dry conditions with small, woody roots and splitting. Avoid a late nitrogen push in hopes of enlarging a root that is already near harvest; lush tops do not guarantee better bulbs.
What to do with turnips you harvested too late
Do not throw out every large turnip. First cut a cross-section. If the flesh is firm and only the outer skin is tough, peel it and cook it in a stew, soup, roast, or mash. A woody core can sometimes be trimmed away, leaving usable outer portions.
If the root is hollow, very stringy, badly cracked, soft, or foul-smelling, it has passed the useful kitchen stage. Compost sound scraps, discard diseased tissue, and do not store a questionable root with the good ones. A large but firm turnip is a “use soon” root, not a long-term-storage champion.
Overgrown greens can still be cooked if they are clean and not yellowed, but they may need longer cooking and removal of thick stems. The next planting should be checked earlier: start with the packet date, pull a test root, and harvest in batches so one missed weekend does not cost the entire crop.
A simple turnip harvest schedule you can actually use
Write the sowing date on the row label. At roughly four weeks, begin checking fast varieties and harvesting a few leaves. At the packet’s stated maturity window, brush soil from one shoulder every few days and pull a test root when it reaches the size you want.
For an early spring crop, harvest before sustained heat. For a fall crop, enjoy a light frost if the roots are still small and the bed is safe, then lift before hard frost or repeated freeze-thaw. On harvest day, separate greens, brush roots, dry surface moisture, and route each root to the fridge, cold storage, freezer, or immediate cooking.
That rhythm turns a vague question—“Are my turnips ready?”—into four simple checks: days since sowing, shoulder size, root condition, and the next week’s weather. It also spreads the harvest across the stage when each root tastes best instead of waiting for the largest possible bulb.
Conclusion: pull at the size your kitchen can use
Harvest turnips when the roots are firm and at the size that matches your meal, usually 1 to 2 inches for baby roots and about 2 to 3 inches for tender general eating. Use the seed packet as a starting point, but let the shoulder, texture, heat, and frost forecast make the final call.
Pick greens lightly if you want the roots to keep swelling, loosen soil before lifting, and remove tops before storing roots. Leave a few sound roots in a protected bed only when your soil and winter weather cooperate. The pro move is not growing the biggest turnip—it is pulling each root before quality slips, then handling it quickly enough that the harvest still tastes like the garden.



