How to Prune Oleander Safely: Timing & Cuts
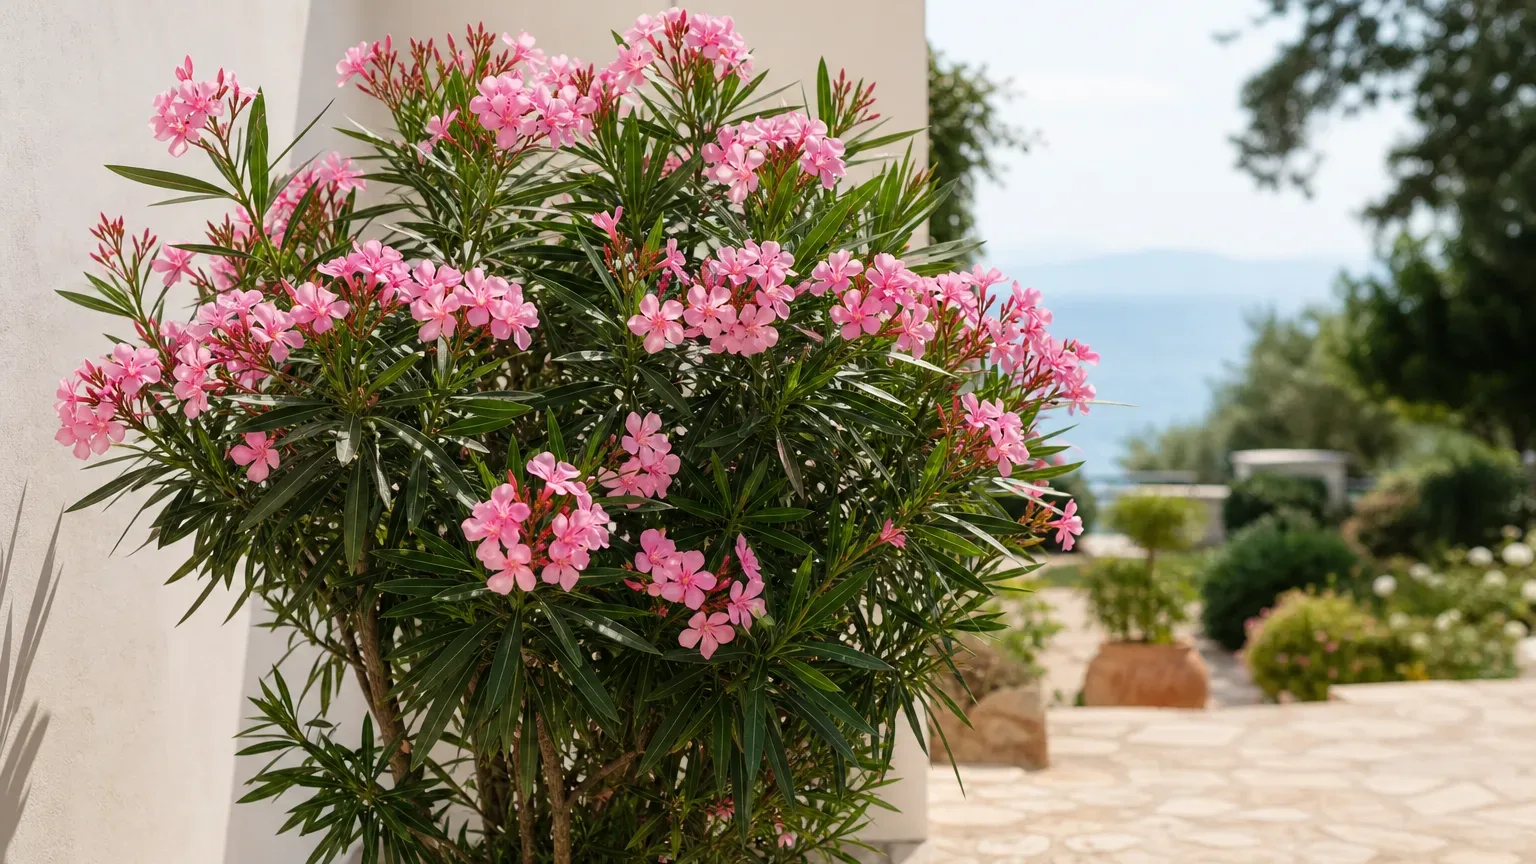
How to Prune Oleander Safely: Timing, Cuts, and Toxic Sap
How to Prune Oleander Safely: Timing, Cuts, and Toxic Sap
Quick answer: make one safety-led cut first
First, put on intact waterproof gloves, long sleeves, closed shoes, and eye protection, then remove one dead, broken, or clearly diseased stem with a clean, sharp tool. Cut it back to healthy wood or to its point of origin without touching sap, cut surfaces, or clippings with bare skin. Only after that first cut should you decide whether the shrub needs shaping, thinning, or size reduction.
Oleander (Nerium oleander) is not a casual bare-handed pruning plant. NC State Extension classifies it as having high-severity poison characteristics and lists bark, flowers, fruit, leaves, roots, sap, seeds, and stems as poisonous, whether fresh or dry. Keep children, pets, and livestock completely out of the work area before the first cut and until every clipping has been collected.
When to prune oleander
For routine shaping, prune soon after a main flowering flush while the plant still has warm growing weather in which to respond. Oleander flowers on new growth, and NC State advises light pruning after flowering while warning against pruning after early fall because that can remove growth carrying the next flower buds. In much of India, use the plant rather than a rigid calendar: wait for a strong flush to finish, then make modest cuts before cooler or slower-growth weather.
There are two important exceptions:
- Frost damage: wait until winter has passed and new growth reveals which stems are alive before removing killed wood.
- A large container plant under protection: restrictive pruning can be done in late winter before vigorous growth; the RHS places the species in pruning group 9 and notes that it tolerates hard pruning.
Do not combine a major cutback with heat stress, drought, waterlogged roots, a recent repot, or a severe pest outbreak. Check the oleander watering guide and restore stable moisture first unless a branch is broken, dead, or diseased and must be removed promptly.
Decide what the shrub actually needs
Stand back and trace the cane framework before cutting. Oleander naturally grows as a broad, rounded, multi-stemmed evergreen shrub, not a tight ball. Its flowers sit in terminal clusters, so indiscriminate shearing removes many potential flowering tips at once and creates a dense outer shell of shoots.
Choose one primary goal:
- Sanitation: remove dead, broken, rubbing, or diseased wood.
- Thinning: remove selected crowded canes at their origin to open the framework.
- Shaping: shorten a few long shoots to a leaf whorl or side branch.
- Size control: reduce selected tall canes rather than topping the whole shrub.
- Renovation: remove old canes in stages when an established plant is badly overgrown.
If growth is stretched toward one side, pruning alone will not correct the cause. Review oleander light requirements before shortening leggy stems; without strong light, replacement shoots may be equally weak and sparse.
Strict PPE and work-area precautions
Treat every cut surface and every piece of waste as poisonous. The RHS warns that oleander is toxic if eaten, requires protective equipment when handled, and produces harmful smoke when burned. Use the following controls for the entire job:
- Wear intact nitrile or other waterproof gloves, long sleeves, long trousers, closed shoes, and protective eyewear. Replace torn or sap-contaminated gloves.
- Cover cuts or broken skin before starting. Keep hands away from the face, eyes, mouth, food, drinks, phones, and children’s or pets’ belongings.
- Put a washable sheet or disposable tarp beneath a container plant so small leaves and stem pieces do not disappear into gravel or soil.
- Do not work where pets, children, livestock, or free-roaming animals can enter. Dried material remains poisonous.
- Stop if sap reaches skin or eyes. Rinse exposed skin with plenty of soap and water; for eye exposure or suspected ingestion, contact the appropriate local poison service or medical professional promptly. Do not wait for symptoms after ingestion.
Oleander contains cardiac glycosides. The ASPCA lists it as toxic to dogs, cats, and horses, with potentially fatal effects. This pruning guide cannot make an insecure location safe; if plant access cannot be reliably controlled, removal by a properly equipped professional is safer than routine home pruning.
Tools and cleaning
Use bypass secateurs for young shoots, loppers for canes too thick for secateurs, and a sharp pruning saw for larger old wood. Never force a small tool through a thick cane: crushed bark and a slipping blade increase both plant damage and sap exposure. Keep a dedicated waste bag open nearby so cut pieces go directly into containment.
Clean visible sap and plant debris from blades with detergent and water after the job. Then disinfect pruning blades according to an extension-supported method; Iowa State Extension recommends 70% ethanol or isopropyl alcohol for pruning shears. Follow the disinfectant label, allow the required contact time, dry the tool, and oil metal joints if needed. Clean handles and any surface touched by contaminated gloves, and wash reusable eye protection and clothing separately before their next use.
If you cut suspected diseased tissue, clean and disinfect the blade before moving to a healthy cane. Do not carry sap-contaminated tools into kitchens, food-preparation areas, or children’s play spaces.
How to prune oleander step by step
1. Remove dead, damaged, or diseased wood
Scratch a tiny patch of bark only if stem condition is uncertain: living tissue is green beneath the surface, while dead wood is dry and brown through the cross-section. Follow dead or broken growth downward and cut at the branch collar or at the base of the cane. When removing a diseased section, cut into apparently healthy wood and isolate that clipping immediately.
Do not strip off merely yellow leaves and call the problem solved. Widespread yellowing may reflect watering or root trouble; use the oleander overview to assess the whole plant before removing live structure.
2. Thin crowded canes
Remove one poorly placed cane at its origin rather than shortening every tip. Prioritize inward-growing, crossing, rubbing, or ground-trailing stems. A thinning cut preserves the natural outline and avoids the broom-like regrowth that follows repeated topping.
For routine work, remove no more than about one-third of the older wood or live canopy in one session. The RHS evergreen-shrub guidance recommends removing about one-third of older wood and thinning crowded or badly positioned shoots. Stop earlier if the remaining framework looks sparse or the plant was stressed before pruning.
3. Shorten selected shoots for shape
On a long healthy shoot, locate a strong outward-facing side branch or a whorl of leaves. Make a clean cut just above it without leaving a long dead stub and without slicing into the node. Oleander can branch below a heading cut, so select the cut position by imagining where several replacement shoots could fill the outline.
Do not cut all stems to one horizontal plane. Keep some flowering tips and stagger cut heights through the canopy. This is especially important for container oleanders, where one hard shear can leave a bare framework and remove most of the immediate flower display.
4. Renovate an overgrown oleander cautiously
An established oleander can tolerate hard pruning, but tolerance is not a reason to remove everything at once. A safer home-garden renovation is to remove one-third of the oldest, tallest, or most awkward canes near ground level, then allow vigorous replacement growth before choosing the next group in a later growing season.
Professional help is appropriate when canes require a chainsaw, branches overhang roads or power lines, the shrub is too large to contain the toxic debris, or the work area cannot be secured. Do not climb into the canopy or stand beneath unsupported limbs.
What not to cut
Preserve healthy terminal flowering shoots when the goal is only cleanup. Do not remove late-season growth after early fall, cut into the root crown without a renovation plan, or leave split and ragged cane ends. Avoid cutting during frost, extreme heat, severe drought, or immediately after moving or repotting the plant.
Pruning can improve structure, reduce size, remove damaged tissue, and encourage branching below selected cuts. It cannot correct inadequate sun, chronically wet soil, root disease, or poisoning risk. Use the oleander soil guide if decline continues after obvious dead wood is removed.
Dispose of every clipping safely
Count and collect all branches, leaves, flowers, seed pods, and sawdust-like fragments while still wearing PPE. Place them directly into strong, puncture-resistant bags; double-bag sharp canes, close the bags securely, label them as poisonous oleander waste where practical, and use the disposal route specified by your local municipal waste authority. Keep secured bags inaccessible to people and animals until collection.
Do not leave cuttings in a brush pile, use them as plant stakes or cooking skewers, feed them to animals, chip them where dust can spread, or place them in compost that people or animals may access. Never burn oleander. NC State specifically warns that oleander smoke is injurious, and neither a bonfire nor a household stove makes this waste safe.
Stem cuttings can root, but propagation adds handling and storage risk. Only attempt it in a controlled, inaccessible work area after reading the oleander propagation guide; otherwise, contain and discard every cutting.
Aftercare and recovery
Water according to root-zone dryness rather than automatically soaking the plant because it was pruned. Keep the root ball evenly managed, avoid both drought and standing water, and maintain the strong light oleander needs for compact replacement growth. Do not repot on pruning day unless the container is unsafe or root failure demands intervention.
Skip an immediate heavy fertilizer dose. Once the plant is actively extending healthy shoots, resume the normal schedule in the oleander fertilizer guide. A warm, well-rooted plant may show swelling buds or new shoots within several weeks, while a hard-pruned, cool, recently stressed, or root-bound plant can take longer.
Signs of a sound response include firm canes, buds breaking below selected cuts, stronger branching, and no advancing dieback. Reassess if cut ends blacken downward, the canopy wilts despite appropriate soil moisture, or no living buds appear during sustained warm growing conditions. Do not keep recutting a slow plant; diagnose light, roots, watering, and pests first.
Maintain shape with fewer cuts
Inspect after each main flowering flush and remove only the shoots that disrupt the intended framework. Annual selective thinning is safer for flower display and easier to contain than waiting until the shrub needs drastic reduction. Rotate which older canes are removed so the plant keeps a mix of established flowering wood and younger replacements.
For a potted oleander, control size through cultivar choice, strong light, a stable container, and selective pruning—not repeated severe topping. If the mature plant cannot fit its secure location without constant hard cuts, replacing it with a smaller cultivar is a more durable solution.
Related Oleander guides
- Oleander overview — placement, toxicity, and whole-plant care context
- Oleander light guide — prevent weak, stretched replacement shoots
- Oleander watering guide — manage moisture before and after pruning
- Oleander propagation guide — decide whether a controlled cutting is worth retaining
- Oleander fertilizer guide — resume feeding only when active recovery is clear