Air Plant Care: How to Grow and Display Tillandsia
Air plant care made practical: identify mesic and xeric Tillandsia, set light and watering, dry mounts safely, and prevent rot during flowering and pup growth.
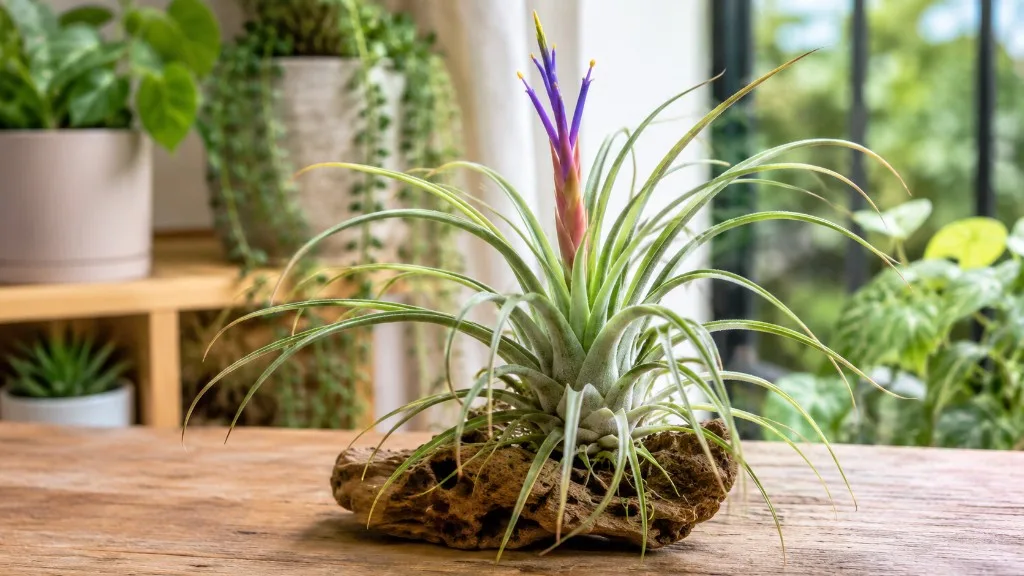
A Tillandsia can live on a shelf, cork mount, or open-sided glass globe, but it still needs regular water. The reliable air plant care routine is simple: give it bright, filtered light; wet the leaves thoroughly; then let the base dry in moving air before returning it to its display. A missed watering is often recoverable. Water trapped in a tight center or closed decoration can cause damage much faster.
“Air plant” usually means a species of Tillandsia, a genus in the bromeliad family. These plants do not need potting soil, but they are not all identical, and the best interval depends on leaf form, temperature, humidity, airflow, and the way the plant is mounted. Use the guidance below as a starting routine, then watch how quickly your own plant dries and how its leaves respond.
What an “air plant” really is
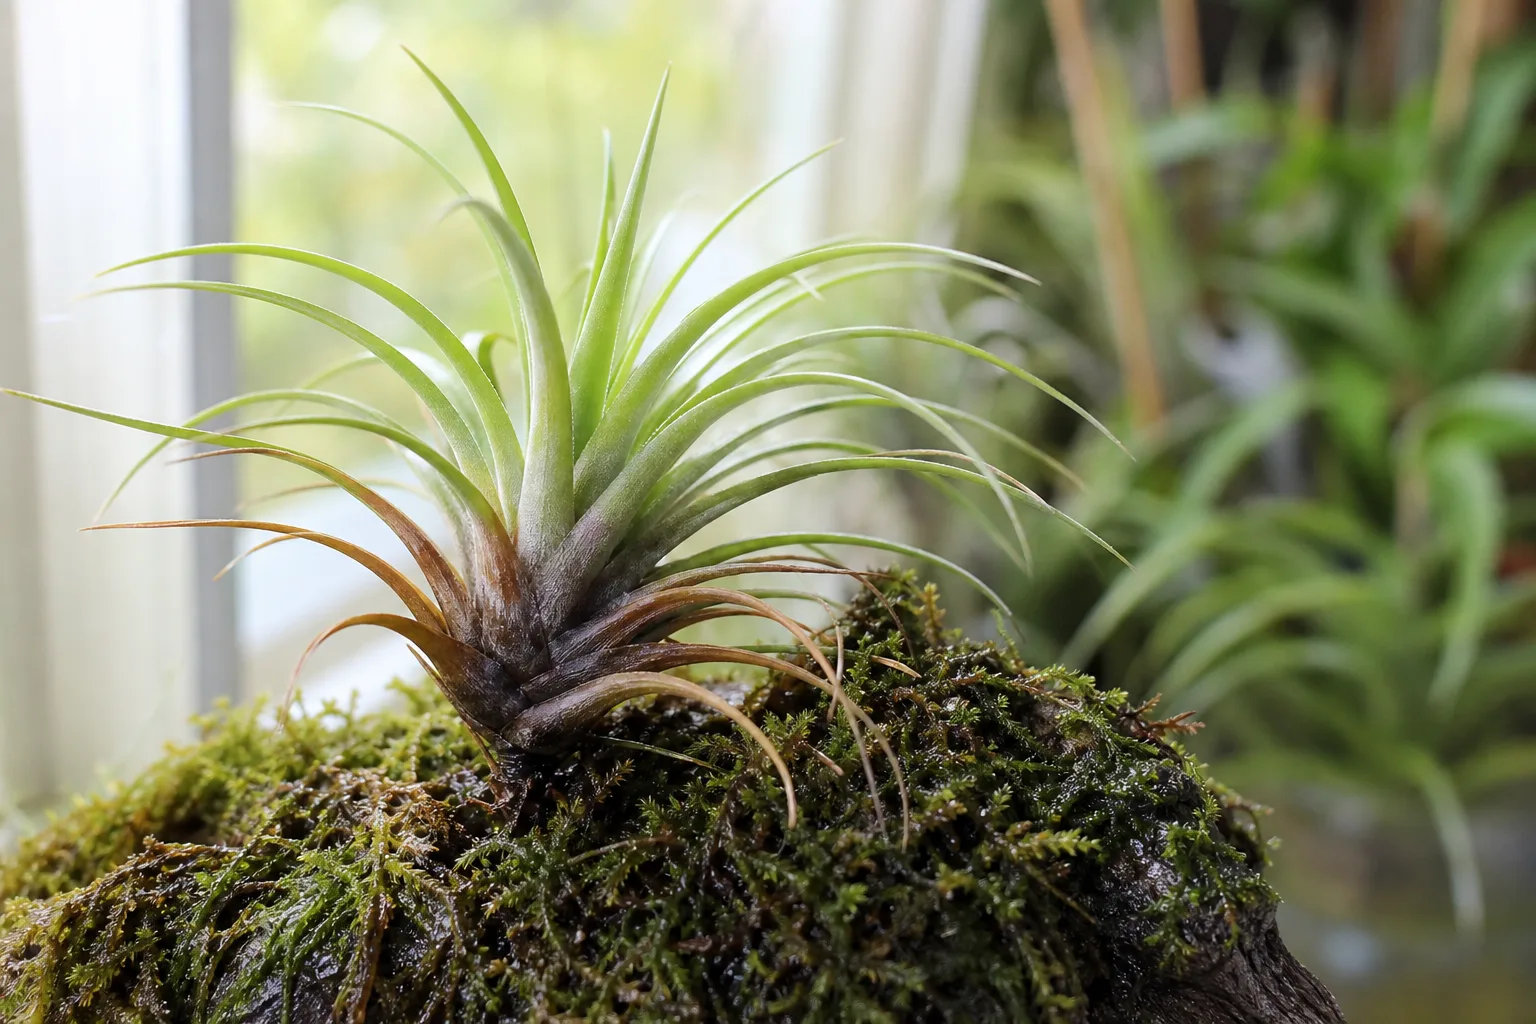
In nature, many Tillandsia grow attached to tree branches or rocks rather than rooted in ground. They are epiphytes or, when growing on stone, lithophytes. They use roots mainly as holdfasts: roots grip a support, while specialized leaf scales called trichomes take up moisture from rain, dew, and fog. So “no soil required” describes how the plant grows; it does not mean that the plant can live on air alone.
The label can be confusing because orchids, ferns, and other plant groups also include epiphytes. Most of those plants have different care needs and may be grown in a bark mix or another medium. The tips here are for Tillandsia, the plants most shops mean when they sell “air plants.” If your plant tag names another genus, identify it before following a Tillandsia watering routine. North Carolina State Extension’s Tillandsia profile describes its leaf scales and holdfast roots, while UF/IFAS explains why these plants can attach to surfaces without parasitizing them.
Identify the plant before copying a care routine
A species name is more useful than a broad “air plant” label, but even without one, leaf texture and shape offer a cautious first clue. Many Tillandsia are grouped informally by the moisture level of their native habitat: mesic forms come from more humid environments, while xeric forms are adapted to drier settings. These are tendencies, not a precise watering chart. A plant’s age, health, room, and display can matter as much as its group.
Mesic Tillandsia
Mesic types often have greener, smoother, thinner leaves and come from places with more regular moisture. They usually benefit from a thorough wetting on a steady schedule in a typical dry home. The green look does not mean the plant wants to stay wet; it still needs enough airflow to dry through the center after watering.
If you have an unidentified green-leaved plant, begin with a weekly check and a full soak or rinse when the base is dry and the leaves are losing firmness. Keep a note of how many hours it takes to dry. A plant in a warm, bright room may need a more frequent drink than one in a cool, dim room, but the cool plant also dries more slowly, which increases the risk of rot if you water it on the same fixed calendar.
Xeric Tillandsia
Xeric types often have more silvery, fuzzy leaves, a coating of visible trichomes, or a swollen, sculptural shape. Tillandsia xerographica is a familiar example; T. ionantha is a smaller rosette, while T. bulbosa has a bulb-shaped base and twisting leaves. These plants can handle dry spells better than many green, thin-leaved types, but that does not make them air-fed or maintenance-free.
Start by checking a silver-leaved plant weekly, then adjust its watering interval only after observing it. A firm plant with a dry base may not need water that day; a dull, increasingly curled plant in heated winter air may need a thorough drink sooner. A naturally curled leaf is not automatically a thirst signal, so compare the plant with its usual shape and look for a change across several leaves.
Find bright light without scorching the leaves
Give most indoor Tillandsia bright, indirect or filtered light. An east-facing window is a useful starting point; a south- or west-facing window can work when sheer curtains, a little distance, or seasonal placement prevents hot direct rays from concentrating on the leaves. A dark shelf far from a window usually produces weak growth and fewer flowers, even if it seems like a convenient display spot.
There is a reason advice about direct sun varies: some species tolerate strong light outdoors, while glass intensifies heat and sun in a home window. North Carolina State Extension notes that many species can take full sun in nature and need high light to flower; the Royal Horticultural Society recommends bright but diffused light for indoor growing. Treat those as compatible when you acclimate gradually and watch for bleaching, crisp patches, or leaves that heat up against the glass. Move the plant a little closer to brighter light if it grows thin and stretched, and give it more shade if the foliage scorches.
You can move a Tillandsia outdoors during warm weather if you can provide bright shade, steady airflow, and protection from heavy rain that would leave the center soaked. Introduce it to outdoor light over several days instead of moving it abruptly from a dim room into direct sun. Secure it so wind cannot blow it down, and inspect it for snails or other pests before bringing it back inside. Bring it in before cool nights; a plant that is wet and chilled takes longer to dry and is more vulnerable than one kept warm indoors. In Florida and other regions with native bromeliads, purchase cultivated plants rather than collecting wild ones; UF/IFAS notes that wild collection threatens native populations.
Water thoroughly, then make drying nonnegotiable
Good sources do not prescribe one identical method for every home. UF/IFAS recommends a thorough weekly mist, while the Royal Horticultural Society discusses immersing plants and Cornell’s air plant guidance covers rinsing or soaking. The useful common ground is to wet the leaves adequately, avoid keeping the plant continuously wet, and let it dry between waterings. A few decorative droplets from a quick spritz are not the same as watering thoroughly.
For a loose plant in an ordinary warm room, start with a soak of about 20 to 30 minutes once a week, then drain and dry it completely. Cornell describes longer soaks as one option, and the RHS notes that occasional extended soaking may be used in warm summer conditions; neither means an overnight soak should be your default. A short, manageable routine is easier to repeat and makes it simpler to see whether the plant perks up or stays damp too long.
| Plant or setting | Practical starting point |
|---|---|
| Green, thinner-leaved Tillandsia in a dry home | Check weekly; thoroughly soak or rinse, then dry with airflow. |
| Silver, fuzzy Tillandsia | Check weekly; allow the plant to guide whether the interval can stretch. |
| Hot, bright, dry room | Inspect sooner; a plant may need a more frequent full wetting. |
| Cool room, weak light, or poor airflow | Water more cautiously and fix the slow-drying location first. |
| Fixed mount that cannot be soaked | Wet all leaf surfaces carefully, tilt to drain, and let the plant dry in open air. |
| Enclosed glass display | Remove the plant for watering and return it only when dry. |
Soak a loose plant safely
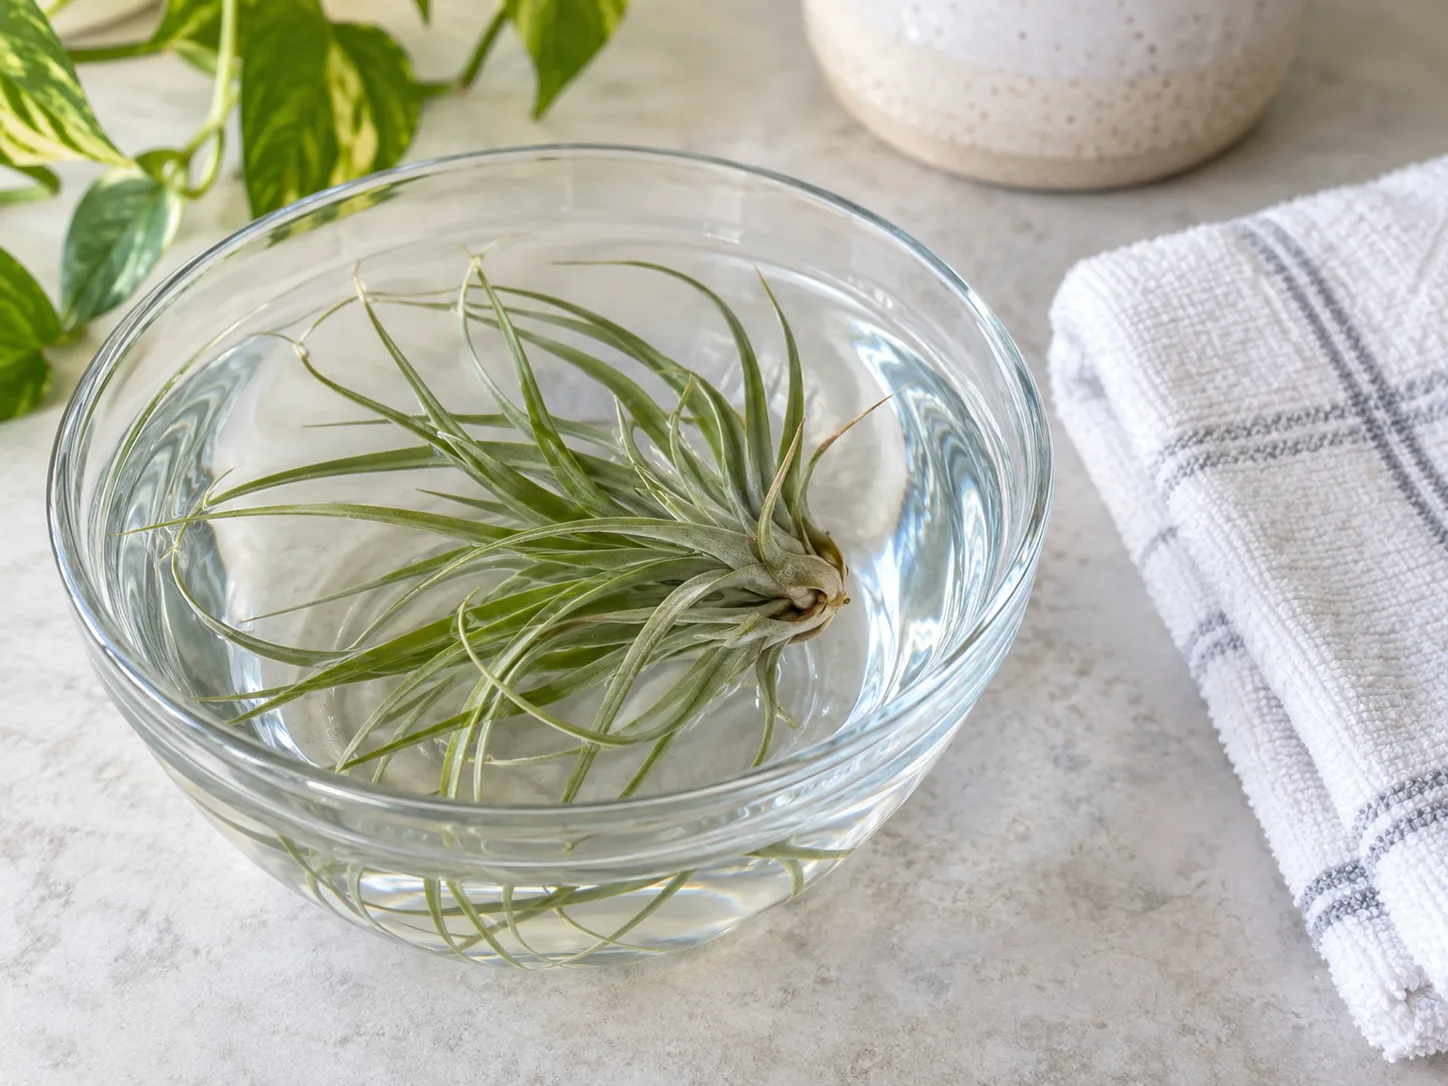
Soaking is a practical way to wet the whole plant evenly when it can be removed from its display. It is also easy to drain and dry a loose plant without leaving the mount damp against its base. Follow this sequence:
- Fill a clean bowl with room-temperature water and place the plant in it for about 20 to 30 minutes.
- Lift the plant out and turn it upside down or on its side. Shake it gently so water leaves the center and leaf axils.
- Set it on a towel or open rack where air can reach its base. Do not put it straight back into a globe, terrarium, or damp mount.
- Check the center as well as the outer leaves. Return the plant only after it feels dry, not cool and wet, at the base.
The Royal Horticultural Society advises angling mounted plants downward or shaking off droplets so water can leave the crown. Cornell recommends allowing an air plant to dry for at least four hours before it goes back into a terrarium. Several hours is a reasonable expectation in a warm, ventilated room, but the actual test is dryness, not the clock. If the center is still damp after four hours, leave it out longer and improve airflow next time. Do not compensate for slow drying by watering less while returning a wet plant to the same closed display; fix the display or move it to an open shelf. A brief fan-assisted dry in a warm room is more useful than direct midday sun, which can heat wet leaves unevenly.
Water a mounted plant without soaking its support
A mounted plant needs the same thorough wetting and complete drying, but the mount can complicate both. If the mount is removable, detach the plant carefully and soak it separately. If it is wired or fixed in place, mist or rinse the foliage until it is evenly wet, then tilt the display so water drains away from the base. Avoid soaking a block of wood, cork, or other material that stays wet against the plant for hours.
A tight bulbous base deserves extra attention because water can hide between leaves. After watering T. bulbosa or another plant with a deep center, invert it briefly and inspect the axils rather than assuming that the visible surface is dry. If the display makes it impossible to inspect or dry the base, the display is the problem: move the plant to an open, removable support before a dark center appears. Epic Gardening’s Tillandsia guide also notes that globe size, mounting materials, and circulation affect how safely a plant can be displayed.
Use clean water and cautious fertilizer
Room-temperature rainwater is a good option when you can collect it cleanly. Unsoftened tap water may work, but very hard water can leave mineral deposits; if you see a chalky crust on the leaves or display, try filtered water or clean rainwater and watch the new growth. Avoid water from a salt-based home softener, which can add minerals the plant does not need. Sources differ on how sensitive Tillandsia are to tap-water chemicals, so there is no reason to treat every household’s tap water as harmful; water quality is a sensible adjustment when residue or leaf-tip problems persist.
Fertilizer is optional, not a cure for poor light or slow drying. Cornell Cooperative Extension suggests feeding about monthly with a diluted water-soluble fertilizer, and a product labeled for bromeliads or air plants is a straightforward choice. Use less than a full-strength houseplant dose unless the label specifically gives an air-plant rate, and do not fertilize every time you mist. If you use low-mineral or distilled water consistently, follow the fertilizer label carefully rather than increasing the dose by guesswork.
Keep the plant warm, ventilated, and out of standing humidity
Normal comfortable indoor temperatures suit many Tillandsia, but cold, wet conditions slow drying and invite trouble. Keep the plant away from icy windows, outdoor drafts, and heating or air-conditioning vents that blast it with dry or cold air. The RHS advises avoiding wetting when temperatures fall below about 54°F (12°C), because plants can remain wet too long; treat that as a caution threshold, not a universal survival rating for every species.
Humidity can reduce how quickly the leaves lose water, but it does not replace watering. A bathroom can be useful if it also has bright light and decent circulation; a dim bathroom with no airflow is not automatically a better home than a brighter room. Better Homes & Gardens’ general indoor-watering guidance likewise points out that water needs shift with plant type, light, and placement. For Tillandsia, add one more variable: how long water remains in the center and on its support.
Choose a display that supports living, not just decorating
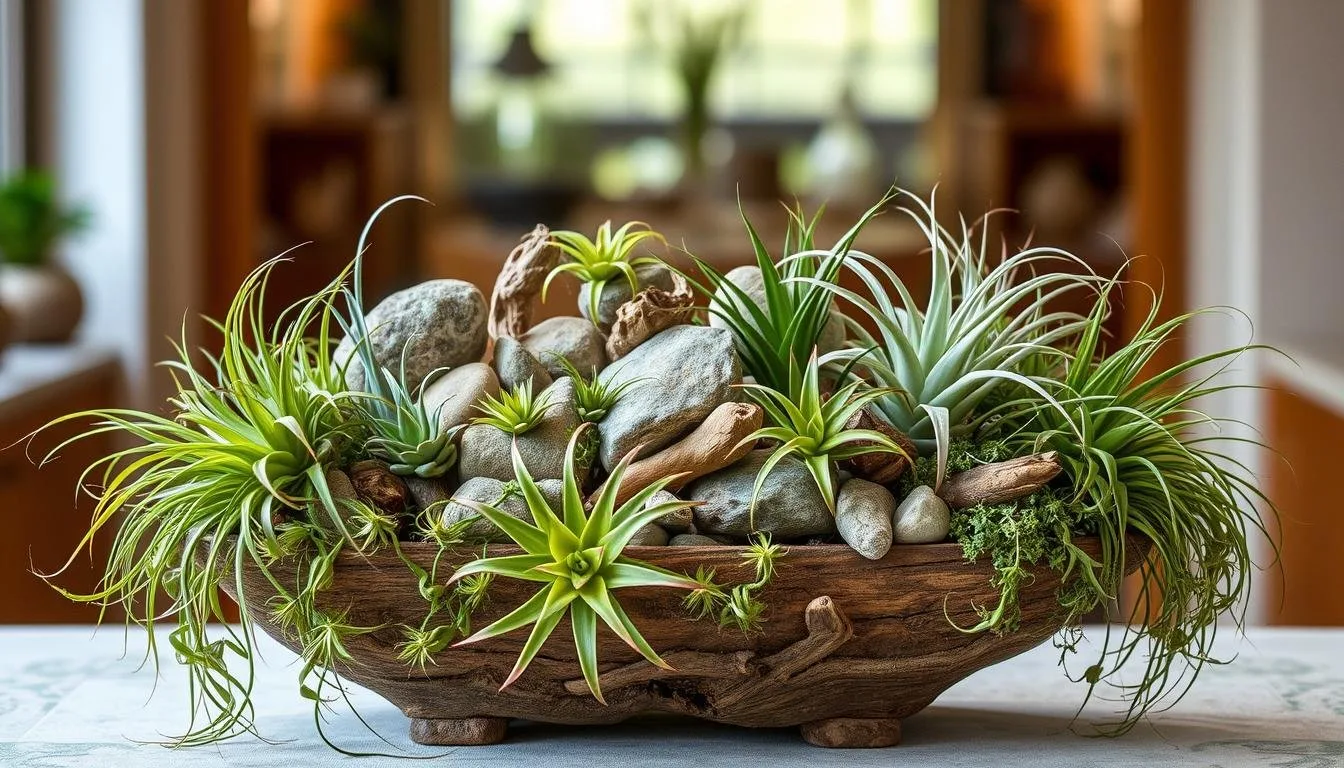
An air plant can sit in a shallow dish, hang from an open holder, or attach to clean cork, bark, or driftwood. Choose a support that lets air move around the base and that can be moved to water. Secure the plant gently with an open tie or wire so it cannot fall, but do not compress the leaves or coat the center with adhesive. A mount should hold the plant in place, not hold water against it.
Glass globes look airy, but they can trap humid air and slow evaporation. Use an open globe with enough space around the leaves, take the plant out to water, and wait for it to dry before replacing it. A sealed terrarium, standing water, or wet moss packed around the plant defeats the reason Tillandsia can grow without potting medium. If a plant declines in a decorative enclosure, first change the enclosure and drying conditions rather than adding fertilizer or misting more often.
Avoid setting the plant directly on a sunny sill if its container can heat up, or displaying it above a radiator where the warm air dries one side faster than the other. A shallow dish of dry stones can keep an air plant upright, but it does not create meaningful humidity for the room and should not hold a puddle. Displays are easiest to manage when you can remove the plant with one hand, inspect the center, and put it back only after it is dry.
Prune only dead leaves and avoid routine grooming
Tillandsia does not need regular pruning to stay compact. Outer leaves can dry as the plant grows, and a crisp, fully dead leaf can be removed gently when it loosens. Do not pull at a green leaf just because its tip is brown; the healthy tissue still supports the plant, and trimming deep into the leaf can create a larger wound than the dry tip.
If you trim a small brown end for appearance, use clean scissors and follow the leaf’s natural point rather than cutting across healthy green tissue. A spread of damaged leaves calls for diagnosis before grooming: check light exposure, water quality, recent watering, and time to dry. Removing leaves does not fix a wet, rotting center.
Understand flowers, pups, and the mother plant
A mature Tillandsia may bloom once, with color appearing in its leaves, flower spike, or bracts depending on the species. Bloom timing and how long flowers last vary, so a calendar cannot promise a specific month. After flowering, the parent plant gradually declines as it produces offsets, commonly called pups, around its base. That gradual senescence is part of the growth cycle, not automatically a sign that the whole clump is dying.
Keep watering the plant and its pups while the mother remains firm and healthy. When an offset reaches roughly one-third the size of the parent, you can gently separate it by twisting at the base or cutting cleanly if it will not release; leaving pups attached is also fine if you want a larger clump. Cornell and the RHS both use about one-third size as a practical separation point. Do not remove the parent just because it has flowered; wait until it is clearly dry and spent so the offsets have time to establish.
Diagnose stress by checking the center first
Before changing the watering schedule, look at the plant’s base, the newest leaves, and the display. Brown tips alone can have several causes. A soft, dark center is a more serious sign than an isolated dry edge, and the wrong response—adding water to a plant that is already wet—can turn a manageable issue into rot.
Dry curls, crispy tips, and fading color
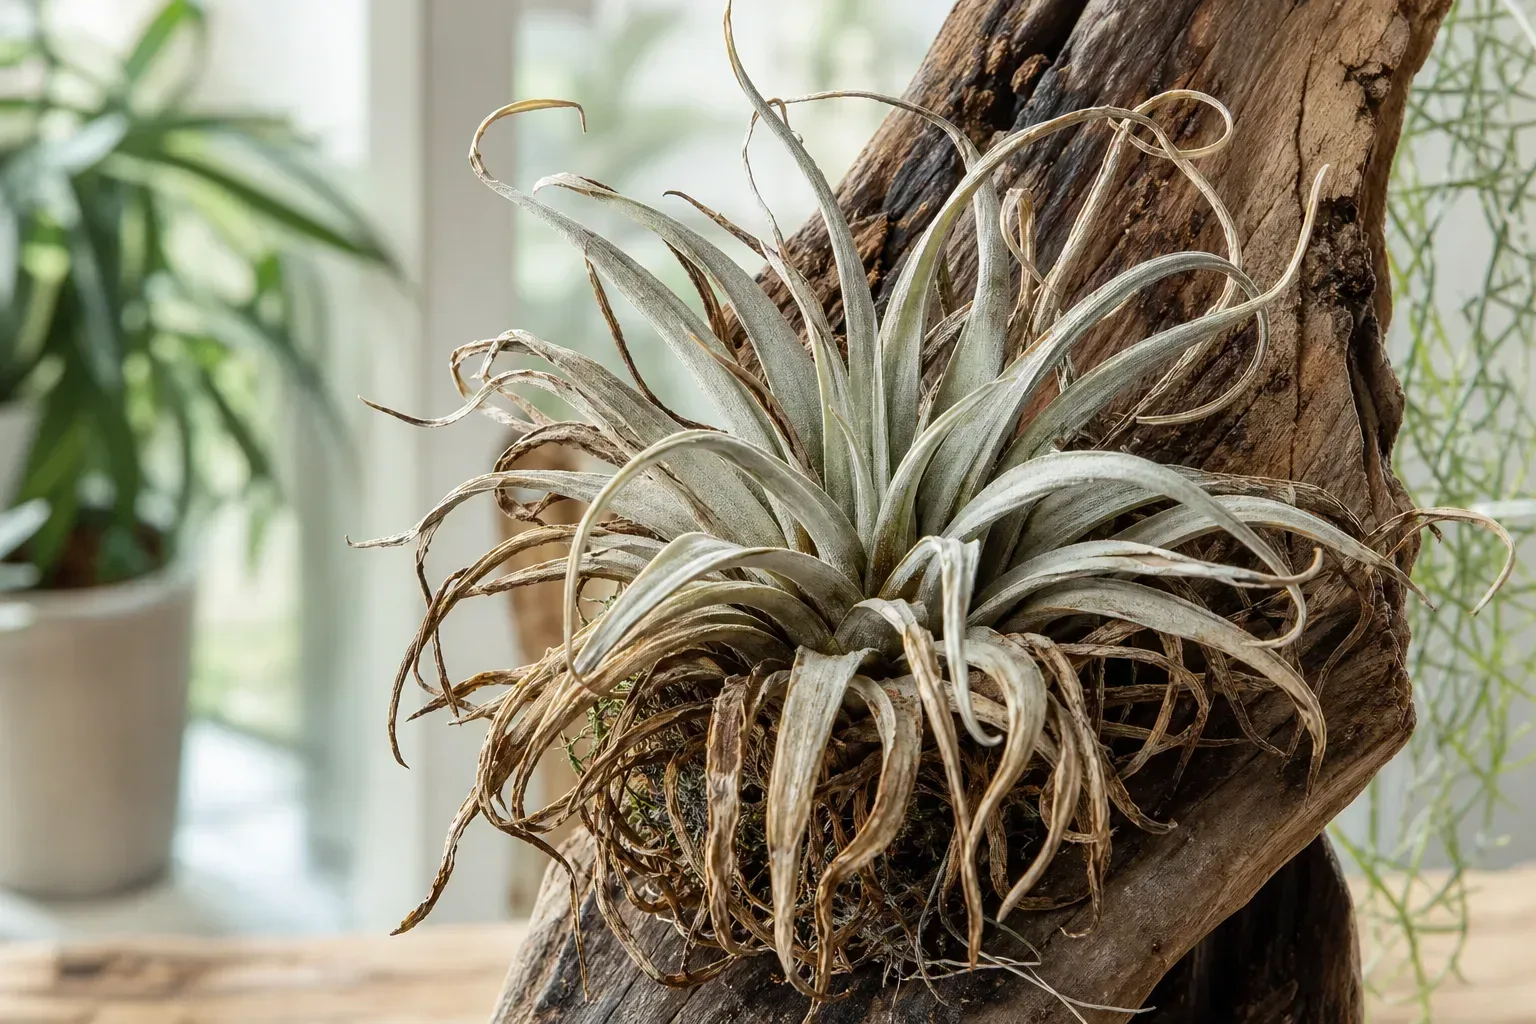
A plant that is too dry may develop leaves that look dull, feel less firm, or curl more than they normally do. If the change affects several leaves and the base is dry, give the plant a complete soak, drain it, and let it dry with airflow. Then adjust the next check sooner, especially if the room is heated, air-conditioned, or unusually bright and dry. If the plant has already become badly dehydrated, give it one complete soak and a careful dry before deciding whether it needs more water; repeated wetting while the base is still damp only adds risk. A plant that does not regain firmness after a few days may have lost tissue or have another problem, so inspect the center and light conditions before repeating the treatment. For a plant that is limp but still firm at the base, see these air plant revival steps after the initial soak.
Crispy tips are not a diagnosis on their own. They can follow low humidity, hard-water residue, direct sun, cold damage, or the natural aging of an outer leaf. Move a scorched plant out of hot direct light, switch water if deposits are visible, and compare new growth over the next few weeks. If only an old outer tip is dry and the rest of the plant stays firm, leave the watering routine alone rather than reacting to one damaged leaf.
A dark, soft base or leaves that pull away
A base that is brown or black, soft, foul-smelling, or collapsing suggests rot, especially when leaves detach easily from the center. The RHS describes rot as browning or blackening in the center or leaves, often when water collects in the crown and ventilation is poor. Stop watering, remove the plant from any closed display, and let it dry in a warm, bright place with open airflow.
If the center is still firm and only a small amount of tissue is damaged, remove only material that is clearly dead with a clean tool. Do not cut into a healthy crown, seal the base with glue, or bury it in moss. When the entire base is black and mushy, recovery is unlikely; if healthy pups are present, keep them only if they can be separated without tearing away rotted tissue. The preventive fix is a display and routine that let the plant dry fully after every drink.
Scale and mealybugs
Inspect the undersides of leaves and the tight inner growth when a plant weakens despite reasonable light and drying. Mealybugs look like small white cottony clusters; scale appears as firm, attached bumps. Both can be missed on a silvery plant because the trichomes already make the surface look textured.
Separate an affected plant from nearby plants, remove visible insects carefully, and check the display and neighboring plants again over the following weeks. If the infestation persists, ask a local extension office for a treatment appropriate to Tillandsia or use only a product whose label permits the plant and indoor setting. Avoid routine sprays as a preventive measure; the first job is to identify the pest and keep the plant’s center dry.
Conclusion: build a care routine around drying
Start with bright filtered light, a weekly inspection, and a thorough soak or rinse when the leaves and base are ready for water. Drain the plant, expose its center to moving air, and return it to its mount only when it is fully dry. Then adjust the interval to its leaf form, room, and display rather than following a rigid calendar.
When the leaves curl, check whether the plant is actually dry before watering. When the base is soft or dark, stop and correct trapped moisture. A removable mount, clean water, and complete drying make air plant care much more predictable—and give the next round of pups a better chance to grow.