How to Revive a Distressed Air Plant
Learn how to revive an air plant by checking the center first, rehydrating only firm plants, and preventing trapped moisture from causing more rot.
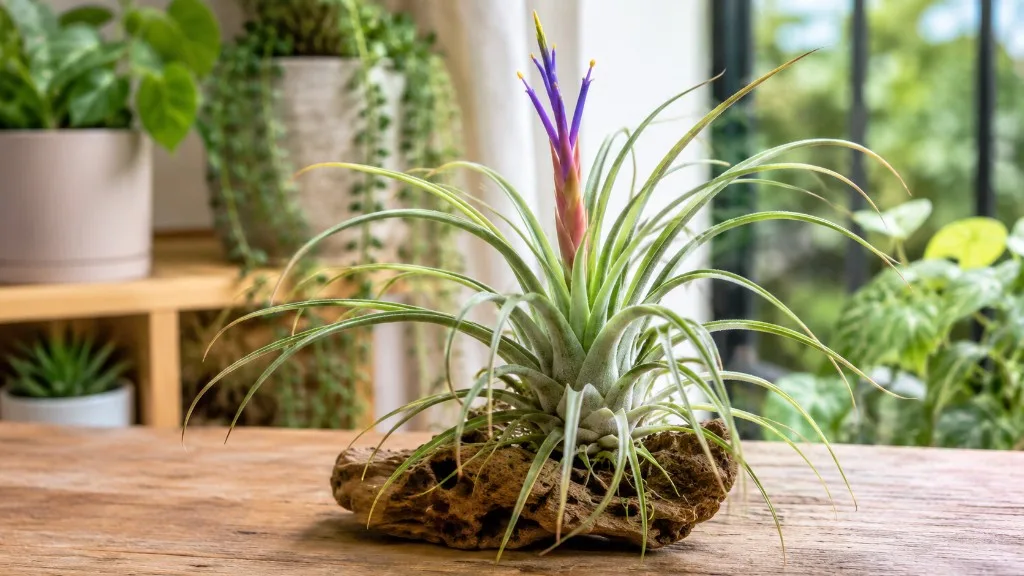
Before you soak an air plant that looks unwell, check its center. Dry, curled leaves on a firm plant can point to dehydration; a dark, soft, or collapsing center points toward rot, and adding water is the wrong first move. That distinction matters more than brown tips alone.
Air plants, or Tillandsia, take up water mainly through specialized leaf scales called trichomes. Their wiry roots mostly help them attach to a surface, not drink from soil, so recovery depends on giving the leaves water while letting the crown and base dry completely afterward. The Royal Horticultural Society (RHS) identifies air, light, water, and warmth as the essentials—and stagnant moisture in the crown combined with poor airflow as a common route to rot (RHS air-plant guidance).
Quick triage: what to check before watering
Take the plant out of its display and inspect it in bright, indirect light. Look at the center where the leaves emerge, the leaf bases, and any mount or container that might hold water. Notice whether the plant feels dry and papery, or wet and soft; whether it smells sour; and whether leaves are simply brown at their tips or are detaching from the core.
Do not let one symptom decide the treatment. Curling can come from dehydration, but brown tissue can also follow sun scorch, mineral buildup, cold stress, or natural aging. A gray-silver surface may be normal for a fuzzy-leaved species, not evidence that it is dying. Compare several clues and remember the plant’s recent care: when it was last soaked, whether it dried afterward, whether it sat in direct sun, and how warm and airy the room is.
The firm-center test
Gently part the outer leaves enough to see the central rosette, but do not pry it open or pull leaves out. A viable plant usually has a center that remains firm and holds together, even when outer leaves are curled or damaged. If the middle is soft, brown-black, wet, or gives off a decaying odor, treat the problem as suspected rot and keep water away for now.
Check whether the base is still attached and stable. A leaf that has naturally dried at the very bottom is different from a whole center that slips out as a mushy plug. Do not squeeze hard: this is a visual and gentle-touch check, not a stress test. If you cannot tell, let the plant air-dry in a warm, ventilated place for a day, then inspect again before choosing a soak.
Dehydration, rot, or normal aging?
Air plants can show overlapping symptoms, so use a pattern rather than a single color. Dehydration tends to make leaves curl inward along their length, lose some firmness, and develop crisp, dry tips or patches. Rot is more likely when the base or crown is dark and soft, leaves detach easily, or moisture has been trapped inside a dense rosette. A plant that has flowered may also lose its original rosette over time while producing offsets; that is a life-cycle change, not necessarily a watering failure.
The RHS describes dehydration as a combination of infrequent watering, heat, and low humidity, and notes that shedding lower leaves can follow stress or indicate rot. The useful difference is where and how the damage progresses: dry, brittle outer tissue with a firm center is a different emergency from wet, collapsing tissue at the growing point.
Signs of dehydration
Thirsty Tillandsia often look less open than usual. Leaves may curl inward, feel limp or unusually light, and have dry, papery edges. The color can look dull, but do not diagnose by color alone: naturally silvery leaves have a dense coating of trichomes, and some species blush or change tone in bright light.
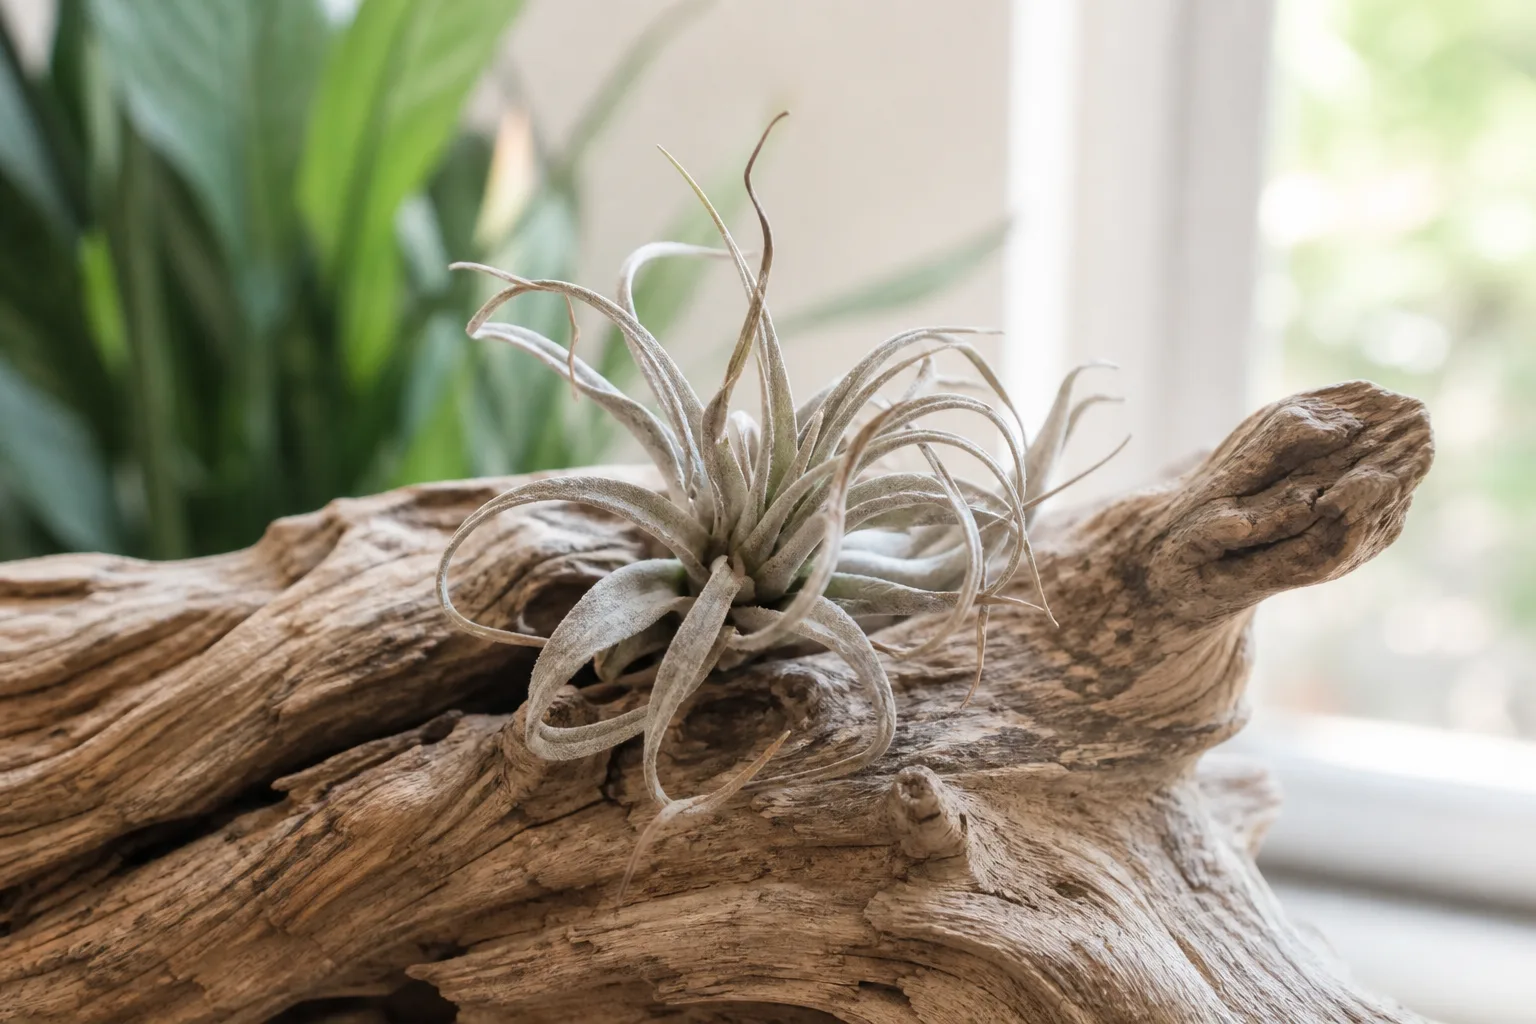
Think about the conditions that could have dried it out. A plant mounted near a heater, in hot sun behind glass, or in a dry room can lose water faster than one in a cool, humid spot. A regular mist may wet the surface briefly without giving a thirsty plant enough water. The RHS and Better Homes & Gardens both describe soaking or immersion as a more dependable watering method than misting alone; the latter’s guide quotes an Iowa State University horticulture extension specialist on the soak-and-drain routine (Better Homes & Gardens watering guide).
Signs of rot
Rot is more concerning when brown or black tissue begins in the crown or at the leaf bases and feels soft, wet, or hollow rather than crisp. A sour or musty smell, spreading discoloration, and leaves that pull away with almost no resistance all strengthen the suspicion. The RHS specifically warns that water collecting in the crown alongside poor air circulation can lead to rot.
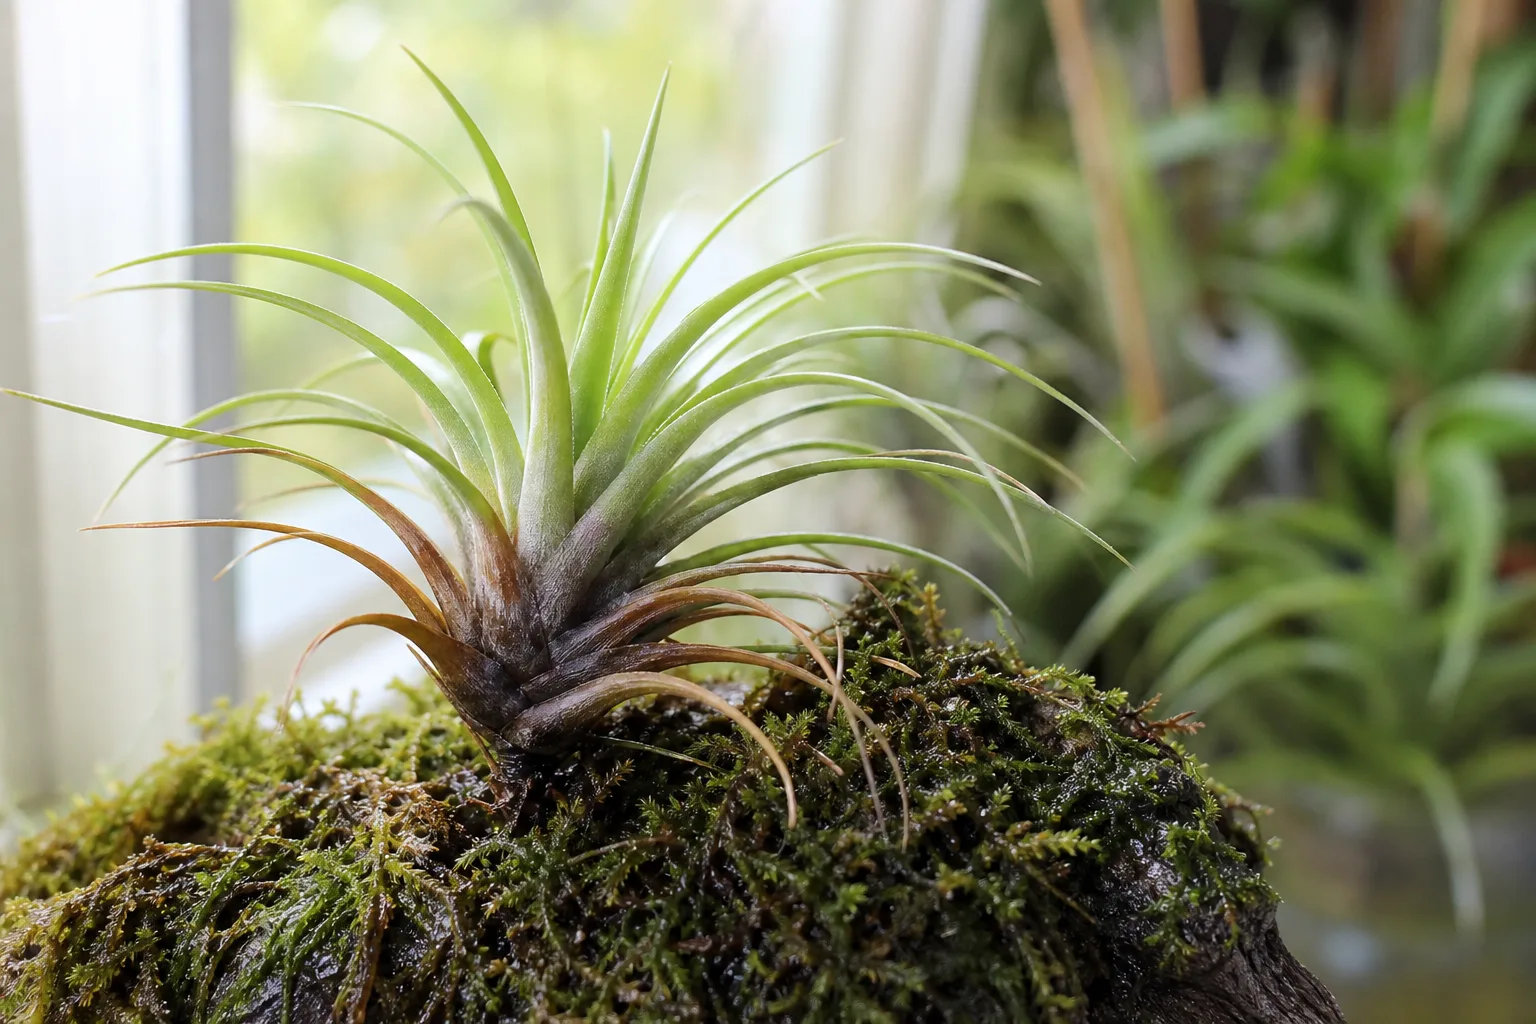
Do not “balance” a soft base with another soak, and do not seal the plant inside a humid glass globe to raise humidity. Move it to a dry, airy place, remove standing water from its mount, and let the plant surface dry. If the center is already mushy and the decay has reached the growing point, the original rosette may not recover; the realistic goal may be to keep any healthy offsets alive rather than restore the mother plant.
Is the plant likely to recover?
Recovery is plausible when the central growth is firm and there is still healthy green or silver tissue attached. A plant can look rough after a dry spell and still respond once its water and light conditions are corrected. However, already-brown leaves will not turn green again, and rehydration cannot rebuild tissue that has dried past recovery or replace a rotted growing point.
Use the center, not the amount of brown on the outer leaves, as your main decision point. If a few outer leaves are crisp but the core is solid, rescue the plant and stop removing leaves until you see how it responds. If the center is fully black or brown, wet and collapsing, or separates from the base, do not keep soaking in the hope that water will reverse decay. If healthy offsets are present, keep them separate from a rotting parent and care for them as young plants.
Flowering also changes expectations. Most Tillandsia produce offsets around or after flowering, and the original rosette eventually declines as part of a monocarpic life cycle. The RHS notes that offsets can grow before the mother plant dies. A flowering plant with a firm center and pups may be completing its normal cycle, not asking to be revived; focus on preserving the next generation.
What to do in the first 24 hours
Remove the plant from an enclosed globe, damp moss, a water-holding shell, or any mount that blocks air from reaching its base. Take a quick photo so you can compare the same leaves and center later. Then choose one path: rehydrate a dry but firm plant, or dry and ventilate a soft or suspiciously dark one. Avoid fertilizing or trimming healthy tissue during this first assessment.
If the plant is attached to wood or another display, do not soak the entire object if it stays wet for hours. Where possible, remove the plant gently; if it is glued in place, rinse or soak only the leaves and orient the base downward afterward. Better Homes & Gardens recommends avoiding submerging a mount and drying the plant upside down after watering, while the RHS advises mounting Tillandsia so water can drain from the crown.
If it is dry but firm
Use room-temperature rainwater if you have clean, recently collected water. Otherwise, choose a clean water source that is not softened or extremely mineral-heavy. Submerge the plant for a measured 30 to 60 minutes, then lift it out and inspect the core again. The goal is to rehydrate leaf tissue, not to keep the plant soaking until it looks perfect.
Afterward, turn the plant upside down and shake it gently to release water trapped between leaves. Lay it on a clean towel in a warm room with moving air. Do not return it to its decorative mount until the base and center are dry. If it remains firm but curled after one soak, wait for a complete dry-down before deciding whether it needs another; repeated long soaks on consecutive days can keep the core wet and confuse thirst with rot.
If the base is soft or dark
Do not soak it. Set it upside down or at an angle in a dry, airy place so water can escape from the rosette. Remove any water-soaked packing, moss, or decorative material touching the base. If only an outer leaf is damaged, leave it for now unless it is clearly dead and detaches with a light touch; pulling at live leaves can tear the center.
Give it 24 to 48 hours to dry and reassess. If the center becomes firmer and the discoloration is confined to an old lower leaf, continue with careful observation rather than cutting into the crown. If the core stays soft, the decay spreads, or an odor develops, the growing point may already be compromised. In that case, do not apply household fungicides, peroxide, or other chemical “cures” without a product specifically labeled for the plant and problem; focus on saving any healthy offsets.
How to rehydrate an air plant safely
For a dry plant with a sound center, soaking is a straightforward rescue because water reaches the leaf surfaces where Tillandsia absorb it. Fill a clean bowl with room-temperature water deep enough to submerge the leaves. A 30–60-minute soak is a useful first treatment supported by Better Homes & Gardens and Epic Gardening; do not add fertilizer to this emergency soak. The RHS also describes occasional overnight soaking for some plants in warm summer conditions, but that is not a universal first-aid rule. Longer is not automatically better, especially in a cool room or for a plant that dries slowly.
If a flowering plant is still carrying a bloom, keep the flower dry where practical; the watering guide from Better Homes & Gardens cautions that wetting blooms can shorten their display. For a mounted specimen, wet the plant rather than saturating the mount. Do not use ice-cold water, leave the plant submerged indefinitely, or treat a soft crown with water. If the water turns visibly dirty or has a strong odor, discard it and use fresh water for any other plant rather than sharing it.
Soak, drain, and dry completely
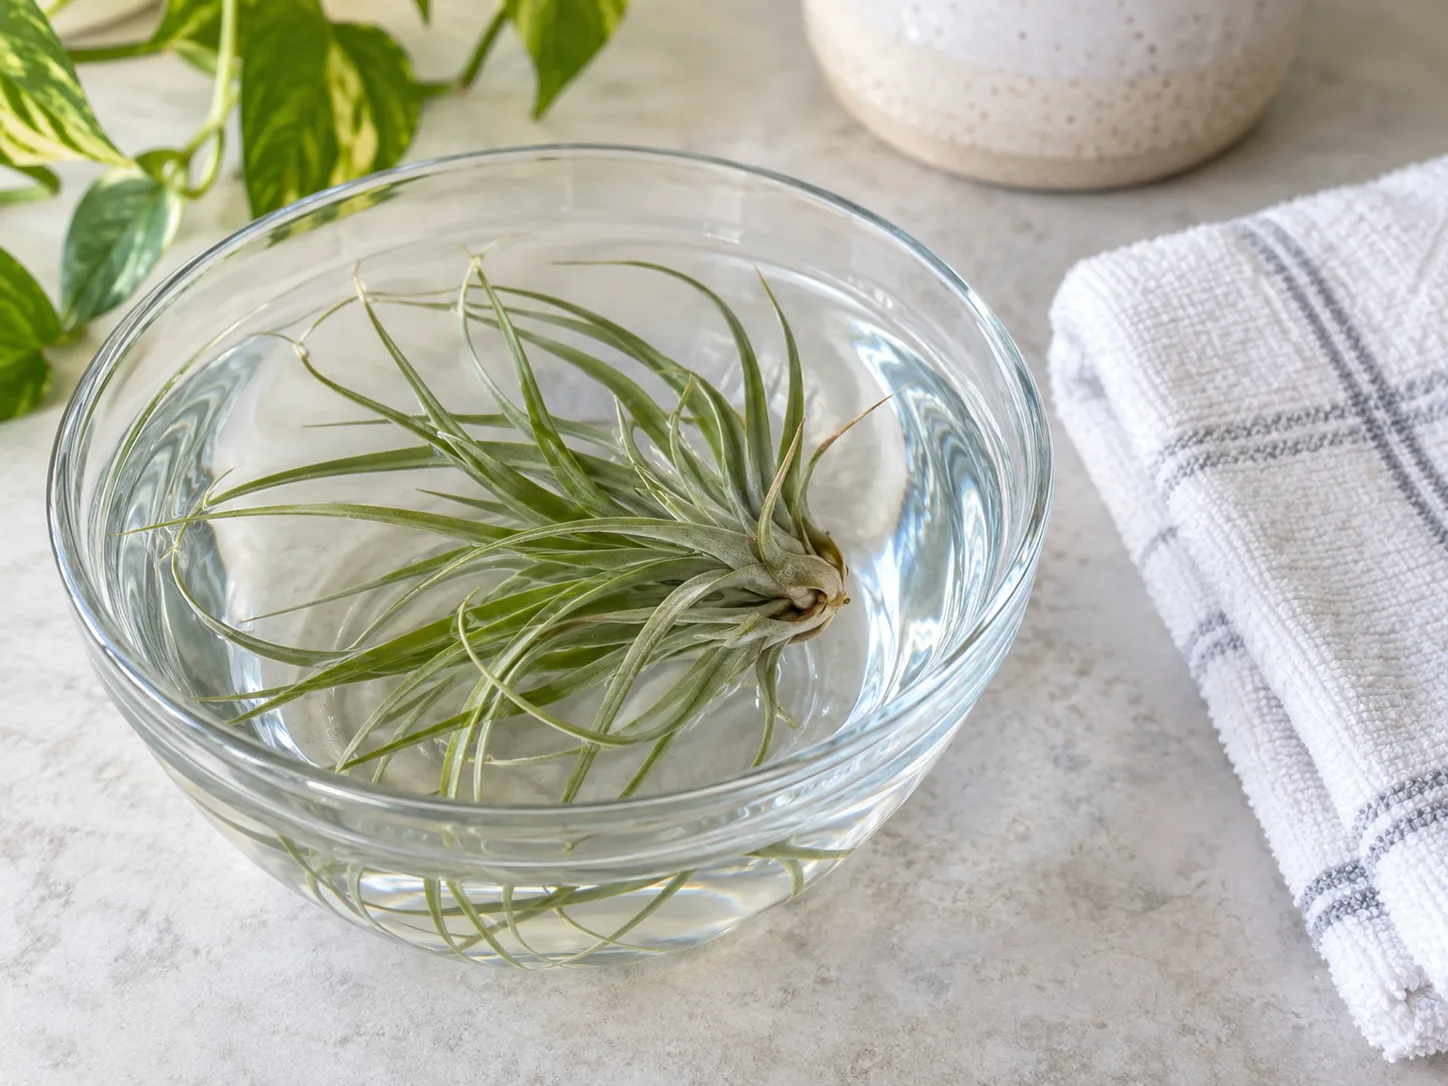
Lift the plant out, gently shake it once or twice, and position it upside down over a towel. Leave it there until no droplets remain at the base of the leaves; in a dry, airy room this may take an hour or two, but a dense plant in a humid room may need longer. A fan on a low setting can improve air movement, but avoid cold drafts or hot air from a hair dryer. Check the center rather than relying on a timer.
Only return the plant to its normal display after it feels dry at the base. That is the part many quick watering tips skip: a thorough soak can help a thirsty plant, but lingering water in the crown creates the conditions that encourage rot. The RHS recommends allowing Tillandsia to dry between watering and angling mounted plants downward; Better Homes & Gardens also emphasizes upside-down draining and complete drying.
Choose rainwater when possible, especially in a hard-water area. The RHS notes that minerals from hard tap water may build up on the trichomes, while Better Homes & Gardens advises against softened water because of its salts. If your tap water leaves scale on fixtures, use rainwater or another clean, low-mineral source for regular watering. Do not assume leaving water out overnight removes hardness; it does not. Avoid softened water, and treat distilled water as a poor long-term default unless a specialist familiar with your local water recommends it.
Reset the growing conditions
Revival is not one soak; it is a change to the conditions that caused the stress. Keep the plant somewhere bright but out of hot, direct sun, especially behind glass. Give it open airflow on all sides, and avoid a closed terrarium, narrow vase, or dense display until it has recovered. A bathroom can be useful if it is bright and ventilated, but steamy air without circulation can keep the crown wet for too long.
If the plant was next to a radiator, air-conditioning vent, or cold window, move it away. The RHS advises avoiding watering when temperatures are at or below about 12°C (54°F), because the plant may stay wet too long, and notes that warmer, drier conditions increase water demand. For a recovering plant, steady warmth and indirect light are safer than abrupt moves between a dark shelf, hot sun, and cold outdoor air.
Light, airflow, temperature, and water quality
Bright, diffused light gives a Tillandsia energy without the leaf scorch that direct sun through glass can cause. If it has been in deep shade, move it gradually closer to a bright window rather than putting it in midday sun to “boost” recovery. Some silvery, xeric species tolerate brighter, drier conditions than greener, mesic types; species and room conditions matter. Epic Gardening likewise distinguishes the more drought-tolerant silvery forms from greener air plants that may dry out faster (Epic Gardening’s Tillandsia guide).
Air should be able to move around the plant after each watering. You do not need a strong fan running all day; the practical test is whether water can drain and the plant can dry in a reasonable time. If the base is still wet several hours after a soak, improve ventilation or choose a more open mount before the next watering. Do not compensate for poor airflow by misting repeatedly; that can keep the same leaves damp without fixing the drying problem.
What to trim—and what to leave alone
Wait until the plant is dry before trimming. With clean, sharp scissors, remove only tissue that is fully brown and crisp, cutting along the natural shape of the leaf and stopping before the green or silvery living part. If only the very tip is brown, a small cosmetic trim is optional; it does not treat the underlying cause. Removing every blemished leaf can strip away living tissue the plant still uses.
Do not pull a leaf that resists, and do not cut through the center to inspect it. A dead lower leaf may release easily; a firm one should stay. Also leave healthy wiry roots alone. They function mainly as anchors, so cutting them does not solve dehydration and may make a mounted plant harder to secure. If rootlike tissue is black and mushy, the relevant issue is decay at the base, not a need to prune “water roots.”
Skip fertilizer until the plant is stable and showing healthy new growth. A stressed or rotting plant will not recover faster because you add nutrients, and concentrated fertilizer can leave salts on the leaf surface. Once it is growing again, use a Tillandsia- or bromeliad-specific feed at the product’s label rate; do not improvise a strong solution. The RHS notes that Tillandsia can be fed with a suitable orchid feed, while Better Homes & Gardens recommends an air-plant fertilizer used according to its directions.
Monitor recovery over the next few weeks
Check the plant daily for the first several days, but do not keep soaking it as a test. The first reassuring sign is that the center remains firm and the leaves stop becoming progressively limp or curled. Some leaves may stay curled, and old brown tips will remain brown; recovery is better measured by stable tissue and eventual healthy growth than by a dramatic overnight color change.
For ordinary care after the initial rescue, begin with a weekly soak in a warm, well-ventilated home, then adjust to how quickly the plant dries and to its species. Care recommendations vary: the RHS suggests immersing plants two to three times weekly during the warmer part of the year, while the Better Homes & Gardens experts offer about once a week as a starting point; Epic Gardening also presents soaking and misting intervals as condition-dependent. Use those as context, not a contest. Warm, dry air and fast drying may call for more frequent watering; cool, humid conditions or a plant that remains wet call for less. The RHS Tillandsia profile likewise ties the watering interval to the season and conditions. Let the plant dry completely between waterings.
Keep a simple log for two or three weeks: date watered, soak length, how long it took to dry, and whether the center stayed firm. If it declines again despite a thorough soak, reassess for hard-water deposits, heat, inadequate light, or a root/crown problem instead of automatically increasing the soaking time. If it is mounted in a globe or shell, change the display so the base can breathe.
When the mother plant is declining, save the pups
Tillandsia typically flower once, then produce small offsets—often called pups—before the original rosette eventually dies. That means a mother plant that begins to decline after flowering may be following its normal life cycle. Look for offsets at the base and judge them separately: firm, healthy pups can continue even when the parent is spent. The RHS recommends waiting until an offset is roughly one-third the size of the mother plant before separating it, which helps reduce damage.
Do not twist off a tiny pup just because the parent has a brown leaf. Keep offsets attached while they are small, give the cluster bright diffused light and the same careful soak-and-dry routine, and remove the mother only when it is fully dead or has become a source of rot. If the parent’s center is soft and actively decaying, isolate the cluster and avoid letting the rot remain against healthy pups. Use a clean blade only when separation is necessary, and keep the cut surface dry.
Revival mistakes that make things worse
The biggest mistake is watering before checking the center. Another is assuming every brown leaf means thirst, then giving a plant with a rotting crown a long soak. A third is misting every day while the base stays wet and the display has no airflow. These approaches treat a visible symptom but leave the cause unchanged.
Avoid placing a recovering plant in direct midday sun, sealing it in a terrarium, leaving it upside down in a dark damp bathroom, or returning it wet to a glass globe. Do not use hard or softened water indefinitely if it is leaving deposits or salts, and do not fertilize before the plant has stabilized. Finally, do not expect dead leaves to turn green or a rotted center to regrow. The useful goal is healthy remaining tissue, new growth, or viable pups—not restoration of every damaged leaf.
Prevent another decline
Choose an open display that does not trap water, and check that the plant can be removed or wetted without soaking a wooden mount. Water thoroughly enough to wet the leaves, then drain and dry the plant before returning it to its display. Misting can supplement watering in warm, dry conditions or for a mounted plant, but the RHS warns it is not a sufficient substitute for immersion as a routine on its own.
Place Tillandsia in bright, diffused light with good air movement. Adjust watering through the year rather than following a rigid calendar: heat, low humidity, species, and faster airflow increase drying, while a cool room and enclosed display slow it. Use clean rainwater or suitable low-mineral water when available, rinse away visible deposits, and inspect the crown every time you water. Once you know how the plant looks when firm and hydrated, small changes in curl or feel are easier to catch before they become a rescue situation.
Conclusion
To revive a distressed air plant, first decide whether its center is firm and dry or soft and rotting. Rehydrate only a firm plant with a measured soak, then drain it upside down and let it dry completely; keep a suspect rot problem dry, open, and well ventilated. Correct the light, airflow, temperature, and water quality that contributed to the decline, and give the plant time before judging the result. If the mother rosette is naturally finishing after bloom—or cannot recover—protect any healthy pups and carry the plant forward through them.