How to Ripen Green Tomatoes: 7 Reliable Methods
Learn how to ripen green tomatoes on or off the vine, choose mature fruit, use bags and boxes safely, and know when a tomato will not ripen.
When frost is coming and a tomato plant is still carrying green fruit, you have two separate jobs: decide which tomatoes are mature enough to finish ripening, then give them a stable place to do it. The best results come from picking fruit that has reached its mature size and started the internal transition toward color. Those tomatoes can often ripen indoors at room temperature. Tiny, hard, dull green fruit may never develop the flavor or texture of a vine-ripened tomato, no matter how many apples you add to the bag.
The most dependable setup is simple: sort the harvest, keep the tomatoes dry and unbruised, hold them somewhere around normal room temperature, and inspect them often. A paper bag can speed a small batch because it retains some of the natural ethylene gas released by ripening fruit. A shallow box is better for a large harvest because it gives each tomato space and makes inspection easier. A sunny windowsill is not required, and a refrigerator is usually the wrong place.
This guide explains how to tell whether a green tomato is ready, which ripening method fits your batch, how long to expect, and what to do with fruit that is too immature or beginning to rot.
Decide Whether the Fruit Is Ready to Pick
Pick for indoor ripening when the plant is threatened by frost, a hard freeze, severe pest pressure, or a late-season decline that is no longer adding healthy growth. If the weather is mild and the plant is healthy, a tomato left on the vine usually has the advantage of continued water and nutrient flow. Cornell Cooperative Extension’s tomato-ripening guidance likewise makes temperature and maturity central to the decision. Indoor ripening is a rescue and finishing strategy, not automatically an improvement over a healthy vine.
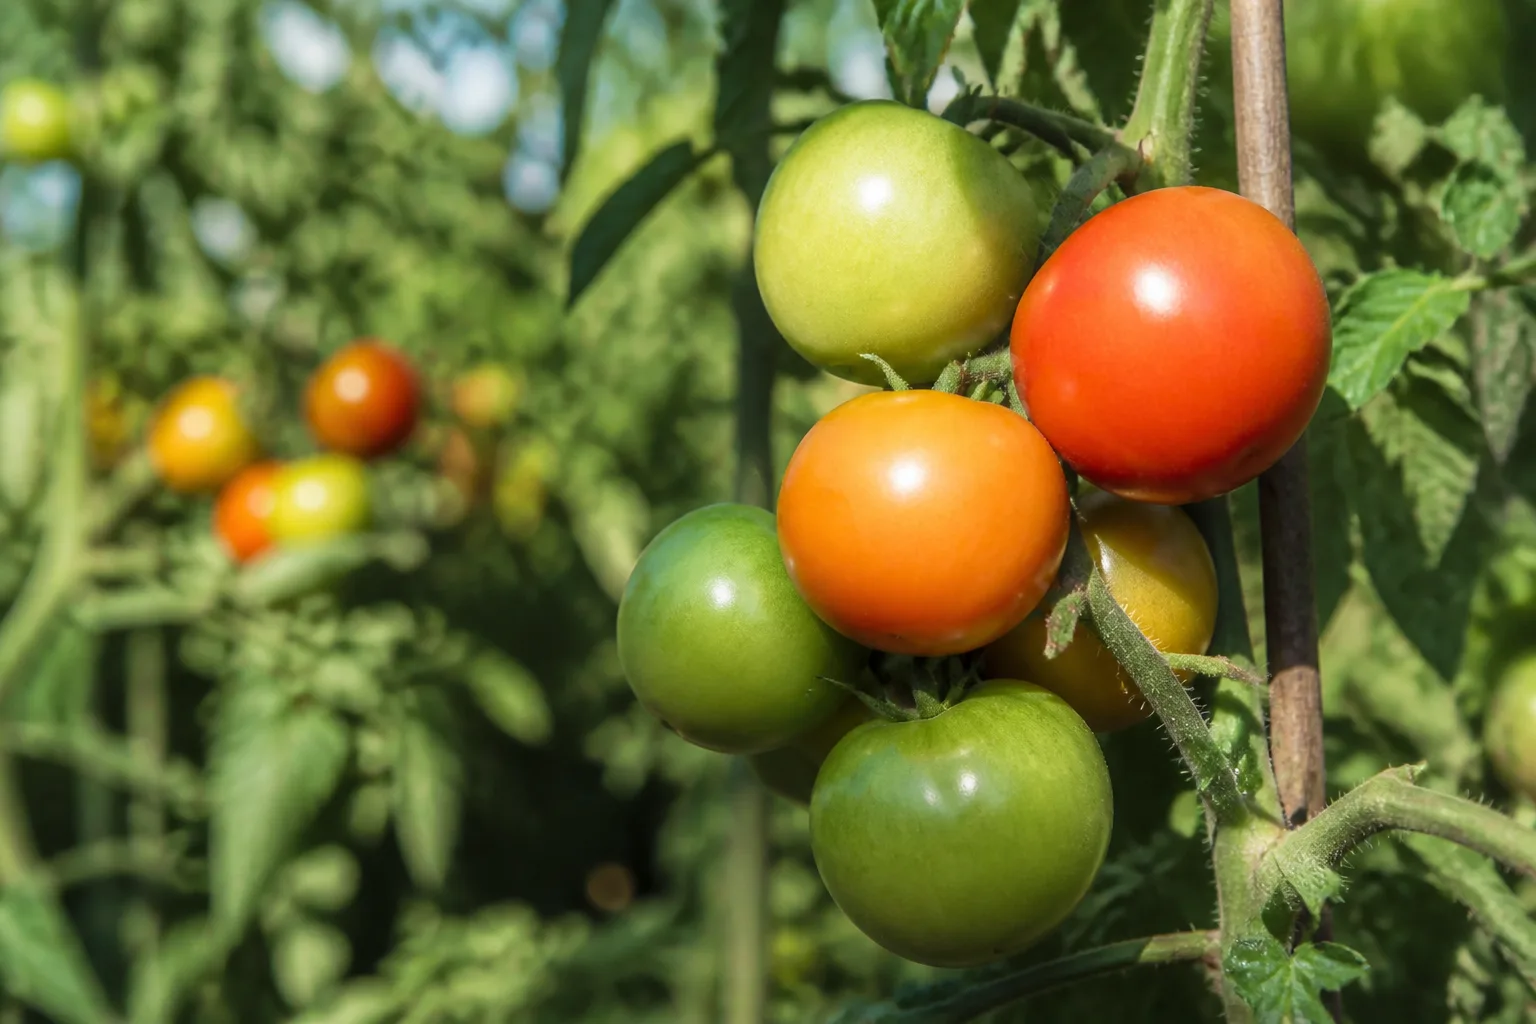
The safest harvest is made up of fruit that is mature but not yet red. Look for the size, shape, and surface gloss expected for that variety. The green skin often shifts from a flat, chalky green to a smoother, slightly glossy green. Some tomatoes show a pale yellow, whitish, or faint pink blush at the blossom end. The tomato should feel firm but not rock-hard, and it should separate with a clean snip rather than being yanked from the truss.
The Color and Feel Test
Use this quick test before placing fruit in storage:
- Check size. Compare the tomato with a mature fruit from the same plant or variety. Small does not always mean immature, but undersized fruit has fewer reserves for finishing.
- Check sheen. A mature green tomato often looks waxy or glossy. A very young tomato tends to look dull and matte.
- Check firmness. It should be solid and resilient, not soft, leaking, cracked, or dented.
- Check the blossom end. A subtle lightening or color break is encouraging; a completely uniform, hard green surface is less promising.
- Check the plant. Fruit that has reached full size is more likely to ripen after picking than fruit that set only recently.
Do not store tomatoes with open cracks, wet lesions, a sour smell, or fuzzy growth. Those are candidates for immediate trimming and cooking only if the damage is superficial and the fruit is otherwise sound; moldy or leaking fruit should be discarded rather than placed beside healthy tomatoes.
Why Tomatoes Ripen After Picking
Tomatoes are climacteric fruit: as they mature, they produce ethylene, a naturally occurring plant hormone that coordinates changes in color, aroma, texture, and flavor. A mature green tomato can continue those changes after it is detached from the plant. Enclosing it loosely with another ripening fruit can raise the local ethylene concentration and sometimes shorten the wait.
Ethylene is not magic. It cannot turn a flower-sized tomato into a full-flavored red one, and it cannot repair fruit damaged by cold, disease, insects, or bruising. It also does not mean that a tightly sealed plastic bag is better. A sealed bag traps condensation and reduces airflow, creating conditions for mold. A paper bag or ventilated container is the more useful compromise.
Color development is temperature-sensitive. Cool conditions slow the process, while excessive heat can produce uneven color and soft, poor-quality fruit. The University of California ethylene reference and Florida Tomato Committee handling guidance included in the local source material both support the basic storage principle: protect tomatoes from chilling, bruising, and excess moisture while they transition.
The Best Method for Most Harvests
For a small harvest, place one to three mature green tomatoes in a plain paper bag with one ripe apple, banana, or tomato. Fold the top loosely, keep the bag at room temperature, and check it every day. Remove a tomato as soon as it reaches the color and firmness you want. This method concentrates ethylene without burying the fruit in damp packing material.
For a larger harvest, use a shallow cardboard box or crate instead. Line it with clean, dry paper if needed, arrange tomatoes in one layer when possible, and leave enough space to lift each fruit without rubbing its neighbors. Cover the box loosely with another sheet of paper or the lid left slightly ajar. The box takes more room than a bag but gives you better airflow and a more reliable inspection routine.
The five-step version is:
- Harvest mature green tomatoes before the first damaging frost.
- Sort out damaged, diseased, and already-soft fruit.
- Put sound fruit in a paper bag or shallow box at room temperature.
- Keep the container dry, shaded from hot sun, and away from cold drafts.
- Inspect daily, remove ripe fruit, and discard any fruit that begins to leak or mold.
Seven Ways to Ripen Green Tomatoes
Paper Bag With a Ripe Fruit
The paper-bag method is the best choice when you want faster ripening for a handful of tomatoes. Add a ripe apple, banana, or tomato, but do not pack the bag full. The fruit should not be pressed against one another, and the opening should remain breathable. A bag that feels damp inside needs attention: spread the tomatoes out, dry the bag or replace it, and improve airflow.
Expect roughly several days to two weeks for mature green tomatoes, with the wide range caused by variety, temperature, and maturity at harvest. Check daily because the same setup that helps one tomato ripen can let a damaged tomato collapse unnoticed.
Countertop Ripening
A countertop works when the tomatoes are already showing a color break or when you want the simplest possible setup. Put them in a single layer with the stem scar or shoulders protected from hard contact. Keep the counter away from a cold window, hot appliance, direct midday sun, and a sink where splashes keep the fruit damp.
Countertop ripening is easy to monitor, but it does not concentrate ethylene as much as a bag. It is useful for a few tomatoes that are close to ripe and for fruit you want to eat soon. Turn them gently if one side remains in contact with the counter for several days, but avoid unnecessary handling.
Cardboard Box Storage
Use a box for a large late-season harvest. One layer is easiest; two shallow layers can work if you separate them with paper and check the bottom layer more frequently. Do not create a deep pile. Weight and poor air circulation turn small bruises into soft spots.
Labeling the box by harvest date is surprisingly helpful. Use the oldest fruit first, and place fruit that is already blushing near the top. A box kept in a dry pantry, mudroom, or garage can work if temperatures stay moderate and the space is protected from rodents. Move the box indoors if a cold snap is forecast.
Newspaper Wrapping
Individual wrapping can slow moisture transfer and reduce contact between fruit, but it is labor-intensive and can hide rot. Wrap only clean, dry, undamaged tomatoes. Use a shallow box rather than stacking wrapped fruit in a deep bin. Open the box regularly, unwrap anything that feels soft, and replace paper that has become damp.
This method is useful when your storage area is dry and you expect a long, gradual finish. It is not a substitute for inspection. Paper conceals the exact problem that needs to be caught early.
The Whole-Plant Method
If the plant is in a container, you can move it to a sheltered, bright area before nights become cold. For an in-ground plant, some gardeners lift the plant with much of its root ball and hang it in a dry garage or protected shed so the remaining fruit can finish slowly. This requires room, clean conditions, and a plant that is not carrying serious disease.
The whole-plant approach is less practical than picking and sorting. It also does not protect fruit from a freeze if the building itself becomes cold. Remove diseased leaves and fruit before moving a plant indoors, and do not bring a pest-infested plant into a living area. If the plant is already collapsing or the fruit is exposed to repeated cold nights, harvest and sort instead.
Temperature, Light, and Airflow
Normal indoor temperatures are usually more useful than a sunny window. Tomatoes need warmth and time, not direct light on the skin. A windowsill can overheat fruit during the day and chill it at night, while uneven light may warm one side and soften it before the rest is ready.
Avoid storing green tomatoes below about 50°F for extended periods. Chilling slows or disrupts normal ripening and can leave fruit with poor flavor and texture. Also avoid very hot locations, especially beside a furnace, radiator, oven, or greenhouse pane. Excess heat accelerates softening without guaranteeing good color.
Airflow matters because ripening fruit releases moisture. Keep tomatoes off wet soil, away from condensation, and out of sealed plastic. The storage area should be dark to moderately lit, dry, and easy to inspect. A stable room is better than a garage that swings from warm afternoons to cold nights.
How to Sort, Inspect, and Prevent Rot
Sort the harvest before choosing a container. Make three groups: tomatoes ready to eat or nearly ripe, mature green tomatoes that need time, and fruit that is damaged or questionable. Never put a leaking tomato into the same bag or box as sound fruit.
Inspect at least every day for bagged tomatoes and every two days for a shallow box. Check the stem scar, shoulders, blossom end, and any spot that was bruised during harvest. A tomato can look sound on top while a soft patch develops underneath. Lift it rather than sliding it across the surface.
Remove ripe tomatoes promptly. They are more vulnerable to pressure, and their increasing moisture can affect nearby fruit. Wipe a clean, dry surface if a small spill occurs, but do not wash an entire batch before storage. Water on the skin increases the chance of decay; wash each tomato just before eating or cooking.
Do not stack tomatoes under heavy produce, store them next to a heater, or mix them with fruit that is already moldy. Do not use a sealed plastic tub unless it is intentionally ventilated and checked frequently. A breathable container with fewer tomatoes is safer than a crowded container that looks efficient.
What to Do Before Frost
Harvest before a hard frost reaches the fruit. Frost-damaged tomatoes often become watery, translucent, and unable to finish normally. A light frost forecast does not always require stripping a healthy plant immediately; cover plants temporarily when appropriate, then uncover them during the day. But if temperatures are expected to remain near freezing, bringing mature fruit inside is the lower-risk choice.
Remove red and nearly ripe tomatoes first because they are closest to eating quality. Then pick mature green fruit, keeping the stem attached when it comes away easily. Tiny new fruit can remain on the plant if there is no practical way for it to mature; forcing every marble-sized tomato into storage only creates a disappointing pile.
If the plant has extensive disease, do not carry its leaves and soil into a clean storage area. Harvest sound fruit with clean hands or pruners, dispose of visibly diseased material according to local guidance, and clean tools before moving to another plant. Late-season sanitation protects the next crop more than a last-minute spray does.
Troubleshooting Slow or Uneven Ripening
Nothing changes after a week. Check the temperature first. A cold room, drafty porch, or unheated garage can hold the fruit in a suspended state. Move a few representative tomatoes indoors and compare them for several days. If only the smallest fruit remains hard, maturity at harvest is the likely limitation.
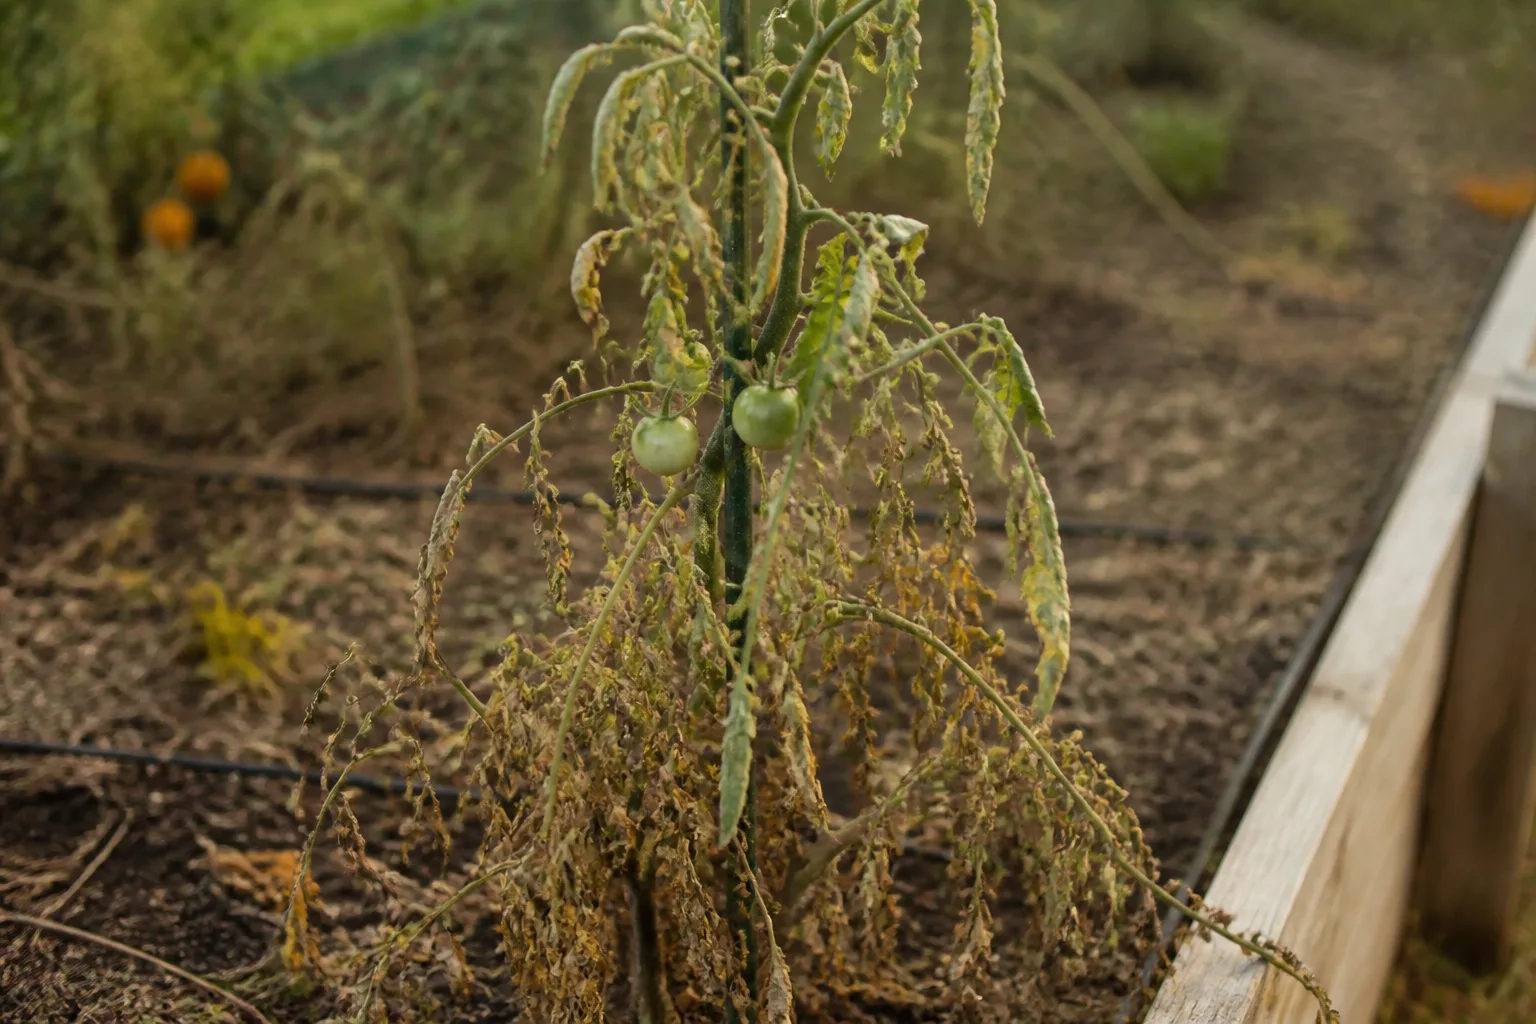
The tomatoes are soft but still green. This usually points to heat, bruising, excess moisture, or decay rather than successful ripening. Separate the fruit, cut open one questionable tomato, and discard anything with a bad smell, leaking tissue, or mold. Do not keep increasing heat to force color.
One tomato ripens while the others do not. Different fruit can be at different maturity stages even when it came from the same plant. Remove the ripe tomato and leave the others in the same stable location. A paper bag may help the lagging mature fruit, but it will not overcome an immature harvest.
The color is uneven. Rotate the fruit gently and improve airflow. Uneven color can result from variety, temperature swings, or one side being pressed against a surface. A tomato that is otherwise firm and fragrant can still be perfectly usable.
The tomatoes never turn red. Some varieties ripen yellow, orange, pink, purple, or striped rather than red. Check the expected mature color of the cultivar. If the fruit remains hard, dull, and flavorless after a reasonable indoor trial, use it as a cooking tomato instead of continuing to wait.
When Green Tomatoes Will Not Ripen
The most common reason a tomato refuses to ripen indoors is that it was picked too young. A tomato that had not reached full size when harvested may lack the stored carbohydrates and physiological development needed for a good finish. Repeated chilling, severe disease, insect injury, and physical bruising can also stop the process.
Do not taste-test a tomato that is rotten, moldy, or contaminated by an unknown chemical. Sound green tomatoes can be cooked, pickled, fried, grilled, or added to relishes. Cooking changes the goal from fresh, sweet, red tomato to a firmer, tangier ingredient. That is not a failed harvest; it is a different use.
The refrigerator is not a ripening chamber. Cold storage is useful for slowing already ripe tomatoes for a short period, but it is a poor choice for green tomatoes that still need to develop color and flavor. Bring fruit back to a stable room temperature only if it has not been damaged by cold, and expect quality to vary.
How to Use Firm Green Tomatoes
Firm green tomatoes are valuable in recipes that need structure and acidity. Slice them for frying, grill thick rounds until tender, pickle them in a tested refrigerator-pickle or canning recipe, or combine them with herbs and other vegetables in a relish. Their firmness is an advantage when a red tomato would collapse.
Use the soundest fruit for fresh ripening and reserve fruit with minor cosmetic blemishes for cooking immediately. Cut away small superficial damage generously. Do not use fruit with mold spreading beneath the surface, a fermented odor, or extensive softening.
If you plan to preserve the harvest, follow a tested recipe rather than improvising the acid and processing time. The ripening question is separate from food-safety processing: a green tomato may be usable for cooking, but that does not make every preservation method safe without a tested formula.
Conclusion
To ripen green tomatoes successfully, start with the harvest rather than the container. Pick before frost when fruit is full-sized, glossy, and firm; sort out anything damaged; then keep sound tomatoes dry, warm, ventilated, and easy to inspect. Use a paper bag with a ripe fruit for a small batch, a shallow box for a larger one, and the countertop for tomatoes already close to color. Check daily, remove ripe fruit, and accept that some immature tomatoes are better cooked green than forced to become red.