How to Start a Community Garden: A Step-by-Step Plan
Learn how to start a community garden, from listening to neighbors and securing a site to fair plot rules, a realistic budget, and volunteer routines.

A community garden is not just a patch of soil with shared tools. It is a small organization with a site, a budget, rules, ongoing work, and people who may have different schedules, abilities, languages, gardening experience, and reasons for joining. The garden is more likely to last when the group solves those practical questions before buying lumber or dividing plots.
Start with a small planning group, then expand the conversation to the people who might use the space. Agree on the garden’s purpose, secure reliable permission for the land, check whether it is safe and workable, and decide who will do recurring jobs. Only then draw beds and choose crops. That order costs less than building first and discovering later that there is no water, no agreement, or no one to maintain the paths.
Define the purpose before drawing beds
Write one plain sentence describing what the garden is for. “Grow food together and teach new gardeners” leads to different decisions than “provide private plots for nearby residents” or “create a sensory garden beside a community center.” A project can serve several goals, but it needs one primary purpose to settle trade-offs about space, budget, access, and harvest.
Ask likely participants what they want to grow, who they hope will use the garden, and what would make it worth returning to. Some people may want vegetables for household meals; others may value a place to learn, meet neighbors, or grow culturally familiar crops. Do not decide those priorities from a planning group alone. The Royal Horticultural Society’s community-garden guidance recommends engaging local people and considering how they will use the garden before setting the plan.
Turn the purpose into a few observable first-season goals. These might include opening a small number of beds, hosting two beginner sessions, growing a shared donation bed, or keeping the site accessible and maintained through the summer. Concrete goals help the group say no to attractive additions that exceed its time or money.
Choose a garden model that fits the group
Most projects use one of three arrangements. In a plot garden, each household tends its own bed and generally keeps its own harvest; this offers independence but still requires common rules and maintenance. In a cooperative garden, members share decisions, labor, and produce, which can work well when people want to garden together but needs dependable coordination. A hybrid can combine individual beds with shared paths, herbs, flowers, compost, or a donation plot.
Pick the model by asking how much time people can reliably give, how they want harvests handled, and whether the group has someone willing to manage memberships. Individual plots do not eliminate shared work: paths, fences, water points, and common areas still need owners. Cooperative beds do not mean every person must attend every workday; a rota and clear task list make the work visible and easier to share.
Avoid promising equal harvests before you know what the site can produce. If food sharing is central, agree whether the harvest is divided among members, offered to a partner organization, or split between both. Gardening Know How’s overview of community gardens describes individual and family plots as well as shared upkeep; the important step is stating which arrangement your group is choosing before membership begins.
Build a core team and listen to neighbors
Recruit a small steering group that can handle early calls, meetings, and follow-up. It should include people who are likely to use the garden as well as people with useful skills—such as a gardener, a bookkeeper, a translator, a youth worker, or someone familiar with the proposed site. One enthusiastic organizer can start the conversation, but the garden should not depend on that person for every decision and every chore.
Hold a short listening meeting in a place and at a time people can reach. Offer more than one way to respond: an in-person conversation, a paper survey, and a phone or online contact. Ask practical questions instead of simply asking whether people “like gardening”: What would you grow? When could you come? Would you rather have a personal plot or shared beds? What barriers—transport, mobility, language, childcare, tools, cost, or confidence—might keep you away?
Summarize what you hear and send it back to the community before committing to a design. Invite nearby groups, schools, faith communities, food organizations, businesses, and local gardening clubs to contribute ideas or concrete help. The NC State Extension community-gardening handbook emphasizes involving gardeners and other stakeholders in decisions; that takes longer at the start but improves buy-in and surfaces needs the organizers may miss.
End the meeting with named next steps, owners, and dates. “Look into sites” is not an assignment; “Mina will contact the parks office by May 12 and report the response at the next meeting” is. A simple shared document with tasks, contacts, decisions, and unresolved questions is enough at this stage.
Find a site and secure permission in writing
Make a shortlist rather than falling in love with the first empty lot. Potential sites include land owned by a school, faith community, housing organization, nonprofit, municipality, business, or willing private owner. Ask who controls the property, whether the organization can authorize garden use, and whether there are future plans that could displace the project.
Before spending money, get written permission that states what the garden may do and how long it can use the site. A simple agreement should identify the owner and garden group, the allowed activities, access hours, water and utility arrangements, responsibility for maintenance, insurance expectations, storage or construction permissions, notice for ending the agreement, and who owns improvements if the project closes. Have the landowner and relevant local officials review the terms; this is planning guidance, not a substitute for local legal advice.
Longer-term land access matters because beds, soil improvement, and community trust take time to build. NC State Extension’s site-selection chapter advises organizers to assess secure tenure alongside convenience and growing conditions. If the owner will not clarify access or the land may be needed soon, treat that uncertainty as a real project cost and compare another site before installing permanent features.
Screen the site before anyone breaks ground
Walk the site at different times of day and after rain. Note sun and shade through the growing season, slopes, drainage, standing water, vehicle access, nearby trees, existing paths, water points, deliveries, storage, toilets, and the route from the street or transit stop. Ask who can unlock the site, where visitors enter, and whether people can reach the beds without crossing a muddy or steep area.
Investigate the site’s history, not just its appearance. Former industrial or commercial use, old building demolition, vehicle-related uses, dumping, painted structures, and some other past activities can signal soil contaminants that cannot be judged by sight or smell. Ask the owner for records and contact a local Cooperative Extension office or qualified environmental professional about appropriate sampling before growing food. A standard fertility test and a contaminant investigation are not interchangeable.
Check soil, water, sun, and safety
Reliable water is a hard requirement, not a convenience. Confirm the source, who pays the bill, whether a meter or hose connection can be used, and what happens when the site is closed or the weather turns dry. A rain barrel can supplement a dependable source, but it should not be the only plan for a food garden during a dry spell. If water comes from a well or another nonmunicipal source, ask the appropriate local authority about testing and suitability for the intended use.
Measure sunlight where the beds will actually go, and consider how nearby buildings and trees change shade over the season. Do not promise a tomato-heavy harvest from a site that receives only a few hours of direct sun; choose crops to match the conditions instead. The practical garden-planning guide from Better Homes & Gardens likewise recommends observing sun and making water easy to reach; also look for drainage problems and potential flooding, especially if the site sits low or near a stream.
For a potentially contaminated urban site, pause before tilling, moving soil, or inviting children to dig. NC State Extension’s urban soil-contaminant guidance explains that exposure can happen through soil ingestion, dust, skin contact, or produce and that testing should reflect the site’s history. Use a lab and qualified professional who can interpret the right tests for the suspected contaminants; do not treat an inexpensive home nutrient kit as proof that soil is safe.
If testing identifies a concern, use the professional’s site-specific recommendation. It may mean choosing another location, restricting access to part of the property, or designing contained beds with a suitable barrier and verified clean growing media; simply piling compost or topsoil on top of suspect ground is not an automatic fix. Keep children from putting soil or dirty hands in their mouths, wash produce and hands, and avoid creating dust while the group is getting advice. When the history is unclear and the group cannot pay for proper assessment, growing ornamental plants while pursuing help—or selecting another site—is safer than guessing.
Design for access and daily movement
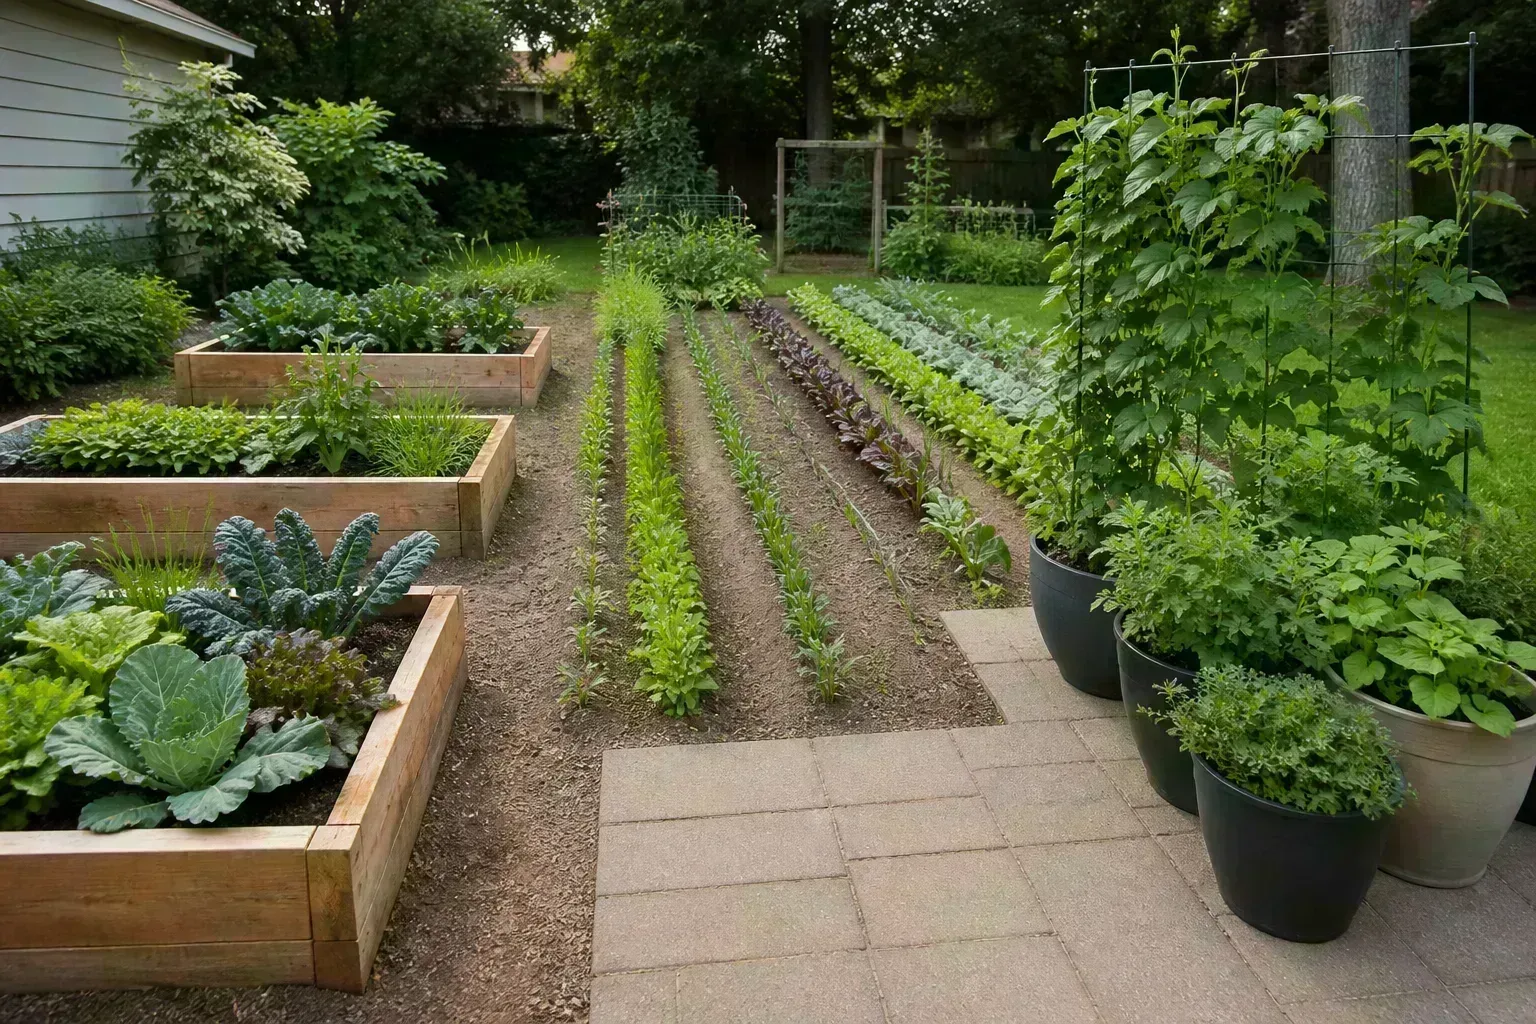
Sketch the site with the entrance, beds, water, storage, compost, waste, seating, and gathering space before buying materials. The route between them should work for the people who will use it with tools, buckets, mobility devices, strollers, and harvest baskets. Keep access to water and shared tools straightforward; a beautiful layout is not practical if a member has to carry a full watering can across the entire site.
Choose firm, stable paths that drain and can be maintained with the group’s available tools. Gravel may be affordable but can be hard to push a wheelchair over; loose mulch can shift; grass often needs regular mowing. Compare surfaces in person and ask people with mobility needs to test the route before installing it. The RHS setup guide specifically calls out accessibility, storage, toilets, water, and security as site-design considerations rather than afterthoughts.
Make every task reachable, not just the entrance
An accessible gate does not make a garden accessible if beds are too high or low to work from, the route narrows between mature plants, or the only water tap is difficult to reach. Include beds at more than one height where feasible, edges that can be approached from a seated position, places to rest in shade, and frequently used tools stored within reach. Ask local users what works for them; different people need different things, and no single bed design suits everyone.
Use clear signs and simple maps at the entrance, and translate essential information into languages people actually use in the neighborhood. Put meeting times and contact details somewhere members can see them without a smartphone. If the garden is open to the public or receives organizational funding, confirm applicable accessibility and safety requirements with the owner and local authorities rather than assuming informal volunteer status exempts the project.
Set governance, membership, and clear rules
Write the minimum rules needed to prevent predictable confusion. A one-page member agreement can explain how plots are assigned and renewed, what counts as regular care, how common tasks are shared, when water may be used, how harvests work, what materials or plants are not allowed, how concerns are raised, and how the group handles an unused bed. Keep the language plain and translate it when needed.
Define who can make routine decisions and which decisions require a member vote or landowner approval. A coordinator can manage the waitlist and communicate with the owner; a treasurer can track income and expenses; a maintenance lead can schedule shared work; and a small steering group can resolve issues between meetings. One person may hold more than one role in a small garden, but document the responsibilities and identify a backup so knowledge does not disappear when a volunteer steps away.
If demand exceeds available plots, decide on the selection method before collecting applications. A transparent first-come list or a lottery after a public enrollment window is easier to explain than informal favoritism. Tell applicants how long the waitlist is, when it will be updated, and how to keep their contact details current. NC State Extension’s organization guidance discusses applications, plot agreements, waiting lists, and procedures for unoccupied plots; those systems help protect fairness as well as the garden’s work.
Budget for the unglamorous costs
Build a first-season budget before setting dues or promising free plots. Separate one-time setup costs from recurring costs. The first group might include soil testing, raised-bed materials, clean growing media, path surfacing, fencing or gates, signs, and initial tools. Recurring expenses may include water, insurance if required, tool repair, compost, mulch, printing or translation, waste removal, and replacement parts.
Ask local suppliers, parks departments, schools, and garden groups what can be donated, but do not make the plan depend on donations that are not confirmed. A free pile of lumber is not a saving if it is treated, contaminated, the wrong size, or expensive to transport. Keep donated goods and volunteer hours in a simple record alongside cash so the group understands what the garden actually costs to run.
Possible funding sources include modest member contributions, grants, sponsorships, community fundraising, in-kind materials, and partnerships with organizations that already serve the neighborhood. Use a written policy for who can approve spending and save receipts. If dues are necessary, offer a confidential hardship option or a volunteer alternative so fees do not quietly exclude the people the garden was meant to welcome. NC State Extension’s funding and resources chapter can help organizers think beyond a single fundraiser.
Plan a compact first-season layout
Start smaller than the available land allows. A few well-kept beds with clear paths, a working water point, and people who return each week are a stronger first year than a large garden that becomes weedy by midsummer. Leave room for deliveries, compost, future growth, and a gathering place instead of filling every open patch with crops.
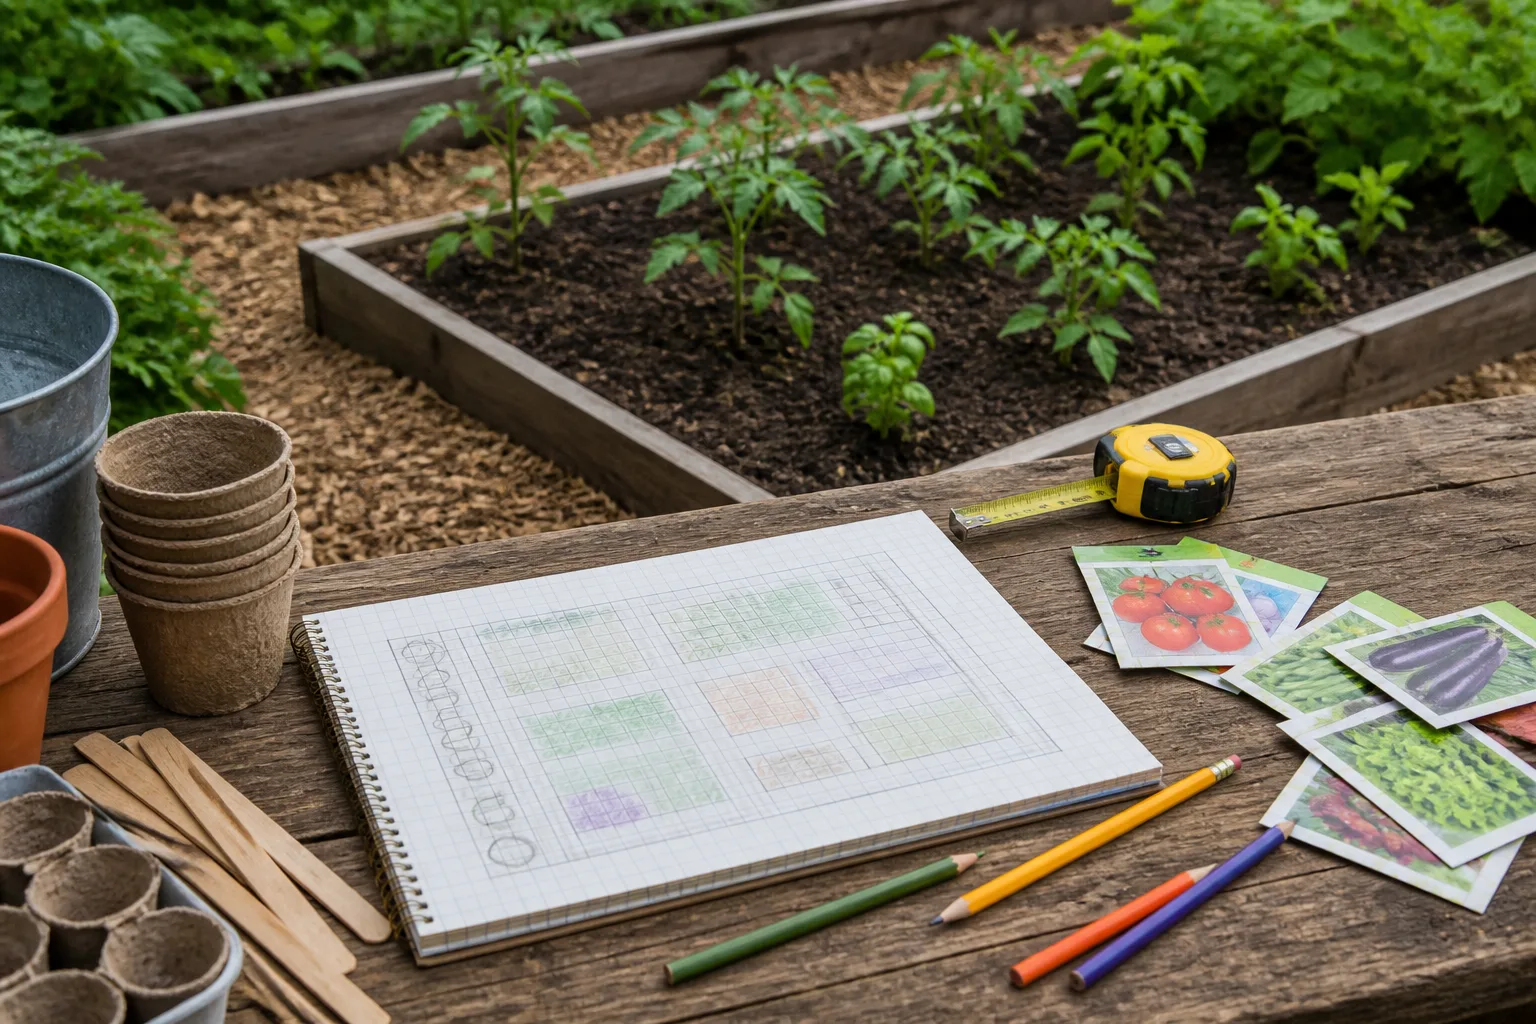
Draw the plan to scale, label the shared and individual areas, and assign a responsible person or team to every common feature. Keep taller crops from shading shorter ones, put beds near the water source where practical, and allow room to walk around plants at full size. Mark the routes and work areas before building, then ask members to review the map for reach, turning space, and safe movement.
The NC State Extension food-garden design guidance treats paths, gathering areas, tool storage, compost, and water as part of the garden plan. That systems view prevents the common mistake of budgeting for beds but not for the paths and chores that make them usable.
Choose crops around the people and site
Begin with what members want to eat or share, then check local climate, planting dates, sunlight, water needs, and available labor. Ask participants to name familiar foods and varieties, including crops that may be important to cultural food traditions. Invite local growers or Extension staff to suggest varieties suited to the region; a generic list of “easy vegetables” cannot account for local heat, frost, disease pressure, or the group’s tastes.
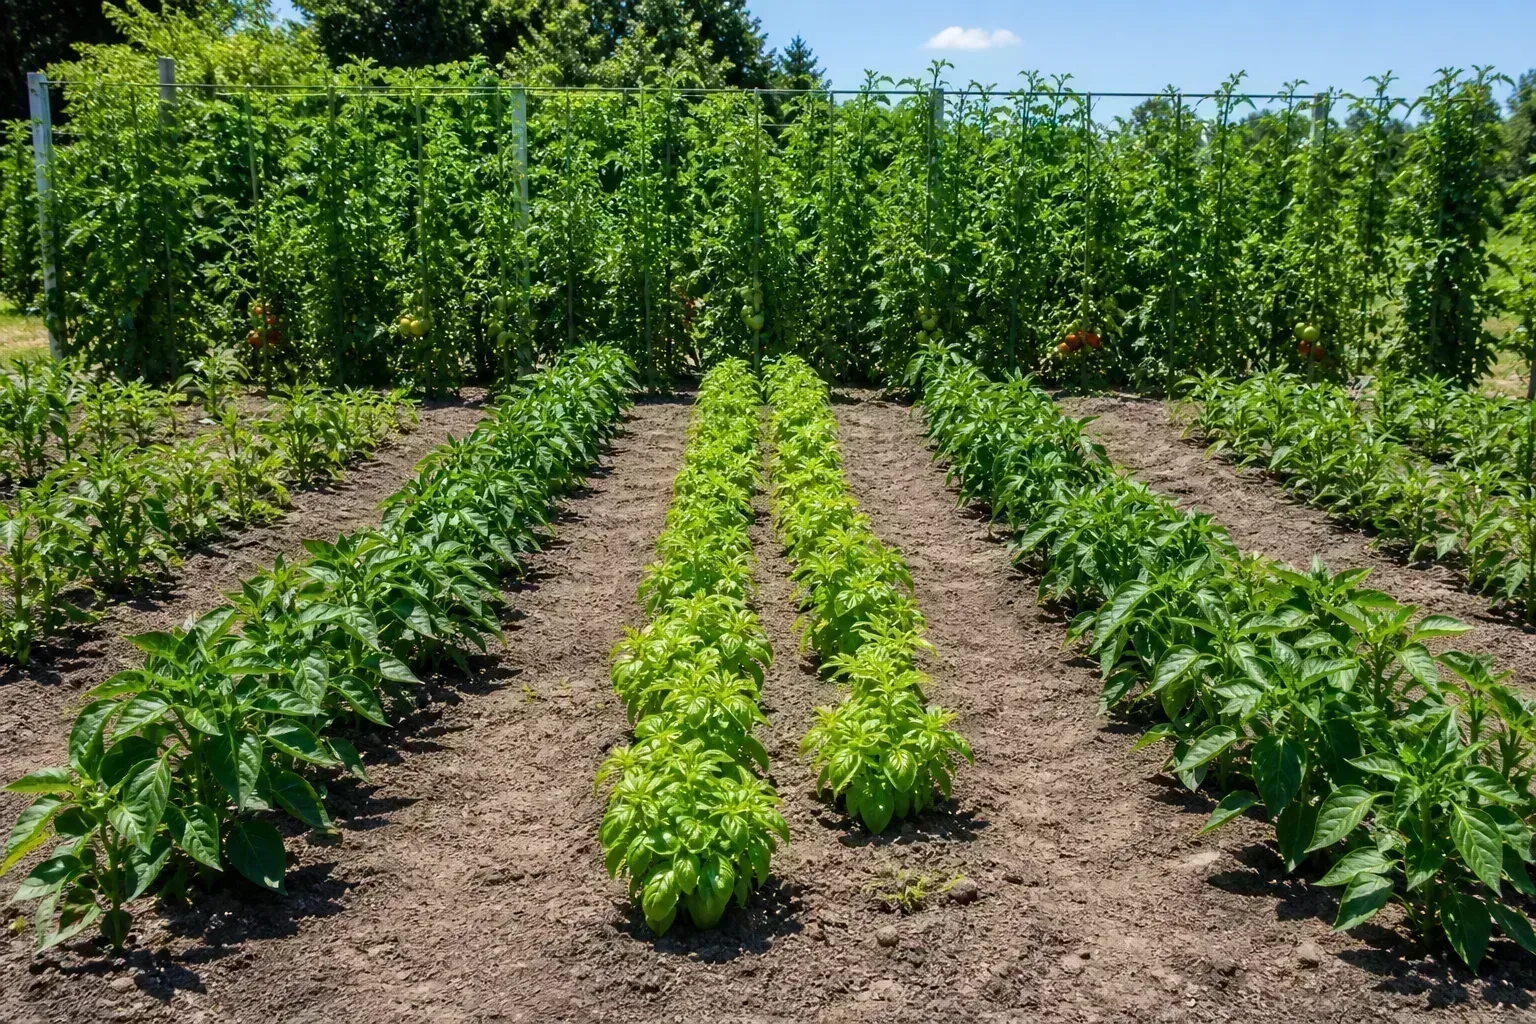
Favor crops that fit the maintenance capacity. Lettuce and other greens can be productive but may need repeated watering and timely harvest; tomatoes need support and attention; herbs can be convenient but some spread aggressively; perennial plants can lower replanting work but occupy space for longer. If the group is new, limit the number of crop types and stagger plantings so the harvest does not arrive all at once when few members are available.
Write down who will water, weed, harvest, and use each shared crop before planting it. For donation beds, arrange the receiving partner and delivery schedule first. For individual plots, agree on whether members may grow anything suitable or whether the group will set limits on invasive plants, tall crops, pesticides, or structures that affect neighbors.
Set up water, tools, compost, and waste
Make the daily systems easy to understand. Put hoses where they can reach beds without blocking paths, label shutoff valves, and teach members how to prevent leaks. A watering rota should include a backup person and a way to report that a task is complete; “someone will handle it” usually means no one knows whether it happened.
Store shared tools in a secure, organized location and keep a short checkout or return routine if tools are limited. Post the name of the person responsible for repairs and a list of supplies that need replacing. Place compost where members can reach it without carrying weeds through finished beds, and agree on what can go in the pile so it does not become a dumping area.
Decide where trash, recycling, spent plants, and bulky deliveries go. Keep paths and gathering places clear, and assign recurring maintenance rather than waiting for the site to look neglected. NC State Extension’s management chapter emphasizes shared responsibility for common areas and regular maintenance; those chores belong on the calendar just as much as planting days.
Prepare the site and open it safely
Once the agreement, soil decision, and layout are settled, plan a workday around a short list of jobs. Ask the landowner about utility lines before digging, identify hazards such as broken glass or unstable structures, and decide who will supervise tools and children. If debris or suspected contaminants are present, do not send volunteers into a cleanup that needs protective equipment or professional handling.
Use a sign-in sheet and give volunteers a brief orientation: where to park, where the water shutoff is, which areas are off limits, how to store tools, and who to contact with an injury or concern. Keep first-aid supplies available and document incidents according to the landowner’s procedures. Check whether the site needs permits or approval before adding a fence, shed, raised bed, rainwater system, or public event; rules vary by location and property owner.
Open with a modest planting day, not an all-day festival that leaves beds half-finished. Provide a few clearly bounded tasks for different abilities and skill levels, such as labeling beds, preparing seed trays, spreading mulch, or welcoming visitors. A visible completion list makes it easier to stop at a safe point and finish remaining work at a later event.
Keep volunteers involved after launch day
People stay involved when they know what the garden needs and can see that their contribution matters. Publish a predictable calendar with short work sessions, watering times, meetings, and social events. Offer tasks that can be completed in 20 minutes as well as jobs for experienced gardeners; not everyone can commit to a long Saturday shift.
Pair new members with a returning gardener for the first visit, and explain the basics without assuming they already know tools, crop names, or local growing seasons. A welcome sheet can include the map, contact information, membership rules, water instructions, and the next two workdays. For members who cannot use online messaging, keep a physical noticeboard or phone contact available.
Celebrate useful milestones, not only abundant harvests. A first successful watering rota, a clean path, a translated sign, or a well-attended beginner session can show that the group is building a dependable space. Ask members what is working and what is hard before small frustrations turn into silent drop-off.
Handle conflict and neglected plots fairly
Disagreements are easier to resolve when the process is known in advance. Give members a direct contact for concerns, a way to raise issues privately, and a neutral person or small committee to hear both sides. Address behavior and its effect on shared space rather than making assumptions about a member’s motives. When a conversation gets heated, pause it and agree on a time to resume with someone else present.
Make the response to an unmaintained plot specific and consistent. Define what counts as neglect, how the group will contact the member, how much time they have to respond, and what happens if no one hears back. A short notice period during a busy season can protect crops while still giving someone facing illness, work changes, or family responsibilities a chance to ask for help.
Do not reassign a plot based on rumor or a single missed workday. Use the written agreement, keep a dated record of contact, and apply the same process to everyone. If members are struggling, a shared cleanup day or temporary watering help may solve the problem without removing them. The goal is to protect both access and the community’s investment, not to punish people for being imperfect gardeners.
Review the first season and adapt
At the end of the season, bring the group together to review what happened against the goals it set. Which beds were used? Were water and tools reliably available? Who did common work, and who was left out? Were crops wanted and harvested at the right time? Did the budget cover recurring costs, and did any site or safety concern need a different response?
Record a few practical measures: active members, filled and maintained plots, shared work sessions, harvest destinations if the group tracks them, expenses, and maintenance issues. These numbers are not a score of community worth; they help the group decide whether to expand, simplify, change the plot model, seek another funding partner, or improve access before adding beds.
Share the results with participants and the landowner, thank people who contributed, and set next season’s priorities while the experience is fresh. Keep photos and notes with permission, especially if the group may need to document progress for a grant or future land agreement. A garden that adapts to the people who use it is more likely to remain useful than one that keeps following a plan written before anyone planted.
Conclusion
To start a community garden, organize people before infrastructure: agree on the purpose, listen to neighbors, choose a model, secure written land permission, and confirm that the site has workable water, sun, access, and safe soil. Then set simple rules, budget for recurring care, and build only as much garden as the group can maintain in its first season.
The best first garden is not necessarily the largest or most elaborate. It is the one whose members understand how decisions are made, can reach the beds and tools, know who is doing the next task, and have a fair way to solve problems. Begin with that foundation, grow deliberately, and let each season’s experience shape what comes next.