How to Test Soil pH With or Without a Kit
Compare soil pH kits, meters, and lab tests; learn to collect a representative sample and why pantry fizz or cabbage color cannot give a dependable pH number.
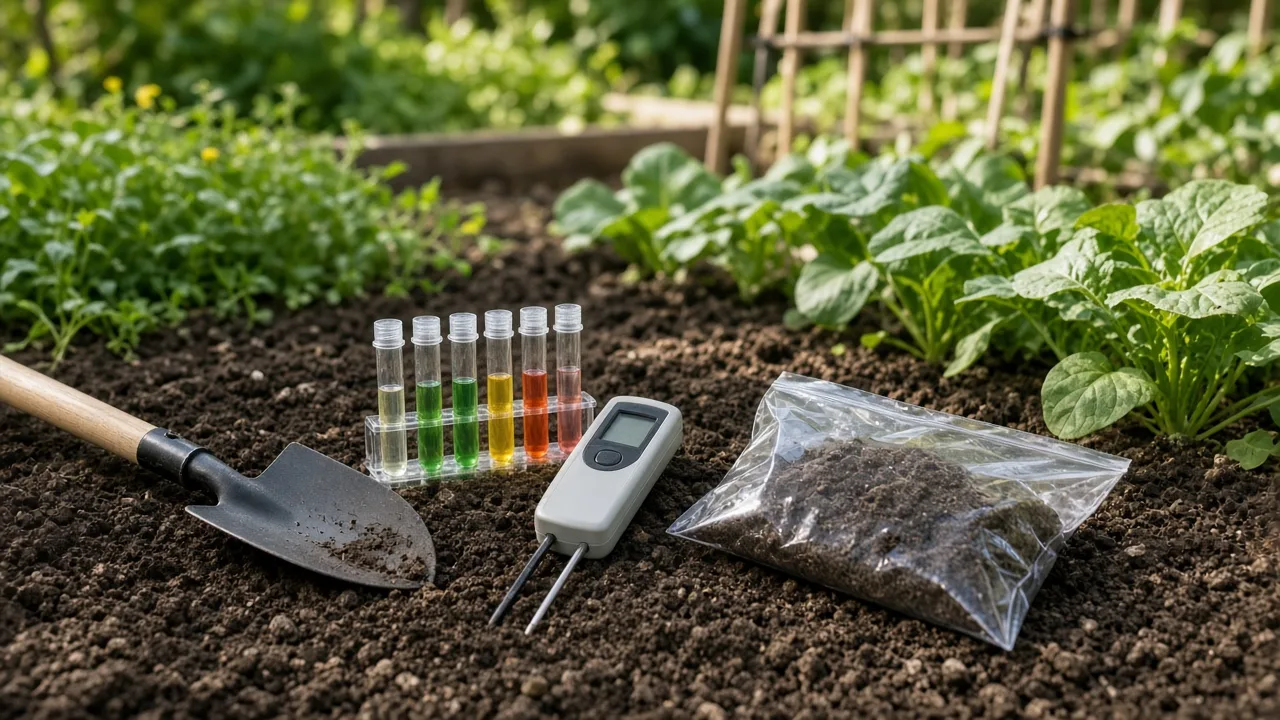
The quick answer: pantry tests are not pH measurements
Vinegar, baking soda, and red-cabbage water can produce visible reactions with some soil samples, but none gives a calibrated soil pH reading. Fizzing does not tell you that a sample is pH 5, 6, or 8, and a color shift does not tell you an exact value. Use those methods as kitchen-chemistry demonstrations, not as a basis for choosing or measuring lime or sulfur.
For a useful home reading, use a test designed for soil and follow its instructions closely. A properly calibrated pH meter can help you screen or compare samples, while a soil-testing laboratory is the safer choice when you need an amendment recommendation, a crop-specific interpretation, or a result you plan to rely on for more than curiosity.
What pH tells you—and what it does not
Soil pH describes how acidic or alkaline the soil solution is on a scale from 0 to 14, with 7 considered neutral. It affects how available some nutrients are to roots, but it is not a measurement of the amount of fertilizer in the soil, the quality of its structure, or how well it drains. A bed can have a suitable pH and still be low in a nutrient, compacted, waterlogged, or otherwise hard for a plant to grow in.
Different plants also tolerate different pH ranges. Many common garden crops grow across a mildly acidic to near-neutral range, while some plants have narrower preferences. Before testing, identify the plant or crop you are trying to grow and look up its recommended range from a regional Extension service or reliable horticultural reference. A number has little meaning until you compare it with the right plant and the right local guidance.
Symptoms such as yellow leaves, weak growth, or poor flowering can have many causes, including watering, roots, light, pests, and nutrient availability. They are reasons to investigate, not proof that the pH is wrong. In a vegetable bed, a soil test can be useful because it may check both pH and fertility; Savvy Gardening’s beginner vegetable-gardening guide makes the same practical point about testing before relying on amendments (Savvy Gardening).
Collect a representative soil sample before testing
A precise instrument cannot rescue a poor sample. If you scoop soil from one unusual spot, test the edge of a compost pile, or mix several very different areas together, the result may describe that handful rather than the bed you intend to manage. Decide what area the result should represent before you dig.
Sample one consistent area
Treat each area with a distinct soil type, use, or amendment history as a separate sample. Keep a lawn separate from a vegetable bed, and do not combine a recently limed strip with an untreated section. A raised bed filled with purchased mix may need its own sample; the soil below it is not automatically representative of the material where the roots are growing.
Also separate low, wet spots from higher ground if they behave differently, and keep areas beside compost, manure piles, paths, sheds, or former burn piles out of the sample unless that exact spot is the one you are investigating. Remove surface mulch and loose plant debris before collecting soil, but do not scrape away the mineral topsoil. If the bed was recently limed, fertilized, or amended, wait according to the lab or kit instructions rather than testing a fresh patch of concentrated material.
Take and blend multiple cores
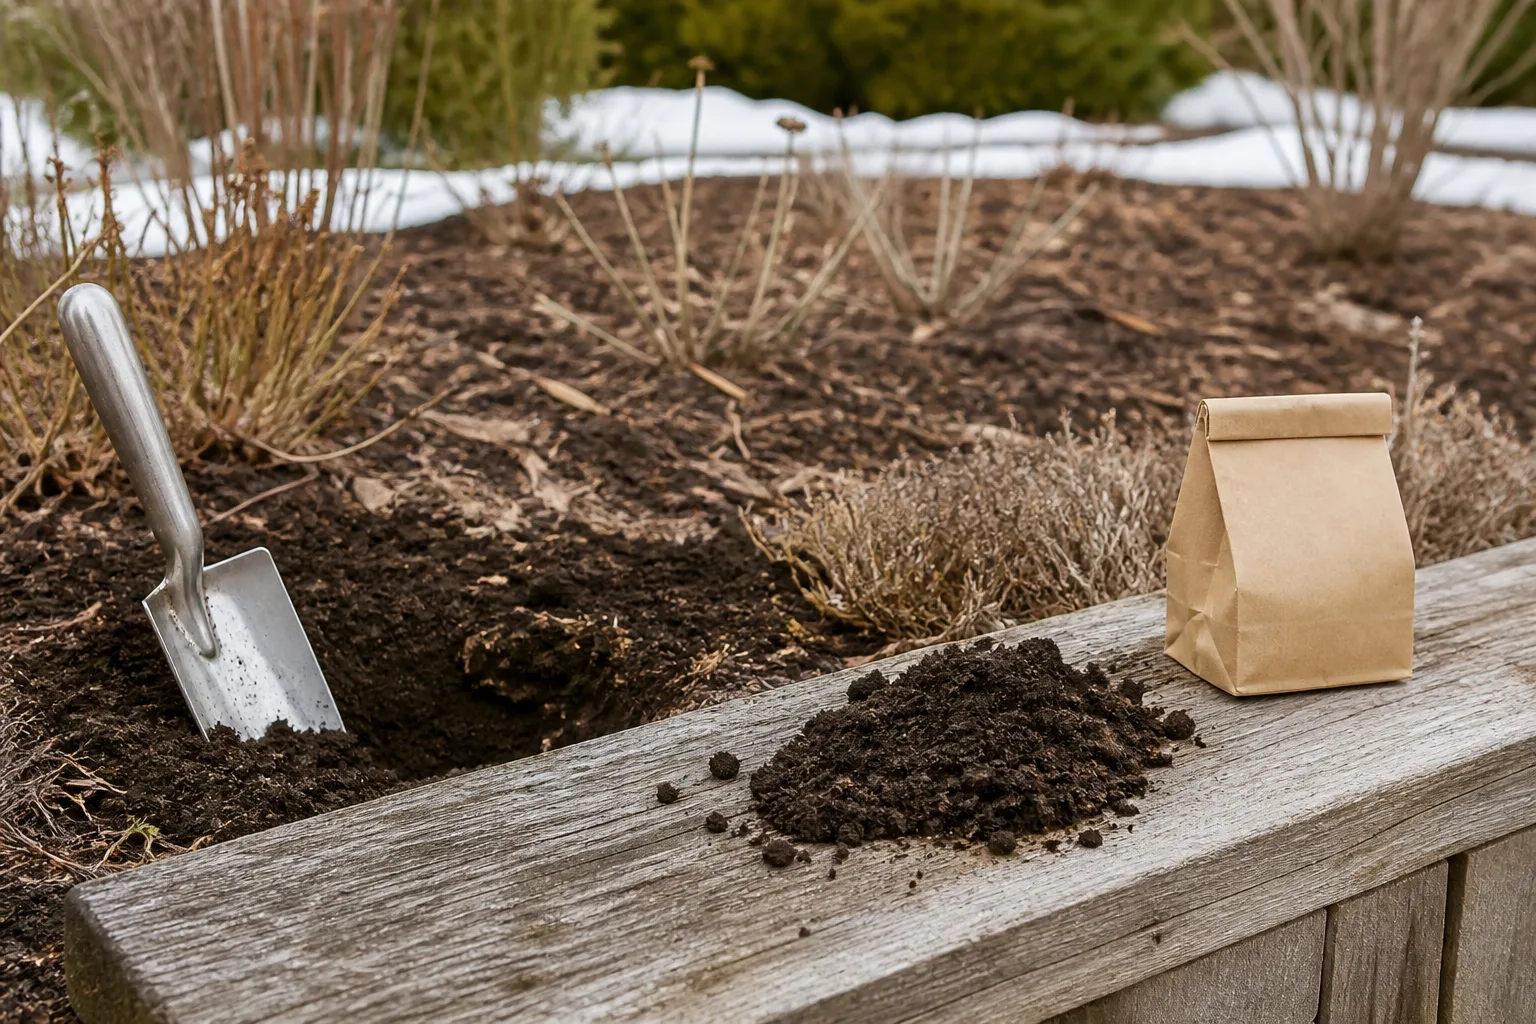
For a garden bed, collect several narrow cores from evenly spaced points across the area, using a clean trowel or soil probe. Penn State Extension recommends 8 to 10 random locations and a depth of 6 to 8 inches for gardens; for lawns it gives a 4-inch depth. Lab instructions can differ, so the laboratory receiving your sample takes priority. Oregon State University Extension’s garden-soil guide also describes sample collection as part of requesting a soil test (Penn State Extension soil-testing guidance, Oregon State University Extension, EM 9685).
Put the cores from one area into a clean plastic bucket, break up clods, remove stones and surface debris, and mix the soil thoroughly. Use a portion of that composite for the home test or lab submission instead of testing a random core. If you are comparing beds, label each sample and keep the composites separate; blending them together erases the very difference you may be trying to find.
Do not substitute potting mix, compost, or a handful taken from the soil surface for a field sample unless that is the material you specifically need to assess. For a new garden, sample the future root zone before adding amendments. Write down the bed name, crop, recent lime or fertilizer use, and any unusual symptoms so you can interpret the result later without relying on memory.
What vinegar and baking soda actually show
The familiar pantry test separates soil into “acidic,” “alkaline,” or “neutral” by watching for bubbles. That is too confident a conclusion. Visible fizz comes from a reaction between ingredients in the cup; it is not a measuring scale, and it does not show where the sample falls within a plant’s preferred pH range. The Old Farmer’s Almanac’s DIY soil-testing overview includes these familiar household demonstrations, but a demonstration is not a calibrated method for deciding how much to amend (The Old Farmer’s Almanac soil-testing guide).
If you want to see the reaction for yourself, split a little of the same mixed sample between two clean cups. Add a splash of white vinegar to one; in the other, moisten the soil with distilled water and stir in a small pinch of baking soda. You may see bubbles in one cup, both, or neither. This is only a demonstration: there is no standardized household ratio or validated conversion from the reaction to a soil pH value, so do not use the result to choose an amendment.
Vinegar fizz may reveal carbonate, not a pH number
Vinegar is acidic. When it contacts enough carbonate-containing material, such as carbonate minerals or residual lime, the acid can react and release carbon dioxide bubbles. A fizz may therefore indicate that reactive carbonate is present in that portion of soil; it does not quantify pH or establish how much lime is in the bed. The strength of the bubbles depends on the sample and the test setup, not on a calibrated pH chart.
No visible fizz does not prove the soil is acidic, neutral, or suitable for a particular crop. The sample may simply have too little reactive carbonate to make a visible reaction under those conditions. Vinegar strength, soil moisture, the amount of soil, and how the material is mixed can all affect what you see, so do not translate “more fizz” into “higher pH.”
Baking soda fizz is not a pH scale
Baking soda is alkaline, so it may react with acidic components in a wet soil mixture and release bubbles. But soil is a complex, buffered mixture rather than a single acid in a glass. The result depends on the amount and kind of acidity, the water and proportions used, and the sample’s other materials; a light fizz or no fizz cannot assign a dependable pH value.
Testing one portion with vinegar and another with baking soda does not solve the problem. Both cups can show a reaction, neither can show one, or one may fizz faintly while the other reacts more strongly. Those outcomes are not a validated decision tree for “acidic,” “neutral,” and “alkaline,” and they cannot tell you how many pounds of lime or sulfur to apply. If you want to try the reactions, treat them as a demonstration and confirm any garden decision with a soil-specific test.
Can red cabbage water test soil pH?
Red cabbage contains pigments that change color in response to acidity in a liquid. That makes cabbage water an interesting indicator for a classroom experiment, but putting soil into it does not create a standardized soil test. Soil color and organic matter, the amount of water, the ratio of soil to extract, the cabbage preparation, lighting, and other dissolved substances can all change how the mixture looks.
For a simple demonstration, simmer chopped red cabbage in water, let the liquid cool, and strain it into a clean cup; add a spoonful of soil and watch for a color shift. The color may give a rough visual impression that the extract changed, but it does not provide a calibrated number or a dependable acidic/alkaline category for garden decisions. Do not compare shades from different soils as if they were a common pH chart.
Even if a sample turns pinkish or greenish, you have not measured a calibrated soil pH or a reliable value for an amendment calculation. A color shift might suggest that the extract is more acidic or alkaline than another cup tested in exactly the same way, but it should not be treated as a dependable reading across different soils. There is no reliable conversion from a shade of purple or green to a garden pH number unless a validated procedure and reference standards are used.
If you want an inexpensive screen, choose a soil-specific kit instead of relying on cabbage juice or generic litmus paper. A kit intended for soil gives directions for the sample, extraction, reagent, wait time, and comparison chart. Those details matter; the Oregon State University Extension question on soil-acidity strips is a useful place to check when considering strips rather than a soil kit (OSU Extension, “Testing strips for soil acidity?”).
Use a soil-specific home test kit or meter
A home test can be useful when you want a rough screening result, are comparing parts of one garden, or want to decide whether sending a sample to a lab is worthwhile. It is not a universal substitute for a laboratory report. Read the manual before buying or using a device: a product advertised as a moisture, light, and pH meter may not use the same method as a soil-specific instrument, and a generic strip may not cover the range where your crop grows best.
Use the same well-mixed composite sample for repeat readings, follow the listed soil-to-water ratio exactly, and use the water type specified by the kit. If the instructions call for distilled or deionized water, do not substitute tap water with unknown mineral content. Keep reagent bottles closed, use clean cups and tools, and compare colors under bright neutral light within the stated wait time rather than after a sample has dried or changed color in the air.
Color kits and strips
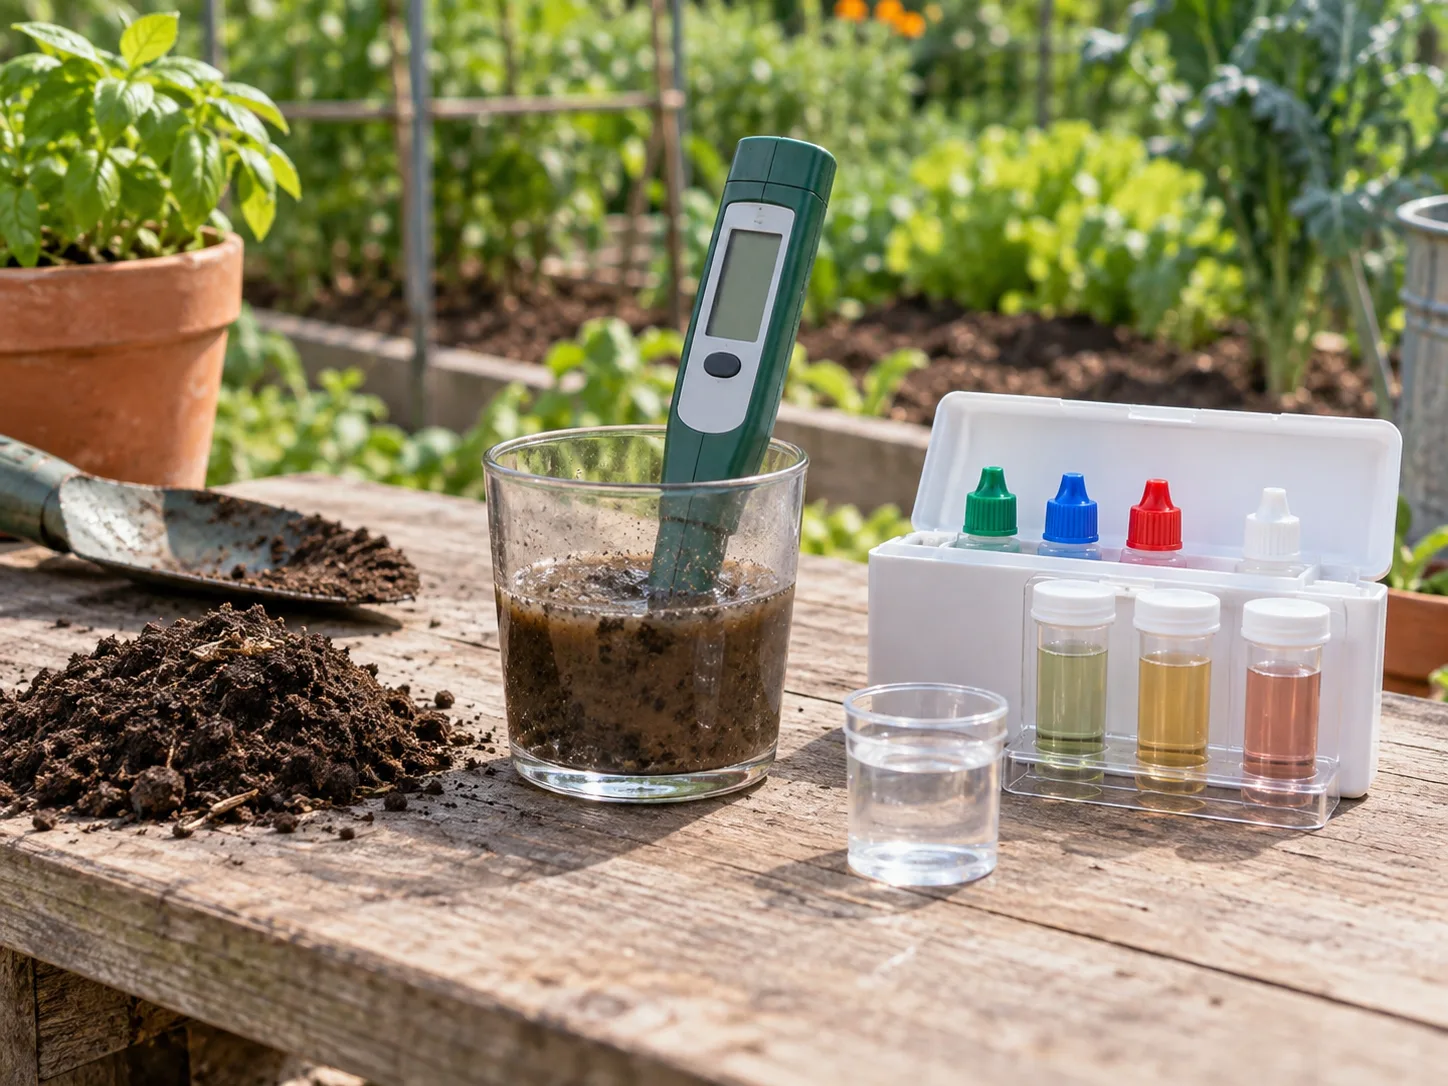
A soil-specific chemical kit generally combines a measured soil sample with a liquid or powder reagent and a color chart. Use the exact amount of soil and water on the label, mix for the stated time, let solids settle if the instructions say to, and compare the sample with the chart in the recommended light. If the manufacturer asks for filtered liquid, do not dip a strip into muddy soil and expect the color to be meaningful.
Strips are easiest to misread when the color blocks are close together, the soil extract is cloudy, or the sample itself stains the liquid. Generic pool, aquarium, or household strips are not automatically validated for garden soil. A soil-specific strip or kit can provide a useful approximate range when used as directed, but it usually cannot supply the crop-specific lime requirement or nutrient report that a lab can. If two repeated tests land in different color blocks, treat that as uncertainty rather than choosing the answer you prefer.
Digital meters and probes
A pH meter can return a number, but digits on a display are not proof of accuracy. For an electrode-based meter, calibration with the correct fresh buffer solutions matters; follow the meter’s directions for which buffers to use, how to rinse the probe, and whether the soil should be tested in a prepared slurry or by direct insertion. Some inexpensive combination probes use different sensing methods, require particular soil moisture, or are intended only for a broad indication.
Do not push a dry probe into hard ground and assume that an unstable display is a soil result. Do not let fertilizer granules, lime particles, or a pocket of compost touch the tip unless the manufacturer’s method calls for it. Rinse and store the probe as directed, take more than one reading from the same composite, and note the readings rather than keeping only the most convenient one. If the meter cannot be calibrated, the readings disagree widely, or the answer is close to a crop’s limit, confirm with a soil lab.
A home instrument is most helpful for screening and tracking under the same conditions. If you test again later, use the same collection area, depth, sample-preparation method, water, and device procedure. A shift may reflect a real change, but it may also reflect a different sampling point or inconsistent preparation. Do not compare an uncalibrated direct-probe reading with a lab number as if they were interchangeable.
When to send a sample to a soil lab
Use a lab when the pH result will determine whether you add lime or sulfur, when home readings conflict, when plants are struggling despite reasonable care, or when you need more than a pH number. A soil analysis may include nutrients and other measures, and some laboratories report a lime requirement based on the soil’s buffering behavior. Penn State Extension describes its soil test as measuring pH and other fertility factors, with the report used to guide crop-specific lime and fertilizer recommendations (Penn State Extension).
Choose a lab that serves your location and the crop or garden use in question. University and Cooperative Extension services in some areas provide sample instructions or route samples to a partner laboratory; private labs may also serve home gardeners. Availability, cost, sample requirements, and turnaround vary, so check the current local instructions rather than assuming every region has the same service or price.
Read the sampling sheet before collecting soil. Labs may specify container type, depth, amount, drying requirements, forms, and whether a special test is needed. The sample should represent the bed, not a handful selected because it looks dark or “healthy.” Tell the lab which crop you are growing and whether the sample is from a lawn, vegetable garden, orchard, or ornamental bed; recommendations can depend on that use.
Read the result before choosing an amendment
Start with the crop’s recommended pH range and the test method. A home kit reading just outside a target range is not a reason to make a large change, especially if the method is approximate. If the plant grows well and the result is near its acceptable range, changing the soil may create more work and risk than leaving it alone. A test is useful partly because it can show when no correction is warranted.
Match the result to the crop
If the crop has a narrow pH preference or the result falls outside its recommended range, use a laboratory test with a crop-specific recommendation before applying a pH-changing amendment. The amount of lime needed depends on more than the current pH: soil texture and buffering capacity, target pH, incorporation depth, and the product’s neutralizing value all matter. Sulfur’s effect likewise depends on soil conditions and time; a pantry reaction cannot calculate a rate for either material.
Do not add lime because a plant has yellow leaves or because vinegar did not fizz. Do not add sulfur because baking soda bubbled. Neither reaction can calculate a safe dose, and overcorrecting pH can reduce nutrient availability or make the bed harder to manage. Follow the lab report and product label, apply only the amount recommended for the specific area and use, and retest on the schedule suggested by the lab rather than layering on more after a few days.
If the pH is appropriate but growth remains poor, look at the rest of the report and the growing conditions. Check drainage, compaction, irrigation, root health, light, and nutrient levels before blaming pH. A soil test narrows the possibilities; it does not diagnose every plant problem on its own.
How often and when to test
Test before establishing a new bed, before changing soil pH, or when a crop-specific problem makes the result useful. Testing ahead of planting gives you time to receive a result and follow a local recommendation, but there is no single calendar date that works for every climate or laboratory. Ask the receiving lab when it wants samples and how long to wait after a previous application of lime, sulfur, fertilizer, manure, or compost.
For routine monitoring, use the interval recommended by your local lab. Penn State Extension gives a general schedule of every two to three years for sandy soils and every three to four years for clay soils, while also advising a test when problems occur during the growing season. Other regions and management systems may use a different interval, so treat that schedule as guidance rather than a universal rule. Keep prior reports so you can compare the same bed and sampling method over time.
After an amendment, do not expect a quick pantry reaction to show whether it worked. Soil changes gradually, and a test taken too soon may not reflect a stable result. Follow the report’s timing, make only the recommended correction, and avoid repeated applications based on short-term plant symptoms or a single home reading.
Common testing mistakes
- Testing one handful: one spot can be unusual. Collect and mix multiple cores from a defined area.
- Combining different beds: unlike soils, management histories, or crop uses need separate samples.
- Sampling at the wrong depth: use the receiving lab’s instructions and keep the depth consistent for comparisons.
- Testing right after an amendment: concentrated particles can distort a local sample; follow the waiting instructions.
- Using pantry fizz as a scale: bubbles do not map to a pH number or amendment rate.
- Assuming cabbage color is calibrated: color is an observation, not a standardized soil pH reading.
- Trusting a meter because it has decimals: calibrate and prepare samples as directed; otherwise the display can be precise-looking but unreliable.
- Reading a strip outside its time window: reagent color can change, so use the stated comparison time and lighting.
- Treating pH as soil fertility: pH and nutrient levels are different measurements; a pH-only result cannot tell you every nutrient need.
- Amending before confirming: use a lab recommendation for lime or sulfur decisions, especially when the bed is large or the target crop is sensitive.
Conclusion
You can make a soil sample fizz or change color without a kit, but you cannot turn that reaction into a dependable pH number. Vinegar, baking soda, and cabbage water are curiosity tests; use a soil-specific kit or properly calibrated meter for a home screening, and choose a local soil lab when you need an amendment recommendation or a more complete picture.
Collect a composite sample from one consistent area, follow the test or laboratory’s instructions, and compare the result with the needs of the crop you plan to grow. Most importantly, do not add lime or sulfur because of bubbles, color, or a symptom alone. The right test is the one that answers the decision you actually need to make.



