14 Backyard Fire Pit Landscaping Ideas for Entertaining
Plan a safer, more useful fire pit zone with 14 backyard landscaping ideas, layout rules, gravel and paver tips, planting guidance, and seating plans.
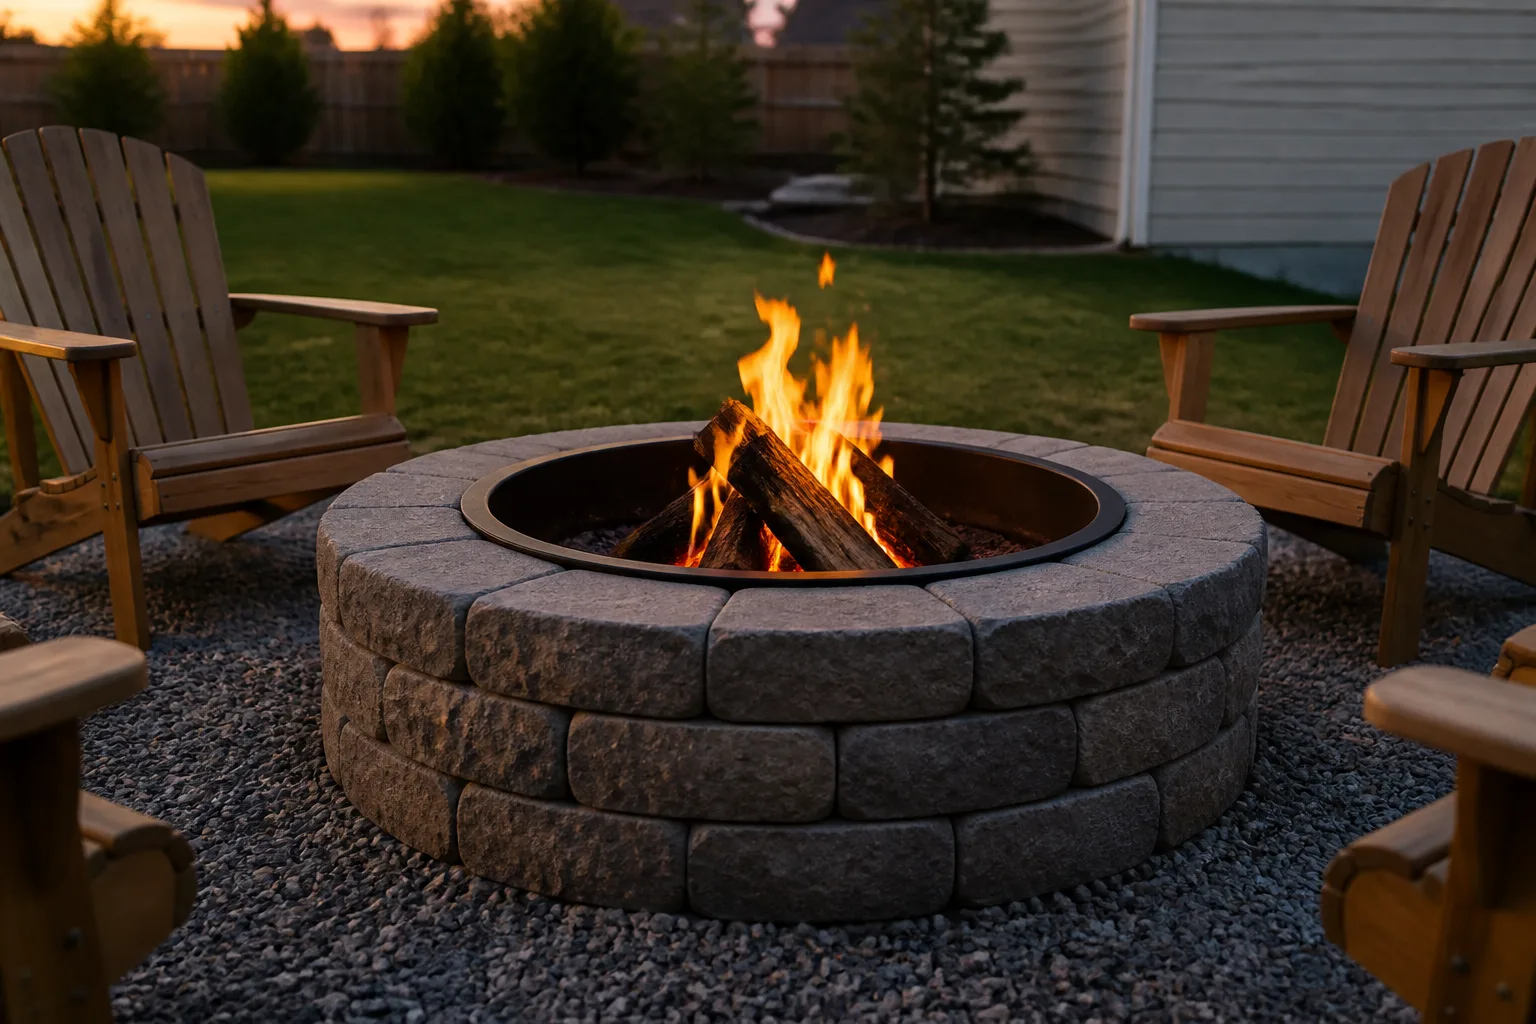
A fire pit works best when it feels like the center of an outdoor room—not a metal bowl dropped into the middle of the lawn. The most successful backyard fire pit landscaping ideas solve four problems at the same time: they put the fire on a suitable surface, leave enough room for people to move, keep smoke and sparks away from combustibles, and make the feature look connected to the rest of the yard.
Use the ideas below as a design menu, but make the decisions in order. Check local rules, choose the fuel, measure the clearance, and settle the ground plane before you buy chairs, plants, or string lights. That sequence prevents the common mistake of creating a beautiful circle that is too close to the house, too smoky for the seating, or too unstable for everyday use.
The Fastest Way to Choose a Fire Pit Landscape
Start with the way you will use the fire pit. A wood-burning ring is a social campfire with smoke, sparks, ash, and stronger radiant heat. A propane fire table or bowl is often easier to place near a patio because it has no woodpile or ash bed, but it still has open-flame, ventilation, fuel-storage, and manufacturer-clearance requirements. Neither fuel makes local rules optional.
Next, draw three zones on graph paper or with marking paint:
- The fire zone: the pit, its required clearance, and the non-combustible surface directly beneath it.
- The conversation zone: chairs, benches, side tables, and enough space to pull a chair out without stepping into the fire area.
- The arrival zone: the path from the house, pool, gate, or outdoor kitchen, plus a place to set down food and firewood well away from the flame.
The best style is the one that fits those three zones without forcing people through the fire area. A small round pit with four chairs can be more comfortable than a large pit surrounded by furniture that blocks the path back to the house.
Safety and Local Rules Come Before the Pretty Part
Outdoor fire is a design constraint, not just a decorative feature. The U.S. Fire Administration’s outdoor-fire guidance recommends using fire pits outdoors at least 10 feet from a home or anything that can burn, closely watching children, using a metal screen over wood-burning fires, and putting the fire out before leaving. Treat that as a starting point, not permission to ignore a stricter local rule or a fire-pit manufacturer’s manual.
Call the local fire department or other authority having jurisdiction (AHJ) before you dig. A town may regulate pit type, fuel, size, permits, smoke, hours, and distance from property lines; an HOA or rental agreement may add another restriction. Current conditions can change the answer, too. For example, Central Oregon Fire Information explains that restrictions can affect whether campfires are allowed and tells residents to check before burning, while Lane Fire Authority shows how burn and fire seasons are set by local agencies and can close outdoor burning.
Clearance, Wind, and Overhead Hazards
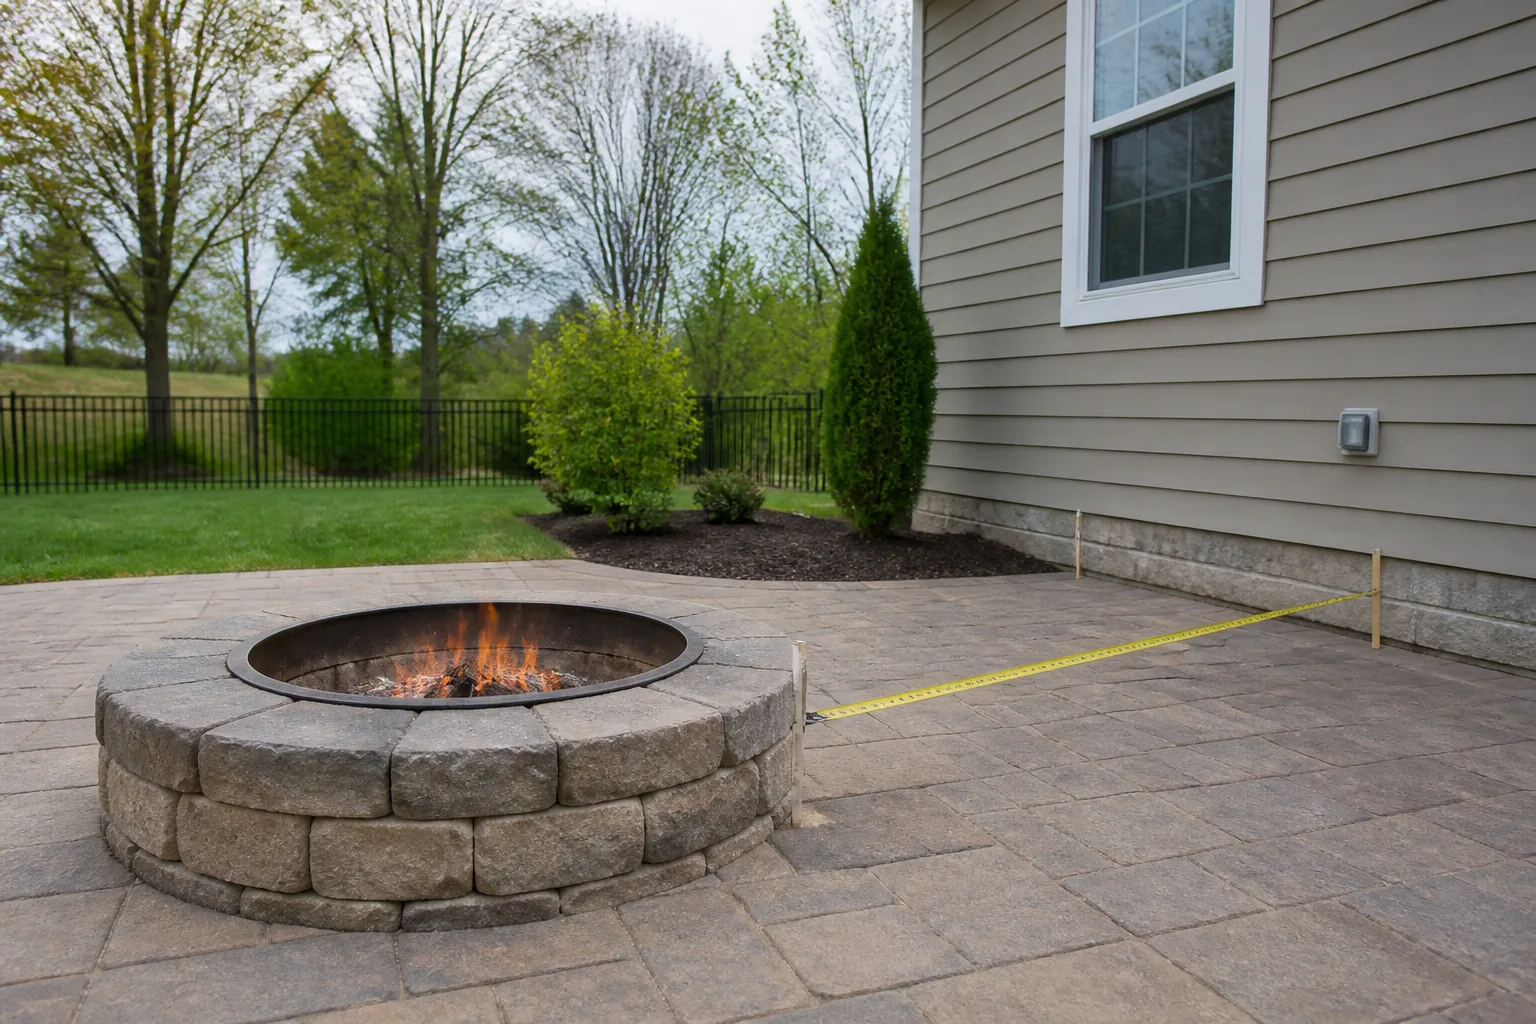
Measure the 10-foot baseline from the edge of the flame-producing appliance or pit to siding, fences, sheds, decks, pergolas, eaves, furniture, woodpiles, and other combustible materials. Give yourself more room when the pit produces tall flames, the yard is dry, the site is exposed to wind, or the local rule says 15 feet or more. A spark screen reduces ember travel; it does not turn a cramped layout into a safe one.
Do not place a wood fire beneath overhanging branches. A tree canopy may look like natural shade, but dry leaves, hanging twigs, and wind-driven embers are exactly the materials you are trying to keep away from flame. A roof or pergola needs the same caution: a gas appliance is only suitable beneath a covered structure when the unit is listed for that location, the manufacturer’s clearances are met, and local officials allow it. A wood-burning pit under a roof is a poor default.
Check the usual wind direction at the time you plan to entertain, not just on a calm afternoon. If smoke will cross the back door, a neighbor’s windows, or the only walking route, move the pit or choose another fuel. A low, open planting bed can soften the view; a tall solid wall can trap smoke and create a hotter pocket around the fire.
Wood, Propane, and Restrictions Are Different Decisions
Wood creates the classic fire-pit experience, but it also creates embers and ash. Keep a spark screen, poker, water source, and metal shovel close by; burn only clean, dry fuel that your local rules permit. Never add gasoline, lighter fluid, plastic, painted wood, treated lumber, or household trash.
Propane reduces smoke and eliminates loose embers from burning logs, which can make it a better fit for a compact entertaining zone or smoke-sensitive household. It is still an open flame. Keep cylinders upright and ventilated as directed, do not improvise a burner inside a decorative vessel, and follow the appliance manual for overhead, side, and seating clearances.
If your area is under a burn restriction, do not assume that a portable wood pit is exempt because it is sold as outdoor furniture. Ask the AHJ whether the restriction applies to wood, charcoal, propane, or all outdoor flame. Design the landscape so it remains useful as a seating or patio zone even on nights when the fire cannot be lit.
Choose the Ground Plane That Makes the Zone Work
The surface under and around a fire pit should be level, non-combustible, and comfortable enough for chairs. Do not set a wood-burning pit directly on a wood deck, dry lawn, bark mulch, or a bed full of fallen leaves. A fire bowl may be rated for a particular patio surface, but that rating belongs to the appliance—not to every fire pit you can place beside it.
Gravel, Pavers, and Stone Compared
| Surface | Why it works | Trade-off to plan for |
|---|---|---|
| Compacted crushed stone with a gravel finish | Drains well, handles irregular shapes, and is usually the most forgiving budget option | Round pea gravel shifts under chair legs; use edging and a stable base |
| Concrete or clay pavers | Creates the flattest walking and seating surface and makes a patio feel intentional | Installation costs more; joints collect weeds and some units can crack or discolor |
| Flagstone or natural stone | Gives a garden or woodland setting a strong, irregular character | Uneven faces can create trip points, and large slabs need a well-prepared base |
| Bare lawn or bark mulch | Cheap at first and visually soft | Combustible, muddy, hard to level, and vulnerable to sparks and heat |
For a gravel area, excavate enough to remove sod and organic debris, compact a mineral base in layers, and finish with a surface aggregate that does not roll under every step. Keep a firm band or paver path where people carry food and where chair legs land. The result can still look casual without making guests balance on loose stones.
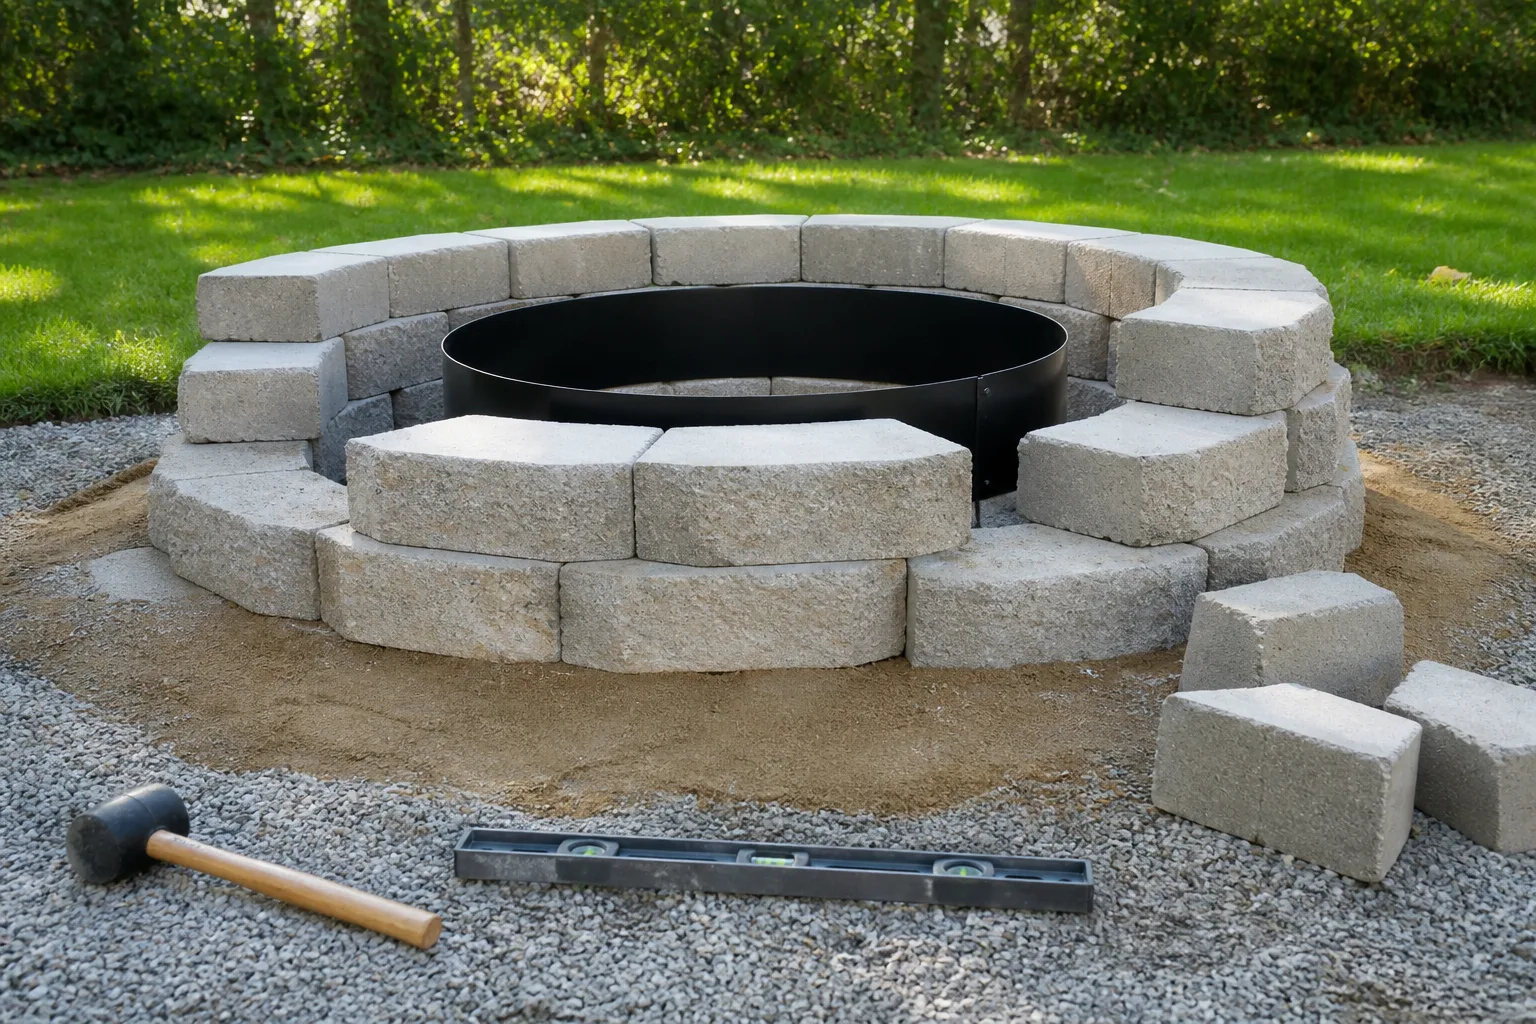
If you use masonry around the flame, distinguish landscape wall material from a heat-rated liner. Standard concrete blocks and decorative pavers can crack or spall after repeated direct heating. A properly sized steel fire ring or fire-rated insert protects the surrounding wall and gives you a replaceable component when the metal eventually wears.
14 Backyard Fire Pit Landscaping Ideas
The following ideas are deliberately different in footprint and mood. Each one includes the design condition that makes it work, so you can borrow the useful part without copying an entire yard.
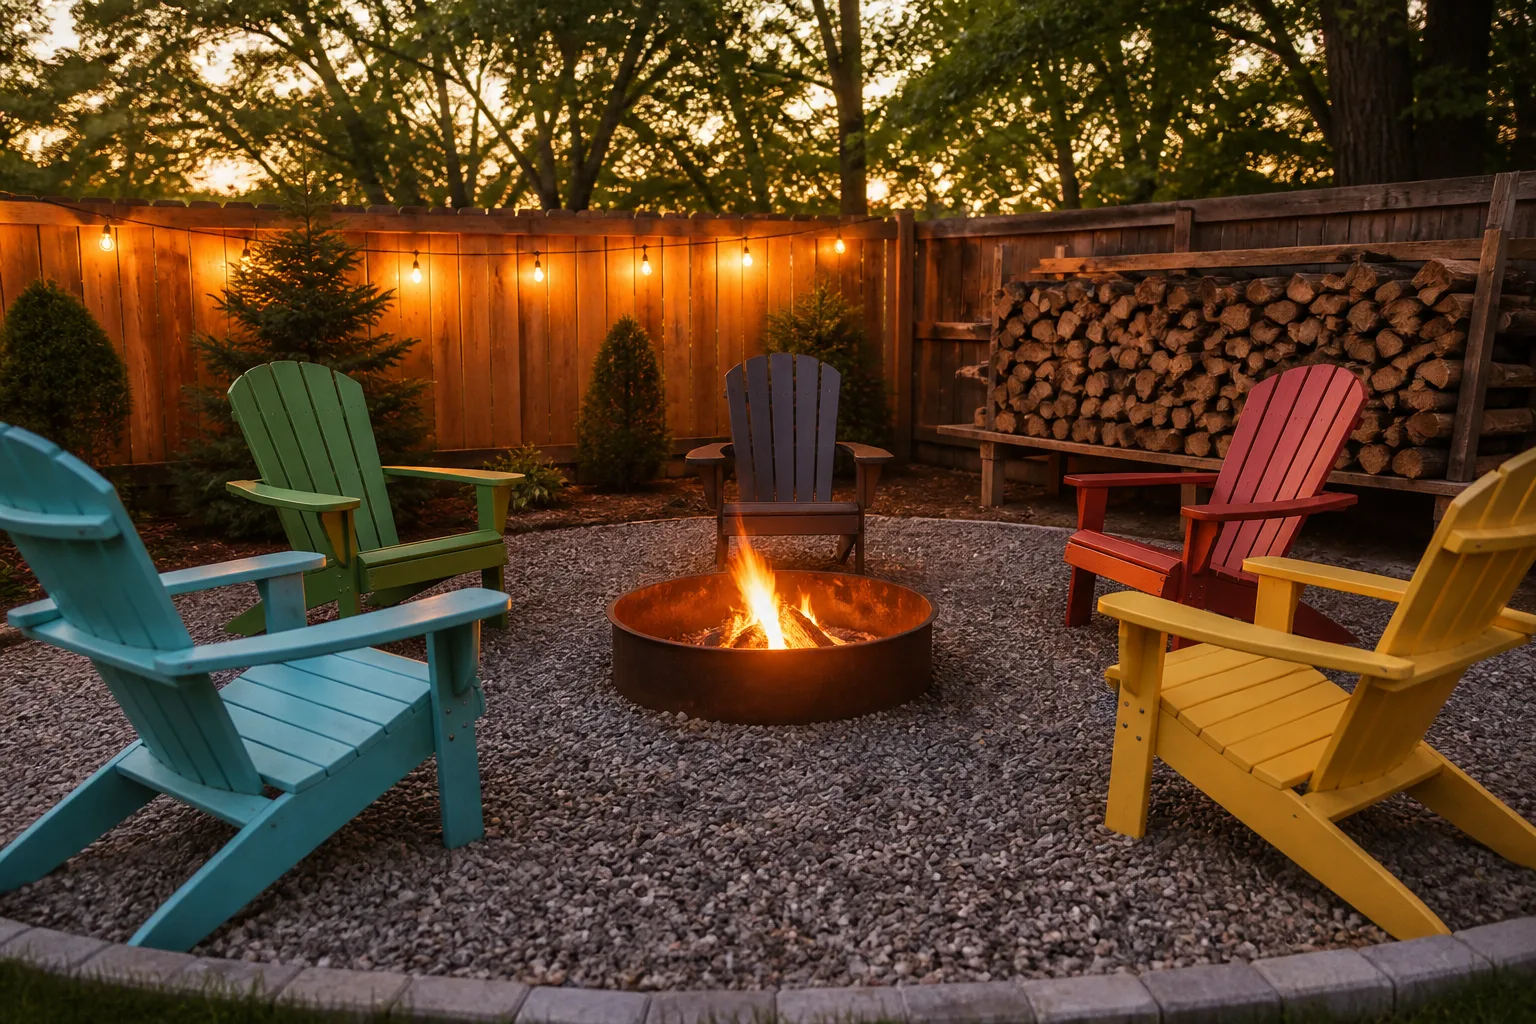
1. A pea-gravel conversation circle. Use a circular pad of compacted crushed stone topped with a restrained layer of gravel, then arrange four to six chairs around a modest pit. This is the most flexible starting point for an informal yard because the circle can be expanded, reshaped, or removed without demolishing a patio. Edge the gravel where it meets lawn, and keep a firm strip on the route between the house and the fire so guests are not walking through rolling stone while carrying drinks.
2. A paver patio that extends the outdoor room. Continue the same paver family from an existing patio into a smaller fire-pit bay. Change the paver direction, border, or joint pattern to signal that the area is for lounging rather than dining. This approach is especially useful when you want the fire pit to feel intentional but still close enough to the kitchen for serving; the safety setback still controls how close the flame can be to the house.
3. A pathway that makes the pit feel like a destination. Lead guests from the back door or garden gate with stepping stones, a narrow paver walk, or large pieces of stable flagstone. The path does more than add polish: it keeps foot traffic from cutting across a planted bed, a hose, or the fire zone. Low-level path lights can help people see the edge without aiming bright lights into the seating circle.
4. A small-yard corner with two-sided seating. In a compact backyard, place a small, code-compliant pit at the far end of a non-combustible pad and use an L-shaped bench or two compact chairs along the open sides. Keep the seating outside the required clearance and leave one obvious route back to the house. A low-smoke propane bowl may be a better fit than a wood fire when neighbors are close, but only if that fuel is allowed and the appliance is rated for the setting.
5. A shallow sunken patio, not a sunken bonfire. A step-down lounge can visually separate the fire zone from a lawn or dining terrace and make a broad yard feel more intimate. Keep the pit itself at the finished surface level or use a listed appliance; do not drop an open wood fire into a deep, enclosed depression where smoke, people, and escape paths become harder to manage. Add broad steps, non-slip paving, and low lighting so the change in grade is obvious after dark.
6. A privacy planting wall set beyond the clearance. Use staggered shrubs, small trees, or a trellis with plants to frame the view from a neighboring yard, but put the planting band outside the pit’s combustible clearance and keep it pruned. The most comfortable privacy screen is often offset to one side rather than wrapped tightly around the fire. That leaves the smoke path open and makes the area feel private without creating a pocket of dense fuel.
7. A formal garden room with a clipped boundary. For a structured landscape, repeat one strong edge—boxwood-like forms where appropriate for your climate, a low stone wall, or a simple rectangular bed—and let the fire pit sit in the open center. Use flowering plants as a backdrop rather than a collar around the flame. Fallen petals, dry stems, and hedge clippings still need regular removal, so the formal look works best when the planting is easy to inspect from the seating area.
8. A xeriscape or rock-garden fire zone. Pair a steel or stone fire bowl with mineral mulch, boulders, and regionally appropriate low-water plants. The clean ground plane makes the fire the focal point and reduces the amount of thirsty lawn around the gathering space. Keep resinous, dry, or overhanging material away from the flame, and choose plants using local extension or fire-resilient landscape guidance rather than assuming every cactus, succulent, or gray-leaf plant is safe in every climate.
9. Ornamental grasses as a distant frame. Grasses can soften a hardscape and add movement, especially in a modern or prairie-style yard. They are a poor choice directly beside a wood-burning pit once their leaves and seed heads dry. Plant them outside the immediate clearance, keep them green and watered when conditions require, and cut back dry growth before the season when embers and wind are most concerning. If the area is routinely dry, substitute a lower-fuel mass of stone, broadleaf groundcover, or carefully irrigated plants.
10. A poolside fire pit with a dry-foot route. A fire feature can make the pool area useful after swimming, but do not put loose gravel where wet feet will carry it into the water or create a slip hazard. Use a stable, textured, non-combustible pad, separate the fire from the pool deck with a clear walking lane, and preserve any required pool barrier and gate swing. A separate fire zone beside—not inside—the pool circulation area is easier to supervise and easier to close off when children are swimming.
11. A modern geometric pad with a linear seat. A square or rectangular fire table can echo the lines of a contemporary home, while a narrow paver border or long bench defines the zone. Keep the seating arrangement open on at least one side so people can enter and leave without squeezing between flame and furniture. Repeat one material—dark metal, pale concrete, or a single stone tone—rather than mixing too many finishes; the restraint makes a small fire feature look designed.
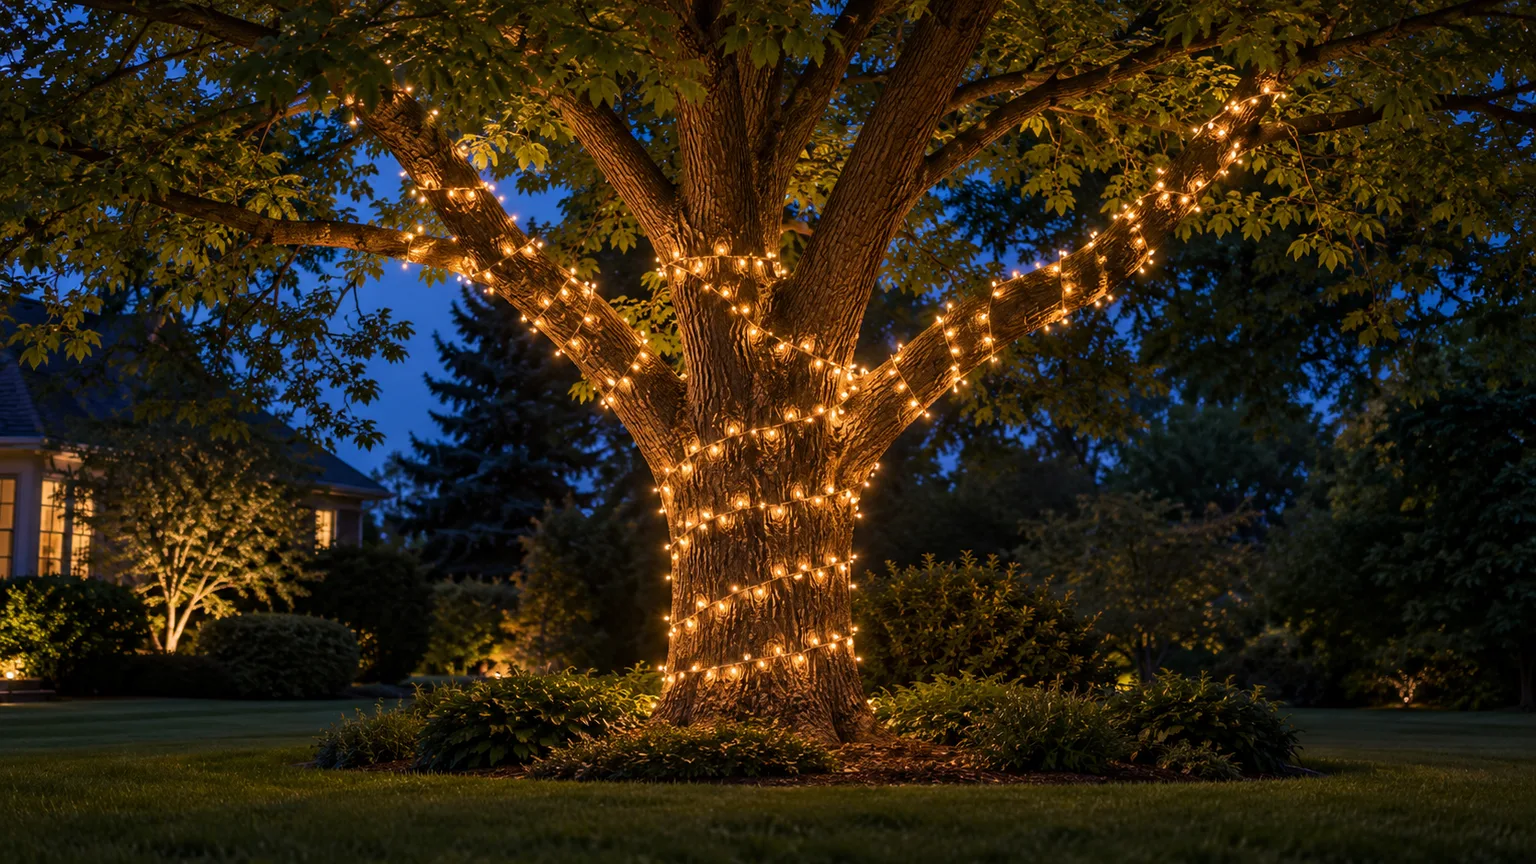
12. A woodland-edge clearing with an open sky. A fire pit can sit at the end of a garden path or near, but not beneath, a mature tree canopy. Use gravel or stone, leave a generous branch and leaf-clearance buffer, and keep firewood in a raised rack well away from the pit. This gives you the atmosphere of a woodland clearing without treating nearby trees, dry leaf litter, or a privacy fence as harmless decoration.
13. An open-sided gas fire table beside a covered patio. If your entertaining area needs shelter, use a listed gas appliance only when the manual specifically allows the roof, ceiling, side-wall, and ventilation conditions of that location. Treat the cover as a reason to verify more details, not as a shortcut around clearance. This idea is best for a low flame and conversation; a wood-burning pit belongs in an open location with a clear sky unless local professionals approve something more specific.
14. A sculptural fire bowl with container planting. Make the fire vessel the artwork and keep the surrounding planting movable: large non-combustible containers, clipped foliage, or a few carefully placed boulders can define the scene without committing the entire bed to one layout. Containers also let you move dry plants away during fire weather or rearrange the view for a party. Do not fill containers near the flame with dried ornamental stems, wood crates, or decorative materials that can ignite.
How to Plant Around a Fire Pit Without Adding Fuel
The safest planting plan is usually a clear mineral zone at the center, a maintained planting band outside it, and a clean transition to lawn or patio. Do not treat plants as a physical safety rail unless they are specifically designed and approved for that purpose. A hedge can hide the edge of a pit, block supervision, trap smoke, or carry flame from one shrub to the next.
Fire-resilient landscaping is about reducing available fuel through plant choice, spacing, irrigation, pruning, and litter removal. It is not a guarantee that a plant or yard will resist every fire. OSU Extension’s fire-resistant plant guidance presents plant selection as one part of a safer home landscape, while Plantsomething Oregon’s fire-aware landscape discussion emphasizes creating a managed space around the home rather than relying on a single “fireproof” species.
Fire-Resilient Is Not Fireproof
Near the pit, prioritize what you can inspect and maintain: stone, gravel, pavers, clean soil, and plants with enough spacing that dead leaves do not build up against the flame. Farther out, match species to your climate and irrigation reality. A plant that is lush in a watered garden can become dry fuel during a drought, and a plant marketed as drought-tolerant may still burn when its foliage is desiccated.
Remove fallen leaves, dead branches, dry grass, and pruned material from the fire-pit zone before use. Earth911’s fire-resistance landscaping guidance makes the practical point that reducing fuel includes removing dead branches and plant litter and keeping grass maintained. That is more useful than simply buying a label that says “low maintenance.”
A Simple Six-Step Plan for Your Own Backyard
Use this order whether you are building a permanent patio or arranging a portable bowl.
- Confirm the rules. Ask about permits, fuel, appliance type, setbacks, burn bans, smoke, and property-line requirements. Save the manufacturer’s clearance diagram with your project notes.
- Watch the site. Stand in the proposed location at dusk and note wind, smoke direction, the route to the house, nearby branches, and where people naturally sit. A beautiful view is not a good location if every breeze pushes smoke through the doorway.
- Choose the fuel and footprint. Pick wood for an open-air campfire experience only when the site can handle sparks and ash. Pick gas for a cleaner conversation zone only when the listed appliance and local rules support it.
- Build the non-combustible base. Remove organic material, level and compact the sub-base, then install gravel, pavers, or stone. Add the fire-ring insert or listed bowl before you finalize the surrounding wall.
- Place seating and circulation. Sit in every chair, pull each one back, and walk from the house carrying a tray. If a chair blocks the only exit or a guest must step over a low wall, change the layout before planting.
- Add plants, light, and storage last. Put privacy planting beyond the clearance, keep lights low and glare-free, and store firewood, cushions, propane cylinders, and ash containers where they cannot become part of the fire’s fuel path.
Sketch the Footprint Before You Shop
Draw the pit as a circle or rectangle, then draw the required clearance around it. Add the chairs at their actual footprint—not as tiny dots—and reserve a clear path that is at least as comfortable as the path you use to carry food. If the full plan barely fits on paper, it will feel crowded once cushions, people, firewood, and a hose are present.
For a small yard, let the fire feature share a broader patio only when the fuel and clearance allow it; do not shrink the safety zone to preserve a few extra feet of lawn. For a large yard, resist placing the pit so far away that nobody wants to carry dinner there. A short, well-lit path and a nearby surface for drinks often matter more than another ring of plants.
Maintenance That Keeps the Landscape Ready for Fire Season
Before every wood fire, check the current restrictions and weather, inspect the pit and liner, remove dry litter, confirm that the spark screen fits, and set out water, a hose, or a shovel. Move cushions, blankets, paper plates, and firewood away from the pit. Keep children and pets supervised rather than relying on a raised lip or decorative border to do the supervising for you.
When the gathering ends, stop adding fuel early so the fire has time to settle. Spread the coals, add water, stir, and repeat until the embers are cold; Central Oregon Fire Information summarizes this as “Drown. Stir. Feel.” Never leave a fire that is still warm, and follow local instructions for ash disposal. Store cooled ash in a covered metal container away from the house and other combustibles.
At the start of the dry season, cut back dead grass and seed heads, prune branches that have grown toward the pit, refresh the gravel edge, and clear leaves from under chairs and along the path. Inspect pavers for rocking, check that the fire ring remains centered, and look for cracks or spalling in masonry. If the landscape has changed—new fencing, a pergola, a larger hedge, or a different fire bowl—measure the clearance again instead of assuming the old layout still qualifies.
Conclusion
The best backyard fire pit landscaping idea is the one that fits the way your household gathers and still works on the night the fire must stay unlit. Start with local rules, wind, clearance, fuel, and a non-combustible surface; then use gravel, pavers, paths, privacy planting, rock, grasses, or a poolside arrangement to give the feature a clear job in the yard.
Choose one of the 14 directions as a starting point, keep the immediate fire zone open and easy to inspect, and place comfort features outside the hazard area. A thoughtful layout will look better because it works better: guests can arrive, sit, talk, and leave without crossing sparks, smoke, loose gravel, or a hidden drop-off.