How to Grow Camellias: Planting, Care, and Bloom Guide
How to grow and care for camellias: choose a cultivar for your climate, plant in acidic soil, water during bud formation, and prevent common bloom failures.
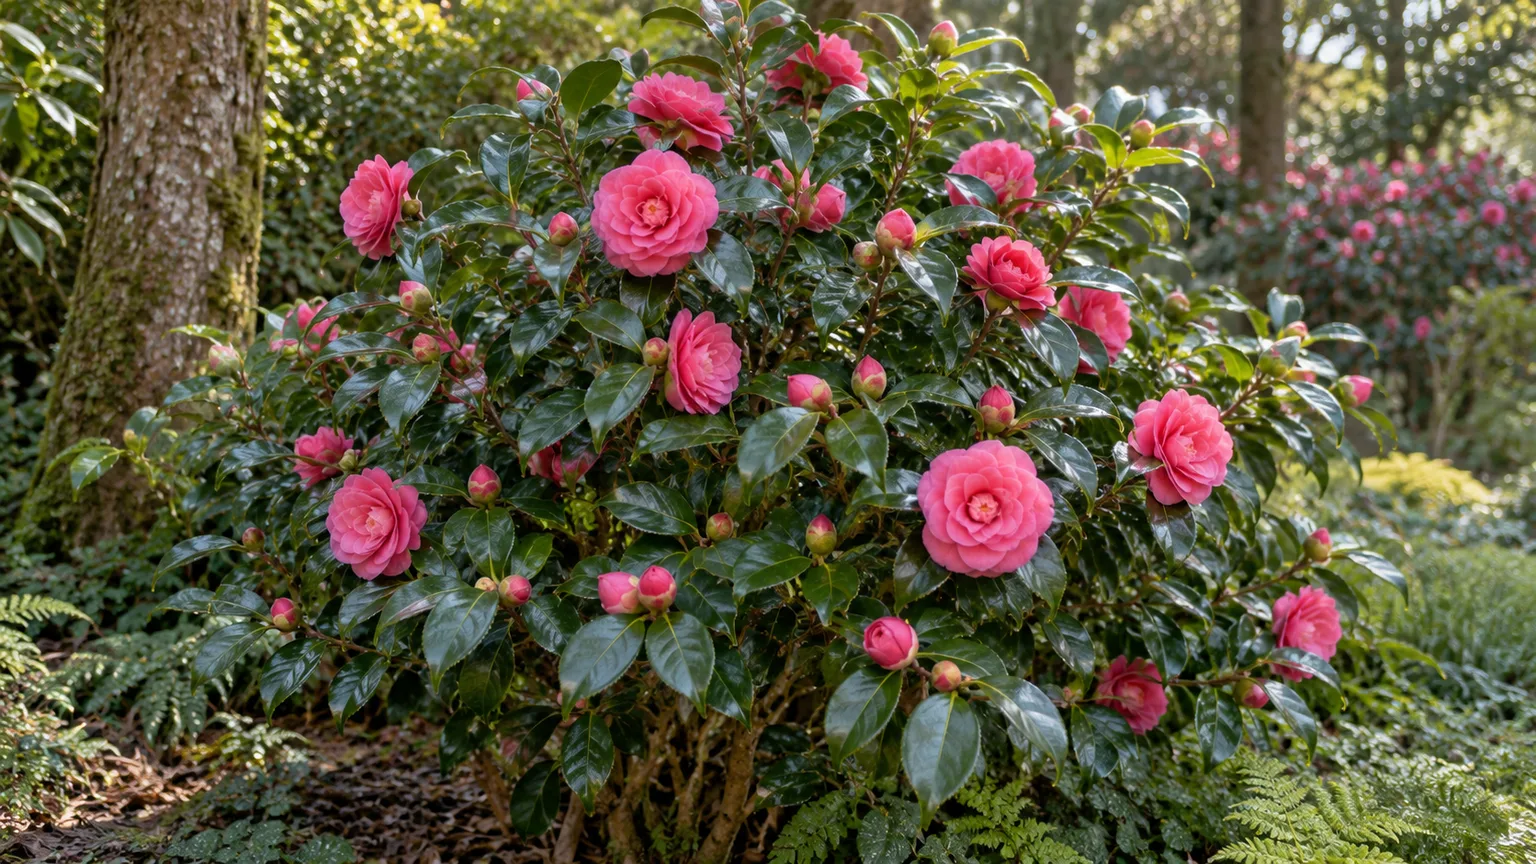
Camellias reward a little planning with glossy evergreen foliage and flowers when much of the garden is quiet. The trick is to treat the plant as a long-lived shrub with shallow roots and flower buds that develop well before they open. A suitable cultivar, free-draining acidic soil, steady moisture in late summer, and pruning timed to the end of bloom prevent most avoidable problems.
Camellia care is not identical across the genus. A fall-blooming sasanqua may handle more sun than a large-flowered Japanese camellia, and a cold-hardy hybrid may survive a winter that damages another cultivar’s buds. Start with the plant label and your site; then use the seasonal routine below to decide what to do and, just as importantly, what not to do.
Start by choosing the right camellia
Before buying, decide where the shrub will live, how much room it can occupy, and when you want it to flower. The genus includes species, hybrids, and cultivars with different mature sizes, bloom windows, flower forms, and tolerance for sun or cold. A plant sold simply as “camellia” may be beautiful but still be a poor fit for an exposed north-facing bed, a small patio pot, or a climate with severe winter freezes.
Sasanqua, japonica, and hybrids
Camellia sasanqua selections generally flower from fall into early winter, often have smaller leaves and flowers than Japanese camellias, and tolerate more sun once established. That makes them useful for a hedge or a brighter position, though “more sun tolerant” does not mean a newly planted shrub should be placed in blazing afternoon heat with dry soil.
Camellia japonica is often chosen for larger, more formal flowers and a late-winter-to-spring display. It usually performs best in filtered light or partial shade with shelter from drying wind. Camellia × williamsii hybrids combine parent species and include cultivars selected for colder climates, while C. reticulata is often valued for very large flowers and a looser, sometimes more open habit. These are broad tendencies, not guarantees: consult the cultivar name and local growing information. NC State Extension’s camellia profiles describe the range of forms and landscape uses; RHS also explains how camellias grow and flower.
Camellia sinensis is the tea plant, not the usual ornamental camellia bought for winter flowers. If you want a landscape shrub, make sure its tag names the ornamental species or cultivar you intend to grow. That avoids mixing advice for a leafy tea crop with guidance for a flowering shrub.
Select by size, flowering season, and local hardiness
Read the mature height and spread, not just the nursery-pot size. Some camellias remain compact, while others eventually become broad shrubs or small trees; a slow-growing young plant can still outgrow a foundation bed. Leave enough space for air and access, and check whether the plant will block a path or window after several years. NC State lists camellia forms that vary widely in mature dimensions, which is why a species-level size estimate is less useful than a named cultivar’s local label.
Match the bloom season to the garden. Sasanquas can contribute color in fall, while many japonicas flower later; planting cultivars with different bloom periods can extend the display. If fragrance, flower form, or a specific color matters, confirm those traits for the named selection rather than assuming that every camellia has them.
Hardiness labels describe an average winter minimum, not the survival of every flower bud in every garden. Cold, drying wind, a sudden freeze after warm weather, drainage, plant age, and the cultivar all change the outcome. The American Camellia Society’s guide to cold-hardy camellia families stresses that gardeners often need to consider bud hardiness separately from whether the shrub itself survives. In a marginal climate, buy a named selection proven locally or grow a compact cultivar in a container that can be moved to a sheltered, cool place during a severe cold spell.
Choose the planting site before digging
Camellias establish slowly, so getting the site right is more valuable than trying to correct a poor one with frequent fertilizer. Look for ground that drains after rain, stays moderately moist in summer, and offers protection from the harshest afternoon sun and winter wind. Avoid a frost pocket, a low spot that collects water, and the thirsty root zone immediately beneath a large tree.
Light, wind, and winter sun
Bright filtered light is a dependable starting point for many camellias. A high, open canopy can give the shrub light without exposing it to the strongest afternoon rays. Morning sun with afternoon shade may suit a japonica in a cool region; a sasanqua can usually accept more sun, especially where summers are mild. Deep shade can leave a plant leggy and reduce flowering, while sudden exposure to hot sun can scorch leaves and buds.
Wind deserves its own site check. Evergreen leaves continue losing moisture during winter, and cold dry wind can desiccate foliage while frozen soil limits water uptake. Buds and open flowers can also be damaged by cold snaps. A building, fence, or hedge can reduce wind, but do not tuck the shrub into a stagnant, damp corner where poor air movement and wet soil invite disease. The RHS recommends a sheltered site, and Gardeners’ World’s growing guide likewise emphasizes shade and protection from frost for reliable flowers.
Soil pH, drainage, and root competition
Aim for slightly acidic soil, roughly pH 5.5 to 6.5, and confirm the pH with a soil test before adding sulfur or other amendments. The exact target varies among references and local soils, but NC State Extension’s Japanese camellia profile gives this range and notes that yellow leaves can signal insufficient acidity. A test is more useful than assuming that yellow foliage means the plant needs iron or acidifying fertilizer.
Acidity alone will not solve poor drainage. Camellias prefer soil that remains evenly moist but does not stay saturated around the root ball. If water stands after rain, choose a different place, improve drainage across a broad bed, or use a raised bed; a small pocket of loose planting mix inside heavy clay can hold water like a basin. The American Camellia Society’s planting guide recommends a broad planting hole and a root ball set slightly above grade, while Clemson identifies well-drained acidic soil as a core preventive measure against disease.
Camellias have many fine roots near the surface. Large trees and dense shrubs can compete with them for water, while repeated digging or hoeing can damage the feeder roots. If the only available site is crowded with tree roots or the soil chemistry is unsuitable, a container may be the more predictable choice.
Plant without burying the root zone
Plant during a mild period when the soil is workable and the shrub has time to establish before heat or hard cold. In colder areas that is often spring; in mild-winter climates, autumn can also be suitable. Avoid frozen or waterlogged soil and the hottest stretch of summer. Water the nursery pot before planting so the root ball is evenly moist.
Dig a hole wider than the root ball but no deeper than it. Loosen circling roots at the outside gently; do not tear apart the root system or cut a major root as a routine step. Set the plant so the top of the root ball is level with or slightly above the surrounding soil. Backfill with the excavated soil unless a soil test or local extension recommendation calls for a specific amendment, then water slowly to settle the soil and eliminate large air pockets.
Spread a few inches of organic mulch over the root zone to limit moisture loss and temperature swings. Keep the mulch a hand’s width away from the stems so the crown does not remain wet. A berm at the edge of the planting area can help direct water toward the root ball on sloped or fast-draining ground, but it should not create a permanently wet bowl.
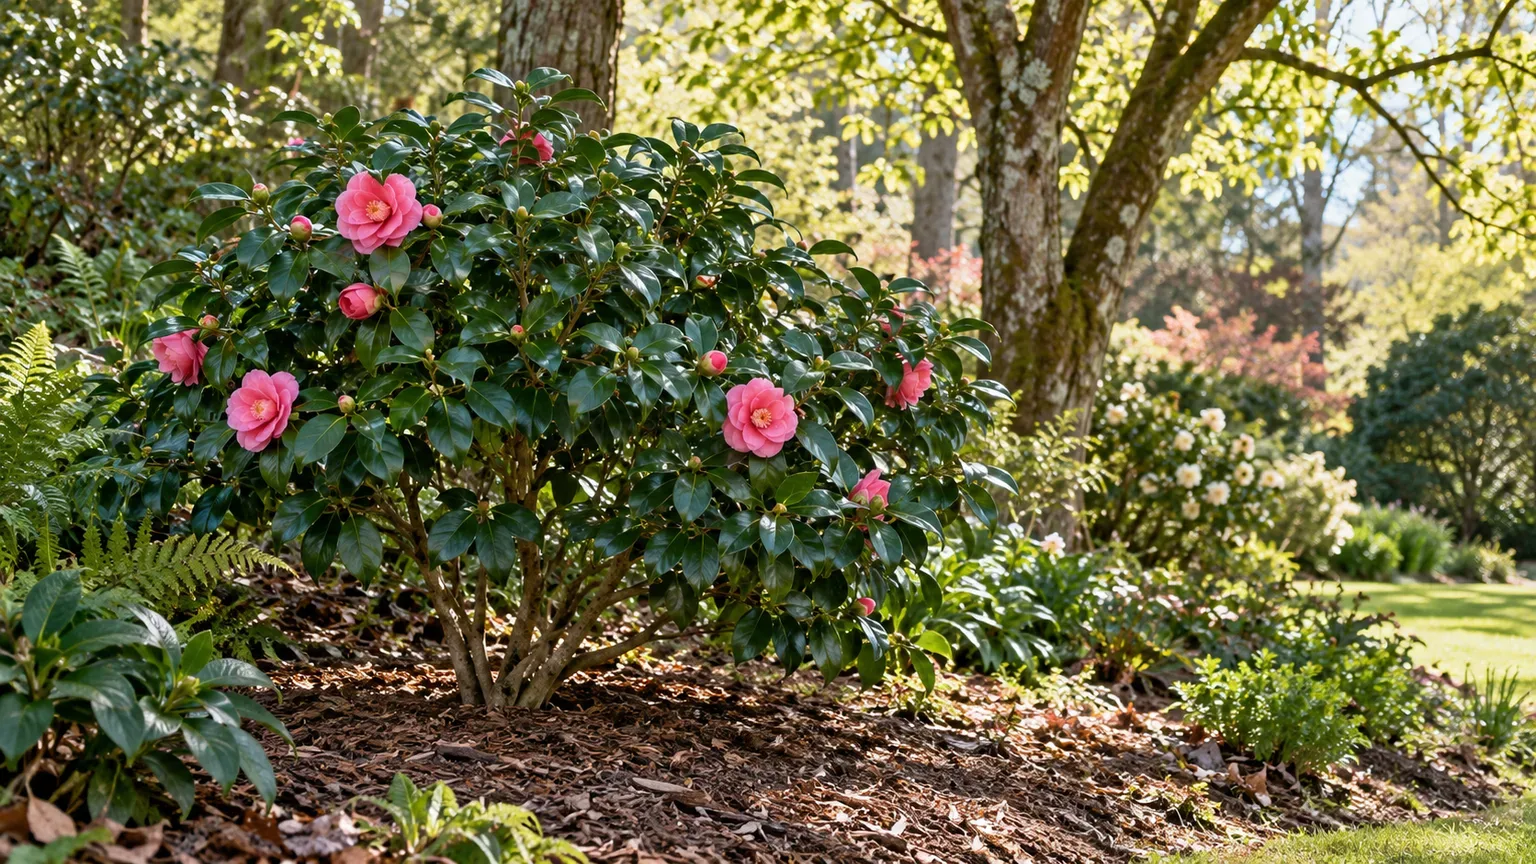
Water for buds, not by calendar
Water deeply enough to wet the original root ball and the soil just beyond it, then let excess drain. For a new plant, check beneath the mulch with a finger or narrow trowel before watering; the surface can look dry while the root ball remains damp, or look dark after rain while the center of a pot-bound root ball is still dry. Frequency changes with soil texture, rainfall, temperature, wind, and plant size, so a fixed “twice a week” rule is less useful than checking the root zone.
The most consequential dry period is often late summer into early fall, when many camellias are developing next season’s flower buds. If that root zone dries repeatedly, buds can abort, remain small, or drop before opening. Keep moisture consistent during this stage, especially for recently planted shrubs and container plants. The American Camellia Society’s watering guidance advises moist rather than soggy soil and notes that water stress during bud formation affects flower quality.
Do not interpret “keep moist” as “keep wet.” Poorly drained soil deprives roots of oxygen and raises the risk of root rot, so adding more water to a wilting plant can make it worse. Check whether the soil feels dry, cool and moist, or waterlogged before changing your routine. A layer of mulch helps buffer moisture but cannot fix a drainage problem. Where municipal water is very hard and the plant is in a pot, occasional rainwater can reduce mineral buildup; the root-zone pH still should be checked rather than guessed.
Fertilize only after checking growth and soil
A camellia that is growing well in suitable soil may need less fertilizer than its owner expects. If the plant has pale new growth, weak annual extension, or a soil-test result that identifies a nutrient issue, use a fertilizer labeled for acid-loving shrubs and follow its directions. Apply after flowering or as new spring growth begins, while the plant can use the nutrients for roots and shoots.
Avoid a high dose or repeated feeding because a camellia is slow growing. Too much nitrogen can produce soft leafy growth, contribute to salt injury at the roots, and leave tender shoots vulnerable as weather cools. Fertilizer will not fix waterlogging, root rot, deep shade, or a cultivar unsuited to the climate. Do not feed late in the growing season when new growth may not harden before cold weather; the RHS advises against feeding after the end of July in its climate, though local seasons differ. Check local extension advice and the product label for timing in your region.
If leaf yellowing suggests chlorosis, test the soil before applying iron or trying to lower pH. Yellow leaves with greener veins on new growth often fit iron unavailability in alkaline soil, but root injury and poor drainage can also interfere with nutrient uptake. Diagnose the cause before treating symptoms.
Prune after flowering
Most camellias do not need annual shaping. Remove dead, damaged, crossing, or diseased branches, and thin a few crowded interior stems if the canopy is so dense that light cannot reach it. Make cuts just above a healthy outward-facing bud or side branch, rather than leaving long stubs. The goal is a shrub with its natural form intact, not a tight ball clipped into old wood.
Prune soon after the last flowers fade. Many camellias begin producing shoots and next season’s flower buds as the growing season advances, so late pruning can remove the display you were waiting for. The RHS pruning guidance and a practical Fine Gardening camellia care report both tie pruning to flowering, while also noting that species differ in how heavily they should be cut.
An overgrown shrub can often be renovated, but hard pruning trades immediate flowers for renewed structure and may take more than a season to restore a full display. If the plant is healthy, reduce its height and width gradually over two or three post-flowering seasons. Remove a few of the oldest stems near the base and shorten selected branches to side shoots; avoid shearing everything at once. When removing diseased wood, cut several inches below visible damage and clean the tool between cuts, as Clemson recommends for canker management.
Grow camellias in a container
A container is useful when garden soil is alkaline, poorly drained, or when winter protection is needed. Choose a compact or naturally slow-growing cultivar and a wide, stable pot with several unobstructed drainage holes. Use an acidic, moisture-retentive but free-draining mix intended for acid-loving plants. Do not place gravel in the bottom as a drainage fix; the mix and drainage holes need to work together.
Set the root ball at the same depth it grew in the nursery pot and leave the crown uncovered. Avoid cutting off a sound taproot to force a different root habit. Instead, select a pot with room for the root system and disturb roots only enough to loosen a tightly circling outer layer. Camellias can grow successfully in pots, but a container makes their care more hands-on: the root zone heats and dries faster, salts can accumulate, and the plant has less reserve during a missed watering.
Check moisture more often during hot, windy weather and while buds are forming. Water until it drains from the holes, then empty any standing water from a saucer. Repot when roots fill the container or the mix has broken down and no longer drains or wets evenly, rather than following an automatic annual schedule. The American Camellia Society’s container guidance discusses the trade-off between limited root space, watering, and feeding; a cool, bright sheltered spot is appropriate for temporary frost protection, but a heated dim room is not a good permanent home for an outdoor shrub.
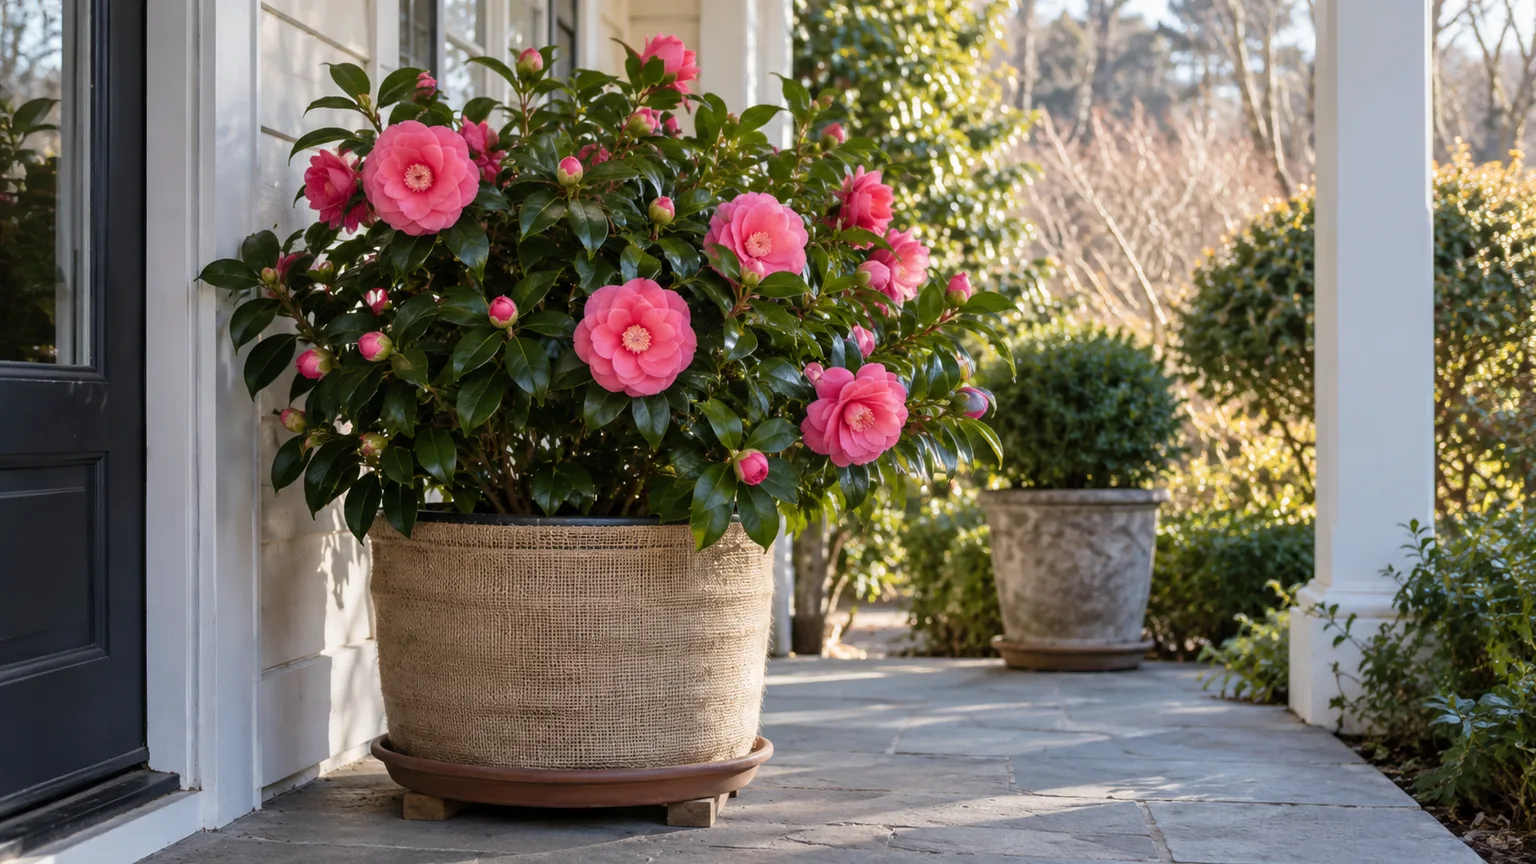
Protect winter buds and roots
Cold tolerance varies by cultivar, and open flowers can be damaged at temperatures that do not kill the plant. A sheltered position near a building or hedge can reduce wind, but avoid placing the shrub where winter sun warms frozen buds early in the day and a quick refreeze follows. Do not plant in a low frost pocket where cold air settles.
For a forecast hard freeze, cover a young shrub with breathable frost cloth supported so it does not crush the branches, then remove the cover when conditions moderate. A potted camellia can be moved beside a protected wall or into a cool, unheated shelter. Insulate the pot itself in a cold climate; roots in a container are more exposed to freezing than roots in the ground. Water dry soil before a freeze, but do not saturate a pot or bed that is already wet.
After cold damage, wait until the weather settles before pruning. Brown open petals may be temporary weather damage, while a branch with dead cambium or shriveled buds may need to be removed later. The plant may recover even if one season’s flowers do not. Avoid feeding a stressed shrub immediately after a freeze; first check that stems and roots are alive and keep the soil evenly moist as growth resumes.
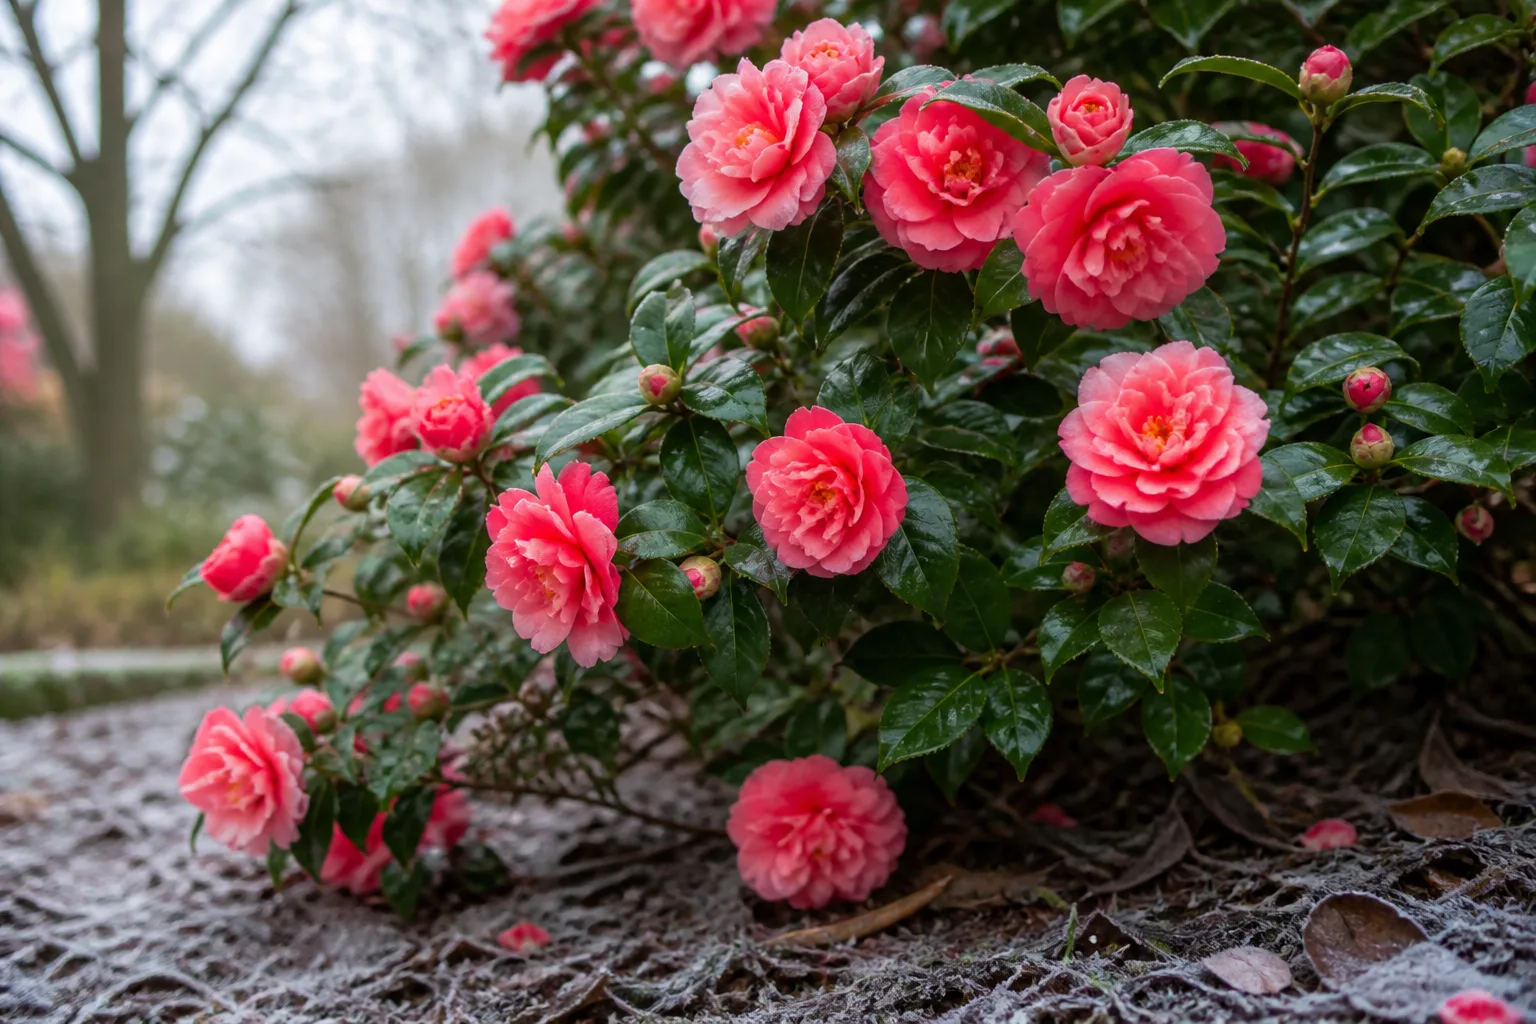
Diagnose buds, blooms, and leaves
Start with the part of the plant affected and the timing. A shrub with healthy foliage but dropped buds has a different likely problem from one with yellow leaves and wilted branches. Write down recent temperature changes, dry periods, watering, and pruning; that short history can point to a more likely cause than applying fertilizer or pesticide at random.
Bud drop, unopened buds, and frost-damaged flowers
If unopened buds shrivel or fall, first check whether the root ball dried out during late summer or fall. Next ask whether the soil remains wet between waterings, the plant was recently moved or transplanted, or it experienced a sudden freeze or warm-to-cold swing. A few dropped buds are not always a crisis, but repeated or widespread drop is a signal to review moisture, drainage, exposure, and cultivar suitability before changing fertilizer.
If buds remain firm but open slowly, the plant may simply be between bloom cycles; cultivar and local weather determine the schedule. If they brown after a freeze, protect remaining buds and wait. Do not cut the whole plant back just because a few flowers are damaged. Flower buds can also be crowded: some cultivars set more than one bud at a tip, and thinning to one well-spaced bud can improve the size and quality of individual blossoms, though this is optional for a landscape shrub.
Yellow leaves, chlorosis, scorch, and root rot
Look at where yellowing begins. New leaves with green veins and yellow tissue suggest chlorosis, often because alkaline soil makes iron less available. Older leaves yellowing throughout the plant can reflect normal aging, nutrient stress, waterlogged roots, or a larger root problem. Test pH and inspect soil moisture before applying iron or acidifier.
Brown or crisp leaf edges can follow dry wind, sun scorch, inconsistent watering, excess fertilizer, or salt buildup. Check the exposure and root ball, then pause unnecessary feeding. Uniform yellowing paired with wilting and decline deserves a drainage check: Clemson notes that root rot can cause poor growth, whole-plant wilt, yellow foliage, and darkened roots. Roots that are brown and soft rather than firm and pale are a reason to consult local Extension promptly; fungicides are not a cure for an already infected root system.
Petal blight, tea scale, and dieback
Camellia flower blight can resemble cold damage, but the pattern differs. Clemson Cooperative Extension describes flower blight as small brown petal spots that spread rapidly, often with dark veins, followed by a fully brown flower that drops quickly; frost injury follows a cold event and may affect exposed flowers more uniformly. Remove affected flowers and fallen debris, and replace contaminated mulch if blight is confirmed. The Clemson disease and insect guide explains why sanitation is central to managing this disease.
Inspect leaf undersides for tea scale, the most important camellia insect pest in some regions. Pale stippling on the upper leaf surface can be a clue; turn leaves over and look for small scale insects before treating. If only a few branches are affected, prune them out. For a larger infestation, use only a product labeled for camellias and the pest in your location, following all label directions and protecting pollinators. Do not spray a blooming shrub while bees are visiting.
Sudden yellowing and wilt on one branch, dead tips, or sunken bark can indicate dieback or canker. Prune below damaged tissue with clean tools and dispose of the cut material. If symptoms continue spreading, contact an Extension office with clear photos and the plant’s location rather than escalating pesticide use. Good drainage, sensible spacing, and avoiding stem wounds reduce several common disease risks.
Propagate without losing cultivar traits
If you want a plant that keeps the parent’s flower color and form, use a vegetative method. Seedlings from named garden camellias may differ because they result from pollination and genetic variation. Seed is worthwhile for experimentation, breeding, or patience—not for an exact duplicate. The RHS notes that seedlings do not usually come true to type.
For a low-effort home method, try simple layering. In summer, select a healthy flexible branch near the ground, remove leaves from the section that will be buried, and make a shallow wound on the underside of a node. Peg that section into a shallow trench, cover it with soil, and leave the growing tip exposed. Keep the soil from drying; once the buried section has formed a substantial root system, sever it from the parent and transplant it during mild weather. Rooting can take a full growing season or longer, so do not tug at the stem to check progress.
Semi-ripe cuttings are another option in mid- to late summer. Take a healthy piece of the current season’s growth with a firm base and flexible tip, remove lower leaves, and place it in a clean, airy propagation mix kept evenly moist. High humidity can help, but stagnant wet conditions encourage rot; provide bright indirect light and ventilation. The American Camellia Society’s rooting guidance describes the variables that affect success, and RHS lists semi-ripe cuttings among the accepted propagation methods. Expect different cultivars to root at different rates and pot rooted plants on gradually before exposing them to outdoor extremes.
Conclusion
For dependable camellia flowers, choose a cultivar that fits your climate and the space it will occupy, then plant it in slightly acidic soil that drains freely. Give it filtered light and shelter, keep its shallow root zone evenly moist while flower buds develop, feed only when there is a reason, and prune just after bloom.
When a camellia struggles, diagnose before treating: check moisture and drainage, review recent cold or drought, inspect leaf undersides and flower petals, and test the soil if chlorosis is plausible. That simple sequence prevents many healthy shrubs from being overwatered, overfed, or pruned out of next year’s flowers.



