How to Grow an Apple Tree From Seed, Step by Step
Grow an apple tree from seed with a clear 60–120 day chilling window, seedling-care steps, and an honest guide to fruit, size, and timing.
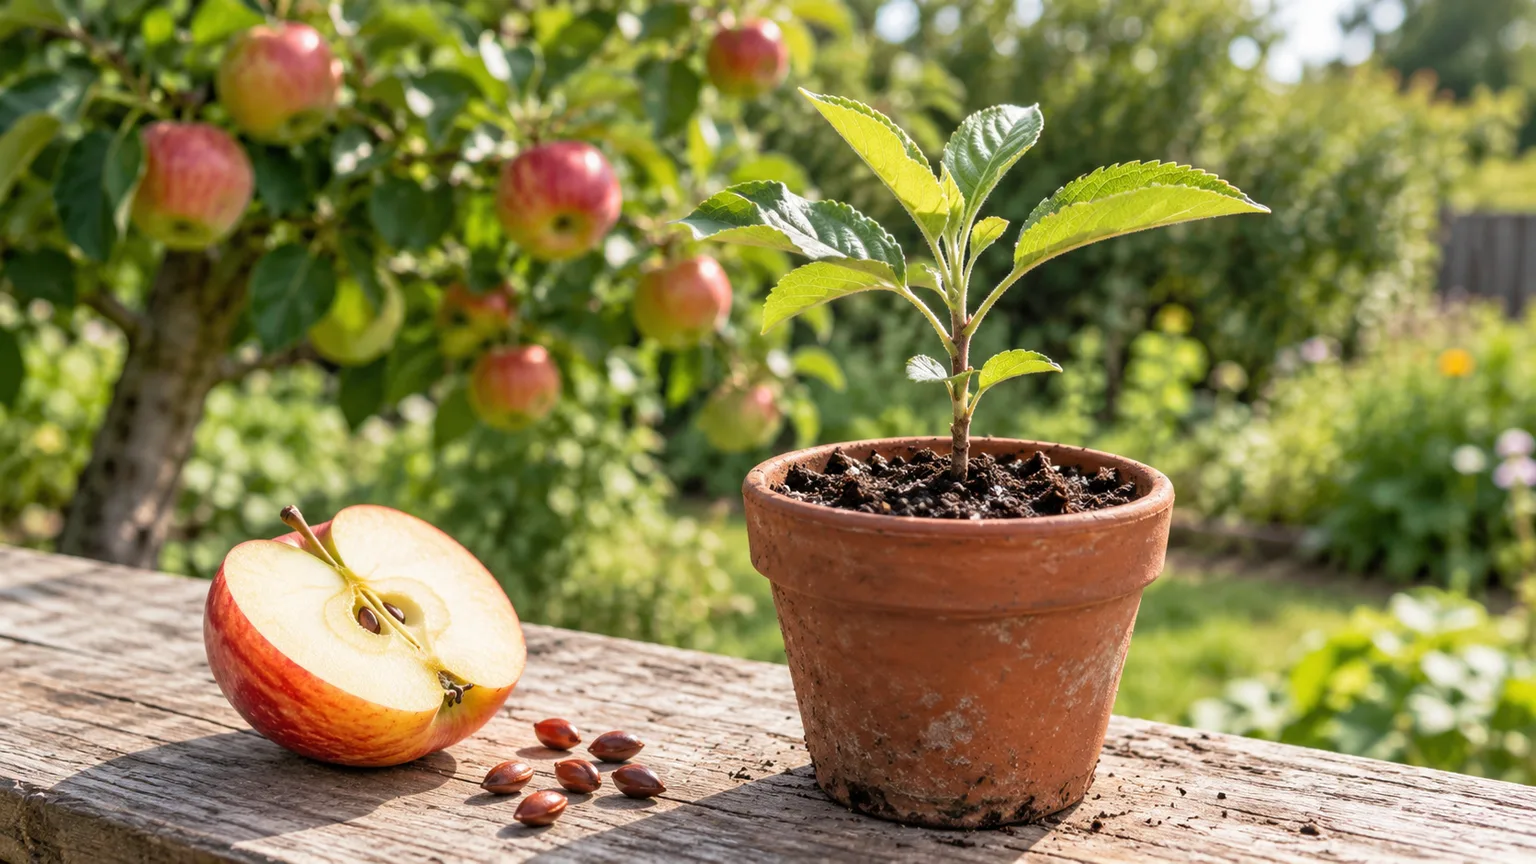
Yes, an apple seed can grow into a tree. The practical question is whether you want a long experiment with an unknown result or a reliable way to grow apples you already know you like. A seedling can be rewarding to raise, but its fruit will not reliably match the apple it came from, and it may take many years before you find out what it produces.
The process itself is manageable: extract several healthy seeds, keep them from drying, give them a period of moist cold, then pot and raise any that sprout. The steps below also explain what to do after the first leaf appears, how to move a seedling outdoors without shocking it, and when grafting or buying a named tree makes more sense.
What to expect before you start
Apple seeds are not miniature copies of the fruit’s tree. They form after pollination and carry a new combination of genes from the mother tree and the pollen parent.
The apple you eat is tissue from the mother tree; the seed inside it is a genetically distinct offspring. That is why a seed from a Honeycrisp, Gala, or Granny Smith can produce a tree with very different fruit.
An apple grown from seed is best treated as a learning project, a breeding experiment, a wildlife tree, or a future rootstock. It is not a dependable way to reproduce a favorite variety.
Iowa State University Extension explains that apple seedlings generally do not come true to the parent and may produce disappointing fruit. If your main goal is a predictable harvest, start with a grafted tree of a cultivar suited to your climate instead.
Choose ripe apples and collect several seeds
Use seeds from ripe, healthy apples. Seeds from fruit that developed fully are more likely to be mature than seeds taken from an immature apple, but maturity does not guarantee germination. A grocery-store apple can provide viable seeds; the bigger uncertainty is what the resulting tree will be like, not whether a seed from a store-bought fruit is categorically unable to grow.
Collect more seeds than the number of trees you want. Germination and early survival vary, and a few extra seeds give you a better chance of raising at least one strong seedling. If you have access to apples from trees that grow well in your region, those seeds make an interesting local experiment, but the pollen parent is usually unknown and the offspring still will not be a clone of that tree.
Take the seeds from the core with clean fingers or a spoon rather than cutting through them with a knife. Choose plump, intact seeds; discard ones that are split, crushed, or shriveled.
Keep seeds from different apples in separate, clearly labeled batches if you want to compare them later. A label should record the apple source and collection date, while making clear that the named variety describes only the fruit you collected.
Clean the seeds and keep them from drying
Rinse away every bit of flesh. Fruit residue is not needed for germination and can decay in storage, encouraging mold around the seed. Pat the seeds dry on a clean towel, but do not leave them out for days or store them as though they were ordinary dry seed packets.
Apple seed viability can fall after prolonged drying. Oklahoma State University Extension advises keeping apple seeds continuously moist from extraction because excessive drying reduces viability.
If you cannot begin the chilling treatment the same day, wrap the cleaned seeds in a barely damp paper towel, put them in a labeled container, and refrigerate them while you prepare the rest of the setup. The towel should feel moist when pressed, not release water.
Do not try to speed the process by cracking or nicking the seed coat. Apple seeds need moist chilling to overcome dormancy; scarifying the small seed is unnecessary and risks injuring the embryo.
You also do not need to soak them for a day. Clean handling and controlled moisture solve the problems that matter here.
Cold-stratify apple seeds for 60 to 120 days
Cold stratification is a period of moist chilling that mimics winter. It helps an apple seed move out of dormancy so it can germinate when conditions warm. For home-scale batches, the refrigerator is easier to monitor than an outdoor bed and reduces losses to animals or erratic weather.
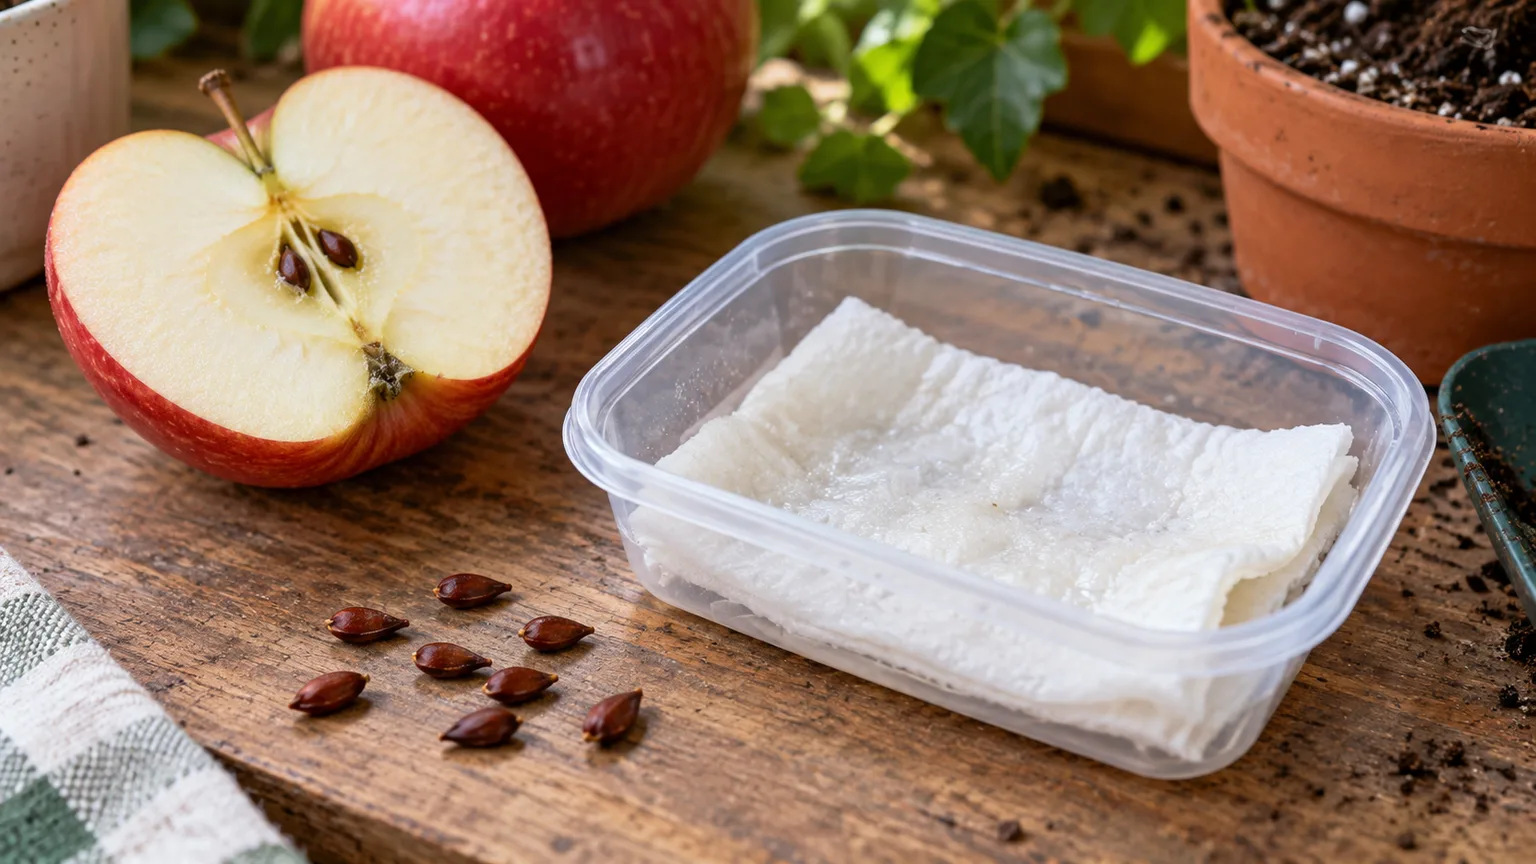
Oklahoma State University Extension recommends 60 to 90 days at 34 to 40°F (about 1 to 4°C), while Iowa State University Extension recommends 90 to 120 days at 37 to 41°F (about 3 to 5°C); both call for cool, moist storage, and seed lots vary. Use about 90 days as a checkpoint, then continue toward 120 if seeds remain firm and dormant; keep them refrigerated, moist, and unfrozen. Gardeners’ Path describes a similar refrigerator-and-moist-medium method.
To set up the seeds, dampen a clean paper towel or a small amount of sterile seed-starting medium, such as vermiculite. Add the seeds, place everything in a sealed food-storage bag or clean container, and label it with the collection date and source.
Do not compress the seeds into a wet mass: they need moisture and access to air, not standing water. Put the bag in a part of the refrigerator that stays cold but does not freeze.
Check the bag every week or two. If the medium is drying, add a few drops of water; if liquid pools when you tilt the bag, blot or replace the excess.
Remove seeds that turn soft or develop extensive mold, and replace a badly moldy medium rather than applying fungicide to a small home batch. Avoid opening the bag repeatedly just to look—the goal is to keep moisture steady and handling minimal.
Check the seeds and watch for a root tip
As the chilling period progresses, inspect for a small white root tip emerging from the seed coat. That visible root means the seed has begun germinating; it is ready to pot.
Some seeds may sprout before the full chilling window, while others may remain firm and unsprouted at the first checkpoint. Move any seed that has sprouted carefully into its own pot and leave the remaining viable-looking seeds in the refrigerator a little longer if conditions have been correct.
A seed that has not sprouted after three months is not automatically dead. First check that the refrigerator stayed in the recommended cool range without freezing and the medium stayed moist without becoming waterlogged. If seeds remain firm, continue checking through the longer end of the 60–120 day window.
Then inspect the seed: a firm seed may still be viable, while a mushy, foul-smelling one has rotted. A fresh, firm seed can be sown and given time, but there is no home test that guarantees it will germinate.
Do not confuse a crack in the seed coat with a healthy root. A clean white tip is a promising sign; dark, slimy tissue or a seed that collapses under gentle pressure is not. Handle sprouted seeds by the seed coat, not the tender root, and pot them promptly so that the root does not dry out or grow tangled in the paper towel.
Pot a sprouted seed without damaging its root
Use a small pot with drainage holes and fresh, well-draining seed-starting mix. A pot around 3 to 4 inches wide is large enough to begin, while still letting you control moisture.
Pre-moisten the mix so it is evenly damp. Do not use dense garden soil in a small indoor container; it can hold too much water and compact around a fragile root.
Make a shallow hole and position the root tip downward, without forcing it straight if it naturally curves. Cover the seed with about 1/2 inch of mix, a depth also used in Iowa State Extension’s guidance for direct-sown apple seeds.
Water gently to settle the mix around the seed, then let excess water drain. If the seed has not yet cracked, sow it at the same depth and keep the pot warm enough for growth after stratification.
Put the pot somewhere bright. Before the shoot emerges, light is less important than moisture and warmth; as soon as the seedling appears, it needs strong light so it develops a sturdy stem rather than stretching toward a dim window.
A sunny south- or west-facing window may work, but a grow light can help when natural light is weak. Keep the lamp at the distance recommended by its manufacturer and raise it as the plant grows.
Give seedlings bright light and steady moisture
Treat the seedling like a young outdoor tree, not a houseplant that can stay indoors indefinitely. Give it the brightest practical light after emergence and rotate the pot occasionally if the stem leans toward the window. A light breeze or gentle air circulation can strengthen growth, but keep the plant away from heating vents, cold drafts, and abrupt temperature swings.
Water when the surface of the mix begins to dry, then water thoroughly enough to wet the root zone and let the container drain. Do not keep the pot sitting in a saucer of water.
Constant saturation deprives roots of oxygen and encourages rot; letting the entire root ball dry can injure the still-small seedling. Check by touch rather than following a rigid daily schedule, since a warm sunny room dries a pot faster than a cool one.
When several true leaves have formed and roots begin to fill the starter pot, move the seedling into a deeper container with drainage. Lift the root ball intact and avoid pulling the plant by its stem.
If the seedling is still small and the root system has not filled the pot, wait; frequent repotting adds stress without giving the young tree a benefit. Once it is actively growing in fresh mix, a restrained, dilute fertilizer can support growth, but do not exceed the product label or feed a stressed, waterlogged plant.
Troubleshoot seeds that do not sprout
If none of the seeds germinates, start with the conditions rather than assuming you did something wrong. The most common preventable problems are dried-out seed, a medium that stayed soggy, refrigerator temperatures outside the useful range, or seed that was damaged during extraction. Repeat with several fresh seeds and a measured refrigerator thermometer if you are unsure about temperature.
If you see mold, decide whether the seed is still firm. A little surface fuzz on the paper towel does not prove that every seed has failed; move healthy seeds into fresh, barely moist medium and discard those that are soft or decaying.
Clean the container and use fresh towel or sterile medium. Do not add bleach, peroxide, or other household chemicals to the bag: their strength and contact time can injure the embryo, and they are not needed for a small batch.
If seeds sprout but seedlings collapse at the soil line, suspect overly wet mix, poor airflow, or contaminated equipment. Empty drainage holes, clean pots, fresh mix, and watering by touch reduce that risk. If a seedling becomes tall and thin, increase light rather than burying the stem deeper; apple seedlings need a well-lit, stable growing point.
Harden off seedlings before moving them outside
Indoor seedlings have not experienced direct sun, wind, or outdoor temperature swings. Moving one straight from a windowsill to a full-sun garden can scorch leaves and dry the root ball quickly. Harden it off gradually over about one to two weeks: begin with a few hours in a sheltered bright-shade location, then lengthen outdoor time and introduce gentle morning sun before stronger exposure.
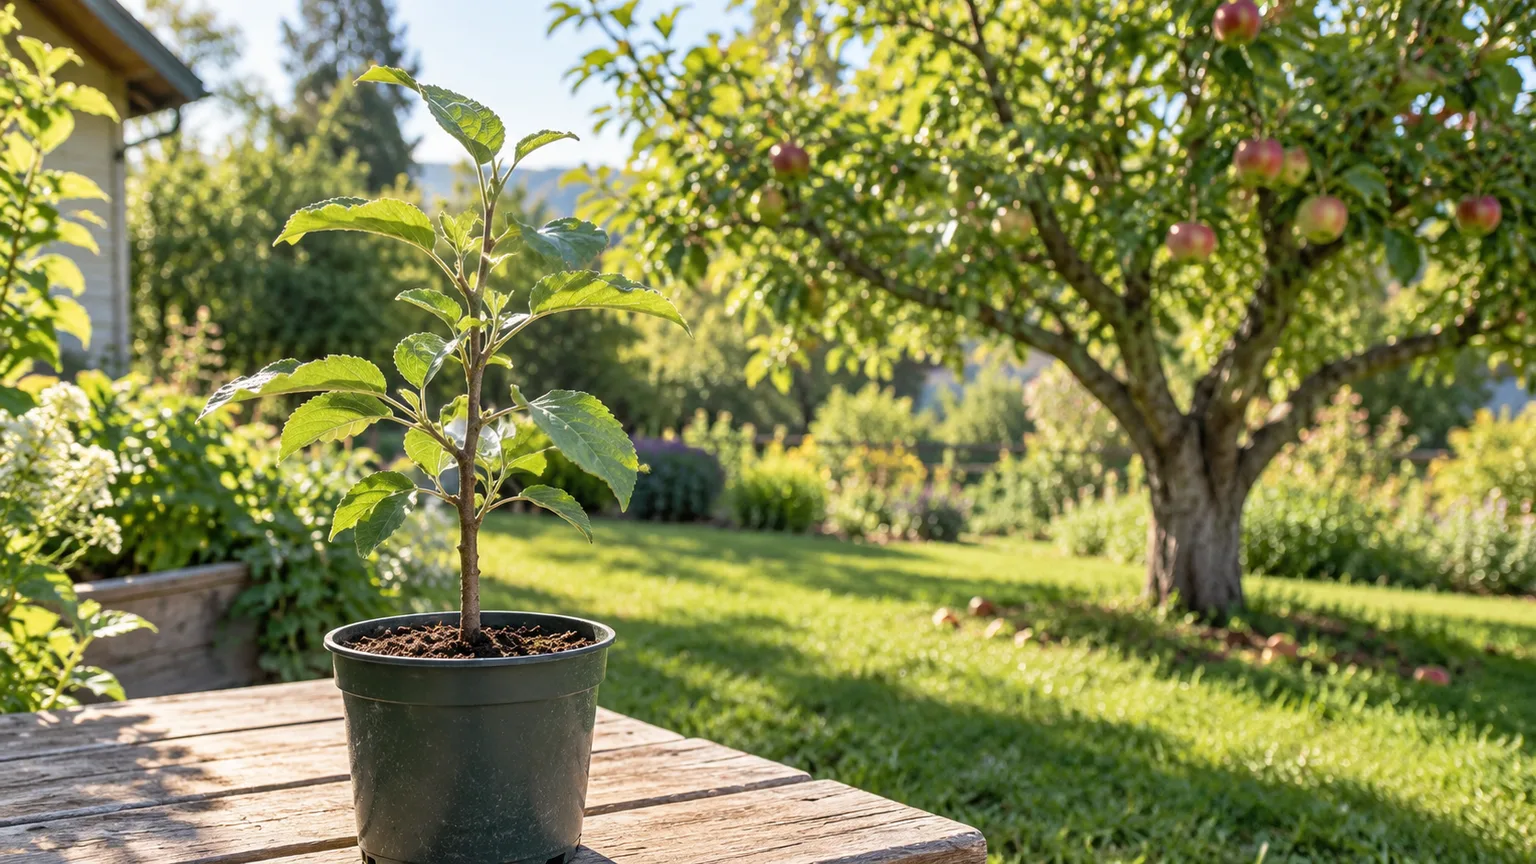
Bring the pot in if a late frost, hard wind, or heat spike is forecast. The goal is to acclimate the leaves and stem, not to make the seedling endure every condition at once.
Keep the potting mix evenly moist during this transition because small containers dry quickly outdoors. Once the plant stays outside all day without wilting or leaf scorch and is actively growing, it is better prepared for planting.
The calendar depends on your climate. In cold-winter regions, wait until the ground is workable and severe frost risk has passed for a tender indoor-grown seedling. In areas with hot summers, plant during a mild period and avoid placing a newly transplanted tree into the hottest part of the season.
The practical sequence of gradual outdoor exposure and transplanting after frost danger is also covered in Grow Organic’s apple-seed guide. Regional extension guidance is more useful than copying a fixed month from a different climate.
Choose a permanent site for an unknown-size tree
Choose the site before planting, because you do not know the seedling’s mature vigor or fruit traits. A seedling is not on a dwarfing rootstock, so do not assume you can keep it compact with pruning.
Virginia Cooperative Extension describes trees on seedling rootstocks as large, commonly around 18 to 22 feet, though an individual seedling’s size depends on its genetics and growing conditions. Leave space from buildings, overhead lines, fences, and other trees; check local extension recommendations for spacing in your area.
Give the tree full sun—roughly six or more hours of direct light in the growing season—and well-drained soil. Avoid a low pocket where cold air and water collect or a spot where roots will sit in saturated soil.
Apple seedlings also need a climate that can support their dormancy and flowering. A seed collected from a locally successful tree may be an interesting starting point, but its offspring’s winter hardiness, chilling need, disease response, and harvest timing are not guaranteed to match.
Before digging, look for buried utilities and consider how you will protect the tree from deer, rabbits, lawn equipment, and future construction. If the site is too small for a large tree or you need a planned harvest date, a grafted dwarf or semi-dwarf tree is a more controllable choice.
Plant and protect the young apple tree
Plant in a hole wide enough to spread the roots naturally and no deeper than the root ball. Ease the seedling out of its pot, tease apart only roots that are tightly circling, and keep the root flare near the soil surface.
Backfill with the soil you removed rather than creating a small pocket of rich potting mix that holds water differently from the surrounding ground. Water slowly after planting to settle soil around the roots.
Spread a few inches of organic mulch over the root area to reduce weeds and slow moisture loss, but keep it several inches away from the trunk. Mulch piled against bark encourages damage and gives rodents cover.
Maintain a weed-free ring so grass does not compete with a young tree for water. In the first growing season, check soil moisture below the surface during dry periods; a new tree needs consistent moisture while its roots establish, but not a permanently saturated root zone.
Use a trunk guard or a small protective cage if rabbits, voles, or deer are common. Keep protection loose enough to avoid rubbing the bark and check it as the trunk grows. A stake is useful only if the young tree cannot stand upright or the site is windy; secure it loosely and remove it once the tree is stable so the trunk can strengthen.
Train the seedling into a strong framework
For the first season, focus on establishment. Remove broken or dead growth, but avoid heavy pruning that removes the leaves the young tree needs to build roots and trunk.
As it becomes established, choose a basic structure—often a central leader for a home orchard—and remove competing upright leaders gradually. Make clean cuts with sharp, clean pruners, and do not strip off every low branch at once.
A seedling’s juvenile growth may be vigorous and upright. Training branches to a wider angle can help create a sturdier, more open framework, but do not bend brittle shoots sharply or force branches with wire that can girdle them.
The aim is a tree that will be manageable years from now, not a miniature tree at any cost. Pruning can shape the canopy; it cannot turn an unknown seedling into a dwarf cultivar.
If the seedling later flowers, do not rush to keep every fruit. A young tree needs leaf area and structural growth, and a few early fruit can bend slender branches. Wait to judge fruit quality until it is mature and properly ripe; an apple that tastes poor when picked too early does not tell you much about the tree’s potential.
Will seed-grown apples taste like the parent fruit?
Probably not exactly. Each seed comes from sexual reproduction, so the seedling receives a distinct genetic combination; the pollen may have come from a different apple or crabapple tree visited by an insect. A seed collected from a sweet apple can grow a tree whose fruit differs in size, texture, color, acidity, storage life, or harvest season.
Some seedlings make pleasant eating apples; others are better for cooking, wildlife, cider, or simply shade. There is no dependable way to predict the outcome from the parent fruit’s name.
Fruit production also has a pollination question separate from flavor. Many apple cultivars need pollen from a compatible variety whose flowers open at about the same time. Virginia Cooperative Extension explains that apple varieties generally need a different, compatible variety in bloom nearby for reliable fruit set.
A lone seedling may bloom but set little fruit if compatible pollen is unavailable, and a different seedling is not automatically a good pollination partner. Bees move pollen, but they cannot compensate for a lack of compatible flowering trees nearby.
You may wait six to ten years or longer for a seed-grown tree to bear, depending on genetics, climate, vigor, and care. Virginia Cooperative Extension notes that seedling-rootstock trees may produce a first crop around the seventh or eighth year; its home-garden context illustrates why a seedling is a long-term commitment, not a quick harvest plan. Fruit can take longer if the tree is shaded, pruned hard, stressed, or still juvenile.
Seed-grown or grafted: choose the right route
A seedling is a good fit when curiosity, education, breeding, or raising a unique tree is the point. A grafted tree is the practical choice when you want a named apple, an estimated mature size, and a shorter, more predictable route to fruit.
Nursery trees combine a scion—the desired fruiting variety—with a rootstock selected for traits such as vigor, size, and adaptation. The fruiting variety is reproduced vegetatively so it retains the characteristics gardeners recognize.
| Choose a seed-grown tree if… | Choose a grafted tree if… |
|---|---|
| You enjoy the experiment and can wait years. | You want a named variety and a more predictable harvest. |
| You have room for a potentially full-size tree. | You need a dwarf or semi-dwarf size for a small yard. |
| Unknown fruit quality is acceptable. | You want a planned pollination partner and known cultivar traits. |
| You may use the seedling as rootstock later. | You want fruit sooner than a seedling is likely to provide. |
Even a grafted tree is not instant: the time to fruit depends on cultivar, rootstock, age at planting, and conditions. University of Maine Cooperative Extension notes that semi-dwarf apple trees commonly begin bearing several years after planting. A reputable local nursery can match a cultivar and rootstock to your winter conditions, space, and pollination options.
Use a seedling as rootstock if you want a known variety
A seedling can become useful even if its eventual apples are not exceptional. Fruit growers commonly use seed-grown apple trees as rootstock, then graft a known cultivar onto the young plant.
The seedling contributes the roots and lower trunk; the grafted scion supplies the fruiting variety. Oklahoma State University Extension identifies seedling apple trees as a source of rootstocks and recommends budding or grafting to establish a desirable variety.
That option still takes skill and patience. A graft must join healthy, compatible plant tissues at the right time, and the seedling’s own vigor will influence the resulting tree.
If your only goal is fruit, buying a grafted tree is simpler. If you already have a thriving seedling and want to learn propagation, grafting gives the tree a productive role without pretending its seed will reproduce the apple you ate.
Conclusion
Growing an apple tree from seed is possible when you keep the seed moist, provide roughly 60–120 days of cold stratification, and give the sprout careful light, water, and gradual acclimation. The hardest part is not getting a seedling; it is waiting years for a tree whose mature size, pollination needs, and fruit quality remain uncertain.
Start the experiment if you want to watch a tree develop or possibly raise future rootstock. If you want a particular apple in a manageable space, plant a grafted cultivar chosen for your climate. Either way, the first useful decision is the same: know whether you are growing for discovery or for a predictable harvest.



