How to Use Coffee Grounds in the Fridge
Use leftover coffee grounds safely in a smelly fridge: drying tips, placement, replacement timing, food-safety limits, and better options for stubborn odors.
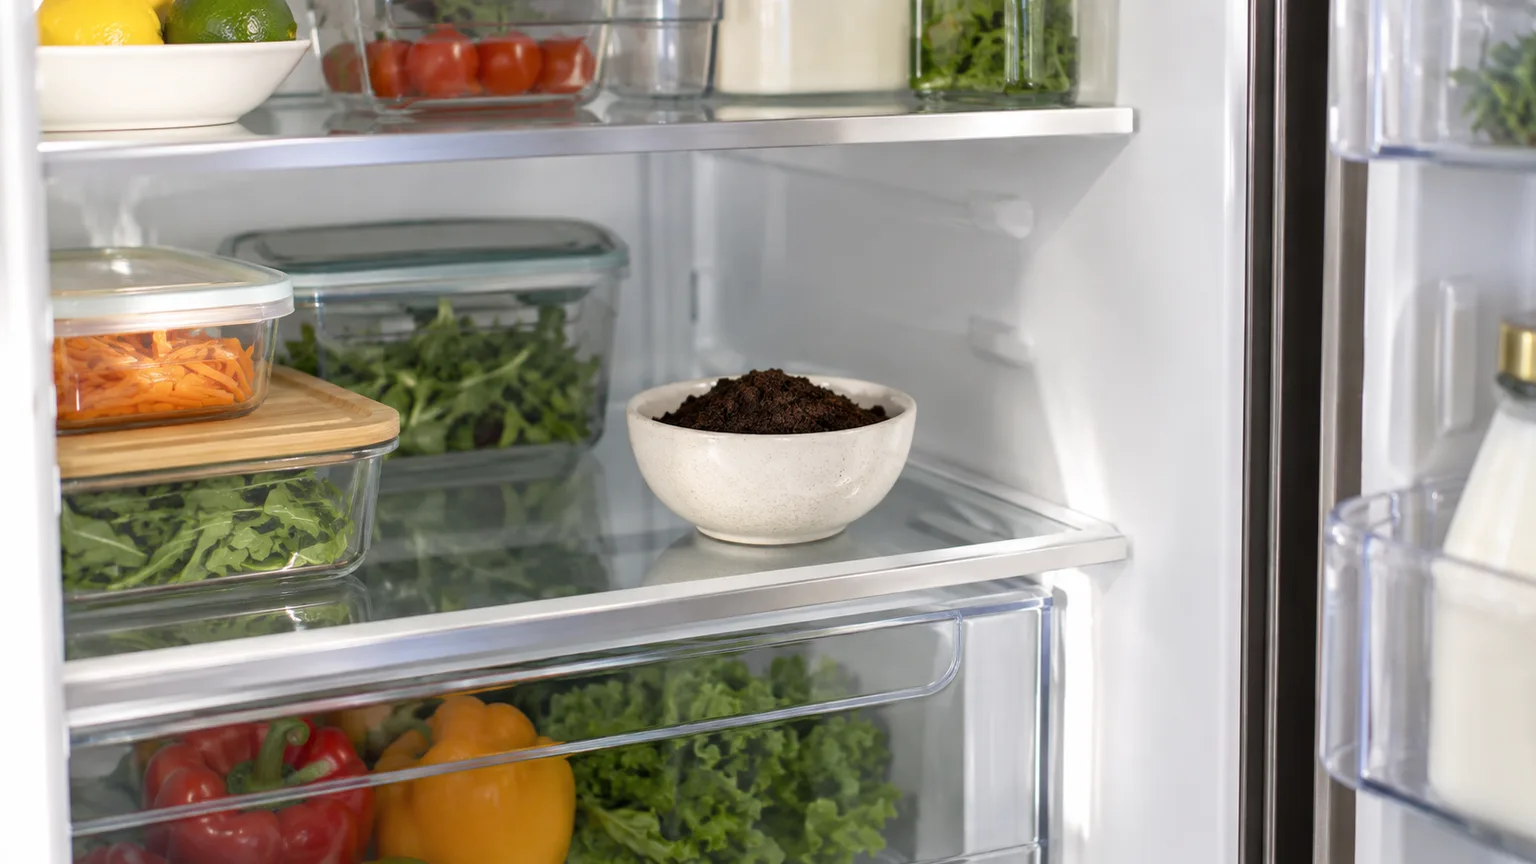
If you have seen a little bowl of coffee grounds tucked behind the milk, the idea is simple: use a leftover kitchen material to reduce the smell of other foods. Dry coffee grounds may soften mild, lingering refrigerator odors, especially after you have already removed the offending food and wiped up the spill.
They are not a substitute for cleaning, safe food storage, or a repair. The most useful way to think about the hack is source first, deodorizer second. If the odor comes from a forgotten container, a spill under a drawer, or a dirty door gasket, coffee grounds can only hide part of the problem while it continues.
The honest answer: useful for mild odors, not a cure
A shallow bowl of completely dry grounds is a reasonable low-cost experiment for a refrigerator that is clean but has a mild food smell. It may reduce some airborne odor compounds, and its own roasted aroma can make the refrigerator smell less unpleasant. That is a modest claim, but it is also the claim most households can test without turning the trick into a promise.
The result depends on what caused the smell, how much odor is present, how much air can reach the grounds, and whether moisture has made them clump. A bowl will not pull a decomposing onion out from under a crisper drawer, remove residue from a sticky shelf, or make questionable leftovers safe to eat. If the smell is strong enough to make you recoil when the door opens, start with a food and spill inspection.
There is another reason to keep expectations realistic: there is no standard household test that tells us exactly how many days or how many tablespoons of ordinary spent grounds will deodorize every refrigerator. The practical advice varies because refrigerator size, humidity, coffee grind, brewing method, and odor source vary. Use the grounds as an optional finishing step and judge them by the condition of the grounds and the smell of the fridge—not by a magic deadline.
What coffee grounds can and cannot do
Odor control is often described as “absorption,” but several things can happen at once. Molecules can adhere to the surface of a porous material, some can be held in tiny spaces between particles, and a strong new aroma can change what your nose notices. That last effect is masking, not proof that the original odor has been destroyed.
Coffee grounds are particulate and porous, which makes the idea plausible. They also contain compounds that can interact with certain gases. But “coffee contains nitrogen” is not enough to prove that a bowl of kitchen leftovers will neutralize every smell in a cold, humid appliance. The concentration, surface area, airflow, and chemistry of the odor all matter.
What the evidence supports—and what it does not
A study in the Journal of Oleo Science examined the ability of carbonaceous materials produced by microwave treatment of coffee grounds to adsorb ammonia gas. Some of those processed materials held more ammonia at saturation than activated carbon, while activated carbon worked faster. That is useful evidence that coffee-ground-derived carbon can interact with an odorant, but it is not a controlled test of a bowl of wet or dry spent grounds in a home refrigerator. Read the study abstract.
Household cleaning editors and practical guides commonly recommend dry coffee grounds as an optional refrigerator deodorizer. Better Homes & Gardens says to remove the odor source first and then set dry grounds in a small bowl; Martha Stewart’s cleaning guidance similarly frames them as a way to help with mild food odors, alongside baking soda and activated charcoal. Those sources are useful for the how-to, while the journal study helps explain why the idea is not completely random. Neither establishes a guaranteed time, percentage, or universal result. See the BHG cleaning guidance and Martha Stewart’s refrigerator-odor routine.
The distinction changes how you use the hack. You are not “sterilizing” the refrigerator, disinfecting food, or making old leftovers fresh again. You are giving a clean appliance a small, open, dry surface that may reduce the perception of residual odor for a while.
Find the smell before choosing a deodorizer
Before opening a bag of grounds, find the likely source. Refrigerator smells are frequently caused by spoiled or forgotten food, an unsealed container, or a spill that has traveled farther than it looks. Cold temperatures slow deterioration but do not make food immortal, and they do not stop odors from moving around a closed box.
Common source checks
Work methodically instead of sniffing every shelf and guessing. Remove or inspect:
- Leftovers, dairy, meat, seafood, cut fruit, and vegetables that are past their useful life or visibly moldy.
- Condiment jars and bottles with sticky residue around the lid or a leak underneath.
- Crisper drawers, the space beneath the drawers, shelf tracks, door bins, and the back corners of the floor.
- The rubber door gasket, where crumbs and liquid can collect in the folds.
- The freezer, ice bin, and any food wrapped loosely enough to share odors with everything around it.
Do not taste food to decide whether it is safe. If a container is swollen, leaking, visibly moldy, or smells wrong, discard it according to your local waste rules. Keep food that is still being saved cold while you work, and close the refrigerator door whenever you are not actively cleaning. USDA Food Safety and Inspection Service guidance on refrigeration and leftovers is the right reference for storage and discard decisions, not the smell of a deodorizer.
If everything looks fine but the smell is sour, fishy, or musty, look for moisture. A drip pan, drain area, ice maker, or spill beneath a removable part can keep releasing odor after the visible interior appears clean. A persistent burning, electrical, chemical, or solvent-like smell belongs in a different category: stop experimenting with food-safe deodorizers and troubleshoot the appliance.
How to use coffee grounds in the fridge
Once the refrigerator has passed the source check, the method takes only a few steps. Use used grounds that you would otherwise discard, but only after they are fully dry. There is no need to sacrifice fresh coffee for this job.
Dry the grounds completely
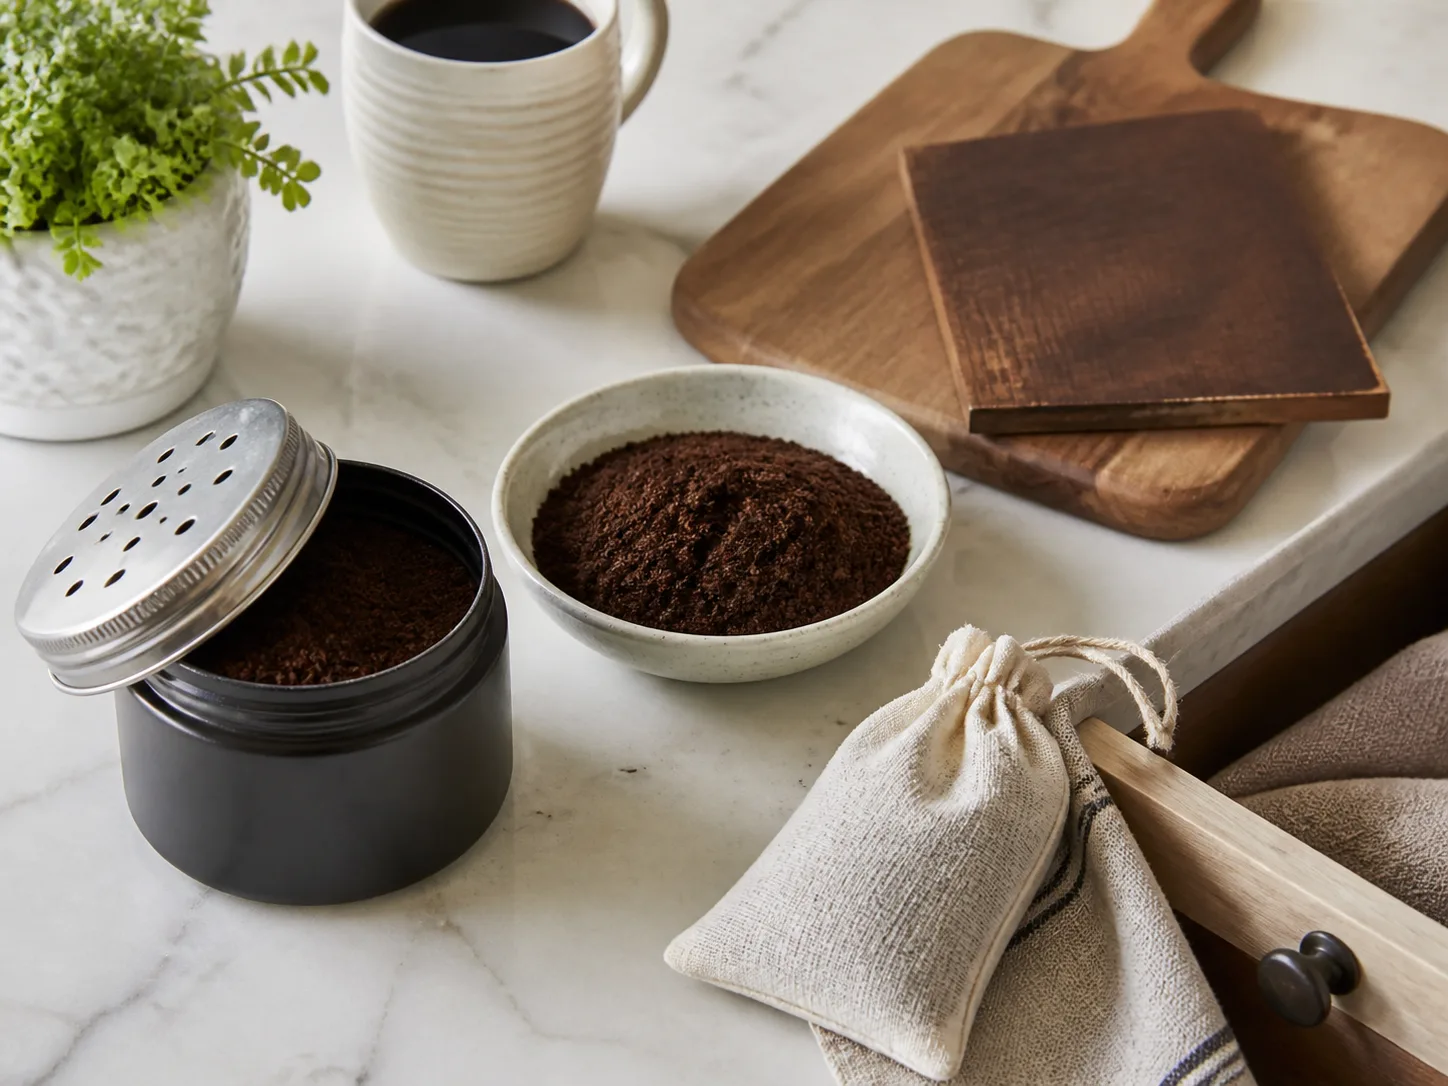
Spread the grounds in a thin layer on a plate, tray, or baking sheet and let them air-dry until they are loose and crumbly rather than cool, glossy, or clumped. Stirring the layer once or twice helps expose damp pockets. If the grounds still feel wet when pressed, they are not ready for the refrigerator.
This step is about moisture management, not making the grounds more powerful. Used grounds hold water after brewing, and a cold refrigerator does not magically remove it. Damp organic material can develop mold or a stale smell of its own, turning a deodorizing experiment into another source of odor. If you cannot dry the grounds completely, compost or discard them instead.
Do not treat a paper towel as a substitute for drying. It can wick surface moisture, but a thick pile may stay damp inside. A thin, spread-out layer is easier to evaluate and less likely to hide a wet center.
Use a shallow open container
Put a few tablespoons of dry grounds in a clean, shallow bowl or ramekin. The broad surface gives air access to more particles than a deep mug, and the open top lets odor-containing air reach the grounds. Place the bowl on a stable shelf toward the back or middle of the refrigerator where it will not be knocked over when you reach for food.
Keep the container separate from uncovered food. Grounds are not an ingredient in your refrigerator, so do not sprinkle them across a shelf, put them in a crisper drawer with produce, or place them where a jar can drip into them. A small saucer underneath the bowl is sensible insurance against a bump.
For a large refrigerator, one bowl is a better starting point than several scattered dishes. If you cannot tell whether the first bowl helped, adding more grounds makes the result harder to judge and takes away shelf space. Try one controlled placement for a day or two, then decide whether the cleanup or a different absorber is the better next step.
Replace on a condition, not a calendar
Check the grounds each time you open the refrigerator during the first few days. Discard them immediately if they become damp, sticky, clumped, fuzzy, discolored, or noticeably musty. Also discard them if the refrigerator starts smelling like old coffee rather than food-free air.
You may see advice to replace the bowl every two or three weeks, but that interval is too broad to treat as a rule. In a humid refrigerator or after a strong spill, the grounds can become unpleasant much sooner; in a dry, lightly used refrigerator, they may remain visibly dry while gradually losing their usefulness. A better rule is: if the odor is not improving after a short trial, remove the grounds and change the strategy; if the grounds are damp or questionable, remove them at once.
After the trial, compost the grounds if your compost system accepts them, or put them in the trash. Do not pour a large amount down a sink or disposal; the particles can collect with grease and contribute to a clog.
The clean-first reset for persistent odors
If the refrigerator still smells after the bowl has been in place, the answer is probably not “use more coffee.” It is time to remove the residue that is feeding the odor and clean the surfaces that have absorbed it.
Protect food and clean top to bottom
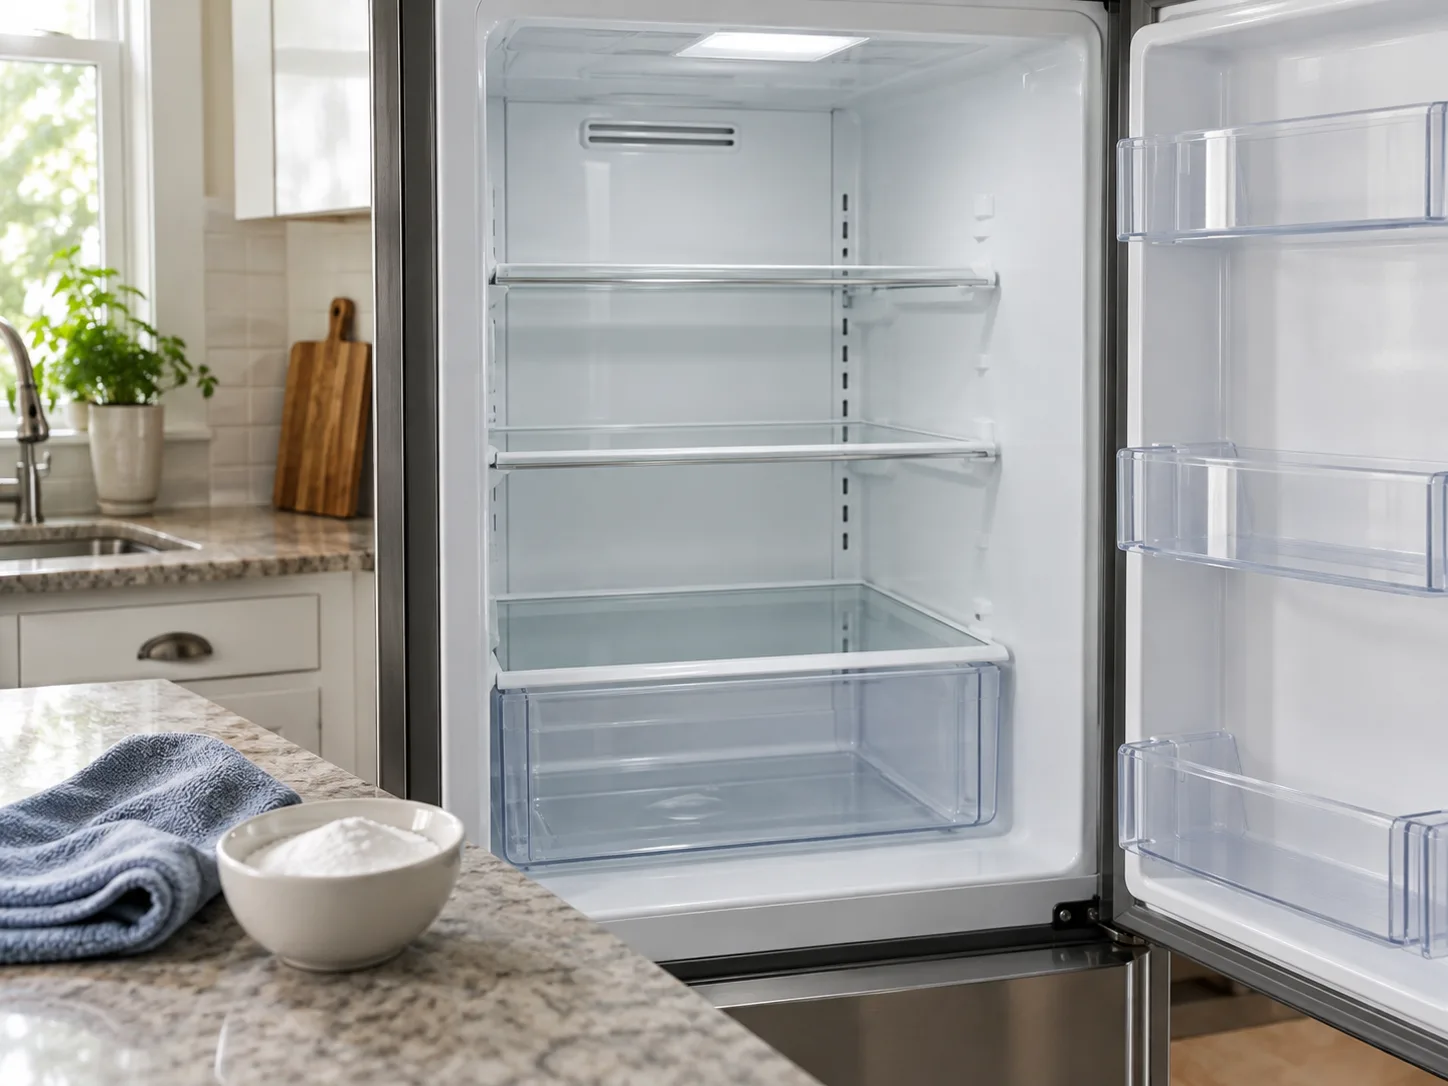
Set up a cooler or another cold-storage option before emptying the refrigerator. Take out the food, discard anything clearly spoiled, and group the items you are keeping so the job does not turn into an hour of warm, open-door sorting. If you only need to wipe one spill, keep the rest of the refrigerator closed and work quickly.
Remove shelves, drawers, and door bins according to the appliance manual. Let cold glass warm toward room temperature before exposing it to hot water, then wash removable parts with warm water and unscented dish soap. Rinse and dry them completely; returning damp drawers is an easy way to keep the smell cycle going.
For the interior, use warm water and a small amount of mild, unscented dish soap on a clean cloth or sponge. Work from the top down: ceiling, back wall, side walls, shelf supports, floor, door bins, and gasket. Pay attention to seams and tracks, then wipe again with clean water so cleaner residue and loosened food particles do not remain on surfaces near food.
If the refrigerator contained spoiled meat, a power-outage mess, or visible contamination, use the sanitation procedure recommended by your appliance manual or a university extension service. Iowa State University Extension and Outreach recommends disposing of spoiled food, washing shelves and drawers, cleaning the interior and gasket, and using an appropriate sanitizing solution in a severe odor situation. Review its refrigerator-odor steps. Never mix bleach, vinegar, ammonia, or other cleaners; use one product at a time and follow the label.
Do not skip seals, the drip pan, the freezer, and airflow
The gasket deserves its own pass because it is a flexible, folded surface that can trap a thin film of food. Wipe inside the folds, dry them, and check that the gasket is seating evenly when the door closes. If the gasket is torn or no longer seals, a replacement may solve both odor and temperature problems.
Check the drip pan only if your model provides access and the manual explains how to reach it. Some pans are accessible behind a kick plate; others are not designed for casual removal. Standing liquid under the appliance can smell, but pulling panels or moving a heavy refrigerator without knowing the procedure can cause damage or injury.
Do the freezer and ice bin at the same time if the odor seems to travel between compartments. Old ice can pick up surrounding smells, and food trapped in frost can continue releasing them. Wash removable ice-bin parts as the manufacturer directs and avoid putting cleaning chemicals where they can contact ice or water without a complete rinse.
After wiping, dry the surfaces and let the appliance air out briefly with the doors open if it is safe to do so. Iowa State Extension includes air circulation in its odor-removal sequence; for an ordinary light odor, a short airing period may be enough, while a severe spoiled-food odor can take repeated cleaning and longer ventilation. Keep children away from an open appliance and do not leave perishable food unattended on the counter.
Only after this reset should you decide whether to add dry coffee grounds, baking soda, or activated charcoal. The absorber is a finishing tool; the wash-and-dry sequence is what removes the residue.
Coffee grounds, baking soda, or activated charcoal?
There is no single best deodorizer for every refrigerator. Choose based on whether you want to reuse a kitchen leftover, avoid adding scent, or address a stubborn residual odor after cleaning.
Match the absorber to the job
| Option | Best use | Main limitation | Practical choice |
|---|---|---|---|
| Dry used coffee grounds | Mild residual food smell after the source is gone | May add a coffee aroma and can grow mold if damp | Try one shallow bowl for a short trial |
| Baking soda | Neutral-smelling, everyday odor control | Still needs replacing and cannot fix a spill | Choose it when you want less added scent |
| Activated charcoal | Lingering odor after a thorough cleanup | Loose powder is messy; quality and directions vary | Use a refrigerator-appropriate sachet or product |
| Cleaning and airflow alone | A fridge with an identifiable spill or spoiled food | Takes more time but addresses the cause | Always do this before escalating deodorizers |
Baking soda is often the better default for a refrigerator that is clean but regularly picks up small food smells because it does not perfume the interior. Activated charcoal can be useful after a stronger odor, but use a product intended for odor control and keep loose material contained. Grill briquettes, ash, scented beads, and improvised powders do not belong loose on a food-storage shelf.
Coffee grounds make the most sense when the goal includes reuse and the odor is mild. If anyone in the household dislikes the smell of coffee, or if the refrigerator holds uncovered butter, bread, or other foods that readily pick up aromas, baking soda may be the more considerate choice. A deodorizer that creates a new smell is not an improvement for everyone.
Mistakes that can make the fridge smell worse
The hack fails most often because the bowl is treated as a cure or because the grounds bring moisture into an already damp appliance. Avoid these shortcuts:
- Putting wet grounds in the fridge. They are more likely to clump, sour, or develop visible growth than dry grounds.
- Sealing the grounds in a jar. A closed jar prevents meaningful air contact. Use a shallow open container, but keep it stable and away from food.
- Leaving the bowl beside uncovered food. Coffee aroma can transfer, and a spill creates a new cleanup job.
- Using grounds to cover spoiled food. No deodorizer changes the safety of food that has been stored too long or shows spoilage.
- Waiting two or three weeks automatically. Replace by condition and performance; dampness or a musty smell ends the trial.
- Sprinkling grounds directly onto shelves or produce. The particles are difficult to remove and can spread through the refrigerator.
- Adding scented cleaners after the fact. Fragrance can make it harder to identify the real source and may transfer to food.
- Mixing cleaning chemicals. Vinegar, bleach, ammonia, and other cleaners should never be combined.
Another subtle mistake is judging success only by the first whiff. A coffee aroma can make a refrigerator seem fresher at the door while the original odor remains stronger inside a drawer or under a shelf. Check the likely source areas again after a day; if the smell returns as soon as the bowl is removed, the refrigerator needs source removal rather than a larger bowl.
When the smell points to an appliance or safety problem
Stop the deodorizer experiment and investigate further if the smell persists after spoiled food is removed and the interior, gasket, removable parts, and accessible odor traps are clean. A smell that is chemical, electrical, burning, or unusually sweet can indicate a mechanical or wiring problem rather than food residue. If the refrigerator is warm, cycling abnormally, leaking, or making unfamiliar noises, protect the food and contact the manufacturer or a qualified appliance technician.
Food safety also changes the decision. The refrigerator should be kept at or below 40°F (4.4°C), the temperature USDA FSIS uses as the upper limit for safe cold storage. A bowl of grounds cannot compensate for a warm appliance. If the power was out or food has been held at an unsafe temperature, follow official food-safety guidance instead of using smell as a test for whether it is edible.
Visible mold in an inaccessible area, a recurring wet spot, or odor that returns quickly after cleaning may require service. Do not remove sealed panels, handle refrigerant components, or spray cleaner into vents unless the manual specifically allows it. The right escalation is sometimes a gasket replacement, drain or drip-pan service, or a technician—not another household ingredient.
Prevent the next odor
The easiest refrigerator to deodorize is the one that never accumulates a hidden spill. Build a small routine around the moments when the fridge is already open:
- Wipe a spill as soon as it happens, including the underside of a container and the shelf below it.
- Keep strong-smelling foods and leftovers in sealed, leak-resistant containers.
- Scan the refrigerator before grocery shopping so forgotten produce and leftovers do not disappear behind new food.
- Check crisper drawers, door bins, and condiments weekly; they are easy to ignore and often hold the first clue.
- Keep vents clear enough for the appliance to circulate cold air as designed.
- Keep the temperature at or below 40°F (4.4°C) and use an appliance thermometer if the built-in display is uncertain.
- Deep-clean removable parts and the interior on a schedule that fits your household, with an extra clean after a spill, spoiled food, or power interruption.
Better Homes & Gardens describes a useful rhythm of quick daily checks, a more thorough weekly inspection, and a deeper clean every few months. Martha Stewart’s guidance similarly emphasizes sealed food, prompt spill cleanup, and replacing a natural odor absorber as needed. These routines matter more than the choice between coffee and baking soda because they prevent the organic residue that creates the smell in the first place. See the BHG prevention routine.
If you enjoy reusing coffee grounds, dry a small batch after brewing and keep it for a short, clearly defined deodorizing trial. If you do not want to monitor moisture or coffee aroma, use baking soda or a contained activated-charcoal product after cleaning. The best method is the one that removes the cause and fits a routine you will actually repeat.
Conclusion
People leave coffee grounds in the fridge because dry grounds can help reduce the perception of mild residual odors, and reusing yesterday’s coffee feels easy and inexpensive. The hack has a plausible basis, but the strongest scientific evidence involves specially processed coffee-ground carbon, not a promise that ordinary spent grounds will fix every refrigerator.
Use the method in the right order: find and remove spoiled food, clean spills and hidden surfaces, dry the interior, then place a few tablespoons of completely dry grounds in a shallow open bowl. Keep them away from uncovered food, inspect them for moisture or mold, and remove them when the smell does not improve. For neutral everyday control, baking soda may be a better fit; for stubborn odor, a deeper clean or appliance diagnosis matters more than adding more coffee.