How to Make a Compost Bin Using Plastic Storage Containers
Learn how to make a compost bin from two plastic storage containers, with tote tips, drill spacing, moisture fixes, and signs compost is ready for use.
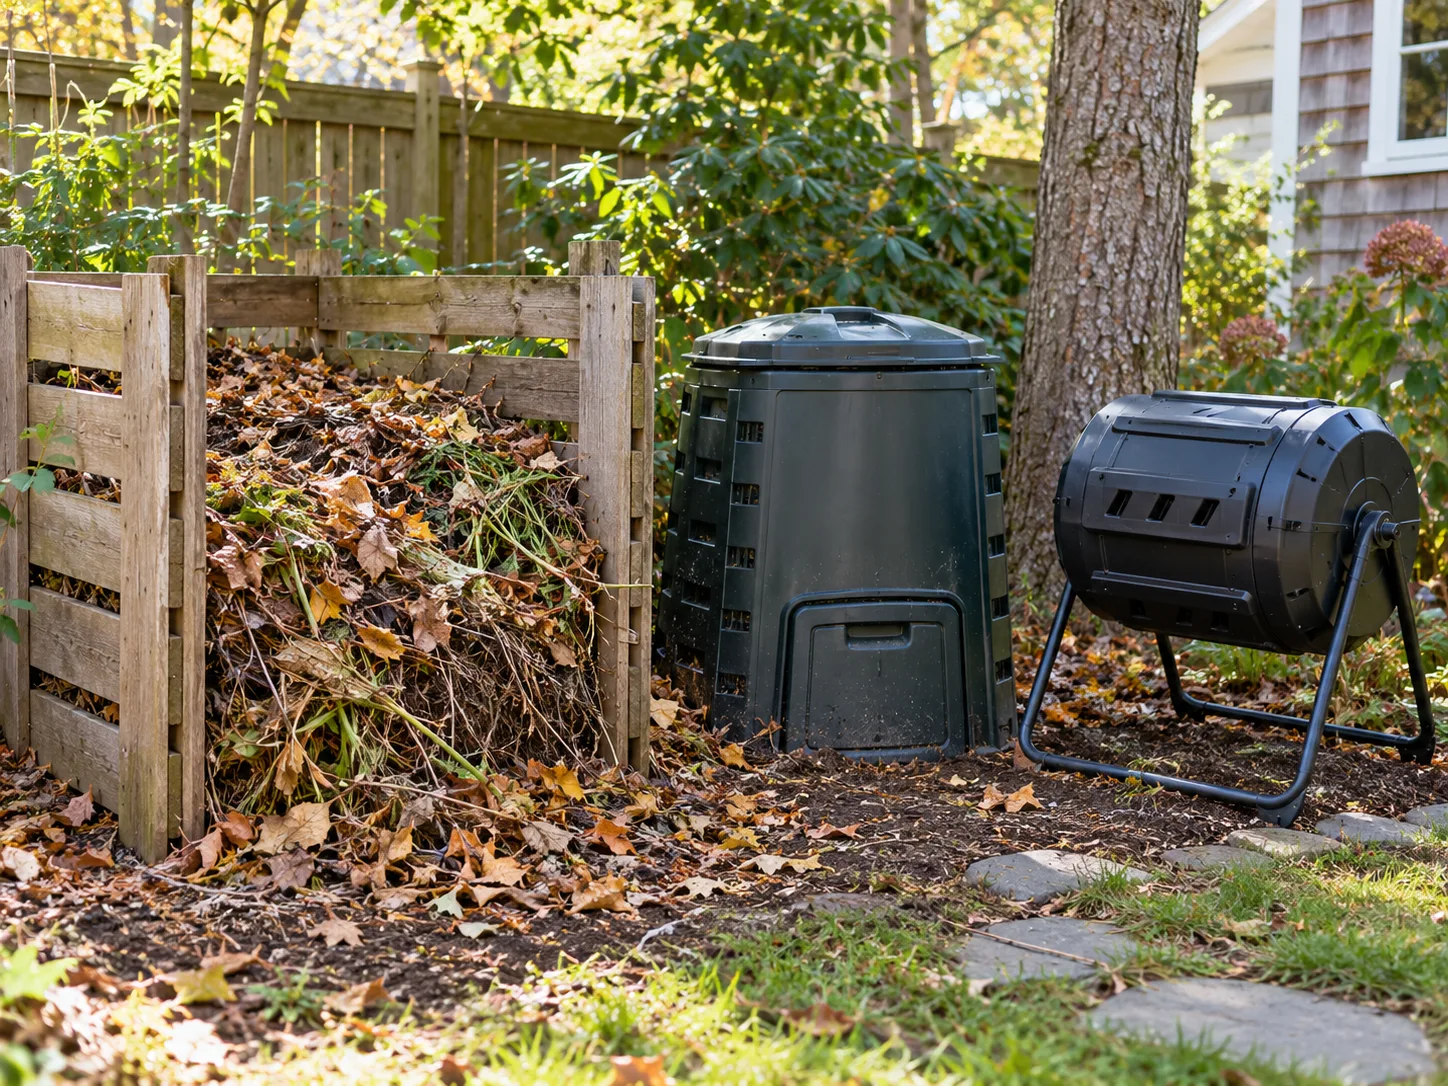
A pair of sturdy plastic storage totes can become a compact compost bin for a patio, balcony, or small yard. Drill ventilation holes in the active tote, drainage holes in its floor, and set it above a second tote that catches drips. Add a mix of food scraps and dry, carbon-rich material, keep the contents damp rather than soggy, and expect a small bin to finish on its own schedule—not on a guaranteed three-month deadline.
This simple two-tote design is inexpensive and easy to move while empty. It is best for small amounts of plant-based kitchen scraps and garden trimmings. It will not behave like a large, hot compost pile, and the liquid that drains into the lower tote is leachate, not automatically a safe fertilizer. The sections below show how to build the bin, manage it without odors, and tell when the compost is mature enough to use.
Is a Plastic Tote Compost Bin Right for You?
A storage-tote composter suits a gardener who wants to divert a modest amount of vegetable scraps and dry leaves without installing a permanent outdoor bin. It has a small footprint, uses common materials, and can sit on a balcony or paved patio where a ground-level compost pile would not work. A lid also helps keep rain from flooding the contents and makes it easier to contain scraps. BBC Gardeners’ World notes that container size, ingredient mix, and turning frequency all affect compost quality; plastic bins can work in smaller spaces because they retain moisture and heat. Its home-composting guide also highlights the importance of convenient placement and realistic timing.
The trade-off is capacity. A tote holds much less material than a cubic-yard pile, so it is harder to build and retain the heat needed for fast, hot composting. It can still make useful compost through slower aerobic decomposition, but it may take months and may need a longer curing period. Oregon State University Extension notes that a fast, hot pile needs substantial volume—about a cubic yard—as well as a suitable mix and aeration. A small tote should therefore be managed as a compact, usually cool composter, not as a guaranteed weed-seed-killing system.
Choose another method if you generate a large volume of scraps, want to compost meat or dairy, or need quick batches. A sealed, pest-resistant commercial composter, a municipal food-scrap program, or a larger outdoor bin may fit those goals better. If you only have a few scraps each week, the tote works best when you can save dry leaves or torn cardboard nearby to cover them.
Materials and Tools for a Two-Tote Composter
You need two containers, a lid that fits the upper one, a drill, and a sharp bit. A low-cost build does not need special composting equipment; the container layout and a consistent mix of inputs matter more than an accessory kit.
Pick Two Safe, Sturdy Containers
Use two clean, rigid storage totes that nest or stack securely without sealing the upper tote’s drainage holes against the lower one. An 18-gallon tote is a workable minimum; a larger container gives scraps and dry material more room to mix and buffers moisture swings. The active upper bin needs a close-fitting lid. The bottom tote acts as a drip tray and should remain intact, with no holes that let liquid escape onto a balcony or floor.
Choose a container with a known, harmless history: one that held household storage, food, or clean garden supplies. Do not repurpose a tote that held pesticides, solvents, fuel, paint, or other chemicals, and do not use brittle plastic that cracks when flexed. Wash and dry a used container before drilling. Check the lid fit and handles while it is empty, since a full tote is heavy and awkward to carry.
Gather a Drill and Optional Pest Screen
A handheld drill and a sharp 1/4-inch bit make manageable ventilation holes. A small pilot bit can help on slick plastic, but follow the drill maker’s directions and avoid forcing the bit. Set the tote on a scrap board, clamp it if possible, and wear eye protection; the support board helps prevent the drill from grabbing when it breaks through the plastic. Smooth sharp burrs with a utility knife or sandpaper so scraps and hands will not catch on them.
If pests are a concern, keep the holes small and cover them from the inside with corrosion-resistant 1/4-inch hardware cloth. Secure mesh flat so edges do not protrude into the compost or create gaps. A screen is a supplement to a close-fitting lid and buried scraps, not a substitute for them. Very large holes make airflow easy but also offer an easy path for flies, rodents, or curious pets.
Plan Ventilation and Drainage Before You Drill
Compost organisms need oxygen and moisture. Side vents admit air; holes in the floor of the active tote let excess water drain. The lower tote catches that liquid and keeps a balcony or paved surface cleaner. Keep the lower tote unperforated. Drilling it would defeat its job as a tray and could leave leachate on the ground.
Mark rows of holes about 1 to 2 inches apart around the upper tote’s side walls, including near the bottom and beneath the rim. Add evenly spaced holes across the base of that tote, leaving enough plastic between holes to keep the floor strong. A similar spacing through the lid can add air exchange, but avoid so many holes that rain and pests enter freely. The exact number matters less than having distributed openings on all sides and a clear drainage path underneath.
Before assembly, decide how the upper tote will sit above the lower one. If the upper tote nests tightly, its bottom holes can be blocked. Place a few stable, washable spacers or short plastic feet inside the lower tote so the active bin is elevated and liquid can move away from the holes. Check that the supports carry the full load evenly and cannot tip. The small air gap also helps keep the upper tote from sitting in accumulated liquid.
Build the Two-Tote Compost Bin
- Wash and dry both totes, then set the upper tote upside down on a firm support board.
- Mark and drill ventilation holes around its sides and near the rim, spacing them roughly 1 to 2 inches apart. Drill drainage holes across the floor of this active bin.
- Drill a few small ventilation holes in the lid if it fits tightly. Do not drill the lower catch tote.
- Remove plastic shavings and smooth any sharp edges. Add hardware cloth over larger openings if rodents or flies are likely, fastening the screen securely.
- Put the lower tote where the bin will live. Place stable spacers inside it, then set the perforated tote on top. Confirm the upper tote sits level and its base holes remain open.
- Fill the upper tote with a few inches of dry browns, such as shredded cardboard or dry leaves, before adding the first food scraps. Close the lid and check the fit.
The finished setup should have a vented, drained compost chamber above an unperforated drip tray. Lift the upper bin only when it is empty or light; do not try to carry a full tote by its handles if they flex or the plastic bows. If you need to move it, remove a portion of the contents first. For a patio, put the lower tote on a stable, washable surface and inspect it occasionally for trapped liquid.
Choose a Practical Location for the Bin
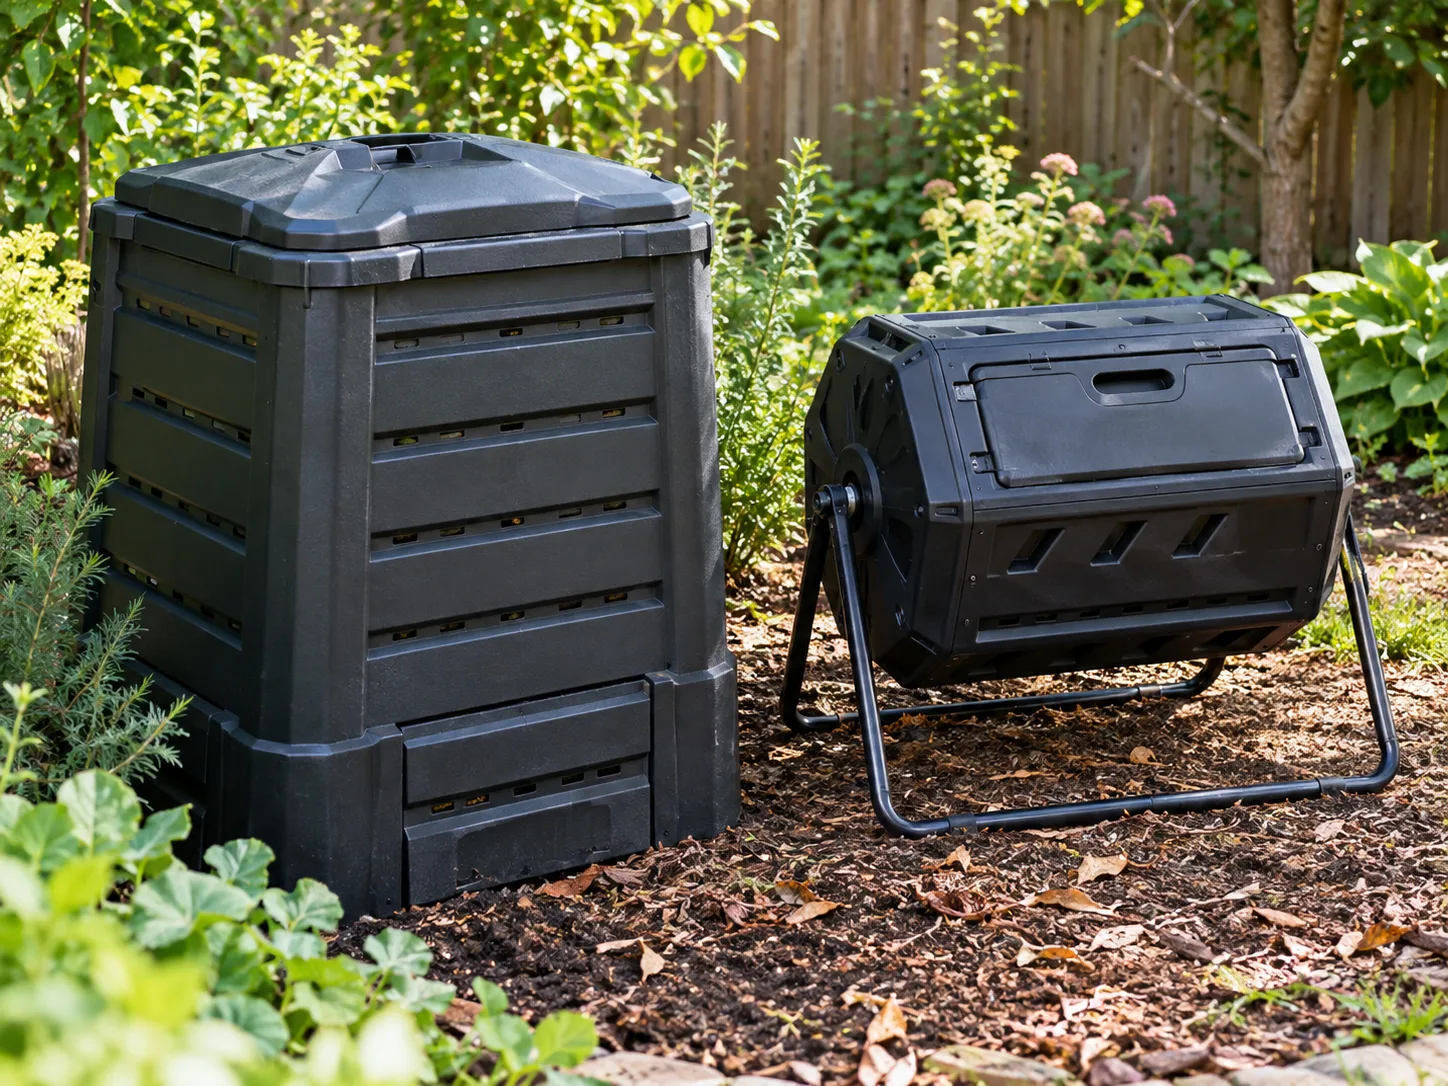
Place the bin somewhere level, shaded or partly shaded, and convenient to reach from the kitchen. Ease of use matters: if you have to cross the yard in bad weather every time you peel a carrot, scraps will end up in the trash. A patio or balcony works if the floor can support the weight and the lower tote is stable. A shady spot also reduces the chance that the contents dry out quickly in summer sun.
Keep the composter away from doors, windows, and outdoor eating areas if you are concerned about flies or odors. Leave enough space to lift the lid, stir the contents, and remove the top tote when harvesting. Outdoors, choose a spot protected from roof runoff and heavy rain. Indoors, a garage or utility area can work if it is ventilated, stays above freezing, and has a spill-proof surface; do not keep an actively decomposing food-scrap bin in a living area.
If the bin sits on soil, some gardeners prefer a single bin with no bottom to allow contact with soil organisms. This two-tote design intentionally catches drainage, so it is more suited to hard surfaces. The catch tote should be easy to slide out for inspection, but secure enough that wind or a bump will not dislodge it.
What Can Go in a Small Compost Bin?
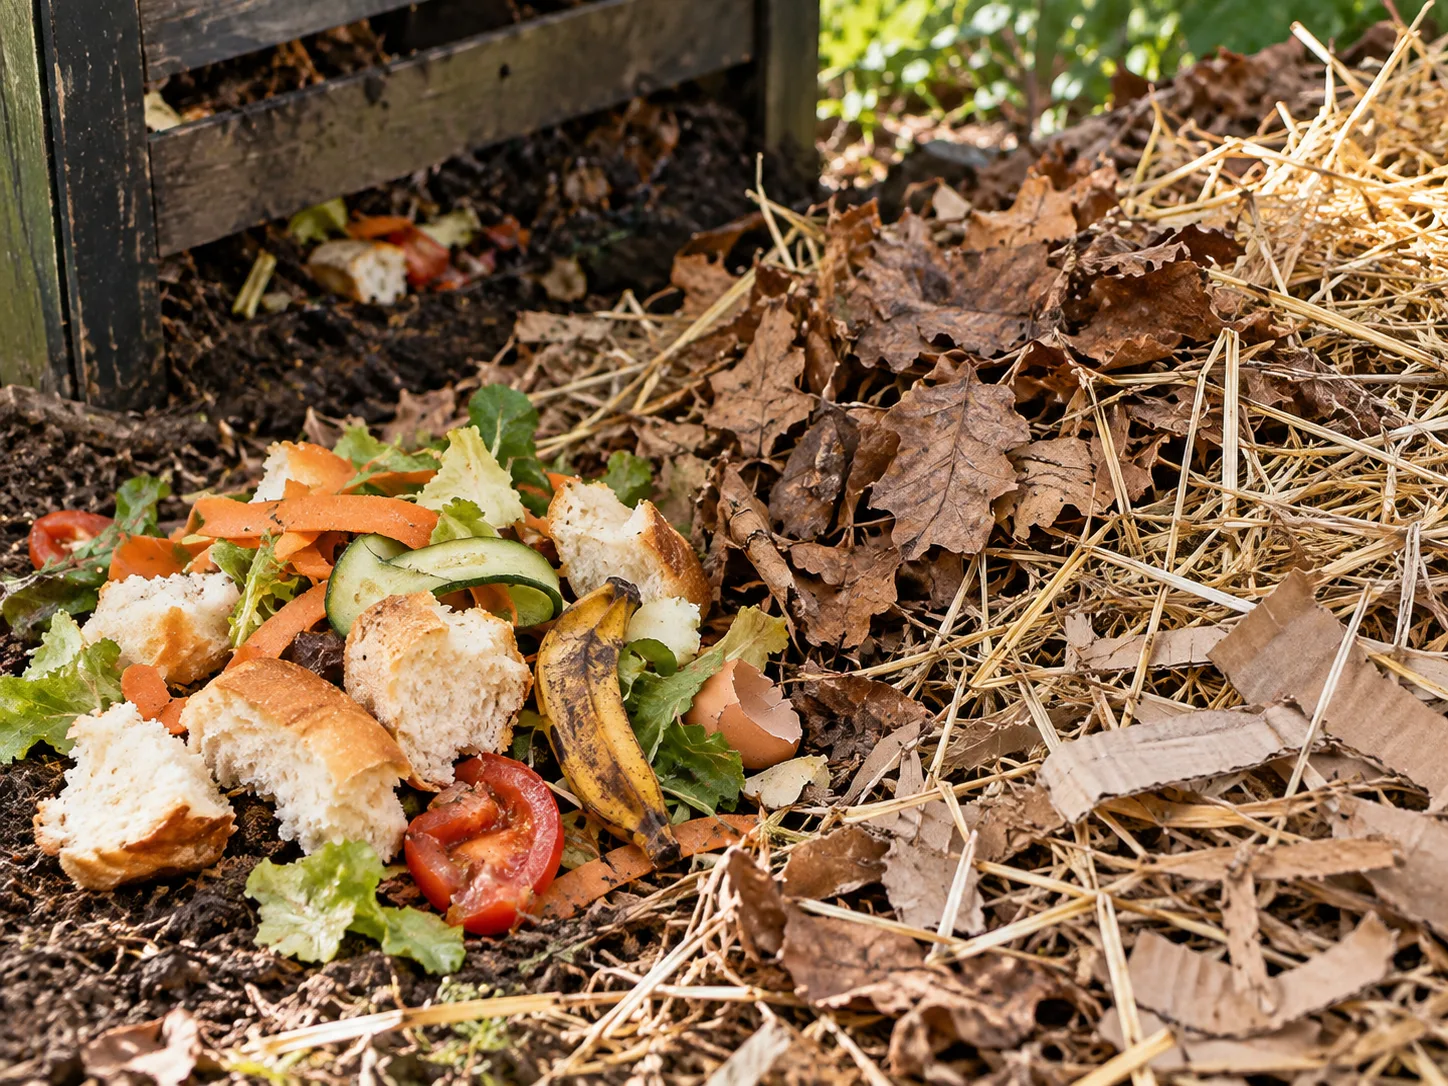
Start with plant-based scraps and dry yard material. Good “greens” include fruit and vegetable trimmings, coffee grounds and paper filters, plain tea leaves, crushed rinsed eggshells, and fresh grass clippings in modest amounts. Suitable “browns” include dry leaves, shredded plain cardboard, uncoated paper egg cartons, paper towels without cleaners or grease, and small amounts of untreated wood shavings. Chop bulky scraps and tear cardboard into small pieces; smaller fragments expose more surface area to decomposers.
Avoid meat, fish, bones, dairy, grease, oil, and pet waste in a basic tote composter. They can create strong odors and attract animals, and the tote is unlikely to maintain the high, consistent temperatures needed for a reliably managed hot-compost process. Also leave out diseased plants, weeds carrying mature seeds, glossy or plastic-coated paper, chemically treated yard waste, and materials contaminated by cleaning products. NC State Extension’s backyard-composting guide lists these materials among those that can pose a nuisance or health hazard in home piles. The EPA’s home-composting guidance recommends covering food scraps with browns to discourage pests.
Gardeners sometimes ask whether weeds are compostable. A young weed without seed heads may break down, but a small tote may never get hot enough to kill viable seeds or persistent roots. Unless you can verify a properly managed hot process, leave seeded weeds and invasive roots out. That conservative choice avoids spreading weeds when you later spread the finished material.
Balance Browns, Greens, Air, and Water
Compost needs a mix of carbon-rich browns, nitrogen-rich greens, air, and moisture. A practical starting point is about two to three parts browns by volume for each part greens, then adjust by feel and smell. This is not a laboratory recipe: different leaves, cardboard, food scraps, and grass vary in water and carbon content. The U.S. Environmental Protection Agency recommends adding at least two to three volumes of browns for each volume of greens and covering fresh scraps with a layer of browns. Recommendations do vary: BBC Gardeners’ World describes roughly equal volumes as a starting point. Use either as a guide, then correct the mix based on its dampness, smell, and tendency to compact rather than measuring every handful.
In a tote, keep a stash of dry leaves or shredded cardboard beside the bin. Each time you add a bowl of scraps, mix it in and cover it with enough browns that no food remains visible. A loose layer of dry material absorbs some moisture and helps keep flies from finding scraps. Do not pack the tote tightly; air needs pathways through the mixture. If contents compact, fluff them with a hand fork or mix in coarse pieces such as torn corrugated cardboard.
Aim for moisture like a wrung-out sponge: evenly damp, but not dripping when squeezed. If the mix is dusty and dry, sprinkle in water while turning it rather than flooding the bin. If it is wet, slimy, or sour-smelling, add dry browns and loosen the clumps. Oregon State Extension and the EPA use the wrung-out-sponge comparison for compost moisture. A handful of damp leaves is a better signal than whether the surface looks wet.
Add Scraps Without Inviting Pests
Keep a small, lidded kitchen pail for scraps and empty it regularly; if scraps must wait, refrigerate or freeze them to limit odor. In the compost tote, make a shallow pocket in the center of the material, add the scraps, cover them fully with browns, and close the lid. Burying food reduces the scent that attracts flies and rodents. Avoid piling scraps against the walls, where they can stay wet and accessible.
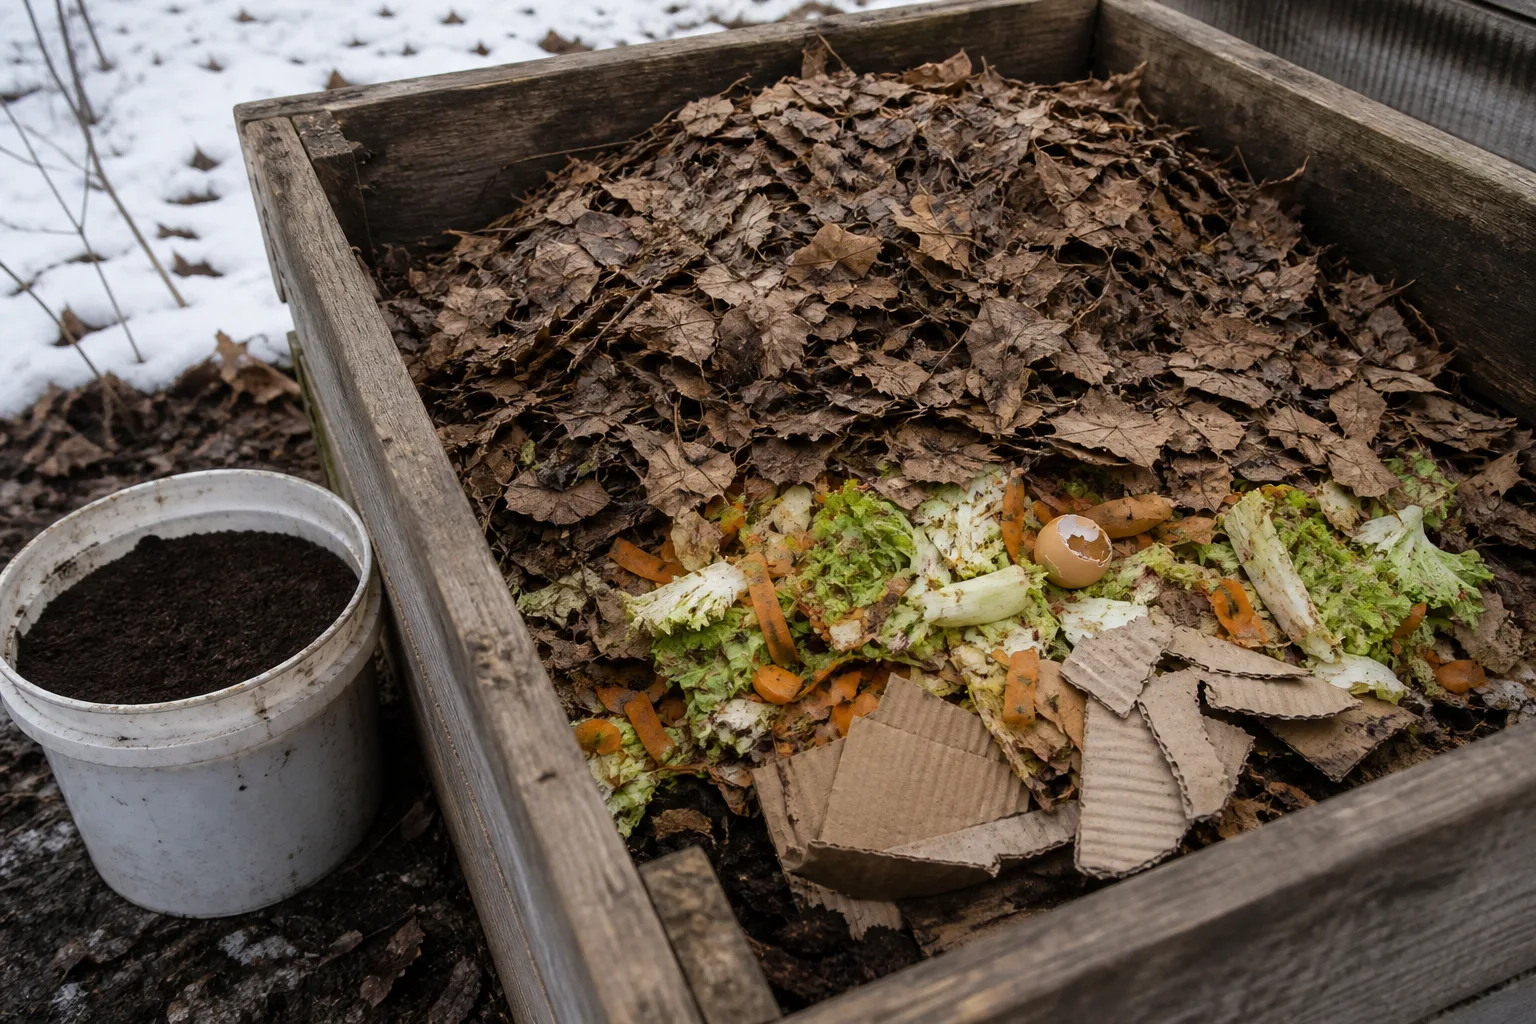
Do not treat a snap-on storage lid as rodent-proof. Inspect the corners and rim for gaps, make sure the lid cannot blow off, and use fine hardware cloth over air openings if pests are present. Keep fallen food, spilled leachate, and bags of scraps away from the bin. The EPA recommends tight-fitting lids, gaps no larger than 1/4 inch, covering and burying food waste, and avoiding meat, dairy, and greasy foods as part of pest management. If animals keep getting in despite those measures, stop adding food scraps to the tote and use a sealed, pest-resistant system or local collection program.
Some gardeners freeze scraps, chop them small, or blend them before adding them. These steps can speed breakdown by increasing exposed surface area, but they are optional. Do not add large volumes of wet blended pulp all at once: a small tote can become compacted and oxygen-poor. Pair each wet addition with dry, bulky browns and mix it through the upper layer.
Fix Common Moisture and Odor Problems
An unpleasant smell is a symptom to correct, not a normal stage to endure. A rotten-egg or sour odor usually points to excess moisture and too little air; add dry leaves or shredded cardboard, break up wet clumps, and turn the contents. An ammonia-like smell can mean an excess of nitrogen-rich material, such as a thick layer of grass clippings; mix in browns. A healthy bin usually smells like damp earth or leaves, not garbage.
If liquid pools in the bottom of the upper tote, check for blocked drainage holes and raise the bin so the holes are clear. Add dry browns and reduce juicy scraps temporarily. The lower tote’s liquid is leachate—water that has passed through decomposing material. It is not automatically finished compost or a tested fertilizer. Cornell University’s produce-safety guidance distinguishes leachate from compost tea and cautions against applying leachate directly to plants. The Maine Organic Farmers and Gardeners Association also notes that untreated leachate may carry pathogens. Do not pour it over edible leaves or use it as a foliar spray. Empty the catch tray carefully, keeping liquid away from storm drains and food-contact surfaces; if unsure about local disposal, ask your municipal waste service.
If flies gather, cover exposed scraps, add a thicker brown layer, and check for gaps around the lid and mesh. If the contents are too dry, add water gradually and mix. If they are wet, do not just drill many more holes: first remove excess water, improve the brown-to-green balance, and clear the drainage path. A quick shake can loosen material, but occasional mixing gives you better control of wet or compacted pockets.
Composting Through Cold or Wet Weather
Composting can continue during cool weather, but decomposition slows as temperatures fall and may pause when the contents freeze. Keep adding scraps only if you can cover them with dry browns and maintain a secure lid. Store a covered supply of dry leaves or cardboard where it will stay dry. Avoid bringing a wet, smelly bin into a living space for warmth; the odor and pests can outweigh any modest change in temperature.
Heavy rain can fill a small bin through the lid or vents. Position it under cover or add a simple rain shield that does not block airflow. After a storm, check the drainage holes and moisture level. Conversely, a hot, windy balcony can dry a small volume quickly; test the middle of the pile and moisten it if it feels crisp. A tote has less insulation and mass than a large pile, so it reacts faster to changes in weather.
In a cold climate, you can store kitchen scraps in a sealed pail or freezer and add them to the outdoor bin when conditions improve. Another option is to keep the tote active in a ventilated, above-freezing utility space, but only if the tray is stable and the bin does not create odor or pest problems. There is no need to force year-round activity: compost can rest through winter and resume as temperatures rise.
How Long Does a Tote Take to Make Compost?
There is no dependable fixed schedule for a small storage tote. The EPA says a well-maintained home compost pile may take around three to five months, while BBC Gardeners’ World gives a broader six-month-to-two-year range depending on bin size and temperature. Those are general ranges for different methods and conditions, not a guarantee for a small tote. A tote that receives scraps gradually, stays cool, or is rarely mixed can take longer. Each new addition starts decomposing at a different time, so the oldest material may be ready while fresh scraps are still recognizable. After active decomposition slows, give the contents additional time to cure. The EPA recommends curing a pile for at least four weeks after it has stopped heating and visible scraps have disappeared; use a longer period if the tote stays cool or the material still looks unfinished.
The main timing factors are the volume of material, particle size, balance of browns and greens, moisture, aeration, and temperature. A full tote with a well-mixed batch of chopped inputs generally breaks down more evenly than a bin that is mostly empty and receives whole scraps sporadically. Frequent mixing and a suitable moisture level can help, but adding a commercial starter or fertilizer cannot compensate for a soggy, airless pile or an unsuitable mix.
For a more predictable harvest, stop adding fresh scraps to one tote and let it finish while you use a second active container or a separate kitchen scrap collection method. If you keep adding new material continuously, harvest only the most mature material and return recognizable pieces to the bin. Judge the compost by its appearance and smell rather than the calendar.
Harvest and Use Finished Compost
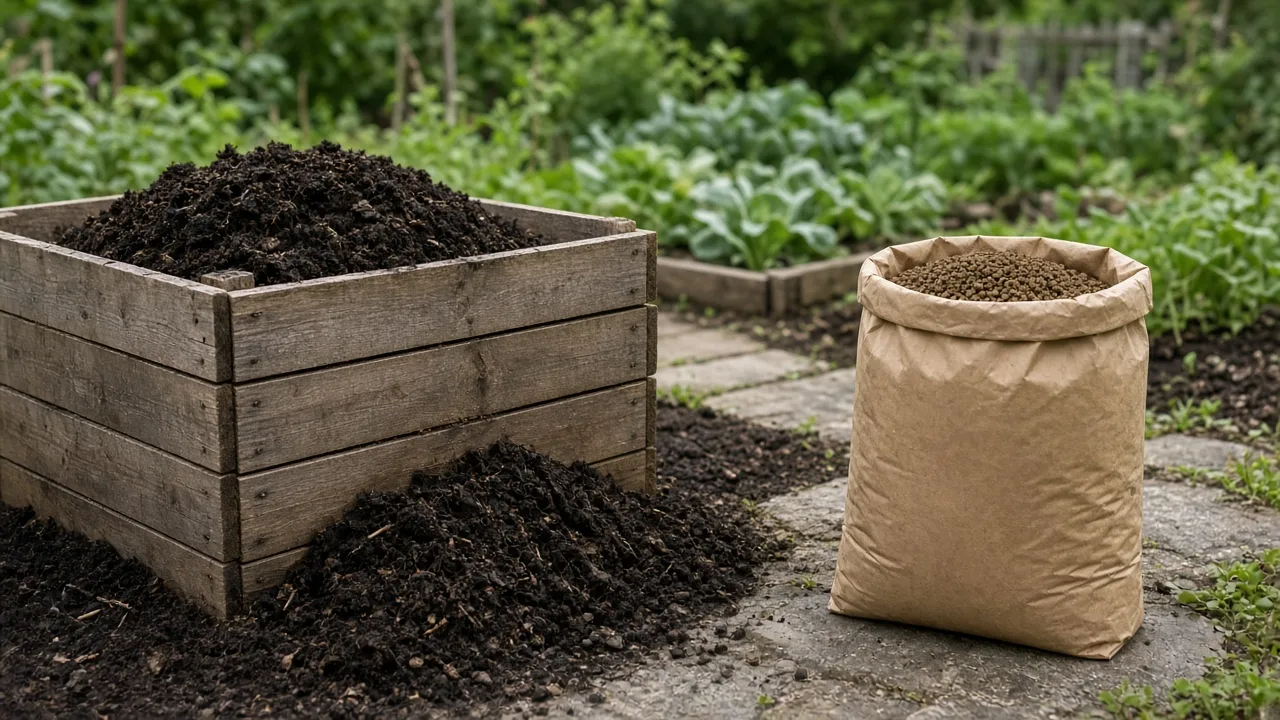
Finished compost is usually dark brown, crumbly, and pleasantly earthy, with few recognizable food scraps. Some tough stems or eggshell fragments may remain; sift them out and return them to the active bin. If the material still smells sour, heats noticeably after turning, or contains obvious scraps, let it break down and cure longer. The EPA’s finished-compost guidance describes mature compost as dark, loose, and crumbly with a fresh-soil smell; BBC Gardeners’ World gives similar visual and smell cues. These signs are useful checks, but no single appearance guarantees that every ingredient has fully decomposed.
When ready, empty the top tote onto a tarp or into a tray and sift it through a coarse screen if you want a finer texture. Let unfinished pieces continue in the bin. Mix mature compost into garden soil or spread a modest layer on beds as an amendment; it is not a complete, precisely balanced fertilizer. Avoid filling containers with homemade compost alone because its texture, nutrient levels, and drainage can vary. For seedlings or sensitive plants, blend it with a suitable potting medium and follow local extension guidance.
Wash hands and tools after handling compost, especially before harvesting vegetables. Keep compost off edible leaves and rinse produce under clean running water before eating, as the FDA recommends for all produce. If the bin held manure, pet waste, or other materials unsuitable for a cool tote, do not use the material around food crops; in this method, it is simplest to exclude those ingredients from the start.
Mistakes That Slow Down a Storage-Tote Composter
The most common mistake is assuming a tote will make hot compost just because it has a lid. Small batches lose heat quickly, and a plastic wall does not replace the volume, mix, and management a hot pile needs. Treat the bin as slow composting and keep weeds with seeds, diseased plants, and risky food scraps out.
Other avoidable problems include drilling holes only in the sides, leaving the drainage holes pressed against the catch tote, filling the active bin with wet greens, and forgetting to cover food scraps. Too few vents can leave the center compacted and anaerobic; too much open area can invite pests or let the mix dry. A few well-distributed holes, a clear gap under the active bin, and a dependable supply of dry browns are a more balanced setup than simply drilling as many holes as possible.
Finally, do not call every brown liquid “compost tea,” and do not use an unfinished pile because it looks dark on top. A lower catch bin is there to keep surfaces clean, not to produce a ready-made plant tonic. Let the compost cure, watch for earthy smell and crumbly texture, and return anything recognizable to the active bin.
Conclusion
To make a compost bin from plastic storage containers, drill side vents and floor drainage into one sturdy tote, leave the second tote intact as a catch tray, and elevate the active bin so the holes stay open. Place it somewhere stable and convenient, feed it mostly plant scraps covered with dry browns, and adjust moisture and airflow when the contents smell or look wrong.
This low-cost design can turn a small stream of kitchen and garden waste into useful soil amendment, but the result takes patience. A tote is usually too small to guarantee hot composting or a fixed harvest date. Keep questionable materials out, treat collected liquid as leachate rather than fertilizer, and use the finished compost only when it is dark, crumbly, earthy-smelling, and well cured.



