12 DIY Hummingbird Feeder Ideas That Clean Easily
Compare 12 DIY hummingbird feeder ideas, from bottle holders to ant moats. Learn which parts are safe to build, how to hang them, and what to avoid.
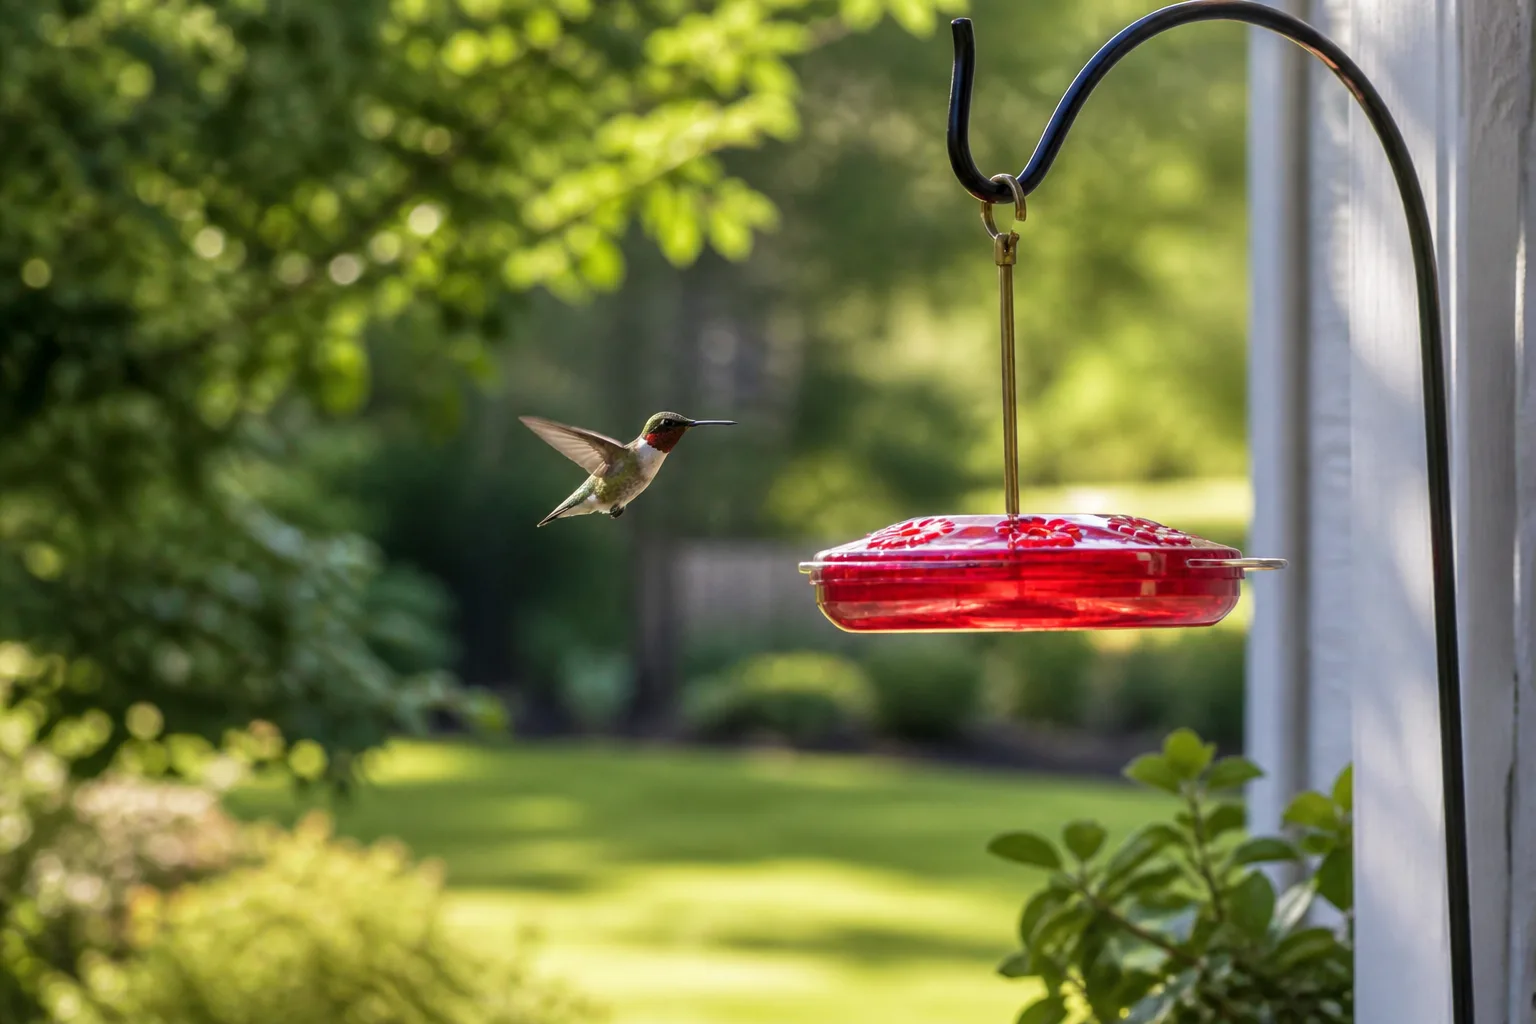
A homemade feeder can be charming, inexpensive, and rewarding, but the part a hummingbird drinks from has to stay clean and dependable. The safest projects usually build a hanger, shade, moat, or viewing station around a feeder that already has washable nectar-contact parts. That gives you room to personalize the display without asking an improvised bottle cap, straw, glue seam, or paint finish to do a job it was never designed to do.
The 12 ideas below range from a simple macramé sleeve to an upcycled reservoir, ant moat, window mount, and cleaning rack. Each one includes a practical use case and a limit to consider. Before you start, keep one rule in view: choose the design you can take apart, scrub, rinse, and rehang on schedule, even if a more elaborate project looks better in a photo.
What Makes a DIY Feeder Safe and Usable?
A hummingbird feeder is a small food container that hangs outdoors through rain, heat, insects, and repeated handling. Its reservoir, lid, seals, and feeding ports need to tolerate nectar and cleaning without shedding paint, trapping residue, or leaking. If you cannot identify the material that touches nectar, or cannot reach every interior surface with a brush, use a commercial feeder for that part and make the surrounding holder yourself.
Cleanability is more useful than capacity. The National Wildlife Federation’s feeder guidance advises choosing a feeder that can be taken apart and emptied in about two to three days; a smaller reservoir is often a better match for a household than a large jar of nectar sitting in warm weather. Cornell Lab of Ornithology recommends changing nectar at least every three to five days, more often in heat, and cleaning the feeder at least weekly. A design that takes ten minutes to disassemble may quietly become a design no one cleans.
Build the decorative structure from weather-suitable materials, but keep adhesives, paint, sealants, copper, and hardware away from the nectar path. Avoid sharp cut edges, exposed wire points, fraying cord, narrow tubes, and joints that create hidden pockets. Red accents can help make a feeder visible, but the nectar should stay clear; do not use food coloring, honey, or alternate sweeteners. If you do not have a safe reservoir and port assembly, a red flower ring on a ready-made feeder is a better DIY project than drilling holes in a random bottle.
12 DIY Hummingbird Feeder Ideas
1. Macramé Sleeve for a Cleanable Feeder
Turn a plain saucer feeder into a hanging patio accent with a removable macramé sling. Make a net sized to cradle the feeder’s outer rim or support its hanger, then attach a metal ring or outdoor-rated hook above it. A wide, open pattern lets you see the nectar level and reach the feeder to remove it; leave the flower ports completely uncovered so a bird can approach from any side.
Choose cord that will tolerate outdoor moisture and inspect it for loose fibers after rain or wind. Keep knots and decorative beads above and away from the feeding surface, and never place glue or a coating where runoff could drip into the nectar. The sling should carry the feeder’s weight independently of a delicate decorative handle, and you should be able to slide the feeder out without untying the entire project. This is a good first DIY if you want a handmade look while keeping all food-contact parts replaceable.
2. Recycled Bottle With a Fitted Feeder Base
Use a clean, food-grade bottle as the reservoir only when its neck fits a purpose-made hummingbird feeder base and seal. A clear bottle lets you see the nectar level, and a smaller bottle reduces the chance that extra nectar will sit through hot days. Wash the bottle and matching base thoroughly, assemble them according to the base’s directions, and hang the feeder over a washable surface for a leak test before filling it with nectar.
Do not copy seed-feeder instructions that cut large windows and insert straws or wooden spoons. Hummingbirds feed through shaped nectar ports, and an open straw can spill, collect residue, or expose liquid to insects without giving you a cleanable port system. Do not use a bottle that held cleaners, oil, pesticides, or other chemicals, even after rinsing. If the neck, seal, or base does not match exactly, keep the bottle for a decorative shell and use a complete feeder inside it only if the shell does not trap heat or block flight access.
3. Glass Bottle in a Protective Cradle
A glass bottle can become a striking vertical reservoir when a compatible feeder base seals to its opening and a separate cradle supports the weight. Build the cradle from a stable ring or open-sided frame that holds the bottle upright without covering the base. Make the bottle easy to lift out so you can inspect the seal, brush the inside, and replace it if it chips.
Glass is heavier and more breakable than plastic, especially when a feeder swings against a railing or post. Use a rated hanger and a secondary support loop that catches the bottle if the main connection loosens, while keeping every loop outside the feeding ports and bird approach. Do not pour hot water into a cold bottle or place a chilled bottle in direct hot sun; sudden temperature changes can stress glass. If cleaning requires a narrow brush you do not own, or if the bottom has an inaccessible shoulder where nectar could remain, choose a wide-mouth reservoir instead.
4. Removable Red Flower-Port Ring
Add a bright visual cue to a simple feeder with a removable red ring that sits outside the nectar chamber. You can make the holder from a clean, flexible outdoor material or adapt a non-toxic red accessory that clips around the feeder’s outer rim. Keep it clear of the openings, perch area, and lid seam; the ring should pull off in seconds for cleaning and should not leave flakes or residue behind.
The National Wildlife Federation notes that red parts can help hummingbirds recognize a feeder, while red dye in nectar is unnecessary and may be harmful. Think of the ring as a marker, not bait: the birds still need a safe nectar port and a yard with flowers and insects. Skip yellow decorations if bees are crowding the feeder, since Audubon’s feeder guidance notes that bright yellow details can attract them. If any color rubs off on a damp cloth, do not use it over the food path.
5. Water-Filled Ant Moat
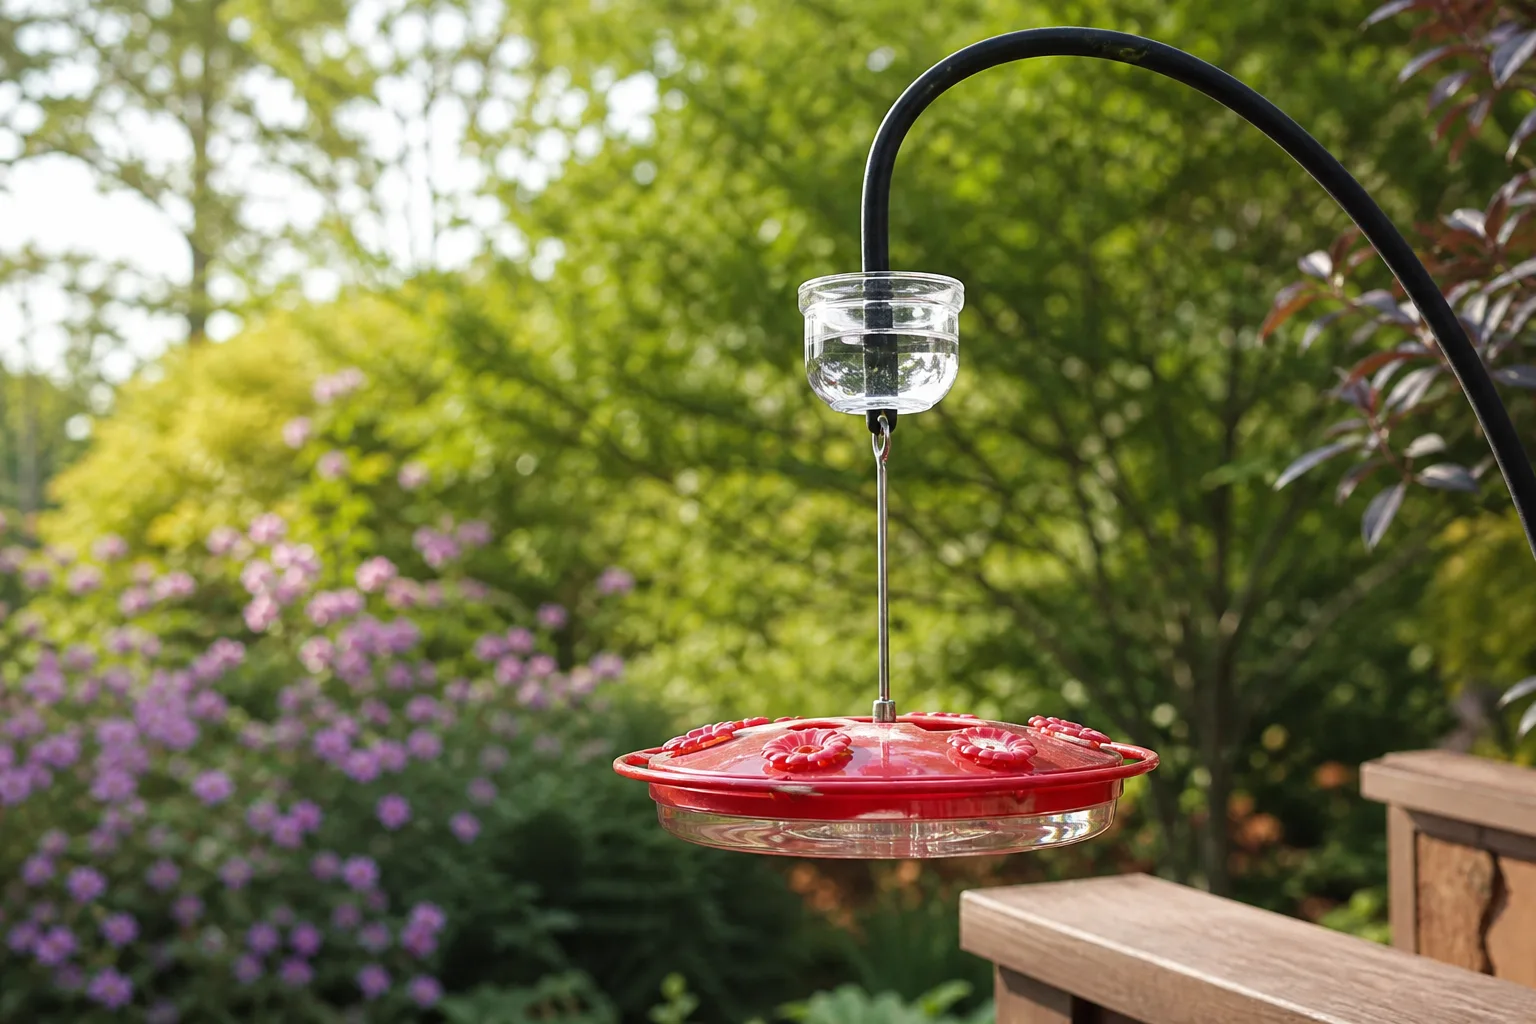
An ant moat is a small cup placed on the hanger above the feeder, so ants must cross a water barrier before they reach the nectar. For a simple version, repurpose a small, watertight cup with a secure central hook or use a purpose-made moat; make sure the feeder’s own hanger can pass through the center without a gap ants can walk around. Fill the cup with plain water and check it whenever you refill the feeder, because heat and wind can empty it.
This is a useful project when ants arrive from the hook or pole. Birds & Blooms recommends a water-filled moat and warns against sticky material on a pole, where a bird could get caught. Gardening Know How also discusses water moats, but its other suggested barriers are not all equally dependable. Start with a moat and fix any leaks; do not grease a hook, apply petroleum jelly, sprinkle powders near the station, or put pesticides on a route birds may use.
6. Open Rain Visor for a Saucer Feeder
An open rain visor can reduce direct sun and keep falling leaves from landing on a saucer feeder without enclosing the bird or the nectar. Cut a shallow roof from a durable outdoor panel, round and smooth every edge, and attach it to the hanger several inches above the feeder. Keep the sides open and the roof narrow enough that a hummingbird can hover, turn, and leave without brushing a cord or wall.
The visor should shed water away from the ports, not channel it into the feeder or let rain pool on a flat top. It is also not a substitute for shade during a heat wave: a small roof can trap warm air if it is too close or enclosed. Test the visor on a windy day and remove it if it twists the feeder or blocks the birds’ approach. If the existing feeder already has a roof, a simpler move to afternoon shade may solve the problem with less hardware.
7. Shaded Porch Bracket With Clear Flight Space
Make a stable porch-side station from a weather-rated bracket screwed into sound framing, then hang a feeder where you can reach it without leaning over a railing. The best location is shaded for at least part of the hottest part of the day, visible from indoors, and open enough for a hummingbird to hover. Leave nearby shrubs or a branch for shelter and rest, but do not tuck the feeder into dense foliage where the ports are hard to see and clean.
Audubon reports that wind can loosen or swing a feeder, while poorly assembled feeders drip nectar that attracts insects. Tighten the hanger, check the bracket after strong weather, and remove the feeder during storms instead of letting it swing into glass or wood. A porch mount also makes maintenance easier: you can take the feeder down, wipe a spill with hot water, and rehang it without moving a ladder. Do not attach a hook to a thin trim board or rely on a small suction cup to hold a heavy glass feeder overhead.
8. Small Feeder Chandelier With Separate Stations
If one feeder is not enough for your yard, suspend two or three small, easy-clean feeders from a rated outdoor frame. Use separate short arms so each feeder hangs freely and can be removed without disturbing the rest. A chandelier gives a porch or pergola a focal point and lets you compare saucer and bottle styles, but it does not guarantee that several hummingbirds will feed together.
Hummingbirds can defend a nectar source, so a tight cluster may give one bird an easy place to guard. Start with two feeders and watch what happens for several days. If a dominant bird chases visitors from both ports, move one feeder farther away or around a corner so the two are not in one line of sight. Keep the frame small enough to inspect and clean, and never overload it with heavy glass bottles or dangling ribbons that can tangle in wind.
9. Window-View Feeder Mount
A window feeder lets you observe visits from inside, but the mount and glass need as much thought as the feeder. For a DIY station, attach a purpose-made suction mount or bracket to clean glass and add a short, independent safety tether to a secure point. Check each cup regularly for loss of suction, especially after temperature changes, and use a lightweight feeder so a dropped mount cannot injure someone below.
The National Wildlife Federation advises keeping a feeder within about three feet of the glass or farther away from the collision-risk zone, and suggests visible window decals. Use the same close-or-far principle, add collision markers when appropriate, and do not let a feeder dangle in the middle distance where a fast departure can send a bird into clear glass. Keep the mount low enough to remove without reaching across a dangerous drop. If suction cups repeatedly release, switch to a bracket screwed into a stable frame or choose another location.
10. Quick-Swap Cleaning and Drying Rack
The least decorative project on this list may be the one you use most. Mount two hooks near the back door: one for the feeder in service and one for a clean, dry spare. Add a small indoor rack or tray for the parts being washed so they can air-dry without touching a dirty sink or work surface. This setup is not a second feeding station; it is a way to make the cleaning cycle quick enough that you do not postpone it.
Use two feeders of the same model if you want the parts to be interchangeable. Never top off old nectar or place a clean base on a reservoir that still contains stale liquid. A spare should be completely dry before it is filled, and you should rotate it only after inspecting the seals and flower ports. If your yard has low hummingbird traffic, one small feeder may be enough; you can still use the rack to hold the brush and clean parts between refills.
11. Nearby Resting Perch
Give visiting hummingbirds a place to sit by adding a short, untreated branch near the feeder rather than trying to build a perch into the feeding port. Secure the branch to a separate stake or trellis, at a distance that leaves a clear hovering approach. A slender branch can serve as a resting or lookout spot between visits, and it does not need bright paint or ornament to work.
Do not put the perch directly above the feeder, where droppings can fall into the nectar, and do not wrap it in sticky tape or fishing line. Check that the branch is firm and free of splinters, sharp screws, and loose ties. A perch can also become a favored lookout for a territorial bird; if other hummingbirds stop visiting, move the perch or feeder rather than adding more food to the same guarded spot. The purpose is to make the station comfortable, not to force birds to share it.
12. Compatible Bee-Guard Upgrade
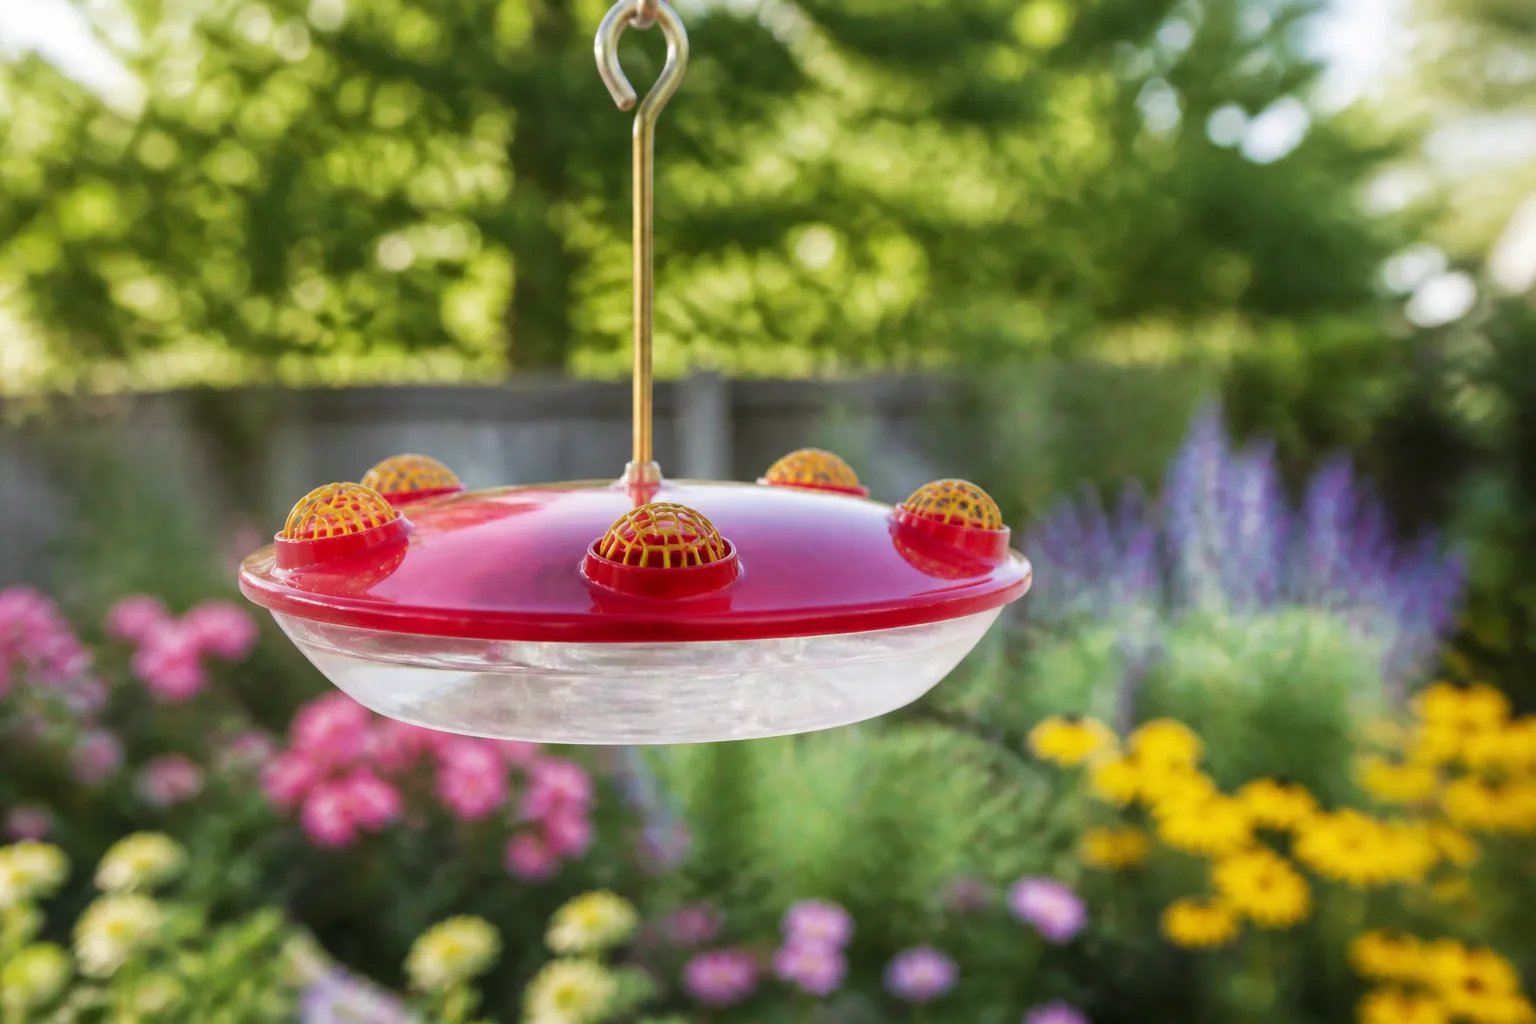
If bees or wasps are reaching a feeder’s ports, use a compatible replacement flower port with a bee guard rather than making a mesh cover at home. These guards shield the nectar opening while preserving access for hummingbirds, but they do not fix nectar spilled over the feeder’s outside. Follow the feeder manufacturer’s fit instructions, and remove the guards during cleaning so residue cannot collect behind them.
Audubon points out that clean assembly and leak prevention matter more than adding a barrier to a feeder that is dripping. First tighten the reservoir, wipe down the base, and move the feeder away from a dense patch of flowering plants if bees keep gathering there. Keep the surrounding garden insecticide-free; bees are pollinators and hummingbirds also eat small insects. Do not spray the feeder or its support to solve an insect problem, and do not block the ports with homemade mesh, which could snag a bill or interfere with feeding.
Match the Project to Your Space and Routine
For a first build, choose an accessory rather than a homemade reservoir. A macramé sleeve, red ring, ant moat, rain visor, or stable bracket can be made with basic tools while the nectar continues to sit in a feeder designed to come apart. If you already have a reliable feeder, begin with the problem you see: ants call for a moat and drip check; hot sun calls for partial shade; difficult cleaning calls for a smaller, wide-opening model.
For an upcycled bottle, the critical question is not whether the bottle looks sturdy but whether a complete nectar base fits securely and opens for scrubbing. A bottle that requires glue around the neck or a cap full of straws may take longer to clean than a new feeder and can be difficult to keep from leaking. If no compatible base exists, use the bottle as a holder or display element only, not as an untested drinking system.
Think about who will maintain the feeder. If children are helping, let them tie cord or paint the outside of a detached wooden hanger with a product labeled for outdoor use, but keep cutting, drilling, soldering, and glass handling with an adult. Avoid electrical heater crates, heat lamps, and holiday lights around nectar unless you are using a purpose-built, outdoor-rated product according to its directions. A DIY enclosure can trap heat or create a shock or fire hazard, and red light is not a safe substitute for red feeder parts.
Test Every Build Before Hanging It
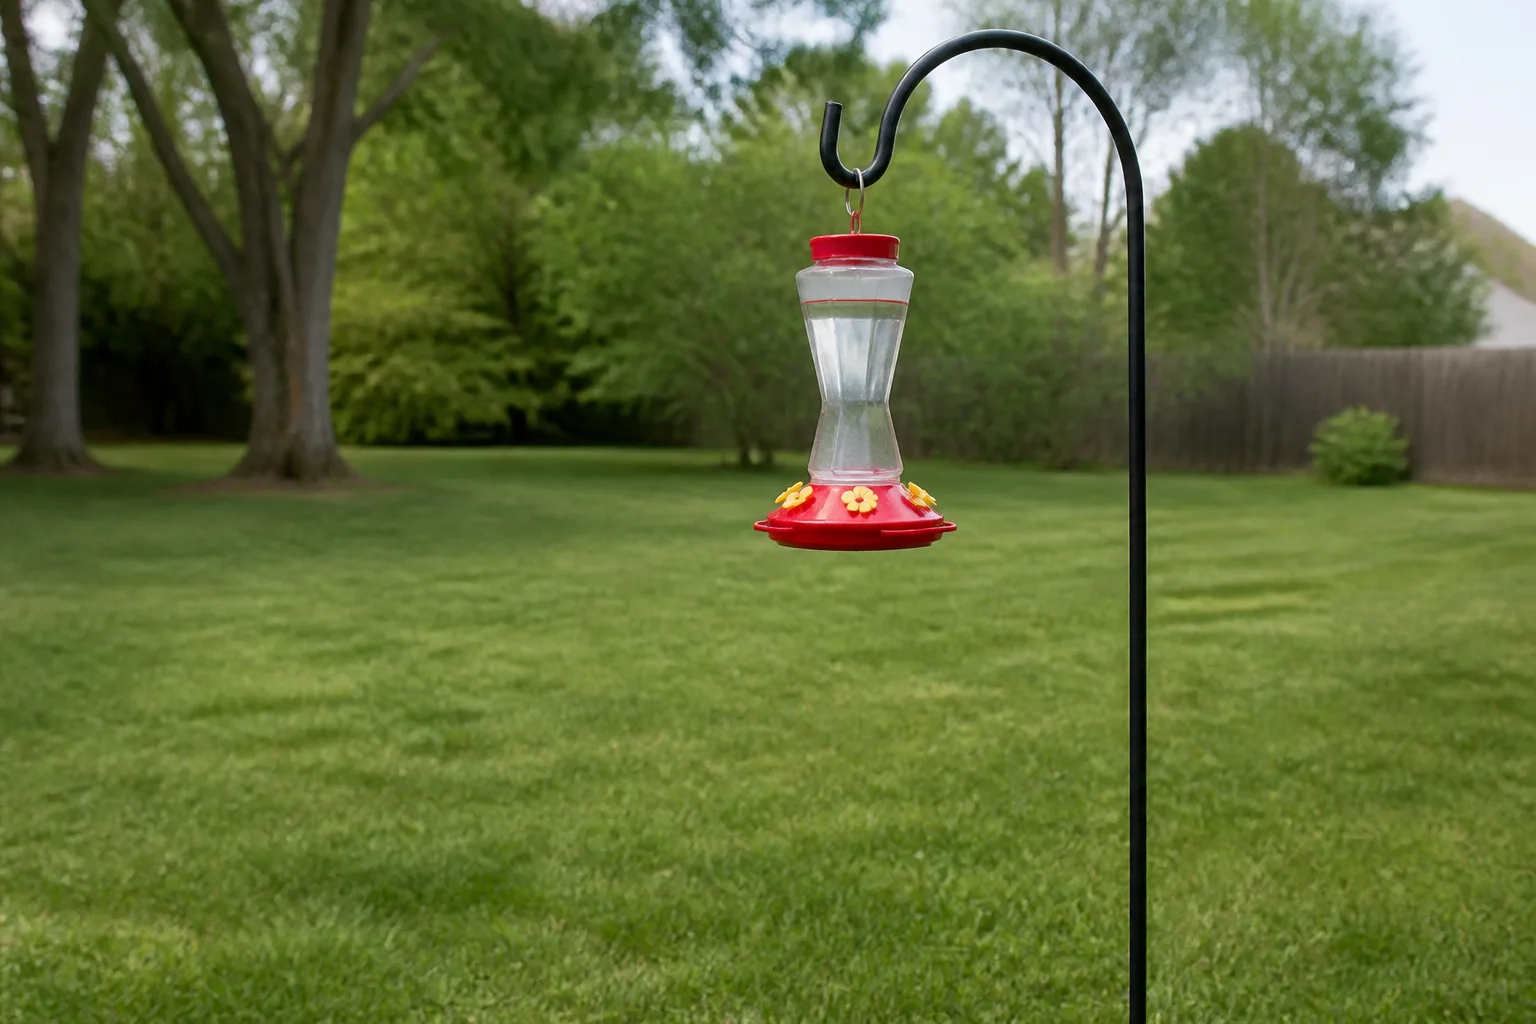
Do not test a new feeder by filling it with sugar water and waiting to see what happens. Assemble it over a sink, add plain water, invert or hang it in the exact position you plan to use, and leave it for at least fifteen minutes. Wipe the outside dry first, then check the seams, port plate, cap, and hanger for fresh drips. If water appears at a joint, replace or adjust the part instead of adding more glue around a surface that touches nectar.
Next, hang the dry assembly low over a washable surface and pull gently on the hanger from different directions. The feeder should not tip, swing into a wall, slip inside its cradle, or leave a loop hanging where a bird could get caught. Check the approach from several angles: branches, railings, a canopy, or a nearby window can change the available flight path even if the feeder looks clear from your seat.
The site should be easy for you to reach and easy for birds to see, with enough open air around the ports for hovering. Keep the station out of harsh afternoon sun when practical, and hang a window feeder either close to the glass or well away from it; use collision markers if a window reflects trees or sky. If ants arrive, look for a leak before modifying the pole. If bees arrive, clean spills, inspect the fit, and consider compatible bee guards rather than applying sticky substances.
Keep Nectar Fresh and Troubleshoot Problems
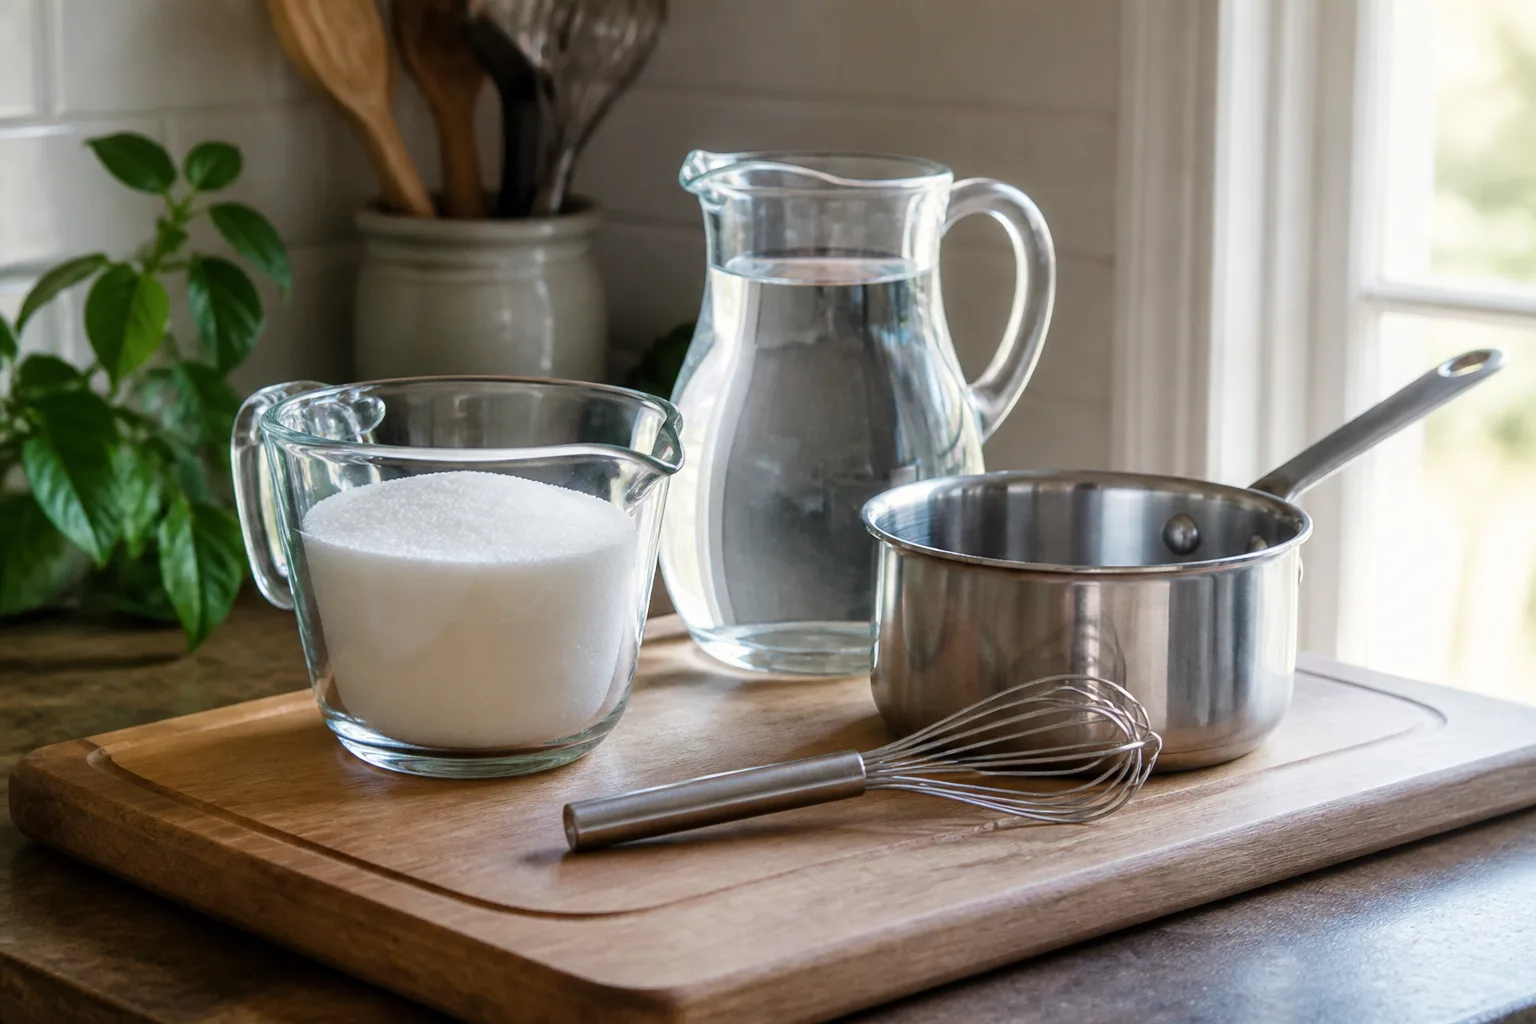
The basic recipe is one part plain white granulated sugar to four parts water by volume. The National Wildlife Federation recommends this mixture and warns against red dye, honey, and artificial sweeteners. Let the nectar cool before filling the feeder, and prepare a batch small enough that it will be used in a few days rather than leaving a large reservoir outside in hot weather. The feeder design cannot preserve nectar; capacity and shade only help you manage the routine.
Inspect the nectar each day in warm weather. If it looks cloudy, smells fermented, or has particles or mold, discard it and clean the feeder before refilling. Cornell Lab’s guidance calls for more frequent nectar changes in hot weather and a weekly cleaning at minimum; the National Wildlife Federation suggests cleaning every one to three days according to conditions. A practical routine is to clean at each refill, shortening the interval when afternoons are hot or the feeder is in direct sun.
If a feeder drips, empty it, wash and dry the parts, then reseat the seal and repeat the water test. If ants keep reaching the ports, confirm that the moat is still full and that no branch, wall, cord, or plant stem bypasses it. If bees cluster on the base, wipe away nectar and inspect whether the feeder is leaking; bee guards can help at the ports, but they cannot make spilled sugar water disappear. For any feeder that is hard to clean, difficult to reach, or repeatedly leaking, retire the DIY modification and return to a simpler design.
Conclusion
The best DIY hummingbird feeder ideas make an existing feeder easier to hang, shade, observe, or maintain while leaving the nectar-contact system simple and washable. Start with a holder, water ant moat, stable bracket, or cleaning rack; move to a bottle build only when the reservoir has a purpose-made base and you can scrub every surface. Test for leaks, choose a spot with safe flight access, use clear nectar, and keep the cleaning routine realistic. A dependable feeder that is easy to care for will serve your yard better than an elaborate one you hesitate to take apart.



