Garden Path Lighting Ideas for Safer, Softer Walks
Plan garden path lighting around turns, steps, sun, and wildlife. Compare solar, low-voltage, wall, and flush lights, with easy placement and glare checks.

At night, a path’s curve, a single raised paver, or the last step down to a patio can disappear before the rest of the garden does. The most useful lighting makes those changes in the walking surface easy to read, then lets the planting and architecture keep their depth instead of flattening the whole yard in a bright wash.
That distinction matters because a garden can contain several kinds of light. Path lights guide feet; a porch sconce helps with a key or lock; a string of bulbs makes a seating area feel welcoming; an accent fixture reveals a tree. Treating every fixture as a safety light usually creates glare and visual clutter. Start with the route, then borrow from these fifteen ideas to add only the layers the space needs.
Start by Mapping the Route, Not Shopping
Walk the path after sunset with the lights you already have on. Note where you slow down, turn, step up or down, cross a change in material, or reach for a gate latch. Those points are more important than the places where a fixture would look symmetrical in a daytime photo. This route-first audit follows Garden Design’s advice to assess trafficked areas and living spaces before deciding where to add landscape lights.
Mark the Few Places Where Light Has a Job
Sketch the route and mark three kinds of locations: hazards such as stairs and uneven edges, decisions such as a fork or gate, and destinations such as a door or seating area. A straight, level walk may need only a few overlapping pools; a short path with two steps may deserve more precise light at those steps than along the entire length.
Next, look from the direction people will approach. A lamp that seems gentle from behind can shine directly into a walker’s eyes from the other end. Look from a seated position too, because a low fixture that is comfortable while standing can be a bright point from a patio chair. This quick check helps you choose a shielded fixture before you settle on its finish.
If you are planning the entire yard rather than one route, the broader garden lighting guide covers patios, trees, and other outdoor zones. Here, keep the path’s job in the foreground: reveal where to walk without making every border equally bright.
15 Garden Path Lighting Ideas
These ideas are grouped by how they work. Some mark the walking surface directly; others add atmosphere or show off the garden. Use the last group as a visual layer, not as a substitute for light on a real step or turn.
Low, Shielded Fixtures That Guide the Walking Surface
1. Staggered shielded path lights. Place low fixtures on alternating sides of the walk rather than in two parallel rows. Their separate pools can lead the eye around a bend without the runway effect, and a cap or hood keeps the bright source from sitting at eye level. The exact spacing depends on the fixture’s output, beam, path width, and surrounding light, so treat any distance printed in a design guide as a starting point for an after-dark test.
2. Path lights set just outside the walking line. A fixture a little back in the bed can wash the paving and reveal the border plants at once. This is useful on a narrow walk where stakes would crowd ankles or catch a hose, but keep the light aimed down and make sure mature foliage will not swallow the beam by midsummer.
3. Wall-mounted downlights on a fence or house. A small shielded fixture mounted to an existing wall can light a narrow side path without placing posts in the soil. Aim the beam across the surface, not across a neighbor’s yard, and separate these task lights from a brighter security floodlight that would erase the softer view.
Built-In Details for Steps, Walls, and Edges
4. Step-riser lights at level changes. A recessed fixture on the vertical face of a riser can show where one tread ends and the next begins. Use a light distribution that reaches the tread without shining upward into the approaching walker’s eyes; if the step remains hard to judge from above, change the angle or add a properly aimed side light rather than simply raising brightness.
5. Flush markers in a wide paved path. Small recessed markers can define a curve or a broad threshold when there is no planting bed for stakes. They sit out of the walking line, but they are not automatically better: choose a fixture intended for the surface and exposure, avoid a bright dot pattern, and check that the lens does not become slippery, damaged, or difficult to clean.
6. Low wall-cap lights along a retaining edge. A downward-facing cap fixture can reveal both the path edge and a short drop beside it. It is especially useful where a wall already defines the route and there is no safe place to stake a light. Keep the beam on the tread; a glowing cap that shines out at eye height may look dramatic but can make the edge harder to see.
7. A discreet light beneath a handrail. On a long stair or sloped garden walk, a low-output strip or small fixtures under a rail can make the handhold and step sequence legible without a row of tall posts. Use outdoor-rated equipment and a protected connection suited to the exposure, and avoid a continuous bright line that becomes a glare source when someone is looking up the slope.
Solar and Controlled Lights for Flexible Routes
8. Solar stake lights along a sunny path. These are easy to reposition while you test a layout and make sense where the ground is soft enough for stable stakes and receives direct daylight. Use them for low-level route cues or ornamental planting; do not depend on an inexpensive solar stake as the only light on a frequently used step when a cloudy week or shaded panel could leave it dim.
9. A separate solar panel for a shaded fixture. A remote panel lets a light sit under an eave or among a dense border while the panel is placed in a sunnier spot. Check the cable length, panel exposure across the seasons, and the manufacturer’s installation limits before buying. This solves a placement problem only when the panel itself has an unobstructed charging location.
10. Motion-activated markers for an occasional route. A sensor can make a seldom-used side gate or path visible only when someone approaches. Aim and set the detection area so passing traffic or moving branches do not keep it on, and choose a gentle level that lets eyes adjust. For a path used every evening, a dim timer-controlled guide light may feel less startling than a sudden full-output burst.
Landscape Accents That Stay Secondary to the Path
11. A single focal-tree light beside the walk. One carefully aimed accent can make a sculptural trunk or canopy visible from the path, but it should remain separate from the route’s safety lighting. Keep the source hidden from walkers and windows, use the lowest output that reveals the feature, and skip it if the beam would spill into a pond, hedge, or dark habitat. A tree that looks beautiful in a bright photograph may need much less light in a real garden.
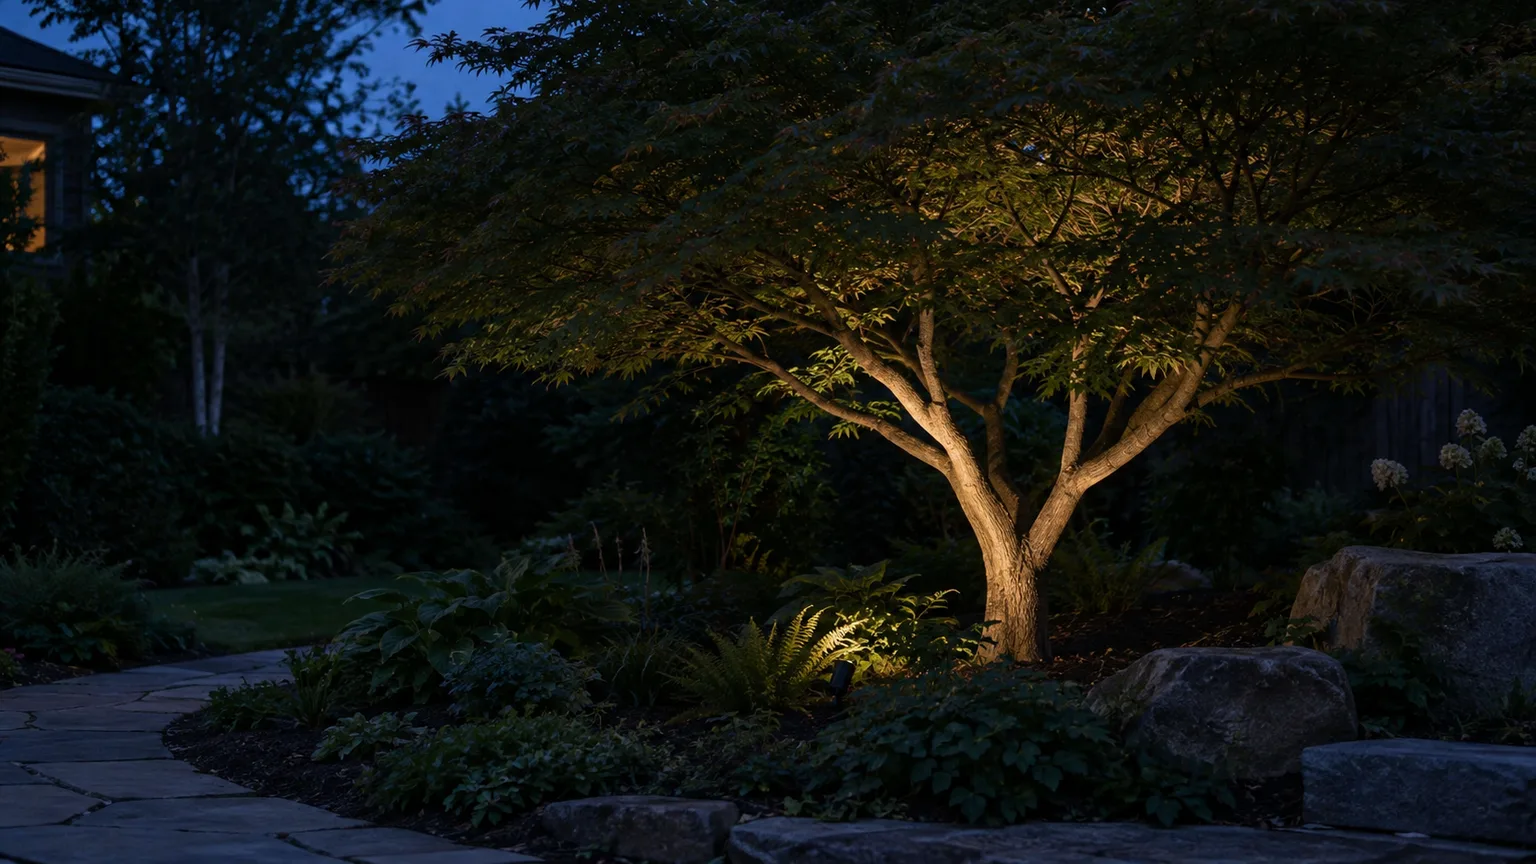
12. Graze a low wall or textured border. A narrow beam aimed along a stone edge can reveal texture and make a path’s boundary easier to read without lining the whole walk with fixtures. Place the source where the lamp itself is hidden, then check for a bright reflected stripe on polished or wet stone. If the wall reflects more light than you need, dim the fixture or skip the accent.
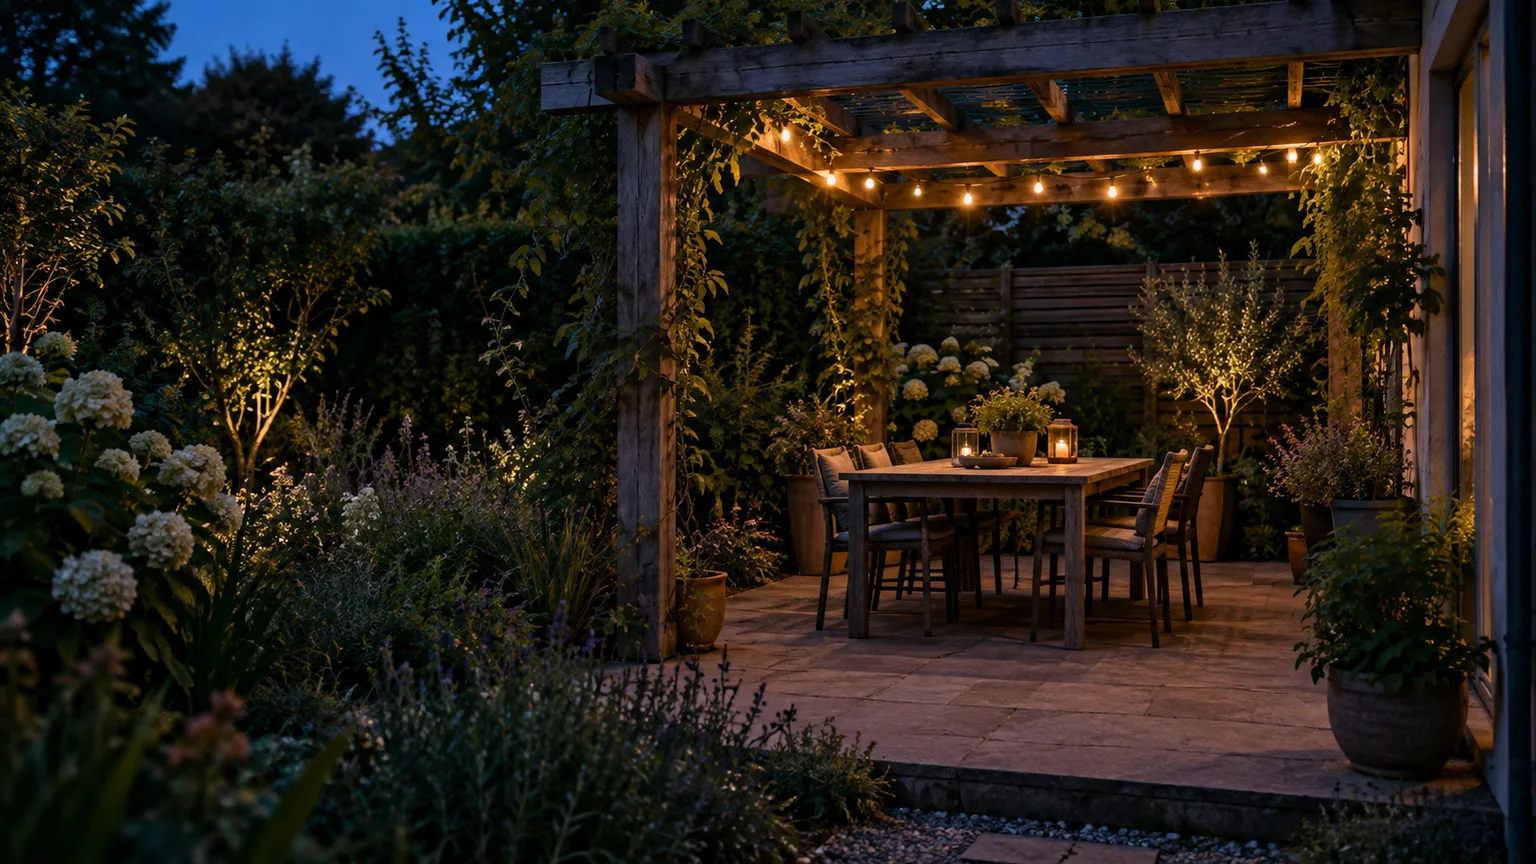
13. Downlight from an arbor or pergola. A shaded fixture attached to a stable overhead structure can light the small patch of paving under an entry arbor. It is a useful option where there is no bed for ground lights, but it can cast deep shadows if the beam is too narrow or the structure is tall. Aim it only at the crossing and keep the bulb hidden from people approaching along the path.
Decorative Lights for Ambience, Not Navigation
14. Battery or solar lanterns set back from the path. Place a portable lantern on a stable ledge, a broad step landing, or beside a destination rather than in the walking line. Its soft glow can connect a doorway and seating area, and it can be moved away for mowing or storms. Keep open flames away from dry foliage and traffic; enclosed battery lights avoid that fire risk but still need weather protection.
15. String lights above a path-side seating area. Warm string lights can make an adjoining pergola feel inviting, especially when they sit over a table or bench instead of stretching low across the route. Their height and sparkle create ambience, not reliable ground-level visibility. Keep a separate shielded cue at the steps and turns, and use outdoor-rated strands attached securely so wind cannot pull them into branches or a walking path.
Match the Power System to Your Site
Choose the power source after you know where the light needs to land. A solar stake may be perfect for a short sunny side path and a poor choice for a stair beneath a dense tree. A low-voltage system may be more dependable over a long, frequently used route, but it requires a transformer, cable planning, and careful installation. Plug-in or line-voltage work should follow local electrical requirements and the fixture manufacturer’s instructions.
Solar Versus Low-Voltage Wired Lights
| System | Best fit | Main limitation | Useful check |
|---|---|---|---|
| Integrated solar fixture | Sunny, flexible, low-priority markers | Shade, weather, season, and battery wear affect runtime | Test after dark for several evenings, including a cloudy day |
| Solar fixture with remote panel | A shaded light location with a separate sunny panel site | Cable reach and panel placement can constrain the layout | Confirm the panel gets direct light as nearby trees leaf out |
| Low-voltage LED system | Frequently used routes, multiple fixtures, reliable step cues | Requires transformer sizing, wire routing, and maintenance | Follow the system plan and use an installer for uncertain or complex work |
| Battery portable light | A landing, gate, or temporary gathering area | Needs charging or battery replacement and secure placement | Keep it stable, protected from weather, and out of the walking line |
Gardenista’s solar-lighting overview explains that solar fixtures depend on their photovoltaic panels and stored battery charge, so panel exposure is a design constraint, not an afterthought. Its pathway-lighting guide also describes low-voltage fixtures, downlights, bollards, and flush lights as different tools for different routes. The best choice is the one whose output and operation fit the specific walk; a feature list or wattage number alone will not tell you that.
For LED brightness, compare lumens and beam distribution, not just watts. The National Park Service’s outdoor-lighting principles note that increasing output does not automatically make an outdoor area safer and can reduce visibility through glare. Begin with the lowest output that reveals the walking surface; add a second carefully aimed source only if a real dark patch remains.
Place, Aim, and Test Before Fixing the Layout
Set temporary fixtures or use a flashlight held at the likely fixture height before you dig, mount, or cut into paving. Walk the route in both directions, carrying what you would normally carry, and ask whether the next landing point is visible before your foot reaches it. If the route looks like alternating dark gaps and blinding points, move the fixtures or soften their output rather than filling every gap.
Do a Dark-After-Sunset Walkthrough
Check the layout from three views: the walker’s eye line, the seated view from a patio, and the neighbor-facing view through a window or across a property line. Tilt hoods down, hide visible emitters, and change the position if the light creates a bright reflection on wet paving. Gardenista’s pathway-lighting advice similarly favors down-directed pools, staggered placement, and fixtures set slightly back from the walkway; treat its spacing suggestion as one design reference, not a formula for every product.
A short route test can be systematic:
- Turn off decorative lighting and confirm the path’s necessary route cues are still visible.
- Walk toward each fixture and note whether you see the lamp before you see the step or paving.
- Stand in the nearest window and check for light trespass.
- Look toward dark planting, a pond, and the sky; redirect or switch off any beam that does not serve the route.
- Repeat after rain, when glossy stone or water can reflect light differently.
The DarkSky International lighting principles summarize a useful decision order: use light only when it has a purpose, aim it where needed, keep it low, control when it is on, and choose warmer color where possible. For a path, this means a hooded pool at a step is more useful than a bare bulb lighting the entire bed.
Mistakes That Make Path Lighting Less Useful
The most common design error is buying fixtures before identifying the route’s actual problem. A path may look underlit because one landing disappears, not because its full length needs a dozen identical stakes. More sources can create more glare and more maintenance without making the walking surface easier to read.
Another mistake is using decorative lighting as if it were task lighting. A string above the route, a glowing glass globe, or a colored stake can make a garden look festive while leaving a step in shadow. Keep a distinct, low-level, down-aimed cue at any change in height or direction, then let decorative light soften the destination.
Keep Power, Wildlife, and Neighbors in the Plan
Outdoor fixtures face rain, soil, irrigation, and seasonal plant growth. Use products listed for the exposure and installation surface, keep connectors and transformers protected as the maker directs, and do not improvise with indoor extension cords or buried line-voltage wiring. Low-voltage does not mean that every component can sit in standing water or be installed without regard to code; consult a qualified electrician for mains connections, hardscape cuts, or a complex layout.
Lighting also changes the night beyond the path. The Royal Horticultural Society’s wildlife guidance notes that artificial light can disrupt nocturnal wildlife and recommends concentrating necessary light on paths and steps, keeping it low, and avoiding unnecessary lighting around ponds. DarkSky and the National Park Service likewise emphasize purpose, shielding, minimum output, controls, and warm color. Warm LEDs can reduce short-wavelength light compared with cooler white options, but no color makes an unnecessary all-night fixture harmless. Use a timer or dimmer, preserve unlit sections of the garden, and turn lights off when the route is not in use.
One final check is simple: look for light you can remove. If a fixture does not reveal a step, mark a turn, help someone reach a door, or make a specific destination usable, turn it off for a few nights. If you do not miss it, your garden likely works better without it.
Conclusion
The best garden path lighting is a small, well-placed system built around the route’s turns, thresholds, and changes in height. Start with low, shielded fixtures or carefully placed step lights, then choose solar, low-voltage, or portable power according to sunlight, reliability, and installation needs. Add tree or pergola accents only after the walking surface is clear, and keep those decorative layers dim and controlled.
Test the layout after dark before making it permanent. If you can see the path without staring into the source, your neighbors do not see stray beams, and parts of the garden remain dark, the lighting is doing its job.