36 DIY Planter Ideas for Houseplants That Work
Browse 36 DIY planters for houseplants, from painted terracotta to wall displays, with drainage, material, and plant-fit advice for each project.
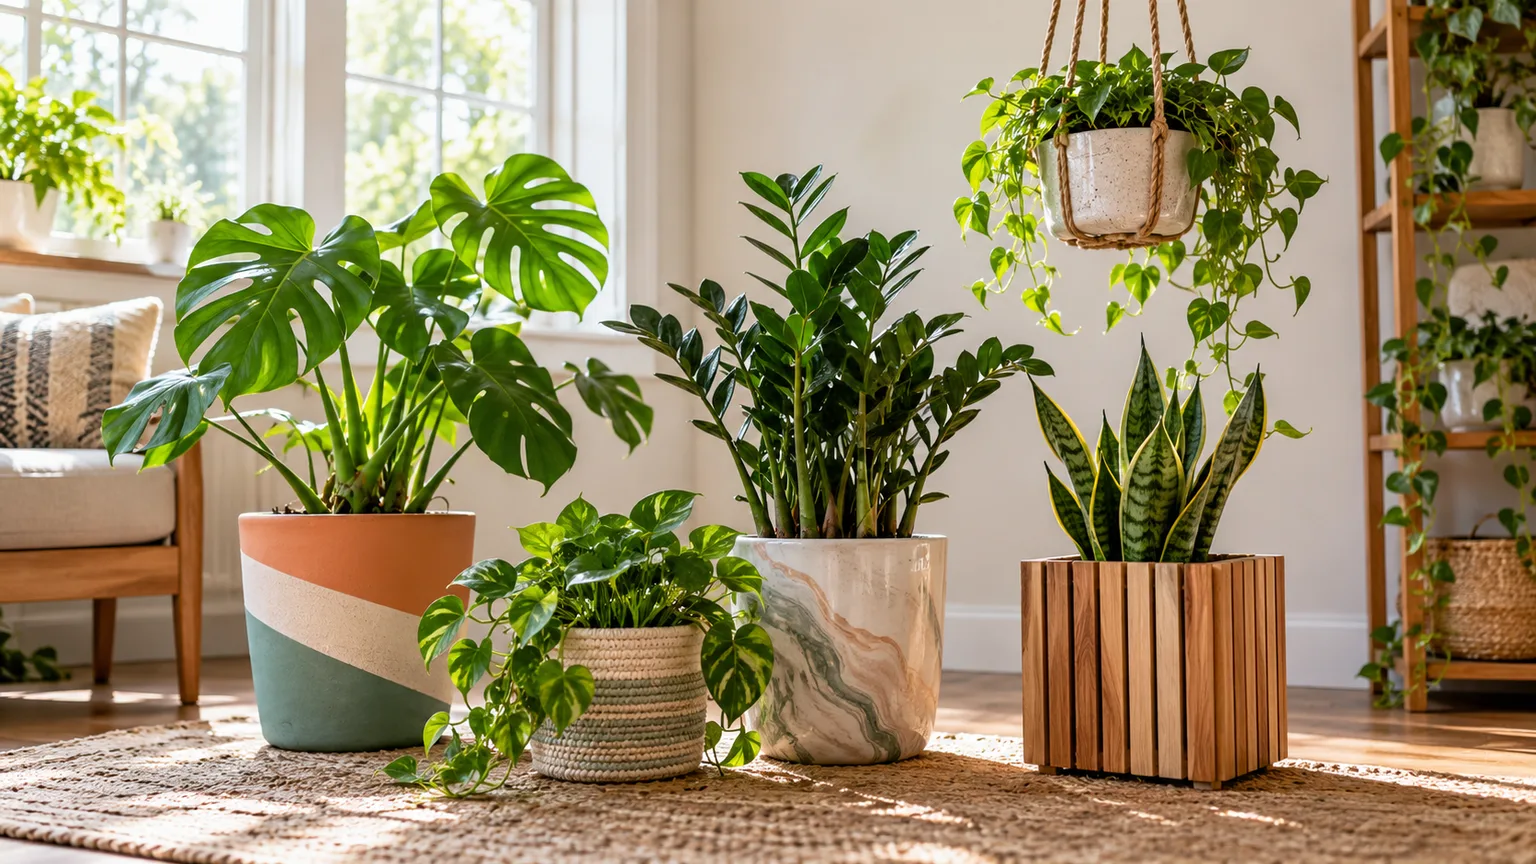
A decorative planter can make a plant feel like part of a room, but the prettiest container is not always the best place for roots. Before choosing paint, fabric, concrete, or a recycled object, decide whether you are making a growing pot that will hold damp potting mix or a cachepot that will hide a removable nursery pot. That one choice determines whether you need drainage holes, how much water you must empty, and which materials will last.
Most quick DIY projects work best as cachepots. Keep the plant in its existing nursery pot, lift it out for watering, and let it drain before returning it to the decorative shell. That makes teacups, tins, glass jars, rope sleeves, and many painted objects useful without forcing a risky repot. Direct planting is still an option when the vessel is sturdy, sized well, and has a reliable drainage path.
Choose the growing pot before the decoration
A pot holds the plant’s root ball and potting mix. A planter may mean a large growing vessel or simply a decorative cover; store labels do not always distinguish the two. If you like a no-hole object, treat it as an outer shell, not as a sealed root chamber. A nursery pot inside is easier to remove, inspect, and water evenly.
For a directly planted container, drainage holes are the dependable default. The University of Wisconsin–Madison Division of Extension advises using a pot with holes and not letting houseplants sit in drainage water, because persistently wet conditions favor root rot. Container research published in 2025 found that drainage-layer effects varied with growing medium, material, and layer depth; it measured water retention rather than plant performance. That is a reason to avoid treating a decorative gravel layer as a universal fix. For a practical explanation of water movement through potting media, Deep Green Permaculture discusses how particle size and air spaces affect water retention. Build around a drain opening and an appropriate potting mix instead. University of Wisconsin–Madison Division of Extension and the 2025 PLOS ONE study on drainage layers provide useful detail on the trade-offs.
Keep no-hole projects as cachepots
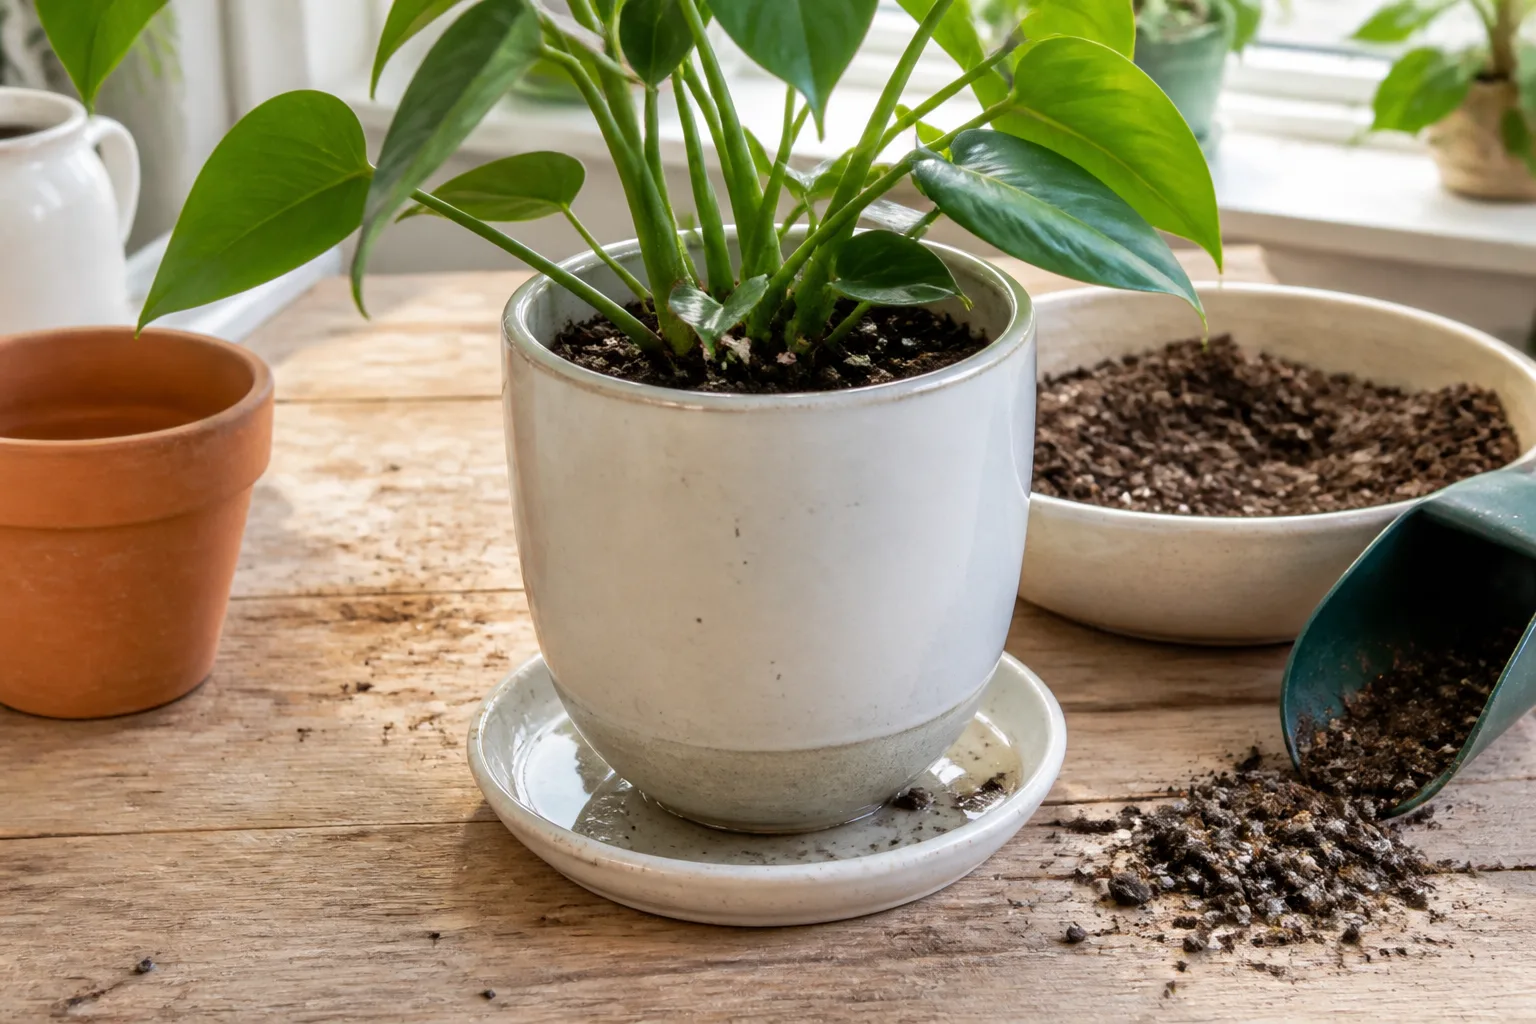
If an object cannot be drilled safely, keep a plastic or terracotta grow pot inside it. Water the plant at a sink or in a tub, wait until runoff slows, then empty any water collected in the outer vessel. Never leave the nursery pot standing in runoff; wipe the inside of the cachepot dry if it traps water around the pot’s base. This routine is more predictable than guessing how much water a sealed container can hold.
A snug fit should still let you lift the inner pot without tugging at stems. Leave enough room to grasp its rim, and use a plastic saucer or removable liner if the bottom of the decorative vessel could scratch furniture. If you choose to drill ceramic, glass, or a glazed piece, use a bit made for that material and expect cracking; skip drilling anything fragile, sentimental, or difficult to replace.
Match the material and finish to the plant
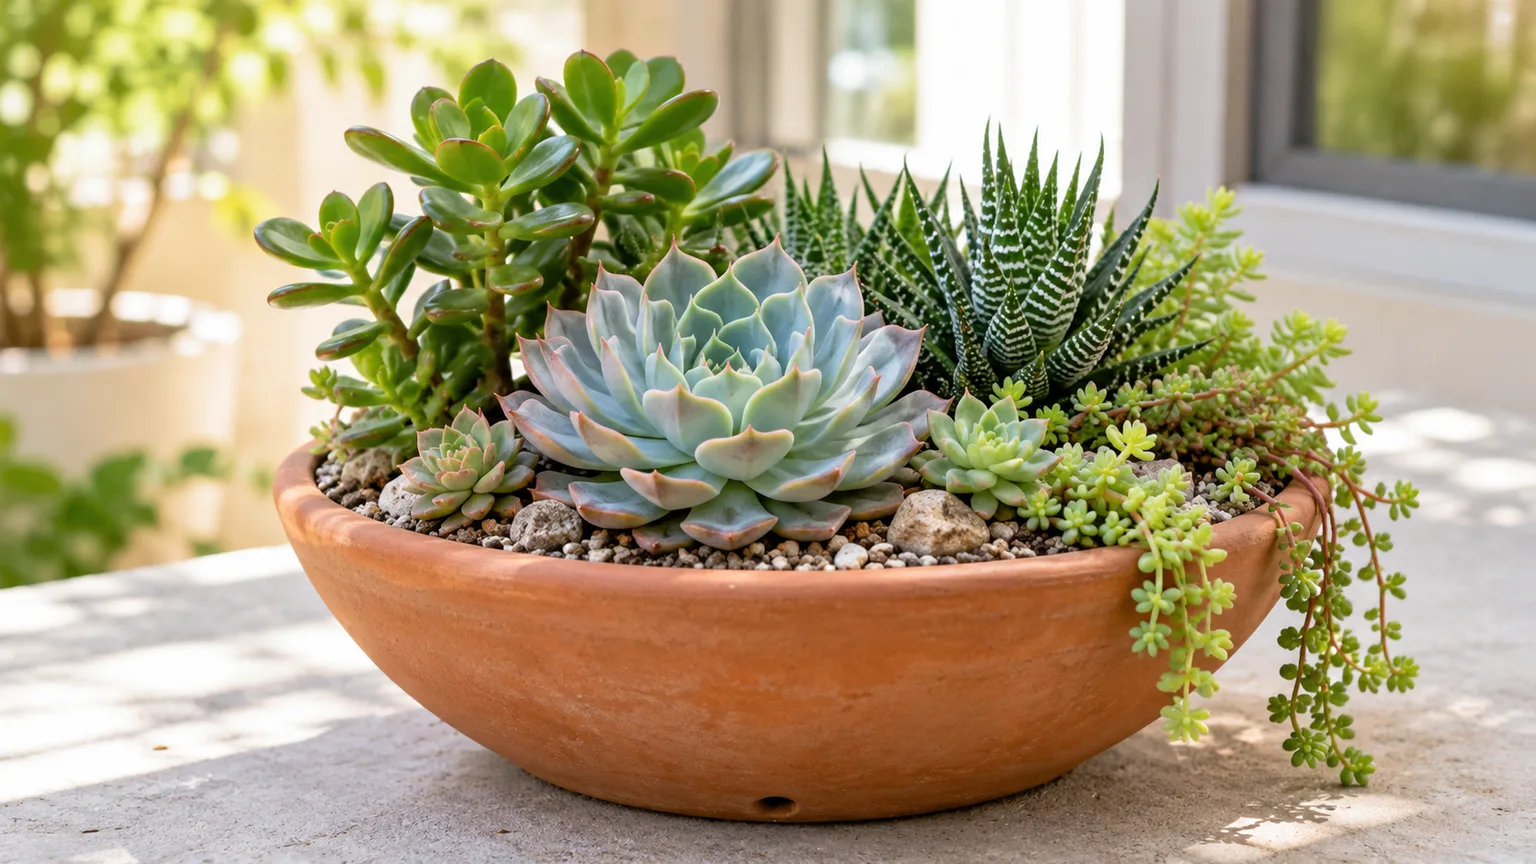
A porous terracotta shell dries differently from glazed ceramic, glass, or plastic. The Royal Horticultural Society’s container-gardening guidance covers suitable growing media, watering, and ongoing care, so treat material as part of the setup rather than a purely decorative choice. A thirsty fern may be easier to manage in a plastic inner pot than in a small unlined terracotta one that dries quickly. A succulent benefits from a potting mix that dries well, not an oversized reservoir.
Keep paint, metallic leaf, decoupage, and sealant on the outside unless the product specifically says it is suitable for the vessel’s intended use. Let finishes cure according to their labels before placing plants nearby. For edible herbs, use a food-safe inner pot; a decorative container with an unknown coating should stay on the outside.
Paint and surface makeovers
A basic nursery pot or plain terracotta vessel is the fastest canvas. Clean dust from the outside, let it dry, and test your paint on the underside first. After painting, keep the inner pot removable so wet soil does not sit against the finish. These small projects are easy to reverse when a color scheme changes.
Painted, poured, and patterned finishes
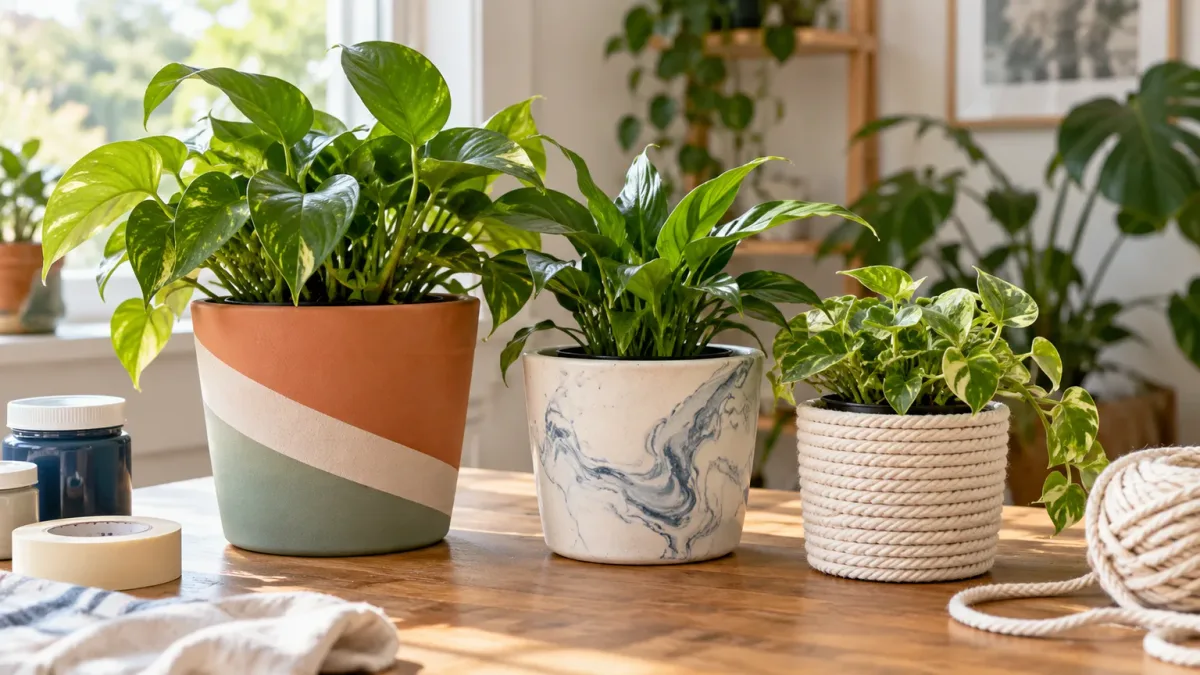
1. Color-blocked terracotta. Mark two or three broad bands with low-tack tape, paint the exterior, then peel the tape while the final coat is slightly tacky for a cleaner edge. A matte finish suits foliage with strong leaf shapes; keep the pot’s rim and interior bare if roots or wet mix could touch the coating.
2. Poured-paint drip pot. Set an inexpensive plastic or glazed cachepot on a protected surface and pour small amounts of contrasting craft paint around its upper edge. Rotate the pot slowly so the colors trail naturally instead of pooling in one heavy stripe. This is a decorative cover, not a reason to plant directly into a thick film of paint.
3. Gradient pair. Paint two pots in neighboring shades, or blend one color from dark at the base to pale at the rim using a barely damp sponge. Display them as a pair with plants of different heights. Avoid joining two actual growing pots with adhesive to create a taller shape; that can block holes, wobble, and make watering awkward.
4. Marbled exterior. Swirl a small amount of compatible paint across a shallow water bath or use a marbling medium on the outside of a cachepot. Follow the product label, work with ventilation when required, and let the finish cure completely. Nail-polish marbling can use strong solvents, so keep it away from plants, pets, and food-preparation surfaces while it dries.
5. Tape-grid planter. Use narrow painter’s tape to lay out a regular grid on a clean, dry pot, then paint between the lines. Remove the tape carefully before the paint fully hardens. Straight lines make even a basic pot look graphic, and you can change the pattern by varying line width rather than adding extra colors.
6. Stenciled boho pot. Hold a reusable stencil against the vessel and dab paint with a nearly dry sponge to avoid seepage under the edges. Try repeated arches, diamonds, or leaf shapes in one accent color. Small repeated shapes work better than a large motif on a pot that will be partly hidden by foliage.
7. Gilded rim or accent. Brush metallic paint or leaf adhesive onto one narrow band, the feet, or a single geometric shape. Gold looks polished beside dark green foliage, but leave the drainage opening clear and do not coat the inside. A restrained accent also makes mismatched thrift-store pots look like a planned collection.
8. Faux-concrete finish. Apply a textured stone-effect paint to a light plastic or wooden cachepot, then add one simple color block or geometric shape. This gives a concrete look without the weight of a cast planter. Check that the coating adheres to the container material and keep it off surfaces that will stay wet.
Wrapped surfaces and mobile sleeves
9. Faux-leather rolling cover. Wrap a lightweight outer pot with faux-leather fabric and fasten the seam on the inside with staples or an adhesive suited to the material. Set the pot on a rolling plant caddy if you need to move a large floor plant for cleaning. The fabric is a cover only; it should not hold wet soil or runoff.
10. Coiled-fabric rope pot. Twist scrap cotton fabric into a rope and coil it around a removable container, securing the coils with fabric glue. A wide, low profile is stable on a desk or shelf. Keep it away from regular splashes and take the grow pot out before watering so the fabric does not stay damp.
11. Woven or yarn planter cozy. Knit, crochet, braid, or wrap yarn around a nursery pot to create a soft sleeve. Stretchy yarn can make it easy to lift the pot, but it can also wick spilled water and collect dust. Make the cozy removable and choose washable fiber if the plant will be watered in place.
12. Cardboard-and-yarn sleeve. Fold a clean toothpaste or small shipping carton into a faceted cover, then wrap it with yarn or paper cord. This is a short-lived accent for a tiny cachepot, not a durable vessel for potting mix. Keep the cardboard dry and replace it as soon as it softens, smells musty, or loses its shape.
Reused containers with character
Reusing an object is easiest when you do not ask it to do more than it was designed for. A cup or jar can become a smart little plant display, but it may lack drainage, be too shallow for roots, or be difficult to clean. A hidden inner pot preserves the object and makes routine care much less fussy.
Small cups, jars, tubs, and tins
13. Teacup succulent display. Nest a small nursery pot inside a teacup and choose a compact succulent whose roots fit the inner pot. Use the saucer as a drip catcher, then pour away runoff after watering. A teacup is charming but shallow; do not bury a large root ball in a thin layer of mix just to keep it below the rim.
14. Cup-and-saucer herb grouping. Arrange three small herb pots in matching cups on a tray or broad saucer, keeping each plant in its own grow pot. The grouping looks like a single centerpiece but lets you remove and turn one herb at a time. Keep it near the light the herbs need, not simply wherever the cups look best.
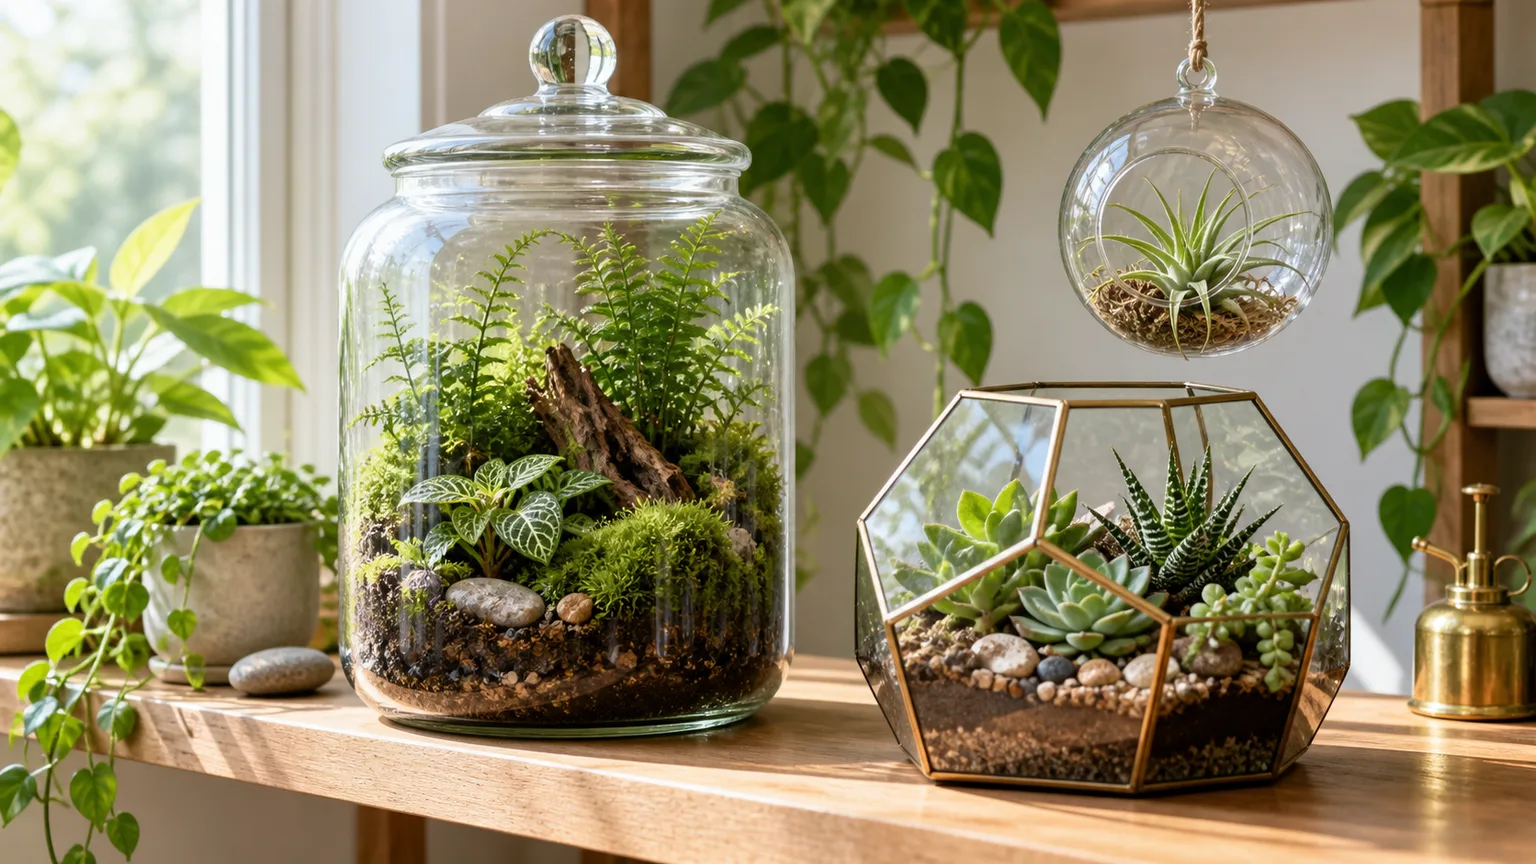
15. Glass jar cachepot. Use a wide-mouth jar as a transparent cover for a plastic nursery pot, especially when you want to see whether water has collected at the bottom. Do not fill a sealed jar with soil as if it were a normal pot: excess water has nowhere to exit, and roots cannot be inspected easily through a layer of mix.
16. Candle jar plant cover. Remove leftover wax and clean the jar thoroughly, then drop in a smaller pot with drainage. A tall vessel can conceal a plain plastic nursery pot and look polished on a shelf. Glass is slippery and breakable, so place it where it cannot be knocked onto a hard floor.
17. Skincare-container mini cover. Clean an empty, sturdy cosmetic jar and use it to disguise a tiny nursery pot for a desk plant or rooted cutting. Keep the original container’s history in mind: if you cannot remove residue or identify what it held, use it only as an outer cover or choose another vessel. Do not use it for edible herbs.
18. Protein-tub decoupage pot. Cut a clean plastic tub to a useful height, smooth its rim, then cover the outside with paper or fabric sealed under decoupage medium. Leave the base unaltered if it will be a cachepot, or add drainage only if the plastic and tools allow a clean, open hole. Its low weight suits a medium houseplant but not a top-heavy tree.
19. Metal-tin planter cover. Wrap a food tin with jute, painted paper, or a narrow wood veneer to soften the industrial look. Fold or cover sharp edges, and use a removable inner pot so moisture does not encourage rust at the seam. Small tins suit cuttings or a compact plant; a thin can may buckle under a heavy root ball.
20. Bottle-and-wick self-watering planter. Turn a clean plastic bottle into a two-part reservoir and use a wick to draw water into the potting mix. Test the wick with a small plant first and make sure the air and water paths do not clog. This can help a steady drinker while you learn its rhythm, but it is a poor first choice for a succulent that needs the mix to dry between waterings.
Wood, concrete, and tabletop builds
Wood and cement make stronger-looking planters, but those materials add weight and can stay damp. If the project will live indoors, an inner pot or tray protects the furniture and makes watering manageable. Build the display around removable pots rather than assuming every box should become one large soil chamber.
Wooden boxes, stands, and boards
21. Herb-pot cutting board. Drill evenly spaced circles in a thick board so small nursery pots sit in the openings like a tabletop herb garden. Measure each pot’s rim before cutting; the opening should support the rim while leaving the pot easy to lift. Put the board on a washable tray and keep soil and water off any surface used for food.
22. Wood-dowel slat sleeve. Cut square dowels to the height of a nursery pot and glue them around a thin backing band, leaving narrow gaps between slats. Add short dowels as feet if the base is broad enough to stay stable. The open sides show the plant’s inner pot, so choose a liner color that looks intentional.
23. Crate planter box. Sand a small wooden crate and add a removable plastic liner or tray, then arrange one or more pots inside. Leather cord, stain, or a painted end panel can change the style without covering every surface. Crates have gaps, so they are display boxes, not leakproof containers for wet potting mix.
24. Modern plywood planter box. Cut plywood into a simple square sleeve with a removable bottom tray, then finish it with a coating rated for the intended location. Leave room for the nursery pot and for air to circulate; an airtight plastic bag liner can hold water against the wood. This clean-lined design looks best around one upright plant.
25. Rustic reclaimed-wood trough. Join short boards into a low rectangular sleeve and use brackets as visible corner details. Before using salvaged lumber, avoid pieces with an unknown chemical treatment or persistent odor. Keep the plants in separate pots so the trough does not become a large, slow-drying bed with mismatched watering needs.
26. Mid-century pot stand. Attach three angled wooden legs to a stable ring or platform that supports a standard pot. Test the stand with the empty pot, then again with the planted pot and water in its saucer before putting it near a walkway. A small raised platform draws the eye to trailing foliage and makes floor cleaning easier.
27. Rolling planter caddy. Screw locking casters beneath a sturdy board or low platform sized to the planter’s base. Choose wheels rated for the combined weight of the pot, wet mix, and plant; lock them once the pot is in place. A caddy is useful for large plants, but an unlocked one can drift when you water or brush past it.
Cast and assembled statement pots
28. Nested-mold concrete pot. Pour a thin layer of concrete mix into a larger disposable mold, press a smaller mold inside, and let it cure as directed before removing either form. A cast pot is heavy and can chip, so use it as an outer vessel with a nursery pot inside. Follow the mix label and let the piece cure fully before displaying it indoors.
29. Modular concrete wall pockets. Cast small geometric modules with a removable cavity or use lightweight premade blocks as a wall display for nursery pots. Plan the layout on the floor before attaching anything, and treat each plant pot as a removable insert. The combined weight grows quickly; mount the modules into an appropriate wall support and keep watering runoff off the wall.
30. Polymer-clay pinch pot. Shape air-dry or oven-bake polymer clay into a small bowl with feet, following the clay’s package directions for hardening. Use it as a cachepot for a miniature nursery pot or a propagation cup. A clay craft pot may be too small or nonporous for long-term planting, so let the plant’s actual root container do the growing.
31. Bowl-on-riser planter. Set a decorative bowl on a stable wooden pizza riser or short stand to make a low plant grouping feel taller. Place several small grow pots inside instead of combining all the roots in one bowl. That way a thirsty fern can be watered separately from a succulent, and you can remove the bowl to clean it.
32. Trophy cup celebration planter. Repurpose a small trophy or metal cup as a playful plant display by placing a tiny pot inside the cup and letting a compact plant rise above the rim. Check that the base cannot tip, and do not pour water straight into the cup. It works for a small foliage plant or cutting, not for a large root system.
33. LEGO-brick planter surround. Build a colorful LEGO-brick sleeve around a small glass or plastic insert, leaving the insert accessible from above. Keep the bricks dry and the plant in a proper pot; loose soil and standing water can collect in the seams. This is a cheerful desk project when the insert is stable and the build is wider than the plant.
Wall-mounted and hanging DIY planters
Vertical displays save shelf space, but they turn drainage and weight into wall problems. Water a plant over a sink, let it drain, and then return it to the display. For a fixed planter, build a tray or a removable liner into the design and secure the rail or hook for the actual loaded weight.
Wall rails, pockets, and mounted inserts
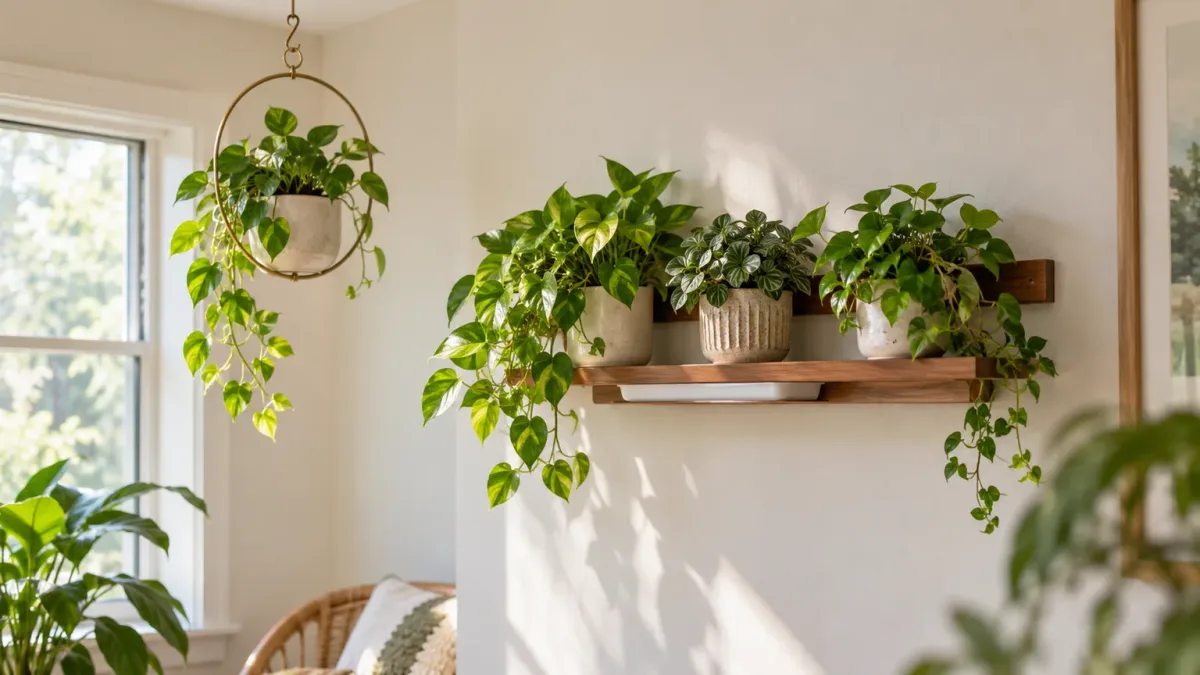
34. Wall-mounted herb rail. Attach a narrow wooden rail or board to a suitable wall support and hang several lightweight cachepots from it. Removable pots let you take herbs to the sink and return them after draining. If you grow edible herbs, use clean food-safe inner pots and place the rail near appropriate light rather than over a hot stove.
35. Fabric wall-pocket planter. Sew or buy a sturdy pocket panel and use it for lightweight plants with separate plastic pots inside each pocket. Fabric pockets dry quickly and can stain painted walls, so add a waterproof backing or keep the display outdoors where splashes are acceptable. Do not fill all the pockets with wet soil unless the panel is designed to carry that load.
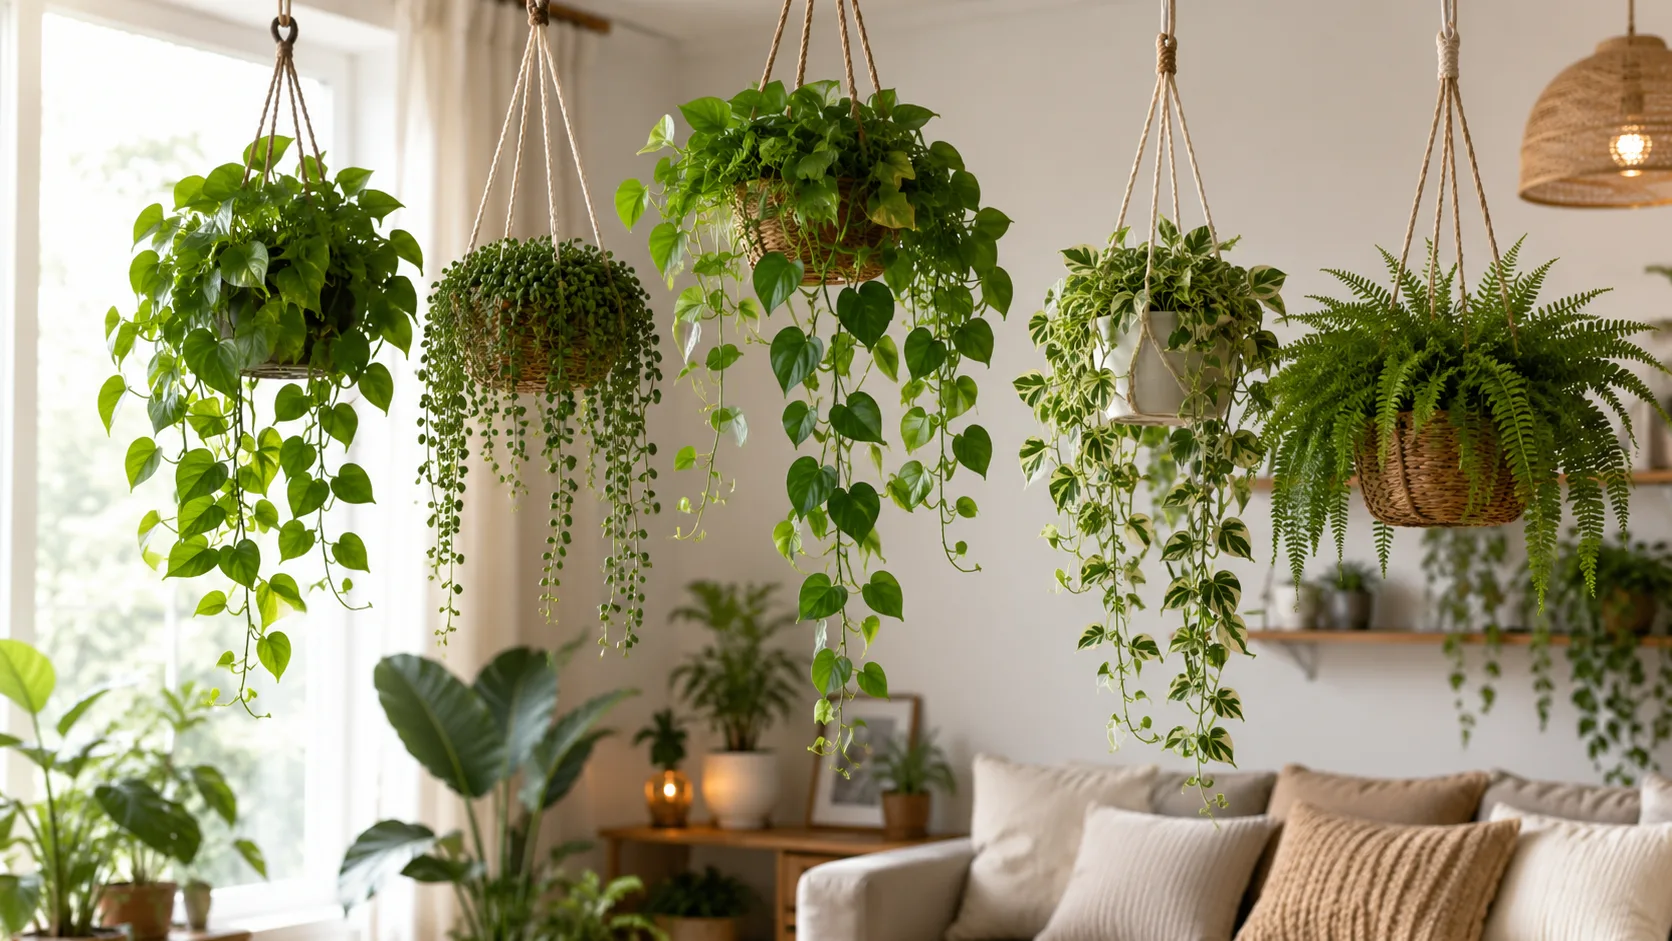
A hanging pot needs the same removable inner-pot setup, plus a secure support point. Weigh the finished pot after watering before deciding where it belongs.
Hanging displays that are secure and water-friendly
36. Gold-ring hanging planter. Join metal hoops around a pot or a lightweight cachepot and hang the assembly from a ceiling hook. Fit the pot so it cannot slide through the rings, and use a hook or anchor appropriate for the ceiling material and wet weight. Water the plant in a sink rather than watering over flooring or furniture.
Choose a project by plant, room, and effort
For the quickest result, choose a paint or sleeve project and keep the nursery pot intact. If you want a sculptural object, use concrete, polymer clay, a bowl, or a reused jar as a cachepot, then water the inner pot separately. For a plant that needs frequent drying, prioritize a removable pot and an open drain path over a reservoir, fabric wrap, or sealed shell.
Match the planter’s footprint to the plant’s actual pot, not its spread of leaves. A trailing pothos can look fuller in a hanging ring, while a tall floor plant needs a wide, steady base and a caddy that locks. Check the planned location too: a sunny windowsill may heat a dark container, a shelf needs a manageable load, and a wooden box needs a tray that can be emptied.
Before starting, lay out the vessel, inner pot, saucer, finish, and any hardware together. Test that the pot can be removed, the finished piece sits level, and runoff has somewhere safe to go. Those three checks prevent most DIY planters from turning into furniture stains, awkward watering routines, or unstable displays.
Mistakes that can ruin a good DIY
- Planting directly into an object with no drainage. Use it as a cachepot, or choose a different vessel.
- Leaving a nursery pot in collected runoff. Lift it out and empty the outer planter after watering.
- Sealing every surface. Keep coatings on the exterior unless the product is rated for the intended contact.
- Making the container too deep or oversized. Excess unused mix stays wet longer around a small root ball.
- Blocking holes with glue, fabric, or a decorative base. Check the drainage path after assembly.
- Hanging before testing the load. Wet mix and a ceramic pot are much heavier than an empty craft shell; use an appropriate anchor and inspect it periodically.
- Choosing style over plant fit. A shallow teacup or tiny jar cannot substitute for adequate root space just because the plant looks right above the rim.
Conclusion
The best DIY planter is the one that makes the plant easier to enjoy without making watering harder. Choose the display first, then decide whether it will hold a real root ball or a removable nursery pot. For most recycled, painted, fabric, and decorative projects, the cachepot route is simpler and more forgiving; for direct planting, use a sturdy container with an open drainage path and a size that suits the roots.
Start with one small project that fits your tools and space. Paint an old terracotta pot, wrap a clean outer vessel, or build a wood sleeve around the pot you already have. Once the plant lifts out easily, runoff stays contained, and the finished planter sits securely, you have a design that is both attractive and practical.