32 DIY Plant Hangers for Every Pot and Space
Make a DIY plant hanger from rope, fabric, wood, leather, or reused containers. Compare 32 ideas by pot weight, skill, mounting style, and renter suitability.
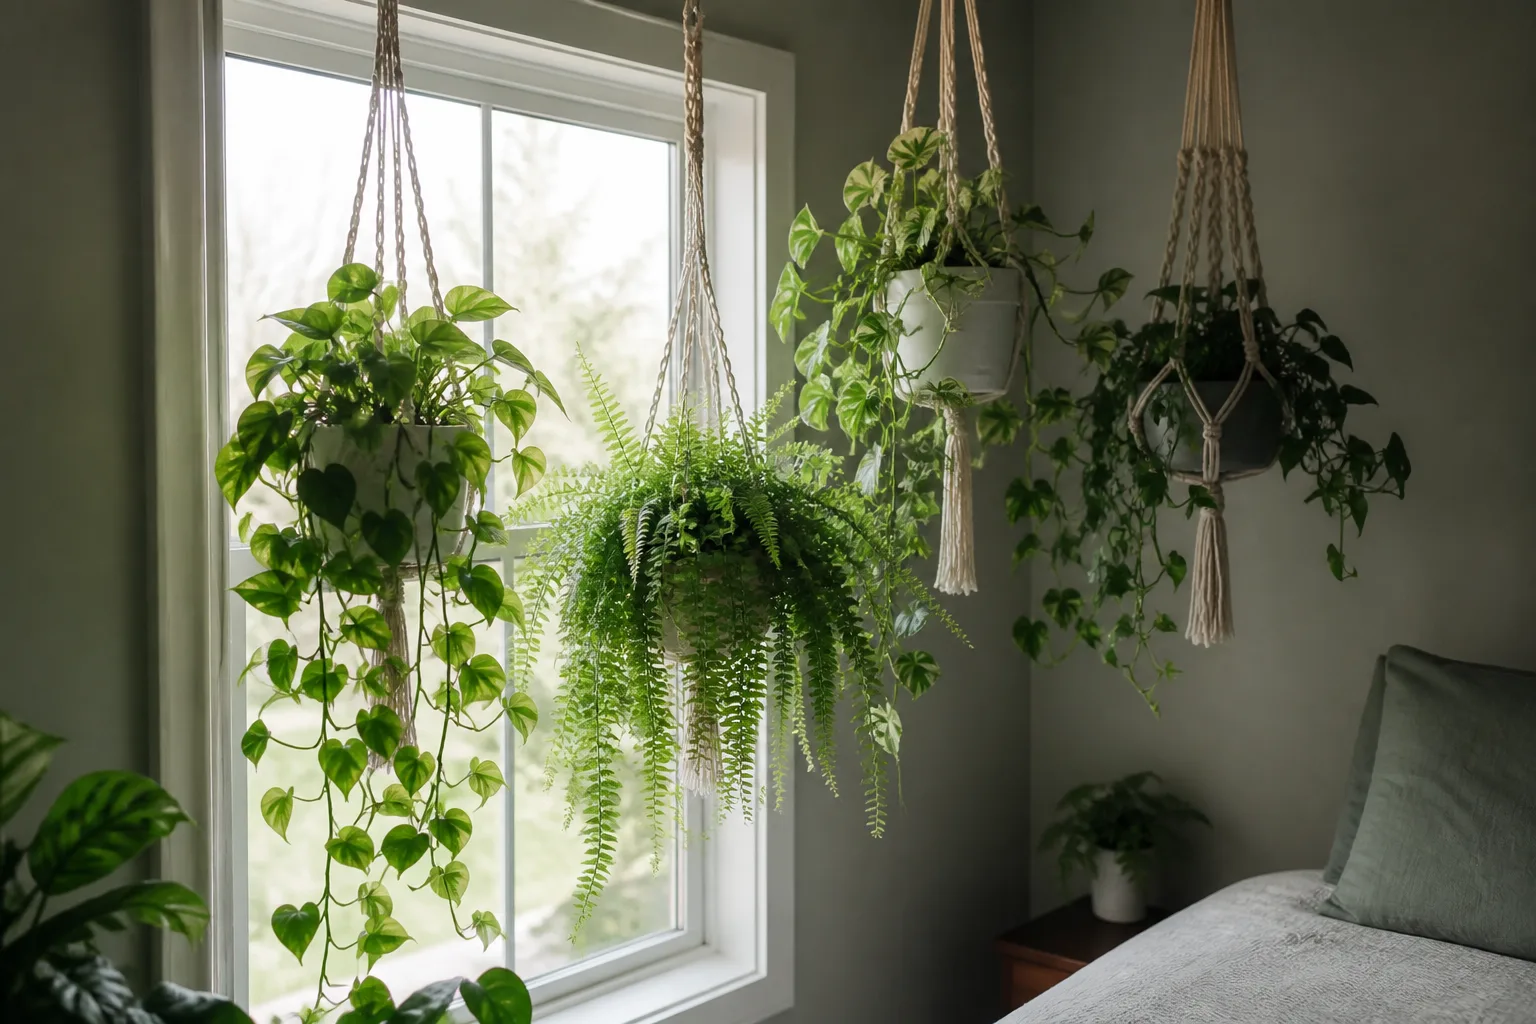
A homemade plant hanger can be a knotted rope basket, a leather sling, a wood platform, or a wall-mounted box. The best version depends on the weight of the planted pot, how you plan to water it, and what you are allowed to attach it to. A project made from reused material may cost little, but its mounting hardware still has to suit the room and load.
Use the ideas below as a menu, not a promise that every material works for every planter. Most fiber and decorative designs are best for small or medium pots; wall displays, outdoor baskets, and multi-pot arrangements need more attention to mounting. If the ceiling, wall, cord, or pot is uncertain, put the same design on a floor-standing plant pole or shelf instead.
Pick a hanger by pot weight first
A hanger has two separate jobs: its cradle must keep the pot from slipping, and its mounting point must support the complete assembly. A pretty knot pattern only solves the first job. A strong hook does not fix a weak cord, cracked pot, loose wall bracket, or poor knot.
Weigh the planted pot after watering
Start with the actual container, plant, and growing medium you intend to hang. Water it thoroughly, let it drain the way you normally would, then weigh the complete assembly; that gives you a more realistic working weight than the empty pot or dry soil. If you use a decorative outer pot, include it in the measurement. Leave a saucer or water reservoir in place during the test if it will stay there after installation.
The weight can change as a basket fills out, a plant grows, or a container holds water after irrigation. The RHS notes that summer hanging baskets can need regular watering, sometimes daily in hot, sunny weather, so design around the cared-for plant and its routine rather than a dry display-day estimate (RHS hanging-basket guide). Keep a bathroom scale on a stable, level floor; if the pot is awkward, weigh yourself holding it and subtract your weight, or choose a smaller pot rather than improvising a risky test.
Treat the measured weight as the starting point for selecting every part: cord, pot cradle, ring, hook, fastener, and supporting surface. There is no single safe capacity for “a plant hanger.” Ratings belong to a particular product installed in a specified material and way. Do not add different component ratings together or use the biggest number printed on a package as the safe rating for the whole setup.
Choose the plant and location together
A hanging position should suit the plant’s light and your ability to reach it. Trailing plants can use vertical space, while an upright plant can make a compact, balanced display. Choose a spot where leaves will not brush a hot lamp, heater, ceiling fan, doorway, or curtain, and where the pot can be removed for watering and inspection.
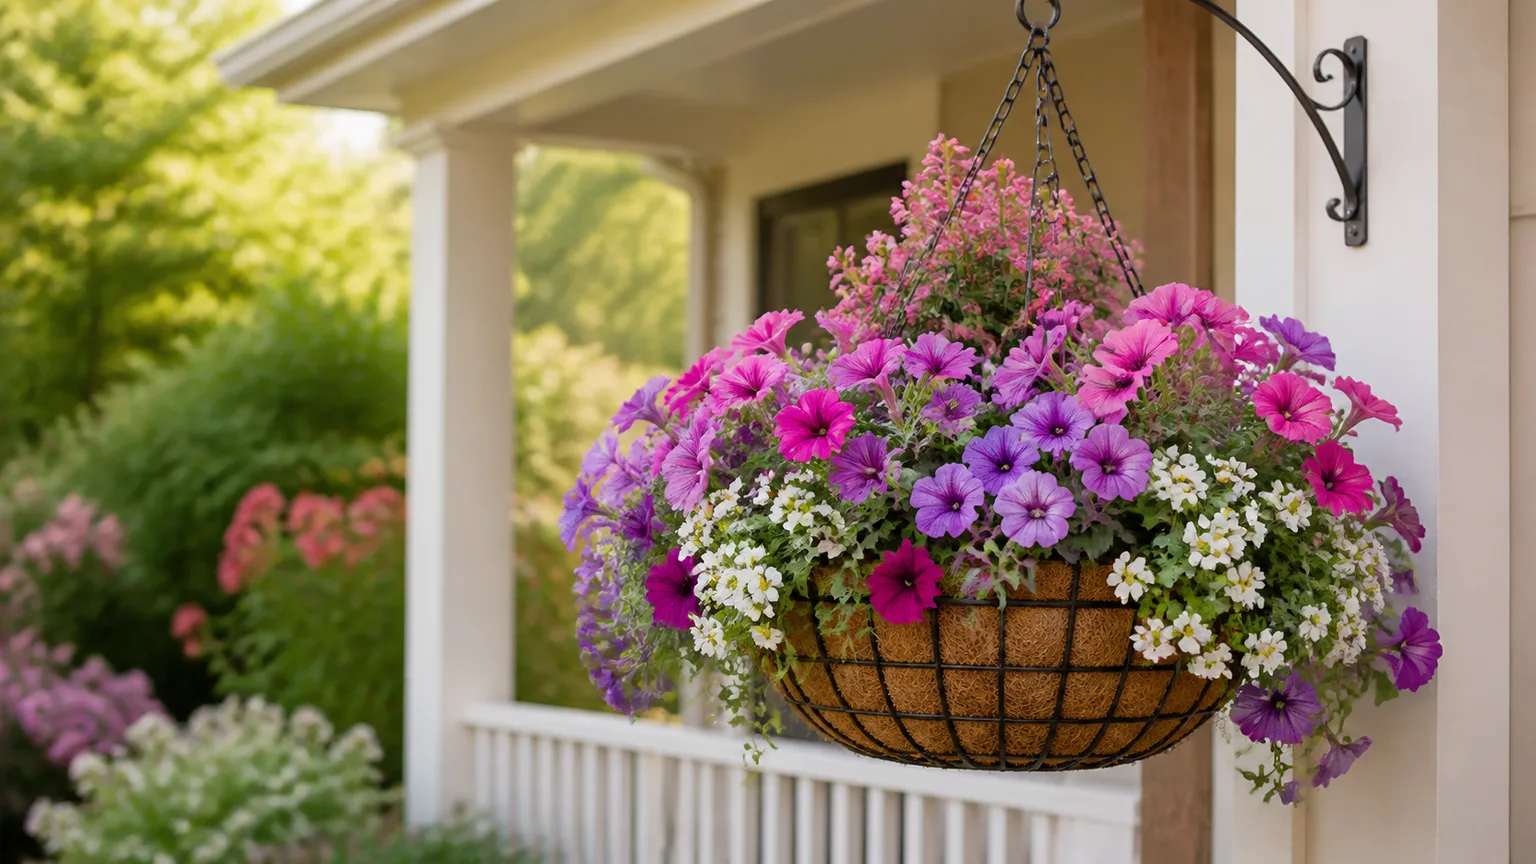
Outdoor baskets have different care demands from indoor houseplants. BHG garden editor Viveka Neveln recommends matching basket plants to light and notes that baskets need watering attention (Better Homes & Gardens hanging-basket ideas); the RHS likewise distinguishes seasonal basket choices and watering needs. Those growing decisions affect the hanger too: a larger planted basket is harder to lift down, and a water-retaining liner can add mass. Don’t plant or accessorize a container so heavily that you can’t safely remove it for maintenance.
The mounting surface changes the safest design
Before choosing the project, decide where its top end will go. A ceiling joist, masonry wall, hollow drywall, a railing, and a freestanding pole are not interchangeable attachment points. A hook described as “heavy duty” is not automatically suitable for a ceiling; its instructions may apply only to a different substrate or direction of force.
Ceiling, wall, rail, or freestanding
A direct ceiling mount should be planned around a sound structural member and a hook or eye fastener installed exactly as its manufacturer specifies. Locate the framing before drilling, check for wiring or plumbing, and stop if you cannot identify the ceiling construction or the correct fixing. For a multi-pot rack, treat the combined load as one structure, not as several tiny independent loads.
A wall-mounted pocket or shelf can keep the weight closer to the wall and may be easier to service, but brackets and anchors still need to match the wall material and total load. A railing planter must fit the rail securely and account for wind and movement outdoors. Floor-supported options—plant stands, pole shelves designed for plants, or a stable side table—avoid overhead attachment altogether and are often the simplest choice for heavier ceramic or glass.
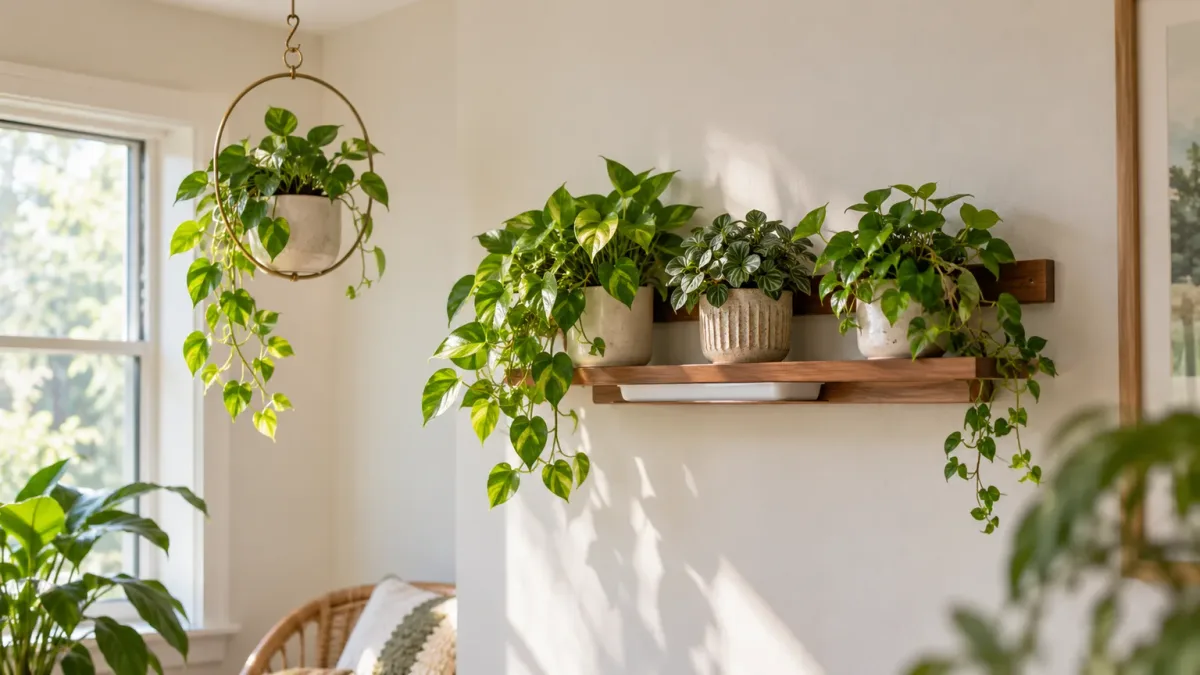
32 DIY plant hanger ideas
These projects are grouped by what they are made from. The weight notes are practical starting points, not certified load ratings: use a light nursery pot for decorative or stretchy materials, and never assume glue, beads, a thin cord, or an unverified hook can carry a heavy planter.
Cord and fabric hangers
1. Classic ring macramé basket. Fold four cords over a wooden or metal ring, then use square knots to form a cradle around a small cachepot. It is a good first project because the ring makes a tidy top loop; the finished cord and ceiling attachment still need separate inspection.
2. No-ring macramé loop. Make a folded loop from the same cord and build the basket below it. This removes one supply and gives a clean, minimal look, but the top loop must be secure and the pot should sit deep enough that it cannot tip out.
3. Simple overhand-knot rope sling. Divide several equal lengths of rope into pairs and tie staggered knots around the pot to create a net. This suits an inexpensive plastic pot and a beginner who wants fewer knot names; match the gaps to the pot’s taper so its base cannot slide through.
4. Recycled T-shirt-yarn hanger. Cut a worn jersey shirt into long strips, stretch them into soft cords, and knot a loose diamond cradle. The fabric is colorful and comfortable to work with, but it stretches; keep this to a very light planter and check the sling for sag. A step-by-step textile example from A Beautiful Mess shows how fabric strips can be knotted around a pot.
5. Woven fabric-strip holder. Use strips from a cotton sheet or sturdy scrap fabric, crossing them over a ring or a wood dowel. This is more of a woven pocket than traditional macramé and can coordinate with a room, but fabric edges may fray, so fold or stitch them and inspect after use.
6. Jute bucket sling. Knot jute around a small plastic nursery pot or light bucket for a rustic look. Jute is easy to find and grips well, yet it can absorb moisture and wear faster in damp outdoor conditions; use a removable pot and keep the cord out of standing water.
7. Crocheted plant cup. Crochet a fitted basket with a firm base and a looped top using cotton cord or yarn. The cup keeps a small lightweight pot contained and offers a softer texture than rope knots. Avoid stretchy yarn and make the base wide enough that the nursery pot cannot tilt.
8. Beaded cord hanger. Add large wooden beads to the decorative strands of a simple knotted cradle. Beads can hide a gathering knot or add color, but they are not structural parts; the cord must remain continuous and knotted beneath them, with the beads unable to slide into the pot’s support points.
Leather, metal, and found-material hangers
9. Leather-strip sling. Cut three or four leather straps and join them around a small planter with rivets or properly secured fasteners. The straps create a crisp modern profile, but thin fashion leather and decorative rivets are not load-rated. Choose a lightweight inner pot and keep the assembly easy to lower.
10. Leather-and-brass teardrop. Shape leather lace around a compact pot and use brass tubing as a visual frame. This works best as a small accent planter; do not treat slender decorative tubing as a structural beam. If the pot’s weight is more than you can comfortably lift with one hand, use another style.
11. Copper-tube air-plant mobile. Join short copper tubes into a geometric frame and suspend a few air plants from it. Because there is no soil-filled pot, this can stay genuinely light. It is a decorative display rather than a planter cradle, so keep the pieces balanced and avoid placing it where movement could knock it into a window.
12. Wire-cage and rope cradle. Set a nursery pot inside a small wire basket and add rope suspension. The cage keeps the pot upright while the rope adds softness; inspect the welds, edges, and coating first, and make sure the pot cannot slip through the bottom.
13. Painted wire basket. Refresh a small existing hanging basket with outdoor-suitable paint and a new liner. Retain its original load-bearing chain only if it is intact and designed for the basket; paint changes appearance, not capacity. Use an inner pot that drains separately rather than letting the liner stay saturated.
14. Coconut-shell half-bowl. Clean and smooth a halved coconut shell, then nestle a tiny nursery pot inside a cord cradle. The shell is a natural decorative cover, not a guaranteed container: check for cracks, sharp edges, and drainage, and keep the planted insert light.
15. Reused bottle planter. Cut a sturdy, clean plastic bottle into a small container, smooth the rim, add drainage openings, and suspend it in a cord net. Use it for a cutting or small herb only. A brittle or sun-damaged bottle can split, so replace it at the first sign of cracking.
16. Embroidery-floss accent hanger. Wrap colored embroidery floss around thicker, continuous cord to create stripes or blocks of color. The floss is decoration, not the suspension line. This lets you personalize a small macramé hanger without trusting a thin craft thread to bear the pot.
Wood and wall-mounted hangers
17. Wood-slice pot platform. Drill evenly spaced holes near the edge of a small, sound wood round and thread separate support cords through them. A pot sits on the platform instead of in a net. Use sturdy wood and distribute the load across all support points; a single center hole can let the disk tilt.
18. Hardwood-dowel cradle. Cross two short dowels or slim boards into a square platform and secure their intersection before attaching the suspension cords. The open frame suits a lightweight cachepot and shows off its shape. Avoid soft, splitting scrap or loose joints, and check that the pot’s base is wider than the opening.
19. Geometric plywood holder. Cut and assemble a shallow faceted cradle from suitable plywood, sand the edges, and seal it for the room where it will hang. This gives a clean modern look, but corners and joints must be sound; keep the first version small and test it over a padded surface.
20. Wall-mounted square planter box. Build a shallow wood box that holds one nursery pot and fasten it to a wall bracket. This suits a renter only if the property owner permits the holes; the bracket and fixing must match the wall and the loaded box, not just the empty wood shell.
21. Woven wall-pocket display. Weave a hanging panel with one or two fabric pockets sized for removable nursery pots. The panel is decorative and easy to customize, while the pockets keep soil contained. Reinforce the top edge and avoid planting directly into fabric unless you can manage drainage and moisture.
22. Embroidery-hoop basket frame. Fit a small basket or fabric pot sleeve inside two wooden embroidery hoops and suspend the hoops with cord. The hoops hold the rim open and create a rounded profile; use the hoop as a frame only, and keep a separate continuous sling beneath the pot.
23. Dowel-rail row of mini pots. Hang a short dowel between two stable supports and attach several tiny pots with individual loops. The rail spreads a display across a wall or window, but its total load is the sum of all pots and the rail itself. Leave enough space to lift each pot out.
24. Multi-tier hanging garden panel. Build a compact ladder-like frame with short shelves or rings for several small pots. This maximizes vertical space, yet the combined weight grows quickly. Use a wall or floor-supported frame with a stable base unless a structural attachment has been selected for the complete loaded display.
Containers and hybrid displays
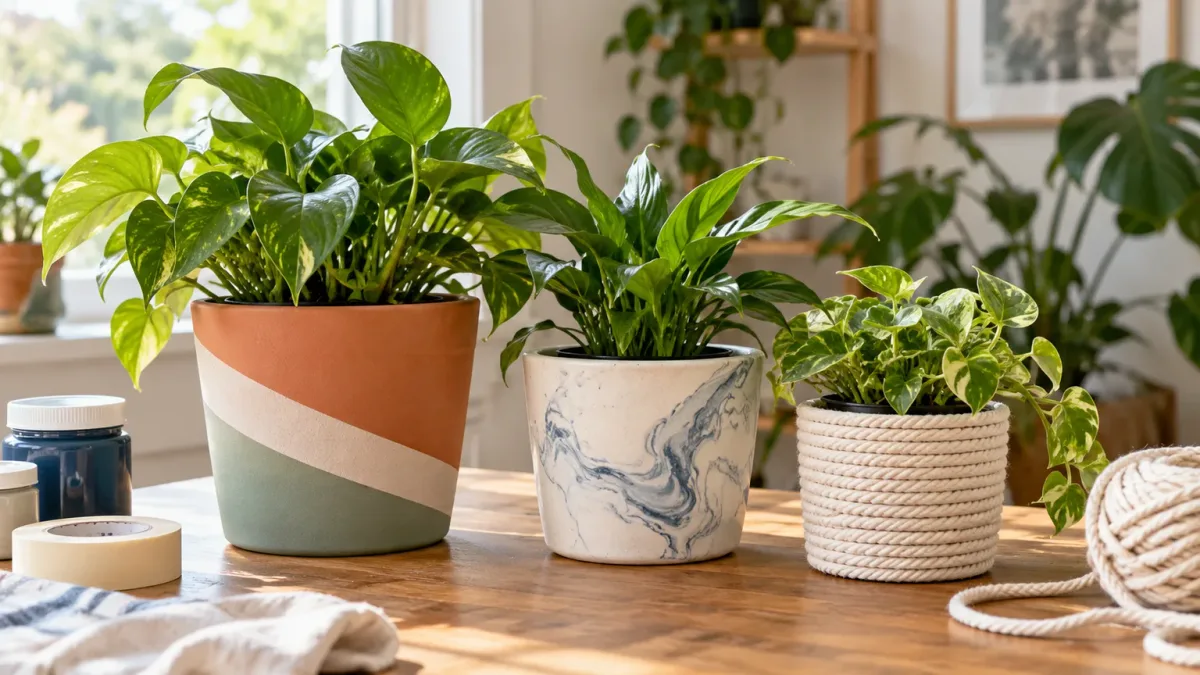
25. Painted terracotta in a rope cradle. Paint a terracotta pot, let the finish cure, and fit a rope basket sized to its widest point. Terracotta is heavier and can chip, so this is better for a small pot than a large wet container. Water it over a sink or remove it to drain before rehanging.
26. Gold-accent cachepot with a separate sling. Add a metallic paint or leaf accent to the outer pot, then place it in an ordinary cord cradle. Keep the finish away from the drainage hole and do not use paint, glue, or foil as a load-bearing connection. The hanger does the holding; the finish only changes the look.
27. Pre-drilled hanging ceramic pot. Start with a ceramic planter made with proper attachment holes rather than trying to drill an arbitrary glazed pot. Ceramic is brittle and relatively heavy, so use a small one and a stable, balanced cord layout; if the weight is uncertain, use a shelf instead.
28. Clay-sleeved mini planter. Form a decorative air-dry-clay sleeve around a lightweight plastic pot, but let the cord cradle support the plastic pot independently. Air-dry clay can crack or soften if exposed to moisture, so keep it indoors and treat it as a removable accent, never as the hanger’s structural bowl.
29. Water-propagation jar in a wire nest. Make a wire or macramé cradle for a small glass vessel holding a cutting in water. This is a delicate display: water and glass add weight, so choose a tiny jar, secure it against rocking, and place it on a shelf if you cannot confirm a safe mount.
30. Plant-stand macramé hybrid. Suspend a short macramé loop from a purpose-built floor plant stand instead of the ceiling. The stand carries the load and the textile provides the handmade look. Check the stand’s stated capacity, base width, and stability on your floor before adding a plant.
31. Refreshed secondhand hanger. Repaint a sound pot or replace faded decorative wraps on an existing hanger. Before reusing it, examine every cord, knot, ring, chain, and clip; corrosion, brittleness, fraying, or unknown hardware means it should be a display-only piece until its weak parts are replaced appropriately.
32. Tiny succulent pendant. Knot a compact cord cage for a small plastic pot or a lightweight air plant. Bright thread or beads can make it playful, but keep the design proportionate to the plant and use a removable insert so watering does not soak the decorative fibers.
Build a simple rope cradle that fits your pot
A basic rope hanger is an approachable first project because you can fit the knots to one specific pot. Use this method for a small, lightweight container, then scale the design only after you understand how the cord and pot behave. Keep the work close to a table so you can check balance without lifting a heavy pot overhead.
Measure with the pot, not a guess
Measure the pot’s widest diameter and height, then decide how far below the ceiling or shelf you want it to sit. Cut several equal lengths of cord longer than the finished drop; knots consume cord, and a test version reveals how much your particular rope shortens. If the cord has a slippery finish or frays easily, choose another material before committing to a full project.
Fold the cords at their midpoint over a ring or through a simple loop, then gather them into a secure top knot. Divide the hanging ends into pairs and tie one level of knots just below the pot’s base. Re-pair each strand with its neighbor and tie the next level around the pot’s sides. That crossing pattern creates the net that stops the pot from slipping through.
Tie and test the cradle before hanging
Set the empty pot into the cradle and adjust the knot spacing until the base is supported and the rim remains level. Tie a bottom gathering knot under the pot, then add the actual plant and check that it sits upright. Trim excess cord only after you have confirmed the final length and the pot cannot slide out when gently nudged.
Test over a padded box or laundry basket on the floor, not over a person, pet, or breakable surface. Add the drained, watered plant and leave it supported there while you inspect the cord, knots, ring, and balance. This checks the craft; it does not certify the ceiling mount. If the cord stretches, the pot leans, or a knot creeps, rebuild it before installation. Make It & Love It’s simple rope-hanger tutorial also illustrates the useful practice of fitting the knotted cradle around the actual pot before trimming the ends.
Choose the right mount for a renter or homeowner
A renter-friendly design can still use vertical space without putting a hook into a ceiling. Try a floor-standing plant pole made for the job, a stable multi-tier stand, or a shelf already secured according to its instructions. A window or door rod is only an option if it is designed for the load and the plant cannot fall onto someone or a fragile surface. Adhesive hooks and suction cups are not dependable substitutes for a rated overhead mounting system.
When ceiling drilling is acceptable
If drilling is allowed, identify the ceiling material and supporting framing before buying a hook. For a modest lightweight pot, use the exact type of fastener, pilot-hole size, and installation method specified for that substrate. For a heavier pot or any uncertainty, use a structural member or ask a qualified installer; do not choose a ceiling anchor by a generic online number.
Manufacturer data shows why those details matter. TOGGLER’s product information lists different capacities for its specific anchor in drywall and concrete, while Simpson Strong-Tie warns that connector performance depends on correct product selection, required fasteners, and installation. Those are product-specific engineering conditions, not a blanket rating for any hook or a promise that drywall is appropriate for every overhead load. Never transfer a wall rating to a ceiling, substitute an unrelated screw, or use a hook whose instructions do not explicitly fit your ceiling and application (TOGGLER product details; Simpson Strong-Tie installation notes).
A small plant can still cause damage if a fastener pulls out above a bed or walkway. If you cannot verify the substrate, load direction, product instructions, and total weight, choose a floor-supported display. Ask a landlord or property manager before drilling if the lease or building rules are unclear, and do not hide a hole or patch damage instead of getting permission.
Keep the hanger stable after installation
Place the pot only where it can be reached without climbing on unstable furniture. Keep it away from door swings and high-traffic paths, and leave enough room to rotate or lower it for inspection. If a plant outgrows its pot, the whole assembly may become more awkward and heavy; repotting is a good time to reassess the hanger and mount rather than assume the old setup is still suitable.
Check fiber for fuzzing, thinning, discoloration, mildew, or pulled knots. Natural fibers and fabric can change with water, sunlight, and age; metal can corrode, and wood can split. After the first week, and periodically thereafter, inspect the mount and cradle for new sagging or movement. Lower a hanger for watering when practical, let excess water drain fully, and never rely on a saucer that can overflow onto a ceiling, wall, or floor.
The simplest maintenance rule is to treat a plant hanger as a system: pot, plant, wet medium, cradle, connector, and building surface all matter. Replace a worn component before it fails, keep decorative finishes away from load paths, and move the plant to a stable stand whenever the installation no longer feels certain.
Conclusion
The easiest DIY plant hanger is the one that fits your pot, skills, and mounting options—not necessarily the most intricate knot pattern. Start with a light container and a material you can inspect, weigh the planted pot after watering, and choose a structural mount or floor-supported alternative that suits the actual load. With those decisions made first, a rope cradle, fabric sling, wood platform, or upcycled display can be both personal and practical.