How to Make a Wooden Planter Box That Drains Well Outdoors
Make a wooden planter box work for flowers or food with practical checks for old paint and treatments, drainage, liners, potting mix, placement, and upkeep.
A wooden box becomes a useful planter when three things are true: you know enough about its history to choose plants safely, water can drain freely, and the box is strong enough to hold wet growing mix. The decoration comes after those checks. A pretty wine crate with a rotten base, a painted box with unknown coatings, or a sealed toolbox can be a poor planter even if it looks like the right size.
Start by deciding whether the box is suitable for food crops or only for ornamentals, then choose between filling it directly and setting nursery pots inside it. That distinction affects the liner, drainage, weight, and maintenance. With the right setup, a clementine crate can hold a short-lived herb display, a sturdy cedar box can support a longer-lived patio planting, and a questionable antique can remain a decorative shell around removable pots rather than making direct contact with soil.
Start with a pass-or-skip safety check
Before you buy a drill bit or potting mix, ask what the box carried, how it was used, and whether you can identify its finish. A clean produce or wine box from a known source is easier to assess than a container found beside a workshop, loading dock, roadside, or chemical storage area. Do not repurpose wood that smells of fuel, pesticide, solvent, or creosote; has oily or colored stains of unknown origin; or shows residue that cannot be removed with ordinary cleaning. A liner is not a dependable fix for an unknown spill because it can tear, shift, or allow contaminated water to escape.
Next, press gently on the base and corners, inspect every joint, and look for soft spots, deep splits, loose nails, moldy material, and missing boards. The box should not flex dramatically when lifted empty. If it is already breaking apart, wet mix will accelerate the failure and may spill onto a deck or walkway. A small box with a weak base may still work as an outer cover for a sound nursery pot, but skip it if the wood is crumbling, the residue is suspect, or sharp hardware cannot be made safe.
Pick the right box for the job
Different found boxes solve different gardening problems. A slatted citrus or clementine crate is light and naturally ventilated, but its gaps can let potting mix wash out and it may last only a season or two outdoors. A wine box is often deeper and more substantial, though its finish and previous contents still deserve inspection. A vintage soda crate may be divided into many small planting cells; those compartments suit tiny succulents or seasonal accents better than plants that need a continuous root run. A solid old tool chest can be visually striking but may have a sealed base, peeling paint, oil residue, or a lid and hardware that retain water.
| Box type | Best use | Check before planting |
|---|---|---|
| Slatted produce crate | Temporary herbs, flowers, or nursery-pot display | Wide gaps, loose corners, and a thin base |
| Wine or sturdy storage box | Direct planting or nested pots if the history is known | Paint, liner residue, depth, and drainage |
| Divided soda crate | Small seasonal plants in individual pots | Whether each compartment can drain |
| Old tool box | Decorative outer cover for removable pots | Oil, rust, sealed bottom, and flaking finish |
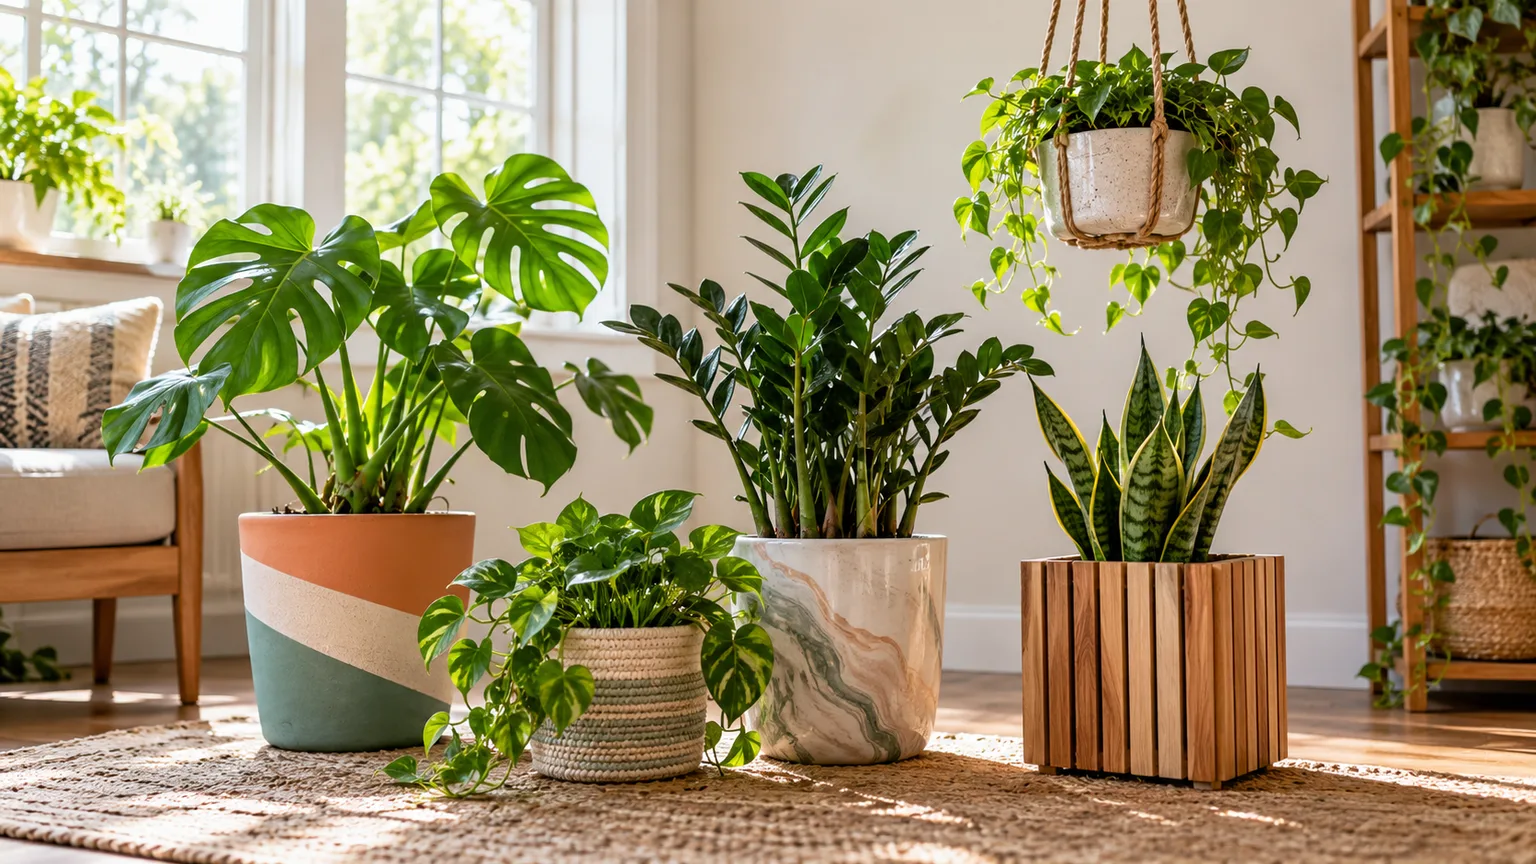
Use the box as a cachepot when its appearance is appealing but its construction is not suitable for direct soil contact. Set intact nursery pots inside and lift them out to water or drain; never leave the inner pots sitting in collected water. Gardeners’ World’s seasonal container advice includes wooden boxes as a display option while emphasizing the need for drainage. That practical distinction is useful for salvage: the old box can contribute the look, while a separate plant pot provides the controlled root environment.
Match the wood to the planter’s lifespan
Wood is attractive and easy to cut, but constant contact with damp mix shortens its life. Cedar and redwood are commonly chosen for outdoor beds because they resist decay better than untreated softwoods. They are not rot-proof: joints, end grain, standing water, and repeated wet-dry cycles still wear them down. A free pine or fir crate can be perfectly reasonable for a temporary display, but plan to inspect it often and replace it when the base softens rather than expecting it to last like stone or plastic.
Utah State University Extension’s raised-bed guidance lists cedar and redwood as naturally rot-resistant options and notes that untreated lumber can break down over time. Its discussion also treats pressure-treated lumber as a separate material choice, not as a universal upgrade. For a small container, focus on the wood you can identify and the conditions it will face: a sheltered porch box may stay sound longer than the same box left in rain, sitting flat on soil, and filled with wet compost.
If you are building a box from new boards, choose untreated, durable lumber of a thickness that will not bow under saturated mix. Use exterior-rated fasteners compatible with the wood and any treatment; ordinary interior screws can corrode outdoors. Sand only splintered edges and avoid creating sawdust you cannot clean up when the wood’s treatment or paint is unknown.
Decide whether to grow food or ornamentals
Flowers and foliage tolerate more uncertainty about the box’s intended use than crops you plan to eat, but “ornamental” does not make a contaminated container automatically harmless. Children and pets may touch, chew, or play near the box, and loose paint or residue can enter the surrounding soil. If a box has an uncertain industrial history or a strong chemical odor, do not use it for either purpose. Reuse it for a non-gardening task or dispose of it according to local guidance.
For herbs, vegetables, and strawberries, prefer a box whose prior use is known and whose wood and finish are identifiable. Utah State University Extension says pressure-treated lumber may be used in raised-bed construction with a plastic barrier between the lumber and soil mix; that is useful context, but it does not make every old treated crate or unknown coating appropriate for direct planting. If the label is missing, the wood is old, or you cannot identify the treatment, choose untreated new wood or put food crops in separate, intact pots with their own drainage rather than relying on a thin liner as proof of safety.
If you want to use a newly purchased treated board, follow its current label and local extension recommendations for the intended crop and setting. Treatments and guidance can change. Keep the decision conservative when a family member has heightened sensitivity to lead or when young children use the garden.
Treat paint and preservatives as separate questions
Old paint and wood preservatives are different hazards, so one screening result cannot answer both questions. A box with peeling or unknown old paint should not be sanded, scraped, or planted directly until you know what the coating is. Lead exposure can harm health, with children especially vulnerable; Mayo Clinic’s overview of lead poisoning explains why dust and contaminated material deserve care. A consumer test kit may be a preliminary screen, not a guarantee that a box is safe for food gardening. If the coating may contain lead or is flaking, keep it out of a garden where soil, hands, or edible leaves can contact the chips.
Likewise, do not treat “weathered,” “reclaimed,” or “natural finish” as a safety label. Railroad ties treated with creosote and lumber with unknown chemical residue are poor planter choices. A sealed or painted container may be appropriate as a decorative cover around removable, food-safe pots, but only if it is clean, stable, and not shedding material. Keep its drain tray accessible and empty it after watering so water does not pool against the wood or leak onto a surface.
Choose direct planting or a removable inner pot
Direct planting makes the box itself the pot: the mix touches its sides, and the drainage holes must work across its base. Choose this setup for a sturdy, clean box with known materials and enough depth for the chosen roots. The benefit is a continuous planting area; the trade-off is that the wood stays in contact with moist mix and is harder to inspect once planted.
A nested-pot arrangement is more forgiving. Place one or several nursery pots inside the box, keep each pot’s drainage holes open, and lift the pots out to empty the saucer or check for root problems. This is especially useful for a shallow soda crate, a thin wine box, or a toolbox whose base you do not want to drill. The outer box needs a way to shed accidental water, or you must remove the pots for watering and let them drain before returning them.
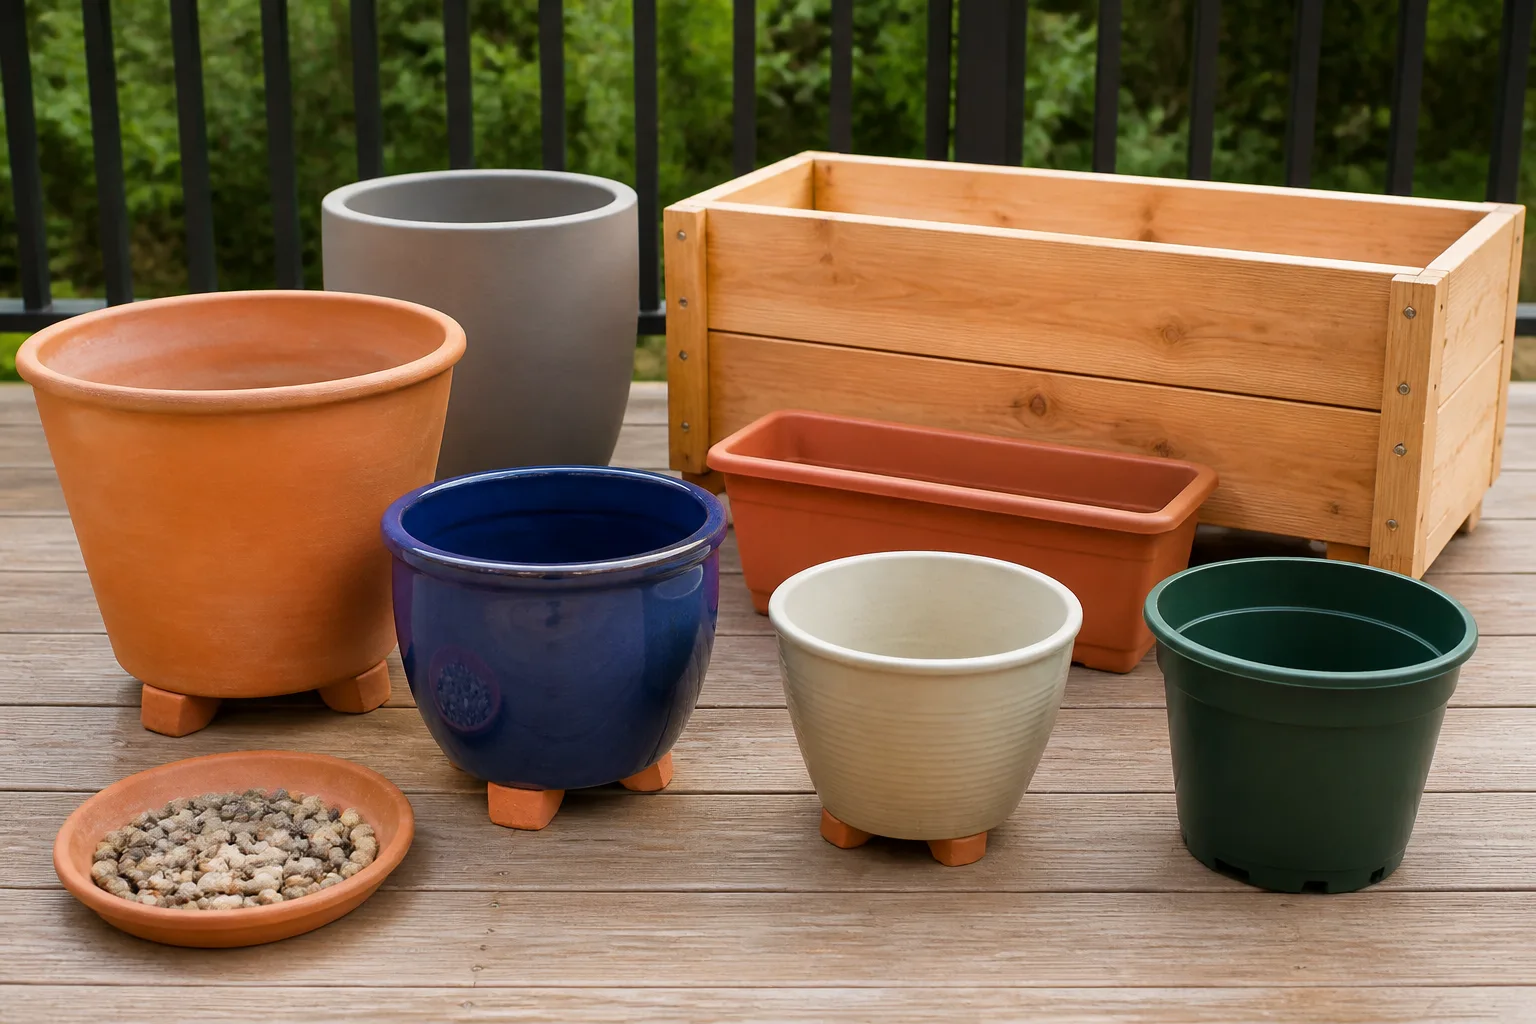
Whichever design you choose, do not use a solid decorative container as a sealed pot and then compensate by adding rocks beneath the soil. That creates a reservoir rather than a drainage route. If you need a watertight decorative sleeve indoors, the plants should remain in pots with holes and excess water must be poured out after watering.
Check dimensions, weight, and placement first
Measure the inside, not just the outside. A box’s usable depth is the distance from its planting surface to its base; a thick rim or slanted walls can reduce the root space. Shallow boxes work for compact seasonal flowers, many herbs, leaf lettuce, and small-rooted plants, but they dry quickly and leave little room for deep roots. Tomatoes, larger perennials, and plants that need a deep, stable root zone call for a deeper container or a different site. Match the box to the mature plant, not to the size of the nursery pot on planting day.
Estimate the filled weight before you commit to a balcony, railing, shelf, or deck. Damp potting mix is much heavier than a stack of empty crates; a broad wooden box can also become difficult to lift once it is filled. Put a large planter where it will live before adding mix, and verify that the surface can safely support it. If you use a wheeled stand, choose one rated for the filled load and lock the wheels when appropriate.
Think about light, wind, watering access, and runoff at the same time. A sunny spot may suit vegetables but dry a shallow crate rapidly; a sheltered wall may reduce wind but trap rain against the wood. Fine Gardening’s container gardening guide treats the container, growing medium, plants, and site as linked choices. That is the right approach here: the prettiest box is not useful if it cannot meet the plant’s light and root needs.
Inspect and clean before modifying the box
Empty the box and remove loose soil, old roots, packing material, and any paper label that could stay wet. Brush off dry dirt outdoors, then wipe the wood with a damp cloth and a mild soap solution if needed. Rinse sparingly and allow the box to dry completely before drilling or lining it. Avoid bleach, solvents, furniture polish, and unlabelled wood treatments; they add exposure without improving the container’s drainage or structure.
Check the floor and corners again after cleaning, when damage is easier to see. Tighten sound fasteners, replace a missing screw with a compatible exterior fastener, and add a support strip beneath a base that needs reinforcement. Do not try to glue together swollen, crumbling wood and call it load-bearing. If the box carries a heavy soil column, its base and joints need to stay secure when wet.
Protect your eyes and hands when drilling, and clamp or support the box so it cannot shift. If the wood’s age or coating is uncertain, avoid aggressive sanding or cutting. For a rough slatted crate, put a temporary catch sheet underneath while you work so fragments and old soil do not spread across the patio or garden.
Add drainage that can stay open
Direct-planted containers need open drainage at their lowest point. If the box already has gaps between bottom boards, check that the gaps are not blocked by an inner tray, paint, or a solid liner. If it has a solid bottom, drill several evenly spaced holes, keeping them large enough not to clog immediately but small enough that the base remains strong. A common starting point for a modest box is holes around 3/8 to 1/2 inch wide, but the number depends on the bottom area and how quickly water must escape. Do not drill close to thin edges or through a support rail.
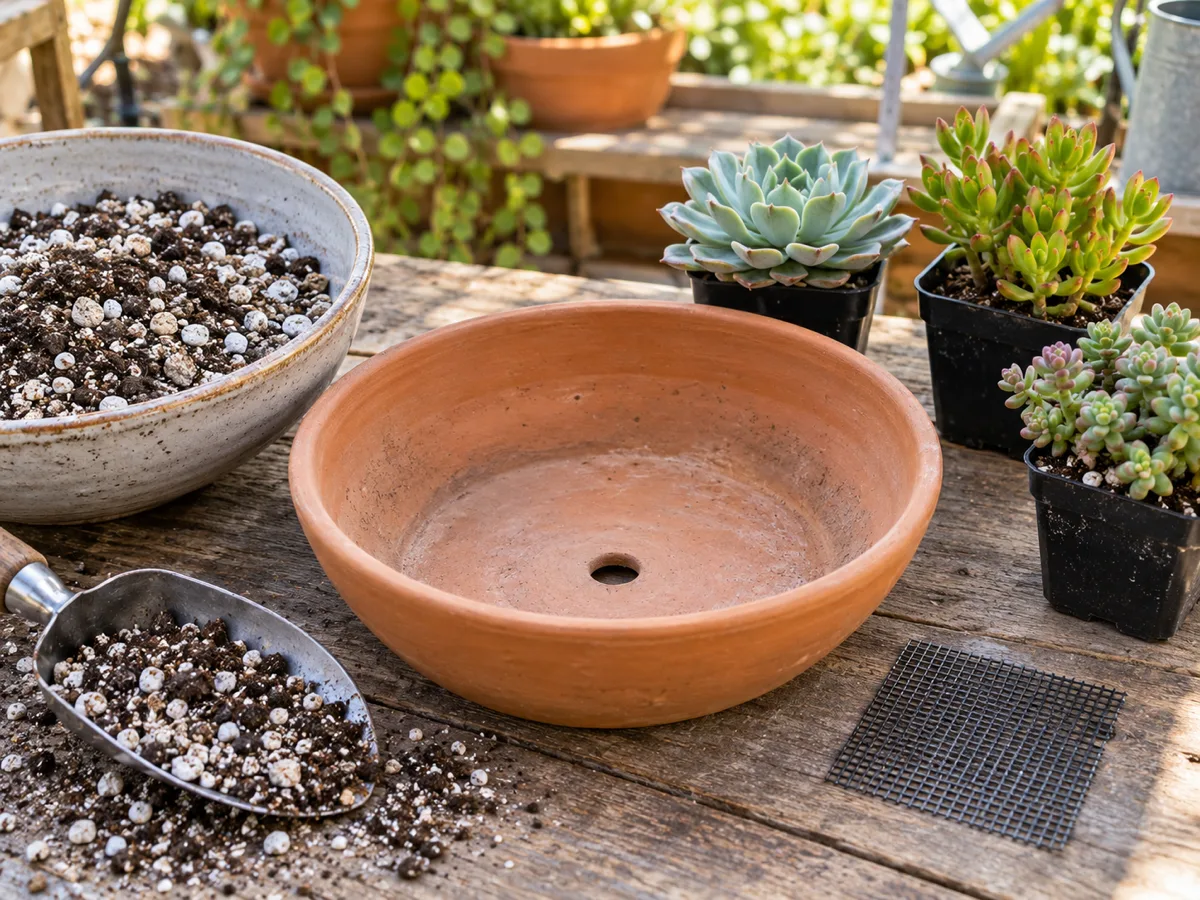
Test before adding soil: set the box level on blocks, pour in water, and watch whether it drains instead of standing. If water remains, find the obstruction or add a few more holes while the box is empty. If soil could spill through wide slats, cover the opening with a piece of porous landscape fabric or a small square of mesh; keep the material flat and loose enough that it does not seal the opening.
Drill only the parts that need openings. Adding holes to the sides below the soil line can leak muddy water onto a deck, stain a wall, or keep a nearby surface wet. For a balcony or indoor display, place the planter where runoff is allowed and use a separate drip tray that you can empty. A drainage hole does its job only when air and water can reach the space below it.
Line the box without trapping water
Lining is a choice, not a requirement. A permeable landscape fabric can hold mix inside a slatted crate while allowing excess water to pass through. Staple it neatly to the interior sides, trim it below the rim, and avoid bunching it over the bottom openings. It may reduce direct soil contact, but it will not keep wood dry; damp mix and water still reach the liner and can remain against the boards.
A waterproof liner can protect the inner sides of a box, but it also changes where the water goes. If you use one, it needs its own unobstructed drainage openings that align with the planter’s outlet, or it can create a waterlogged pocket. A liner with no holes is suitable only for a decorative sleeve holding removable pots, and you must empty collected water after each watering. Never puncture a liner in place where you cannot see whether the holes are open.
For an unknown or delicate box, a clean nursery pot or set of pots is often easier to inspect and replace than a full liner. For food crops, use a liner whose intended use and material are clear; do not assume any scrap plastic, tarp, or bag is suitable for long-term contact with wet growing mix. Gardeners’ World discusses the same basic container requirement when using wooden boxes for seasonal displays: provide drainage before planting, then keep the root environment appropriate to the plants.
Protect the wood without risky coatings
Good construction and water management usually do more for a wooden planter than a mystery sealant. Raise the box slightly on pot feet, bricks, or rot-resistant blocks so its base is not pressed against wet soil or a puddle. Keep the feet stable and spaced to support the load; do not balance a heavy box on narrow scraps that can tip. On a deck, use a broad drip tray or protective pads only if they do not block the planter’s drainage or leave water trapped against the boards.
For ornamental containers, an exterior wood finish may be an option if its label allows use on the intended surface and you follow its cure time. Do not coat the interior with an unlabelled product and assume the soil will be unaffected. For edible planting, avoid applying a preservative to soil-contact surfaces unless the product is specifically labeled for that application and the label permits the crop use. “Plant-based” or “natural” on a label is not a substitute for directions and safety information.
If you want a longer-lived food planter but do not want wood touching the growing mix, choose a well-fitting, food-appropriate insert pot or documented barrier system with drainage. No coating can make rotten boards strong again. Replace the planter when the base softens or joints separate rather than layering more chemicals over a failed structure.
Fill with a container-friendly growing mix
Use a potting mix formulated for containers, not dense garden soil scooped from the yard. Container mix is designed to balance air and water in a confined root zone; ordinary garden soil can compact in a box and drain poorly, especially when the box sits on a deck or paving. Choose a mix that suits the crop: herbs and vegetables generally need a moisture-retentive but free-draining blend, while succulents need a faster-draining mix. Add compost or fertilizer according to the bag directions and the plant’s needs rather than assuming every mix has the same nutrient charge.
Do not put a layer of gravel, broken pottery, cans, or plastic bottles under the mix as a substitute for holes. The abrupt change in texture can leave water perched in the finer growing mix above the coarse layer, and bulky filler reduces the depth available to roots. If the box is too deep for a small plant, use an appropriately sized inner pot or select a plant that can use the depth; do not make a shallow root zone with a soggy bottom layer. Our guide to rocks at the bottom of planters explains why drainage depends on the outlet and growing medium, not a gravel base.
Fill the box where it will stand if it is large. Leave a little space below the rim so water does not immediately wash the mix out, and avoid compressing it into a brick. Water once to settle the mix, check that the drainage remains free, then top up before planting if the surface sinks.
Plant for root depth, light, and season
Group plants that need similar light and moisture. A long, shallow box is convenient for salad greens, compact herbs, spring bulbs, and trailing annuals; a deeper, wider box gives larger roots more room and buffers moisture swings. Some herbs, such as rosemary, prefer a drier root zone than basil or parsley, so avoid putting plants with opposite watering needs in the same small compartment simply because they look good together. For a mixed display, use separate nursery pots inside the box so each plant can be watered on its own schedule.
Check the mature height and spread as well as the roots. Tall plants in a light crate can catch wind and tip; trailing stems can shade neighboring plants or hang over a walkway. A tool-box-sized planter may hold a cheerful group of annuals but is rarely a sensible home for a shrub that needs years of root expansion. Gardeners’ World notes that larger containers hold moisture longer, but the right plant still depends on the site’s light and the pot’s dimensions. A bigger box can make watering easier; it cannot make a shade plant thrive in harsh afternoon sun.
Set nursery plants at the same soil level at which they were growing, firm the mix gently around the root ball, and water until excess exits the base. For seeds, follow the crop’s sowing depth and spacing; a box can be crowded quickly, and overcrowding makes airflow and watering less reliable. Keep the label for the crop handy, especially when several varieties share one crate.
Water and maintain the box through the year
Wooden planters can dry faster than in-ground beds because they expose the root zone to air on several sides, particularly when shallow, slatted, windy, or in full sun. Check the mix with a finger rather than following a rigid daily schedule. Water slowly over the whole surface until moisture reaches the roots and a little water drains below; return later to empty any tray. If the surface is wet but roots are dry, the mix may have pulled away from the sides or become difficult to rewet. A slow second pass can help; repeated standing water points to blocked drainage instead.
Inspect the box while watering. Look for damp patches that never dry, a dark line at the soil level, split corners, leaking liner edges, rusted staples, and soil washing through a gap. Raise the box if the base sits in runoff, clear clogged holes, and move it away from a downspout or sprinkler that keeps one side wet. In hot weather, a shallow planter may need more frequent checks; in cool or rainy weather, it may need less water than the same box in midsummer.
At the end of a seasonal display, remove dead roots and debris, let the box dry, and store it under cover if it is small enough to move. Do not leave the box filled with saturated mix through freezing weather if the boards or joints are already weak. A larger fixed planter can remain outdoors, but clear standing water and refresh the surface mix as needed. These steps slow deterioration; they do not give scrap wood a guaranteed service life.
Fix common problems before they spread
Water pools after a thorough watering: Empty the tray, check that the box is level and each outlet is open, and remove a liner that blocks the holes. Do not respond by drilling many side openings below the soil line until you know where the runoff will go. If the box stays soggy despite open holes, the mix may be compacted or the planter may be sitting directly on an impermeable surface with no clearance.
The base sags or a corner opens: Stop adding weight and move plants into other pots. Remove the soil while the box is dry enough to handle, inspect the supports and fasteners, and replace damaged structural pieces. If a repair would leave the box depending on a thin, cracked bottom, use it only as an outer cover or retire it.
Soil leaks through the slats: Add breathable fabric on the inside or switch to a removable pot. Do not seal every gap with exterior caulk if the box is meant to drain; water needs an exit. The wood stays dark or soft: Remove the mix and check whether a leak, blocked outlet, or ground contact is keeping it wet. Soft, crumbly wood is a replacement signal, not a cue for stronger sealant. Paint flakes or an oily odor appears: Keep people and pets away from the debris, avoid sanding or composting the material, and discontinue garden use until its history can be assessed safely.
Conclusion
A wooden box is worth turning into a planter when its history is acceptable, its structure can support wet mix, and the design gives water a clear route out. Choose direct planting for a known, sturdy box; choose removable pots when the container is shallow, fragile, or mainly decorative. For food crops, be more selective about wood, paint, and treatments, and do not rely on an unknown coating or improvised liner to make questionable salvage safe.
The most dependable setup is simple: clean the box, reinforce only sound wood, keep drainage open, use a suitable liner or insert, fill with container mix, and raise the base where water can escape. Then let the plant’s light, root depth, and moisture needs determine where the planter belongs. Inspect it during routine watering, and replace it when the wood stops being structurally sound.