Should You Put Rocks at the Bottom of a Planter?
Should you put gravel in the bottom of pots? Science and extension guidance say skip the rock layer. Get drainage holes, mix fixes, and cachepot setups that work.
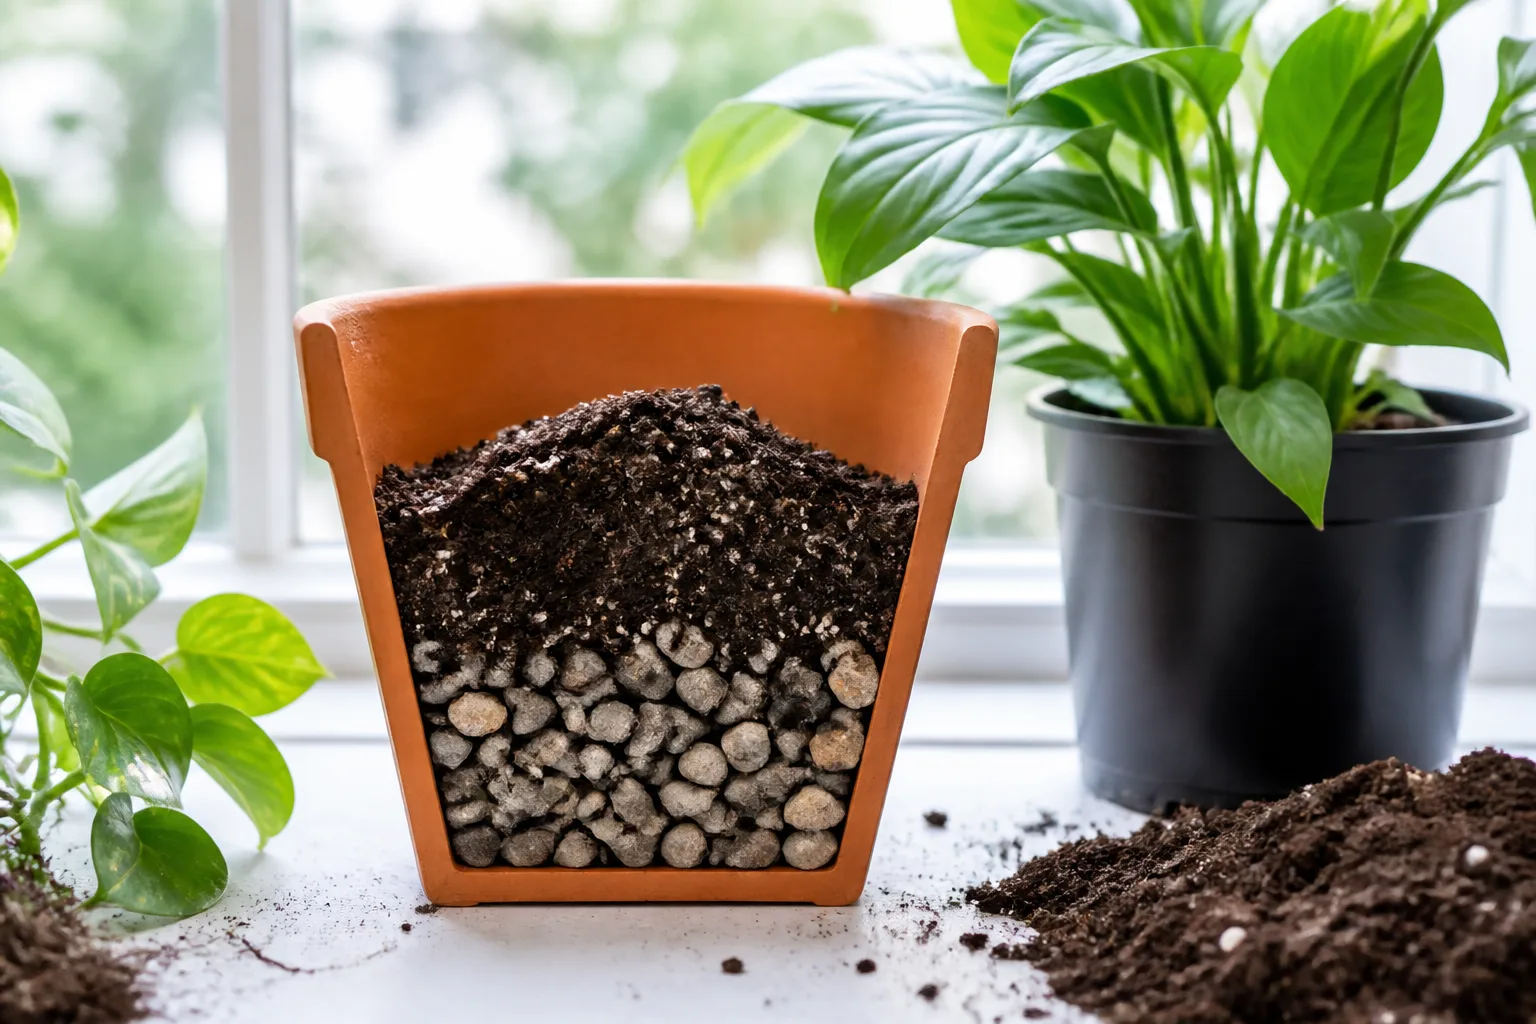
You have heard the advice forever: line the bottom of the pot with gravel, pebbles, or broken crockery so water can “drain away” from the roots. It feels logical. Coarse stuff at the bottom should let excess water fall through, right? For most houseplants and container gardens, a rock layer at the bottom of a planter does not create better drainage — it creates a smaller root zone sitting above soil that still holds water. Extension horticulturists, container-soil researchers, and everyday repotting experience all point to the same practical rule: skip the drainage layer and fix the exit path, the mix, or the pot setup instead.
That does not mean every gardener who ever used rocks murdered their plants. It means the habit solves the wrong problem, often at the cost of the space roots actually need. If you are repotting this weekend or staring at a beautiful hole-free ceramic planter, this guide walks through the physics, the recent research update, and the fixes that keep roots in air-filled soil instead of a perched wet band above a pile of stones.
The Short Answer: Skip the Rock Layer
Do not add a layer of rocks, gravel, LECA, or broken pottery at the bottom of a planter before you fill with potting mix. The layer does not pull water away from roots the way intuition suggests. In real pots, water stops moving downward when fine potting particles meet a sudden jump to coarse material — or when it hits the bottom of the container — and the lowest section of mix stays saturated until evaporation or root uptake dries it.
What works better is boring and effective:
- A drainage hole (or several) that stays open, with no saucer water touching the pot base
- Chunky, porous potting mix matched to the plant — not garden soil, not a dense “moisture control” bag for succulents
- Double potting when the outer decorative planter has no holes
- Drilling holes in wood, plastic, or glazed ceramic when the pot is worth the risk
A 2025 peer-reviewed study in PLOS ONE tested drainage layers in actual flowerpots and found they usually reduced total water retention compared with controls — never increased it (Rowe, 2025). That complicates the old “rocks raise the wet zone” story. Even so, the study did not grow plants, used fully saturated containers, and the author calls for replication. The practical takeaway for home gardeners did not flip: a thin gravel band buys a small, unreliable gain and permanently steals depth your roots could have used. Better mix plus an open hole solves the same problem without giving up two inches in a six-inch pot.
What Actually Fixes Drainage
Drainage is not one trick at the bottom of the pot. It is a chain: water enters the mix, moves through pore spaces, exits through holes, and leaves the root zone aerated. Break any link — sealed bottom, clogged hole, fine dense mix, or a saucer full of runoff — and roots sit in waterlogged soil. Rocks at the bottom do not repair a sealed pot or compensate for watering a moisture-loving mix like a desert plant.
Why Gardeners Still Put Rocks in Planters
The myth is persuasive because it mirrors how we want water to behave: heavy stuff falls, light stuff floats, coarse gaps should catch the drip. Container gardening books published for decades repeated the gravel layer. Grandparents did it. Nursery staff sometimes still mention it when you buy a ceramic pot with no holes.
The Logic That Sounds Right
The story goes like this: soil is fine and holds water; rocks are coarse and hold less; therefore water should drain into the rock zone and leave the soil drier above. That would be true if the pot were a pipe with free gravity flow. Potting mix is not a pipe. It is a matrix of particles and air spaces where water moves by capillary action — the same force that pulls water up a dry sponge. When the wetting front hits a boundary where pore sizes suddenly increase, water hesitates. The fine layer above must approach saturation before water crosses into the coarse layer below (Rowe, 2025, citing Hsieh & Gardner, 1959).
So the “drainage layer” does not act like a basement sump. It acts like a pause button at the soil line — exactly where many roots live.
Where the Advice Comes From
Some recommendations trace to outdoor engineering contexts — green roofs, field soil capillary barriers — where a thick coarse layer below a shallow growing zone is designed into the system. Home pots are different: one thin drainage hole, modest depth, and a single plant whose entire root ball may occupy the lower third. Copying roof-drainage logic into a six-inch houseplant pot ignores container capacity — how much water a given volume of mix holds after it drains (Rowe, 2025).
Others use rocks for weight on tall outdoor planters so top-heavy shrubs do not tip in wind. That is ballast, not drainage. A few gardeners place one stone over the drain hole to stop mix from washing out during the first heavy soak. That is a hole cover, not a two-inch gravel band. The goals differ, and conflating them is how the myth spreads.
What a Perched Water Table Actually Does in a Pot
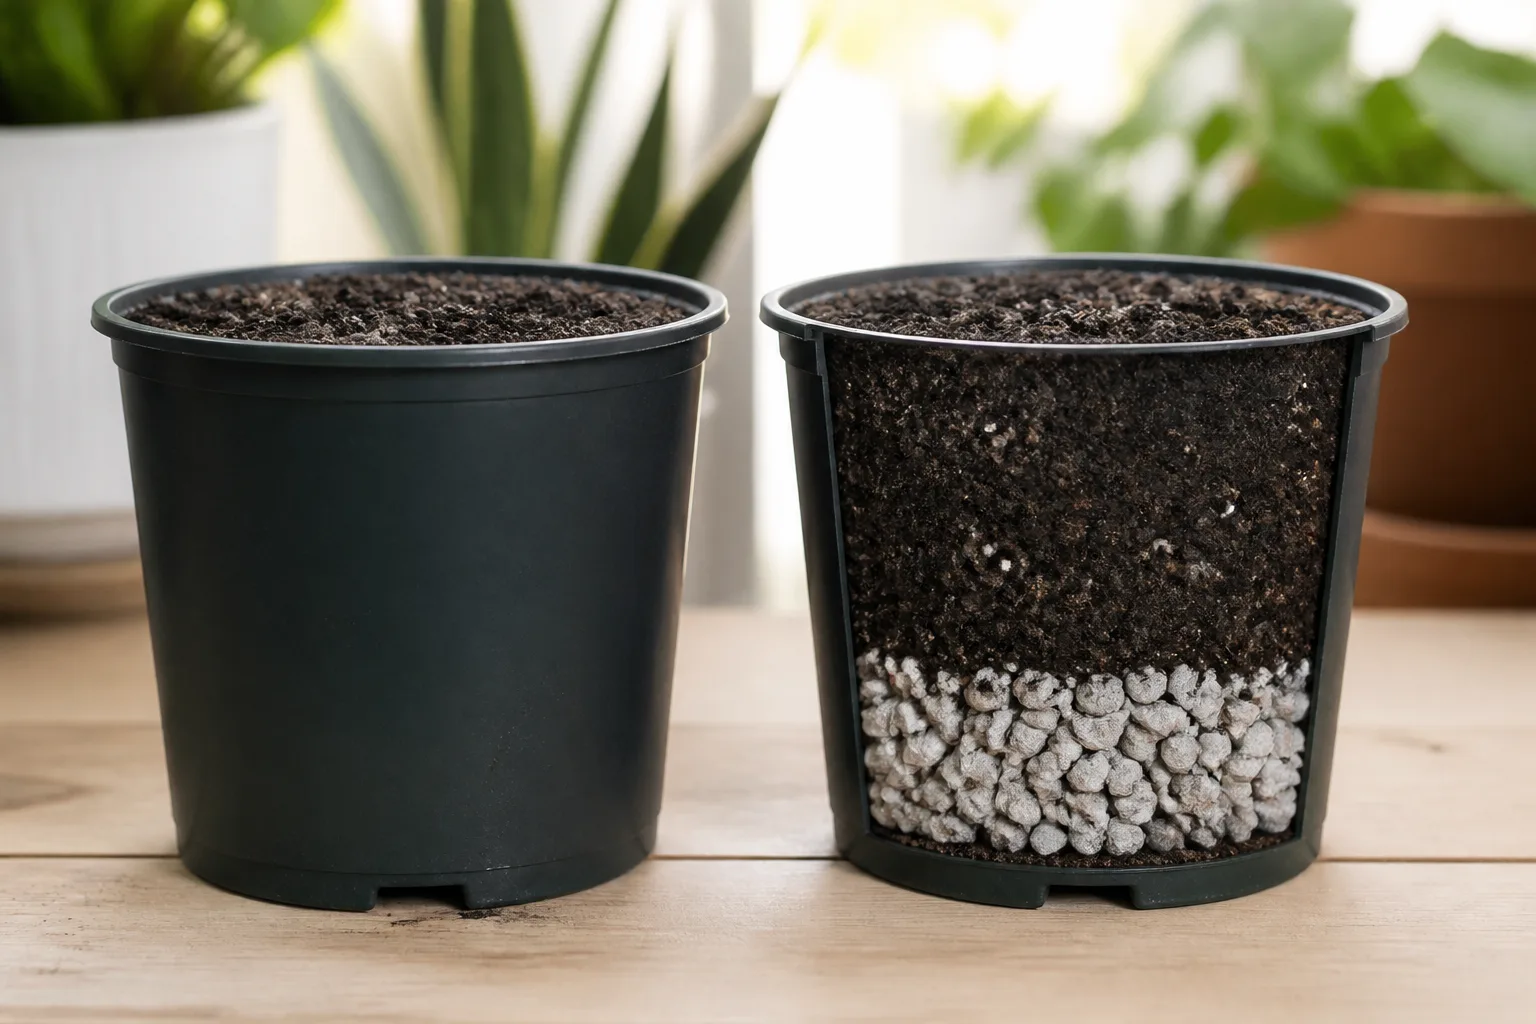
After you water a container until water runs from the bottom, the mix does not drain to uniform dryness. A band of soil at the base stays wetter than the upper layers. That saturated zone is the perched water table — “perched” because it sits above the drain hole instead of draining into deep earth like a field water table.
Rowe (2025) notes that the depth of this saturated band is relatively constant for a given potting medium, regardless of pot height. Shorter pots therefore hold a higher percentage of water relative to their volume than taller pots filled with the same mix. A plant in a shallow decorative bowl fights physics harder than the same species in a deeper nursery pot with identical mix.
The Capillary Barrier at the Soil Boundary
Picture potting mix stacked above gravel. Until the mix near the boundary is nearly saturated, water will not move freely into the gravel pores. NC State Extension’s container handbook states plainly: “Never put a layer of gravel or rocks in the bottom of a container beneath the potting mix in an effort to improve drainage.” Doing so causes water to collect in the mix just above the gravel. Only when no air space remains in that upper zone will water drain into the gravel below — so gravel “does little to keep soil above it from being saturated by overwatering” (NC State Extension Gardener Handbook).
That is the capillary barrier effect extension educators have warned about for years. Fine over coarse stalls the wetting front at the worst possible place: the root zone, not below it.
Why Shallow Pots Stay Soggier
If your perched zone is roughly an inch and a half deep in a given peat-based mix, that inch and a half in a four-inch-tall cachepot is a huge fraction of the root volume. In a twelve-inch tree pot, the same saturated depth is annoying but less dominant. Small pots plus rock layers plus dense mix is the triple stack that kills beginners’ succulents and herbs. Before you add rocks, you have already shortened the usable soil column. You have made the perched zone proportionally larger relative to roots.
For species that want fast drying — snake plants, jade, rosemary in pots — shallow wet bottoms are a direct path to rot. For moisture lovers like ferns, the issue is less about the rock myth alone and more about whether any setup lets stale water sit without oxygen exchange. Rocks do not fix that.
What Science and Extension Guidance Say
The debate heated up because two storylines collided: decades of extension handouts warning against gravel layers, and a 2025 lab study measuring water in real pots that contradicted the simplest prediction about perched water rising.
Why NC State and Other Extensions Still Warn Against Gravel Layers
University extension guidance on containers consistently treats drainage holes and appropriate mix as the primary tools, not bottom layers. NC State recommends double potting when a decorative container has no holes, and drilling side holes near the base if the pot sits on a solid patio. Wisconsin Horticulture links chronic wet soil to root rot pathogens (Pythium, Phytophthora, Rhizoctonia, Fusarium) that thrive when roots lack oxygen (Wisconsin Horticulture).
The RHS states that drainage holes in the base of a container are essential and warns that container plants are especially prone to waterlogging. That is the operational standard: water must leave. A rock carpet does not add an exit.
The 2025 Container Study That Changed Part of the Debate
Andrew Rowe published the first applied test of drainage layers in ordinary flowerpots in PLOS ONE in February 2025 (Rowe, 2025). Using three potting media (loam-based John Innes, coir-vermiculite, and coir-perlite-bark), four drainage substrates (gravel, LECA, grit, sand), and two layer depths (30 mm and 60 mm), he saturated containers and measured water held after free drainage.
Key findings:
- For loamless organic mixes — the peat, coir, and bark blends most houseplants live in — almost every drainage layer reduced overall water retention versus controls.
- For loam-based media, most layers had no measurable effect on total retention.
- Nothing increased retention in the way the old warning predicted.
- Thicker layers (60 mm) generally outperformed 30 mm layers; coarse sand was the most consistently effective drainage substrate across media — still not a universal home remedy because it occupies pot volume.
Rowe argues the classic warning that gravel raises the perched water table and increases retention “should be considered inaccurate” for the conditions he tested. Capillary contrast with open air at the drain hole is already maximal; adding gravel reduces contrast at the boundary, which can let water move rather than pile higher.
What the study does not prove: Rowe did not grow plants, notes that full saturation differs from normal watering, and explicitly says results “cannot be used to predict whether a given plant will benefit.” One study is one study. But it matters because it was the first measurement in actual pots — the gap the myth-busting story had left open for decades.
What changes for you at the kitchen sink: If you already have a gravel layer and the plant is healthy, you do not need emergency repotting solely because of the rocks. If you are choosing today, the layer still fails the cost-benefit test — modest, inconsistent water reduction traded for permanent root space loss, without replacing holes or better mix.
Why Rocks Still Fail Most Houseplants
Even accepting Rowe’s numbers, rocks remain a poor default for the plants on your windowsill.
You Lose Root Space You Cannot Get Back
Two inches of gravel in a six-inch-tall pot is one-third of the internal height gone — not to roots, but to ballast that does not feed the plant. Rowe’s own discussion echoes what container growers have said for years: drainage layers cost room. A better-structured mix with perlite, bark, or coarse coir chunks achieves air-filled porosity through the entire column, not just below a line where roots stop.
Root restriction shrinks shoots. NC State Extension notes that restricted root growth reduces plant growth, flowering, and fruiting in containers. Houseplants in undersized pots stall, yellow, and tip-burn — then get blamed on “humidity” or “fertilizer” when the real limit is volume.
Standing Water at the Bottom Still Kills Roots
Rocks do not eliminate the perched zone; they shift where materials sit. If water pools in a saucer, a sealed decorative shell, or the gaps between stones that hold moisture, roots still starve for oxygen. Wisconsin Horticulture describes roots turning soft, brown, and foul-smelling when rot sets in — often while leaves wilt because damaged roots cannot move water (Wisconsin Horticulture).
Salt and fertilizer residues also concentrate in the lowest wet zone. Rutgers consumer horticulture specialists note that standing water becomes toxic to roots as salts accumulate — the same reason you empty saucers after watering. Rocks do not flush salts; draining water through an open hole does.
The One Time a Rock at the Bottom Makes Sense
Covering a drainage hole with a single stone or pot shard — one piece, not a layer — can stop potting mix from washing out the first time you soak a newly potted plant. The hole stays open; water flows around the edges of the stone. Do not stack an inch of gravel “for drainage” on top of that.
Weight ballast for tall outdoor planters in wind is another legitimate use. Load the bottom with coarse material so a top-heavy shrub does not tip. Treat that as stability engineering, not a houseplant drainage upgrade.
Activated charcoal at the bottom gets marketed as a odor and bacteria filter in hole-free pots. A thin layer may absorb some compounds in closed systems, but it does not replace drainage holes and can still reduce usable soil depth. If the pot has no exit, see our guide on using hole-free planters safely — double potting beats charcoal alone.
Better Alternatives That Actually Improve Drainage
Use a Pot With a Clear, Open Drainage Hole
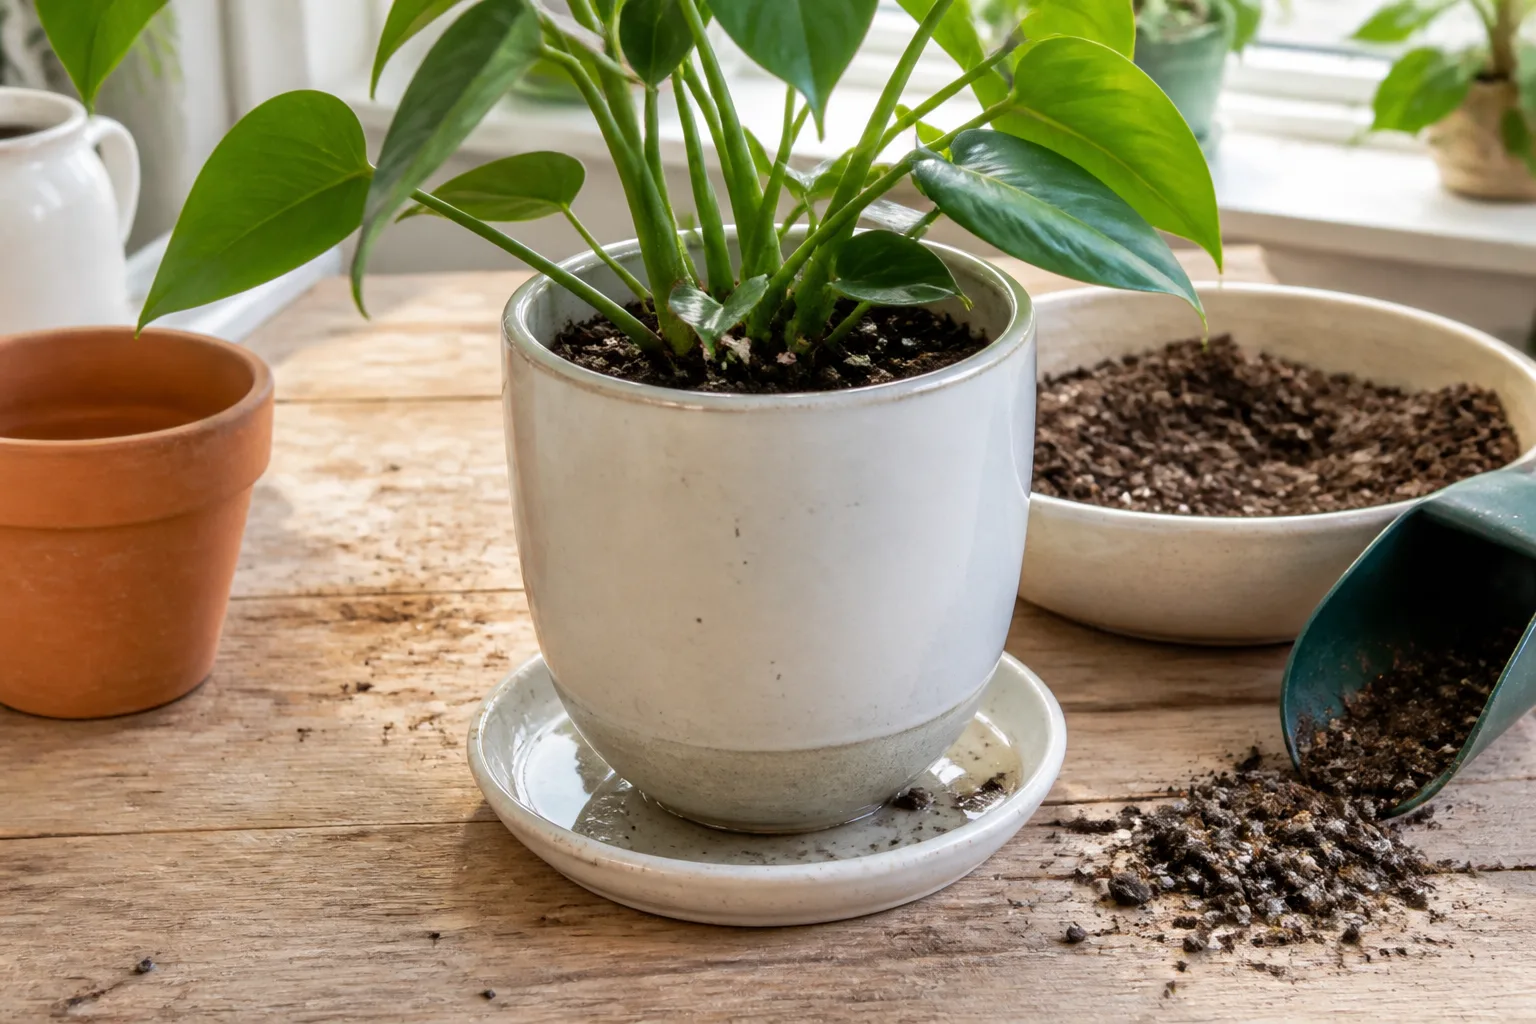
The fastest upgrade is a pot that already has one or more holes in the base — and a saucer you empty after every watering. NC State Extension calls drainage holes necessary in all containers to prevent roots from standing in water (NC State Extension Gardener Handbook). If the container sits flat on pavement, side holes placed ¼–½ inch above the bottom let water escape when the base would otherwise seal.
Keep holes open. Coffee filters, fine mesh, and “drainage screens” that clog with mineral crust are how good holes go bad. A quick poke with a skewer during repotting beats a layer of rocks every time.
Double Potting and Cachepots for Decorative Shells
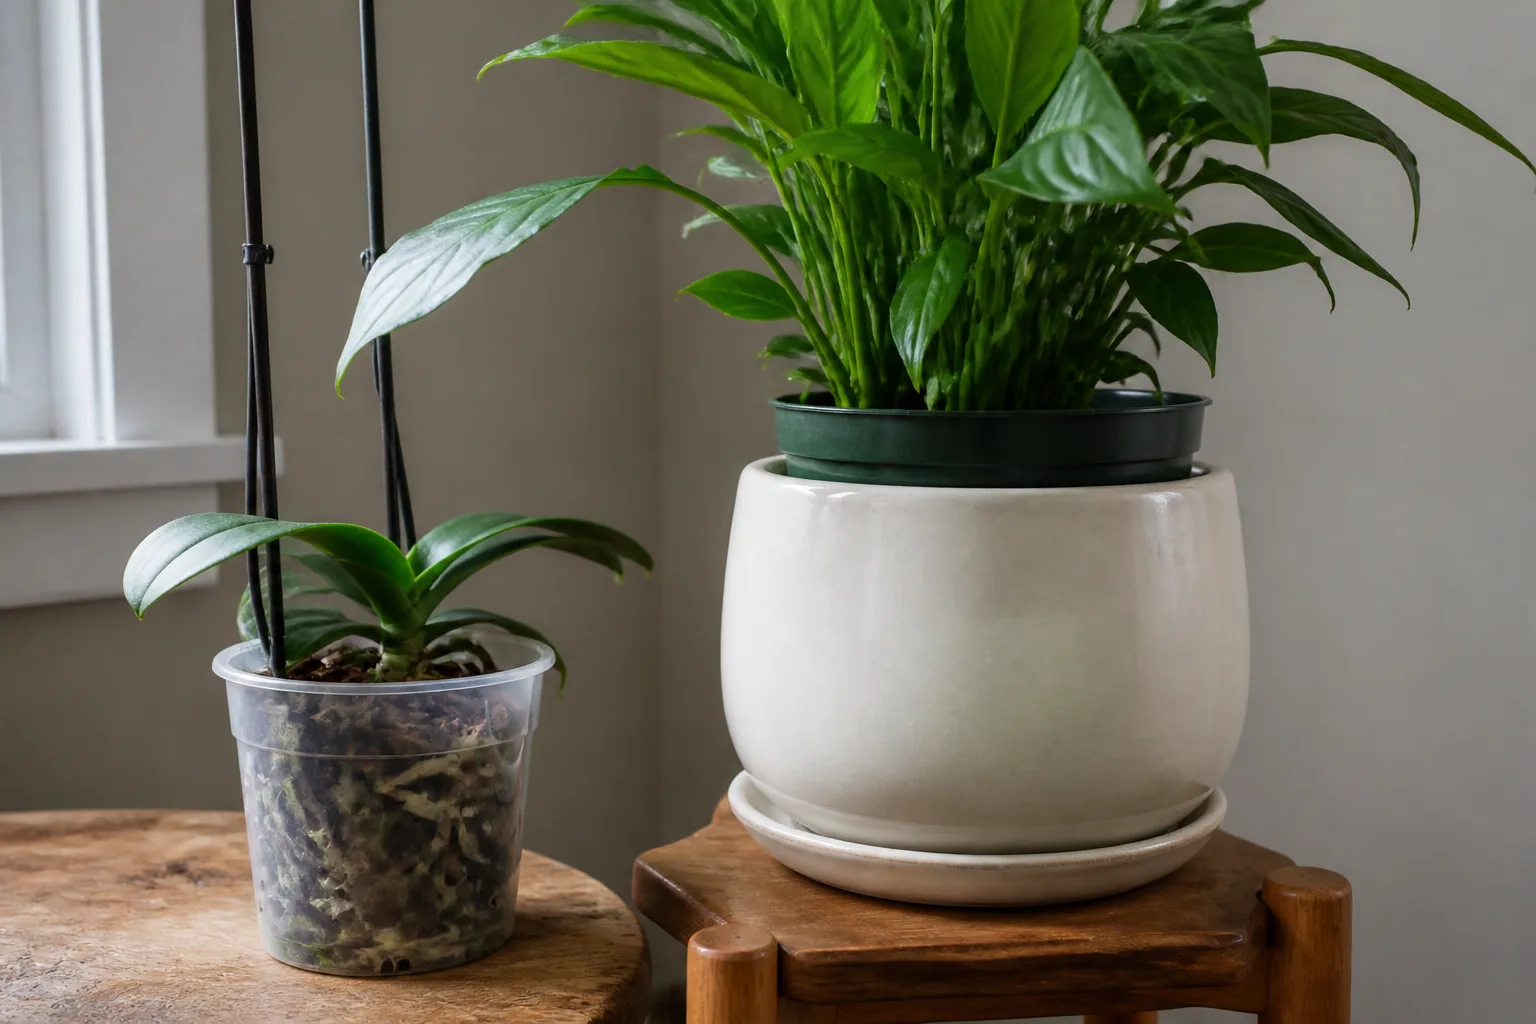
When the planter is a glazed showpiece with no holes, grow the plant in a slightly smaller nursery pot with drainage and slide it inside the decorative shell. Water at the sink, let water run until it drains freely, wait ten to twenty minutes, then return the inner pot — after you pour out any water in the outer shell.
This is the same cachepot method professional interiorscapers use. It preserves the look without trapping the root ball in a sealed tub. Our planter vs pot guide breaks down nursery pots, grow pots, and when each setup wins.
Drill Holes in Ceramic or Glazed Planters
Plastic and wood accept standard bits easily. Glazed ceramic needs a diamond or tile bit, slow speed, light pressure, and water mist to limit heat and glaze chip-out. One large center hole often beats a ring of tiny holes that weaken the base. If the pot is irreplaceable or too thin, skip drilling and use double potting instead.
Fix the Potting Mix Instead of Adding a Bottom Layer
Drainage starts in the mix. Bagged “potting soil” for containers should be fluffy, with visible perlite or bark. Garden soil compacts in pots and stays wet. Succulents need even chunkier blends. African violets and ferns want steady moisture but still need pore space — not a rock basement.
When mix stays soggy for days after a normal watering, repot with a lighter blend or move the plant to a deeper pot before you reach for gravel. If symptoms are already showing — yellow leaves on wet soil, gnats, sour smell — read poor drainage in houseplants for the full recovery path.
Root Rot Warning Signs After Poor Drainage
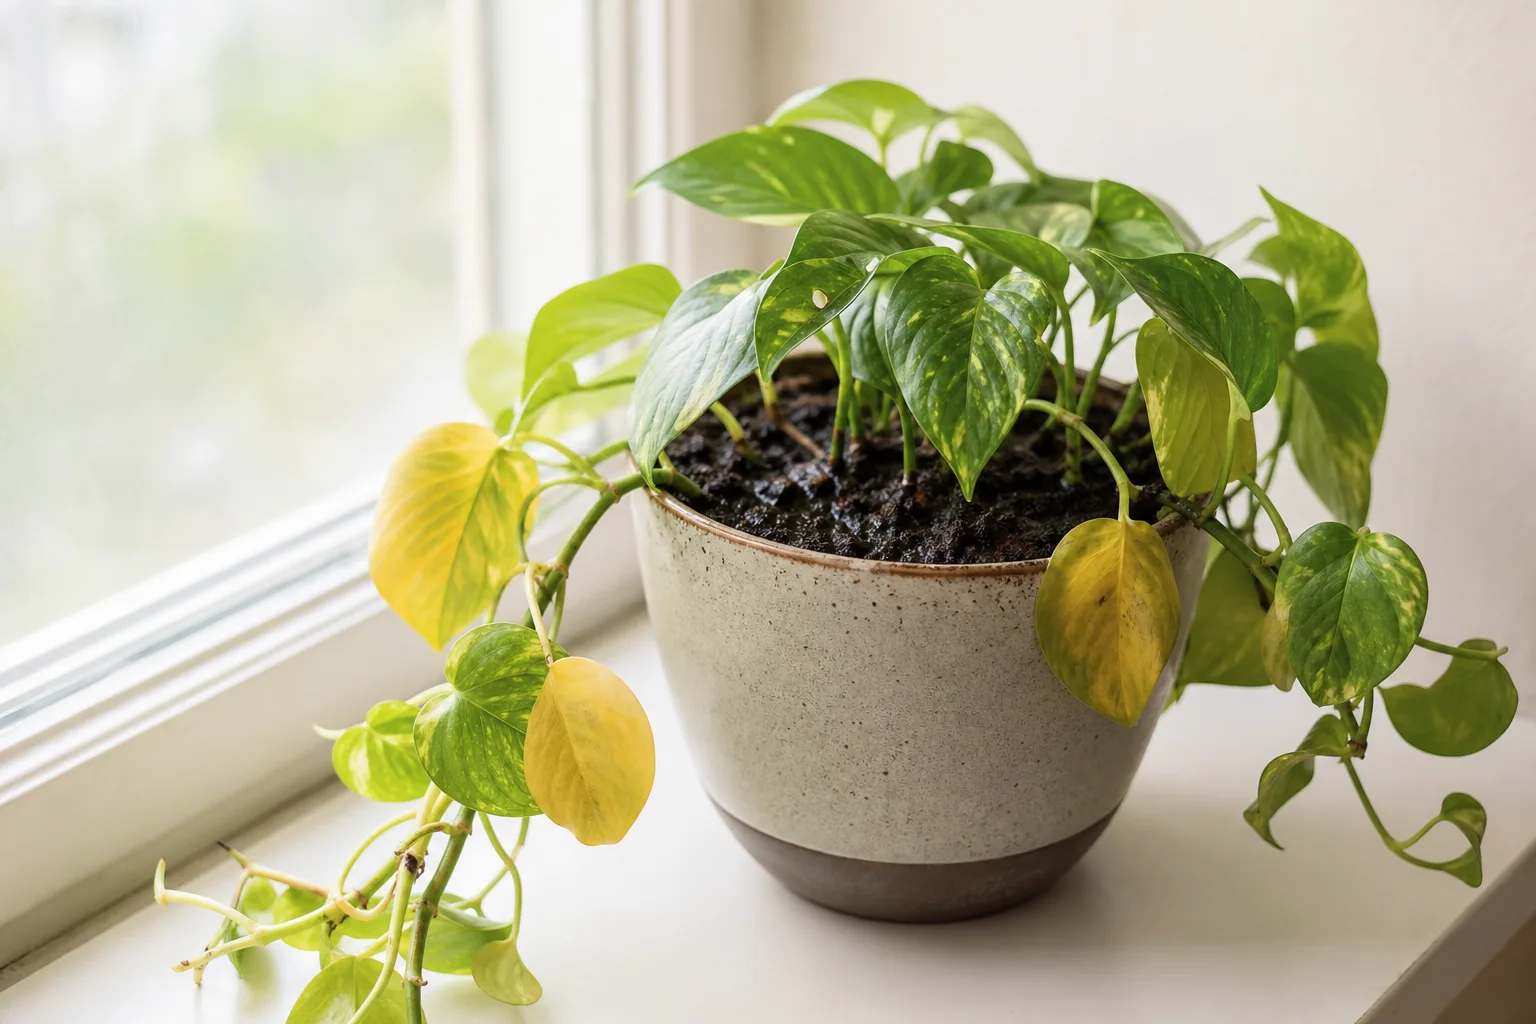
Chronic wet feet show up before roots turn mush. Wisconsin Horticulture lists wilting despite moist soil, stunted growth, yellow or reddish foliage, and soft brown roots with a bad smell. On pots with rock layers or sealed bottoms, also watch for white mineral crust on the soil surface, fungus gnats breeding in the top inch, and a sour odor when you lift the plant.
If you unpot and find rot, trim dead roots with clean shears, discard saturated old mix, repot into fresh media in a holed container, and water sparingly while new roots form. Severely mushy root balls may not recover — extension pathologists often recommend discarding the plant rather than repeating the same pot setup.
Conclusion
You should not put rocks at the bottom of a planter as a drainage fix. The habit feels smart, but physics in a closed pot works differently than intuition predicts — and even the newest container research does not turn gravel layers into a best practice. What actually protects roots is an open drain path, a mix that holds air as well as water, and pot setups — cachepots or drilled holes — that respect where water must leave.
If you are repotting today, skip the pebble band. Upgrade the hole, the mix, or the double-pot method. If you already have rocks in a thriving plant, you do not need panic repotting — but the next time that pot comes empty, give the roots the full depth instead of a stone basement they never asked for.



