How to Use Hydrogen Peroxide to Kill Mold Safely
Learn whether 3% hydrogen peroxide kills mold, which surfaces it suits, how long to leave it, and when safety rules mean calling a professional.
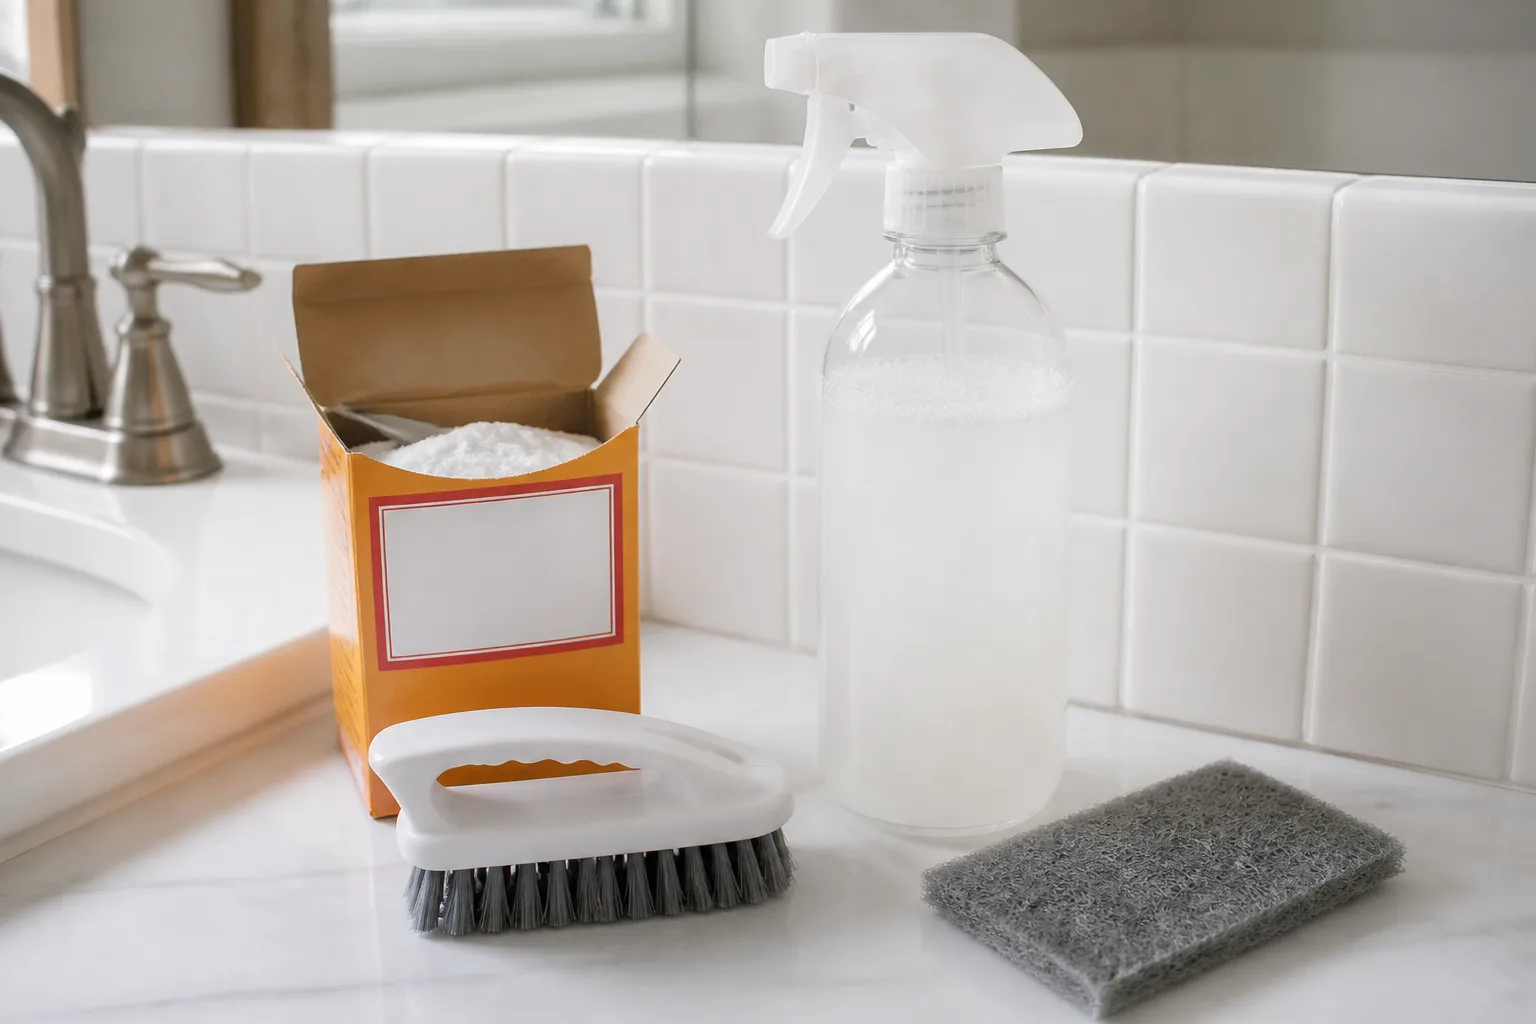
If a small patch of mold has appeared on bathroom tile, grout, a glass shower door, or another hard surface, the brown bottle of 3% hydrogen peroxide in a medicine cabinet can be a useful first-line cleaner. It is inexpensive, easy to find, and capable of damaging fungi on an appropriate inanimate surface.
The important correction is the word “instantly.” Peroxide does not make every mold problem disappear on contact, and the bubbles are not a guarantee that every spore or stain is gone. The method works best when you match it to a small, surface-level patch, keep the surface wet long enough for the cleaner to work, remove the loosened material, and fix the moisture that allowed mold to grow in the first place.
The short answer: 3% hydrogen peroxide can treat small surface mold
Yes, 3% hydrogen peroxide can kill or inhibit mold on some hard, nonporous surfaces, including tile, glass, porcelain, and certain sealed countertops. The consumer bottle is a dilute disinfecting solution, not an industrial mold-remediation chemical, so its usefulness depends on the surface, the size of the patch, the contact time, and whether the growth is only on top of the material.
The CDC’s chemical-disinfectant guidance describes hydrogen peroxide as fungicidal under appropriate conditions and explains that it attacks essential cell components through oxidation. That evidence supports the chemistry, but it does not turn a quick spray into a universal guarantee for a house. A liquid that reaches mold on a glazed tile is in a very different situation from one sprayed on the face of mold growing through wet drywall.
Use the bottle for a small, visible patch on a surface you can safely wipe, rinse, and dry. Do not use this shortcut to avoid investigating a leak, to treat a wall cavity, or to handle a large area of water damage. If the mold is extensive, keeps returning, involves an air-conditioning or heating system, or affects someone with asthma or a compromised immune system, the right next step is assessment and remediation rather than more spray.
Why hydrogen peroxide works—and why “instantly” is misleading
Hydrogen peroxide is H₂O₂, an oxidizing compound that can break down into water and oxygen. In disinfectant research, its antimicrobial action is associated with destructive hydroxyl free radicals that attack membrane lipids, DNA, and other essential components of microorganisms. That is why peroxide can be useful against fungi as well as some bacteria and viruses, but it does not mean every household concentration has the same performance on every material.
Three variables control what happens in your bathroom or kitchen: concentration, coverage, and contact time. A weak or old solution that beads away from a textured grout line may accomplish less than a fresh 3% solution that fully wets the affected area and remains there for the recommended time. A surface that is porous, damp underneath, or coated with grease and soil can also shield the growth from the liquid.
The practical home-cleaning method uses ordinary 3% peroxide and about 10 minutes of undisturbed contact on a suitable small surface. Healthline’s summary of the available evidence describes 3% as the standard pharmacy percentage and recommends spraying, waiting about 10 minutes, then scrubbing and drying; Southern Living’s method uses the same approximate wait. Treat that time as a floor for this simple surface-cleaning approach, not as a promise that all mold has been remediated. If a product label gives a different use direction, follow the label.
Bubbling is a reaction, not a kill test
Peroxide often fizzes when it contacts mold, organic residue, or the enzyme catalase found in many living cells. The visible bubbles can make the process look immediate, but they do not measure the concentration that remains on the surface, the depth of the mold, or the number of spores left after wiping. A quiet patch is not automatically untreated, either; a clean, dry, nonreactive surface may simply produce less visible bubbling.
Use the bubbles as a cue to let the solution work, not as a stop signal. Keep the affected hard surface visibly wet for the full contact period, then remove the residue and loosened growth with a cloth or soft brush. If discoloration remains after the surface is dry, decide whether you are seeing surviving growth or a stain before applying another round of chemicals.
Decide whether the spot is safe to handle yourself
Before opening the bottle, look at the entire problem rather than the most obvious black or green patch. Mold is a moisture signal. A spot around a shower valve may be a cleanable surface film; a similar-looking patch beside a swollen baseboard may be evidence of a leak inside the wall. The cleaner is only one part of the decision.
The CDC’s mold guidance says that seeing or smelling mold is enough reason to remove it and address the moisture problem; routine home testing is not recommended as a substitute for cleanup. You do not need to identify a species before deciding that a wet, moldy surface needs attention. Color is not a reliable safety category, and the phrase “black mold” by itself does not tell you how deep, large, or hazardous the job is.
Use the 10-square-foot rule as a triage limit
The commonly used threshold is about 10 square feet, roughly a 3-by-3-foot patch. Harvard Health summarizes the public-health guidance this way: a smaller patch on a hard surface may be a reasonable DIY job when the person cleaning it can do so safely, while a larger area or a major flood calls for professional mold remediation. The EPA’s mold-cleanup guidance is the source to check for the current U.S. framework and exceptions.
Do not measure only the darkest center. Include connected growth, nearby staining that is clearly part of the same damp area, and material that may be affected behind the visible edge. A small-looking patch can still be the wrong DIY job if the wall is soft, the ceiling is sagging, the carpet pad is wet, or a plumbing leak is active.
The threshold is a triage tool, not a safety guarantee. A person with severe mold allergy should not take on a 9-square-foot cleanup simply because it is under the number, and a healthy homeowner should not treat a 12-square-foot patch as safe by splitting it into several spray sessions. Size, material, water history, ventilation, and the people in the home all matter together.
Treat porous or hidden mold as a different job
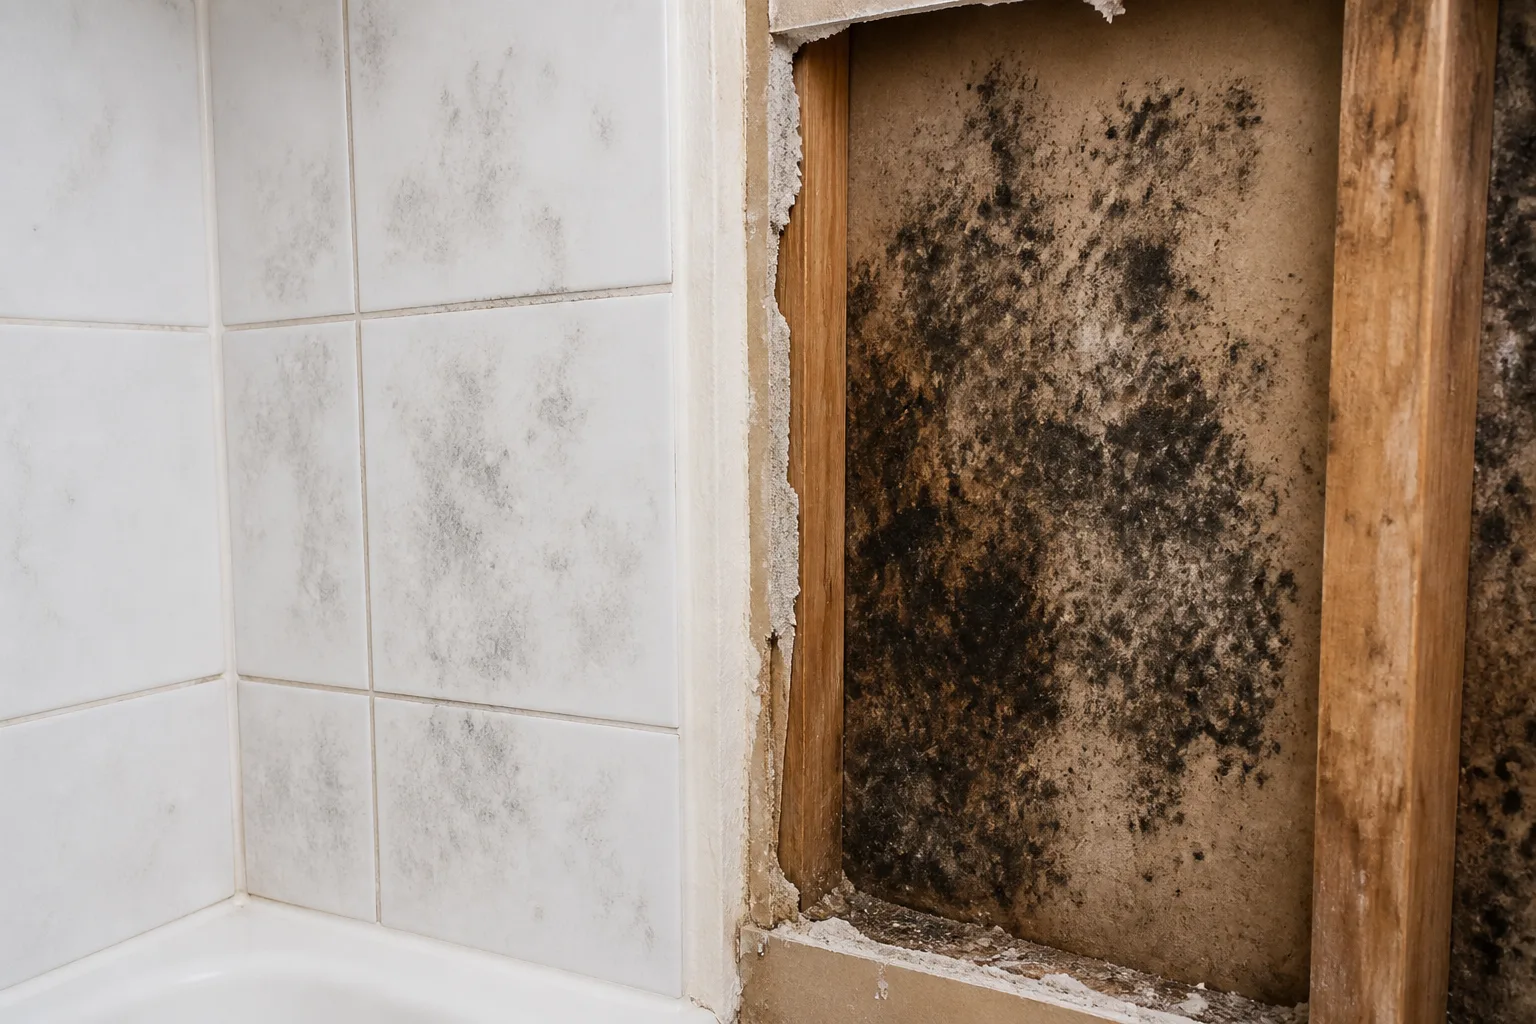
Tile glaze and glass do not absorb mold the way drywall, ceiling tile, carpet padding, upholstery, cardboard, unfinished wood, and insulation can. On those absorbent materials, peroxide may lighten what you see without reaching the embedded growth. Adding more liquid can make the material wetter and prolong the problem.
If drywall is swollen or crumbly, paint is bubbling, wood is soft, carpet has a musty odor beneath the surface, or mold is visible around insulation, stop treating it like a bathroom stain. UConn Extension’s 2024 home-cleanup guidance notes that wet, mold-damaged carpet, cardboard, fabrics, mattresses, insulation, and similar materials are difficult to clean thoroughly and may need to be discarded or evaluated for replacement. A professional can determine whether a material is salvageable without spreading contamination through the house.
Fabric is a special case. A washable towel or garment with a small surface spot may be treated according to its care label and a suitable laundry product, but peroxide can bleach or weaken some fibers and is not a reliable fix for deeply embedded mold. Take moldy textiles outdoors only if doing so will not spread spores into occupied areas, avoid dry brushing indoors, and pretest any cleaner on a hidden section; the University of Georgia Extension’s fabric guidance emphasizes both pretesting and careful ventilation.

Safety before you spray
Small mold cleanup is still a job that can disturb spores and expose you to a chemical. Clear children, pets, and bystanders from the area. If the work involves a flood, sewage-contaminated water, a large patch, or material you cannot remove without demolition, do not improvise a home treatment.
Ventilate toward the outdoors when possible, but do not aim a fan directly across dry mold before the area is wet and contained. Strong airflow can carry spores into the room. Keep the bottle capped when you are not dispensing it, work in good light, and have a sealed bag or disposable container ready for used cloths and debris.
Protect your eyes, skin, and lungs
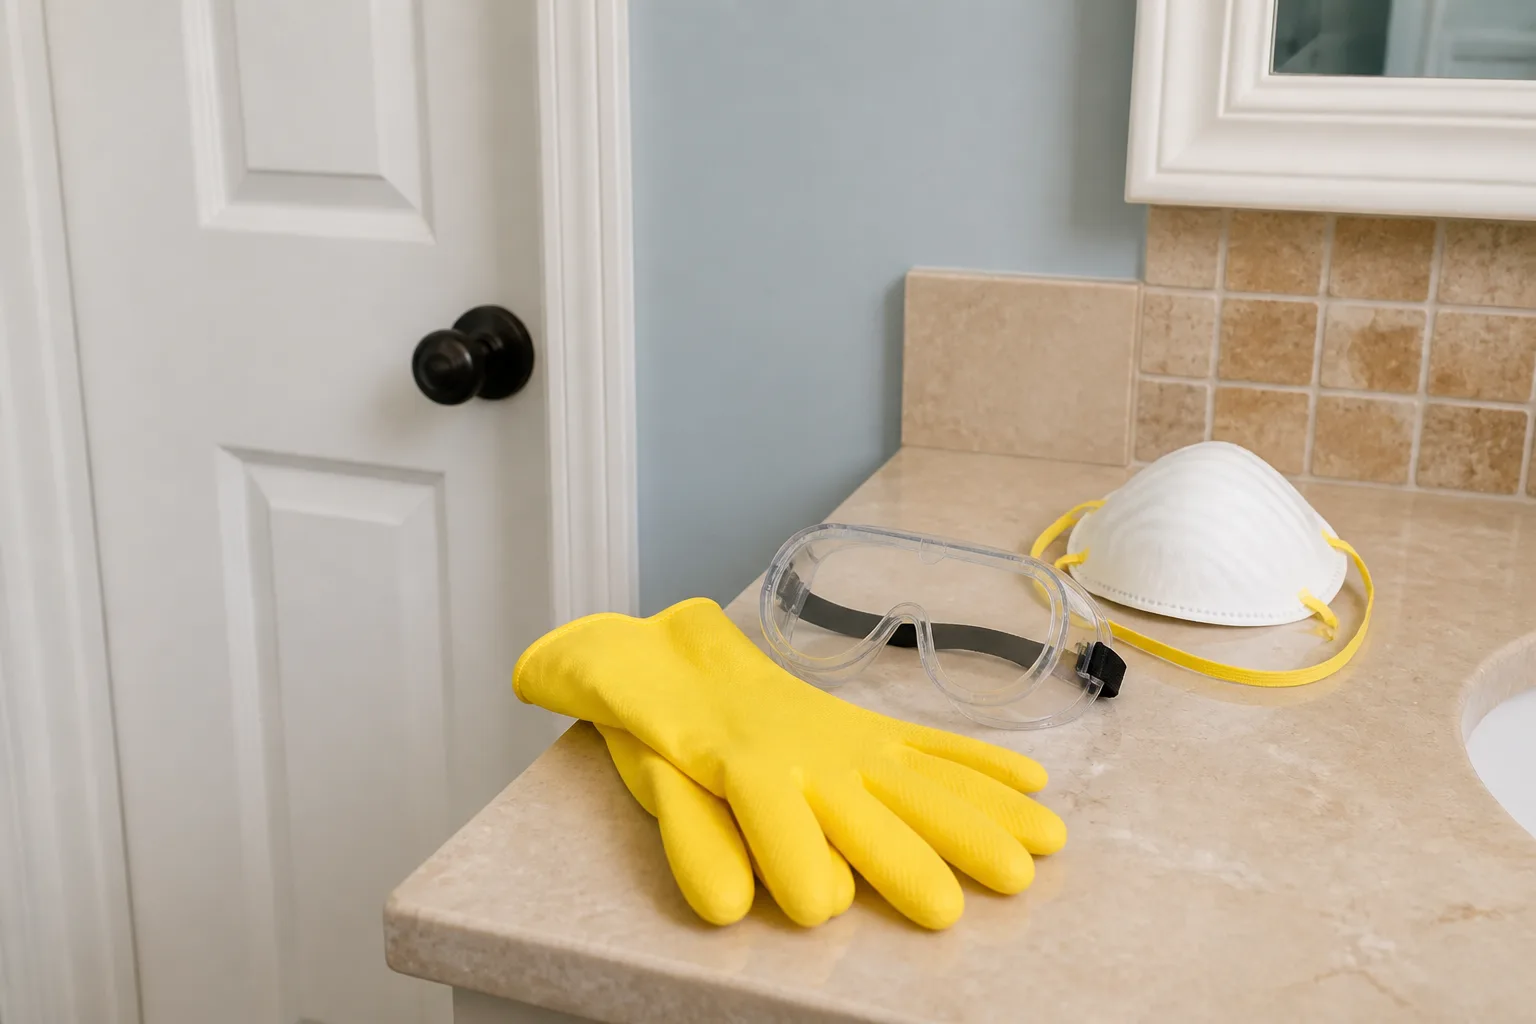
Wear household chemical-resistant gloves and splash-protective goggles. Long sleeves and closed shoes add a sensible barrier, especially if you are scrubbing grout at close range. Hydrogen peroxide can irritate skin and eyes even at consumer strength, and the mold itself can trigger symptoms.
For a small, controlled spot, gloves and eye protection are the minimum practical baseline. If cleaning will disturb visible growth, if there is dust or debris, or if an extension or public-health authority recommends it for your situation, add a well-fitting N95 respirator. UConn Extension specifically recommends an N95 respirator, gloves, and goggles for people performing mold cleanup after water damage.
Anyone with asthma, a significant mold allergy, chronic lung disease, or a weakened immune system should avoid doing the cleanup. The CDC warns that mold exposure can cause coughing, wheezing, irritated eyes, skin symptoms, and more severe reactions in people with asthma or allergies; immune-compromised people and those with chronic lung disease face additional risk. A mask is not a reason to put a high-risk person in the room.
Never mix peroxide with other cleaners
Use one cleaning chemistry at a time. Never combine hydrogen peroxide with vinegar in the same bottle, cup, or freshly wet patch. The two can react to form peracetic acid, a corrosive irritant that can harm eyes, skin, and lungs; Healthline explains this specific incompatibility and links it to the underlying chemical literature.
Do not add peroxide to bleach, ammonia, alcohol, a commercial mold remover, or a homemade cleaner. “Natural” does not mean chemically inert, and a mixture that fizzes more vigorously is not necessarily more effective. If you want to switch products, finish the first method, wipe or rinse as the surface allows, let the area dry, and read the second product’s label before using it.
Avoid concentrated products marketed as food-grade or industrial peroxide. The brown pharmacy bottle is usually 3%; a 35% concentrate is a serious chemical-burn hazard and is not a sensible DIY substitute. Do not dilute a high-strength product by guesswork, and do not pour peroxide into a drink bottle or leave it where children can reach it.
Which surfaces can you treat with 3% peroxide?
The best candidates are small, hard, wipeable surfaces where the liquid can reach the growth and the material can be rinsed or wiped without trapping additional moisture. Glazed ceramic tile, porcelain, glass, stainless steel, and some sealed counters are reasonable starting points. Even on those surfaces, check the manufacturer’s care instructions and test a hidden area first because finishes, pigments, grout sealers, and coatings vary.
Natural stone deserves caution. Marble, limestone, travertine, and other calcareous stones can be sensitive to acids and oxidizers, while an unsealed stone may absorb both moisture and staining. Do not assume that because a cleaner is common in bathrooms it is safe for every stone vanity or shower. Use the stone manufacturer’s recommended product or consult a stone-care professional.
Painted walls are a borderline case. A tiny patch on intact, washable paint may be wiped carefully after a patch test, but the paint is only a surface layer. If the area is soft, damp, peeling, discolored beyond the visible growth, or repeatedly moldy, peroxide is not addressing the wall assembly. Stop before soaking it and investigate the leak, condensation, or air-sealing problem.
Do not spray electrical outlets, electronics, unfinished wood, leather, carpet, or upholstered furniture as though they were tile. Keep peroxide off food-contact surfaces unless the label permits that use and you complete any required rinse. The right question is not “Can peroxide kill mold?” but “Can this liquid safely reach the growth without damaging the material or spreading the problem?”
How to use hydrogen peroxide on a small moldy surface
Use this method only for a small, visible patch on a hard surface that passed the size, material, and health-risk checks above. Photograph the area first if there has been a leak or water event, particularly if you rent or need to document damage for an insurer. Then stop the source of moisture before you clean; otherwise you may erase the evidence while leaving the cause active.
Apply, wait, scrub gently, rinse, and dry
-
Prepare the room. Remove toiletries, food, towels, and loose objects. Open a window or turn on an exhaust fan that vents outdoors, keep children and pets away, and put on gloves and goggles. Do not run a fan across dry mold.
-
Use ordinary 3% peroxide. Pour only the amount you need into a clean spray bottle for immediate use, or apply it with a cloth. Keep the main bottle in its original dark container, away from light and heat. Do not use 35% peroxide or mix in another cleaner.
-
Patch-test first. Apply a drop to an inconspicuous edge and wait long enough to see whether the finish, grout color, paint, or sealant changes. If the material reacts, stop and use the manufacturer’s recommended cleaner instead.
-
Wet the affected area. Spray the hard surface until the moldy film is evenly covered and remains visibly wet. Do not dry-brush, sand, scrape aggressively, or blast the patch with air. A disposable cloth can help keep the treatment focused on a small wall spot without soaking the substrate.
-
Wait about 10 minutes. Leave the peroxide undisturbed for the full contact period used by this household method. Keep the surface wet during that time; if it dries immediately, the chemistry did not have the same opportunity to work. Do not shorten the wait because the bubbling stopped.
-
Scrub lightly. Use a soft brush, old toothbrush, or cloth appropriate for the material. Start gently, especially on grout, painted surfaces, and sealants. The aim is to lift softened residue, not to grind mold into the surface or create a cloud of contaminated dust.
-
Wipe or rinse. Remove the residue with a clean damp cloth or rinse when the material and location allow. Use fresh cloths for the final pass rather than spreading the same dirty rag around the room. Never pour contaminated rinse water into a place where children or pets can touch it.
-
Dry completely. Towel-dry the surface, improve air exchange after the scrubbing is finished, and leave the area open until it is fully dry. Moisture left in grout, caulk, wood trim, or a wall edge can undo the cleaning. Store or discard materials according to their condition and local rules.
Wait until the surface is dry before judging the result. If a small amount of surface growth remains on a hard, intact material, a second treatment may be reasonable after reassessing the surface and the moisture source. If growth returns quickly, spreads beyond the original patch, or reveals damage underneath, stop repeating the spray-and-scrub cycle.
When a baking-soda paste makes sense
For a stubborn spot on a small area of glazed tile or grout, a paste can stay in place longer than a thin spray. A practical mixture is one part 3% hydrogen peroxide to two parts baking soda, stirred into a toothpaste-like paste. Southern Living uses this ratio and advises leaving the paste for about 30 minutes before scrubbing, rinsing, drying, and allowing the area to air-dry before repeating for a stain.
Treat the paste as a surface-cleaning aid, not a stronger mold-remediation treatment. Baking soda adds mild abrasion and helps the peroxide cling, but it does not make drywall, wood, carpet, or insulation safe to salvage. Use a soft brush, keep the work area small, and rinse the powder from grout lines rather than leaving a damp residue behind.
Do not use this paste on polished natural stone, delicate paint, unfinished wood, colored fabric, or a finish that failed the patch test. It can dull, lighten, or scratch a surface, and the extra moisture is counterproductive on absorbent materials. If the “larger area” is larger than a small spot, measure it before you reach for more paste; a wide mold patch is an escalation issue, not an invitation to make a bigger batch.
How to handle mold stains that remain
Mold growth and mold staining are related but not identical. A fuzzy, slimy, damp, or musty area suggests an active or ongoing moisture problem. A flat gray or brown shadow on a clean, dry, hard surface may be pigment left behind after the growth has been removed. Peroxide can lighten some discoloration, but it cannot restore a surface whose finish or grout has been permanently stained.
After the first treatment, inspect the area in daylight. Check the edge, cracks, caulk line, underside, and nearby wall or cabinet for new growth. Touching the surface with an ungloved hand is unnecessary; look for dampness, swelling, odor, or return of texture instead. If the surface is dry and the remaining mark is flat, do not keep layering peroxide in the hope of making a stain disappear instantly.
For persistent staining on a durable hard surface, follow the material manufacturer’s instructions or choose a product labeled for that surface. Commercial stain removers can be more aggressive than peroxide and may contain bleach or other oxidizers, so ventilation, gloves, eye protection, and strict label directions still apply. For stained drywall, wood, carpet, or upholstery, the correct fix may be removal, refinishing, or professional evaluation rather than a stronger chemical.
Why mold comes back after a successful cleaning
Hydrogen peroxide can remove or damage surface growth, but it does not repair a leaking pipe, stop condensation, dry a wet carpet pad, or change a room’s humidity. If mold returns, that is useful diagnostic information: the area is still receiving moisture, the material was not fully cleaned, or the visible spot was only the edge of a larger problem.
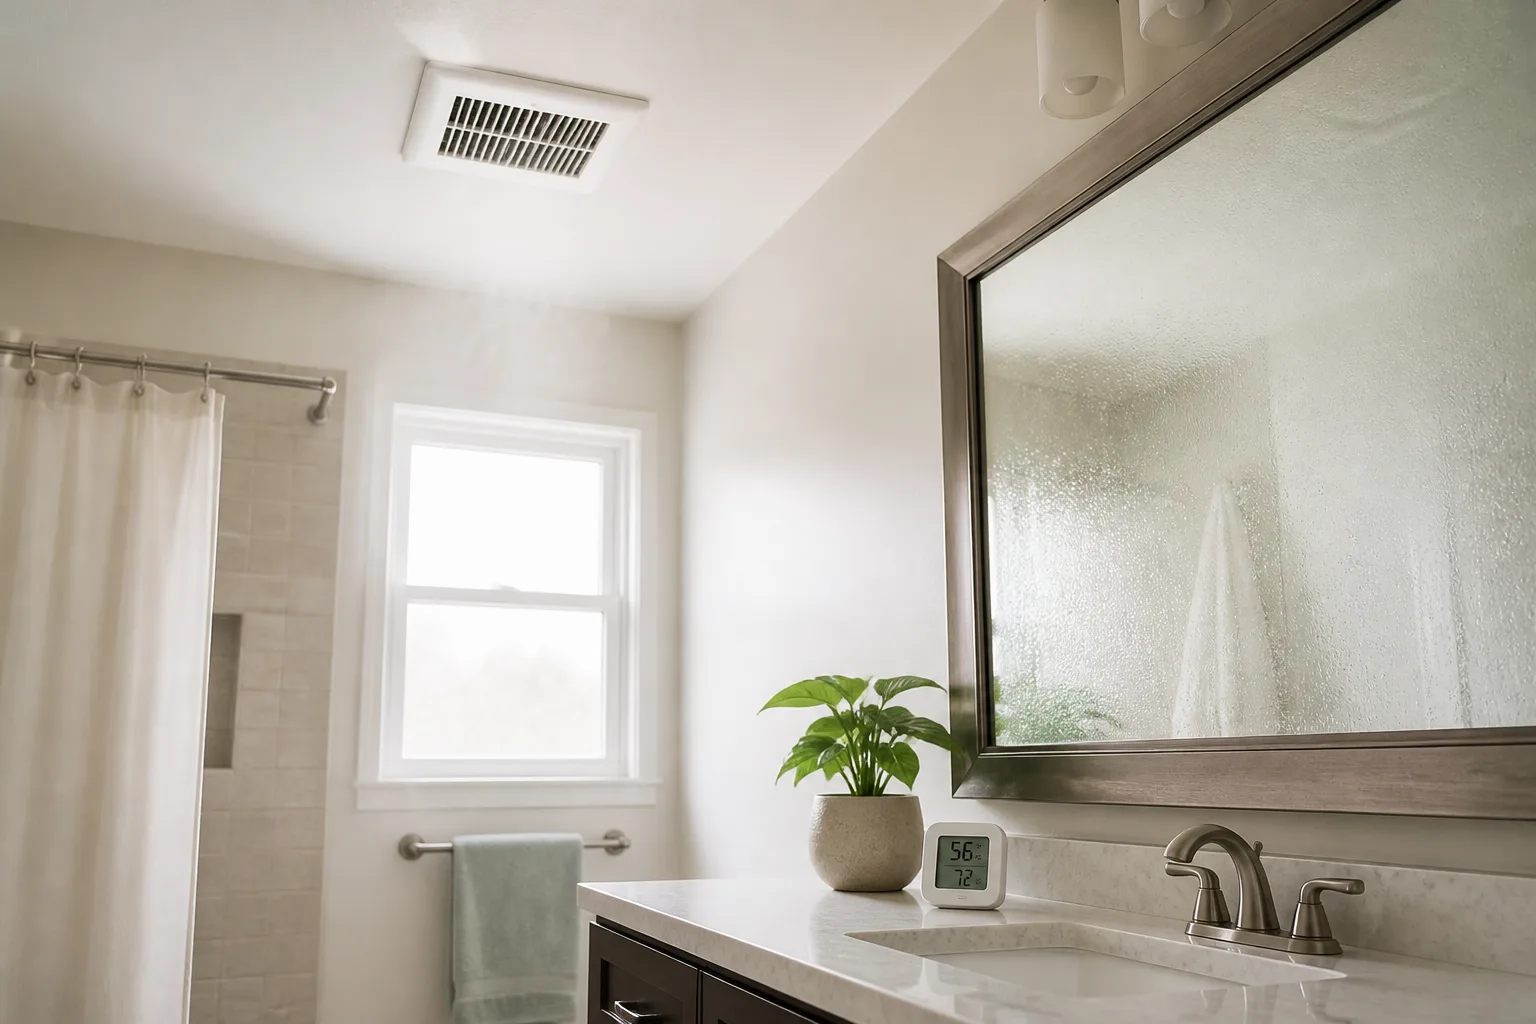
Keep indoor relative humidity below 50% when possible. The CDC recommends no higher than 50% throughout the day, while Harvard Health describes 30% to 50% as an ideal indoor range. A small hygrometer is more reliable than guessing from how a room feels. Use a dehumidifier in persistently damp rooms, but empty and clean it according to its instructions.
Bathrooms need a routine that removes moisture, not just a weekly chemical treatment. Run an exhaust fan that vents outdoors during a shower and afterward, squeegee water from glass and tile, spread towels so they dry, and wipe condensation from windowsills. In kitchens, use the range hood when cooking and repair leaks under sinks, behind refrigerators, and around dishwashers.
After a flood or significant leak, dry the home quickly and document the damage before discarding materials. The CDC advises cleaning and drying flooded areas within 24 to 48 hours when possible; UConn Extension recommends keeping cleaned areas dry and lowering humidity into the 30% to 50% range. If drywall, carpet, cardboard, or insulation stayed wet, focus on material removal and structural drying rather than trying to disinfect the surface repeatedly.
Peroxide versus bleach, vinegar, and commercial products
There is no universal “best mold cleaner.” The right choice depends on the surface, the size and depth of the growth, the people exposed, and the product label. Peroxide is attractive because 3% is readily available and usually has less harsh odor than chlorine bleach, but that does not make it superior in every situation.
| Option | Best fit | Main limitation or risk |
|---|---|---|
| 3% hydrogen peroxide | Small, surface-level growth on hard, wipeable material | Can discolor finishes; does not reliably solve embedded or hidden mold; needs contact time |
| Soap and water | Physical removal from many hard surfaces | Does not replace drying or material removal when growth is embedded |
| Chlorine bleach | Some hard-surface cleaning when the label and material permit it | Fumes, eye and skin irritation, discoloration, corrosion, and dangerous reactions with other cleaners |
| White vinegar | A separate household-cleaning option for some surfaces | Strong odor, material-specific limitations, and never combine with peroxide |
| Commercial mold product | A labeled treatment when its surface, use site, and instructions fit | Formulas vary; “mold-killing” or “natural” on a label does not remove the need for PPE and directions |
The CDC says mold can be removed from hard surfaces with household products, soap and water, or a bleach solution of no more than one cup of household laundry bleach in one gallon of water. That is not a reason to pour bleach on every patch: the same CDC page warns never to mix bleach with ammonia or other cleaners and calls for ventilation, gloves, boots, and goggles. Bleach also does not magically penetrate a wet wall or carpet pad.
Vinegar and peroxide should be treated as separate options, not a DIY super-formula. If you choose a commercial product, read the entire label before opening it, check that your material and location are included, and observe the required wet contact time and rinse instructions. Never assume that a product marketed for a shower is safe for an unsealed stone counter, a painted ceiling, or a food-contact surface.
When to call a mold-remediation professional
Call for professional help when the area is larger than about 10 square feet, when a flood or sewage backup was involved, or when mold is in HVAC equipment, ducts, wall cavities, insulation, ceiling tile, carpet padding, or other porous building materials. Professional assessment is also appropriate when the moisture source is unknown, the growth keeps returning, the ceiling or wall is damaged, or you cannot isolate the area while cleaning.
Health is another escalation trigger. Do not assign cleanup to someone with asthma, a severe mold allergy, chronic lung disease, or immune suppression simply because the patch looks small. If anyone develops wheezing, shortness of breath, severe eye irritation, or other concerning symptoms during or after exposure, leave the area and seek medical guidance; cleaning advice cannot diagnose or treat an individual reaction.
Dark growth deserves calm triage, not a color-based panic. “Black mold” is a common label for several dark-looking molds, and color alone does not reveal species, toxicity, depth, or the right treatment. Harvard Health notes that the familiar concern about Stachybotrys chartarum has a complicated evidence history and that prolonged exposure to indoor mold of many types can affect susceptible people. In practice, size, material, moisture history, and occupant vulnerability are more useful decisions than trying to identify a species with a home test kit.
If you rent, photograph the area and notify the landlord before removing damaged building materials. If you own the home, check insurance requirements before demolition or disposal after a water event. A reputable professional should explain containment, drying, material removal, and verification rather than promising that one spray will make a complex problem disappear.
Conclusion
The pantry-and-medicine-cabinet shortcut is real but narrow: fresh 3% hydrogen peroxide can help clean a small patch of surface mold from a compatible hard material. Spray enough to keep the spot wet, wait about 10 minutes, scrub gently, wipe or rinse, and dry completely. Patch-test first, protect your eyes and skin, and never mix peroxide with vinegar, bleach, ammonia, or another cleaner.
The lasting solution is moisture control. If the growth is larger than about 10 square feet, embedded in porous material, hidden behind a wall, inside HVAC equipment, linked to a flood, recurring, or unsafe for the person doing the cleanup, stop reaching for a stronger household chemical and call a qualified mold-remediation professional.