Avoid 6 Common Gardening Mistakes for a Better Garden
Learn how to avoid common gardening mistakes with a site-first checklist for plant spacing, climate, watering, containers, and soil before you plant at home.

A garden can struggle even when you water it, weed it, and buy healthy plants. Often the problem started earlier: a plant went into a spot with the wrong light, a bed was packed for instant fullness, or an automatic watering routine ignored how different the roots and soil actually were.
The fix is not always more fertilizer, a bigger hose, or another round of plants. Work through the conditions first, then choose the plant and care routine that fit them. These six common gardening mistakes are easier to prevent than to repair once roots are established.
Mistake 1: Choosing plants before checking the site
A plant label can tell you a lot about a species, but it cannot tell you whether the strip beside your garage gets enough sun, stays soggy after rain, or bakes in afternoon heat. A plant sold locally is not automatically right for every spot in that region; nurseries often carry species for many different conditions and growing zones.
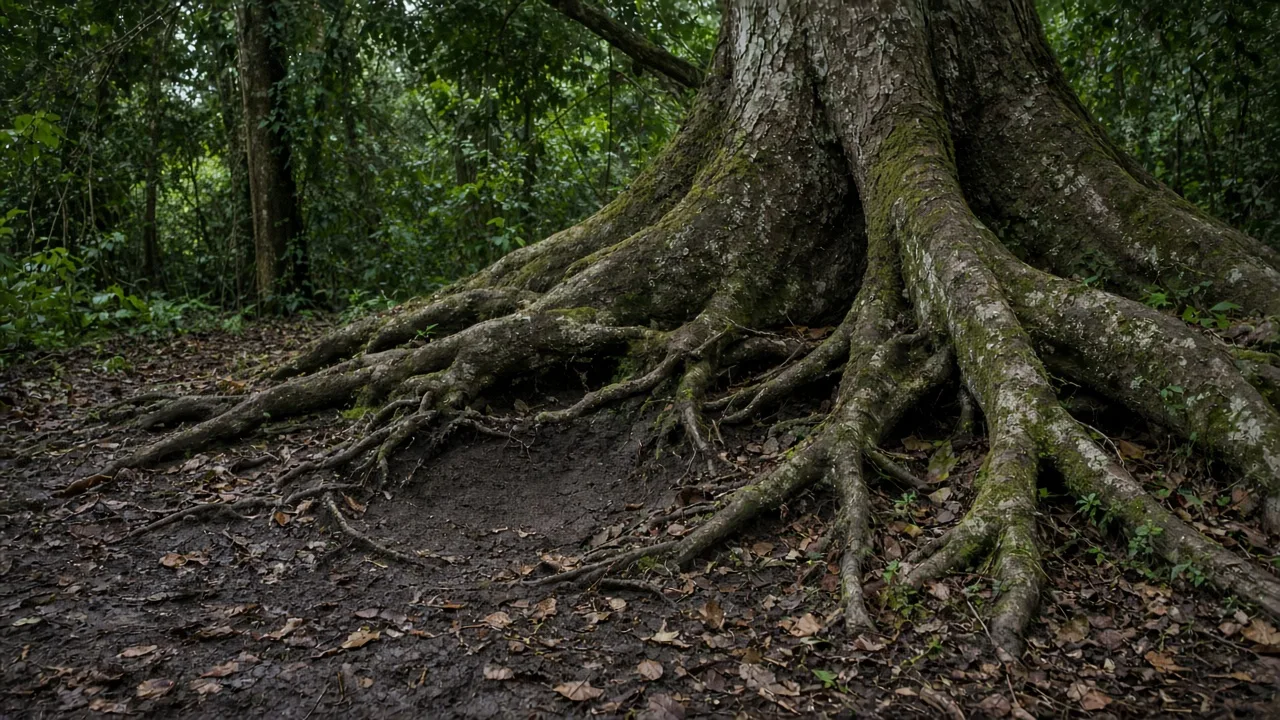
Before buying, watch the actual planting area rather than estimating from memory. Note when direct sun reaches it, where shade falls at midday, and whether a wall, fence, pavement, or tree changes the temperature or blocks rain. Low spots, roof drip lines, and areas beneath eaves can also behave differently from the open yard only a few steps away.
Mature size matters just as much as light. A shrub that looks compact in a nursery pot may eventually cover a path, crowd a window, or compete with its neighbors, while a pumpkin vine can occupy several feet of bed. For trees, consider the mature canopy and root spread as well as overhead wires, buildings, sidewalks, and the access a future arborist may need; confirm utility locations before digging.
Do a small site audit before you shop
Spend a day observing the spot at several times, then sketch its boundaries and fixed features. If you are planning vegetables, mark the sunniest usable area and the route you will walk to water, harvest, and weed; a bed that is technically sunny but hard to reach is easy to neglect.
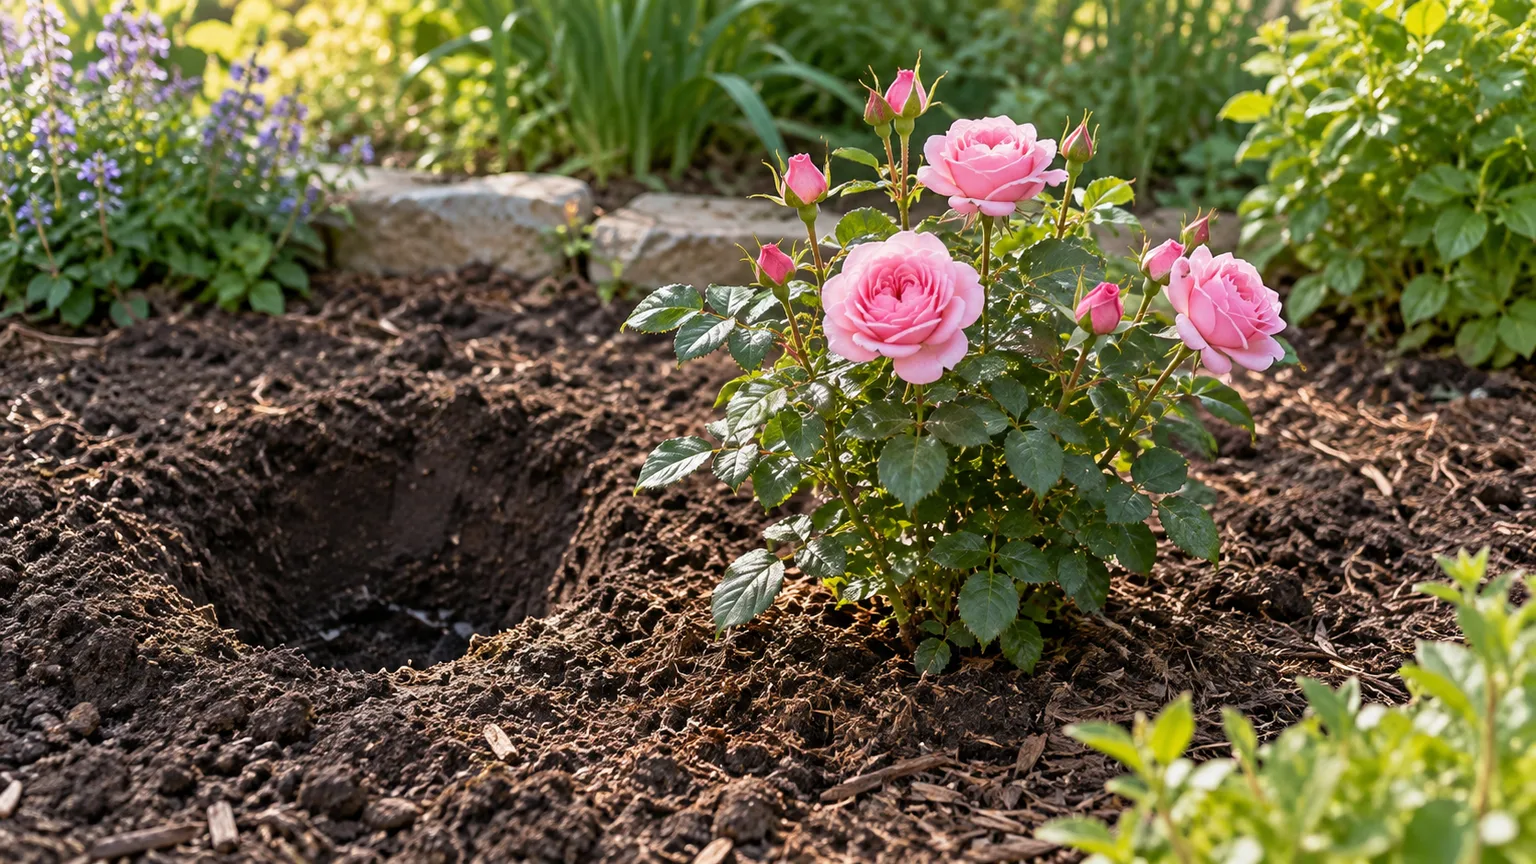
The BBC Gardeners’ World Magazine planting guide emphasizes getting the rootball positioned so it does not dry out or become waterlogged and helping roots spread into surrounding soil. That practical point applies to site choice too: drainage and access are part of the location, not afterthoughts. For a new tree or large shrub, verify its full size and planting needs in a species-specific reference before you commit.
Measure sunlight on a clear day and repeat the check if trees or buildings cast moving shade. A bright-looking spot may get only a short burst of direct sun, while a bed that receives morning and midday sun may be suitable for crops that struggle in hot afternoon exposure. Use the plant’s own light description as the match criteria; do not assume that every vegetable, flowering annual, or shrub wants the same number of hours.
Mistake 2: Crowding beds and leaving useful space idle
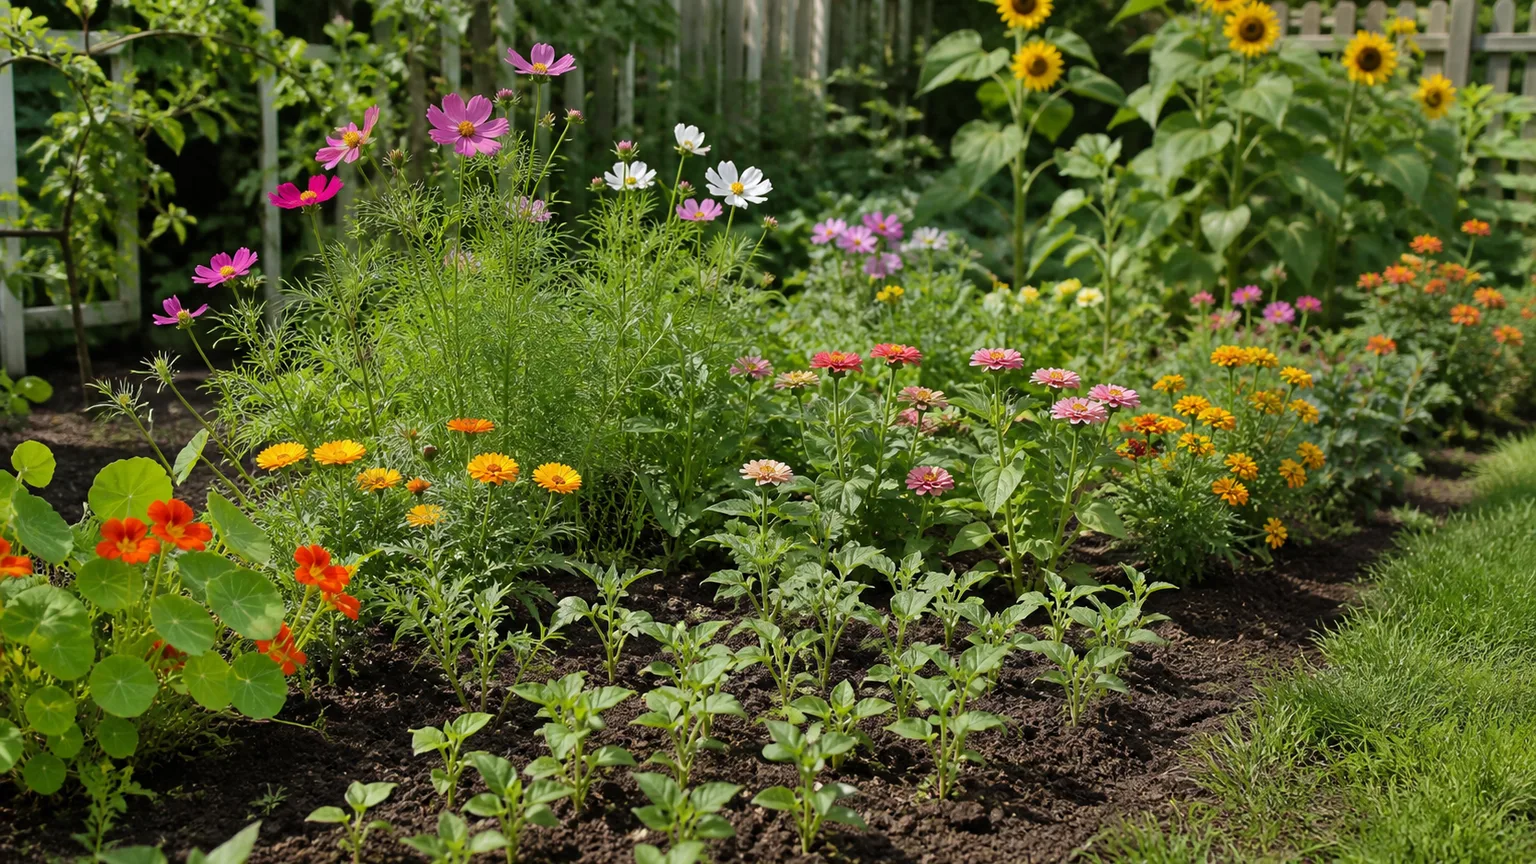
Planting seedlings close together can make a new bed look finished, but that first impression disappears when the leaves expand. Crowded plants shade one another, compete for water and nutrients, and can become harder to reach for pruning or harvest. Penn State Extension advises checking mature size and spacing plants according to their eventual spread; spacing measurements are generally taken from the center of one plant to the center of the next.
At the opposite extreme, gardeners sometimes treat the ground as the only usable growing area and leave a fence or sturdy wall empty. Vertical space can support beans, cucumbers, peas, some small-fruited squash, or flowering climbers, leaving bed space for crops that need to spread. Almanac Garden Planner notes that spacing and layout should account for the mature plant, not just the seedling, and that taller crops can be positioned to provide useful shade to some shorter crops.
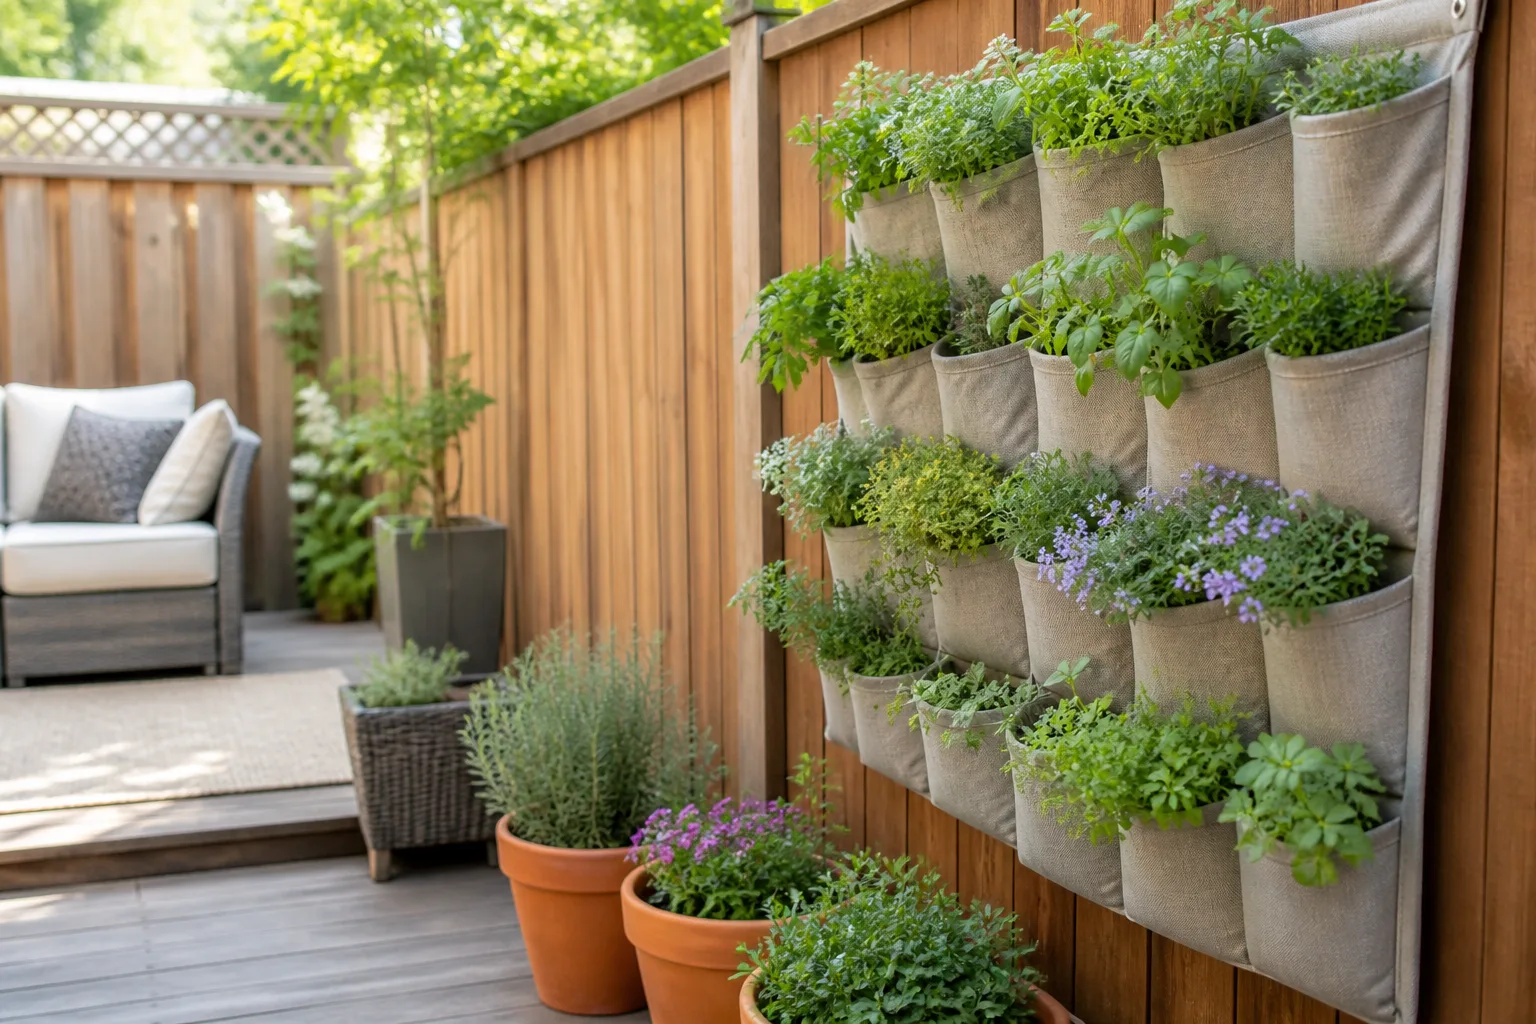
Plan for mature spread, then grow upward where it fits
Start with the spacing on the seed packet or plant label, then check whether it describes the distance between plants or rows. Draw the bed at scale if the layout includes sprawling crops; place a squash or pumpkin at an edge where its vine can extend without smothering everything around it. Leave enough access to inspect leaf undersides and harvest without stepping on wet soil.
A trellis is not free space: it needs a stable anchor, room for you to reach both sides, and a position that will not shade sun-loving crops behind it. Wall planters dry faster than ground beds and can add weight when watered, so confirm that the support is appropriate and make watering access part of the plan. A small garden grows more efficiently when each layer has a job, not when every gap is filled with another plant.
Mistake 3: Treating a hardiness zone as a complete climate guide
A hardiness zone is useful, but it answers a narrow question: how cold a location gets in an average winter and whether a plant is likely to survive that cold. It does not promise that the plant will thrive through a hot summer, tolerate humid nights, fit a short growing season, or cope with your soil and drainage.
The Utah State University Extension hardiness-zone guide explains that maps can miss elevation and microclimate differences, and recommends caution when nearby sites do not share the same conditions. A south-facing wall may create a warmer, drier pocket; a low area can collect cold air; and a windy balcony can stress a plant whose zone rating looks acceptable on paper. The local spot can matter as much as the broad regional number.
For annual vegetables and flowers, frost timing is often more useful than a zone label. Tender crops need warm soil and should not be planted outdoors simply because they are on sale; cool-season crops may bolt or lose quality if planted after the weather turns hot. Fruit trees and some perennials have additional requirements, such as a certain length of season or winter chilling, that a basic hardiness number cannot capture.
| Check | What it helps you decide | What it does not tell you |
|---|---|---|
| Hardiness zone | Whether a perennial is likely to survive typical winter cold | Summer heat, soil, drainage, or day-to-day exposure |
| Frost dates and growing-season length | When to sow or transplant tender annual crops | Whether the chosen bed receives enough sun |
| Heat and humidity tolerance | Whether a plant can handle local summer conditions | Whether roots will tolerate compacted or wet soil |
| Site microclimate | How a wall, slope, wind, shade, or paving changes one spot | Whether the plant’s mature size fits the space |
Use a four-part climate filter
For each candidate plant, check its winter hardiness, warm-season or heat tolerance, local planting window, and specific soil or moisture needs. Then compare those requirements with the site you actually observed. The Utah State University Extension guide on hardiness zones is especially useful for understanding why a map is a starting point rather than a guarantee.
If a plant sits at the edge of its recommended range, decide whether you can provide the conditions it needs without constant rescue. A sheltered courtyard, raised bed, shade cloth, or container that can be moved may make a marginal choice possible, but those interventions add work and can fail during a heat wave or hard freeze. Choosing a plant suited to the site is usually more dependable than trying to redesign the weather around it.
Mistake 4: Watering every plant by one sprinkler schedule
A sprinkler can be convenient, but a single timer may apply the same amount to a lawn, a new tree, a vegetable bed, and containers even though their roots and needs differ. Wind can carry spray away from the bed, foliage can intercept water before it reaches the soil, and a brief cycle may wet the surface while leaving deeper roots dry. Repeating that routine because the calendar says it is watering day can keep some plants too wet and others thirsty.
The Royal Horticultural Society recommends watering more thoroughly and less often for many established garden plants, then checking conditions rather than following a fixed weekly routine. Its guidance also distinguishes containers, seedlings, vegetables, young trees, and established borders. That distinction matters: newly planted roots need closer attention than settled plants, and leafy vegetables can need steadier moisture than a drought-tolerant shrub.
Turn irrigation into a feedback loop
Check the soil below the surface before watering, using a finger for small containers or a trowel for a garden bed. If the root zone is dry, water slowly near the base until moisture reaches the depth where the roots are growing; if it is already wet, wait and investigate drainage before adding more. The RHS suggests checking border soil around 15 centimeters down and watering newly planted trees deeply around the rootball, but the right depth depends on the plant and its root zone.
Do not diagnose from a single leaf symptom. Wilting can follow dry roots, but roots deprived of oxygen in saturated soil can also fail to supply water well, so adding more water to a wet bed may worsen the underlying problem. Check both the soil and recent watering history, and look for whether a whole bed, one irrigation zone, or one plant is affected before changing a system.
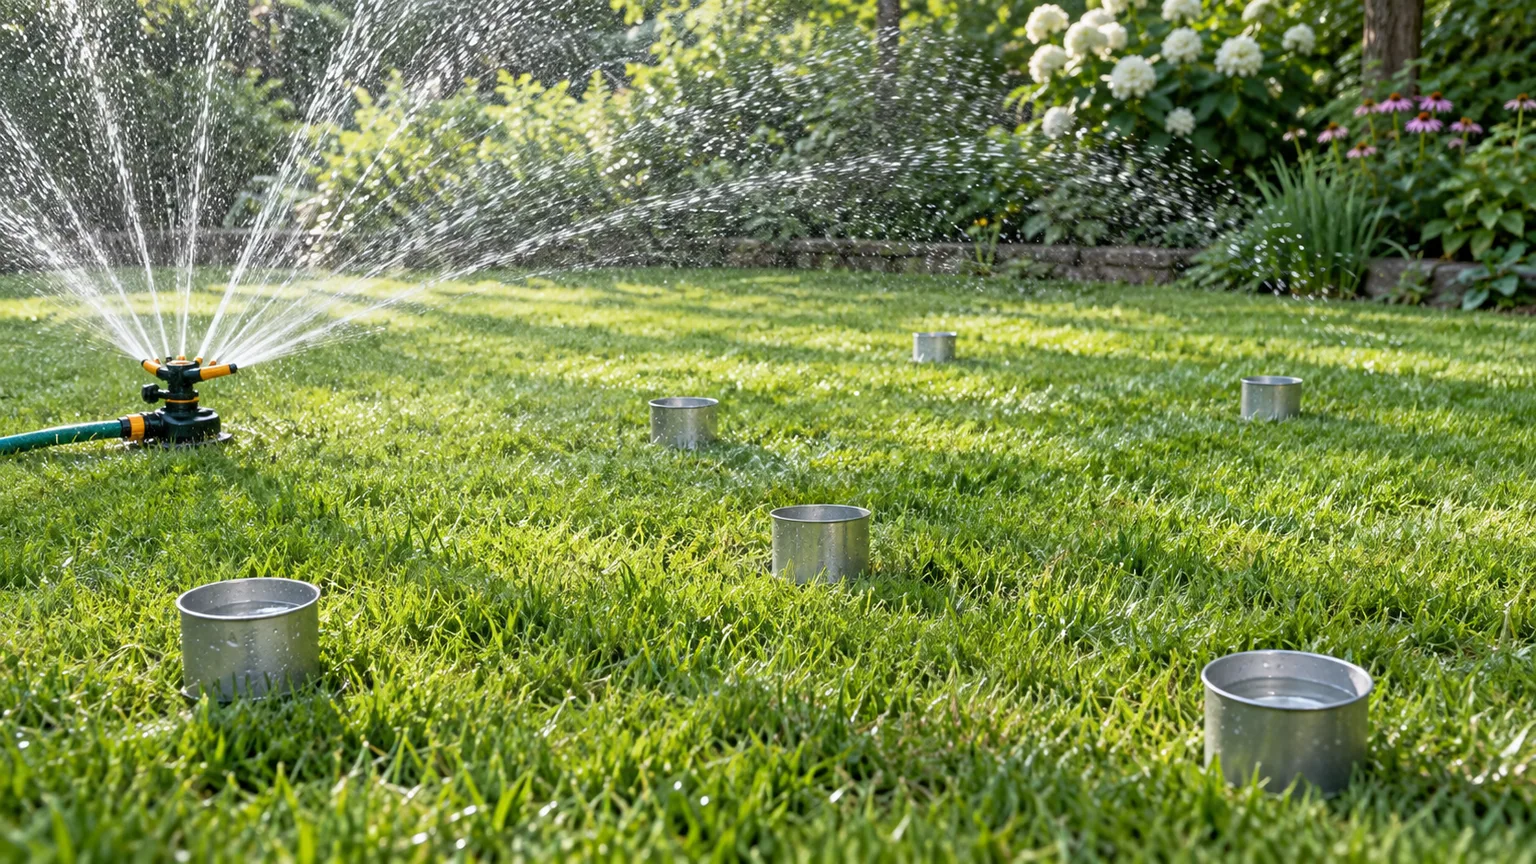
A sprinkler is not automatically wrong. Use a rain gauge or several straight-sided catch containers to see what the system actually delivers, and look for dry stripes or puddles after a cycle. If the lawn and edible beds need different schedules, put them in separate zones or hand-water young plants rather than forcing everything onto the lawn’s timetable. Water early enough that leaves can dry, and direct water to the soil when practical.
Containers deserve their own check because they can dry much faster than in-ground beds, especially in wind or heat. A potting mix that has pulled away from a container edge may repel water at first; apply water slowly, let it soak in, and repeat instead of assuming one fast pour reached the full root ball. Adjust after rain, transplanting, a heat spell, or a change in plant size.
Mistake 5: Choosing containers by price or appearance alone
A pot that is too small holds little water and leaves less room for roots to expand, so plants may need frequent watering or stop growing well before the season ends. A large pot is not automatically an upgrade, either: if a small root system sits in a lot of saturated mix, that medium can stay wet longer than the plant can use it. The goal is a container that fits the crop’s expected root system and the way you can care for it.
Avoid relying on one diameter rule for every plant. A short-lived herb, a deep-rooted tomato, and a dwarf fruit tree do not need the same root volume, and published container guidance often specifies the plant and growing method. Check the seed packet, extension recommendations, or a reliable crop guide for depth and volume, then consider whether the container will remain stable when the plant is full size.
Several clues suggest a container has become too restrictive: roots circle tightly around the rootball or emerge from drainage holes, the mix dries much faster than it used to, and growth stalls despite appropriate light and feeding. Those clues are not proof that the pot is too small; blocked drainage, heat, or a thirsty crop can produce similar stress. Lift the plant carefully if needed, inspect the roots, and make the move when the rootball can be handled without breaking apart.
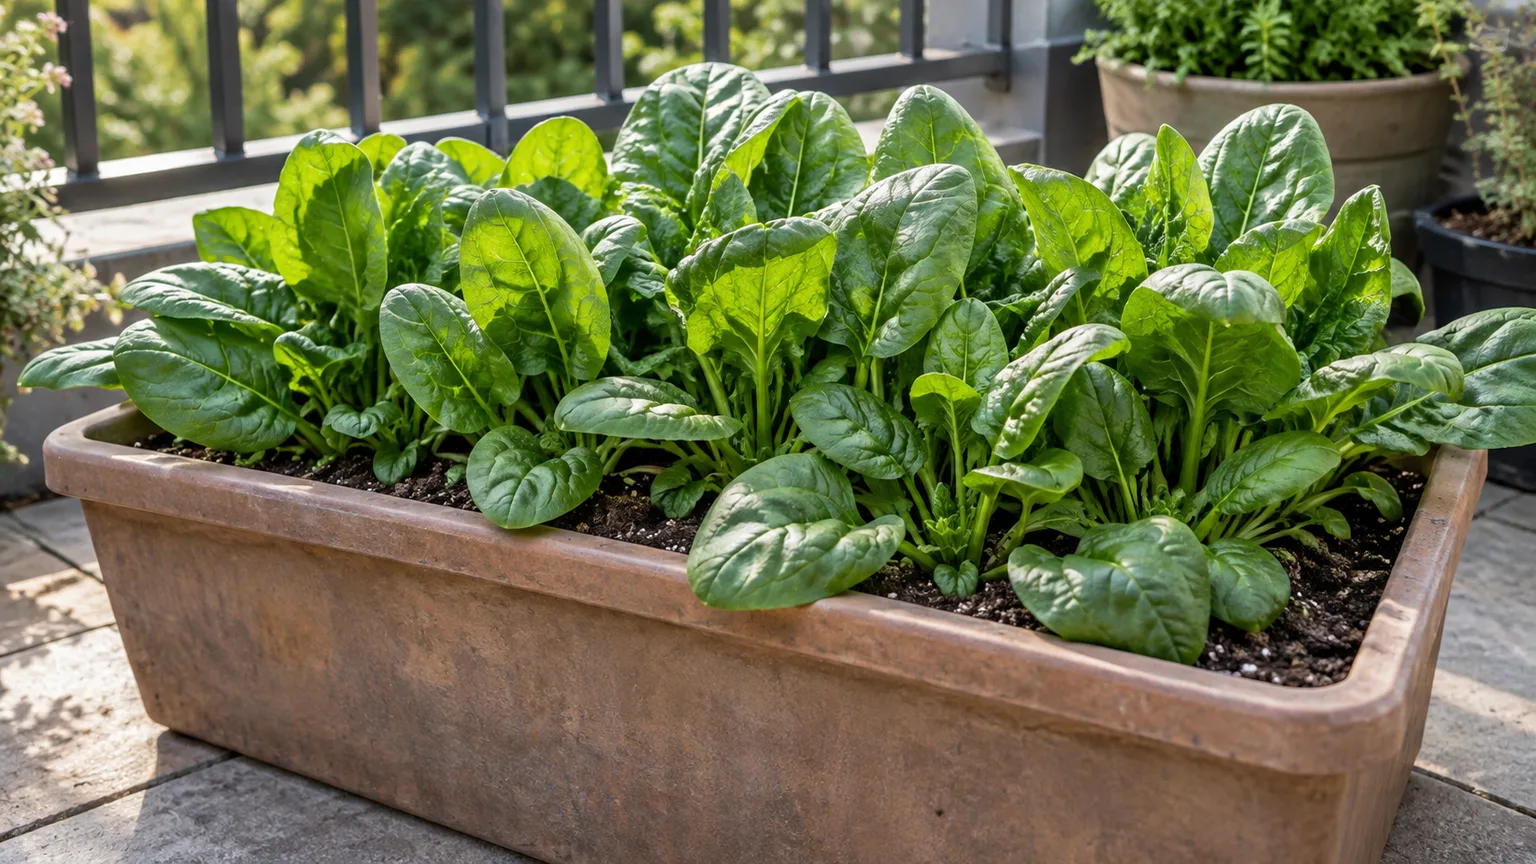
Drainage is essential for most outdoor edible containers. Use a container with open drainage holes and a suitable potting mix; do not add a layer of gravel or broken pot shards at the bottom as a shortcut to better drainage. Penn State Extension explains that coarse material can hinder water movement through the medium and take up usable volume, while mesh over the hole can keep mix from washing out without blocking drainage.
Match the pot to roots, water, and the crop
Choose the final container before buying the plant when possible. For vegetables, verify the crop’s mature size and minimum pot depth, use a mix designed for containers rather than dense garden soil, and check that the pot drains freely after watering. If the pot sits on a balcony or deck, make sure the filled container’s weight and drainage runoff are safe for that surface.
Think about the material and placement too. Small dark containers in direct afternoon sun heat up and dry quickly, while porous terracotta can lose moisture faster than glazed or plastic pots. Grouping pots can reduce wind exposure, but keep enough space between plants for airflow and light; a cluster that becomes a solid wall of foliage can recreate the same crowding problem as an overfilled bed.
If a plant dries out every afternoon despite careful watering, first check for a root-bound plant, blocked drainage, or a container too small for its current growth. Moving to a somewhat larger pot can help, but do not jump to the biggest pot available. Pot size should change with the plant’s actual growth and the crop’s needs, not a desire to water less at any cost.
Mistake 6: Changing soil before finding out what it needs
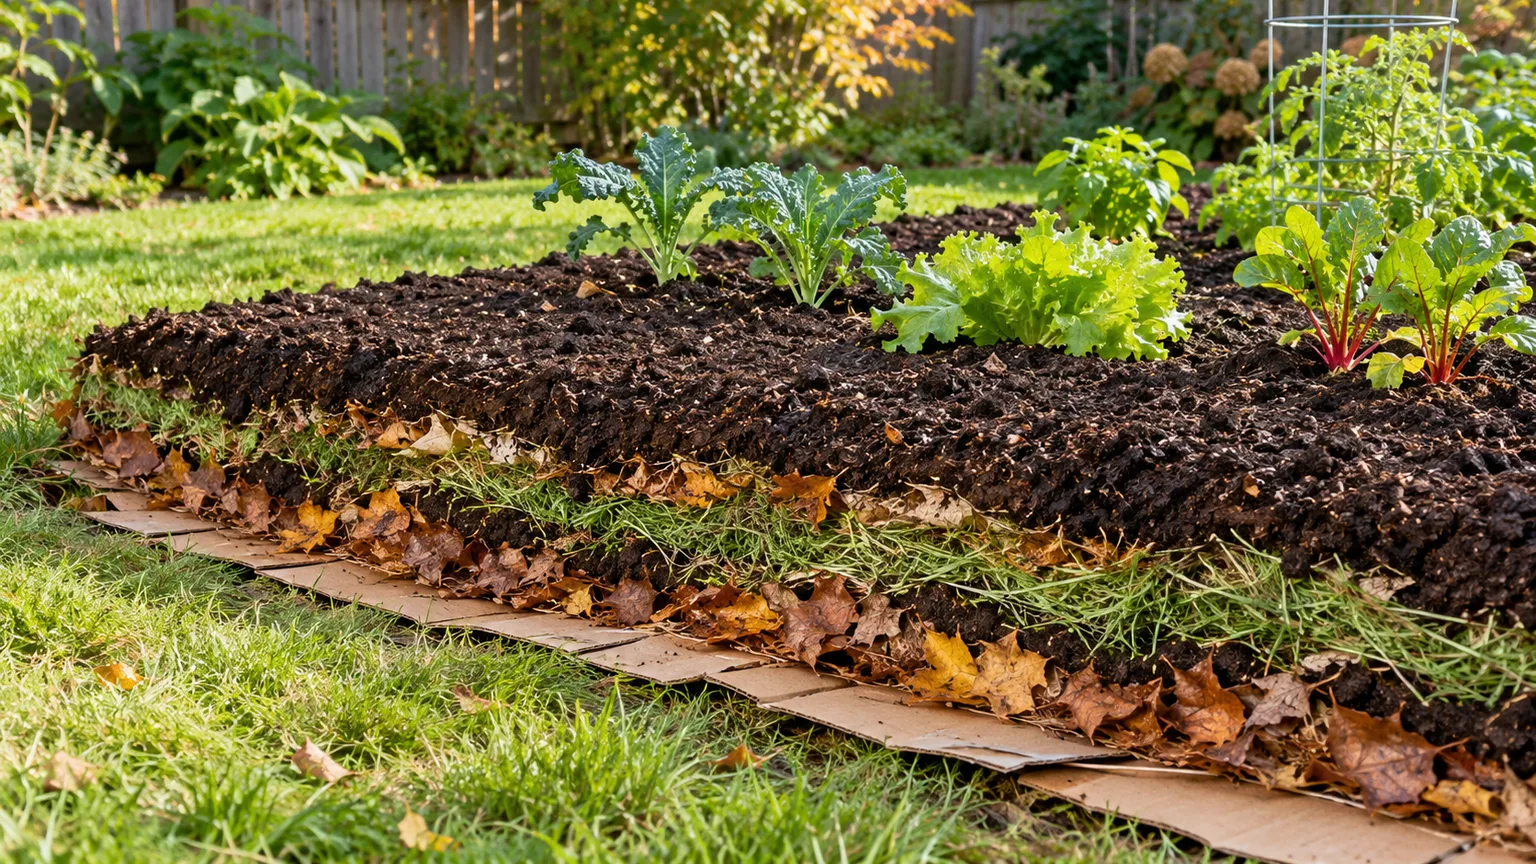
Gardeners often respond to slow growth by adding fertilizer, lime, sulfur, or a bag of amendment without knowing whether the soil has the problem those materials address. That can waste money and create a second problem: excess fertilizer may stress roots, and changing soil pH without a test can make nutrients harder for plants to use. Yellow leaves or weak growth are clues, not a diagnosis; the cause could also be water, light, pests, temperature, or root damage.
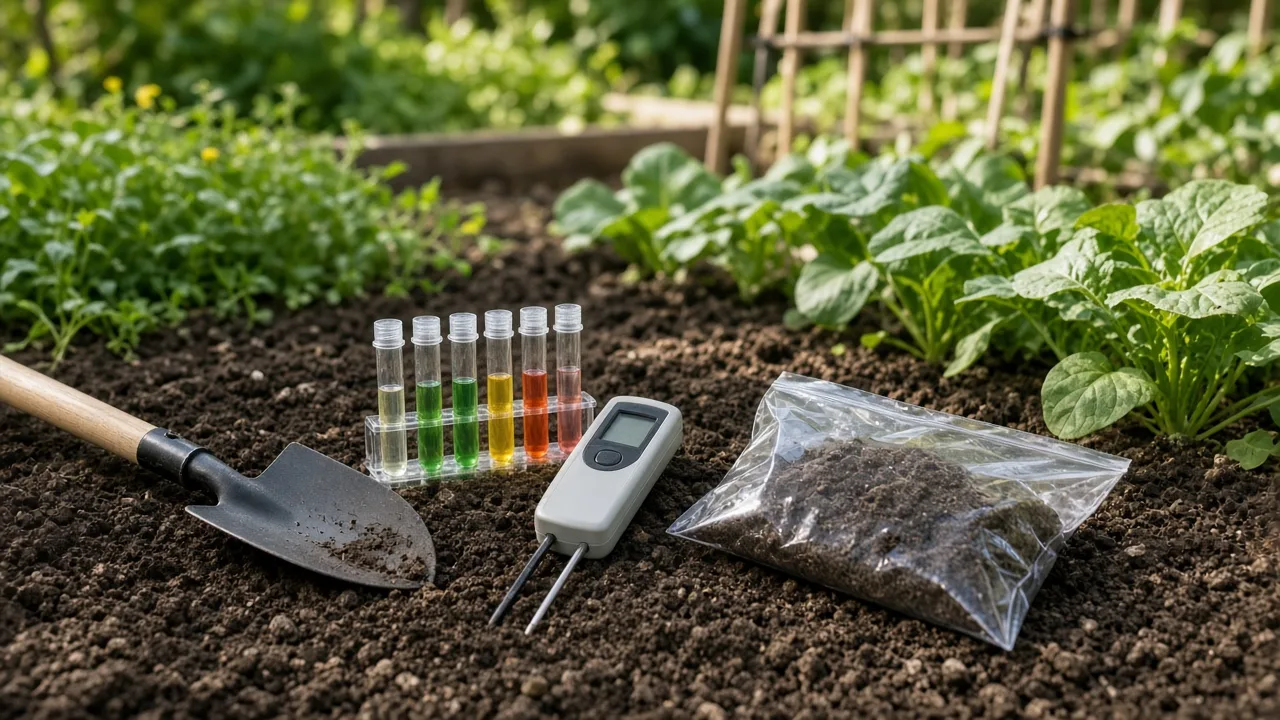
Penn State Extension recommends basing fertilizer decisions on plant health, desired growth, and soil analysis, and says a garden soil test can be repeated every few years. It also cautions against the common idea that adding sand is a general cure for clay soil. A test result gives you a starting point for targeted changes, while compost or mulch can improve soil structure and moisture behavior without pretending to correct every nutrient or pH issue.
Test first, amend only what the result supports
For an in-ground bed, follow the local extension lab’s sampling instructions and submit a representative sample from the area you plan to plant. A separate problem area may need a separate sample; mixing it with healthy soil can hide the difference. Ask for the test that fits your intended crop or landscape, then follow the recommendations attached to that result rather than copying a generic fertilizer schedule.
Sampling method affects how useful the result is. Most labs ask for several small cores from the same bed or management area to be combined in a clean container, but depth, timing, and handling instructions vary, so use the lab’s directions rather than improvising. Note what has grown there and any previous lime or fertilizer applications; that history can help an extension educator interpret an unusual result.
A soil test does not replace observation. Check whether water drains after rain, whether the soil crusts or compacts, and whether the bed has been built up with repeated additions of compost or fertilizer. For containers, garden-bed soil results do not necessarily describe the potting mix in the same way; container crops need a suitable potting medium and fertilizer plan for that specific setup.
Penn State Extension’s guidance on garden myths also explains why putting sand into heavy clay can create a harder mix rather than a looser one. If a test or local horticulture adviser recommends an amendment, use the amount and timing specified for that soil. More material is not a shortcut to faster results.
A quick pre-planting check that prevents expensive do-overs
Before the next trip to a nursery or seed rack, spend a few minutes on these checks:
- Map the site. Note the hours of direct sun, drainage after rain, wind, walls, mature tree shade, and access to water.
- Check the plant’s full size. Use its mature height and spread to plan spacing and clearance, not the size of the pot it came in.
- Confirm the growing window. Match winter hardiness, heat tolerance, frost dates, and any special season or chilling requirements.
- Lay out the bed. Follow plant spacing, reserve paths, and use a trellis only where its support and shade will work.
- Set a watering plan by plant group. Check soil moisture, keep containers separate from lawn watering, and calibrate any sprinkler you use.
- Test in-ground soil before correcting it. Use a local lab or extension recommendation to decide whether pH or nutrients need adjustment.
- Choose the container last. Size it for the crop and root system, confirm drainage, and account for weight and heat at the final location.
If an established plant is already struggling, work backward through the same list. Start with the simplest observations: feel the soil below the surface, inspect the drainage path, check recent weather and sun exposure, and compare the plant’s mature size with its available space. Change one condition at a time where possible so you can tell whether the correction helped.
Conclusion
The most avoidable gardening failures begin with a mismatch: a plant in the wrong place, a bed designed for seedlings instead of mature growth, a watering schedule that ignores the roots, a pot that cannot support the crop, or soil changed without a reason. You do not need to predict every pest or weather swing to make a better start; you do need to observe the site and check the plant’s requirements before you plant.
Plan for the mature garden, keep watering responsive to the soil, and use test results to guide amendments. Those habits make a garden easier to maintain and give each plant a better chance to grow into the space you chose for it.