Preparing Garden Soil for Growing Roses: Step by Step
Prepare garden soil for roses with a soil test, practical drainage fixes, compost guidance, and a measured approach to pH and fertilizer before planting.
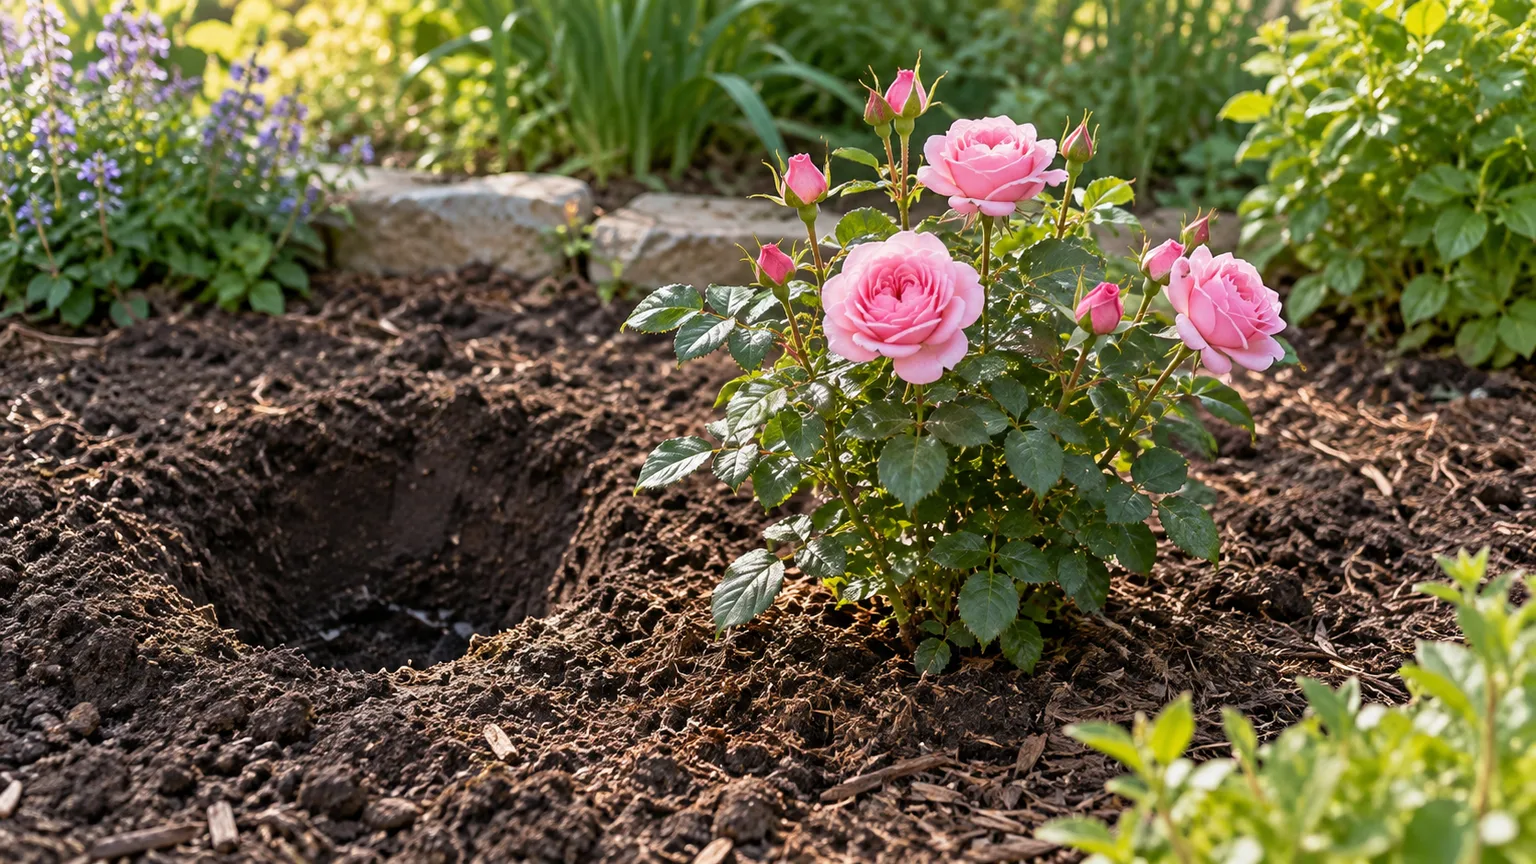
A successful rose bed does not need a secret blend or a hole full of expensive “rose soil.” The roots need air, water that moves through the ground rather than pooling around them, and enough moisture and nutrients to support steady growth. Good preparation starts by understanding the site and the soil you already have, then changing only what the evidence says needs attention.
New Mexico State University Extension describes roses as plants that do best in fertile, well-drained loam, while the Royal Horticultural Society recommends rich soil that stays moist but drains freely. Those descriptions point to the same balance: soil that holds water between rains without remaining saturated. The steps below help you reach that balance in clay, sandy, or ordinary garden soil without turning planting into a chemistry project. (NMSU Extension; RHS)
Start with the site, not the soil bag
Before digging, watch the planting area through a rain or a thorough watering. Note where water runs, where it stands, how quickly the surface dries, and whether a nearby slope sends runoff through the bed. A low spot that stays wet will remain a problem even if the planting hole is filled with loose compost-rich soil.
Check light and competition too. Most garden roses flower best with several hours of direct sun, and they struggle when tree roots take much of the water or when a roof or slope sends concentrated runoff into the bed. NMSU recommends a sunny, sheltered location and advises against planting roses under trees; the RHS likewise asks gardeners to assess local conditions and choose roses that suit the space. (NMSU Extension; RHS)
If the site is generally sound, improve the bed before planting. If water repeatedly collects there or the soil is shallow over hardpan, construction debris, or bedrock, solve that larger site problem first. Soil amendments can improve structure, but they cannot make a blocked subsoil drain.
Read the soil you already have
A few simple observations will tell you whether the main issue is texture, compaction, or drainage. Take samples from several places in the intended bed rather than judging one convenient handful; gardens often contain fill soil, old planting holes, and compacted paths that behave differently from one another.
Test texture without a kit
Use soil that is moist but not dripping wet. Rub it between your fingers: sandy soil feels gritty and falls apart quickly; clay feels smooth, sticky, and can be pressed into a firm ribbon; loam holds together lightly but breaks into crumbs when nudged. This hand test does not replace a laboratory analysis, but it can show whether the bed is likely to dry too fast or stay wet too long.
Look below the surface as well. If the top few inches crumble but a spade meets a dense, hard layer underneath, roots and water may be confined to a shallow zone. Break up compaction only when the soil is dry enough to crumble; digging wet clay smears it into a denser layer and can make the original problem worse.
Check what happens after rain
Dig a hole about a foot deep in the planting area and fill it with water once to wet the surrounding soil. After it drains, refill it and observe whether the water level falls over the next several hours. If water remains the following day, or the hole fills again after ordinary rain, treat the bed as a drainage problem rather than assuming compost alone will fix it.
The test is a screening check, not a universal pass/fail number. Rainfall, soil moisture, the hole’s shape, and a hidden compacted layer all affect the result; a shallow hole also cannot tell you whether the water table is high. Persistent pooling calls for a higher planting site, a properly built raised bed, or advice from a local extension office or drainage professional. NMSU notes that high-water-table sites may need a raised rose bed 12 inches or more above grade. (NMSU Extension)
Test pH and nutrients before amending
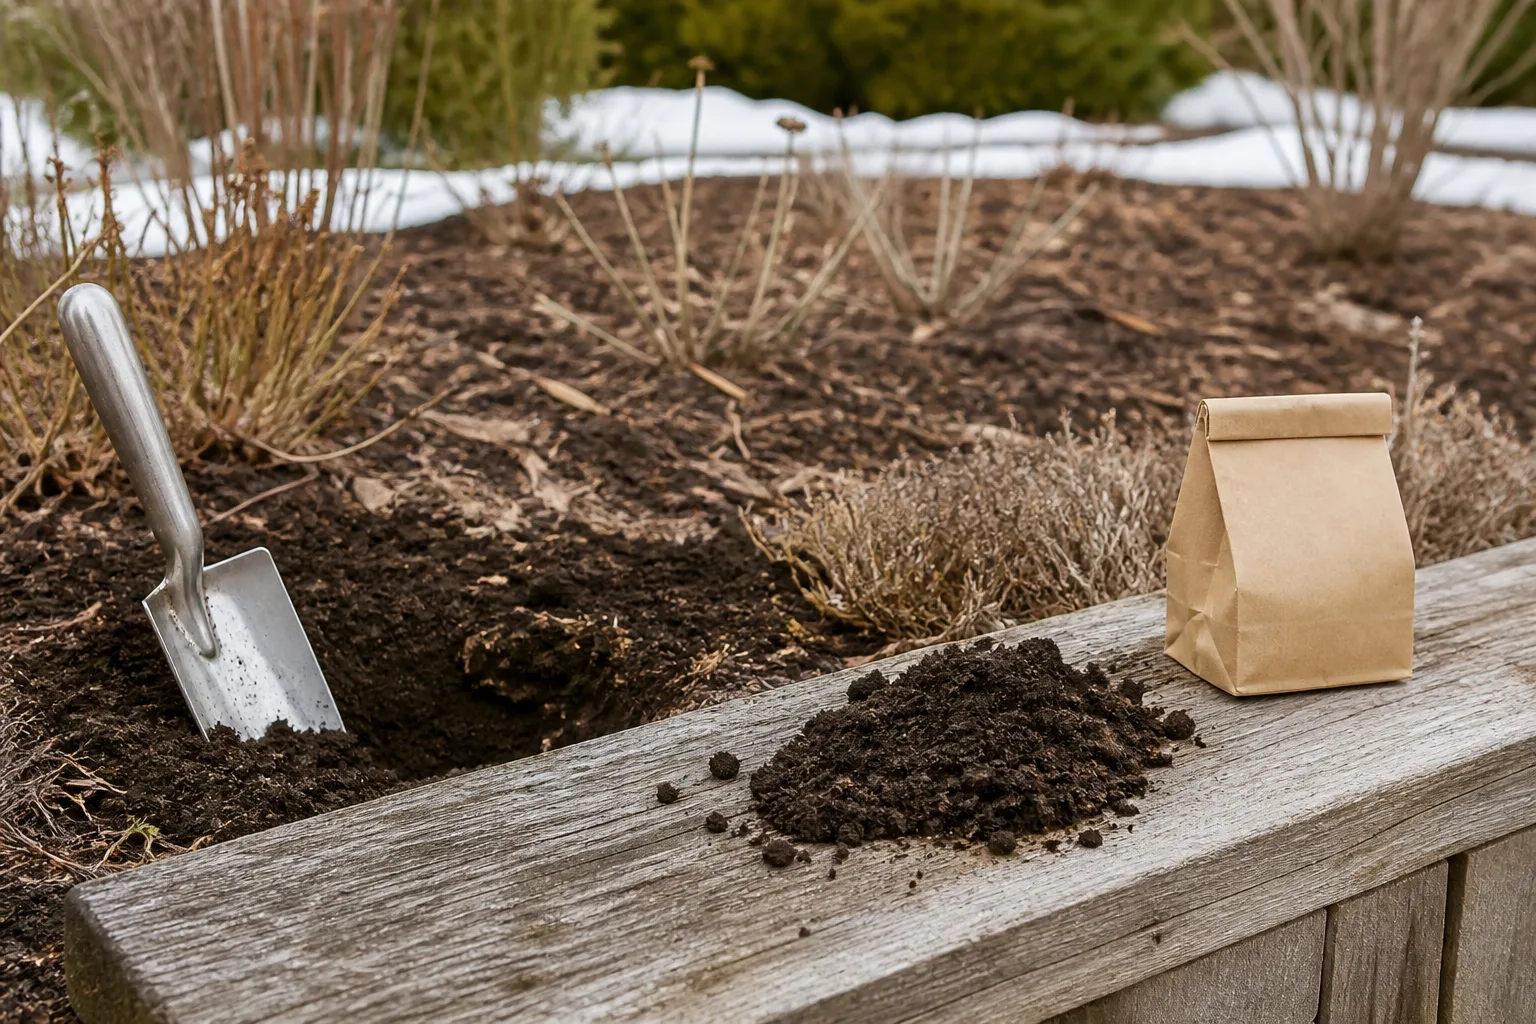
A soil test is the best first purchase for a new rose bed. A local cooperative extension or soil laboratory can test pH and often report nutrient levels and organic matter, then recommend amendments for your soil type. Sample each distinct bed separately, collect several small samples from the area, and follow the lab’s instructions for sampling depth and packaging.
Roses generally tolerate slightly acidic to neutral soil. A practical working range is about pH 6.0 to 7.0, with many rose guides centering on 6.0 to 6.5; the exact middle is not a target you need to chase if a test is within range and plants are growing normally. (Blooming Expert)
Ask for a test before adding lime, elemental sulfur, bone meal, or a fertilizer blend. These products address different conditions, and their effective rates depend on soil texture and buffering capacity; a label or a generic internet rate cannot account for both. A simple pH strip can give a rough clue, but if the result would lead you to change a whole bed, use a reliable kit or lab test and follow its interpretation.
Soil tests also help avoid treating a symptom as a diagnosis. Yellow leaves do not automatically mean low pH, iron shortage, or a need for Epsom salts; waterlogged roots, disease, salts, and other nutrient issues can produce overlapping signs. Fix the condition the test actually identifies instead of adding several amendments at once.
Fix soil structure before adding fertilizer
Think of soil improvement as adjusting the root zone’s air and water balance. Clay holds water and nutrients but can compact; sand drains quickly and holds less water; a loam with organic matter offers a useful balance. The goal is not to turn every bed into identical black soil but to make the existing root zone easier for water, air, and roots to move through.
| What you notice | Likely issue | First response |
|---|---|---|
| Soil smears when wet and sets into hard clods | Clay or compaction | Wait until workable; improve organic matter broadly and reassess drainage |
| Puddles linger after rain or a test hole refills | Slow drainage or high water table | Raise or relocate the bed; do not rely on a planting-hole mix |
| Soil feels gritty and dries soon after watering | Sandy or gravelly soil | Add mature compost across the bed and mulch after planting |
| Soil crumbles, holds some moisture, and drains without standing water | Structure is already suitable | Make only modest amendments supported by a soil test |
If your soil is dense clay
Do not try to loosen sticky soil while it is wet. Wait until it is dry enough to crumble, then work finished compost or leaf mold through a broad planting area rather than mixing a small pocket into each hole. A localized pocket of soft soil surrounded by dense clay can hold water like a basin and leave the new roots sitting in a soggy zone.
Avoid the common “add a little sand” shortcut. A small amount of sand does not change the proportions of a heavy clay bed enough to improve its texture, and poorly mixed mineral material can make the soil harder to work. If the bed remains sticky and waterlogged after organic matter and compaction are addressed, use a raised bed or move the rose to a better-drained place instead of endlessly adding ingredients.
Raised beds help only when they have enough depth and a route for excess water to leave. NMSU suggests elevating beds at least 12 inches where the water table is high and describes drainage improvements for heavy soils; the right construction depends on the site, local rainfall, and what lies below the bed. (NMSU Extension)
If your soil is sandy or gravelly
Sandy soil rarely stays wet for long, so a new rose can dry out between waterings before its roots spread. Add mature compost or leaf mold through the planting area to help the soil hold moisture and nutrients, then cover the surface after planting with organic mulch. These materials improve the soil gradually; do not expect one application to make a sandy bed behave exactly like loam.
Check the bed again after a deep watering. If water races through and the soil is dry just below the surface a few hours later, use smaller watering intervals while the rose establishes and keep replenishing organic matter as it breaks down. If the soil already drains well and retains enough moisture, adding a heavy amendment load can create the opposite problem or supply more nutrients than the rose needs.
Add compost across the planting area
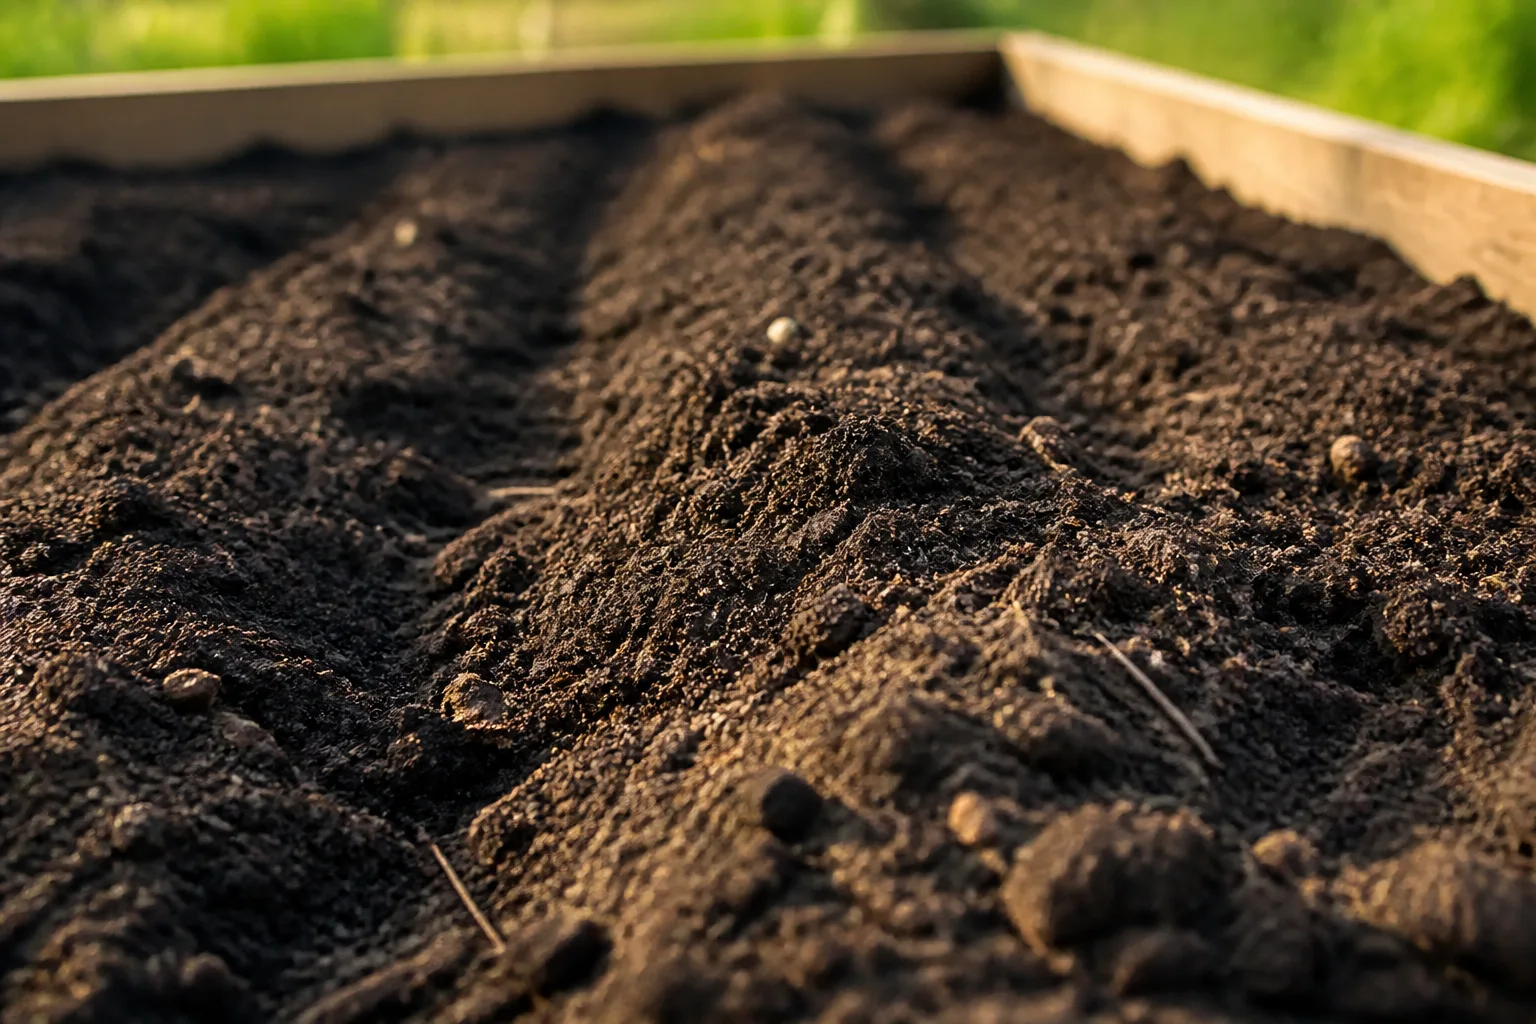
Finished compost, leaf mold, or well-rotted organic matter is usually more useful than a specialized bagged mix for an in-ground bed. Spread it over the area where the rose’s roots will grow, then blend it into the upper layer of soil rather than replacing all the native ground. A practical starting layer is roughly 1 to 2 inches of mature compost across a new bed; use less when the soil is already fertile and crumbly, and ask a soil lab or extension service before making a much larger change.
Working amendments through the bed creates a more gradual transition between the original soil and the improved root zone. A planting hole filled entirely with potting mix or compost can hold water differently from the surrounding ground, and roots may not readily extend into the denser soil outside it. If you are planting a row, improve the full strip rather than treating each hole as an isolated container.
Use only mature compost that smells earthy and has no recognizable fresh manure or plant scraps. NMSU cautions against applying barnyard manure around rose roots at planting unless it has been composted for at least 12 months; it also notes that manure can contain weed seeds or excess salts. If the source is uncertain, finished compost is the safer amendment. (NMSU Extension)
Adjust pH gradually, only if the test calls for it
Agricultural lime raises soil pH; elemental sulfur lowers it. Neither is a general “rose food,” and adding the wrong one can move soil farther from the range where roots take up nutrients well. Apply the product and rate recommended by your soil test for your soil type, then allow time for it to react before testing again.
Do not keep adding more because a quick home test has not changed after a few days. pH amendments react over time, and sulfur in particular depends on soil conditions; repeated applications before the first one has taken effect can overcorrect the bed. If a result is far outside the recommended range or the soil is strongly alkaline because of local parent material or irrigation water, ask the testing lab how much correction is realistic before planting.
If the soil pH is close to the recommended range, focus on drainage and organic matter rather than trying to force a precise number. For a rose bed with a severe pH problem, choosing a more suitable planting site or growing a rose in a container with a known potting mix may be more practical than repeatedly changing a large volume of native soil.
Avoid fertilizer and amendment folklore
Do not put concentrated granular fertilizer in direct contact with bare roots or the bottom of a planting hole. New Mexico State University Extension advises against adding fertilizer to the planting mix because it can delay growth or injure developing roots; incorporate only what a soil test recommends, and feed later according to local rose guidance and the product label. (NMSU Extension)
The same rule applies to Epsom salts, bone meal, coffee grounds, and “rose food” blends: add them only when a soil test or a clear, diagnosed need supports them. Epsom salt supplies magnesium and sulfur but will not correct poor drainage or low pH by itself; bone meal is not a substitute for a phosphorus test; coffee grounds are not an immediate fertilizer. More amendments do not automatically mean more flowers.
Fresh manure, wood ash, and repeated heavy fertilizer applications can add salts or push nutrients out of balance. If roses nearby grow well in the same soil, that is a useful clue that a costly amendment may not be needed. Feed the soil with a modest amount of mature organic matter, then let the test and the plant’s new growth guide any additional feeding.
Prepare the planting zone for the rose you bought
After amending, loosen the soil across the bed and remove large stones, perennial weeds, and debris that will obstruct roots. Dig a hole wide enough to spread the roots without bending them sharply, but do not make it much deeper than the root system needs. Backfill with the soil from the site, using only the measured compost or amendment already worked through the broader bed.
The exact planting depth and position of a graft union vary with rose type and climate. Follow the nursery’s directions for the cultivar and your region, and avoid burying the crown or leaving roots exposed; a local rose society or extension office can help resolve conflicting depth advice. Water the soil in as you backfill so it settles around roots without being packed into a hard mass.
Bare-root roses
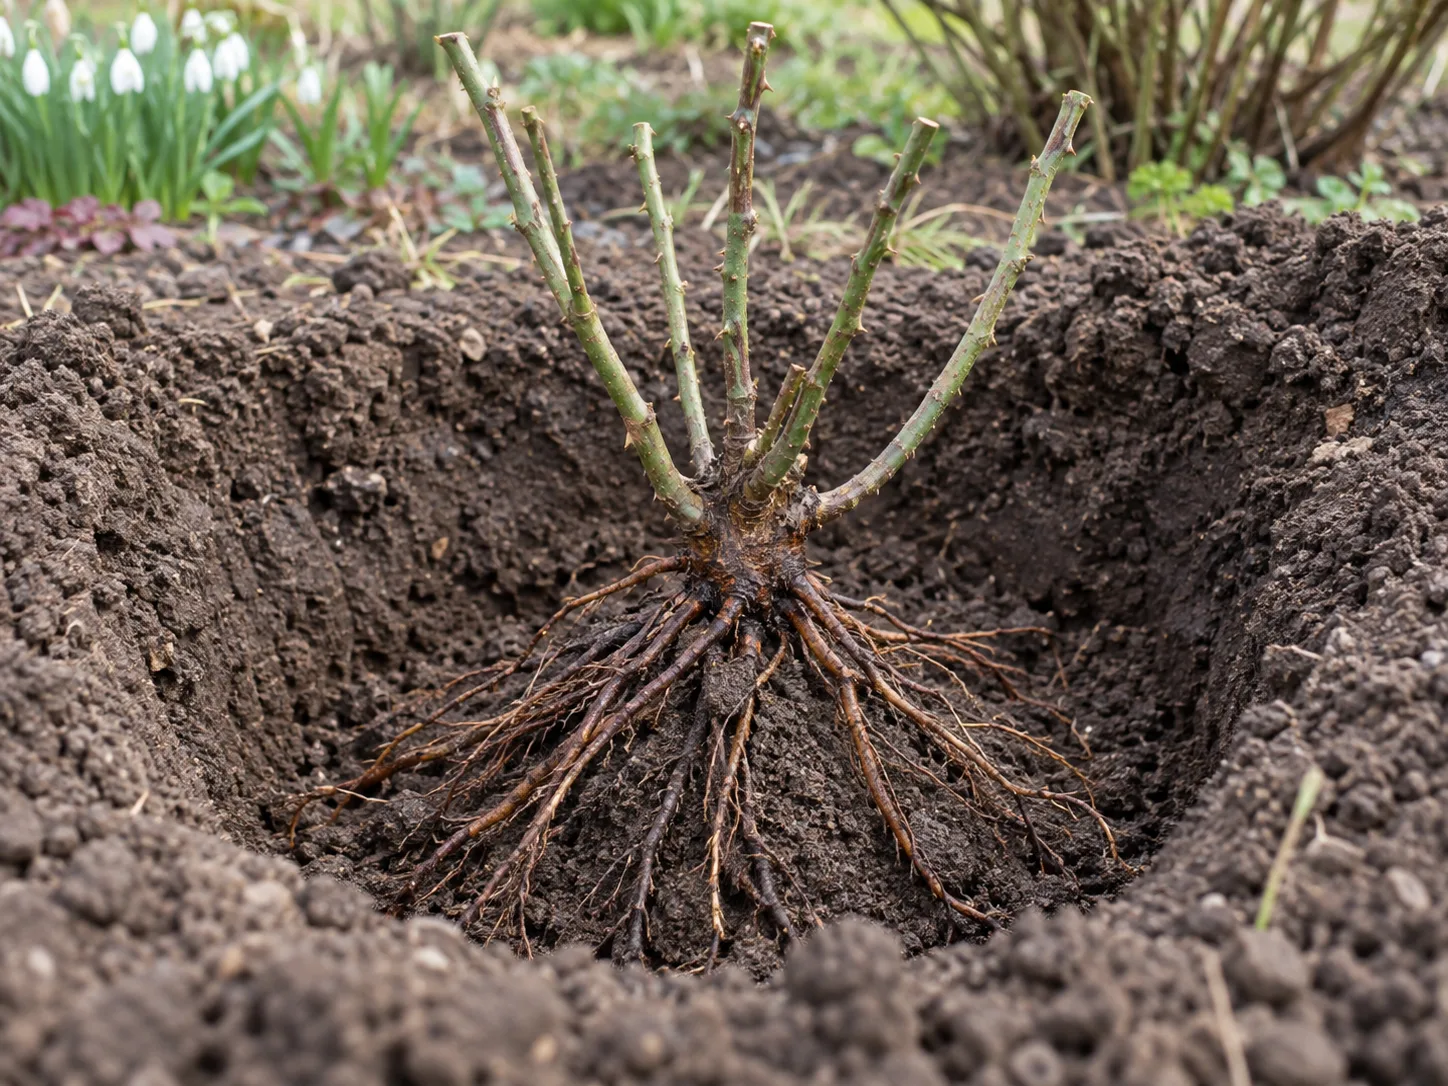
Keep bare roots from drying while you prepare the bed, and follow the supplier’s instructions for soaking or holding them before planting. Spread the roots naturally over a low mound of soil in the hole instead of forcing them into a narrow vertical bundle. Remove only damaged roots with clean pruners; cutting healthy roots simply to fit the hole sacrifices the root system you are trying to establish.
Backfill in stages and water once the roots are covered so soil settles into the spaces between them. If the soil sinks, add more of the same bed soil rather than piling compost against the canes. Finish with mulch after checking that the plant’s crown or graft union remains at the recommended depth for your conditions.
Container-grown roses
Water the nursery pot before planting so the root ball comes out without crumbling, then inspect the outside for tightly circling roots. Gently tease out a few roots if they are packed around the perimeter; do not tear the root ball apart. Place it in the prepared ground at the depth recommended for the rose and backfill with native bed soil amended across the wider area.
Water slowly after planting and watch how quickly the soil drains. The first watering settles the soil and removes large air gaps; it does not mean the rose should sit in saturated ground. The RHS recommends not planting roses when soil is frozen or waterlogged, and notes that new roses need regular watering while roots establish. (RHS)
Mulch without burying the stems
Once the soil is settled, spread about 2 to 3 inches of organic mulch over the root area. Shredded bark, leaf mold, or finished compost can reduce evaporation, suppress weeds, and protect the soil surface from crusting. The RHS describes mulch as a way to conserve moisture, improve growth, and suppress weeds, and recommends leaving a gap around rose stems. (RHS)
Keep mulch a few inches back from the canes and the graft or crown area. A mulch mound pressed against stems holds moisture at the wrong place and can hide damage or pests; it also makes it harder to see whether the soil is staying wet. Replenish the layer as it decomposes, but do not let annual top-dressing bury the rose deeper each year.
Mulch moderates surface drying but cannot solve water trapped below the root zone. If the bed remains waterlogged after planting, reduce irrigation, keep the mulch layer modest, and address the drainage issue rather than adding more organic material to the surface.
When to pause or redesign a problem site
Delay planting if the soil is frozen, saturated, or so dry that it cannot be worked without forming hard clods. A short wait is easier on roots than forcing a rose into conditions that keep air out of the soil or leave the roots exposed to drought. The RHS specifically advises against planting roses in frozen or waterlogged ground. (RHS)
If an old rose declined from poor drainage, salts, root disease, or a visible crown problem, do not assume a fresh bag of compost will make the same spot safe. The RHS flags rose replant disease as a consideration when replacing a rose, and NMSU advises taking disease history seriously before replanting. Move the new rose to another site where practical, or seek local advice on whether soil replacement, drainage work, or a waiting period is appropriate. (RHS; NMSU Extension)
A container or raised bed can be a sensible alternative when the garden’s native soil is extremely shallow, persistently wet, saline, or difficult to correct. Make the decision based on the cause: a deeper raised bed may improve root-zone drainage, while a container gives you a separate, predictable growing medium but needs more frequent watering. Either is better than repeatedly dosing a problem site with amendments that do not address its underlying condition.
Conclusion
Preparing soil for roses is a sequence: choose a sunny, well-drained site; test the soil before changing its chemistry; improve texture with mature organic matter where needed; and use raised beds or another site when drainage is a deeper problem. A healthy bed should hold moisture without staying saturated and should let roots spread beyond the original planting hole.
Skip untested fertilizer and quick-fix amendments, follow the soil lab’s pH recommendations, and finish with a modest mulch layer kept away from the stems. If your soil already drains well, has reasonable pH, and supports healthy nearby plants, make only small improvements. Roses need a functional root zone, not a perfect recipe.