15 Sloped Backyard Ideas for Better Outdoor Living
Explore 15 sloped backyard ideas, from native groundcover and rock gardens to terraces and safe paths. Learn what fits your slope, water flow and budget.
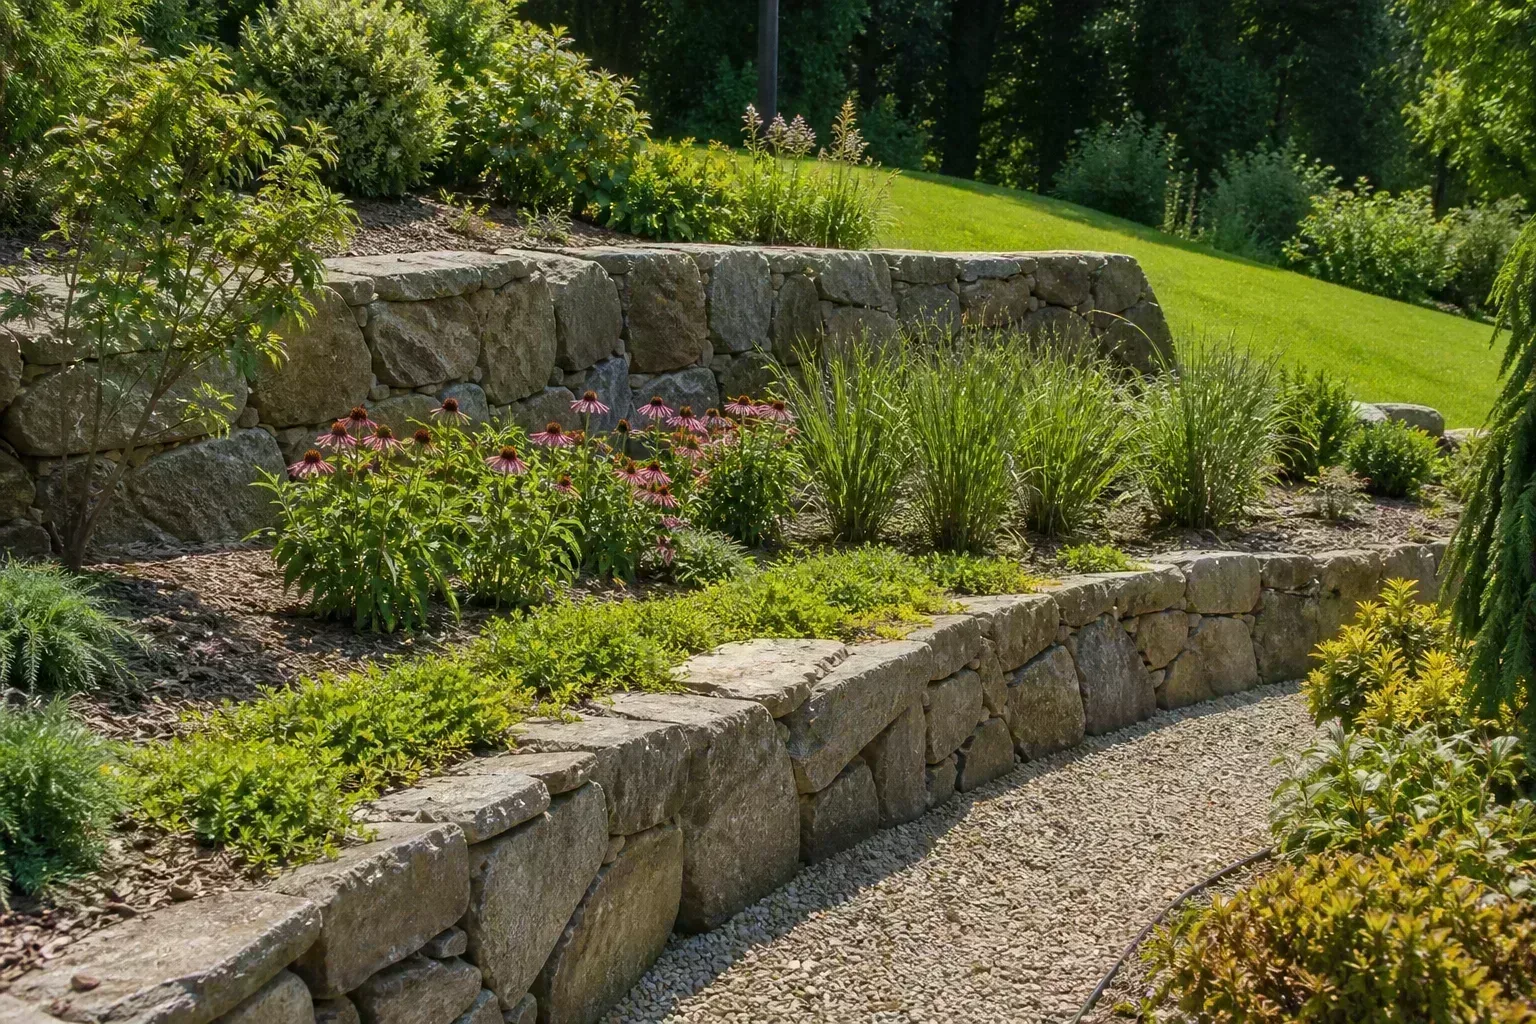
A sloped backyard can give you views, distinct garden rooms, and a natural route for water. The useful question is not how to make every inch flat; it is where a level surface would improve daily life and where the existing grade can stay planted.
Start by watching the yard after rain. Note where water enters, where it speeds up, where soil or mulch collects, and where it leaves. Then match the design to those patterns: a deck can bridge a drop, a path can make a hillside reachable, and layered planting can cover a bank without a major excavation.
Start With the Slope, Water, and Use
Measure the rise over a horizontal run to estimate the grade: divide the vertical change by the horizontal distance and multiply by 100 for a percentage. For example, a 2-foot rise over 10 horizontal feet is a 20% grade; it is not the same as a 20-degree angle.
You do not need a survey to compare one part of the yard with another, but measurements help reveal whether a patio-sized platform is realistic or whether a planted slope is a better fit. Iowa State University Extension’s slope guide notes that even moderate grades can make walking, watering, and gardening harder; its thresholds are useful context, not a building rule for every property.
Sketch the house, fences, trees, existing walls, and the path water takes from the uphill edge to a safe outlet. Look for wet pockets at the bottom, dry exposed shoulders, erosion channels, buried utilities, and places where roof or driveway runoff enters. Colorado State University Extension’s landscape-planning guide recommends treating slope, drainage, views, and intended use as part of one site assessment rather than making each choice in isolation.
Choose the simplest intervention that solves the problem. If the slope is mild and stable, contour beds and groundcovers may be enough; if you need accessible gathering space, a deck or one carefully designed terrace may earn its construction cost; if water is cutting channels or a bank is moving, address drainage and stability before adding decorative features. Retaining walls, stairs, decks, and drainage systems can affect neighboring land and structures, so check local requirements and consult a qualified landscape or engineering professional when the design changes substantial amounts of soil or supports a load.
A quick match can narrow the choices:
- Mild grade, no active erosion: keep the slope, then use contour beds, groundcover, or a small path.
- Steep but stable bank: reduce mowing and foot traffic with a layered planting or meadow; add a switchback route only where you need access.
- One activity needs level ground: consider a deck or one terrace sized for that specific use.
- Gullies, seepage, leaning walls, or soil movement: pause cosmetic work and get drainage or slope advice before digging.
1. Build a Split-Level Deck
A deck on posts can create a dining or lounging area without cutting the whole slope into a flat pad. Split the deck into two connected platforms if the grade drops far enough that one tall structure would dominate the view; one landing can sit at the house while a lower platform meets the garden or pool zone.
This design preserves more of the existing grade, but it is not a shortcut around structural planning. Footings, lateral bracing, stairs, guardrails, drainage under the deck, and local permit rules all matter. Keep the area underneath visible and maintainable so runoff, leaf litter, and erosion do not become hidden problems.
Before choosing a height, think about the actual destination: a deck that ends above a steep bank still needs a comfortable way down, and a platform that blocks a window can feel heavier than the slope it was meant to solve. If the project needs deep posts, significant excavation, or a tall exposed edge, have the structure designed for local soil and frost conditions rather than copying a detail from another yard.
2. Make One Generous Terrace
Instead of building multiple levels, create one flat terrace where you will use it most: near a kitchen door for meals, halfway down the yard for a view, or at the bottom where the slope opens into a broader space. A single well-sized landing can feel more useful than several narrow shelves that are too small for furniture or circulation.
Decide its purpose before setting the wall line. A dining terrace needs room to pull chairs out and walk around them; a garden terrace needs beds that can be reached without stepping onto the wall.
Plan the wall, base, drainage, and overflow as one system. Soil and water press against a retaining wall, so a tall wall, a wall supporting a driveway or structure, or a wall near a property boundary deserves local code review and professional design—not just a decorative treatment.
Make sure the access route reaches the terrace without forcing people to cross a planted bank. One stair flight can serve a compact yard, while a path or second landing may be more comfortable for a long climb. If the terrace sits below the house, also check where its paved surface sends water during a storm; water should not collect against a foundation or run down the face of the next slope.
3. Plant Contour Beds Without Flattening the Yard
On a gentle, stable slope, curved planting beds that follow the contour can slow runoff while keeping most of the land in place. Stagger plants across the slope rather than lining them up straight downhill, where rows can become channels for water and moving soil. Iowa State Extension recommends contour planting and varied layers of vegetation as ways to slow surface flow and cover exposed soil.
Mix a low ground layer with taller grasses, perennials, and compact shrubs that suit the actual sun, soil, and moisture conditions. The combination gives the eye a repeated pattern without creating a wall of identical plants; staggered heights also help protect bare ground from direct raindrop impact. Keep a narrow access route through the beds so you can weed, prune, and inspect the hillside without walking on the planted crowns.
4. Use Short Retaining Tiers for a Steep Grade
Several modest planting terraces can break one long slope into shorter sections and create flat pockets for shrubs, herbs, or flowers. Stone, masonry, properly rated timber, and engineered block each produce a different look and lifespan; choose based on the soil, exposure, and maintenance you can support, not color alone.
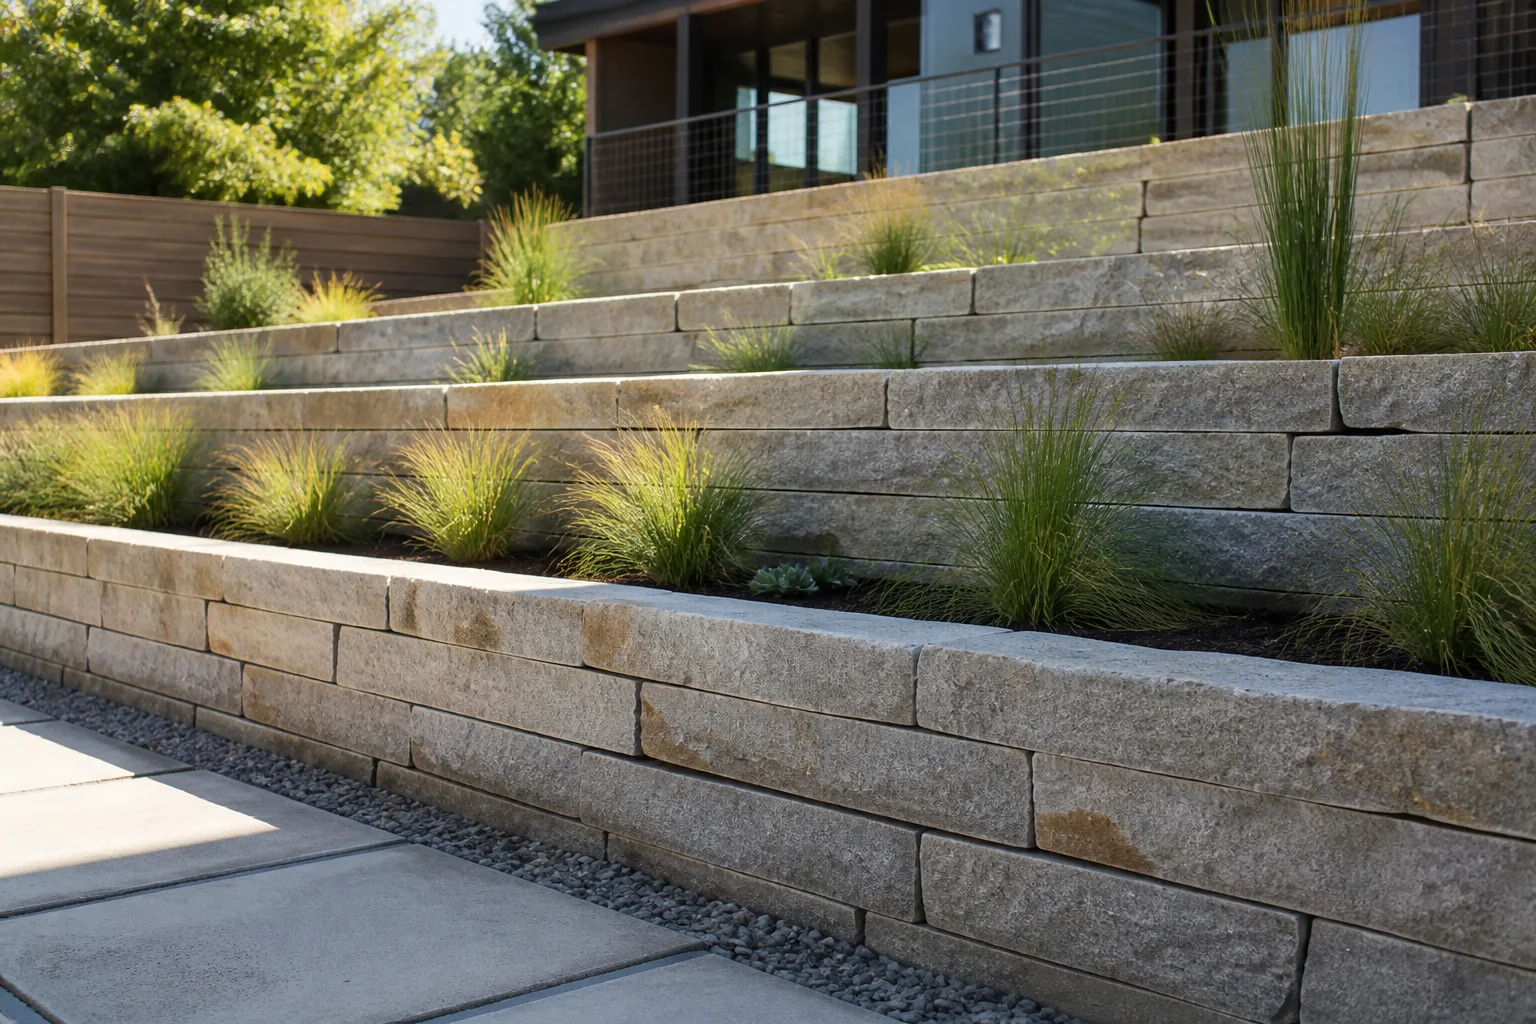
The finished garden should not hide how the wall manages water. Each tier needs a stable base and a planned route for water behind or around it, and water must reach an appropriate outlet instead of building pressure or discharging onto the next property.
Large or loaded walls need professional design, and even smaller work may fall under local rules. Mississippi State University Extension’s slope guidance stresses that drainage and local building requirements are part of retaining-wall planning.
5. Wind a Switchback Path Through the Slope
A path that traverses the hill in a few broad turns feels calmer underfoot than a straight line aimed downhill. It lengthens the walk, softens the apparent grade, and gives you a chance to pause at a bench, overlook, or planting pocket. This is a good choice when you want access across a planted slope but do not need every square foot leveled.
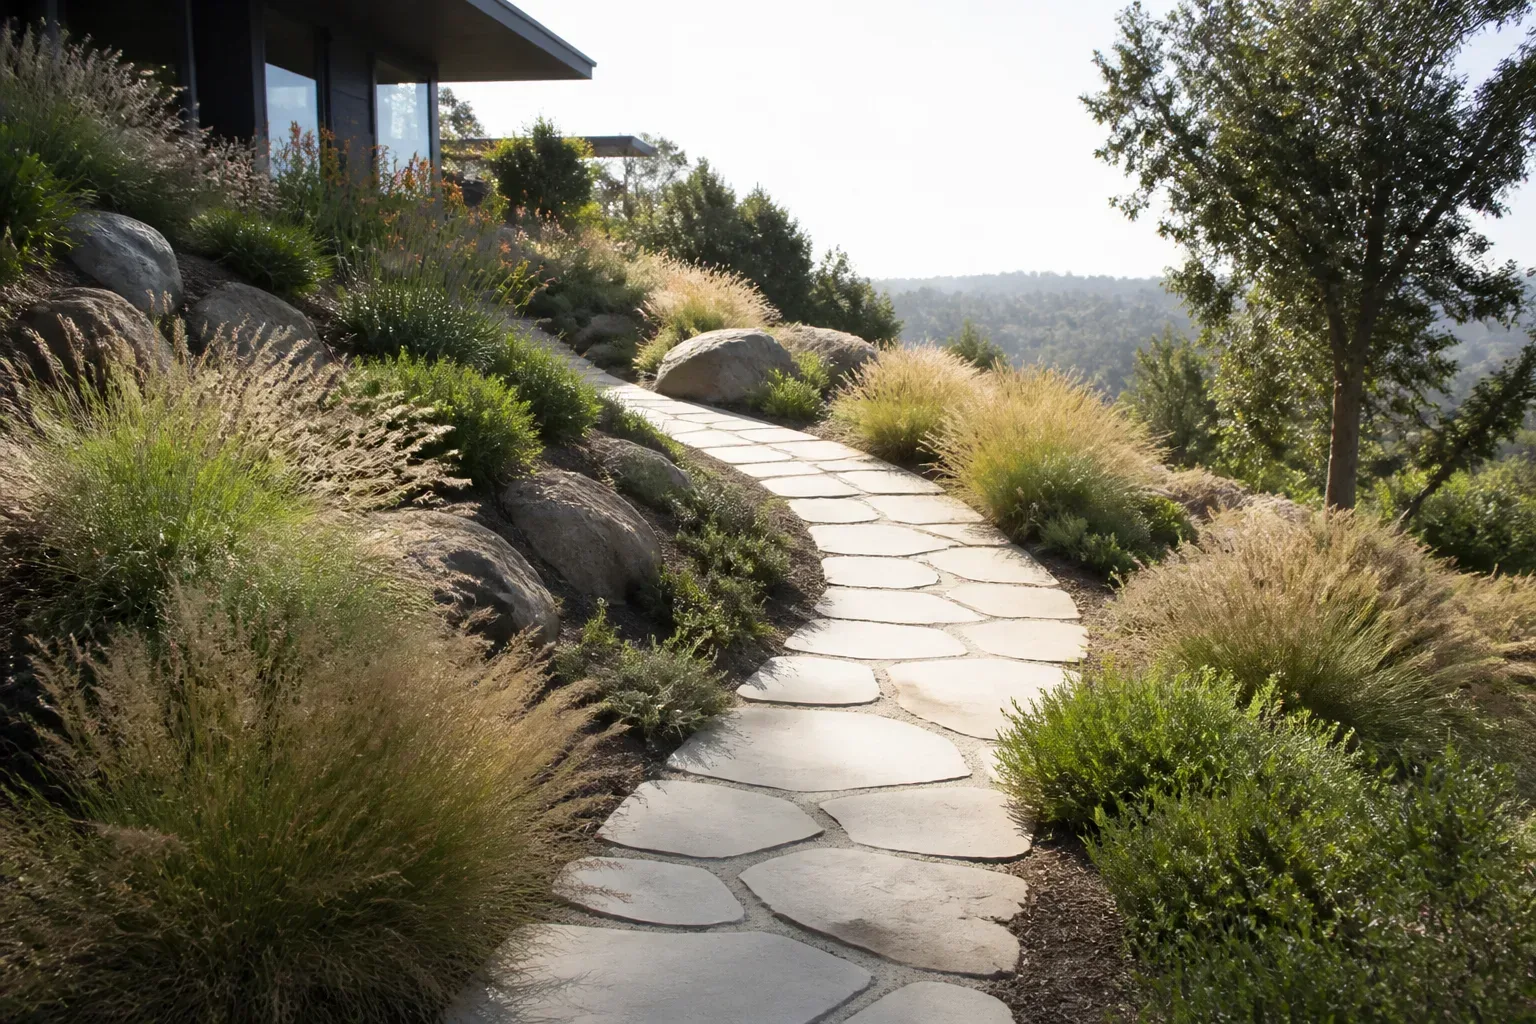
Use a firm, stable walking surface with edges that keep gravel or pavers from migrating. Set each turn on a level landing, keep the route clear of drainage channels, and consider how a wheelbarrow, mobility aid, or garden cart will negotiate it. Gravel can look informal, but loose stone is not equally comfortable for every visitor; choose a compacted or paved surface where dependable footing matters.
Trace the route with a garden hose before excavating. Walk it in both directions and check sightlines from the house; the most picturesque curve can still be frustrating if it adds unnecessary distance to a frequently used gate or compost area.
6. Make Steps Comfortable With Landings
Where space is tight or a direct route is useful, build a stair run that connects the patio to the lawn or garden below. Repeating the same rise and tread depth makes the route easier to use; generous landings break up a long climb and create natural spots for a light, handrail, or planter.
Match materials to the house and surrounding walls, but give traction and drainage priority over a perfect color match. Avoid stairs that empty directly into a steep path or an unstable planting bed, and make the approach and exit level enough to pause safely. If children, older adults, or visitors will use the route after dark, handrails and low-glare step lighting are practical elements, not finishing touches.
7. Turn a Runoff Route Into a Dry Creek
If water already follows a predictable line down the yard, a dry creek bed can make that route visible and easier to maintain. Arrange varied stone sizes in a shallow, gently curving channel, then soften the edges with plants that tolerate occasional wetting as well as dry spells. The channel should have room to carry the amount of water it receives without spilling onto a path or washing out the bank.
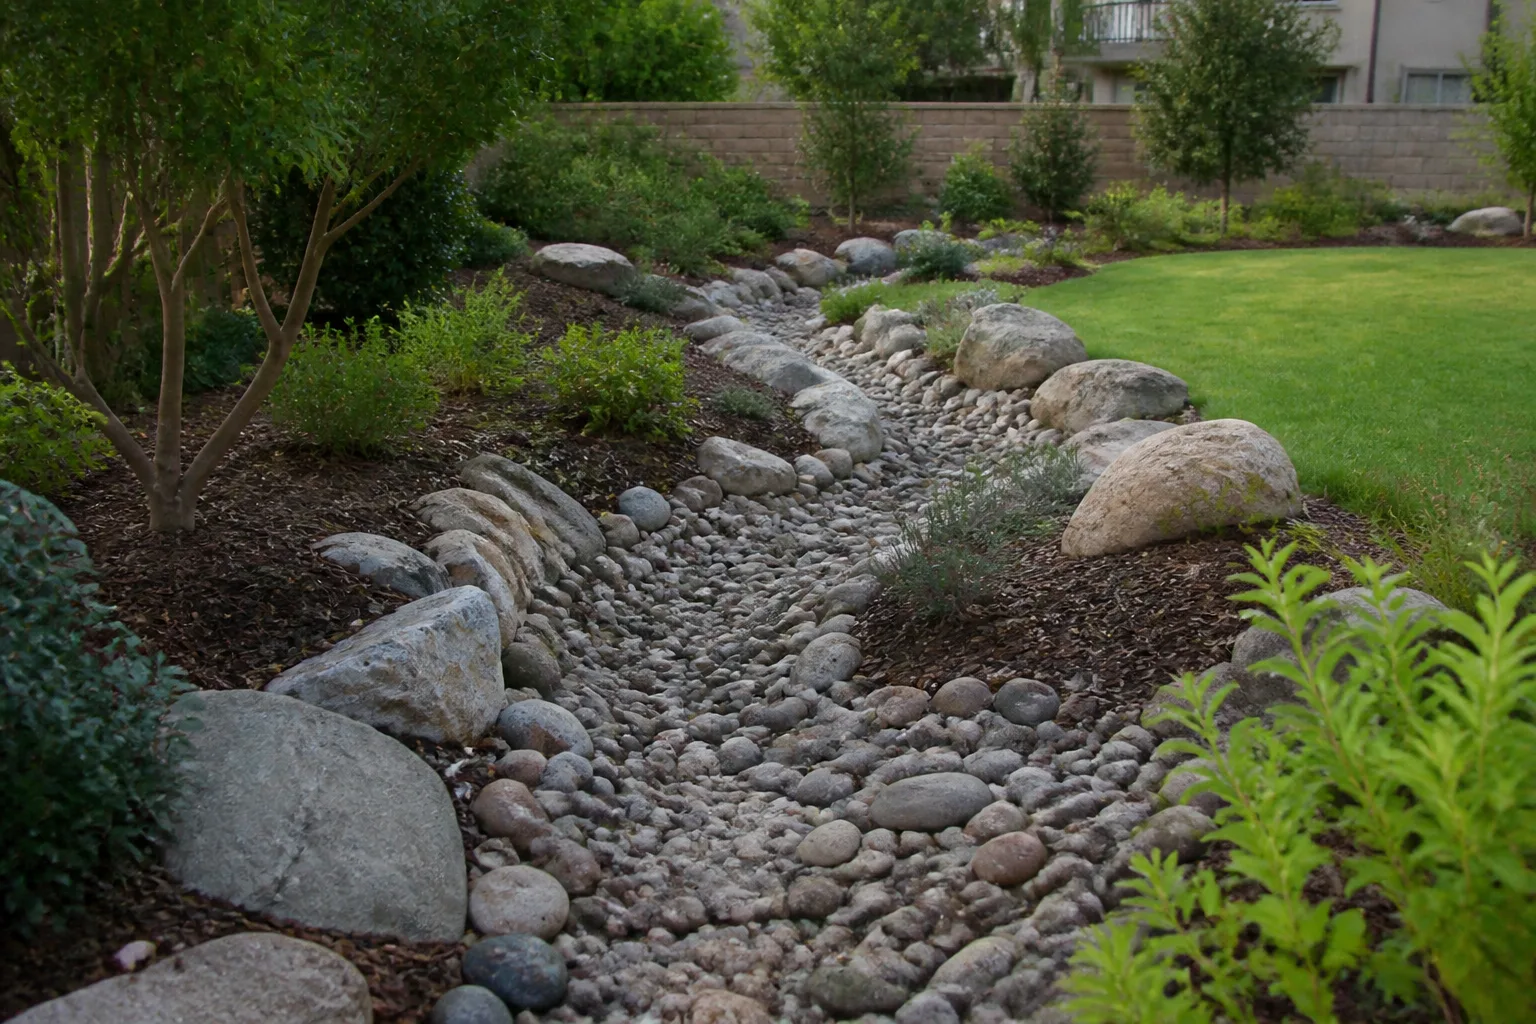
A decorative stone trench is not automatically a drainage solution. Identify the source, estimate where the flow will go during a heavy storm, and make sure the outlet is stable and permitted; concentrated runoff can erode a slope or move the problem to a neighbor’s property. For persistent water, a professional should size and route the drainage rather than simply burying a pipe or adding more rock.
Think of this as a conveyance feature: its job is to move water to a safe, planned outlet. A rain garden has a different job—it temporarily holds water so suitable soil and plants can take it up. A yard may need one, the other, or neither; the visible route after a storm is a better design clue than installing both because they appear in landscape photos.
8. Catch Roof or Patio Runoff in a Rain Garden
A rain garden is a shallow planted basin that temporarily collects runoff and lets it infiltrate. On a sloped property, it may sit downslope from a roof leader or paved area, where it can intercept water before that water crosses the yard. Choose plants for both the wet period after storms and the drier intervals between them.
Do not put a basin beside a foundation or assume every soil can drain one. Check infiltration, utilities, overflow routing, and local guidance before digging. The U.S. Environmental Protection Agency’s rain-garden siting guidance calls for placing these gardens downslope of runoff sources while avoiding water intrusion near basements and crawlspaces, and evaluating whether the soil can drain.
If the slope itself is steep or the runoff is substantial, a level, stable basin may need a designed inlet and overflow.
9. Build a Planted Rock Garden Around Boulders
Large, partly buried boulders can anchor a rock garden and make a steep area feel intentional. Place stones in natural-looking groups and vary their scale; planting pockets between them can hold compact perennials, grasses, or low groundcovers suited to the site. A few larger stones also give the eye places to rest among finer foliage.
Set each boulder securely so it cannot shift downslope, and avoid laying a continuous blanket of loose gravel over bare soil. Rock can protect the surface in selected places, but it does not replace rooted cover or solve water that is flowing through the garden. Use plants in the gaps and maintain access for weeding while the planting fills in.
If the slope is mostly shade, a dry sunny rock-garden palette will struggle even when the stone looks right. Check the light at different times of day, and save the deepest pockets of soil for plants whose roots and mature size fit the space. Avoid burying the crown of a perennial under soil that later washes down from above.
10. Layer Native Grasses, Shrubs, and Groundcovers
For a slope you mostly look at rather than walk on, a planted matrix can use the existing grade instead of forcing it into a series of walls. Choose a locally native palette in overlapping heights—groundcovers and sedges near the soil, flowering perennials or grasses through the middle, and shrubs at the edges or as privacy screens. Varied foliage and root systems cover the soil more completely than a single-species carpet.

Match each plant to the conditions at its exact location: the top of a hill often dries faster, the base may stay wetter, and a north-facing bank can have a very different growing season from a sunny one. Fine Gardening’s planting guidance explains how mixed groundcovers, shrubs, and taller plants can layer rain interception and roots; the Royal Horticultural Society’s sunny-slope plan shows one regional example, not a universal shopping list. Check local invasiveness and mature spread before buying.
11. Replace a Hard-to-Mow Bank With a Meadow
A meadow-style slope trades a close-cut lawn for grasses and flowering plants that can stay in place through more of the year. It is especially useful where mowing feels awkward, the bank is too steep for regular foot traffic, or you want a softer transition to trees. Mississippi State University Extension notes that taller grasses, wildflowers, shrubs, and trees slow runoff more effectively than short lawn grass on steep slopes.
The first season still takes work. Prepare the seedbed without leaving bare soil exposed to heavy rain, use locally appropriate seed, and install temporary erosion-control material if needed while plants establish. A meadow is not a no-maintenance garden: plan for a periodic cut, weed control during establishment, and a crisp edge where it meets a path or patio so it reads as intentional rather than abandoned.
Where runoff is concentrated, seeding alone can leave the ground vulnerable before seedlings root in. A mix of plugs or small container-grown plants can establish visible patches sooner, while a biodegradable erosion blanket or properly placed fiber wattle can protect exposed soil in the interim. UC Marin Master Gardeners advises temporary erosion control during the first years of establishment; the right product and installation depend on the grade and water flow.
12. Grow Fruit or Vegetables Along the Contours
Use a sunny, accessible part of the slope for a small productive garden. Short beds oriented across the hillside can hold vegetables, herbs, or berry shrubs, while a terrace makes tending and harvesting easier. On a gentle grade, contour planting may be enough; on a steeper grade, use properly built raised beds or terraces instead of stacking boards against loose soil.
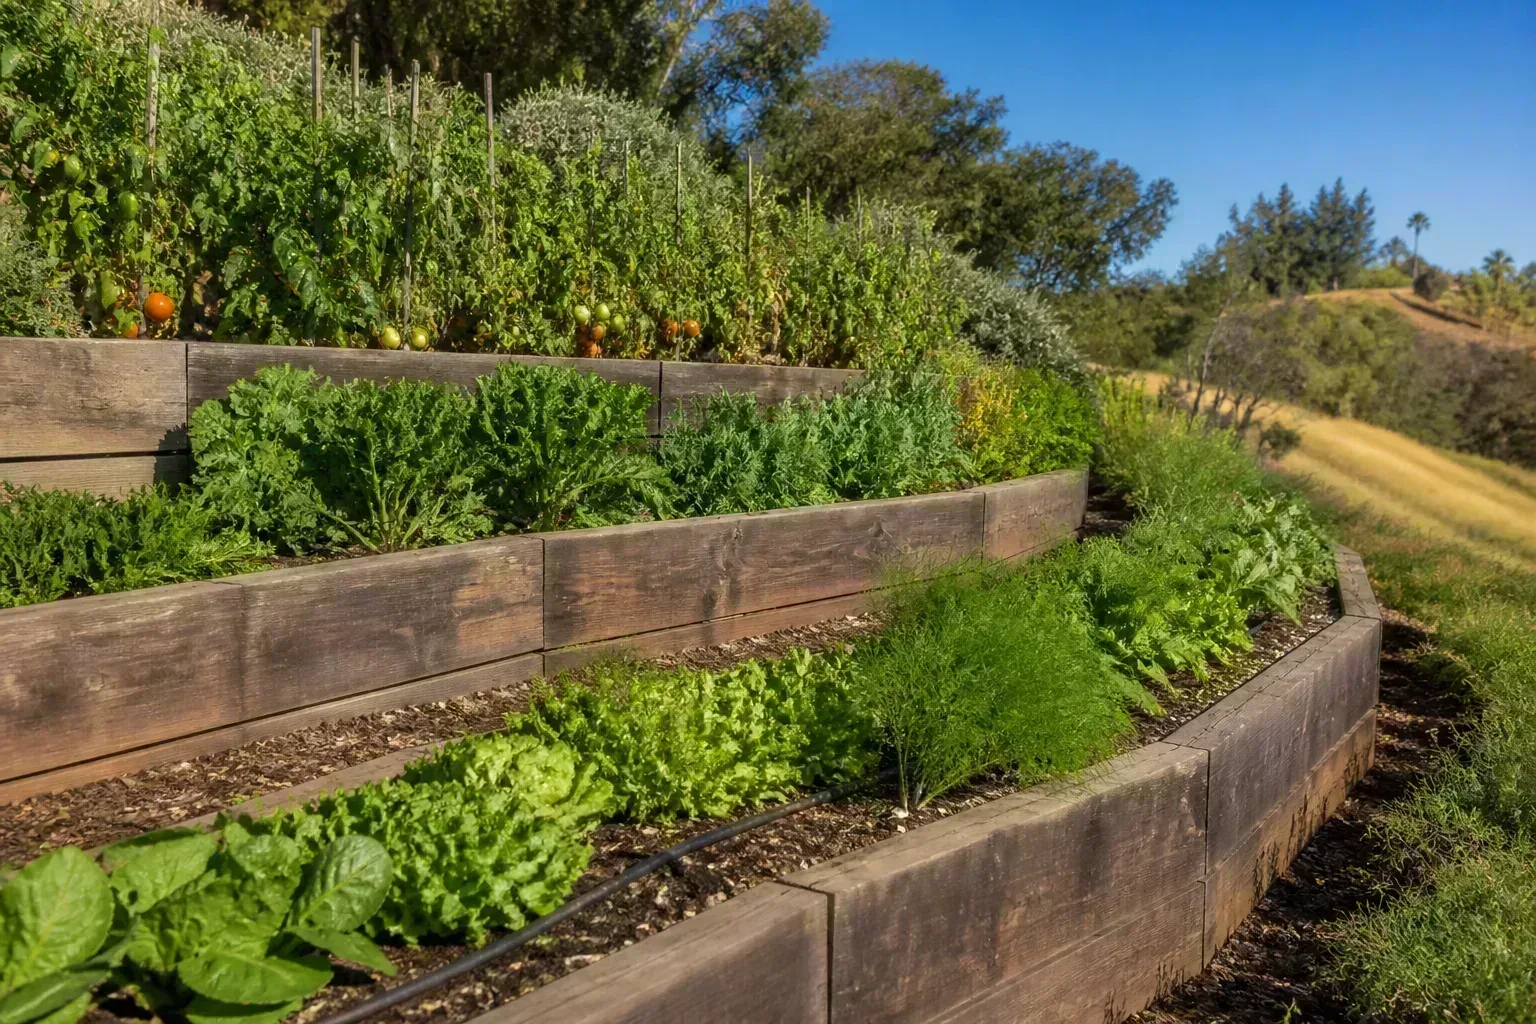
Water reaches sloped beds unevenly, so keep beds level enough for irrigation to soak in and avoid long rows that channel runoff. Choose crops that suit your climate and the hours of sun available, and leave a path wide enough to carry compost and harvest baskets. Start with one bed in the easiest-to-reach location; expanding only after you learn how the site drains is cheaper than building a full series you cannot comfortably maintain.
Perennial fruits can reduce annual bed preparation, but their mature canopy, pruning needs, and harvest access still have to fit the terrace. Keep shrubs and fruit trees away from narrow stair treads and wall drains, where future growth or fallen leaves can obstruct the route. For annual vegetables, a modest bed beside a landing is easier to water and weed than a long row running down the hill.
13. Keep a Small Level Lawn or Play Pad
If your household wants open space for a dog, games, or a child’s play equipment, reserve one compact level area rather than trying to make the entire backyard lawn-flat. Put it where it connects naturally to the house or path, and use the surrounding slope for planted beds, a deck, or a low wall that defines the edge.
A flat lawn still needs a stable base and a route for rainwater. Do not add fill against a fence or wall that was not built to retain it, and do not create a low bowl that sends water toward the house. A broad, gently graded lawn can be practical; a steep lawn often becomes a difficult mowing job and leaves you working at an unsafe angle.
14. Tuck a Seating or Fire-Pit Nook Into a Lower Level
A seating pocket at the foot of the slope can feel sheltered and private, especially when trees or layered shrubs frame the view uphill. A bench built into a low wall or a small paved pad can give you a destination without turning the whole yard into hardscape. Keep the route back to the house obvious and well lit so the nook remains convenient after dusk.
Plan seating for the way people will approach it, not just for the view. A lower nook can feel secluded, but if it is reached only by a steep, unlit staircase it may be used less than a smaller bench beside the main path. Put the main seat on the stable, level part of the site and use boulders or low walls to frame it without creating a retaining structure that has not been designed for soil pressure.
If you want a fire pit, place it on a stable, level, noncombustible surface and follow the appliance maker’s clearances plus local fire rules. Avoid locating it beneath low branches or where smoke will drift into doors and windows. On a slope, the pad and any supporting wall need the same drainage and stability planning as a patio; an attractive fire feature cannot compensate for a shifting base.
15. Use Lighting and Handrails to Make Routes Easier
Lighting can reveal a change in level and make a path easier to follow without turning the backyard into a bright corridor. Use low, shielded fixtures along stairs, landings, and path edges, and aim light at the walking surface rather than into eyes or neighboring windows. A handrail at a steep stair run can add a useful point of contact, while low planting near turns preserves sightlines.

Treat fixtures, cables, and drainage as part of the layout. Keep lights out of channels that carry stormwater, use outdoor-rated equipment, and place the most dependable illumination at transitions where people step up, down, or turn. If the garden is a steep hillside, consult local guidance on fire-smart planting and access as well; UC Marin Master Gardeners’ hillside advice notes that fire can travel uphill faster and recommends keeping walking access level.
Conclusion: Design for the Water Before the View
The best sloped backyard design may be a deck, a few planted terraces, or simply a well-chosen mix of shrubs and groundcover. Start with the yard’s grade, runoff, sun, and the way your household needs to move through it; then use level construction only where a real activity requires it.
Before buying plants or stone, mark the water route, choose one priority area, and decide whether the work changes soil stability or drainage. Let the remaining slope do useful work as garden, meadow, rock planting, or a path. That approach preserves the character of the site and keeps the design focused on the parts you will actually use.


