14 Gravel Garden Ideas That Pair Beauty With Less Water
Explore 14 gravel garden ideas for paths, patios, front yards, and planted beds, with advice on gravel size, drainage, plants, and first-year watering.
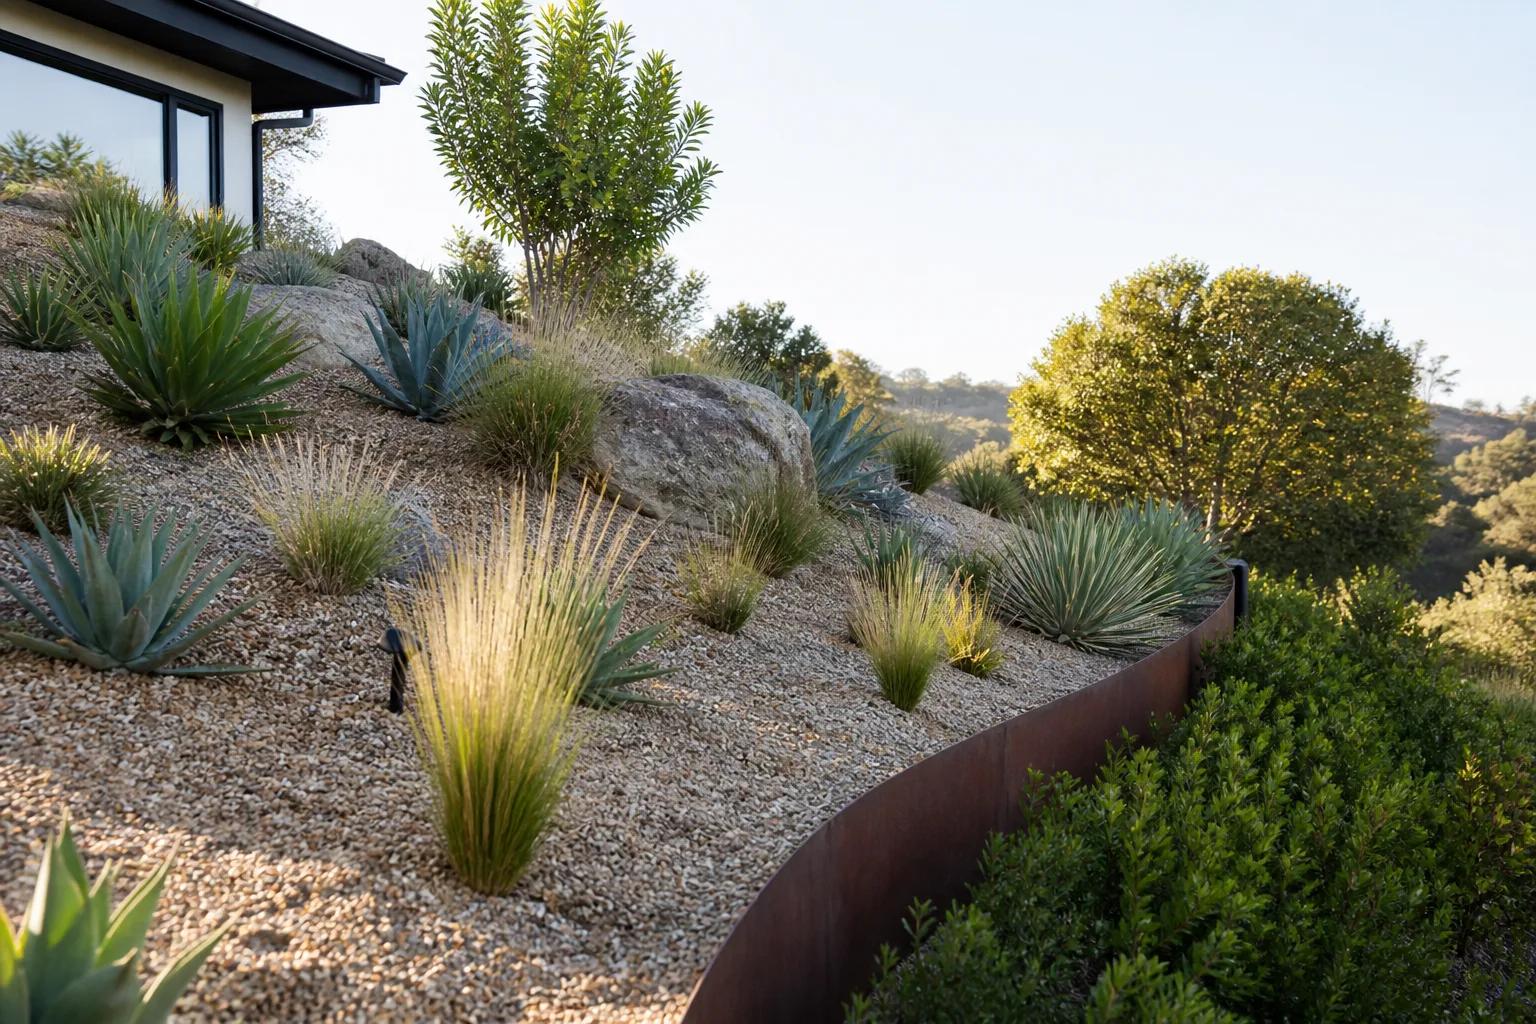
A gravel garden can be a flower-filled border, a calm courtyard, or a walkable space between raised beds. The useful distinction is that the gravel is a surface material within a designed garden, not a substitute for choosing plants, improving a bad site, or deciding where rain should go.
That distinction is why gravel gardens can lower routine watering and still fail if the stone is too large, the planting is poorly matched, or the soil stays wet below the surface. Start with the job you need the space to do, then choose the look, gravel, and plants to fit.
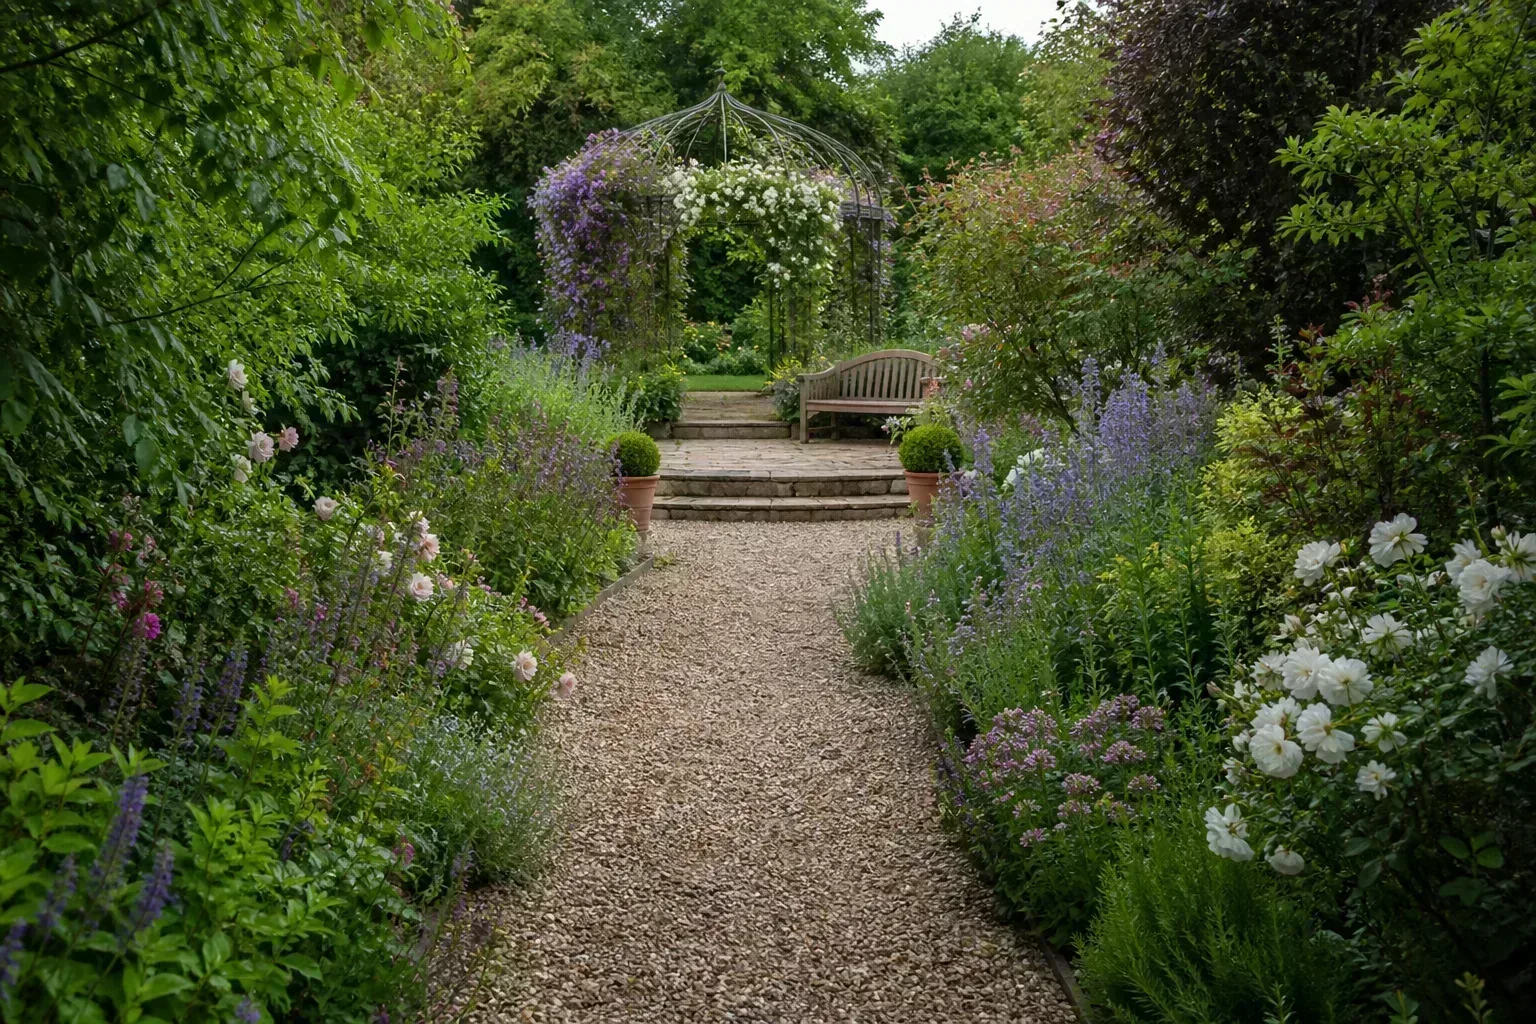
Make a gravel garden water-wise before choosing a look
A good gravel garden begins with conditions, not a shopping list. Note the hours of direct sun, the direction water moves after a storm, whether the soil stays wet in winter, and where heat reflects from walls or paving. These details determine whether a sunny Mediterranean-style bed, a shaded gravel path, or another landscape treatment is likely to work.
Choose plants for the actual soil and local climate. Lavender, thyme, santolina, salvia, yarrow, and ornamental grasses can suit sunny, free-draining beds in the right region; local native or regionally adapted plants may be a better choice where summers are humid, winters are wet, or heat is extreme. The RHS recommends assessing shade, soil type, and garden microclimates before selecting drought-tolerant plants, and its gravel-garden guide cautions that heavy, damp, clay-based sites may not suit many gravel-garden plants (RHS guidance on drought-resistant gardening, RHS guide to gravel gardens).
A gravel surface does not make a plant drought-tolerant overnight. Newly planted perennials, shrubs, and grasses still need regular watering as roots establish; taper that support according to plant response, weather, soil, and season rather than stopping on a fixed date. If a yard has both dry and wet pockets, group plants by water needs instead of forcing one plant palette across the whole space.
Build the surface around roots, soil, and rain
For a planted bed, think of gravel as a top-dressing over prepared soil. Avoid stripping out several inches of healthy topsoil and replacing it with stone: roots still need a suitable growing medium, and a gravel layer cannot correct compacted subsoil or a high water table. Keep small plants and crowns visible above the surface so gravel does not smother them.
Size matters because “gravel” can mean fine pea gravel, angular chips, decomposed granite, slate, or large rounded cobbles. The RHS describes fine grades as 10 mm or less and chunkier grades as 20 mm or more; medium angular gravel is generally easier to walk on than small rounded shingle or very large cobbles. As a planted-bed benchmark, its gravel-garden guide estimates that a 25 kg bag covers about 0.6 square metres at a 5 cm depth, but check the supplier’s coverage because stone shape and density vary (RHS guide to gravel gardens).
| Surface choice | Best use | Main caution |
|---|---|---|
| Fine gravel or pea gravel | Thin mulch over a dry, planted bed | May roll or shift under frequent foot traffic |
| Angular medium aggregate | Walkways and edges that need more grip | Needs containment and a stable base |
| Large stones or cobbles | Accent, edging, or sculptural points | Poor substitute for a fine mulch; can shift water and obstruct planting |
| Decomposed granite or fines | A compacted, informal path | Can wash or compact unevenly if the base and grade are wrong |
Think about how the bed must change over time. If you regularly divide perennials, sow annuals, or dig compost into the surface, gravel is a heavy mulch to rake aside; choose organic mulch in those areas or reserve gravel for paths and permanent borders. If you want a stable perennial bed, install plants first and let the planting knit together instead of planning on frequent excavation. The RHS also advises avoiding limestone chippings around acid-loving plants, so check the stone’s composition as well as its color before buying.
Extension advice on rock mulch can sound contradictory because it does not always describe the same material or growing conditions. Colorado State University Extension’s review summarizes research in which small gravel mulch reduced evaporation and suppressed weeds, while larger rocks increased runoff; it also notes that gravel transfers more heat to underlying soil than wood chips. North Dakota State University Extension warns that rock mulch can trap heat and scorch plants, a real risk in exposed, hot sites. Taken together, the guidance supports using appropriately small gravel only where the climate and plant palette fit, and avoiding a blanket layer of large decorative rock around plants (Colorado State University Extension, GardenNotes 245, North Dakota State University Extension).
Do not assume gravel alone will suppress every weed. A dense, correctly planted bed, hand removal while weeds are small, and a surface layer that stays at its intended depth are part of the maintenance plan. The RHS suggests fabric when you do not want plants to self-seed, while Colorado State Extension cautions that woven plastic fabric can clog and weeds can root on top of or through it; for a planted bed, decide whether you prefer less early seedling emergence or easier future replanting rather than treating fabric as automatic (RHS gravel-garden advice, Colorado State University Extension, GardenNotes 245).
If you add drip irrigation, run it under the surface layer and check that water reaches each root zone instead of assuming a wet-looking gravel surface means the soil is moist. Move a small handful of stone aside after a cycle and feel the soil below; adjust emitter placement or run time if only the top is damp. Separate plants that need occasional supplemental water from thirstier containers or seasonal flowers so a low-water bed does not end up on a watering schedule set for its most demanding plant.
Keep water movement in the plan. A permeable surface can let rainfall reach the ground, but compacted clay, a shallow hardpan, a steep slope, or a downspout can still cause pooling or erosion underneath it. Before laying a large area, watch the site during rain and note where water collects or exits; direct roof runoff to a suitable planted area or rain garden instead of sending it across a path or toward a foundation. The RHS describes rain gardens as a planted way to manage runoff from hard surfaces, but their suitability depends on slope and soil drainage (RHS rain-garden guidance).
For paths and patios, use a material and base intended for walking, not the same loose top-dressing used around perennials. Contain the edges, keep finished surfaces away from door thresholds, and consider whether strollers, carts, canes, or wheels need a firm route. Around a deck or balcony, loose gravel can block drains and add substantial weight, so use it only within a contained planter or where the structure and drainage have been designed for it.
14 gravel garden ideas for different garden jobs
The best gravel garden ideas solve a particular problem: a planting bed needs a drier-looking finish, a path needs to stay usable after rain, or a front yard needs a lawn alternative. Repeating a small number of plants and gravel colors usually looks more intentional than filling every opening with a different rock or plant.
1. Build a Mediterranean-style gravel courtyard
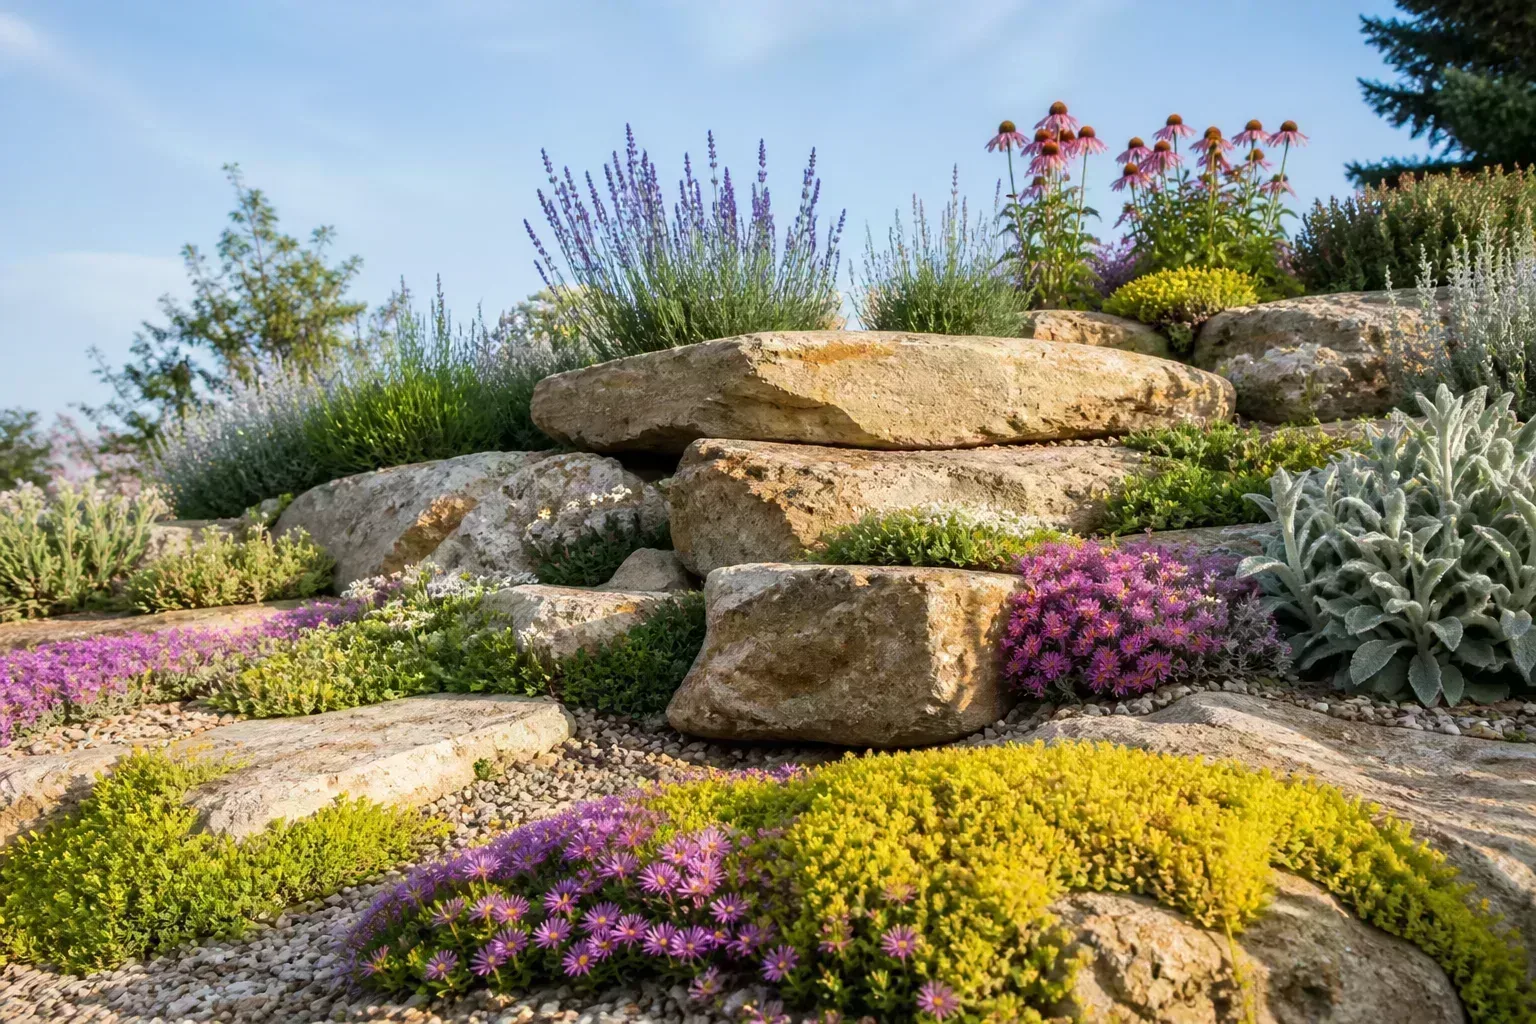
Use a gravel courtyard to make a sunny, enclosed space feel warm and relaxed. Pale local gravel, a simple seat, and repeated drifts of lavender, thyme, santolina, or drought-adapted grasses create a coherent palette; choose cultivars only after checking winter hardiness and summer humidity for your area.
The courtyard does not need to be empty to look water-wise. A narrow planted edge or one small tree can soften the stone, but keep thirsty plants together where you can irrigate them without wetting the entire surface. In a cold or rainy climate, use the courtyard idea as a material and color cue rather than copying a desert plant list.
2. Use gravel as mulch in a planted border
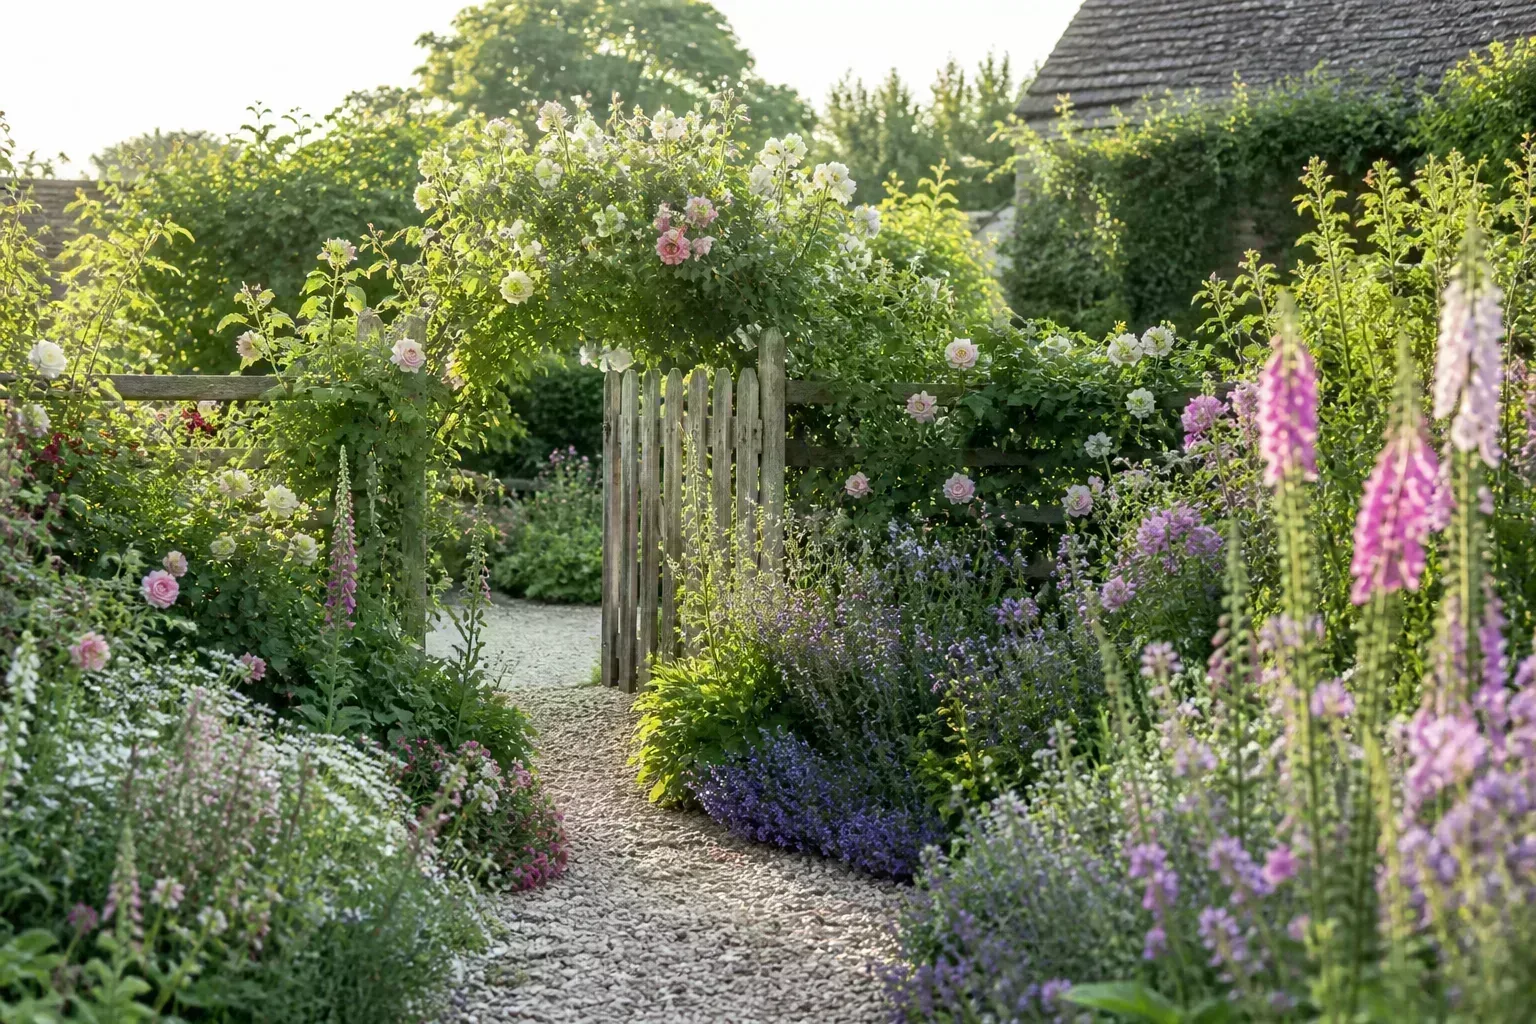
A gravel-mulched border keeps the planting as the main event while giving the open soil a mineral finish. Arrange plants in repeatable groups—such as silver foliage, flowering perennials, and a few grasses—then let the shapes overlap as they mature, so gravel reads as a deliberate ground plane rather than bare leftover space.
Keep gravel off vulnerable crowns and stems, especially on small alpines or low-growing plants that can be buried by a thick layer. A thin, even surface dressing can help reduce exposed soil and weeds, but it still needs occasional topping up and hand-weeding. Choose gravel over organic mulch when the plants and climate benefit from a free-draining mineral surface, not simply because gravel is marketed as maintenance-free.
3. Put permeable paths around raised beds
A narrow gravel lane between raised beds creates a dry place to kneel, harvest, or wheel a small cart. Medium angular aggregate holds its position better than very round pea gravel, and a clear edge—brick, timber, or metal—keeps stones from migrating into the growing beds.
The path should be wide enough for the way you work. If you use a wheelbarrow or walker, loose stone can be tiring or unstable; a firm compacted path or stepping pads set into gravel may suit better. Grade the path so runoff does not drain into the raised beds and saturate them after a downpour.
4. Make a quiet sitting garden with stone
Create a small retreat by widening one gravel path into a sitting pocket. A low stone seat, a bench, or one broad boulder can serve as the focal point, while grasses and flowering perennials provide movement around its edge. Keep a clear, firm approach to the seat so the space stays comfortable to use rather than becoming a decorative island.
Stone can absorb and reflect heat in full sun, so test the seat location at the hottest part of the day before committing. If the site bakes, add a deciduous canopy or place the sitting area in afternoon shade, and choose plants that tolerate reflected heat. A few taller plants can frame the view without blocking airflow or the route through the garden.
5. Create a gravel terrace for outdoor dining
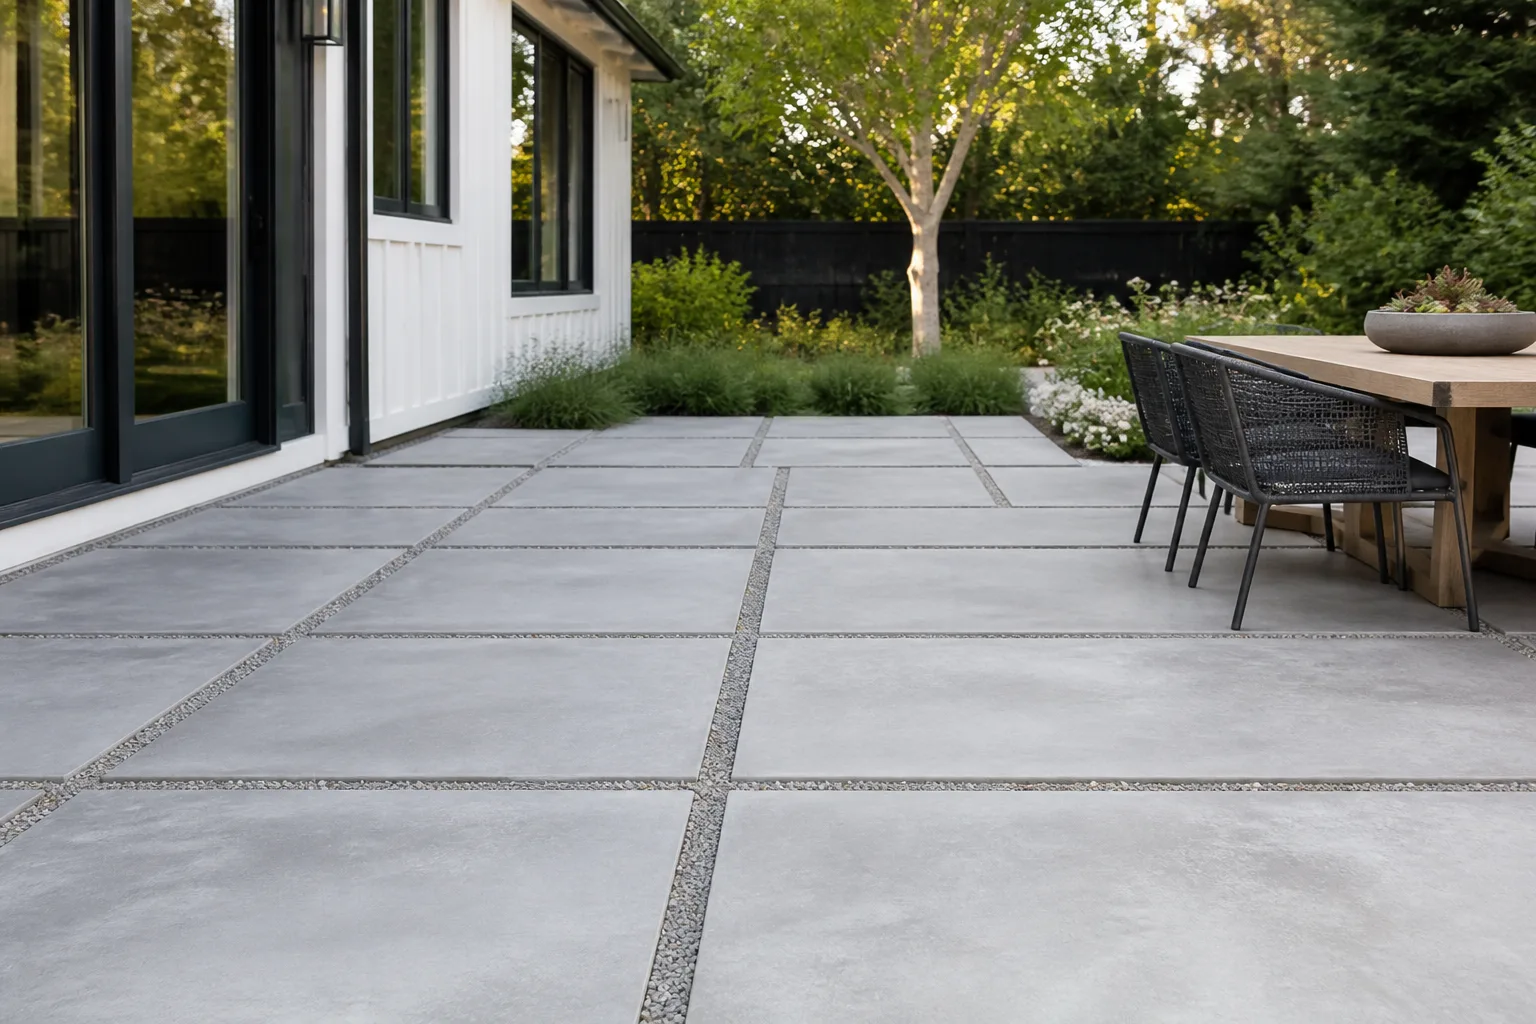
A gravel terrace can define an outdoor dining zone without laying one large slab. For a stable table and chairs, use a compactable aggregate or combine paving pads with gravel joints; keep chair legs on a level surface and choose feet that will not sink into loose stone. A subtle change in gravel color or border can separate the dining zone from planting beds.
A fully loose surface is not ideal for every gathering space. It may scatter under chairs, feel uneven for anyone with limited mobility, and transfer more heat than a planted lawn or shaded patio. Fine Gardening’s discussion of gravel-garden design shows how the material can support a lush, naturalistic landscape, but the hardscape still needs to match how people will move and sit in it (Fine Gardening’s gravel-garden design overview).
6. Guide foot traffic with stepping stones
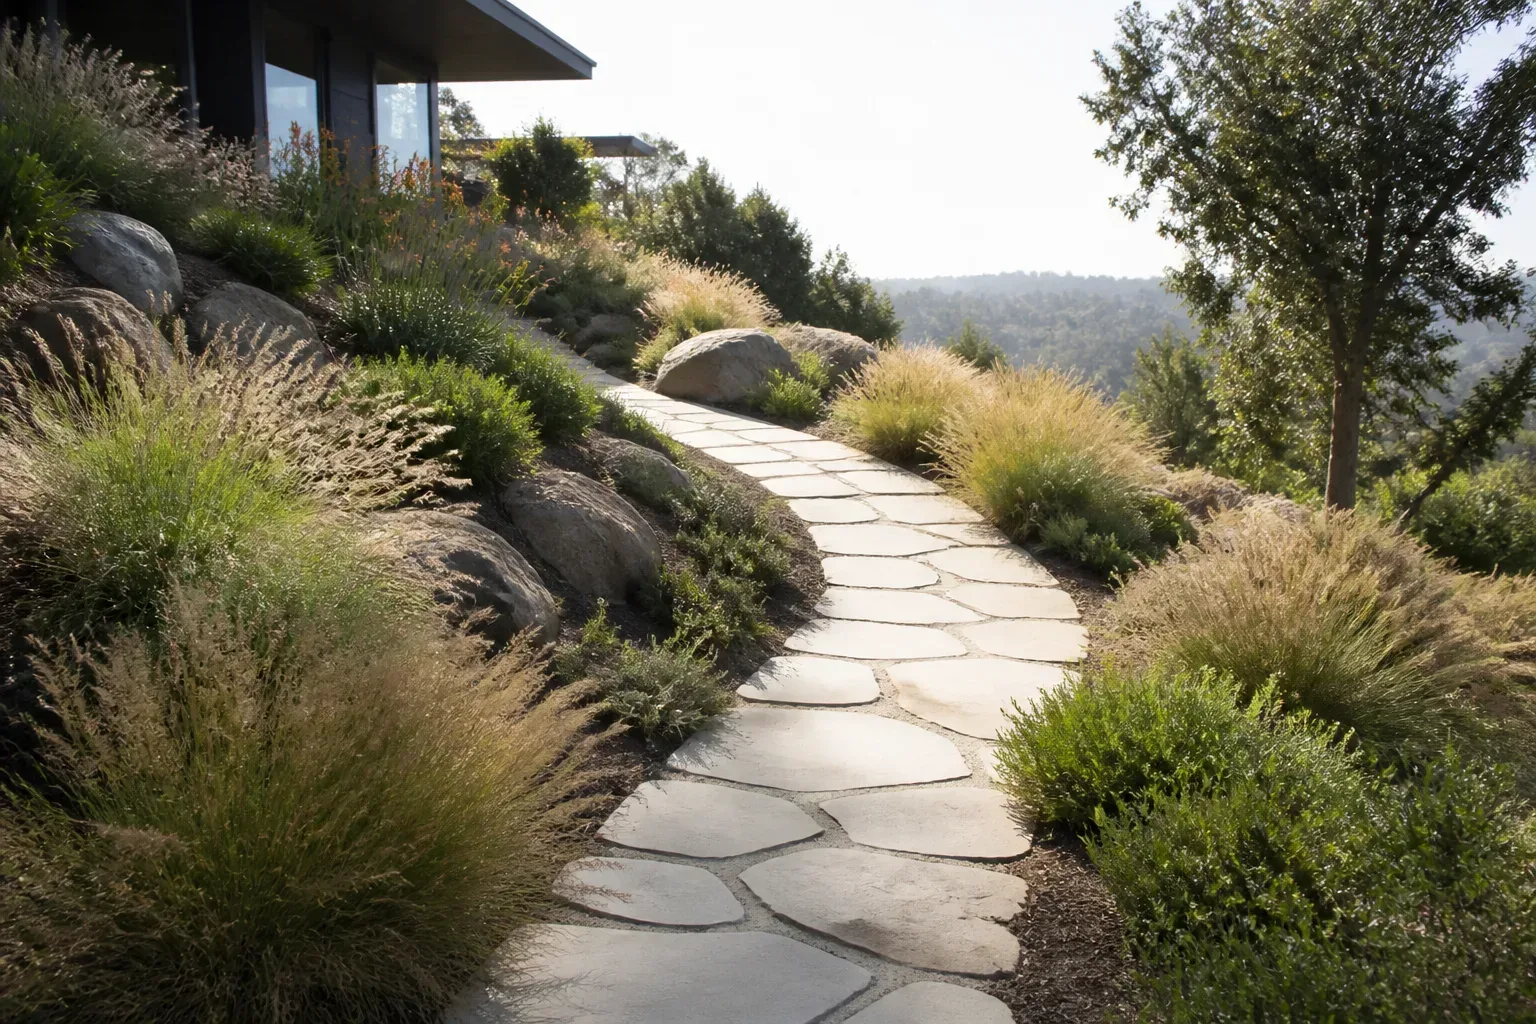
Set flat stepping stones through gravel to make a clear route that protects nearby planting. Choose stone widths and spacing that fit a comfortable stride, lay each stone on a stable base, and keep its top close to the surrounding grade so it does not become a trip edge. A gentle curve can slow the walk and make a small yard feel longer.
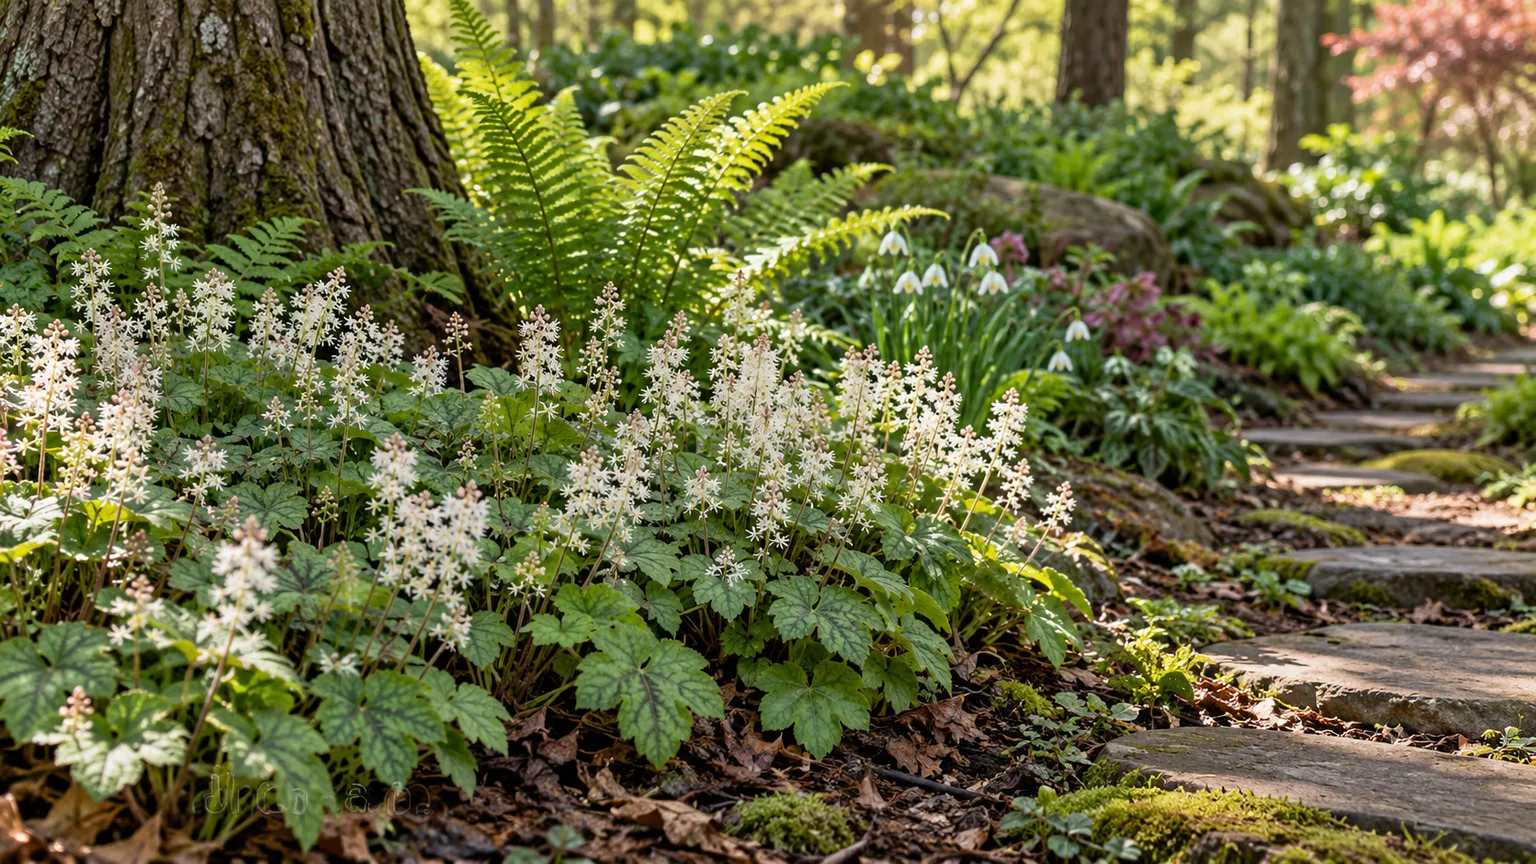
Use a defined route instead of paving every shortcut. That gives groundcovers and small plants room to spread while keeping the high-use line firm. On a slope, do not rely on loose gravel as the only walking surface; steps, edging, and runoff control need to be planned together.
7. Bring the gravel-garden look to a deck or balcony
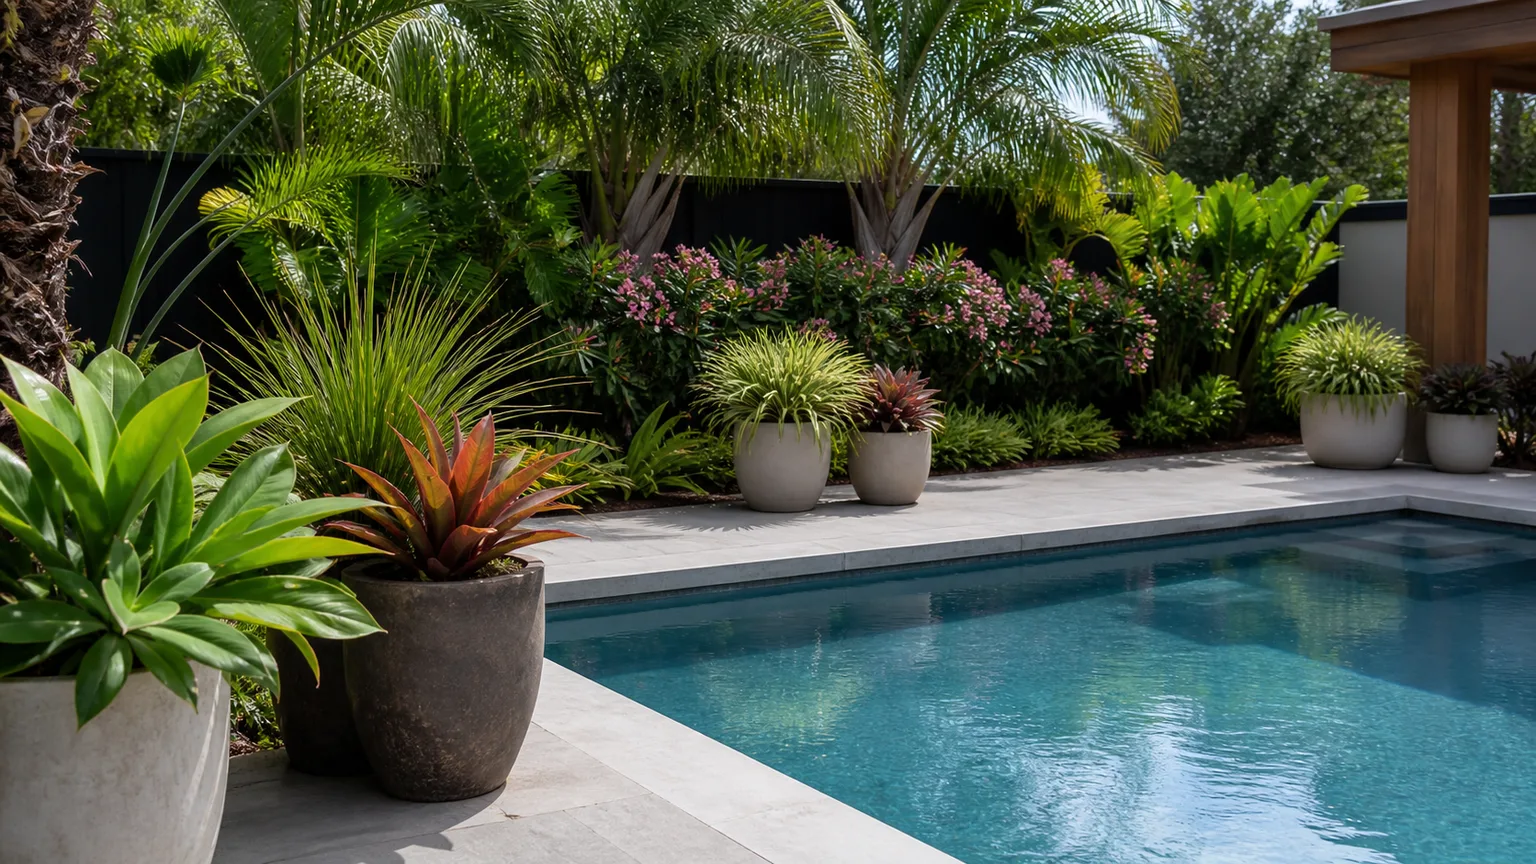
On a deck or balcony, create the same visual effect with troughs and grouped containers topped with a light layer of gravel. Pots let you choose a free-draining mix for lavender, succulents, or compact grasses without covering the deck surface in stone, and you can rearrange them as sunlight shifts.
Treat the structure as a limiting factor. Gravel is heavy, water-filled containers are heavier, and a balcony drain must remain open; check the building’s load limits before adding large planters, and use trays that do not trap water against the deck. A gravel border at ground level beside a deck is safer than a loose gravel bed on top of it.
8. Plant a cactus and succulent garden
A cactus or succulent garden works best where the light, winter temperatures, and soil drainage match the plants. Use repeated silhouettes—upright agave or yucca where hardy, rounded barrel forms, and low groundcover succulents—rather than mixing species with completely different moisture needs. In regions with freezing or wet winters, select locally hardy plants and place vulnerable species in movable pots.
The surface gravel should not be mistaken for the growing medium. Roots need a suitable mineral-rich soil mix below it, and recently planted specimens need water while roots move into surrounding soil. In humid or rainy climates, a raised mound or rock-garden pocket may improve drainage, but it will not rescue a plant that is fundamentally unsuited to the local climate.
9. Frame entry steps with contained gravel pockets
A small gravel pocket beside an entry step can make a hard transition feel planted and intentional. Use a narrow edging strip to keep stones off the tread, then add one compact, site-appropriate plant or a low clump of grass rather than crowding a tight walking area. A contrasting gravel tone can echo nearby stonework without requiring a large bed.
Keep the surface level below the step and direct water away from the house. Do not let loose gravel spill onto a landing, where it becomes a slip or trip hazard, and do not cover drain openings or the base of siding. This idea is especially useful for awkward corners where a full planting bed would be too narrow to maintain.
10. Replace a low-use lawn area with a planted front yard
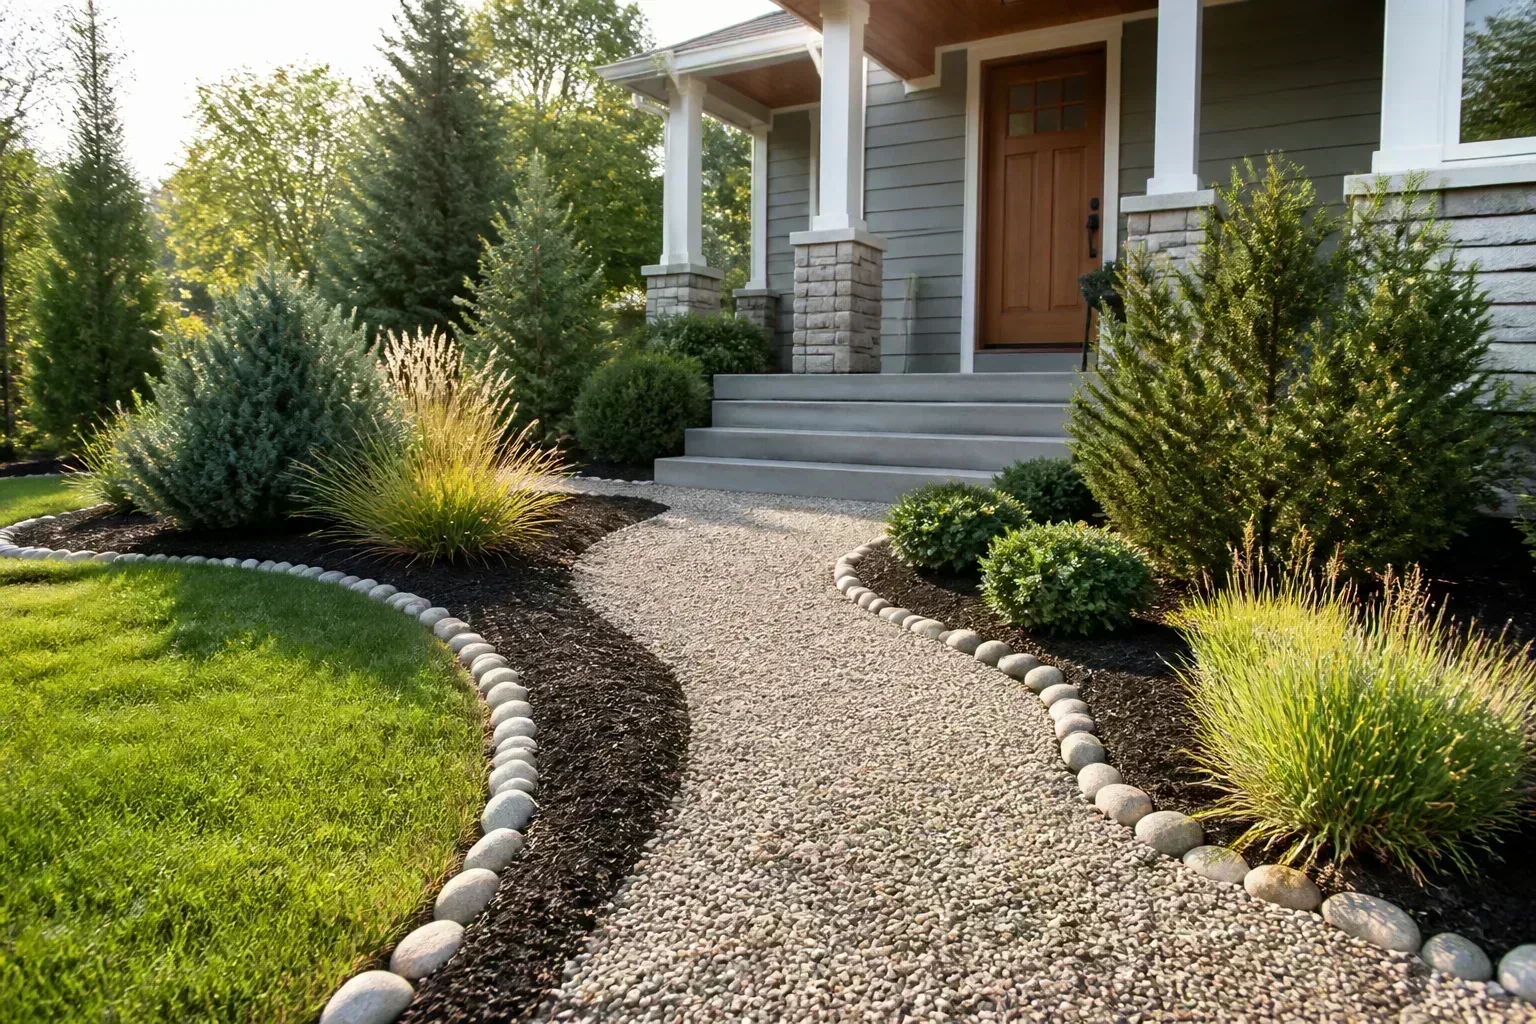
Turn the strip of lawn you rarely use into a planted gravel border instead of converting every green space at once. A curved edge, a few repeated drought-adapted shrubs, and flowering groundcovers can frame the entrance while leaving a functional patch of lawn for play or pets. Use species suited to the local rainfall and soil rather than importing a generic desert palette.
A staged conversion is easier to judge and less expensive to correct. Start with one sunny, low-traffic section, live with its summer heat and maintenance needs, and expand only if the surface works. Preserve existing tree roots and use mulch or shade-tolerant planting beneath established trees rather than excavating a large root zone for gravel.
11. Scale up with naturalistic drifts
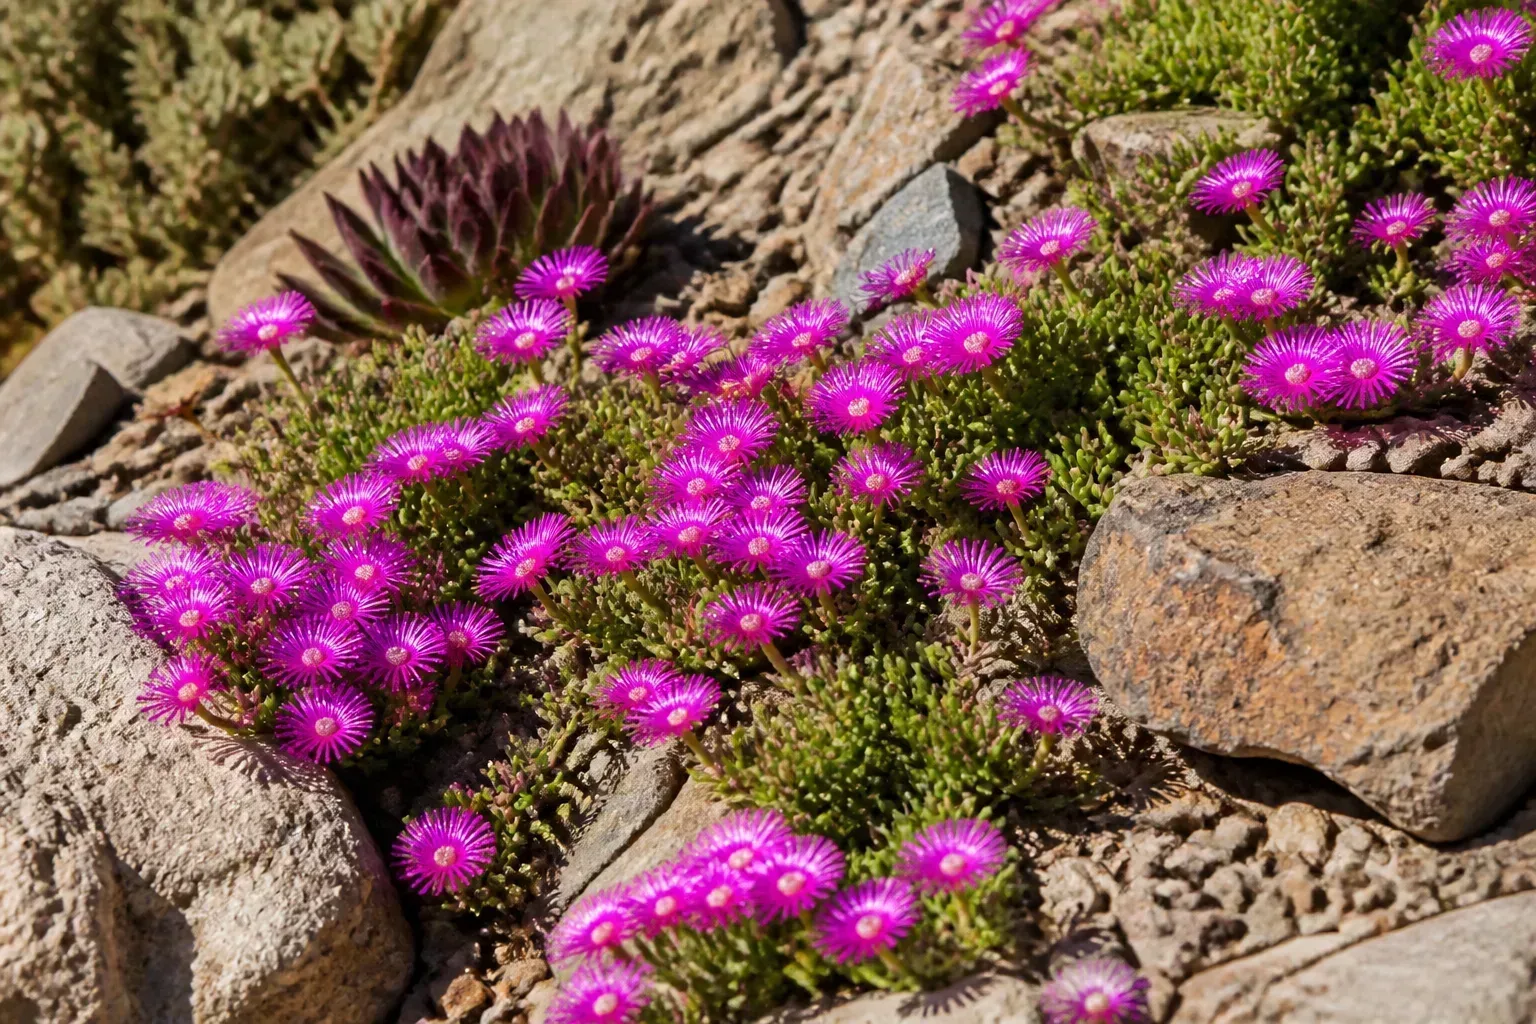
A large gravel garden feels generous when plants form drifts rather than isolated dots. Repeat a few anchor plants—perhaps upright grasses, rounded evergreen shrubs, and long-blooming perennials—in broad groups, then weave a lower groundcover between them. This produces structure through foliage, shape, and seasonal change even when flowers are not in bloom.
Gardenista’s account of Beth Chatto’s gravel garden describes using soft curves, triangular groupings, contrasting textures, and selective editing of self-seeders. Those are useful design tools at home too: mark bed curves with a hose, repeat plants in groups of three or five where space allows, and remove seedlings that begin to dominate. Jeff Epping’s Fine Gardening overview also emphasizes naturalistic planting at different landscape scales (Gardenista’s gravel-garden design notes, Fine Gardening’s gravel-garden design overview).
12. Use gravel planting around an existing retaining wall
Plant the top or lower edge of an existing retaining wall with small, well-drained pockets of gravel and drought-adapted plants. Spilling groundcovers can soften the stone face, while compact grasses or flowering perennials add color without hiding the wall’s structure. Keep access clear for inspection and repair.
Do not pile gravel against the wall as a substitute for drainage design. Retaining walls may rely on specific drainage outlets or backfill; covering weep holes or redirecting water behind a wall can create costly problems. If the wall is leaning, cracking, or holding a tall slope, resolve that structural issue before adding planting or hardscape.
13. Group containers in a small gravel courtyard
A cluster of pots lets renters and small-space gardeners get the gravel-garden look without building a permanent bed. Place larger containers at the back, smaller ones near a path, and repeat one material—terracotta, stone, or dark metal—to keep the display unified. A loose gravel ground plane can visually connect the pots if the courtyard is on soil and has a clear edge.
Container roots cannot draw moisture from surrounding ground, so they usually dry faster than an in-ground planting. Use potting mix suited to each plant, leave drainage holes open, and monitor moisture during heat waves. A thin gravel top-dressing may reduce splashing and tie the containers into the design, but it does not replace a sound watering routine.
14. Create a focal-point gravel oasis
Make a small gravel oasis around one sculptural boulder, a birdbath, or a compact specimen plant. A circular or oval bed gives the focal point breathing room; a simple ring of low plants at the edge can soften the boundary and link it to the rest of the yard. Pick one gravel color and one or two plant textures so the arrangement feels calm rather than busy.
If the focal point is a tree, do not excavate or heap stone against its trunk. Keep the bed shallow over the root zone and retain a visible gap around the trunk flare; roots need air and water, not a deep decorative mound. The oasis works especially well at the end of a path, beside a patio, or in a lawn corner that is hard to mow.
Conclusion
A gravel garden is most successful when gravel, plants, and water movement are planned as one system. Choose small surface aggregate for planted areas, a stable and contained material for paths, and a locally appropriate plant palette; then test how the site behaves before converting a large area.
Use one or two of these ideas to solve a real yard problem, not just to cover bare ground. Expect to water new plants while they establish, weed selectively, refresh gravel as it settles, and change the design if the site proves too wet, hot, or steep for the plants you want.