Attached Greenhouse Pros and Cons
Learn how an attached greenhouse differs from a sunroom or freestanding house, what it costs to plan, and how to manage light, heat, ventilation, and moisture.
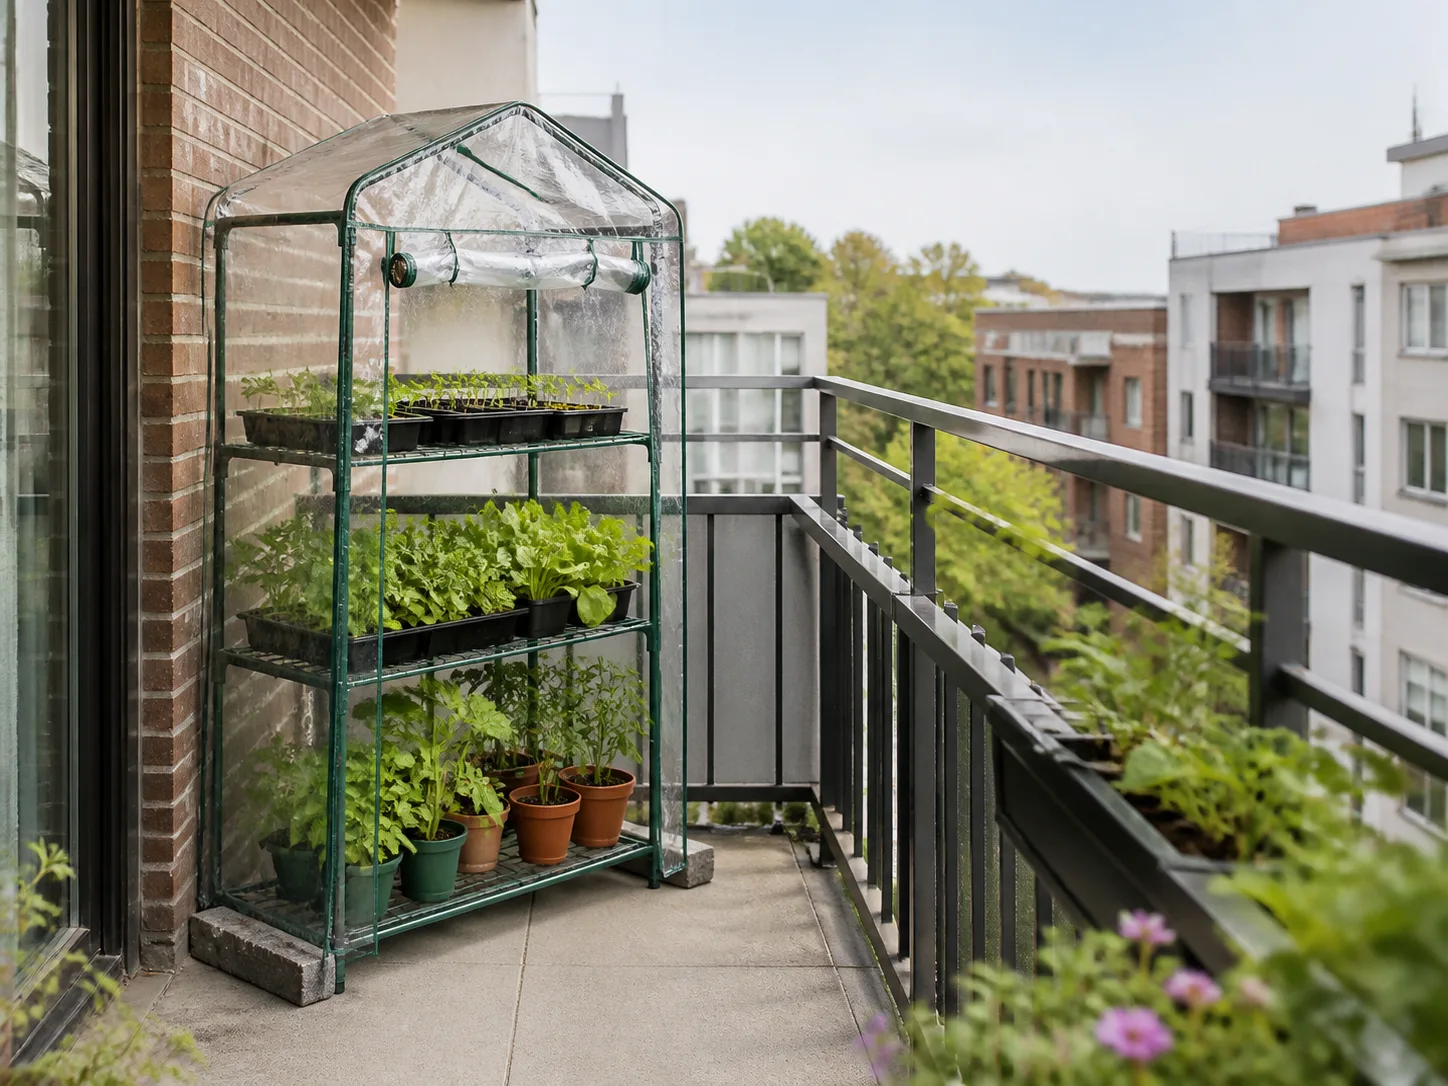
An attached greenhouse can make plant care feel effortless: step through a door, check seedlings during a storm, and work without crossing a cold yard. It also brings glass, irrigation, heat, pests, and daily humidity right up to a house wall. The design can be an excellent use of a sunny narrow side yard, but only if the connection is planned as carefully as the greenhouse itself.
The most useful question is not simply whether an attached greenhouse is cheaper or more convenient. Ask whether your house has a wall with enough usable sun, whether you can keep water out of the home, and whether you want a plant-growing space or an occupied sunroom. Those answers determine the type, budget, and professional help the project needs.
What an attached greenhouse is
An attached greenhouse is a plant-growing structure that shares a wall with a home or another building. A lean-to is the most familiar version: it has a sloping roof and one long side connected to the building, with glazing across its roof and remaining sides. Some versions have an exterior door only; others have an interior door, but that opening does not automatically make the greenhouse part of the home’s conditioned living area.
The distinction matters. A greenhouse is managed for plant light, air exchange, irrigation, and seasonal temperature swings. A sunroom or conservatory is designed for people to occupy, with different expectations for insulation, comfort, glazing, safety, and code compliance. Kit labels do not determine a project’s local classification, especially when it modifies an exterior wall, adds utilities, or creates a finished room.
A structure placed close to the house is not necessarily attached. A portable greenhouse standing beside a wall may be easier to remove and may avoid some connection work, but it still needs a stable base and appropriate anchoring. A true attached greenhouse transfers wind and roof forces through a designed connection and creates a weather-sensitive joint where the greenhouse meets the home.
Common attached greenhouse designs
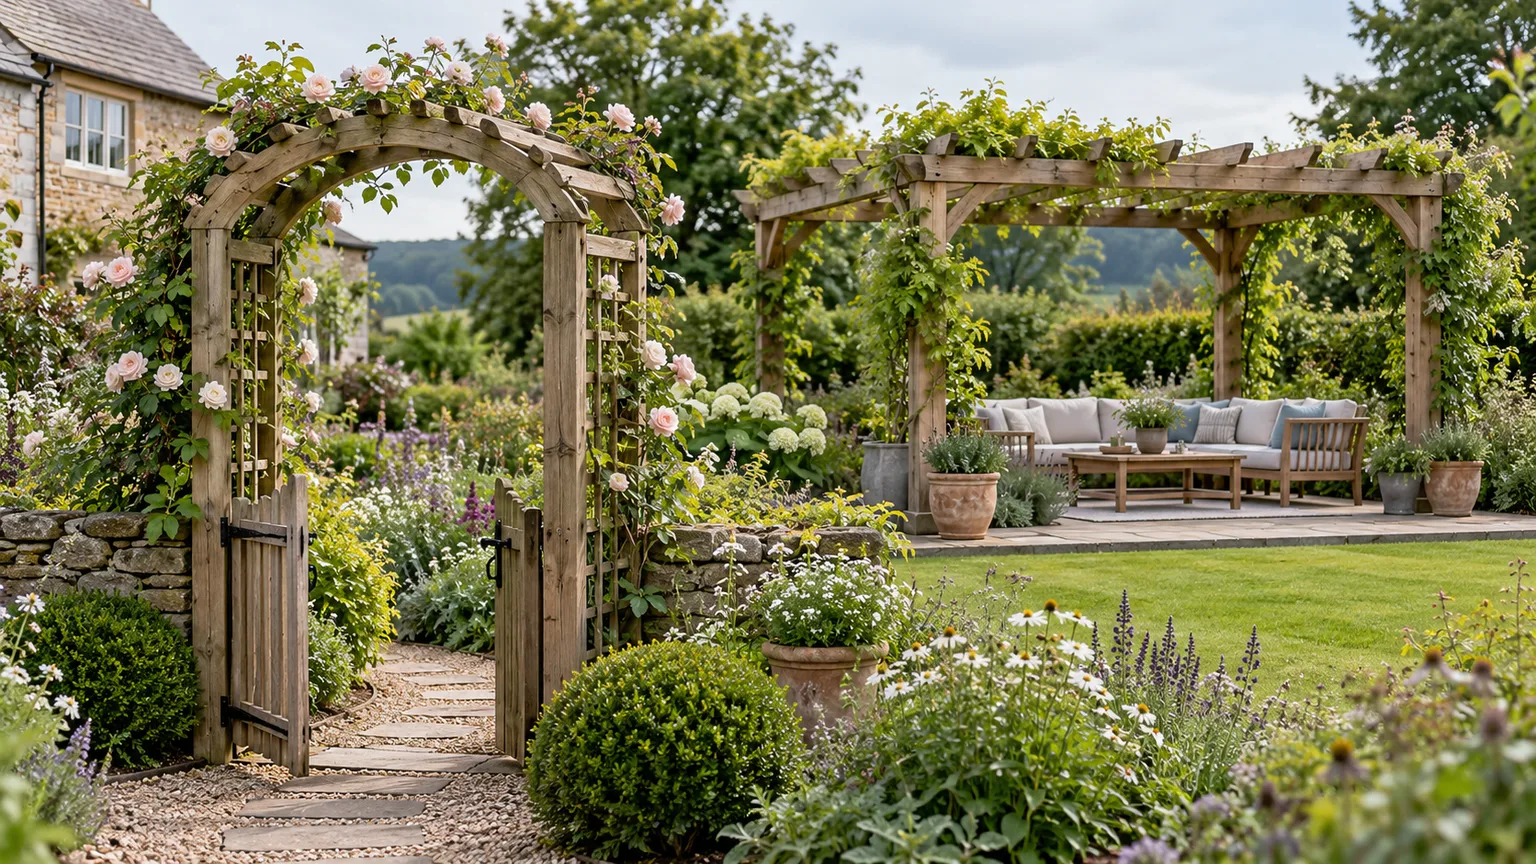
A lean-to greenhouse uses the house as one side of a narrow growing space. It can fit along a garage, kitchen, or utility-room wall, and it often makes good use of a strip of yard that is awkward for other purposes. A kit may be quick to assemble, but the roof-to-wall junction, support, drainage, and anchoring still need to match the house and the local weather.
A conservatory-style greenhouse has more transparent walls and may be designed as a bright room that also houses plants. The more it is intended for everyday human use, the more important it is to confirm whether it should be designed and permitted as a room addition rather than as a basic greenhouse. Expect higher requirements for comfort and safety than a simple plant shelter.
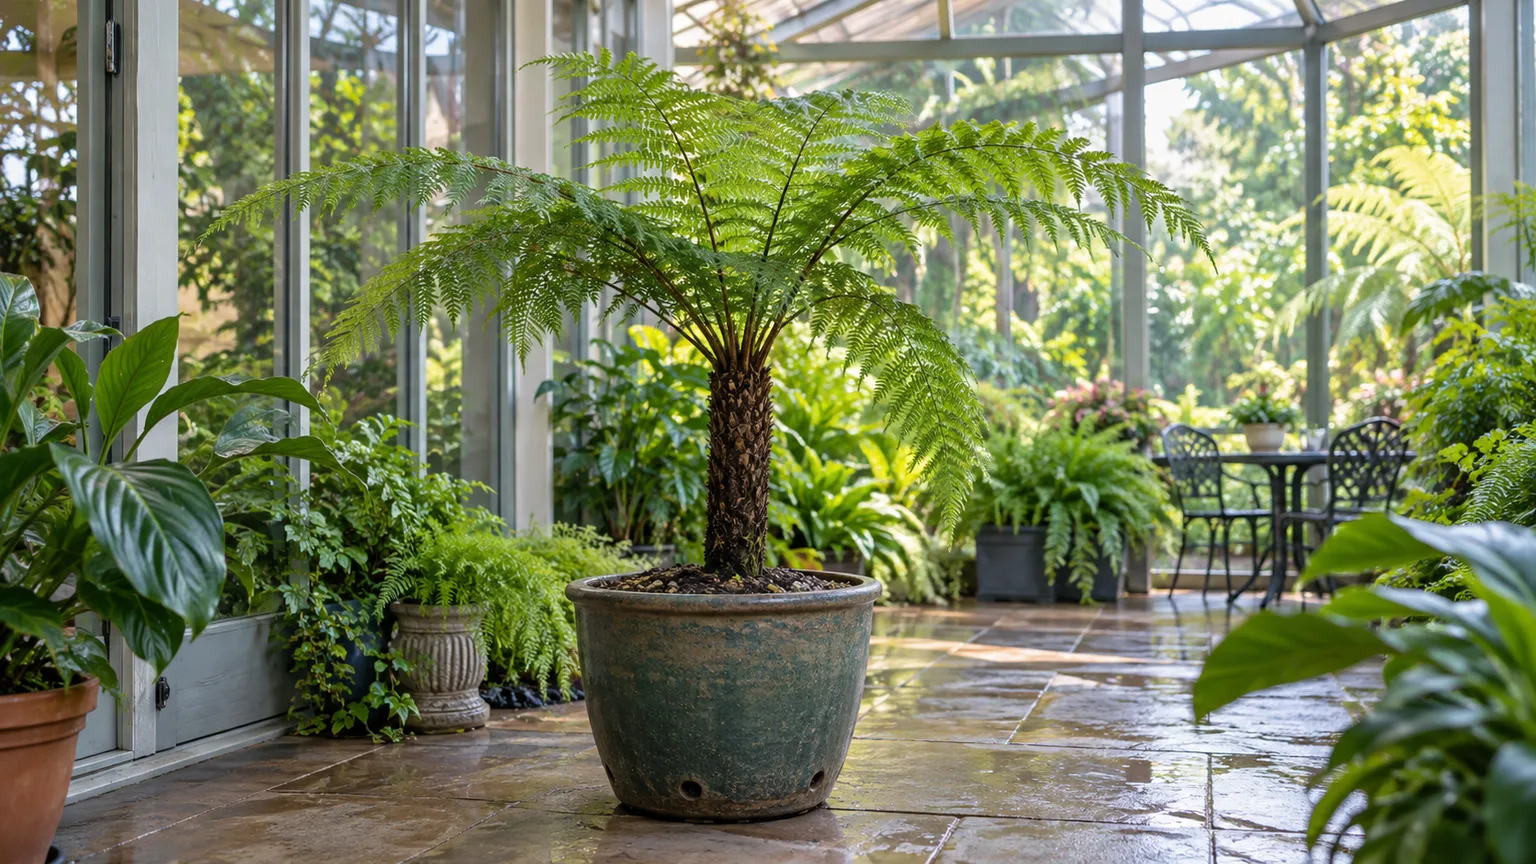
A solar or thermal-buffer greenhouse is deliberately designed to collect, store, and manage solar heat. It may use insulated walls, thermal mass, operable vents, or controlled openings to the house. These features can make it more complex than a conventional lean-to, and a single successful build in a different region is not a transferable heating plan. Mother Earth News describes one solar-heated greenhouse/guest-house project with thermal mass and insulated construction, illustrating how much design sits behind claims about storing or sharing heat (Mother Earth News’ greenhouse project).
Attached greenhouse vs. freestanding greenhouse vs. sunroom
These structures overlap visually, but solve different problems. An attached greenhouse emphasizes growing access and may share one building wall; a freestanding greenhouse is separate from the home; a sunroom is intended for people to sit in comfortably. A conservatory may be a glazed room with plants, but “conservatory” does not tell you whether it has greenhouse conditions or room-level insulation.
| Feature | Attached greenhouse | Freestanding greenhouse | Sunroom or conservatory |
|---|---|---|---|
| Main job | Plant growing near the house | Plant growing away from the house | Comfortable human use, often with plants |
| Footprint | Uses a wall-side strip; one fewer exposed side | Needs its own site and access around the structure | Usually expands the home’s usable indoor area |
| Daily access | Convenient if an appropriate door is included | Requires going outdoors | Direct indoor access is typical |
| Sun exposure | House, eaves, and roof can shade it | More flexibility to orient all sides | Glazing and shading are balanced for occupancy |
| Main construction concern | Weather-tight, engineered wall and roof connection | Foundation, anchoring, and exposure | Room addition structure, insulation, glazing, and code |
| Climate control | Often needs active venting and may not share house HVAC | Separate systems or unheated seasonal use | Designed for people’s comfort |
A small greenhouse on a balcony or patio can also sit against a wall without being a genuine building attachment. For a permanent project, judge what the structure is anchored to, how its roof and drainage meet the home, and whether the doorway separates or connects the two climates.
Pros and cons at a glance
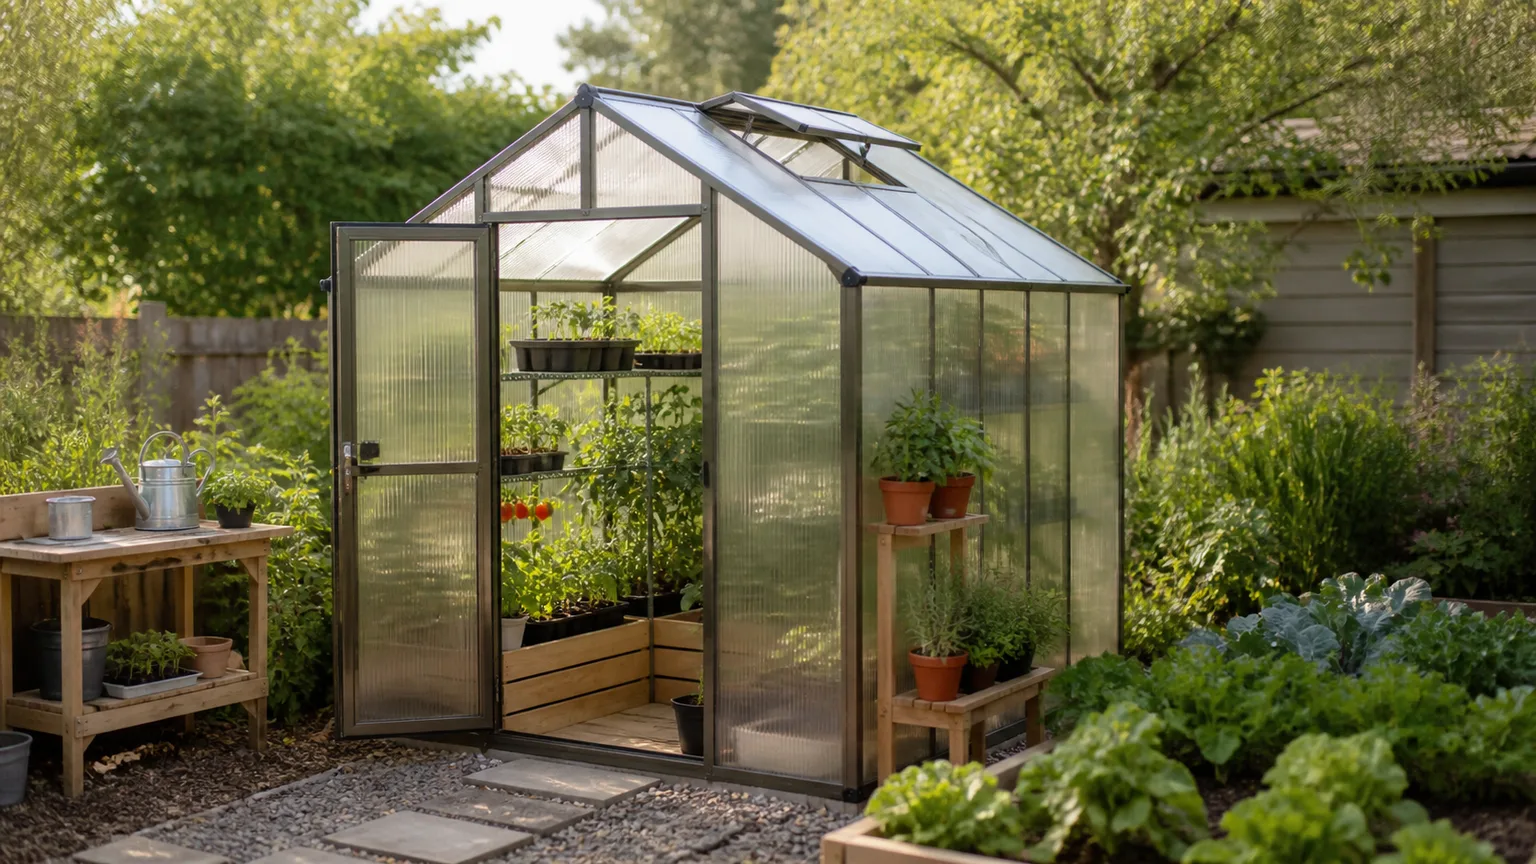
An attached greenhouse tends to win on access and space efficiency. It can lose on light, moisture separation, and the complexity of making a durable connection to an existing building. The table is a screening tool, not a guarantee: local sun, wind, snow, building condition, and the quality of the design can change every trade-off.
| Potential advantage | What you actually gain | Main limitation |
|---|---|---|
| Short route from the house | Easier checking, watering, and moving plants | An interior door can carry humidity and pests unless the boundary is managed |
| Smaller site footprint | One edge uses the home wall | The wall may shade the structure and limits where vents can go |
| Nearby water or power | Shorter utility runs may be possible | Existing circuits, drains, or water lines may need upgrades and permitted work |
| Solar warmth | Glazing can warm the greenhouse on sunny days | Heat is uneven and can escape quickly at night; the house does not automatically benefit |
| Protected growing area | Less direct exposure to wind and rain on the wall side | Wind, rain, snow, and ice loads still act on the roof and connections |
Advantages of an attached greenhouse
Easier daily access and closer monitoring
A greenhouse close to a kitchen or mudroom is more likely to be visited every day. That makes it easier to notice dry seed trays, a vent that failed to open, a sudden temperature spike, or early pest activity. In cold or rainy weather, a short indoor route can make the difference between a routine check and a chore you postpone.
Convenience is especially useful when you are raising seedlings, carrying heavy trays, or tending a small collection of container plants. You can keep hand tools and a watering can nearby and avoid tracking mud through the house by setting a washable threshold or keeping the greenhouse entrance on the outdoor side. Plan where shoes, potting mix, and damp equipment will go before you add an interior door.
Closer access also means a greenhouse may be checked more frequently, but it does not make conditions self-managing. Greenhouse temperatures can change quickly in sun. The University of Georgia Extension describes greenhouse temperature and humidity as conditions that require reliable heating, ventilation, or cooling systems, and notes that warning devices can help when power fails or temperatures become extreme (UGA Extension’s greenhouse heating, ventilation, and cooling guidance). A convenient door is not a substitute for a thermometer, vent plan, or backup alert.
A smaller footprint and shorter service routes
A lean-to can use a narrow strip beside the home instead of taking a separate patch of the yard. It may also reduce the amount of freestanding frame and glazing needed for a given floor area. Those efficiencies can be valuable in a compact lot, especially if the greenhouse can share a practical path to water or power.
“Shares a wall” does not mean “free wall” or “free utilities.” The house wall may need protection, reinforcement, a properly flashed transition, and an opening designed for the connection. An electrician or plumber may find that a nearby circuit or pipe cannot serve greenhouse loads as-is. A greenhouse with heat, exhaust fans, grow lights, and irrigation controls may require different service than a few seed trays on shelves.
The footprint benefit also has a limit: a lean-to’s usable area is narrower than its outside dimensions suggest. A central aisle, door swing, benches, pots, and headroom under a sloping roof all take space. Sketch the interior at scale and mark a path for carrying trays before deciding that a shallow design is large enough.
A useful buffer, not free heat for the house
On a sunny day, greenhouse glazing can collect solar energy and create a warmer space than the outdoors. The house wall may reduce exposure on one side, and a greenhouse can protect plants from direct wind and some weather. This is a useful microclimate for the plants you choose, especially for starting seeds or sheltering tender containers in a suitable season.
Do not assume that this warmth will lower home heating bills. The greenhouse may cool sharply overnight, and its thin glass or plastic can lose heat much faster than an insulated house wall. If an interior door is left open, warm humid air can enter the home, but that can also increase condensation on cool surfaces; if the door stays closed, the greenhouse heat remains largely on the greenhouse side. A reliable heat-sharing system needs a deliberate design for airflow, insulation, controls, and moisture management—not a casual opening between spaces.
A greenhouse can also increase cooling needs if heat leaks into a home during hot weather. Keep the boundary controllable, and avoid relying on greenhouse heat as a heating strategy unless a qualified designer has sized the system for your climate and use. Thermal mass can moderate swings when it is correctly sized and placed, but it does not eliminate heat loss; the University of Georgia Extension explains that heat transfer depends on surface area, insulation, air leakage, glazing, temperature difference, and wind exposure (UGA Extension).
Drawbacks that deserve a closer look
Less available sunlight
An attached greenhouse has fewer fully exposed sides than a freestanding one, and the home itself may shade it. Eaves, porches, neighboring buildings, fences, and deciduous trees add more shadows. A site that looks bright in June may receive very different sun in winter, exactly when you may want the greenhouse for seedlings or overwintering.
In the Northern Hemisphere, a south-facing wall is often a useful starting point for winter sun, while east-facing sites may catch morning light and avoid some late-afternoon heat. That is not a universal rule: local climate, latitude, shade, roof shape, crop needs, and summer overheating matter. Observe the site in both the growing season and the low-sun season, or use a sun-path app as a supplement to watching actual shadows. UGA Extension likewise recommends considering light exposure and nearby trees or buildings when choosing a greenhouse site (UGA Extension).
Use the planned crops to judge whether the light is sufficient. Leafy starts and many shade-tolerant ornamentals have different light needs from fruiting tomatoes or peppers. If the house wall blocks too much sun for your main crop, a freestanding greenhouse in a better location may produce more useful growing space even if it needs a longer walk.
Moisture, pests, and maintenance near the home
Plants release water vapor, irrigation wets surfaces, and cool glazing can collect condensation. The University of Georgia Extension notes that high humidity promotes condensation and can increase disease pressure; the UF/IFAS greenhouse ventilation guide similarly explains that humid air condenses when it contacts surfaces below its dew point (UGA Extension; UF/IFAS Extension’s greenhouse ventilation guide). In an attached structure, the wall junction and any opening into the house deserve particular care because repeated wetting can damage finishes or let moisture move into building materials.
Keep plants, watering lines, and wet potting media away from the shared wall. Direct runoff toward a designed drain or safe exterior location, not toward the foundation. Use trays under benches where drips are expected, fix leaks promptly, and ventilate after watering. The wall-to-roof flashing and any door threshold should shed water outward; if you see recurring wet spots, peeling paint, a musty smell, or damp framing, stop treating it as a plant-care nuisance and get the building envelope inspected.
Insects and mites do not recognize the greenhouse as a separate room. Screens help, but the UF/IFAS guide points out that insect screens reduce airflow and require cleaning, so they cannot be added without considering ventilation capacity (UF/IFAS Extension). Inspect new plants before bringing them in, isolate problem pots, clear leaf litter, and avoid leaving the house door propped open. A separate exterior entrance or closable interior door gives you more control over both pests and humidity.
More demanding structural and weatherproofing details
The house connection is the main design liability. A greenhouse roof that meets siding, brick, stucco, or an existing eave needs a durable water-shedding detail compatible with that wall and roof. A bead of caulk is not a substitute for correct flashing, support, and drainage. Poorly detailed junctions can leak behind cladding where the damage is hidden until the wall or sill has deteriorated.
The greenhouse also changes the loads acting on the house. Its frame and roof must handle local wind and, where relevant, snow or ice; falling snow sliding from the main roof can be an additional hazard. The correct anchoring, foundation, roof slope, and attachment depend on the building, soil, climate, and greenhouse design. Do not infer a safe snow or wind rating from a greenhouse’s appearance or from a generic kit photo. If the project is permanent or large enough to alter the house structure, have the connection and loads reviewed by a qualified local professional.
The benefit of one shared wall comes with a matching dependency: you inherit the home’s existing condition. Siding that is already failing, a wall with hidden moisture, a foundation that drains poorly, or a roof edge that sheds water into the planned footprint should be repaired or avoided first. A freestanding structure lets you select a new site instead of tying the greenhouse to a weak or badly shaded wall.
Pick a site before you pick a kit
Start with the wall and work outward. Check the direction it faces, sun at different times of day, winter shadows, eave depth, nearby trees, roof runoff, wind exposure, and the path that snow or ice takes off the main roof. Also identify doors, windows, utility meters, vents, hose taps, and anything that would become inaccessible once the greenhouse is installed.
Then decide what you will grow and when. A propagation space needs shelves and room for trays; a tomato greenhouse needs headroom, sturdy supports, and a reliable way to vent heat; a winter shelter for containers needs insulation and a plan for freezing nights. The Royal Horticultural Society cautions that both glass and plastic greenhouses can overheat in sunny weather and recommends ventilation and shading appropriate to the season (RHS guidance on greenhouse ventilation and shading). That advice applies even when the greenhouse is small or attached to a house.
Walk the route you will use in bad weather. Can you carry water without crossing a slippery threshold? Can you open the door and reach the back bench? Can you clean glazing, replace a panel, open every vent, and get a large pot in or out? A greenhouse that technically fits but leaves no maintenance access can cost more time than it saves.
A quick site check can help you reject a poor location before pricing materials:
- Track direct sun and shade at morning, midday, and afternoon on more than one day; repeat in a different season if possible.
- Measure the full exterior footprint, interior aisle, door swing, and working clearance around vents and glazing.
- Watch where roof water and snow go during a storm or thaw; plan gutters and downspouts so they do not dump against the foundation.
- Check for a practical route to power and water, plus a safe way to drain or dispose of irrigation runoff.
- Ask whether the wall, siding, and foundation are in sound condition before covering or modifying them.
If the usable wall gets little light, drains poorly, or sits under a roof that sheds heavy snow, moving the greenhouse to another part of the yard is often a better solution than trying to compensate with extra heat, fans, or repairs.
Plan ventilation and heating for actual use
Greenhouses warm quickly when sunlight enters and is absorbed by benches, soil, pots, and plants. The house wall may make one side less exposed, but it does not prevent heat from accumulating under the roof. Build in an opening for hot air to escape high in the structure and a lower route for replacement air to enter. A side door alone may not create dependable flow if the greenhouse is long or the wall blocks one side. Even a modest plastic-covered tunnel needs an opening that can be managed: in its DIY example, Sow & Dipity describes rolling and securing one side for access and ventilation (Sow & Dipity’s tunnel tutorial). That is a practical airflow detail, not a structural plan for a permanent house attachment.
UF/IFAS describes greenhouse ventilation as a way to control summer heat, keep winter humidity in an acceptable range, and distribute air. Its guidance explains that using both sidewall and ridge vents can use wind and rising warm air, while relying only on sidewall openings is less dependable when wind is weak (UF/IFAS Extension). In practice, a small greenhouse may use roof vents and a door, while a larger one might need an exhaust fan sized for its volume, with an intake placed to pull air through the growing area rather than short-circuiting directly beside the fan.
Add a thermometer that records highs and lows, and check it during clear weather before trusting an automatic opener. A fan, thermostat, or vent opener can fail, lose power, or respond too slowly for a hot spell. The RHS recommends ventilation before heat becomes excessive and warns that shading reduces light, so use shade cloth as a measured response rather than a permanent fix (RHS). The UF/IFAS guide also notes that ventilation alone cannot bring inside temperatures below outdoor temperatures on a summer day; cooling beyond that requires another strategy, such as evaporative cooling in suitable climates (UF/IFAS Extension).
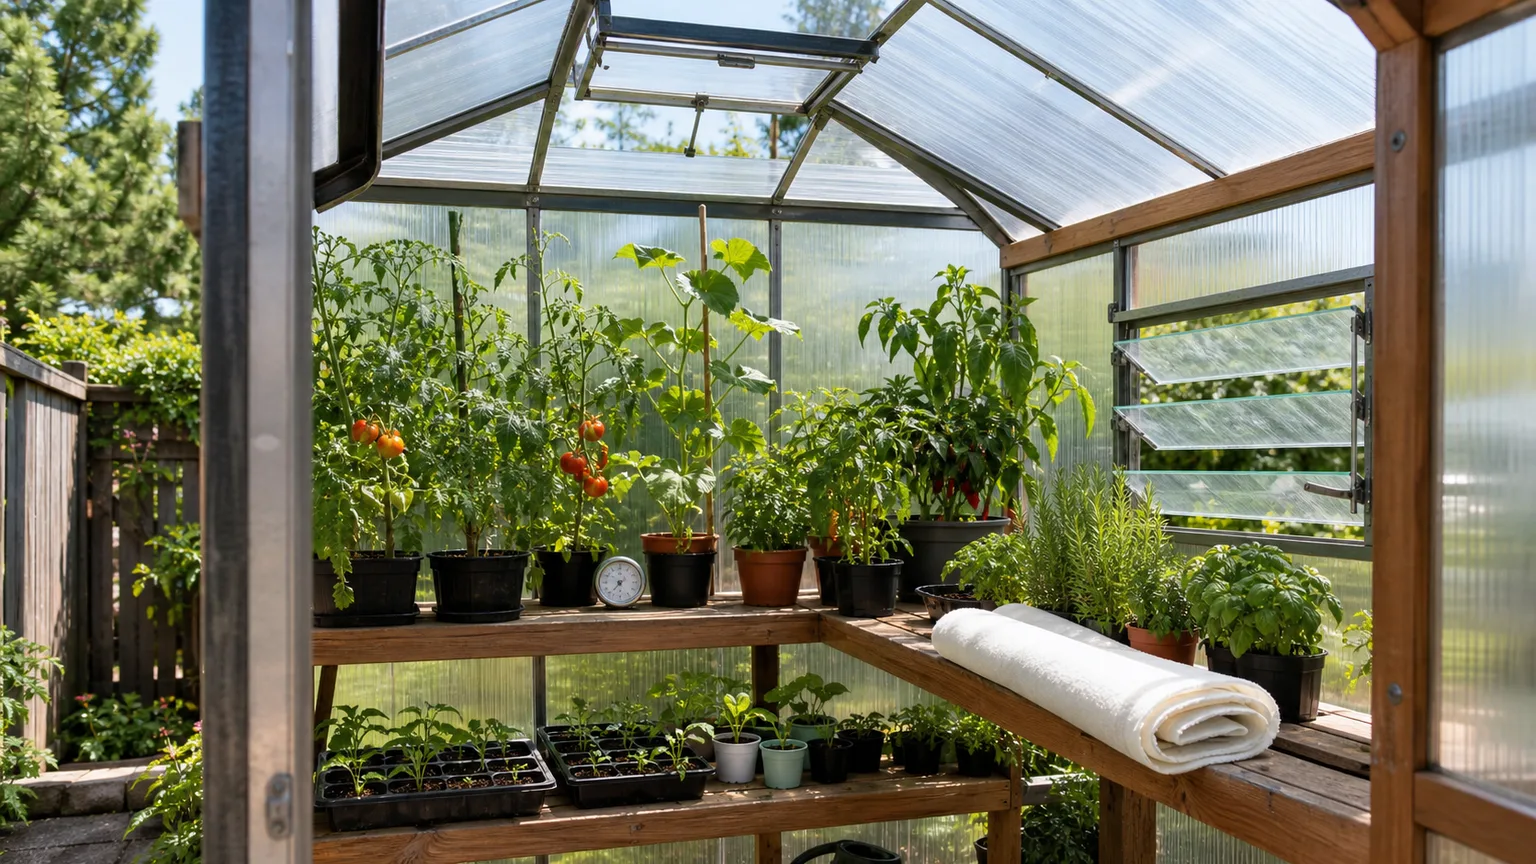
Heating plans should start with the plants’ minimum safe temperature and the coldest nights you expect, not the desired comfort of people using the space. A greenhouse attached to a heated house can still freeze if the glazing loses heat faster than the wall can supply it. If you plan electric heaters, fans, lights, or pumps, ask a licensed electrician about appropriate outdoor-rated equipment, circuit capacity, moisture protection, and locally required installation. Never use an unvented combustion heater in an enclosed growing area unless its manufacturer and local safety requirements explicitly allow that setup.
Build a realistic cost and permit checklist
An attached greenhouse is not always the budget option. A small kit may cost less than a freestanding building, but the complete project can add foundation or base work, wall attachment, flashing, gutters, roof repair, venting, screens, heater controls, electrical service, water access, drainage, shelving, and labor. If you add an interior door or turn the greenhouse into a space for regular human use, design and compliance requirements may change substantially.
Before comparing quotes, list the greenhouse itself separately from the connection work. Ask whether the quoted kit includes the wall ledger or brackets, sealant or flashing details, anchor hardware, gutters, vents, screens, and a foundation plan. Confirm whether glazing must be supported at specific intervals and whether the kit’s weather ratings match your location. A low kit price does not answer those questions.
Permits and inspections depend on local rules and project details. Size, foundation type, attachment to the dwelling, electrical or plumbing work, setbacks, fire separation, historic-district rules, and intended occupancy can all affect what is required. Do not use a neighbor’s permit exemption or a product page’s “no permit” claim as your answer. Send a simple site sketch and product specifications to your local building department before construction, and ask which licensed trades or engineered drawings are required.
Use this sequence to avoid paying twice:
- Confirm the use: plant-only greenhouse, seasonal shelter, or room people will occupy.
- Ask the building department: verify zoning, setbacks, permits, inspections, and the classification of the proposed connection.
- Review the structure: confirm local wind and snow loads, anchoring, foundation, and main-roof runoff with the manufacturer or a qualified designer.
- Price the envelope: include flashing, wall repairs, gutters, drainage, and any door or threshold.
- Price the systems: include ventilation, heating, thermostat or alarms, electrical work, water, and safe runoff management.
- Add maintenance and contingency: glazing replacement, fan service, screen cleaning, and repairs are part of ownership, not surprises to ignore.
Avoid assuming that attached square footage automatically increases a home’s appraised value or counts as indoor living area. That depends on construction quality, permitted use, local assessment rules, and what buyers in your market want. Build it because it serves your growing goals; treat any resale benefit as uncertain unless a local professional can support that expectation.
Who benefits, and who should choose freestanding
An attached greenhouse is a strong fit when you have a bright, sound wall; a narrow yard; a specific need for frequent plant access; and room in the budget for proper weatherproofing and ventilation. It is especially practical for seed starting and container plants if the greenhouse can be opened, monitored, and kept separate from the house when humidity or pests rise.
A freestanding greenhouse is usually the easier choice when the only wall-side location is shaded, the house roof dumps snow onto the planned roof, or a new attachment would require expensive structural changes. It also gives you more freedom to orient glazing and vents, and it keeps humid growing conditions farther from bedrooms and living spaces. A small greenhouse placed near a back door can still be convenient without cutting through the home’s exterior wall.
Choose a sunroom or conservatory if the main goal is comfortable year-round seating with plants as part of the room. That space needs to be planned for human comfort and safety rather than treated as a greenhouse with furniture added later. If your main reason for attaching a greenhouse is “free home heat,” pause and get a qualified design review before committing; the energy claim is too dependent on climate, insulation, controls, and how the two spaces are connected.
Conclusion
An attached greenhouse combines easy access and a compact footprint with demanding light, moisture, and construction decisions. It can be a rewarding growing space when the wall is sunny, the junction is weather-tight, and ventilation and drainage are designed for local conditions. The shared wall does not automatically lower costs, warm the house, or add recognized living area.
Before you buy a kit, verify the seasonal sun, roof runoff, foundation and attachment details, local permit requirements, and safe routes for air, water, and power. If one of those checks fails, a freestanding greenhouse beside the house may deliver most of the convenience with fewer risks to the building.