35 Corner Garden Ideas for Small, Awkward Spaces
Find 35 corner garden ideas that fit your space, light, and routine, plus a simple site check to avoid blocked paths, soggy beds, and hard-to-reach plants.
A corner can be the easiest place in a yard to ignore: it is out of the way, awkward to mow, or boxed in by a fence and the house. It can also be one of the most useful places to garden because two boundaries already give the design a sense of enclosure. The right plan depends less on copying a look than on deciding what the corner should do—grow food, soften a hard edge, screen a view, or give you somewhere to sit.
Before you buy a planter or dig a bed, check the conditions that photographs do not show. A corner behind a house may be dry under an eave, wet under a downspout, shaded by a roof, or difficult to reach once plants fill in. A small drawing, a few observations, and a clear route for maintenance can save more space than squeezing in one more container.
Start With the Corner’s Conditions
Measure the two sides of the corner and the open approach, then note doors, gates, paths, windows, utility equipment, and the route you use to mow or carry a watering can. Mark how far you can comfortably reach from the front edge. If the back point is more than an arm’s length away, plan a narrow bed, a path, or a container arrangement you can move instead of a deep wedge that turns into a patch of weeds.
Watch the space at different times of day. A wall and fence can cast a long shadow, while paving or a south-facing wall can make a pocket hotter and drier than the rest of the yard. The University of Georgia Cooperative Extension’s landscape site-analysis guide recommends recording sunlight and water movement before selecting plants. It uses a common rule of thumb: full-sun plants generally need six to eight hours of direct sun, partial-sun plants four to six, and shade plants fewer than four. Plant labels and regional guidance still matter because the exact thresholds and heat tolerance vary by species and climate.
Observe the corner during or just after rain. Note whether runoff arrives from a roof, driveway, or slope; whether water sits; and whether soil washes away. Do not use a raised bed to hide a drainage problem or pile soil against siding. Keep the foundation’s grading and drainage working as intended, and redirect roof water only to a suitable place on your property. If you are considering a retaining wall, regrading, digging near utilities, or a water feature with a significant basin, check local rules and get qualified help where needed.
Cornell University’s site-assessment resource treats slope, soil, light, drainage, wind, existing plants, and underground or overhead obstructions as factors that can affect whether a planting succeeds. That is especially useful in a corner: the fence line may be windy, the house may shelter one side, and roots from a mature tree can compete with a new bed. Design around those fixed conditions instead of spending money trying to make the whole spot behave like a different part of the yard.
Planting Beds That Fit the Angle
A built bed works best when you can reach every plant, trim the edge, and move through the remaining yard. Start with the bed outline on the ground using a hose or rope. Walk the route you will take with a wheelbarrow, mower, or watering can before you commit to edging; an attractive border that blocks the gate or narrows a daily path is not an efficient use of the corner.
Use an L-Shaped Bed to Claim Two Edges
1. Build a narrow L-shaped bed along both fence runs. The shape uses the corner’s existing lines and leaves the center open for a path, lawn, or small seating area. Keep the bed shallow enough to reach into from the open side, and check that wood or masonry does not trap moisture against the fence or house.
2. Make a crescent-shaped border instead of a sharp wedge. A broad curve softens a square yard and gives you a clean mowing line, especially when the planting faces a patio or lawn. Avoid a narrow, wavy strip: it is awkward to weed and usually too thin for a stable mix of shrubs and perennials.
3. Plant a triangular pocket in the corner’s point. A compact triangle can hold a small focal plant with lower flowers or groundcover around it, while leaving the side edges clear. Use it where access is easy from the front; the deeper the point, the more likely it is to become unreachable, so do not fill it with prickly or high-maintenance plants.
4. Step a bed down a gentle slope. Two or three low, level planting pockets can make a sloped corner easier to use and reduce the feeling that everything is sliding toward the fence. A retaining wall must be designed for the soil and water pressure it will hold; for significant grade changes, drainage, stability, and local requirements deserve professional review.
5. Layer plants from low at the edge to taller at the back. A short groundcover or edging plant, medium perennials, and one taller shrub or trellis create depth without needing a large footprint. Set each plant by its mature spread, not its nursery-pot size, and leave enough space to weed and prune between the plant and the boundary.
6. Turn a dry, sunny corner into a gravel-and-stone garden. A few well-placed boulders, drought-tolerant perennials, and a clear gravel surface can make a hot pocket feel intentional instead of neglected. Gravel does not fix poor drainage or eliminate maintenance; choose plants suited to the climate and soil, and plan how you will remove leaves without scattering the stone.
7. Make a shade garden with a small seat or focal pot. If buildings or trees keep the corner cool, use foliage contrast—broad leaves, fine textures, and a few seasonal flowers—rather than expecting sun-loving blooms to perform there. Measure the light first, protect established tree roots, and use a path or stepping stones so tending the bed does not compact its soil.
Let Containers and Raised Planters Stay Flexible
8. Cluster three pots in a stepped triangle. Place the largest pot toward the back and two smaller ones in front to create height without permanent construction. Choose plants with similar light and watering needs, leave enough room to lift or turn each container, and make sure every pot has drainage holes.
9. Use one oversized statement planter as the anchor. A single substantial pot can give a tiny corner a focal point without filling it with many small objects. Pick a container that fits the mature plant and can be watered safely; a very large planter becomes heavy, so decide its final position before filling it.
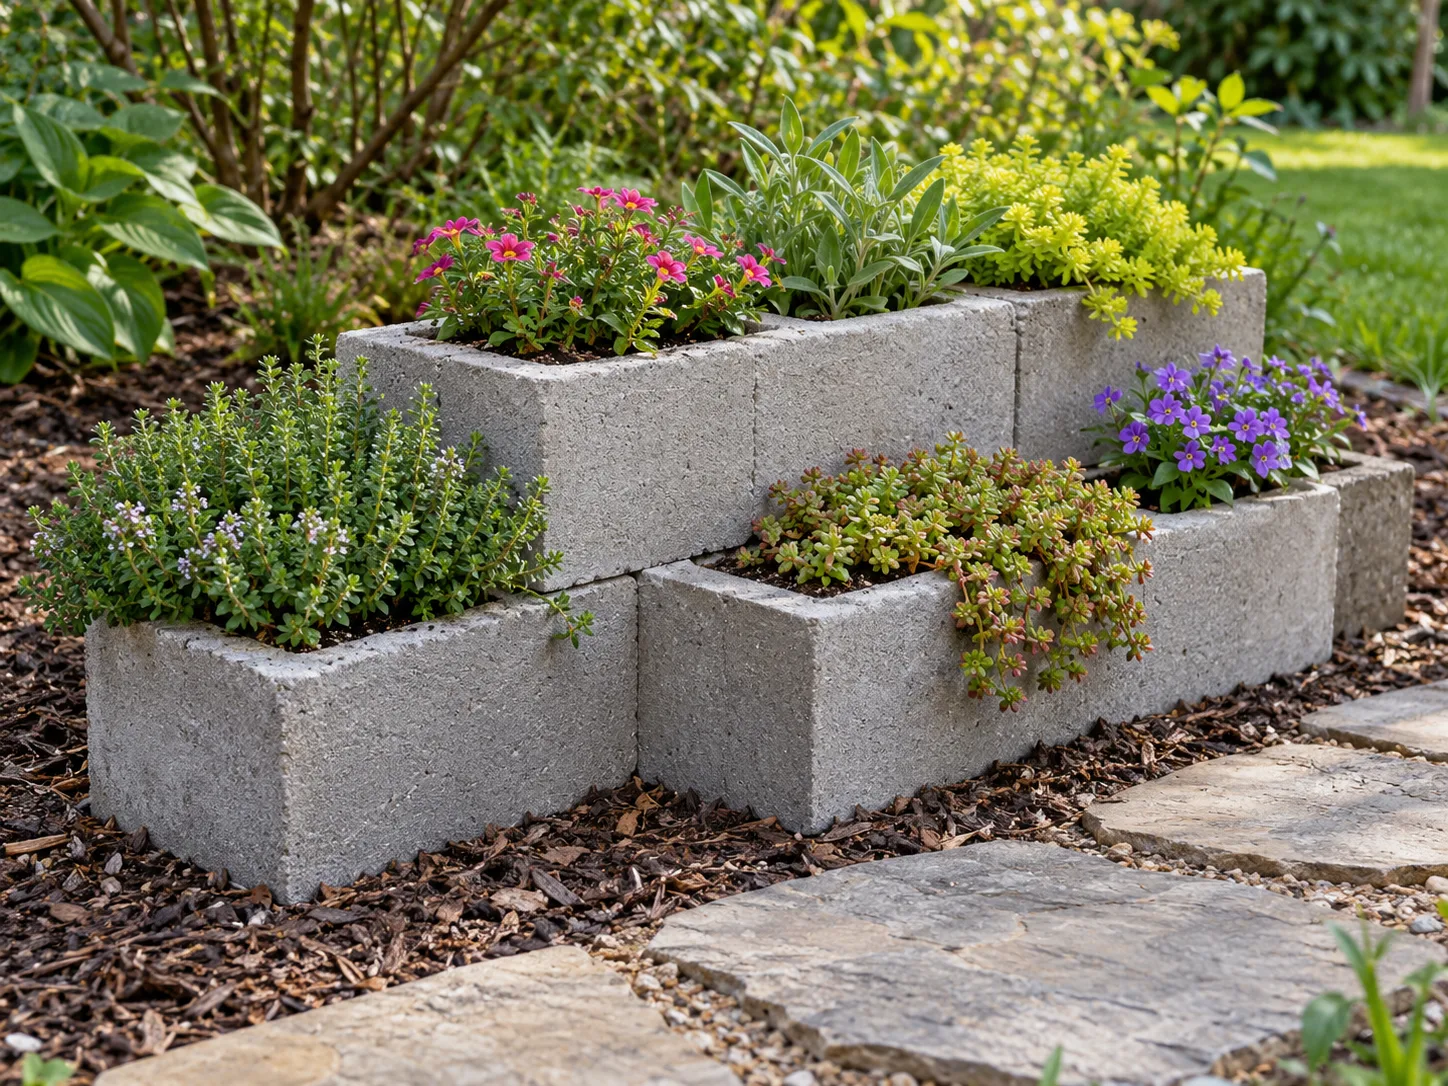
10. Set a narrow trough along the fence. A long, shallow planter suits herbs, annual color, or compact foliage where a garden bed would obstruct a path. It needs drainage that will not stain or damage the surface below, and its small soil volume may dry faster than an in-ground bed in hot or windy weather.
11. Put a tiered planter in a paved corner. A stair-step stand uses vertical space and keeps small pots visible, making it useful on a patio, balcony, or rental property where digging is not an option. Confirm that the base is level and stable, and arrange plants so taller growth does not shade every lower tier.
12. Use wheeled containers where the corner changes through the year. Roll pots toward seasonal light, move tender plants before cold weather, or clear the area when you need access to a gate or hose. Lockable casters and a level surface matter; moving a tall, top-heavy pot across uneven pavers can be unsafe.
13. Make a large pot the center of a low ring of groundcover. This gives the look of a planted bed while keeping the focal plant’s soil separate and easier to manage. Use the ring only where the groundcover will not invade lawn or paving, and leave a small gap around the pot so you can water and clean it.
Grow Up the Fence, Wall, or Frame
When the ground is tight, think in three dimensions, but treat structures as part of the garden’s load and maintenance plan. A vine, hanging basket, or shelf can add planting area, yet it also needs water, secure support, and occasional pruning. The Royal Horticultural Society’s small-space planting advice recommends using walls, railings, shelves, and height to make a small space work in more directions; it also emphasizes choosing containers with drainage and accounting for the extra care that hanging baskets need.
Trellises and Obelisks Give Vines a Route
14. Add a slim trellis to one fence panel. A trellis can screen an unattractive view and give a climbing rose, clematis, or annual vine a defined route. Leave room behind it for airflow and repairs, secure it to a suitable support, and check the plant’s eventual weight before attaching anything to a fence or house wall.
15. Place a freestanding obelisk in a round bed. A vertical frame turns the corner into a focal point and supports climbers without using the fence as an anchor. Set its legs firmly, keep it proportionate to the space, and choose a climber that will not overwhelm the frame or require constant restraint.
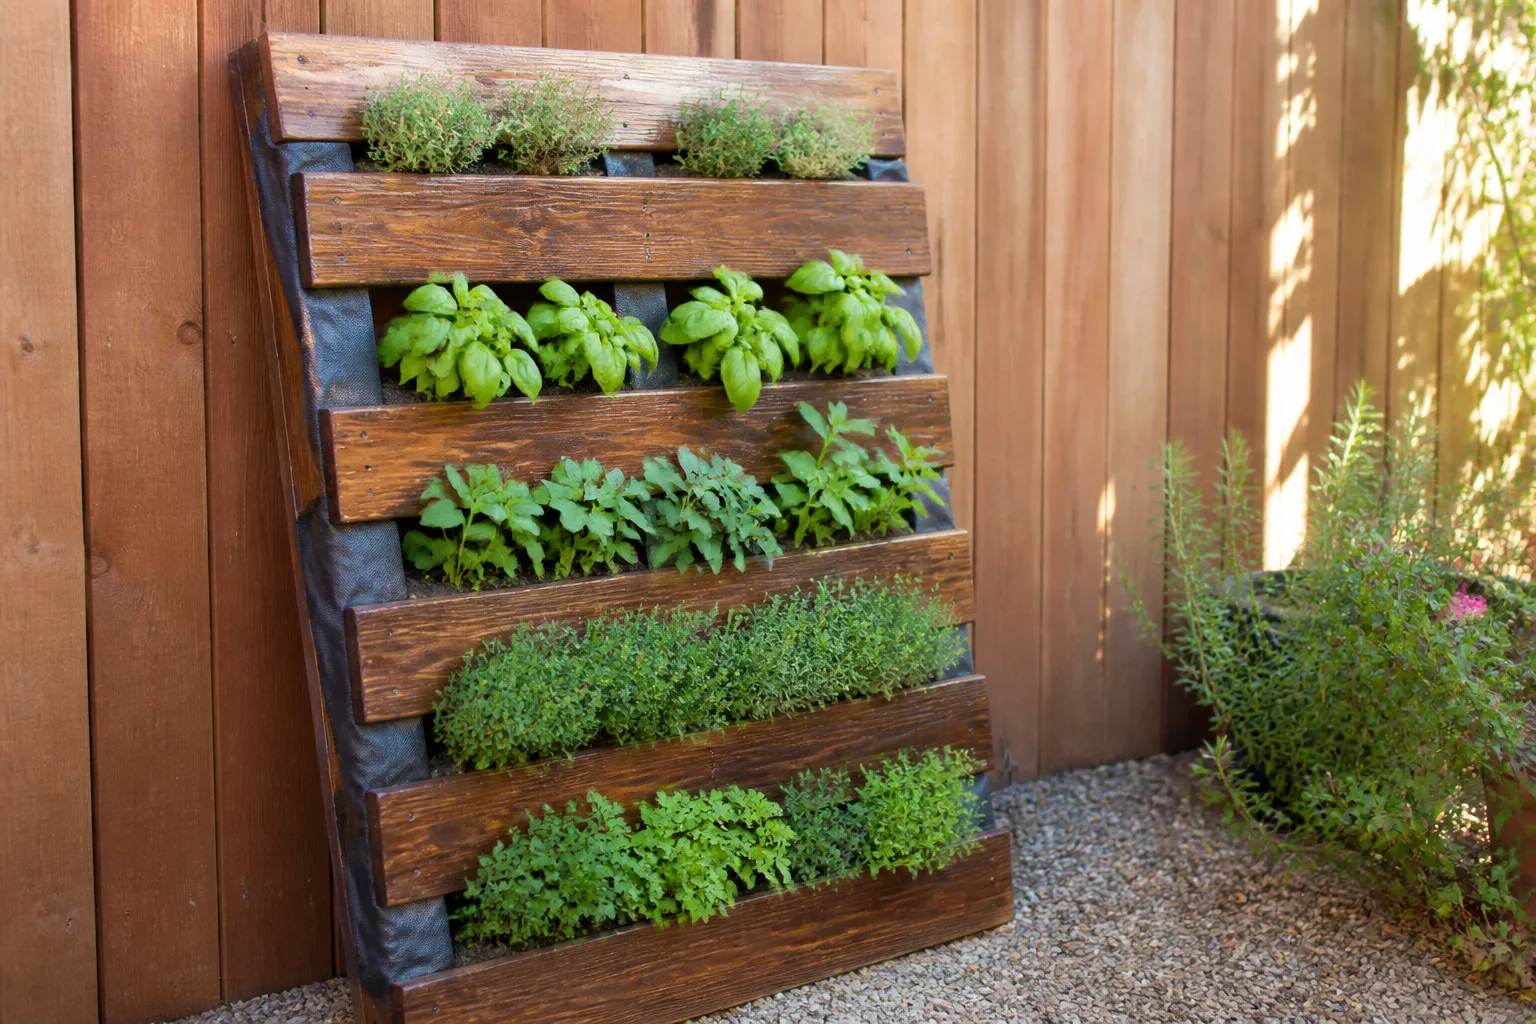
16. Grow herbs on a ladder-style planter against a sunny fence. Shallow shelves can hold small pots near a kitchen door, where you are more likely to harvest them. Sun and water access are essential: the upper pots can dry quickly, and a south- or west-facing wall may run hotter than expected.
Stacked, Hanging, and Rail Planters
17. Mount fence boxes in a staggered line. This creates a vertical band of flowers or trailing plants while preserving ground space for a path. Use outdoor-rated hardware and boxes with drainage, avoid overloading an old or unstable fence, and keep water from repeatedly soaking timber or running down house siding.
18. Hang baskets from a purpose-built stand rather than an eave. A freestanding basket tree gives height and color while keeping fasteners out of the roofline and siding. Large baskets dry quickly in wind and sun, so this idea suits someone who can check moisture regularly or use a dependable irrigation plan.
19. Train a compact fruit tree as an espalier along a sunny boundary. A trained apple or pear can produce fruit while staying flatter than a free-standing tree, but it is a long-term commitment that needs the right cultivar, pruning, and support. Select a tree and training system suited to your region, then keep the wall and any fence accessible for maintenance.
Make a Corner Productive
A corner vegetable garden can be convenient because it is close to a fence, patio, or back door, but convenience cannot replace adequate light and water. Many fruiting vegetables need a sunny site, while leafy crops and some herbs tolerate less direct sun. Match each crop to local growing advice and use the measured conditions from your site check rather than relying on the label “vegetable garden.”
Herbs, Salad Greens, and Climbers
20. Put cooking herbs beside the door you use most. A few pots of parsley, chives, thyme, or other regionally suitable herbs can make a neglected entrance useful. Group plants by water needs and make sure the location gets the light each one needs; a decorative corner that you never pass is less convenient than a modest setup on your daily route.
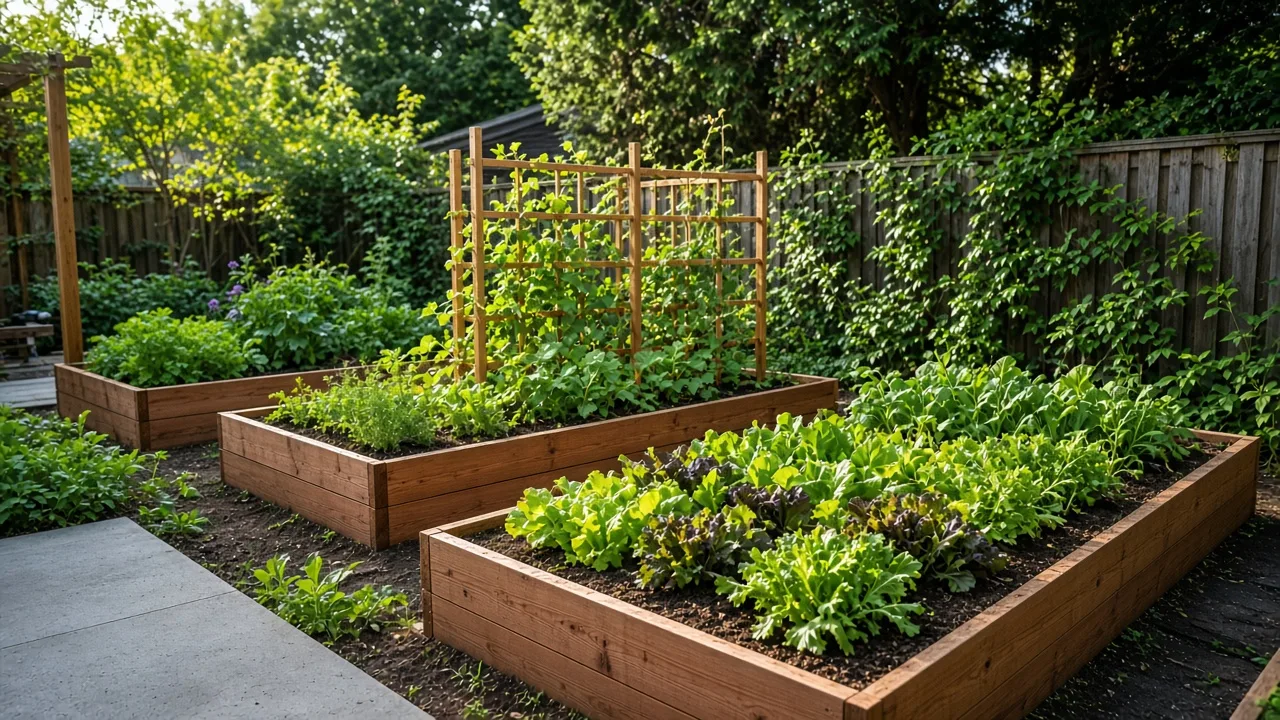
21. Grow salad greens in a shallow, easy-to-reach bed. Lettuce and other cool-season greens can make a compact corner productive when the weather and light suit the crop. Use a depth appropriate for the plant, water consistently, and plan for seasonal succession rather than assuming one planting will produce indefinitely.
22. Give a compact raised bed a trellis on its north side. A bed and vertical support can combine herbs or lower crops with climbing beans or cucumbers while limiting the floor area the garden occupies. Put tall supports where they will not shade shorter plants more than necessary, and leave enough clearance to harvest from both sides if the bed is wide.
23. Train tomatoes or another climber in a large container. One container with a sturdy stake or cage may be more manageable than a long vegetable bed, particularly on a patio. The pot must hold enough growing medium for the chosen crop, drain freely, and be watered more often than garden soil during hot weather.
Flowers, Pollinators, and Shade Layers
24. Mix edible flowers with vegetables for a decorative kitchen garden. A few edible blooms can soften the edge of a raised bed and make a productive corner look composed. Confirm that each flower is correctly identified and safe to eat, and avoid treating every ornamental flower as food; pesticide history and plant identity matter.
25. Plant a pollinator pocket with a few locally native species. Even a compact bed can offer nectar and pollen at different times if you choose plants suited to the region and site. Favor a short palette repeated in groups over a mix of one plant each; it reads more clearly and is easier to water, weed, and replace.
26. Use evergreen structure to keep the corner legible in winter. One compact evergreen shrub, dwarf conifer, or other climate-suitable anchor can hold the design together after annual flowers disappear. Check the mature size and light needs before buying; an evergreen that outgrows a small corner can block windows, paths, or neighboring plants for years.
27. Make a shade border with foliage rather than forcing sun plants to bloom. Ferns, sedges, and other shade-tolerant choices can provide texture where direct sun is limited, but the right species depends on climate, soil moisture, and winter hardiness. A shady corner beneath a tree may also be dry because roots compete for water, so observe soil moisture as well as light.
Turn the Corner Into a Place to Sit
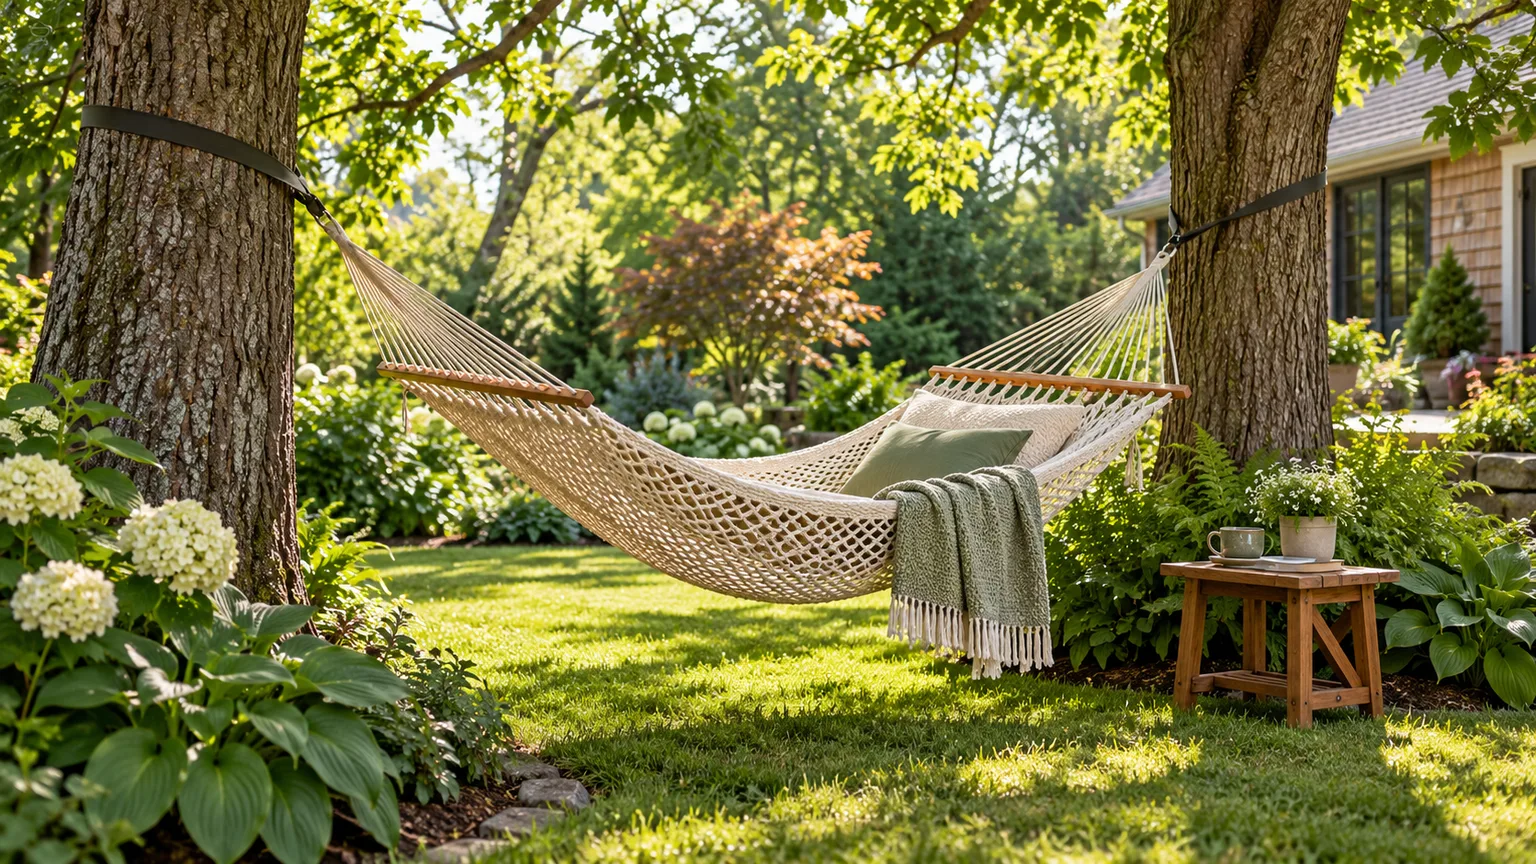
A seating corner only works if the chair is comfortable to reach and does not take over the planting area. Tape out the footprint of a chair or bistro set before paving, then leave space to pull it out and walk around it. For a very small corner, one seat with a view can be more useful than a table that is too cramped to use.
One Seat, a Small Patio, or a Bench Built Into the Bed
28. Tuck a single bench into the angle. A compact bench can turn the corner into a quiet destination and still leave room for planting around it. Place it where you have a view or a bit of shelter, preserve access to the fence for repairs, and choose a seat material that can withstand the local weather.
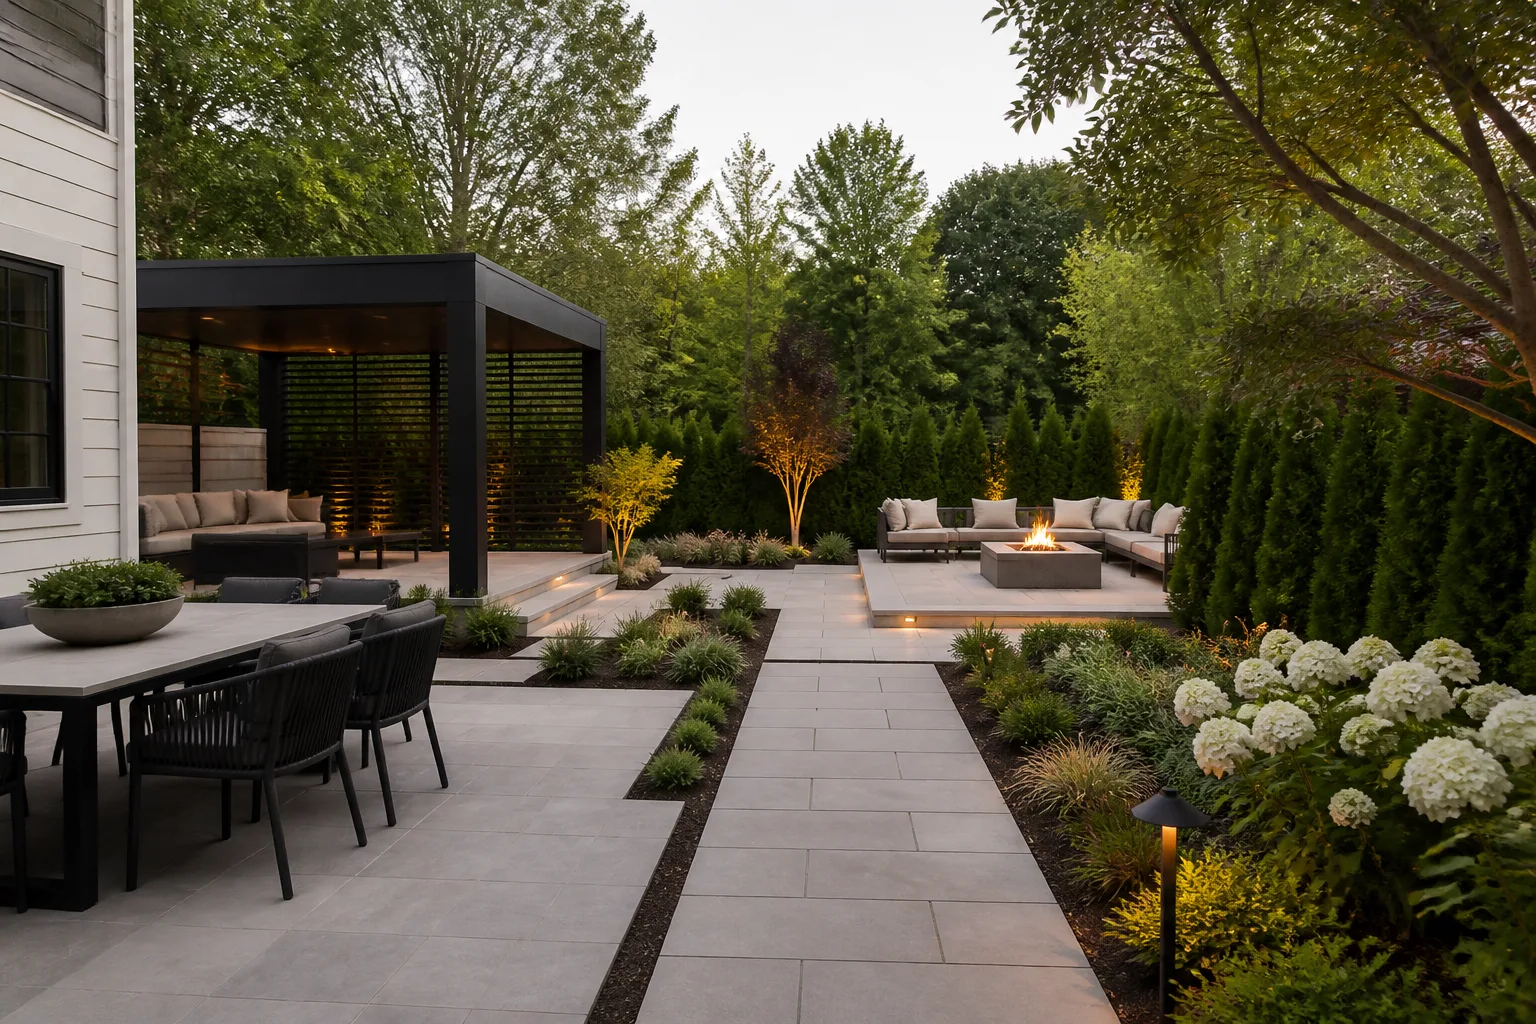
29. Make a tiny bistro patio with two chairs and one table. A small paved pad or stable gravel surface can create an outdoor room at the back of a yard, beside a shed, or on a broad patio edge. Keep the route to it clear and check that the surface stays stable and drains correctly; loose gravel is uncomfortable for some furniture legs and mobility aids.
30. Build a bench between two short planter boxes. This combines seating and planting without enclosing the entire corner. Use a bench designed for outdoor loads and conditions, avoid trapping water where the seat meets soil or masonry, and leave enough room to remove dead foliage or repair the structure.
31. Add a simple privacy screen behind a chair. A trellis, slatted panel, or carefully placed tall planter can make a seat feel sheltered without surrounding it with walls. Do not block a window, airflow, or a neighbor’s required access, and choose a screen that remains stable in wind rather than relying on the weight of a pot alone.
Water and Wildlife as Focal Points
32. Use a small recirculating fountain as the visual center. A compact fountain can add movement, with low plants arranged around—not crowded over—it. Keep electrical components rated for outdoor use and follow the manufacturer’s directions; plan cleaning, refilling, winter care, and pump access before choosing the feature.
33. Set a birdbath on a firm, visible base. A shallow basin surrounded by flowers can make a quiet corner more inviting to birds and people. Place it where you can clean and refill it, keep a clear approach for wildlife, and avoid a hidden basin that becomes difficult to maintain.
Choose a Style That Works Year-Round
A corner garden looks finished when its structure holds together between bloom seasons. The Royal Horticultural Society suggests combining elements such as evergreens, spring bulbs, summer perennials, and autumn color in small spaces; use the same principle with plants suited to your own climate. Fine Gardening’s professional small-space examples show how anchor points, layered planting, clear geometry, and balanced hardscape can make a compact yard feel organized without filling every inch.
Formal, Cottage, Tropical, or Dry-Garden Versions
34. Repeat a shape and material for a formal corner. Matching containers, repeated shrubs, or a consistent paving edge can make a small yard feel calm and ordered. This style asks for regular trimming and watering, so choose it when you enjoy upkeep rather than assuming symmetry automatically means low maintenance.
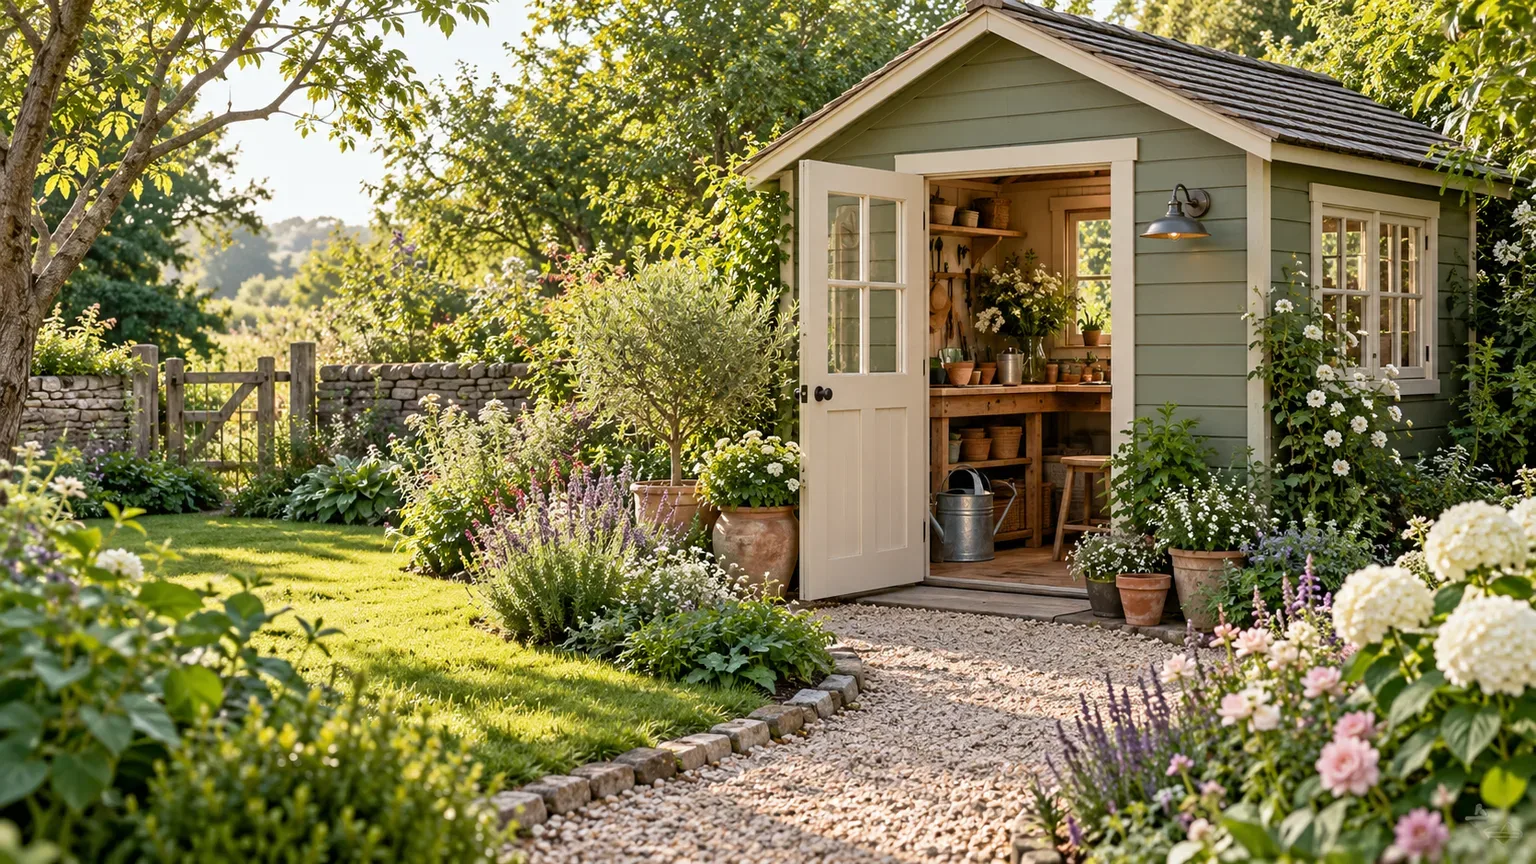
35. Let the site decide between a cottage, tropical, or dry-garden look. A cottage-style pocket can combine a few flowering perennials with a climber and one small shrub, while a hot, dry corner may suit gravel and drought-tolerant plants. A sheltered warm-season patio can support bold foliage in containers, but tender plants may need winter protection; choose a theme that fits the local climate instead of forcing the corner to imitate a different region.
Build the First Version Without Overbuilding
You do not need to install a permanent garden the first weekend. Place empty pots or use a garden hose to mark the proposed bed, seat, or path, then live with the outline for several days. Check whether the gate still opens, whether the spot gets the light you expected, and whether you can reach the back edge without stepping in the planting area.
Start with one anchor—a raised bed, bench, trellis, or large pot—and add the supporting elements only after you know what is missing. If the space is mainly a passage, prioritize a firm route and low planting. If you want food, prioritize appropriate sun, accessible watering, and harvesting room. If the main issue is an unattractive view, use a screen or climber without blocking ventilation or maintenance access.
Keep the material palette short. Repeating one edging material, one container finish, and a few plant shapes makes a small corner feel intentional. Leave gaps where you may need to reach a drain, hose bib, meter, siding, fence post, or utility cover. A planting that looks sparse in the first month may fill out; crowding plants at installation usually creates more pruning and replacement work later.
For a genuinely wet corner, water directed from a roof, or a slope that threatens erosion, identify and address the source before decorating. University of Georgia Extension’s site-analysis guidance stresses observing water movement and checking conditions in multiple parts of the property because moisture can vary over a short distance. If a change would alter grading, retain soil, or affect drainage near a building, seek local guidance rather than treating a garden bed as a drainage repair.
Conclusion
The best corner garden is the one that fits the site and the way you use the yard. Measure the space, track light and water, preserve access, then choose a bed, vertical frame, productive container garden, or small seating nook that solves a real problem. Start with a reversible layout, keep plants within reach, and let a few well-chosen details do more work than a crowded collection of features.