How to Grow Burnet: Seed, Harvest, and Care
Learn how to grow burnet from seed, choose a sunny site, keep leaves tender, harvest often, and manage its self-seeding habit.
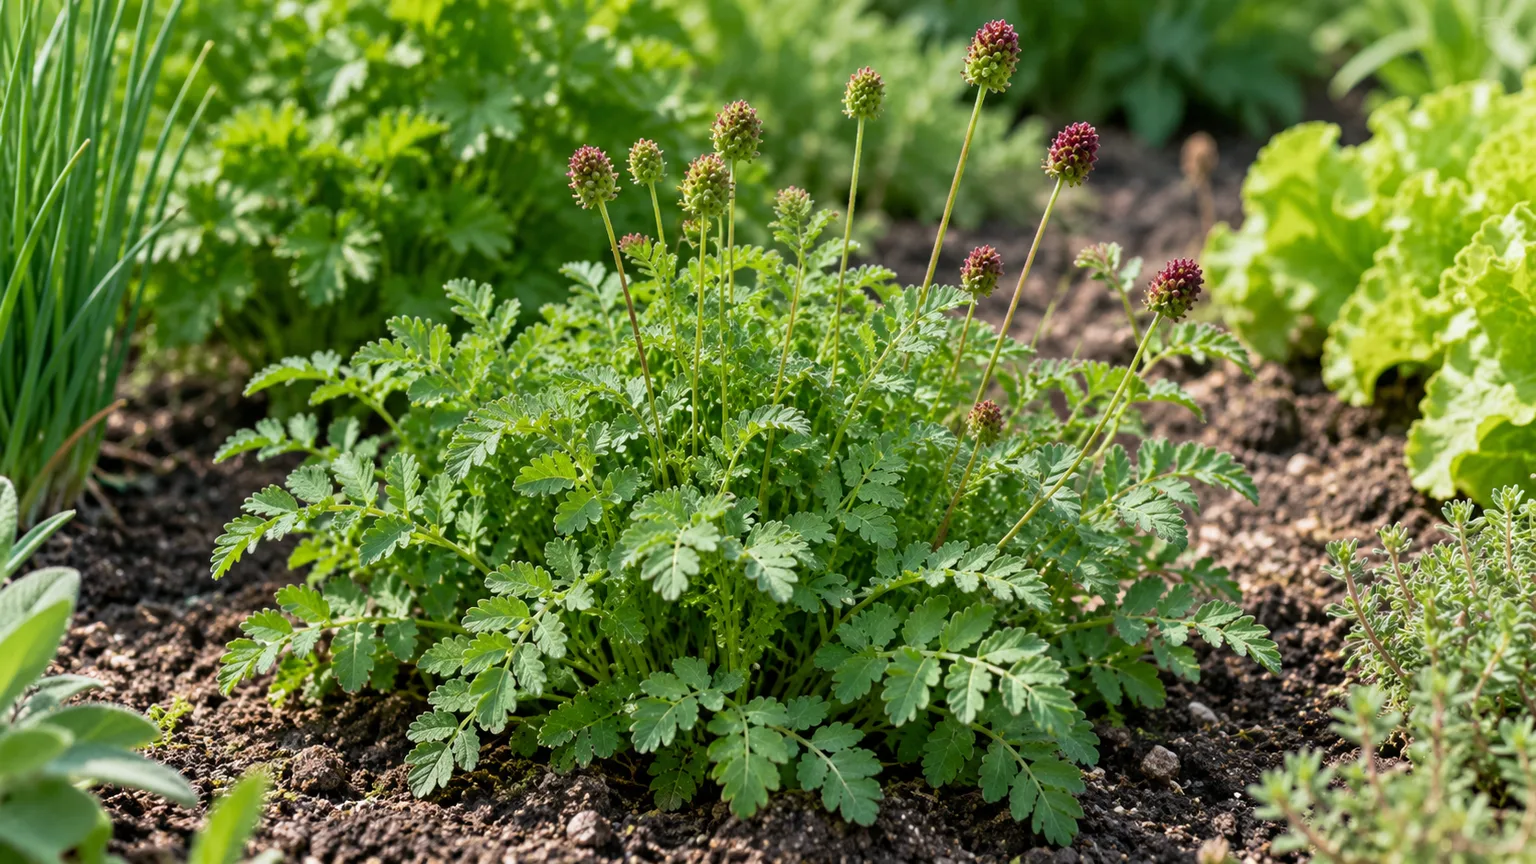
Salad burnet is a low-growing perennial herb with small, rounded leaflets and a fresh flavor often compared with cucumber. Once established, it can provide leaves for much of the growing season, occupy little space, and return from its root system year after year. Give it enough light and drainage, sow or divide it at a suitable time, and harvest the youngest leaves regularly for the best texture.
The botanical name is Sanguisorba minor. It is sometimes called garden burnet or small burnet. Start with a seed packet or plant labeled salad burnet or Sanguisorba minor: the related great burnet (Sanguisorba officinalis) is a different, taller perennial with different garden proportions. This guide covers how to grow salad burnet in a bed or a pot, from the first sowing through repeated harvests and winter care.
What salad burnet is (and what to buy)
Salad burnet belongs to the rose family and forms a low clump of finely divided leaves. Each leaf is made up of pairs of rounded leaflets along a central stem, which gives it a fernlike appearance from a distance. NC State Extension describes it as a perennial edible herb and lists both seed and division as propagation methods. The fresh leaves are the part most gardeners grow it for; they are usually snipped while young and used raw or added near the end of cooking.
Before you buy, check the botanical name on the packet or pot. “Burnet” can refer to more than one Sanguisorba, and great burnet grows substantially taller and is more often grown as an ornamental. If the goal is a compact herb with cucumber-scented leaves, select S. minor. Seeds are a cost-effective way to establish several plants or allow a small patch to fill in. A nursery plant is useful when you want to harvest sooner or only need one clump.
Burnet behaves as a perennial in suitable climates, but its foliage may pause or decline in extreme heat, drought, or winter. Think of it as a leafy clump with a seasonal rhythm rather than a constant supply of identical leaves. In a sunny herb bed it is easy to tuck near chives, thyme, or other compact perennials, provided those neighbors do not shade it out.
Choose a sunny, well-drained place
Choose a position with full sun for the most compact growth and strongest leaf production. NC State Extension recommends full sun, while the Royal Horticultural Society lists a sunny site and notes that the plant tolerates a range of soils. In a hot-summer garden, light afternoon shade can reduce stress, but deep shade tends to produce weaker, looser growth and fewer harvestable leaves. If the only available site is partly shaded, favor morning sun and watch whether the clump stays dense.
Drainage matters as much as the soil’s richness. Burnet is not a plant that needs a specially enriched bed; ordinary garden soil is usually adequate if excess water can move through it. In heavy clay, work in organic matter across the bed and avoid planting into a low spot that remains wet after rain. Raised beds or a slight mound can help if winter saturation is a recurring problem. Do not try to solve compacted soil by digging a small pocket of loose compost inside dense clay, because water can collect in that pocket.
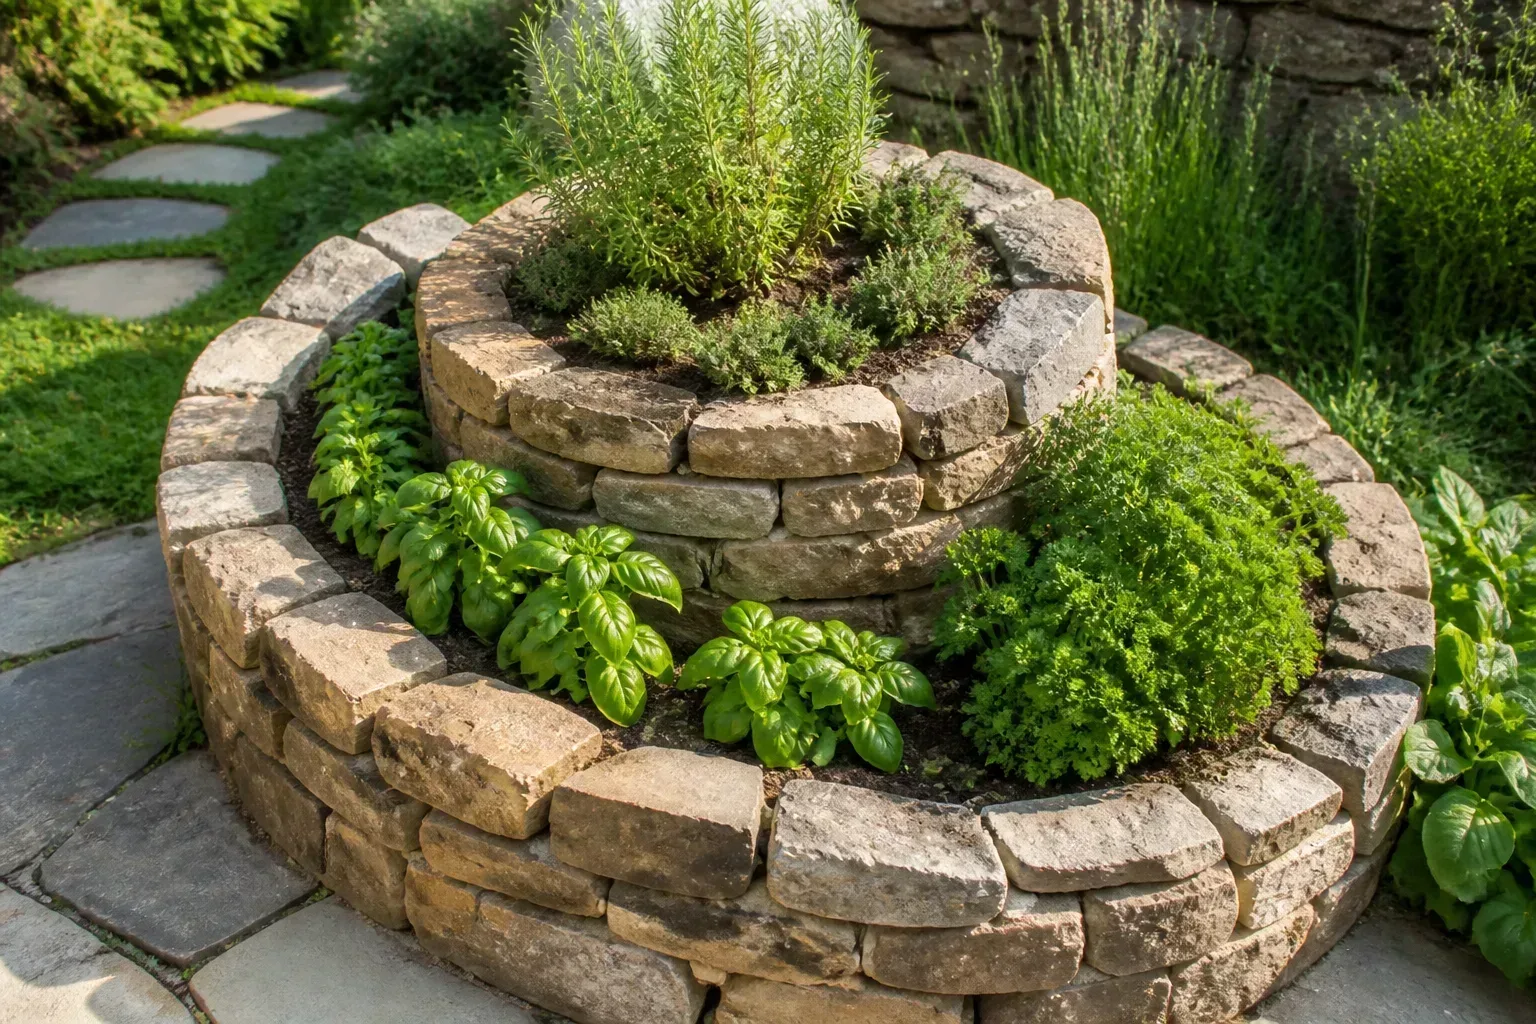
If water drains slowly, improve the planting area or use a container. A sunny herb bed is a useful model for the open conditions burnet prefers.
When to plant burnet
Planting dates depend on whether you sow outside or start seed indoors and on the last frost date where you live. Burnet seed is generally sown in spring, once the soil can be worked, or in fall in climates where young plants can establish before harsh weather. University of Illinois Extension recommends spring or fall sowing and also describes propagation by division. Rather than chasing a single calendar date, use local frost timing and soil condition as your guide.
Sow outdoors
Direct sow in spring after the ground has thawed and is workable. If you want a fall sowing, leave enough mild weather for seedlings to establish before freezing conditions; in regions with wet winters or severe freezes, spring is the simpler choice. Mark the row because the seedlings start small and may be mistaken for weeds. Sow a short row at first if you are unfamiliar with the plant, then extend it after you see how much foliage your household uses.
Outdoor sowing avoids the transplant step and works well when you have a prepared bed. It also exposes the seeds to more variable moisture and temperature, so keep the top layer from drying as seedlings emerge. Where spring weather swings between warm days and hard frosts, wait for a steadier spell or start indoors so that germination is easier to monitor.
Start indoors if you need control
For an earlier, more controlled start, sow indoors about four to six weeks before your expected last frost. Horticulturist Stephen Albert’s growing guide recommends an early indoor start and transplanting while seedlings are still small. Use individual cells or a shallow seed tray filled with a clean, fine-textured seed-starting mix.
A windowsill can work if it is bright and not excessively warm; a grow light gives more even light when natural light is weak. Keep the mix lightly and evenly moist while waiting for germination, not waterlogged. Once seedlings have emerged, provide bright light and airflow so their stems do not stretch toward the window. The indoor route takes extra attention, so direct sowing is often the easier option if your spring is mild and the bed is ready.
Sow seed with minimal fuss
Prepare a fine, firm seedbed by removing weeds and breaking up large clods. Scatter seed thinly in a row or place a few seeds at each intended station; cover with only a light layer of soil. Albert recommends shallow sowing with about an eighth-inch of cover and reports germination in roughly seven to fourteen days under favorable conditions. Treat that timing as an estimate: cooler soil, old seed, or uneven moisture can make emergence slower.
Water with a gentle rose or mist so the seed does not wash into a corner of the bed. Until seedlings appear, check the surface regularly and water when it begins to dry. The goal is consistent surface moisture, not a soggy seedbed.
Label the row with the plant name and sowing date. This small step is particularly helpful with herbs because many seedlings look similar at first. If more than one seedling emerges where you want a single plant, wait until they have a few true leaves, then keep the healthiest one. Extra seedlings can be moved while still young if there is another prepared spot, but avoid leaving a dense clump that competes for light, water, and room.
Thin and transplant while seedlings are small
Thin outdoor seedlings to roughly 12 inches apart to give each clump space for airflow and repeated picking. Illinois Extension advises dividing mature plants every few years, and Albert’s growing guide uses a similar spacing range for seed-grown plants. The exact distance is flexible: closer planting makes a fuller short row sooner, while wider spacing makes it easier to reach around each plant and divide it later. If you plan to let a few plants flower, allow a little more room for access.
When thinning, snip unwanted seedlings at soil level rather than pulling if the roots of the plants you are keeping are close together. This avoids disturbing the keeper’s roots. Young plants settle more easily than large, established clumps; if a transplant wilts, provide temporary shade and steady moisture while it recovers.
For indoor-started seedlings, harden them off before planting outside. Set the tray in a sheltered outdoor spot for a few hours, then gradually increase exposure over about a week. Transplant into prepared ground after the seedlings adjust to outdoor light and temperatures. Keep the root ball intact, set it at the same depth it was growing in the cell, and water immediately. Avoid burying the crown, where leaves meet roots, because a buried crown can stay too wet.
Grow burnet in a container
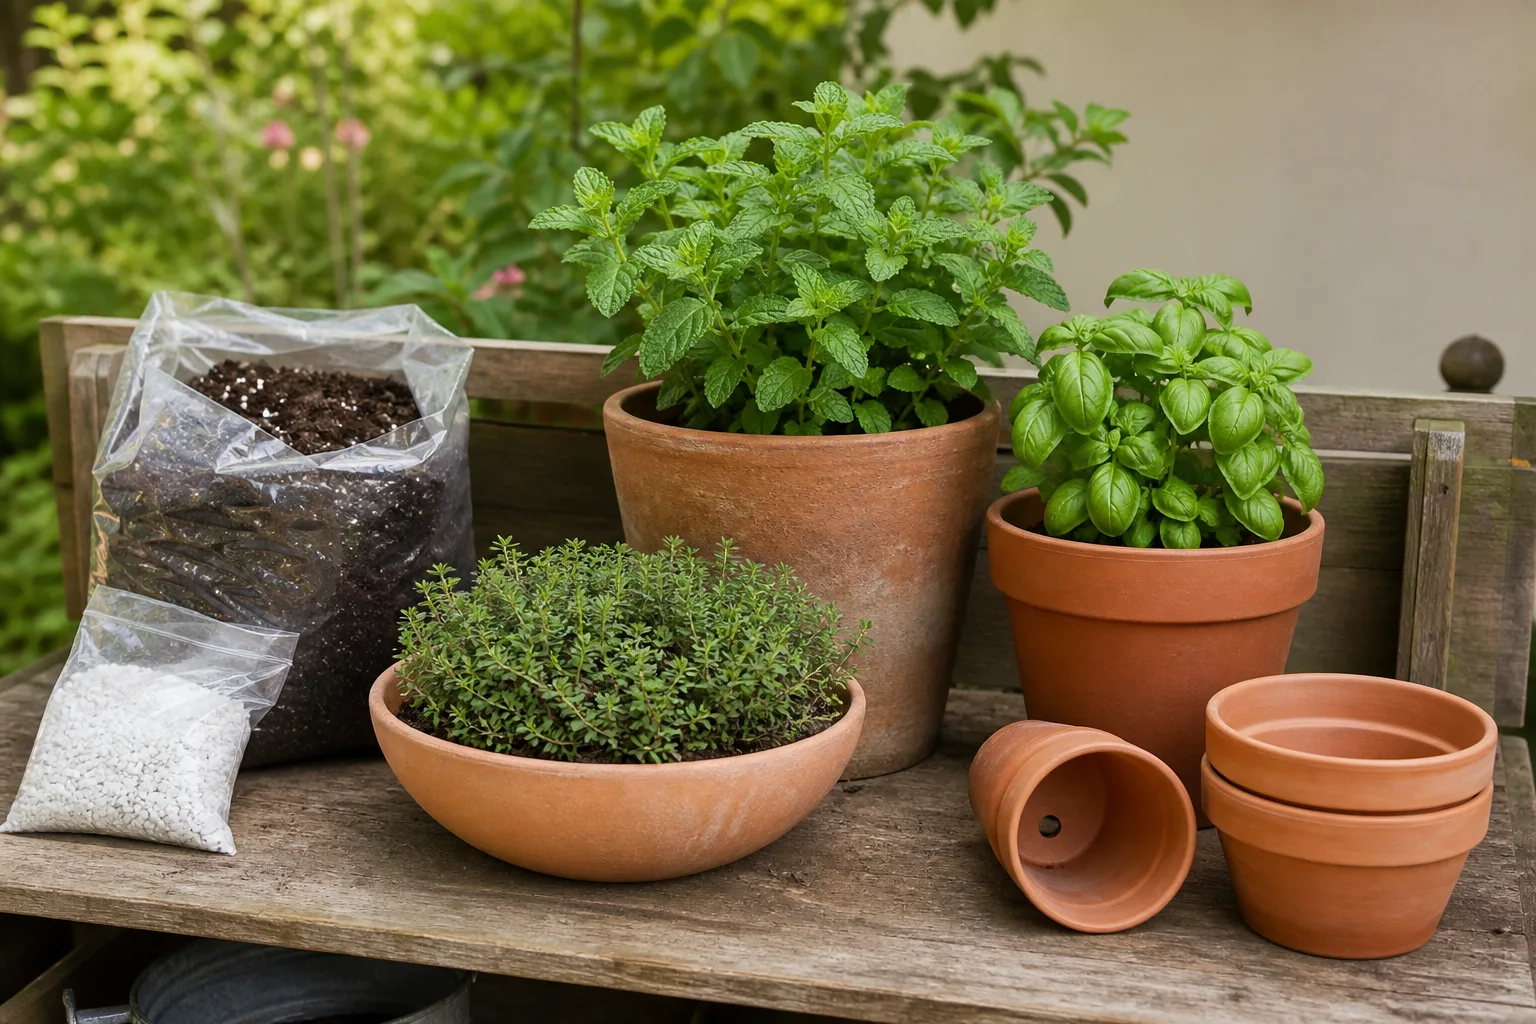
Salad burnet can grow in a container if the pot has drainage holes and enough soil volume to buffer moisture changes. Use a container around 12 inches deep and wide as a practical starting point for one established plant; choose a larger vessel if you want a small group. A horticulturist-written growing guide gives the same 12-inch container starting point. A small decorative pot may dry out too fast to keep leaves tender.
Fill it with a quality potting mix rather than dense garden soil. Set the plant at the same depth as it was in its nursery pot, or sow seed shallowly and thin seedlings once they are established. Place the container where it receives several hours of sun. In very hot climates, a spot with morning sun and some late-day shade can make watering easier and reduce scorching, as long as the plant still receives enough light to grow firmly.
Containers need more frequent attention than in-ground beds because wind and sun dry out their limited soil volume. Check moisture with a finger rather than watering on a fixed schedule. Empty any outer saucer after rain or watering so the pot does not sit in water. The practical test is foliage: if the plant dries between checks and leaves turn coarse, increase the pot size or move it to a less exposed location.
Water for leaves, not just survival
Water needs vary with age, soil, weather, and whether the plant is in a pot. Keep newly sown seed and young transplants evenly moist until they are established. For an established garden plant, water deeply when the upper few inches of soil have dried during a prolonged rainless period. In a container, check more often because the mix can dry quickly. Water at the soil line when possible, especially if leaves have shown spotting.
Sources describe burnet’s dry tolerance differently: NC State Extension lists it as drought-intolerant, while University of Illinois Extension says established plants tolerate dry conditions. The useful takeaway is that an established clump may survive a short dry spell, but survival is not the same as producing soft, flavorful leaves. For regular harvests, aim for steady but not saturated moisture.
Overwatering is also a risk, especially in poorly drained ground or a pot without clear drainage. Yellowing, limp leaves in wet soil are a reason to check drainage before adding more water. A simple weekly check is more useful than a rigid schedule: inspect the soil, note the forecast, and adjust based on the plant’s setting.
Feed lightly and avoid overfertilizing
Burnet does not need a heavy feeding program to grow useful leaves. Start with reasonably fertile soil and, if the bed is poor, incorporate finished compost before planting. The goal is steady leafy growth, not maximum softness at the cost of a weak, floppy clump.
Too much nitrogen can encourage lush growth that is less sturdy and may be more prone to sprawling. If the leaves are pale and growth is consistently weak despite adequate light and water, first check root competition, drainage, and whether the clump has become crowded. Feeding cannot correct a site that stays waterlogged or a plant shaded by taller neighbors. In a container, nutrients are more easily depleted, so follow the label for a balanced, general-purpose fertilizer at a conservative rate during active growth if the potting mix contains no continuing feed.
Avoid repeatedly fertilizing a plant just because it is not producing new leaves in winter or during hot weather. Burnet naturally slows under environmental stress and seasonal change. If you harvest often and the plant remains vigorous, compost and good watering are usually enough. A restrained approach also keeps maintenance simple: refresh the soil surface once a year, observe the plant, then correct a specific deficiency instead of feeding by habit.
Harvest young leaves for the best flavor
Begin picking once the clump has enough leaves to spare and is well rooted. For seed-grown plants, that may take a couple of months, depending on sowing conditions; an established nursery plant can be sampled sooner. Cut individual outer leaves or snip a few stems above the crown, leaving the growing center intact. Taking a small amount regularly encourages a useful supply without stripping the plant.
Young leaves are generally the most tender and have the freshest cucumberlike character. Illinois Extension notes that older foliage can become tough and bitter, especially as plants mature or flower. Check the leaves before cutting: choose clean, unblemished growth and leave any that are very small. Harvest in the morning after dew has dried for a crisp texture, and use the leaves soon after cutting.
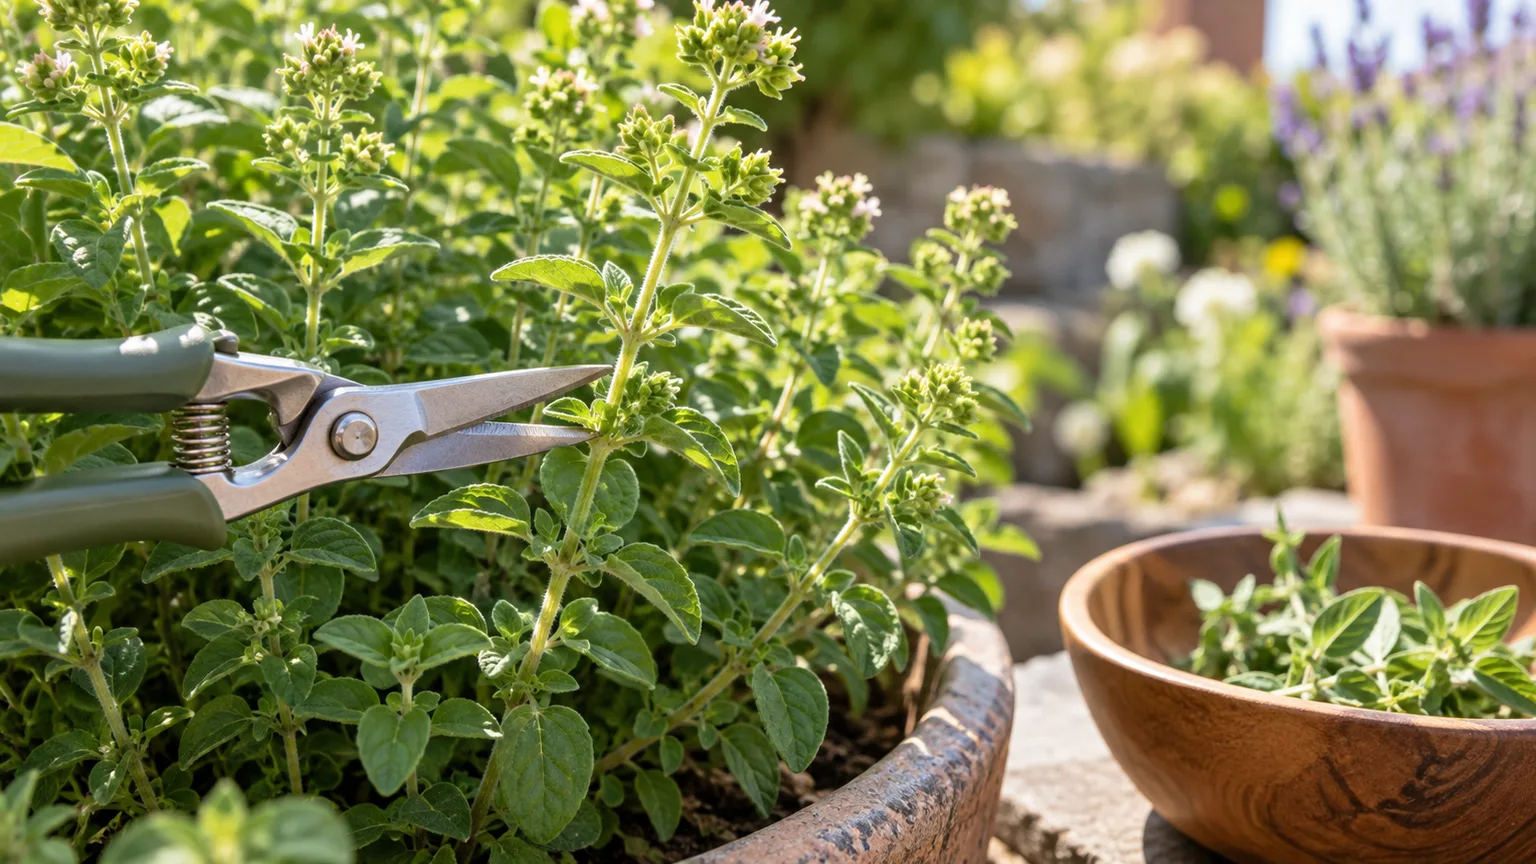
Avoid treating burnet like a crop that must be cut to the ground at every harvest. Frequent light picking is easier on the plant and leaves enough foliage for continued growth. Cut with clean scissors or garden snips; crushing the stems by tearing can bruise the leaves. This repeat-harvest routine is more dependable than waiting for one large flush.
Keep flowers or remove them?
Burnet sends up small flower heads on stems above its leafy clump. Whether to keep them depends on the purpose of the plant. If the main goal is tender leaves, remove flower stems as soon as they become noticeable. Illinois Extension recommends removing flowers to encourage foliage and reduce self-seeding. Cutting the stems redirects the plant’s effort toward continued leaf production and helps keep a tidy herb patch.
If you want seed, pollinator interest, or a more naturalistic look, leave some flower stems. The RHS describes salad burnet as a flowering perennial, and its allotment gardening diary notes the value of letting herbs bloom for pollinators. A practical compromise is to keep one or two plants flowering at the edge of the bed and deadhead the rest. That supplies flowers and possible seed without allowing every plant to scatter seed across the path and neighboring beds.
Divide an old clump
An established clump can be lifted and divided to make new plants or to restore vigor when the center is crowded. Plan to do this in spring or early fall, when the soil is workable and temperatures are moderate. Illinois Extension recommends dividing plants every three to four years. The calendar is a guide rather than a deadline: divide when a plant has outgrown its space, the center has thinned, or you want additional clumps.
Water the plant the day before if the soil is dry. Use a hand fork or spade to lift the clump with as much root as practical, then tease or cut it into sections. Each division should have healthy roots and several growing points. Discard dead or badly damaged central material, and replant the divisions promptly at their previous depth. Leave about a foot between new clumps, water them in, and keep the soil from drying while they re-establish.
Division is less convenient than sowing if you want many plants, but it gives you a quicker start with the same garden selection. It also lets you reduce an oversized clump without relying on seed that may not come true to the parent. Handle roots gently and avoid dividing during a heatwave, a hard freeze, or waterlogged weather.
Control volunteers and spread
Salad burnet can self-seed, so a plant allowed to flower may produce seedlings nearby. Illinois Extension notes that it may reseed freely. This can be welcome in a relaxed herb garden, but volunteers can appear in paths, lawn edges, or among smaller plants. The easiest way to control spread is to remove most flower stems before seed develops. If you want to collect seed, leave a few heads until they mature, then cut them into a labeled paper bag before they scatter.
Check around the parent plant in spring and pull unwanted seedlings while small. They are easier to remove before their roots establish and before they blend into other young plants. Keep the seedlings you actually want, and thin them rather than allowing a thick patch to compete with the original clumps. A defined bed edge or container also makes the planting easier to monitor.
Do not confuse self-seeding with invasive running roots. Burnet grows as a clump; it does not spread by a network of long rhizomes through the garden. Its expansion is mainly from seed and gradual enlargement of the crown. If volunteers continue to appear, increase deadheading and remove seed heads promptly. If you like having a natural supply, allow a controlled number to remain and transplant extras when they are small.
Troubleshoot thin growth and leaf spotting
Sparse or floppy growth usually points first to insufficient light, crowding, or inconsistent moisture. Compare the plant with a clump in a more open position if you have one. If it leans toward a nearby hedge or tall perennial, move it to a brighter site or trim back the shading neighbor. Thin the planting if stems are packed together, and avoid applying extra fertilizer until you have ruled out these basic causes.
Leaf spots can result from wet foliage, poor airflow, or disease pressure, but a photograph alone is not enough to identify the cause. Remove badly affected leaves, clear old debris from around the crown, and water at the soil rather than overhead. Do not compost diseased material if the problem is spreading; discard it and clean the scissors before moving to healthy plants. If spotting returns, improve spacing and airflow and take a clear sample to a local extension service for identification before using any treatment.
A clump that collapses in consistently wet ground may be suffering from poor drainage. Do not respond by adding more water or burying the crown deeper. Replant into a raised or better-drained spot when conditions are suitable. Conversely, dry, papery leaf edges during hot weather suggest the root zone may be drying too much, particularly in pots. Change one condition at a time and watch the newest growth; it gives a better signal of recovery than older damaged leaves.
Use burnet fresh in the kitchen
Wash leaves just before use and pat them dry. Snip the leaflets from their stems if you prefer a finer texture. The flavor is mild and cucumberlike, so burnet works best where a subtle fresh note can come through: scatter it over a green salad, add it to a sandwich, stir it into a soft cheese or butter, or steep a few leaves in cold water or vinegar. NC State Extension lists uses in salads, vinegars, butter, and cream cheese.
Because its aroma is delicate, add burnet late to hot dishes or use it raw as a finishing herb. Long cooking can dull its fresh character. Combine it with other tender herbs rather than relying on it to season a whole pot on its own. A small amount gives a light herbal accent; taste as you go and add more if needed. Remove tough stems and avoid using leaves that are yellowed, spotted, or wilted.
Get it through winter
In suitable climates, salad burnet survives as a perennial and resumes growth when conditions improve. NC State Extension lists it for USDA hardiness zones 4a through 8b, but local exposure, drainage, and winter extremes affect survival. The same clump may overwinter reliably in a protected bed and struggle in an exposed, waterlogged site. A plant’s hardiness rating is a regional guide, not a promise for every microclimate.
Before winter, remove dead or diseased foliage and clear heavy debris from the crown. In a cold region, a light mulch after the ground begins to freeze can moderate temperature swings; keep the crown from being smothered under a wet, compacted layer. In mild climates, the plant may continue to offer some leaves, although growth can slow. Avoid cutting the entire clump hard in late fall unless damaged growth requires it.
Container plants are more exposed to freeze-thaw cycles than plants in the ground. Move pots to a sheltered, unheated location if winters are severe, and check occasionally so the root ball does not become bone dry. Do not leave a pot standing in a water-filled saucer. In spring, remove winter-damaged leaves, check for drainage problems, and top-dress with compost. New growth will show whether the clump has come through; wait for it before deciding a plant is lost.
Conclusion
Salad burnet is a compact perennial herb that rewards a sunny, well-drained site and light, regular harvesting. Start from shallow-sown seed or divide an established clump, thin plants to give them room, and keep seedlings and container plants evenly moist. Once established, adjust watering to the soil and your harvest goals: a plant may endure a dry spell while still producing tougher leaves.
For tender foliage, pick young outer leaves and remove most flower stems. Leave a few flowers if you want seed or pollinator forage, and pull unwanted volunteers before they establish. Grow it in a pot if garden space is limited, but choose a generously sized container with drainage and check it often in warm weather. With those simple choices, a small planting can supply fresh leaves through much of the growing season and return for another year.



