Plant Spacing Guide: How Far Apart Should You Plant?
Plant spacing starts with mature width, not the pot. Learn center-to-center measuring, when to plant closer, and how to fix an overcrowded garden bed.
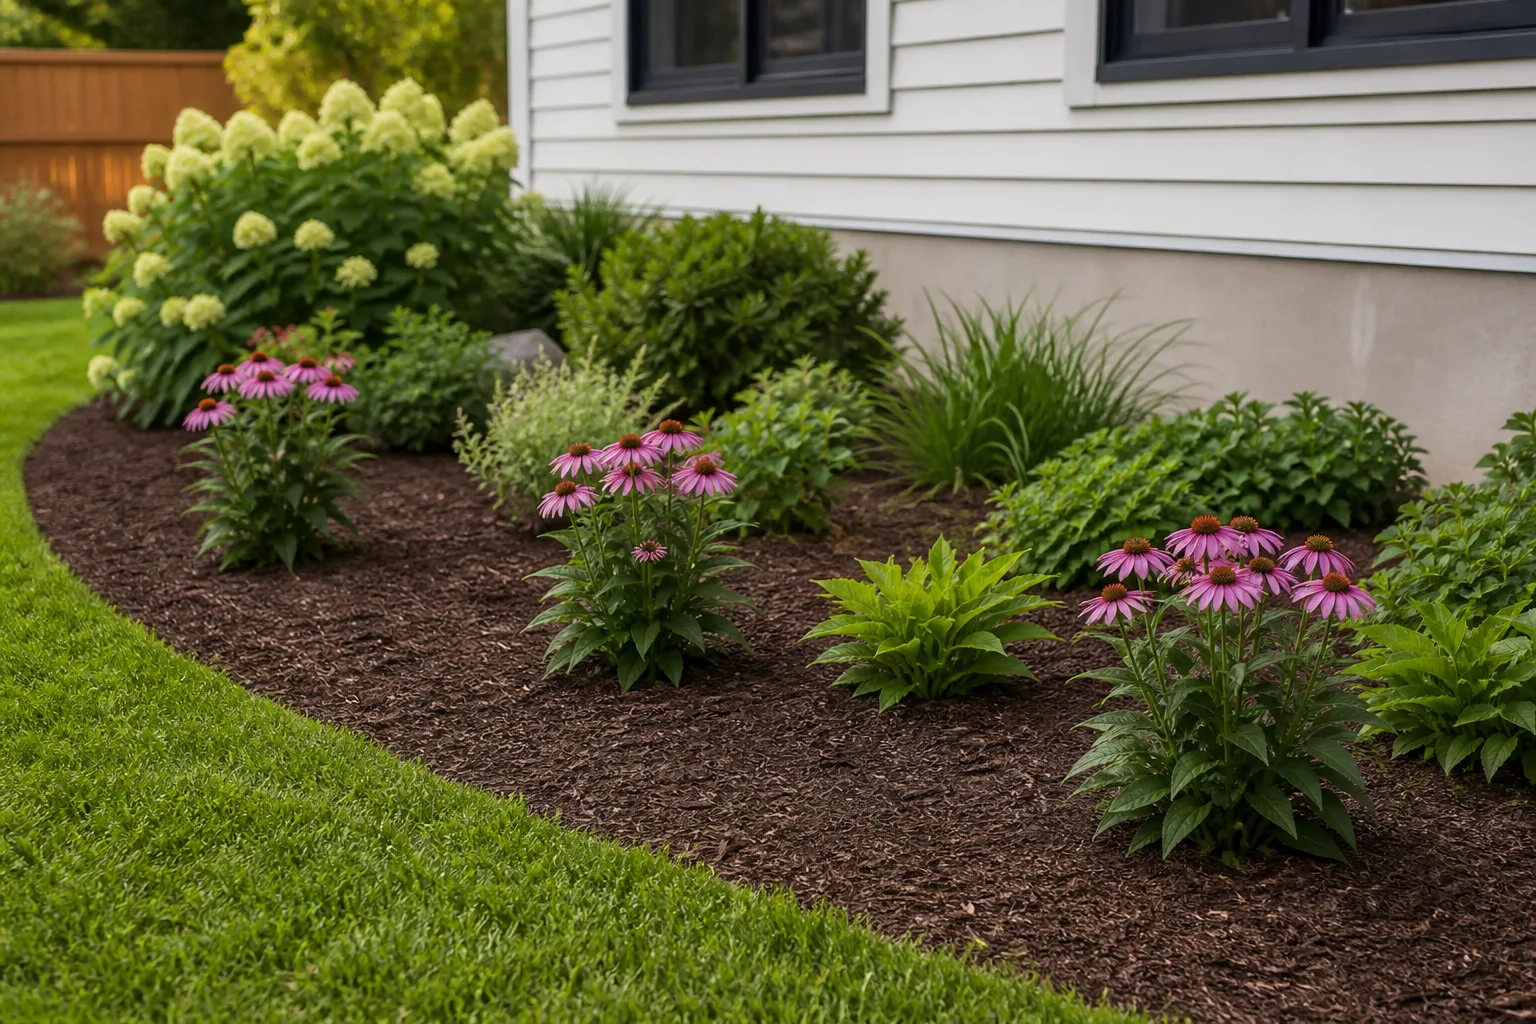
The right distance is not the gap that looks tidy on planting day. It is the space each plant needs for the shape you want after it grows, with enough room left for light, air, watering, pruning, and harvest. A seedling-sized plant can look lost in a new bed and still be exactly where it should be.
Start with each plant’s mature width, then decide whether you want the canopies to stay apart, meet, or overlap. That turns “How close?” from a guess into a measurement you can adjust for your garden and the work you are willing to do.
The quick answer: use final plant size, then choose your goal
For a simple starting point, use the mature spread on the plant label and measure from the center of one plant to the center of the next. If two plants are the same width and you want their foliage to just meet at maturity, their centers will be about one mature width apart. Add space if you want a visible gap, a path, or extra access; subtract some only when a denser, managed planting is intentional.
That starting point changes with the job. A perennial border designed to knit into a continuous display can close sooner than a row of shrubs you need to prune from both sides. A tomato trained to a stake can occupy a narrower footprint than the same variety left sprawling. There is no single “correct” spacing independent of plant habit and purpose.
| Planting goal | Starting decision | What you trade |
|---|---|---|
| Separate specimens | Allow the expected mature canopy plus a visual gap | More bare soil while plants establish |
| A joined perennial border | Use the lower end of a credible spacing range | Earlier division and more competition may follow |
| A hedge or ground cover | Follow the plant’s recommended range for that function | Faster coverage means more pruning or thinning |
| Vegetables in rows | Follow the crop chart for in-row and between-row distances | A tight grid may make access and harvest harder |
Use the plant’s actual label or an extension recommendation before using a general formula. The simple rule is a planning tool, not a guarantee that every plant will reach a perfectly circular, predictable size.
What “spacing” means—and what plant tags actually tell you
Spacing instructions are easy to misread because labels and seed packets can show different measurements. A plant profile may list mature “spread” or “width,” describing how broad the plant is expected to become. A seed packet may instead say “thin to 6 inches” or give “18 inches between plants,” which is already a recommended planting distance; do not automatically double it by treating it as a width.
Look for the label on the measurement, not just the number. If it says “spread: 24 inches,” that describes the grown plant. If it says “space plants 24 inches apart,” treat that as center-to-center guidance unless the source specifies otherwise. Crop charts often separate “in-row spacing” from “between-row spacing,” because plants in the same line and the paths between lines serve different purposes.
Mature width is an estimate, not a fixed radius. Cultivar, age, climate, sun, soil moisture, fertility, pruning, and whether a plant is supported can all affect the footprint. If the label gives a range, use the upper end when you want a low-maintenance, long-lived planting; use a tighter number only if you accept the later thinning, division, or pruning it may require.
A practical way to set plant centers before you dig
The easiest time to fix spacing is before roots are in the ground. Gather the tags or reliable plant profiles, decide how the bed will be used, and lay the nursery pots on the soil in the pattern you intend to plant. BBC Gardeners’ World recommends arranging plants in their pots first and factoring in mature size; that simple dry run also reveals whether a path or a tall plant will crowd its neighbor.
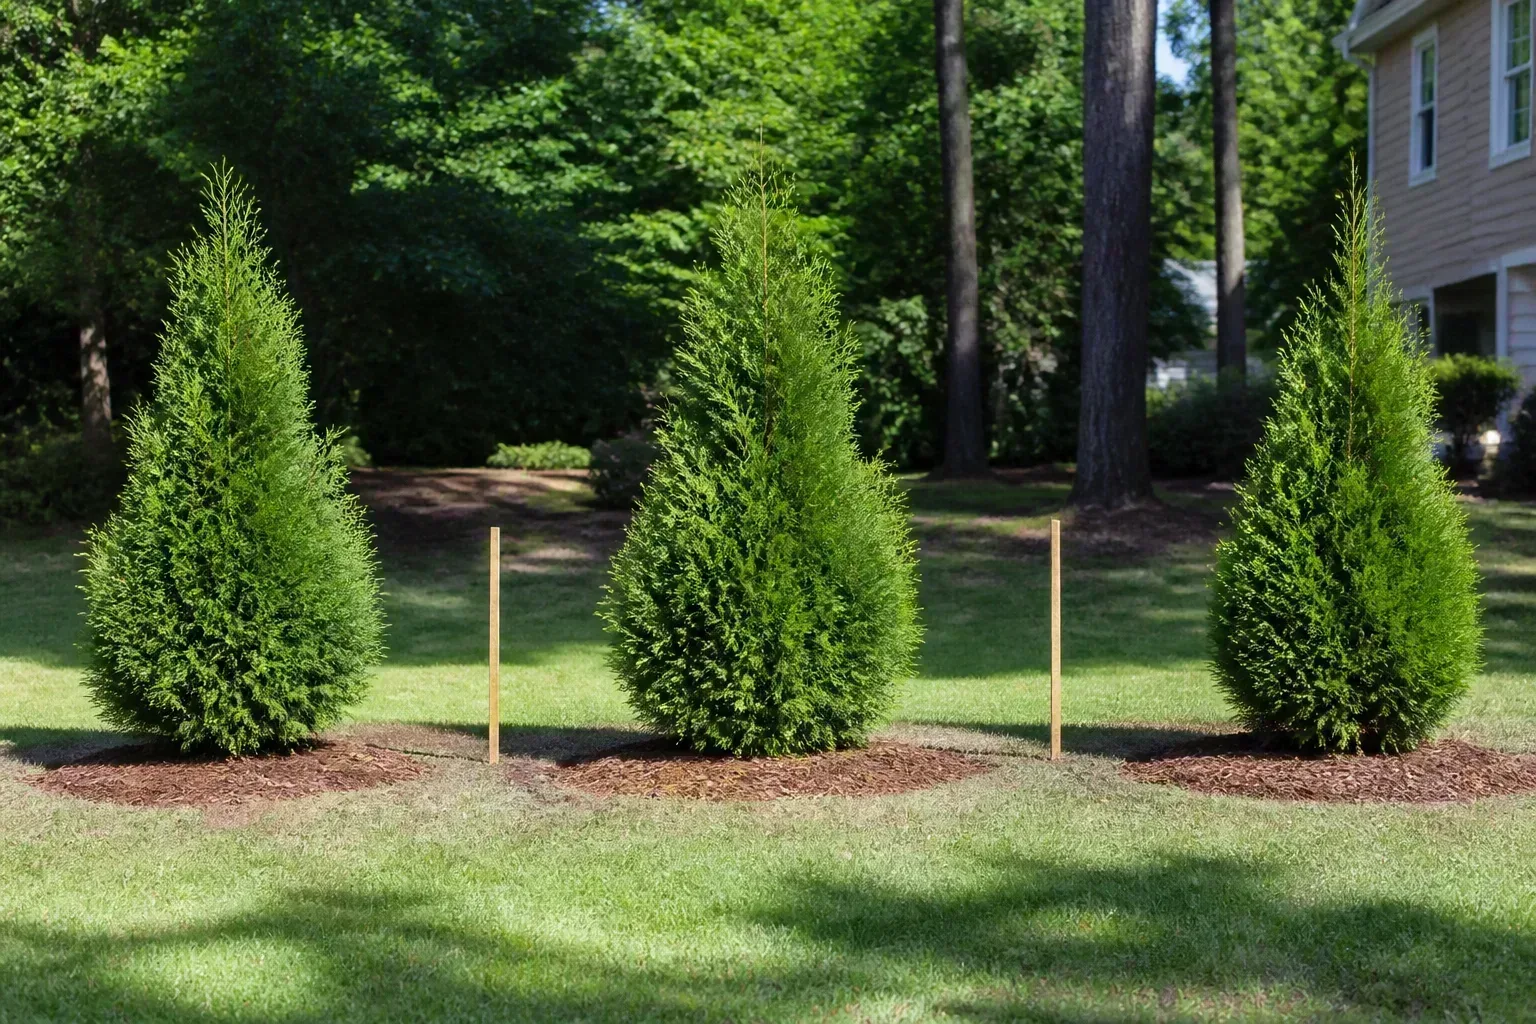
Mark the center of each plant with a short stake, pencil, or a small spot on a string line. Measure between those centers, not between the rims of the pots: pots are temporary containers and their diameters say little about the eventual canopy. Then step back to check the full outline of the bed, including gates, walls, paving, and the route you need for a hose or harvest basket.
Use the half-width rule when plants differ
When two neighboring plants have different mature widths, taking the larger width as the center distance can waste space. If plant A is expected to spread 12 inches and plant B 36 inches, their foliage would meet at roughly 24 inches center-to-center: half of 12 inches (6) plus half of 36 inches (18). To keep a 6-inch open strip between their mature edges, add that 6 inches, for a starting distance of 30 inches.
In shorthand, the starting center distance is half of plant A’s mature width plus half of plant B’s mature width, plus any edge-to-edge gap you want. This geometry assumes the listed widths are comparable and the plants grow outward fairly evenly. An upright grass, an arching perennial, a sprawling vine, and a rounded shrub may all have the same “spread” on paper but occupy space differently, so use the arithmetic as a map and then check the species’ own guidance.
If a source gives a recommended planting distance for the exact plant or crop, prioritize that over the calculation. Recommendations may account for the plant’s habit, rootstock, harvest method, airflow, or local growing season—factors a simple width equation cannot capture.
Measure from plant centers, not pot edges
For an even row, set the first and last centers, then mark the remaining centers at equal intervals. If the bed is irregular, measure along the curve or use a flexible hose to outline the bed; equal straight-line distances can create an awkward clump when the planting itself bends around a path. For a staggered bed, mark the first row and offset the next row so the gaps do not line up into a single bare corridor.
The tape measure is there to protect the mature layout, not force a rigid grid into every garden. Once you have measured, look at the plants from the house, path, or seating area: a border can be botanically well spaced and still feel lopsided if all the tall plants end up in the front or if the path becomes blocked.
Decide what you want the planting to look like
Before choosing the last few inches, name the outcome. Do you want each shrub to read as a separate form, or do you want a continuous screen? Are you happy to see mulch between young perennials for two seasons, or do you want the border to close sooner? A clear goal prevents two common missteps: planting everything at the widest possible distance and ending up with a sparse display, or filling every gap on day one and having to move plants later.
For separated specimens, add an intentional foliage gap to the mature-width calculation. For a naturalistic drift, plants may just touch or overlap slightly as they reach maturity. For ground cover, a closer recommended spacing can reduce the time soil remains open, but it can also raise the plant count and watering needs while the cover establishes. A low-cost alternative is to mulch the open soil or fill temporary gaps with short-lived annuals rather than permanently crowding long-lived plants.
Think about maintenance space separately from plant space. A plant can fit between two neighbors and still be impossible to weed around, inspect, deadhead, divide, or harvest. Leave room for the task that will matter most in that location: a hand-width to reach a perennial clump, a path on the picking side of vegetables, or clearance for a pruner between shrubs.
Perennials and annuals: close enough to knit, not packed by default
Perennials often look too small for their eventual place when they come home from a nursery. Use the predicted spread rather than the root-ball diameter, then choose whether the mature plants should meet or remain distinct. RHS perennial guidance gives a useful example: a perennial with a predicted 60-centimeter spread can be planted about 50 centimeters apart when the goal is to knit the plants together, while warning that excessive crowding can increase competition for light and water and may require lifting and dividing later.
That is a design choice, not a universal instruction to plant every perennial 10 centimeters closer. A compact clump-former, a fast-spreading rhizomatous plant, and a tall plant that flops outward will not fill a bed in the same way. Check the cultivar’s spread, the plant’s habit, and whether you can divide or remove it if the border closes more quickly than expected.
Annual bedding plants are a different case because they are often planted for a dense display over one season. The effect can justify closer placement than a permanent mixed border, but crowded leaves dry more slowly and small root zones compete for water and nutrients. Follow the spacing range for the specific annual rather than copying a perennial’s mature-width calculation, and avoid compensating automatically with extra fertilizer; more lush growth can make a dense planting harder to manage.
Shrubs and hedges need room for their job and your access
A shrub border and a hedge may use the same species but need different spacing. A specimen shrub usually looks better when its mature outline has room to show, while hedge plants are intentionally closer so their branches can fill a screen. For a hedge, follow a spacing recommendation for the exact variety and the height and width you plan to maintain; there is no dependable universal distance for “shrubs” because mature sizes range widely.
Do not plan a hedge around how small the nursery plants look. Check whether the label gives a mature spread, expected height, or a separate hedge-spacing recommendation, and decide whether you can reach both sides for pruning. If a screen sits against a fence, wall, or property boundary, include the space needed to cut the back side and avoid planting the stems directly against a structure just to make the row look full sooner.
When you do maintain a clipped hedge, avoid letting the top become substantially wider than the base. A gently tapered profile allows more light to reach lower foliage, so the hedge is less likely to become bare at the bottom. The trade-off is that tight spacing creates an ongoing pruning job; if you want a low-care screen, choose a naturally narrow cultivar or leave more room for its untrimmed form instead of expecting pruning to keep a large shrub permanently tiny.
Trees need clearance beyond what fits in the bed
For a tree, ask what will occupy the space above and around it in ten or twenty years—not just whether its nursery pot fits in the planting bed. Check the expected canopy width and height for the exact cultivar and rootstock, and consider the mature form near roofs, fences, overhead wires, paths, driveways, and neighboring plants. Fruit-tree spacing also differs between standard, semi-dwarf, and dwarf trees, and between a backyard planting and an orchard row; treat general ranges as orientation, then confirm the variety-specific recommendation.
The tree’s intended function matters too. A small ornamental can be a focal point with open space around its crown, whereas a row of trees may be meant to form a screen or windbreak. A fruit tree may need room for sun, pruning, and picking, but pollination requirements can also matter when selecting companions. Gardening Know How describes fruit-tree spacing as dependent on tree type, mature canopy, soil, and rootstock; that is a useful reminder that the species name alone may not be enough to settle the distance.
If a tree’s likely crown would reach into a power line corridor or conflict with a building, do not solve the mismatch by planning repeated severe pruning. Choose a smaller mature species or locate the tree elsewhere, and consult a local arborist or utility guidance when the site includes overhead lines or a large established tree.
Vegetables: keep in-row and between-row spacing separate
Vegetable spacing is usually given for a growing system, not just a mature plant width. Seed packets and extension charts may list the distance between plants in one row and the distance between rows; the second number often leaves room for the crop to spread, for light and air to reach foliage, or for the gardener to walk and harvest. Clemson Extension’s vegetable chart explicitly separates between-row from in-row spacing, and the values vary substantially by crop, which is why one generic “vegetable spacing” rule is not useful.
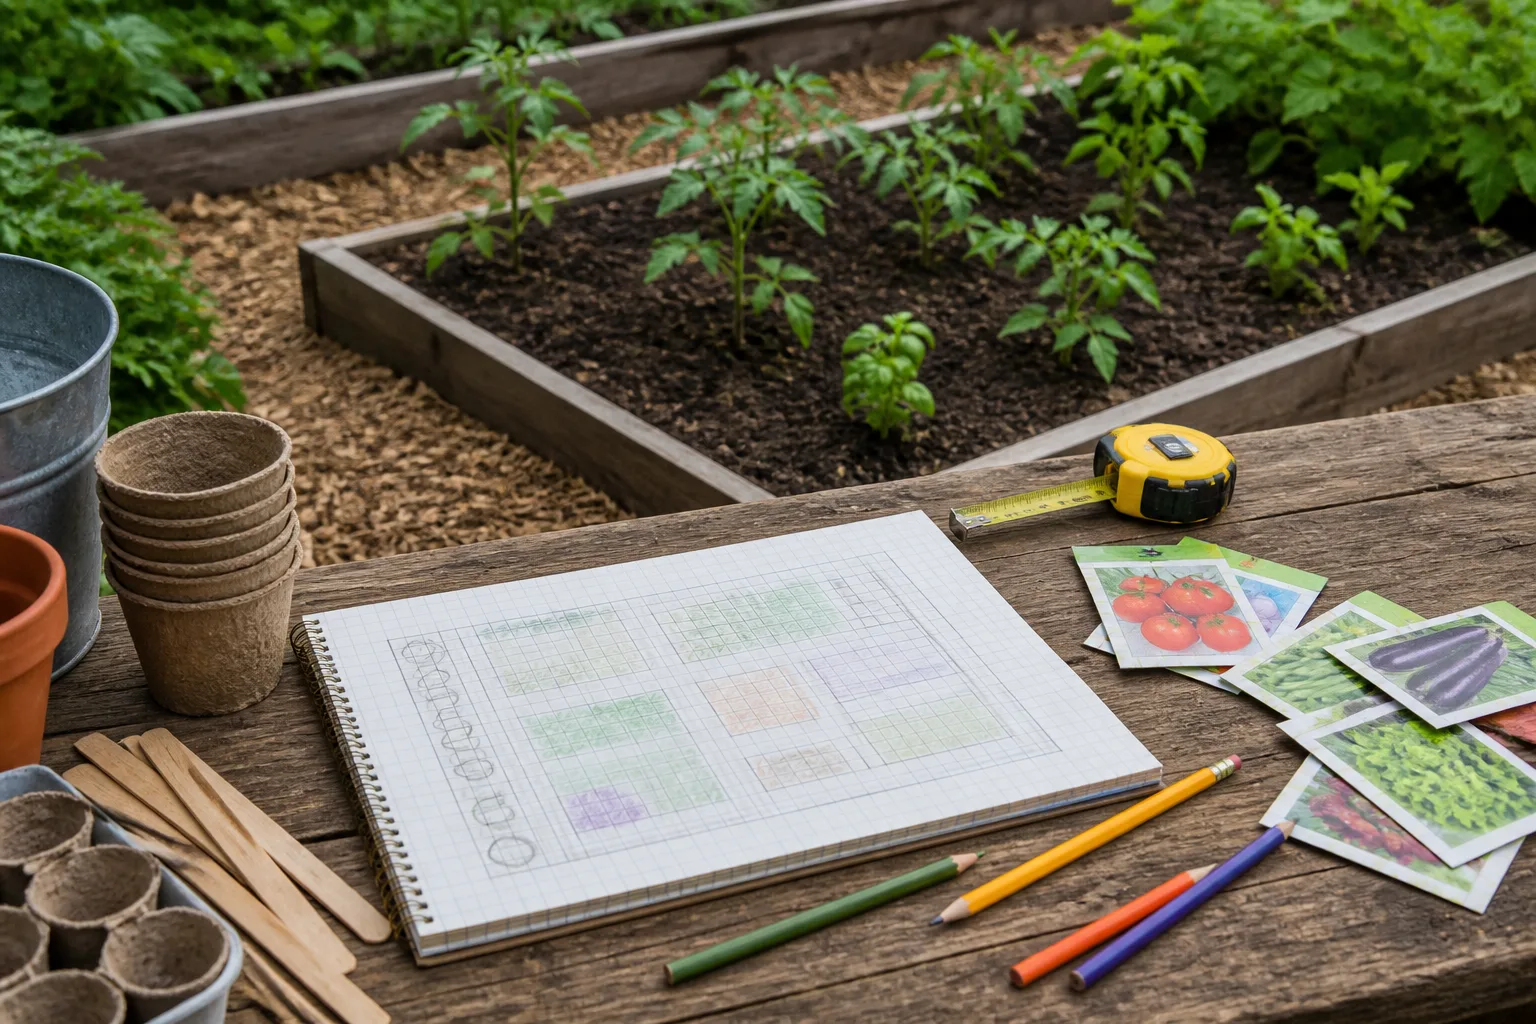
Use the cultivar’s seed packet or local extension chart as the first reference, especially where the growing season, climate, or disease pressure differs from a general guide. A compact lettuce variety, a sprawling winter squash, and a tall crop trained vertically do not use a bed in the same way. Raised beds can make closer, staggered planting practical because you do not need to leave a walking lane between every row, but the plants still need access to light, air, water, and the gardener’s hands.
Support and crop habit can change the number
Tomatoes show why “space each plant by X” is incomplete advice. Penn State Extension’s guide differentiates determinate tomatoes from indeterminate plants and explains that staked plants can be planted closer than caged or sprawling ones; its general distances include about 2 feet for determinate plants and 3 feet for indeterminate plants, with staked plants sometimes 18 to 24 inches apart. Those numbers describe a specific crop and system, not a spacing rule to transfer to peppers, squash, or every tomato cultivar.
Savvy Gardening likewise ties tomato spacing to growth habit and support, noting that supported plants occupy a narrower footprint than plants allowed to sprawl. Support does not make crowding free: staking and pruning demand regular attention, and a dense canopy may still limit access or airflow if side growth is left unchecked. Decide how you will train and harvest the crop before using the closer spacing associated with that method.
For a small bed, mark plant centers and row centers separately on paper before sowing. If a seed packet gives “thin to” spacing, thin seedlings early to that distance; leaving every germinated seedling in place because the row looks lush can create a tangled canopy before roots are established. For crops that are easy to succession-sow, a later short row may produce more usable harvest than packing one row too tightly.
Containers and small gardens need an access check too
Containers reduce the footprint of the soil surface, but they do not turn a large plant into a compact one. A pot can sit close to another pot for a temporary display, yet mature leaves may shade a smaller neighbor, block watering, or hide pests and damage from view. Group pots by light and watering needs, and leave enough space to rotate, lift, or inspect them rather than forcing every pot into a tight decorative cluster.
On a balcony or patio, include railings, door swings, drainage, and the weight of mature or watered containers in the layout. For a small raised bed, reserve the access strip first and space plants inside the remaining growing area; otherwise, a plan that looks efficient on paper may require stepping into the bed or reaching across fragile stems. In a narrow bed, one row of well-spaced plants can be more productive in practice than two crowded rows that you cannot maintain.
If you want a full look immediately, use plants with a naturally compact mature spread or place temporary pots between permanent plants. Those can be moved as the bed fills. This keeps the long-term planting intact without asking young shrubs or perennials to remain overcrowded just to cover bare soil for one season.
When closer spacing works—and when it does not
Closer spacing can make sense when the desired result is a joined canopy, a clipped hedge, a ground-cover mat, a short-lived annual display, or a vegetable planting designed around intensive care. It works best when you know the expected mature size, have a plan for watering and airflow, can reach the plants for routine jobs, and accept that thinning, pruning, or dividing may be needed sooner. In other words, dense planting is a managed choice rather than a shortcut that removes maintenance.
It is a poor fit when the plants are long-lived, fast-growing, prone to spreading, likely to shade one another, or placed where access is already difficult. It is also risky to use close spacing to hide a mismatch between a plant’s mature size and the site; a large shrub jammed beside a walkway will not become a naturally small shrub just because it was planted close to other plants. Choose a smaller plant or redesign the bed if the mature footprint cannot fit.
Crowding can reduce light, make watering and harvesting awkward, and leave foliage with less room to dry and air to move. Penn State’s tomato guidance links increased airflow in staked plants with a lower incidence of fungal disease, while Savvy Gardening explains how overly close tomato foliage can reduce airflow and light. Those sources support keeping a workable canopy; they do not prove that every pair of touching leaves will become diseased, so judge the whole site, plant, and maintenance plan rather than applying a blanket rule.
What to do if plants are already too close
First identify which plant has the wrong location, not simply which one looks largest today. Check the tags or profiles for expected mature size and growth habit, then look at shade, access, and any signs that the layout is affecting care. One vigorous plant may be overwhelming a smaller neighbor, but both could also be in the wrong position for the light or moisture available.
For seedlings and very young transplants, thin or move them while the root systems are still small, following the timing and handling advice for that crop. For established perennials, division or relocation may be possible at a suitable time for the species and climate; RHS guidance specifically notes that perennials planted closer for faster coverage may later need dividing to correct their spacing. Water newly moved plants as they establish and avoid doing major moves during heat or drought stress.
For shrubs, decide whether light selective pruning will solve a temporary overlap or whether one plant needs to be moved or removed. Pruning can manage size within a plant’s natural tolerance, but it cannot permanently compensate for a mature shrub that is fundamentally too wide for its location. With trees, do not attempt a large relocation or drastic crown reduction as a quick fix; get species-specific advice from an arborist or local extension service.
After you thin or move plants, mulch open soil or use a temporary filler if the bare spaces bother you. That is usually easier than replacing several well-established plants later because the original planting was designed only for its first-year appearance.
Conclusion
Plant from the space each plant is expected to occupy, not the size of the pot it came in. Read whether a tag gives mature width or a recommended planting distance, measure centers consistently, and adjust for the look, access, airflow, support, and future maintenance you want.
For two different plants, half of each mature width gives a useful starting center distance; add any foliage gap you want, then confirm the species-specific guidance. A denser planting can be beautiful and productive when it is deliberate, but if you cannot reach, water, prune, harvest, or divide it later, it is too close for the way you garden.