How Long Vegetable Seeds Last and How to Test Them
Old seed packets do not have one universal expiration date. Compare typical crop ranges, test a sample, and use the result to plan how much to sow wisely.
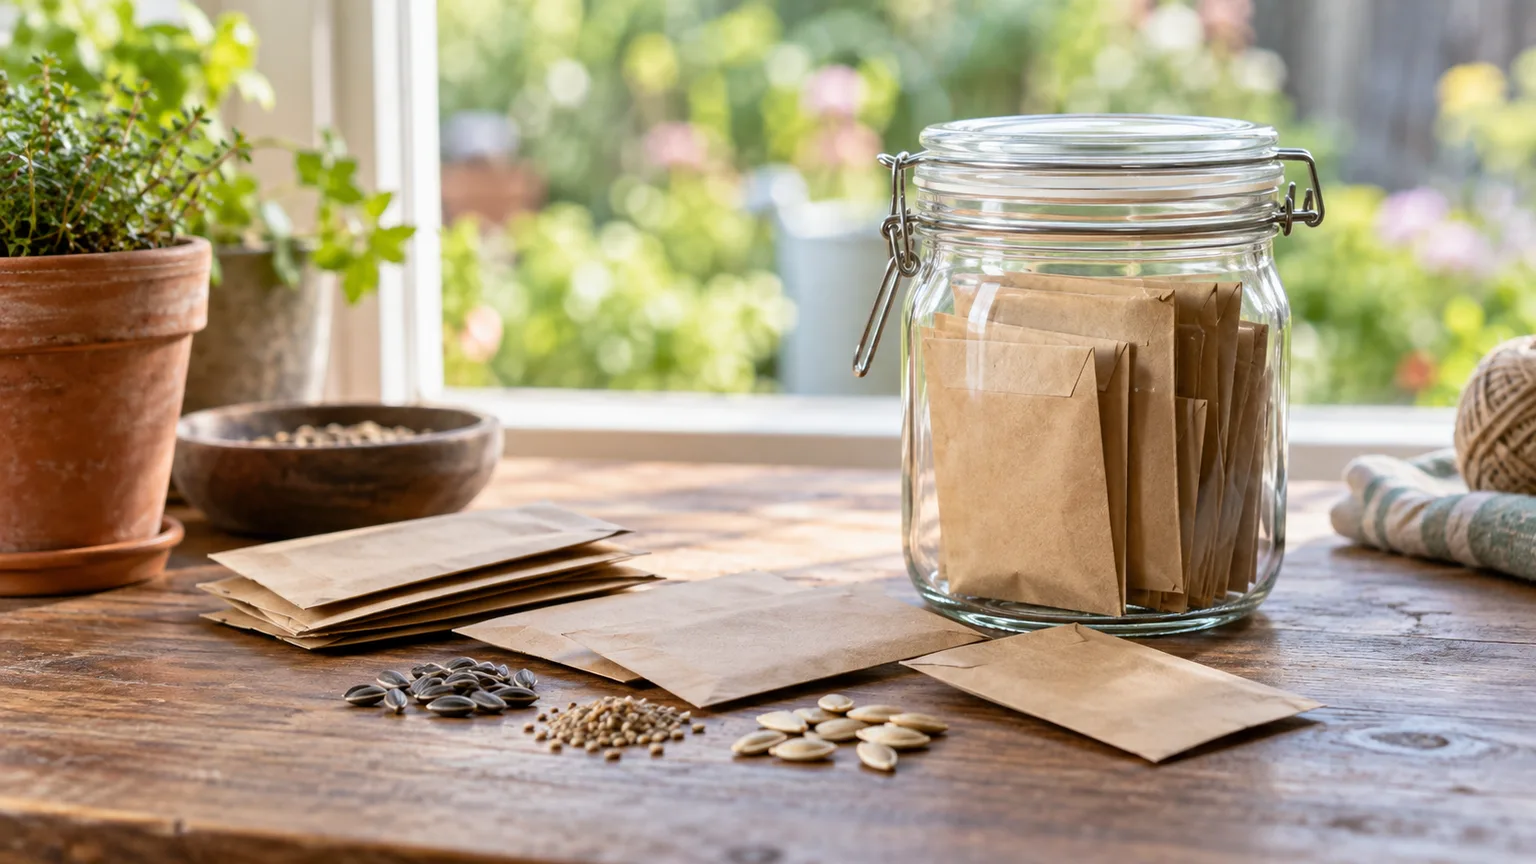
The Short Answer: There Is No Universal Expiration Date
Vegetable seeds can remain capable of germinating for one season or for several years, depending on the crop, the quality of the seed when it was packed, and how it was stored. A packet date is a helpful clue, but it is not a switch that turns every seed inside from alive to dead on January 1. The quickest way to make a useful decision is to test a small sample from the packet you actually own.
A well-kept packet of tomato, cucumber, or squash seed may still germinate years after its first season, while onion seed can lose useful germination sooner. Even within one crop, two packets of the same age can perform differently if one spent summer in a hot garage and the other stayed sealed in a cool cupboard. Published seed-life ranges help you decide which packets to test first; they cannot replace a test of the specific lot.
There is one important distinction: a seed that sprouts is not automatically a vigorous seedling. A paper-towel test estimates germination under favorable, controlled conditions. It does not promise that every sprout will emerge in cold garden soil, survive damping-off, or grow into a strong plant. Penn State Extension describes seed viability as the presence of living, healthy embryonic tissue and emphasizes that seeds also need suitable temperature, moisture, air, and sometimes light to germinate. (Penn State Extension)
What a Seed Packet Date Can—and Cannot—Tell You
Seed packets may display a packed-for year, a lot number, a sell-by date, or a germination statement. The precise label depends on the supplier and applicable rules, so read the specific packet rather than assuming every printed year means “expires this season.” A date records useful information about the lot or its sale; it does not reveal the packet’s entire storage history or measure the number of living seeds left today.
A packet that is one year past its date may be a better bet than a newer packet that sat in a damp shed. Commercial seed starts with a tested lot, but once a packet reaches your home, warmth and moisture can accelerate decline. Utah State University Extension recommends considering seed age, storage history, source, and germination rate when choosing seed, and points gardeners to a simple germination test when those details are uncertain. (Utah State University Extension)
Treat the date as a prompt to inspect and test, not as an automatic reason to discard. If the packet is important to your garden plan—perhaps it holds a slow-growing pepper variety you cannot replace easily—test early enough to reorder or start a backup. For an inexpensive, fast-germinating crop such as radishes, you may be comfortable testing a small sample and sowing a little extra.
A Practical Seed-Life Reference for Common Vegetables
The ranges below are approximate average storage-life estimates for dry seed kept under favorable conditions. They summarize the vegetable chart published by Johnny’s Selected Seeds, whose reference notes that actual results vary with seed condition and storage environment; other gardening charts do not always agree, especially for lettuce, spinach, and some herbs. Use the range to prioritize testing, not to assign an expiration date. (Johnny’s Selected Seeds; Empress of Dirt)
| Vegetable | Approximate storage-life range | Practical reading |
|---|---|---|
| Onion | 1–2 years | Test early; replace if sowing success matters and the test is poor. |
| Sweet corn | 1–3 years | Do not rely on an old packet for a full block without testing. |
| Parsnip | 1–3 years | Often short-lived; test before the narrow sowing window. |
| Carrot | 3–4 years | Older packets can be worth testing, but emergence is sensitive to sowing conditions. |
| Beans and peas | 2–4 years | A reasonable candidate for a 10- or 20-seed check. |
| Broccoli, cabbage, kale, and related brassicas | 3–5 years | Often keep for several seasons when kept dry and cool. |
| Tomato | 3–7 years | A well-stored older packet may still be useful; verify rather than assume. |
| Cucumber | 3–6 years | Typically worth a test before replacing. |
| Lettuce | 1–6 years | Published ranges vary widely, so the packet-specific test matters. |
| Squash and melons | 3–6 years | Many lots remain usable for years, but storage still controls the outcome. |
| Radish | 4–5 years | Often a longer-lived choice, but warm, humid storage can shorten that window. |
A range may look less tidy than a single number, but it is more honest. Johnny’s lists lettuce across a particularly broad span, while other guides commonly give a narrower estimate; this difference reflects variation in seed lots and storage assumptions, not a secret day when lettuce seed expires. If a crop appears near the short end of its range, test sooner. If the range is longer and the packet stayed cool and dry, testing may tell you that buying fresh seed is unnecessary.
The figures describe the potential of seed under reasonable storage, not the percentage that will germinate. “Four years” does not mean every packet of that crop will achieve a particular rate in year four. It means a four-year-old packet could be viable, especially with good storage, while another packet of the same age could be weak. The test result is the more useful number for planning.
Why One Seed Packet Outlasts Another
Seeds age as their living tissues and stored energy deteriorate. Temperature and moisture are major controls: warmth speeds deterioration, and moisture can trigger damaging activity or encourage mold. Light and oxygen also matter over time, but for a home gardener, avoiding dampness and heat usually makes the biggest practical difference.
Species have different natural storage behavior, and seed maturity matters too. Seed collected before it fully ripened, damaged seed, or seed exposed to wet weather during harvest may begin storage with less vigor than a healthy, mature lot. This is one reason a table cannot predict an individual packet precisely. Age and crop tell you what to check; the way the packet was handled helps explain what you find.
The location in your house can change the outcome. An unopened paper packet in a dark, dry closet may do well for next season, but a kitchen drawer beside a dishwasher or a sun-warmed windowsill is not a stable long-term store. A garage or garden shed can swing between cold nights and hot afternoons. Repeated temperature changes also increase the chance that moisture will condense inside a container.
Finally, germination requirements can make a viable seed appear dead. Some seeds need specific warmth, light or darkness, soaking, scarification, or a cold period before they germinate. Penn State Extension notes that dormancy can prevent some viable seeds from sprouting even when ordinary conditions seem adequate. For a vegetable seed packet, follow the packet’s germination instructions before treating a failed test as proof of age-related death. (Penn State Extension)
Test Old Seeds Before You Plan Around Them
A germination test answers a more useful question than “How old is too old?” It estimates what share of your packet is likely to sprout when given suitable conditions. The paper-towel method is inexpensive and keeps the seeds visible, so you can count them without digging through a pot.
Use a test when the packet is several seasons old, its storage history is uncertain, the crop is slow or expensive to replace, or missing plants would leave an important bed incomplete. You do not need to test every new packet before sowing. Spend the small amount of seed on the packets whose failure would change your plan.
How to Run a Reliable Paper-Towel Test
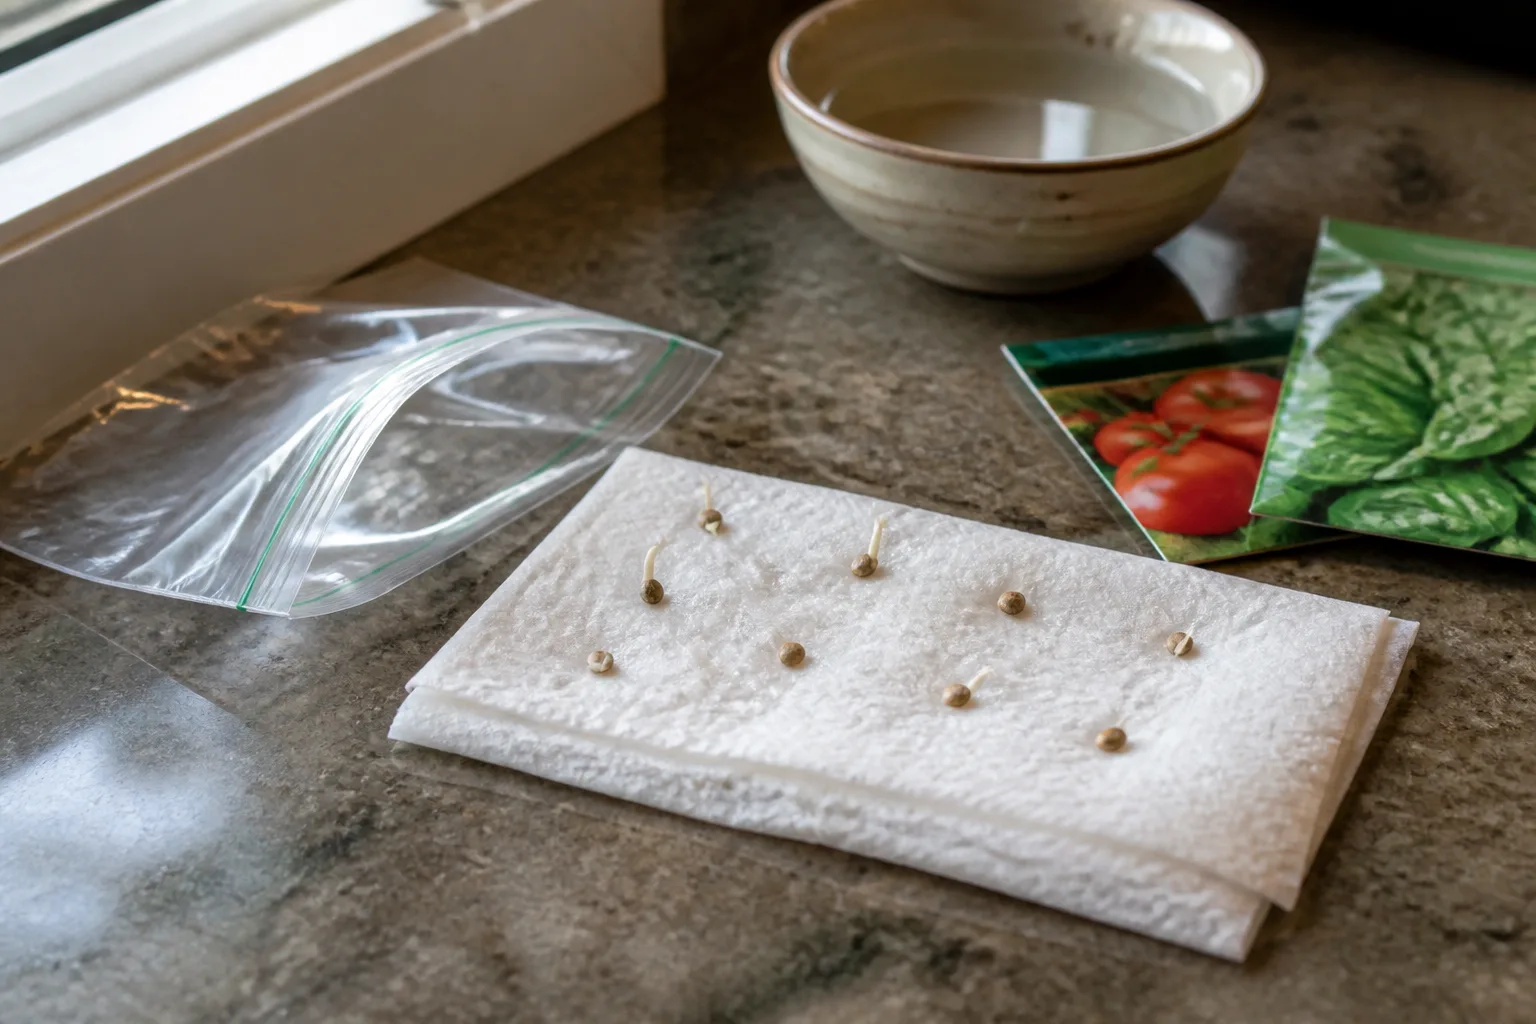
For a quick screen, test 10 seeds. If the packet contains enough seed and the decision matters, test 20 or 25 instead; a larger sample gives a steadier estimate. Penn State Extension and Johnny’s Selected Seeds both describe placing seeds between damp paper towels in a closed bag or container, then checking after several days or longer depending on the crop. The Old Farmer’s Almanac’s 2026 guide also uses a ten-seed home test, a convenient starting point when you interpret the result as an estimate rather than a guarantee. (Penn State Extension; Johnny’s Selected Seeds; The Old Farmer’s Almanac)
- Label the test. Write the crop, variety if known, packet year, sample size, and test date on the bag or a tag. If you test more than one packet, keep each separate.
- Moisten the towel evenly. It should feel damp throughout but should not drip when lifted. A waterlogged towel can deprive seeds of air and encourage rot.
- Place the seeds with space between them. Fold the towel over the seeds or sandwich them between two damp layers. Keep them from touching if you want an easy count.
- Seal and set the sample somewhere appropriate. A zipper bag or covered container prevents the towel from drying. Keep it at the temperature recommended for that crop; a universal warm setting is not right for every seed.
- Check daily. Re-moisten only if needed, and remove seeds that are clearly rotting so they do not affect nearby seeds. Do not open the bag for long or let the sample dry out.
- Count normal sprouts at the expected time. Use the packet’s germination window when available. Some crops emerge in a few days; others take longer, so do not declare failure after an arbitrary seven-day wait.
A seed has germinated when a root or shoot has emerged, but also look at whether the resulting sprout appears reasonably normal. A swollen seed or split seed coat without growth is not a successful germination. If the seed produces a tiny root and then becomes mushy, it may have started but failed to develop into a useful seedling.
This test is a controlled check, not a miniature garden. A towel supplies moisture but not the soil texture, sowing depth, light, drainage, or temperature changes the seed will face outdoors. If the packet is close to the result you need, use a second test or sow a small trial in the same medium and conditions planned for the garden.
Read the Result as a Percentage, Not a Verdict
Calculate the observed germination rate by dividing the number of seeds that sprouted by the number tested, then multiplying by 100. If 8 out of 10 sprout, the observed rate is 80 percent. If 16 out of 20 sprout, it is also 80 percent.
Sample size changes how much confidence to put in that number. With 10 seeds, each seed changes the result by 10 percentage points; 8 sprouts could reflect a packet near 80 percent, but it is a rough screen, not a precise prediction. With 20 seeds, each seed changes the observed percentage by 5 points, and with 25 it changes it by 4 points. A larger test is useful when seed is abundant and a missed sowing window would be costly.
A simple interpretation can guide your next move:
- Nearly all seeds sprout: sow close to the packet’s normal rate, while remembering that outdoor conditions may reduce emergence.
- About three-quarters to nine-tenths sprout: keep the packet and sow somewhat more densely, or start a few extra cells.
- Around half sprout: consider buying fresh seed for a dependable row, or use the packet where gaps are easy to fill.
- Few or none sprout: check the test conditions and crop-specific dormancy requirements, then repeat with a larger sample before discarding a valuable packet.
These are practical decision bands, not official grades. The best acceptable rate depends on the crop and the cost of failure. A 70 percent test may be fine for a tray where you can sow two seeds per cell and thin later; the same rate may be frustrating for a direct-sown crop that needs even spacing or for a short-season planting you cannot repeat.
What Low Germination Means for Sowing
You can compensate for a low but usable rate by increasing the number of seeds sown. For a rough target, divide the number of seedlings you want by the observed fraction that germinated. If you want 12 seedlings and your test showed 75 percent, divide 12 by 0.75; sow about 16 seeds to aim for 12 sprouts.
This is a planning estimate, not a guarantee. The paper-towel result comes from favorable conditions, so garden emergence can be lower when soil is cold, crusted, too wet, too dry, or planted at the wrong depth. For small seeds such as carrots or lettuce, sowing extra can help, but avoid scattering so many that seedlings crowd and compete. Thin crowded rows once you can identify the strongest seedlings.
Seed trays make modest over-sowing easier. If you normally place one seed in each cell, place two in a few cells or start a few more cells, then thin or transplant the strongest seedlings. For a valuable tomato variety, it may be sensible to start a couple of extra plants rather than double every cell. For direct-sown beans, a slightly denser row may be manageable if you have seed to spare and can thin it.
Do not use the arithmetic to rescue a seed lot with almost no germination. If only 2 of 10 seeds sprout, sowing five times as much may waste space and still produce uneven results. Buy fresh seed when uniformity matters, the replacement cost is low, or the crop has one narrow planting window. Use weak but viable packets for a small backup sowing only if a late or uneven stand would not derail the garden.
Store Leftover Seeds So They Decline More Slowly
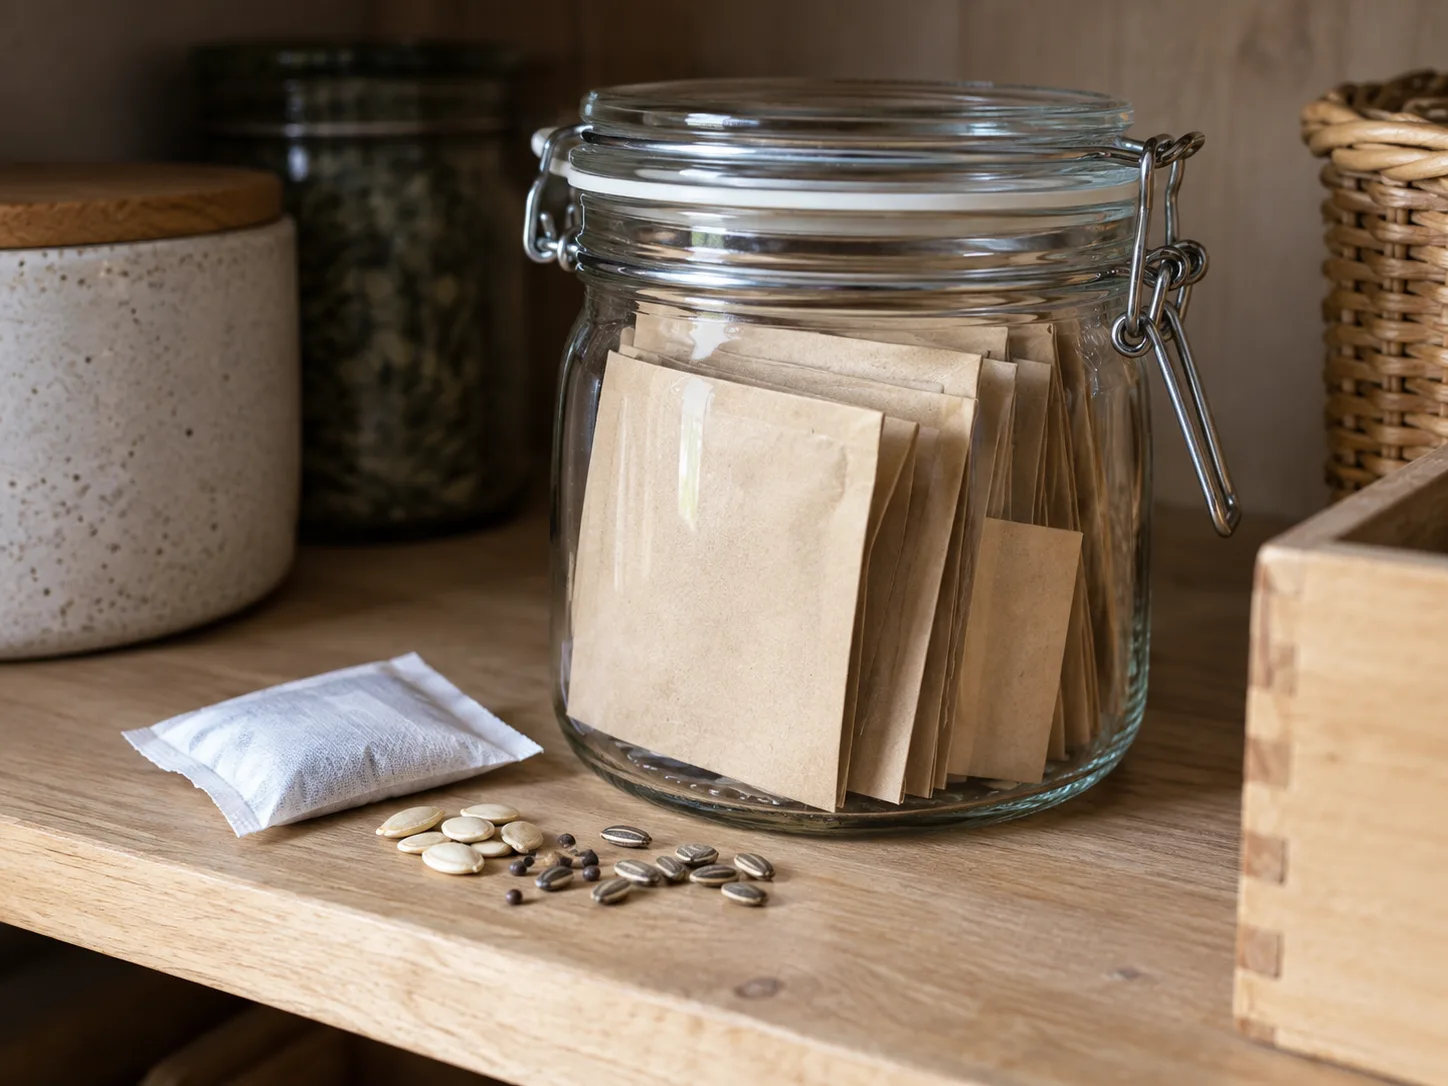
The most reliable home-storage routine is simple: keep seeds dry, cool, dark, and sealed. Johnny’s Selected Seeds suggests a sealed glass jar in the refrigerator for gardeners who want to store seed beyond the immediate season, and Empress of Dirt likewise recommends protecting packets from heat and humidity. The goal is not to turn a kitchen into a seed bank; it is to keep the packets away from the damp, warm conditions that speed decline. (Johnny’s Selected Seeds; Empress of Dirt)
Choose a Cool, Dry, Stable Place
Keep seeds in their labeled paper packets, then place the packets inside a moisture-resistant container such as a lidded jar or sealed box. The packet preserves the crop and variety information; the outer container reduces exposure to household humidity. A small desiccant packet can help keep the container dry, but it is not a substitute for drying seed that you saved yourself.
Store the container somewhere dark and consistently cool. A closet or cabinet may be suitable for packets you will use soon if the home stays dry and temperate. Avoid a greenhouse, garage, attic, shed, or spot near an oven, radiator, water heater, or sunny window. Those locations tend to experience heat, dampness, or temperature swings that make a printed storage-life estimate less relevant.
A common seed-storage rule of thumb adds the temperature in degrees Fahrenheit to the relative humidity percentage; Johnny’s says a total below 100 is a favorable target. Treat that as a rough guide, not a precise guarantee or a reason to chase a particular humidity reading. If you do not measure humidity, an airtight container in a cool indoor location is a more useful improvement than trying to calculate a perfect number.
Label the outer container and the packets with crop, variety, source, and year packed or collected. Add the date and result of any germination test, such as “tested Feb 2026: 18/20.” This turns a vague collection of old packets into an inventory you can use: sow the weakest lots first, reserve the strongest for later, and retest when storage has been poor.
Refrigerate Carefully and Treat Freezing as a Special Case
A refrigerator can provide a cool, stable location, especially for seed you plan to keep beyond the next growing season. Keep packets inside a sealed container rather than placing open paper envelopes directly in the refrigerator, where humid air and food odors are present. Store them away from produce drawers that are frequently opened or spots where condensation forms.
Before opening a cold jar, let the sealed container warm to room temperature. Opening it while cold lets humid room air meet cold surfaces, where water can condense on packets or seeds. That short wait protects the dry conditions you worked to create. Return the jar to the refrigerator after you have removed only the packets you need.
Freezing is not required for ordinary home seed storage. Some seeds can be stored frozen when they are thoroughly dry and sealed against moisture, but freezing damp seed or repeatedly opening a cold container can cause damage through moisture and condensation. If you are storing valuable, self-saved seed for many years, use a reliable seed-saving protocol specific to the crop rather than assuming that a household freezer makes every packet last indefinitely.
Saved, Pelleted, and Hybrid Seeds Need a Separate Check
Home-saved seed begins with a different set of variables from a commercial packet. Harvest only mature, healthy seed, clean it as appropriate for the crop, and dry it fully before sealing it away. Seeds taken from wet fruit or gathered during damp weather may need extra drying time; sealing them while moisture remains can lead to mold or premature deterioration. Label the crop and variety, the parent plants if known, and the year harvested.
Pelleted seeds are coated to make tiny seeds easier to handle. The coating can shorten the useful storage window, so check the supplier’s instructions and use the packet promptly; Johnny’s notes that its pelleted seed should be used within one year. Do not assume that an ordinary chart for raw seed applies to pelleted seed. If the packet is old, test a sample only if you can separate the seed from the coating without damaging it, and follow supplier advice when the coating is part of a specialized product.
Hybrid seed presents a different issue: germination and true-to-type reproduction are separate questions. Seed saved from a hybrid plant may sprout perfectly well but produce offspring that differ from the parent because of how the next generation inherits traits. Utah State University Extension advises gardeners to consider whether seed is hybrid and whether it was collected from hybrid plants when evaluating saved seed. If you want a plant that reliably matches a named variety, buy fresh seed or save from an open-pollinated variety with the right isolation and seed-saving practices. (Utah State University Extension)
If Seeds Do Not Sprout, Check Conditions Before Blaming Age
A failed paper-towel test can point to dead seed, but it can also reveal a test that was too cold, too hot, too wet, too dry, or too short. Compare the test temperature and waiting period with the packet instructions. Some seeds germinate slowly, some need light rather than darkness, and some have dormancy requirements; a single generic setup will not diagnose every species.
Look at the seeds during the test. If they are swollen but firm, they may need more time or the right temperature. If they are soft, slimy, or moldy, the towel may be too wet or the storage conditions may have been poor. If seeds have not changed at all, check whether moisture reached them and whether the crop needs a special treatment before repeating the test.
A seed that sprouts on a towel can still fail after sowing. Garden soil may be too cold for warm-season crops, too compacted for roots to establish, or watered so heavily that oxygen is limited. Penn State Extension explains that seeds need oxygen as well as moisture, and Utah State Extension emphasizes seed-starting materials and conditions as part of successful propagation. A poor row is not proof that every remaining seed in the packet is dead; it may be a planting-condition problem. (Penn State Extension; Utah State University Extension)
Conclusion: Test the Packet You Have
Seeds do not all expire on the same schedule. Onions and some other short-lived crops deserve an early test, while well-stored packets of tomatoes, cucumbers, or squash may remain worth planting for several years. The storage chart helps you prioritize, but the age of a packet alone cannot tell you how many seeds will sprout.
Take 10 seeds for a quick screen, or 20 to 25 when you need a more informative estimate. Keep the sample moist but not soggy, use the crop’s recommended conditions, count normal sprouts, and convert the result into a practical sowing plan. If the test is borderline and the crop matters, repeat it with a larger sample or buy a fresh packet as backup.
For next season, label each packet and store it dry, cool, dark, and sealed. When a packet fails, check its test conditions before blaming age; when it passes, do not throw it away simply because its printed year has passed. A small test now is the simplest way to turn an uncertain packet into a decision you can plan around.



