How to Compost Weeds Safely: A Practical Home Guide
Composting weeds can save nutrients—but seeds and root fragments can survive a cool pile. Learn the 145°F process, what to exclude, and safer alternatives.
The short answer: match the weed to your compost system
You can compost many weeds, but a compost pile is not automatically a weed-killing machine. Young annual weeds without mature seed heads are the lowest-risk additions; plants carrying ripe seeds, or weeds with pieces that can sprout again, need a reliably managed hot pile or a different disposal route.
For a hot pile, Colorado State University Extension’s compost guidance says all parts of the material must reach 145°F (about 63°C) for at least three days to kill weed seeds and plant-disease pathogens. Because the center heats before the edges, that means checking and turning the pile so the cooler outer material is moved into the hot center, then allowing it to heat again. A single thermometer reading in the middle is not proof that the entire batch met the target. (CSU Extension GardenNotes #243)
If you do not have a thermometer, a large enough pile, or the time to turn and monitor it, use a conservative rule: compost only weed material that has not formed viable seed and has no persistent roots, runners, bulbs, or rhizomes. Keep the riskier material out of a cool heap, even if it looks wilted or partly decomposed.
Sort weeds by their chance of surviving
“Weed” describes a gardener’s problem, not one biological strategy. Some weeds mainly spread by seed, while others regenerate from small pieces of root or underground stem; a few do both. Sorting the pulled material before it reaches the bin is faster than trying to rescue a finished-looking pile after seedlings appear in a bed.
Think about two questions: Could this plant have made viable seed? Could a fragment of its root or stem grow again? The answer determines whether a cool pile is reasonable, whether a monitored hot process is needed, or whether the safest choice is to follow local green-waste or trash rules.
Young annual weeds
Small annual weeds pulled before flowering or seed formation are generally the easiest weeds to add to a home compost pile. Their soft stems and leaves break down readily, and they do not usually have the long-lived underground structures that make perennial weeds troublesome. Check the whole plant before adding it, though: a low-growing annual can still carry seed if it has been allowed to mature unnoticed.
Shake loose soil back onto the bed rather than adding large clods to the compost. Then mix the green weed material with dry leaves, shredded stems, or another coarse brown material so it does not mat into a wet, oxygen-poor layer. Colorado State University Extension lists seed-free weeds among suitable compost ingredients and emphasizes that moisture and aeration have to be balanced for decomposition. (CSU Extension GardenNotes #246)
Mature seed heads and seed-bearing weeds
Once flowers have set seed, treat the seed heads as a separate, higher-risk material. A dandelion puff, a dry grass seed head, or a mature seed pod may contain many seeds, and the heap’s edges can stay cool even when the center feels hot. For those weeds, use a monitored hot process that meets the full-pile temperature and time requirement, or keep the seed heads out of home compost.
Do not assume that brown, brittle, or sun-dried seed heads are sterile. Drying can stop plant tissue from growing while leaving some seeds viable, and seed survival varies by species and conditions. If the seed heads are already releasing seed, avoid shaking or chopping them over the compost area; contain them gently and follow your municipality’s disposal guidance.
Perennial roots, runners, bulbs, and rhizomes
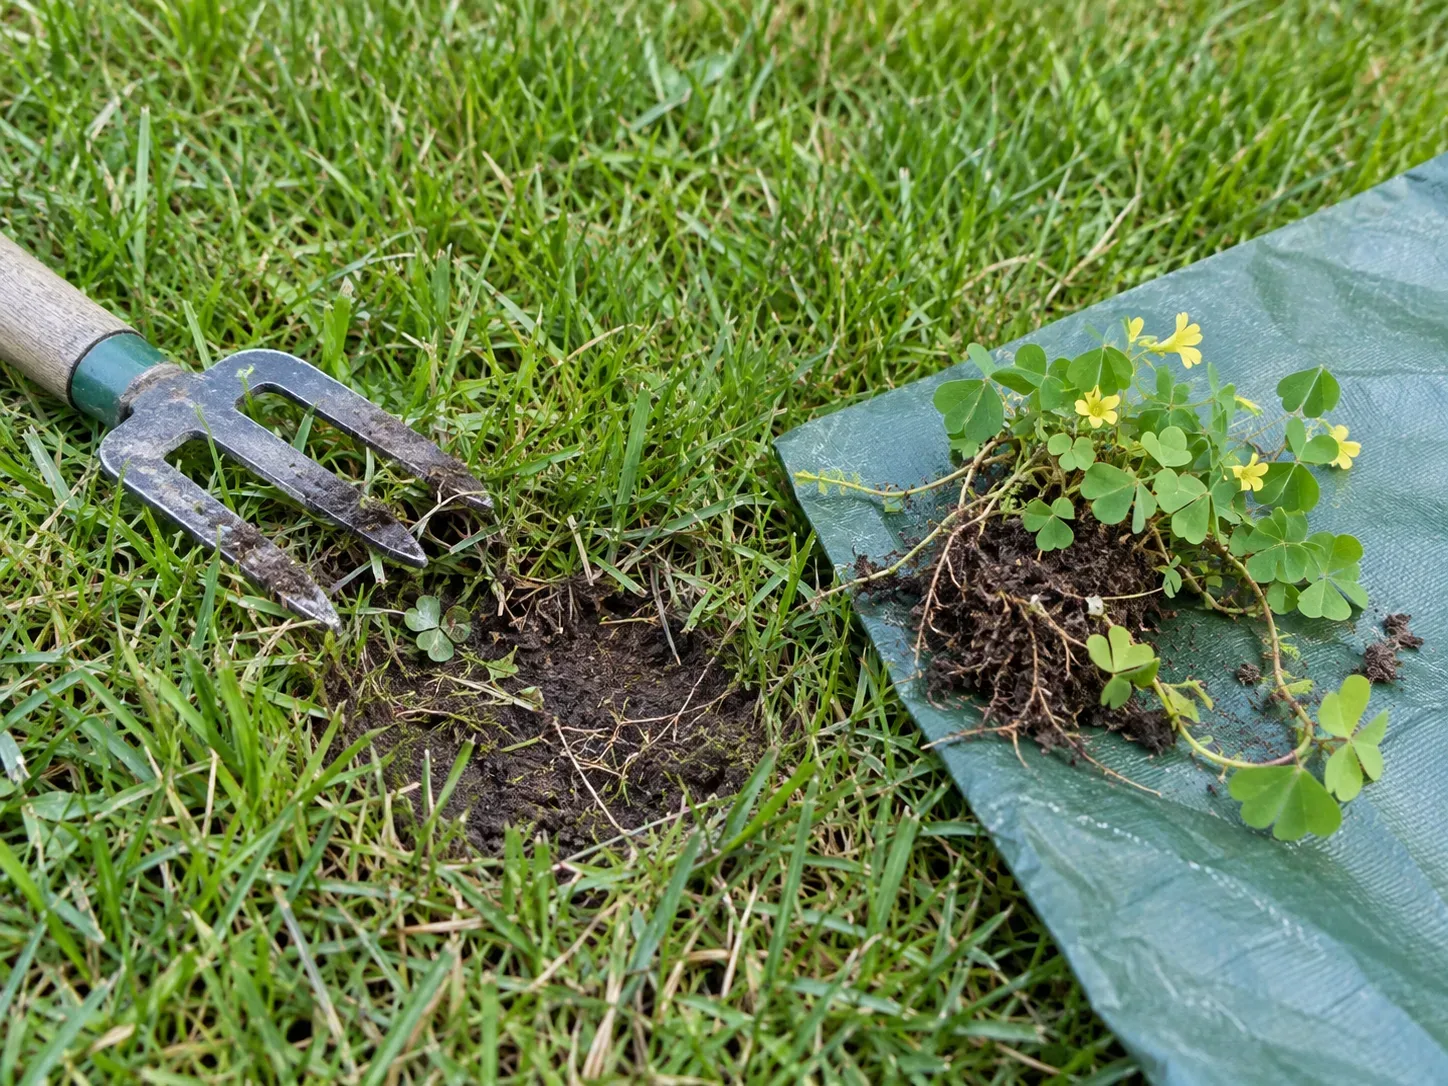
Perennial weeds can return from vegetative pieces as well as seed. Creeping grasses, bindweed, quackgrass, ground elder, oxalis, and other persistent weeds may carry stolons, rhizomes, bulbs, tubers, or root fragments that remain capable of growth after ordinary cold composting. A root that looks limp is not necessarily dead, and chopping it into smaller pieces can spread viable fragments through a larger volume of compost.
If a pile is small, passive, or rarely turned, leave these structures out. A large, actively managed hot pile can process them only when you can verify that all material—not just the core—has gone through the required heat treatment; when that is not realistic, use the collection or disposal method recommended for that weed locally. For invasive or regulated plants, check local rules before putting them in any curbside yard-waste stream, since collection systems do not all use the same process.
How to hot-compost weeds safely
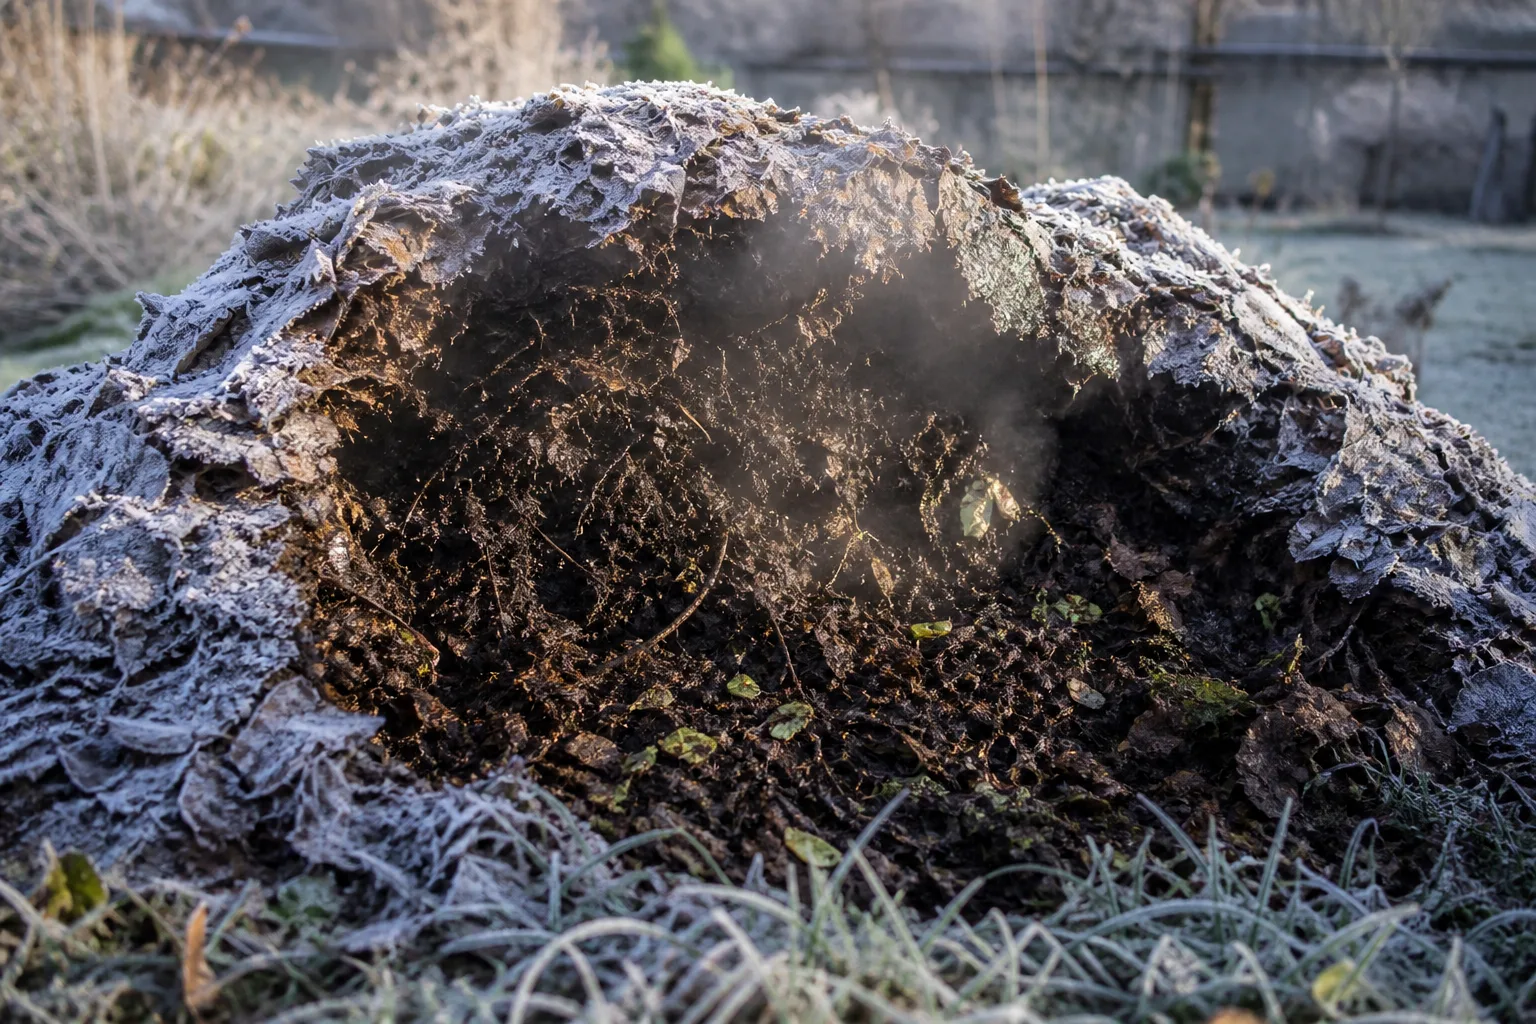
Hot composting uses microbial activity in a sufficiently large, moist, aerated pile to raise its internal temperature. It is useful for higher-risk weeds only when you manage the pile as a batch: assemble enough material, monitor the heat, turn the cooler outer material into the center, and let the pile reheat. Merely adding weeds to an ordinary bin and waiting does not meet that standard.
GrowVeg’s practical hot-composting guide describes building a sizeable heap, mixing rather than leaving dense layers, covering it to limit rain and drying, and turning it on a regular schedule. Those habits support heat and even decomposition, but the schedule alone is not a weed-seed kill test; the temperature history remains the important check. (GrowVeg)
Measure heat instead of guessing
Use a compost thermometer with a probe long enough to read the active mass rather than only its surface. Check several locations—especially the middle and areas nearer the outer edge—because one hot reading can hide a cool pocket. Record the readings and dates; your goal for weed-bearing material is not simply to see the pile spike once, but to have all portions reach 145°F for three days.
Do not use hand warmth, steam, or a thermometer reading taken in one spot as a substitute for that check. A pile may feel hot near its center while the corners and outer crust stay much cooler, and steam depends on moisture and weather as well as temperature. If the thermometer has not reached the target throughout the material, treat the pile as unverified and do not spread it where surviving seeds or roots would be costly.
The guidance is a practical process target, not a guarantee that every species is sterilized under every backyard condition. Thermometers can be misplaced or inaccurate, readings can fluctuate, and the pile may cool when it is turned. If the task is high-consequence—such as disposing of a noxious weed, disease-infected material, or a species with local restrictions—choose the official disposal route rather than trying to validate a home heap.
Turn the whole pile through the hot zone
The center is usually the warmest part of a compost pile. When you turn it, move the outer layer and corners inward, and move some of the former center material outward; this gives each portion a chance to experience the hottest zone. Colorado State University Extension specifically advises folding outer layers into the inner layers and allowing the pile to reheat, because only inner layers may reach the target temperature at first. (CSU Extension GardenNotes #243)
After turning, measure again rather than assuming the previous hot period still applies. If the pile falls below the target, or new weeds are added, the added or cooler material has not yet completed the treatment; keep the batch separate from finished compost and repeat the heating and turning process. A second bin is useful here: one pile can heat and cure while fresh garden debris goes into another.
Build a pile that heats evenly
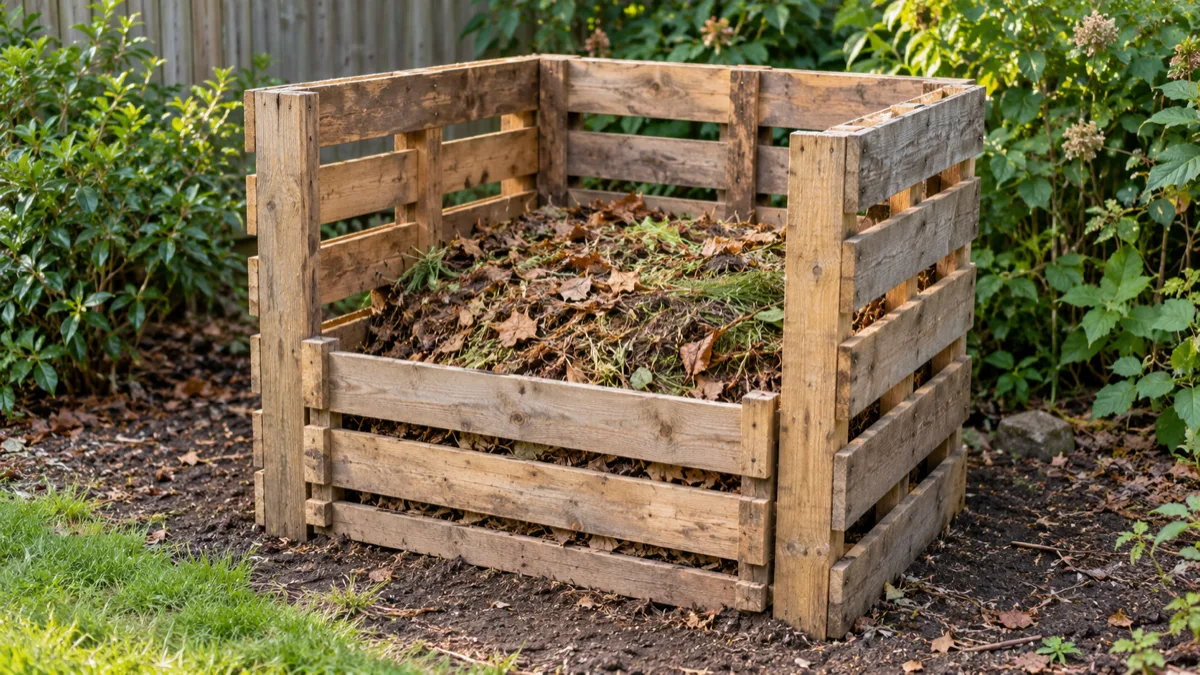
Pile size matters because a small heap loses heat quickly. Colorado State University Extension identifies roughly 3 by 3 by 3 feet as a minimum size for heating; a smaller tumbler or compact bin may still make useful compost, but it may not reliably reach weed-seed treatment temperatures. If your bin is smaller, use the cool-pile rules below rather than assuming it will behave like a large hot batch. (CSU Extension GardenNotes #246)
Mix green weeds with dry leaves, straw, or other browns instead of packing a thick mat of fresh weeds into one layer. CSU describes a starting mix of roughly two parts green material to one part brown material; the exact mix varies with how wet and woody the ingredients are. A dense, wet layer can lose oxygen and smell, while a dry, brown-heavy pile may not heat because microbes lack enough nitrogen-rich material.
Keep the pile moist but not soggy—CSU’s practical description is that only a few drops should come out when you squeeze a handful. Chop stiff or woody stems enough to mix and decompose, but do not mince rhizomes and roots on the assumption that smaller pieces are safer. Moderate-sized plant pieces preserve air spaces while exposing enough surface for microbes; turn or fluff material if it compacts. (CSU Extension GardenNotes #246)
If your pile stays cool, use stricter rules
Cool composting is a valid low-maintenance way to recycle yard waste, but it is not a dependable sanitation process for weeds. A cool pile may gradually break down soft plant tissue while seeds or perennial parts survive; the pile can also contain zones that were never hot enough even if the material has been sitting for months. Time alone does not tell you whether a weed propagule is dead.
For a passive heap, add young weeds before they set seed and remove persistent perennial roots from the feedstock. Do not put mature seed heads, invasive weeds, diseased plant material, or herbicide-treated weeds with label restrictions into a cool pile. When in doubt, separate the questionable material instead of burying it under leaves and hoping the whole heap will eventually get hot.
This is the useful trade-off: hot composting takes space, effort, and monitoring but can process a broader range of garden waste; cool composting is easier but should accept only lower-risk material. The guidance from Gardening Know How likewise emphasizes turning and measuring a hot pile, while noting that cooler pockets can preserve seeds. (Gardening Know How)
Pre-treatment and disposal: choose a verifiable route
Sun-drying, bagging, water-soaking, and fermentation are sometimes suggested for stubborn weeds. These methods can be useful for reducing volume or handling material separately, but they are not equivalent to a thermometer-verified hot compost process, and they do not all address both seed viability and vegetative regrowth. Epic Gardening describes drying roots on a hard surface and water-rotting roots as options, while also warning that desiccation does not kill weed seeds; treat such approaches as species- and condition-dependent rather than as a guaranteed sanitation step. (Epic Gardening)
If you experiment with drying, keep seed heads contained and do not leave viable roots in contact with garden soil. Check that the roots are fully dead and brittle before adding them to a low-risk pile, and keep the seeds separate; if you cannot confirm either point, exclude the material. Do not microwave weeds or improvise a kitchen-appliance treatment: uneven heating is hard to verify, and using food equipment for plant waste creates an unnecessary mess and safety concern.
For large quantities, mature seeds, invasive or regulated species, or roots that keep resprouting, contact your local waste authority or extension office for the accepted route. Some municipal yard-waste programs use managed processing, but that does not mean every collection service accepts noxious weeds or guarantees a particular treatment. Follow the local instructions; do not dump weeds in natural areas or burn them where fire codes or air-quality rules prohibit it.
A practical weed-composting routine
Use a quick sorting station beside the bed so weeds do not get mixed before you decide what to do with them. Keep one container for soft, seed-free annual weeds; another for mature seed heads and regenerative perennial parts; and a separate bag or bin for diseased or chemically treated material whose handling depends on a label or local rule. This small pause prevents the most common mistake: treating every pulled plant as if it had the same risk.
For the low-risk bucket, shake soil back into the garden, remove obvious seed heads, and mix the weeds through the pile with dry leaves or other brown material. Keep the pile damp, not waterlogged, and turn it if it becomes compacted or begins to smell. If you want to process higher-risk weeds, start a dedicated hot batch large enough to heat, monitor its temperature at multiple points, and keep fresh additions out once you begin the treatment cycle.
Write down the temperature, date, and turning events. When every portion has been moved through the hot zone and the material has met the target for the required holding period, keep the batch separate while it finishes decomposing and cures. If you lose track of which areas reached the target, treat the batch as unverified; repeat the process or use the compost only for a purpose where any surviving weeds would not create a problem.
If weeds appear after spreading compost
A sprout in a bed does not automatically prove the compost caused it. Weed seeds can already be in garden soil, arrive on wind or animals, or germinate after a disturbance that brings them near the surface. Look at the pattern: many seedlings across one freshly amended area point more strongly to a batch issue than one isolated plant at a bed edge.
Pull volunteers while they are small, before they flower or set new seed. If seedlings are widespread, pause using the remaining compost on carefully maintained beds, inspect the pile for recognizable seed-bearing material or surviving root pieces, and consider reprocessing it only if you can still manage a genuinely hot batch. Screening can remove coarse roots and clumps, but it does not reliably separate tiny seeds from finished compost.
For the next batch, tighten the process rather than simply waiting longer: exclude mature seed heads from cool compost, keep the batch closed to new additions during active hot treatment, turn the outer material into the center, and log readings. If the material came from a persistent or regulated species, ask local extension or waste officials how to handle it before reuse.
When compost is finished and ready to use
Finished compost is usually dark, crumbly, and earthy-smelling, and the original ingredients are no longer easy to identify. Colorado State University Extension describes a pile that has shrunk, lost the identity of its original materials, and developed an earthy smell as a sign of completion; conditions and management affect how long that takes. (CSU Extension GardenNotes #246)
That appearance tells you about decomposition and maturity, not whether weed seeds were killed. A cold pile can look finished and still contain viable propagules, while a hot pile that passed a temperature test may need additional curing before it is ready to use. Keep those two questions separate: “Is it mature?” and “Did all the risky material receive the treatment?”
Use verified, mature compost around established garden beds according to the needs of the soil, and avoid spreading an uncertain batch where you would be frustrated to pull volunteers. Colorado State University PlantTalk notes that compost’s primary benefit is adding organic matter and improving soil, rather than supplying a complete fertilizer dose. (PlantTalk Colorado)
Conclusion
Composting weeds is straightforward when you separate low-risk leaves from mature seeds and persistent roots. Add young, seed-free weeds to a balanced pile; reserve seed-bearing or regenerative material for a monitored hot batch that reaches the target throughout, or follow local disposal guidance when you cannot verify the process.
For weed compost, a thermometer, a deliberate turn, and a separate curing period are more dependable than guessing from steam, warmth, or elapsed time. If you cannot manage those checks, use the conservative option and keep the risky weeds out of your home compost.