How to Draw a Landscape Plan That Fits Your Yard
Turn a blank sheet into a workable landscape plan. Measure your yard, map sunlight and drainage, test layout ideas, and avoid costly placement mistakes.
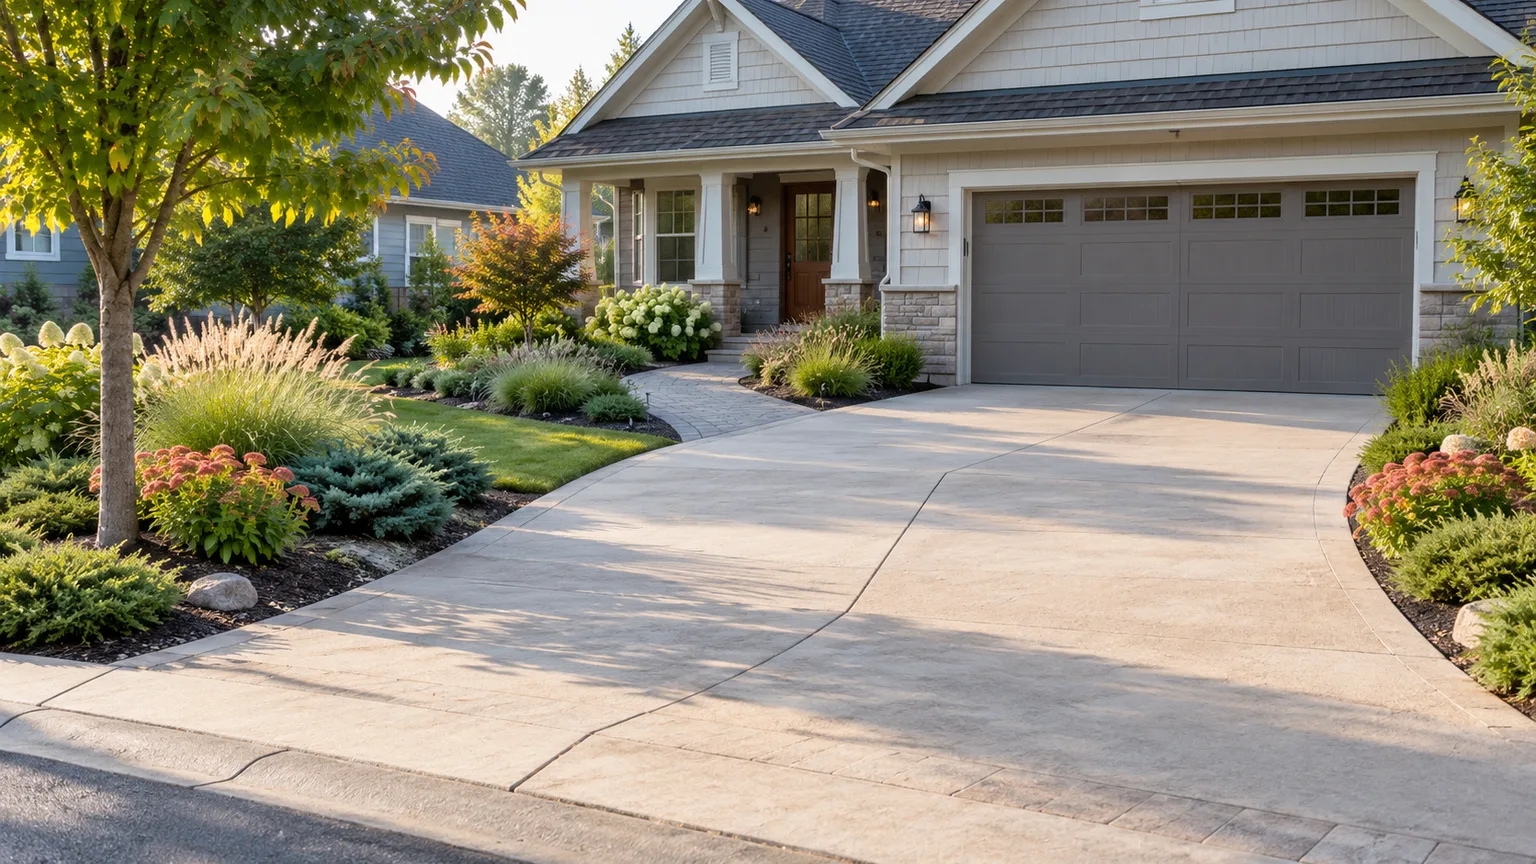
A useful landscape plan begins with what is already on the property, not with a favorite shrub or a patio picture. Draw a measured map of the yard, record its conditions, then sketch the spaces and features you want to add on a separate layer. That order lets you experiment without losing the accurate drawing you will need when you measure beds, compare materials, or place plants.
You do not need drafting software to begin. A tape measure, a pencil, paper, a north arrow, and a repeatable scale are enough for many home projects. The important distinction is between a planning sketch, which helps you make decisions, and a surveyed or engineered drawing, which may be required for boundaries, drainage work, retaining walls, permits, or construction.
Decide how detailed your plan needs to be
Match the drawing to the decision. If you are refreshing one small border, a rough sketch with bed dimensions, sun exposure, and the mature width of new plants may answer the main questions. A whole-yard renovation with a new patio, paths, trees, screening, and drainage needs a more complete base map, more measurements, and likely several overlay sheets.
A landscape plan is usually a set of related drawings rather than one perfect sheet. The base map records existing features in scale. A site-analysis layer records conditions such as sun, water movement, slope, views, and wind. A concept plan assigns functions and circulation. A planting plan names plants and their locations. Construction details for walls, steps, irrigation, grading, or electrical work may require dimensions and expertise beyond a DIY concept.
Do not spend a weekend mapping every corner if the project only concerns a 10-by-12-foot bed. Conversely, do not rely on an informal sketch to locate a new fence or wall near a property boundary. Good plans are as detailed as the risks and decisions require.
Gather records and identify what is fixed
Start with the papers and records you already have: a property survey or plat, house plans, previous landscape drawings, utility information, and any local rules that affect structures or planting. A county parcel viewer or aerial image can help orient you, but it may be outdated, distorted, or incomplete. Utah State University Extension cautions that parcel maps and aerial photos can misrepresent the exact location of boundaries and tree trunks; treat them as references, then verify important dimensions in the yard.
A survey is useful for locating boundary lines, house footprint, easements, setbacks, and rights-of-way. It is not automatically current: a deck, shed, fence, driveway extension, or large tree added after the survey may not appear. A fence or mowing edge is not proof of a legal property line. If a project depends on the exact boundary, ask a licensed surveyor rather than estimating from a map. University of Florida IFAS Extension also recommends checking survey accuracy and recording easements, setbacks, and utility corridors before drawing the design.
Make a short “fixed, flexible, unknown” list. Fixed items include the house, mature trees you plan to retain, utility meters, drainage structures, and established pavement. Flexible items might include a lawn panel, annual bed, or future seating area. Unknowns include the exact location of a property marker, buried irrigation, or a wet spot whose cause you have not diagnosed. Mark unknowns with a question mark instead of turning a guess into a precise-looking line.
Choose a scale and a drawing format
Scale means that a consistent distance on paper represents a larger distance on the ground. Choose it after you know the approximate yard dimensions and paper size, not before. For example, at 1 inch = 10 feet, a 40-by-60-foot yard becomes a 4-by-6-inch drawing. At 1 inch = 8 feet, the same yard becomes 5 by 7.5 inches, which gives you more room for detail but may not fit if the house and setback margins also need to appear.
University extension references describe several workable scales. The University of Georgia’s landscape-plan guide explains that paper size and site size determine the scale; University of Florida IFAS describes using 1/8 inch to represent 1 foot, or an engineer’s 10-scale ruler where 1 inch represents 10 feet. The right choice is the one that fits on your sheet and stays easy to read. For a large property, use multiple sheets or map only the project area while showing how it connects to the rest of the yard.
Graph paper can reduce arithmetic. If each 1/4-inch square represents 2 feet, a 40-foot span takes 20 squares. Write the scale prominently on every page and draw a north arrow. Add a graphic scale bar, too: a line labeled 0, 10, and 20 feet remains useful if a photocopy or digital export is resized. Gardenista’s hand-drawing workflow likewise uses a measured perimeter and tracing paper for proposed additions; the key is keeping the same scale on each layer.
Draw the base map in a reliable order
The base map is a top-down, scaled record of existing conditions. Start with the outer area relevant to your project, then add the house and other permanent features. University of Georgia Cooperative Extension’s base-map guide recommends including buildings, driveways, walks, street, property lines, meters, utility boxes, easements, setbacks, and notable site features; it also calls out details such as doors, windows, outdoor HVAC equipment, and hose spigots because these affect use and access.
Keep field notes separate from the clean drawing. On a rough page, record the measurement, what it describes, and where you started. Use short labels such as “A to B = 23 ft 4 in” and mark the same points A and B on your sketch. Photograph the area from a few angles so you can recognize a fixture or planting bed later. Utah State University Extension recommends legible notes, consistent rounding, and photographs because you will not always remember what a shorthand mark meant once you sit down to draw.
Measure the house and boundaries
If you have a reliable survey, use its dimensions as a starting point and verify major relationships in the field. Sketch the house footprint with every corner and jog; a simple rectangle can be badly wrong when a porch, garage, bay window, or addition changes the outline. Record doors, gates, steps, windows, downspouts, meters, hose bibs, air-conditioning units, and other features that constrain a path or planting bed.
For a straight wall, run a tape along it and take “baseline” measurements from one fixed corner to each door, window, and fixture. For example, if a hose bib is 18 feet from the corner and a downspout is 27 feet from the same corner, you can place both on the map without measuring each interval separately. Keep the tape taut and level, and write measurements in the same unit. If two people are available, one can hold the tape and the other can record the numbers.
Do not infer legal boundaries from a fence, hedge, sidewalk, or the apparent midpoint between houses. You can draw an approximate lot outline for broad planning, but note uncertainty clearly and keep work away from the disputed area. If hardscape, a shed, or a retaining wall must fit a precise setback, stop and verify the legal line with the appropriate professional or local office.
Locate trees, utilities, structures, and access
For a single point such as a tree trunk, measure from two known points, such as two house corners. On paper, draw an arc at the scaled distance from each reference point; where the arcs cross is the tree’s approximate location. This is triangulation. It is more reliable than estimating from a photo, especially when the tree is not visible from above. Mark canopy spread separately from trunk position, since the branches occupy space that the roots and future shade may influence.
For an irregular bed, patio, or curved lawn edge, choose a straight baseline and measure offsets from it at regular intervals. A simple grid works well: measure the baseline, then at each 3- or 5-foot station record the distance to the near and far edge. Plot the points and connect them with a smooth line. Close, well-chosen stations capture a curve; widely spaced readings may cut across a bend and understate the area.
Show access as carefully as objects. Draw gates, routes for a wheelbarrow or mower, steps, garbage-bin paths, and the space needed to reach utility equipment. Put known overhead wires and visible utility boxes on the map. But a homeowner’s notes, parcel map, or old utility sketch are not a safe substitute for a current underground utility locate before digging.
Map the site before choosing plants
A base map says where things are; a site-analysis layer says what those places are like. Make one tracing-paper copy for each type of observation or use different colors with a clear legend. University of Georgia Cooperative Extension’s site-analysis guide recommends recording factors such as light, water movement, microclimate, wind, existing plants, wildlife, and other landscape features. Separating these notes from the clean base map makes the plan easier to revise.
Track sunlight at several times of day instead of labeling a bed “sunny” from a single visit. Record the season and note the buildings or trees creating shade: a deciduous tree casts a different pattern after leaf-out, and a low winter sun can send long shadows across a small yard. UGA’s site-analysis guide describes full-sun sites as receiving about 6 to 8 hours of direct sun, partial sun or shade as 4 to 6 hours, and shade as fewer than 4 hours; treat those ranges as practical categories and check the needs of the specific plant.
Observe the yard after rain. Mark where water ponds, where it runs quickly, and where roof runoff exits. Note slopes, compacted areas, downspouts, and drainage structures; do not design a bed that redirects water toward a foundation or neighbor. Record soil differences by area rather than assuming the whole yard is uniform. BBC Gardeners’ World recommends learning the garden’s orientation, soil, existing plants, and microclimates before deciding what to grow, while UGA notes that water movement can vary across the same property.
Also record views you want to keep or screen, noisy or windy exposures, salt spray or deicing exposure where relevant, and places where access matters. A few short observations taken across different weather and seasons can prevent a plan from assigning a shade-loving plant to a hot afternoon strip or a seating area to the yard’s wettest corner.
Translate needs into zones
Before drawing beds, write down what the yard must do. List activities such as eating outside, growing vegetables, play, relaxing, parking, composting, pet use, storage, pollinator habitat, or simply reducing mowing. Rank each as essential, desirable, or optional. This makes trade-offs visible: a large dining patio may reduce lawn, while a vegetable bed may need the sunniest area even if a different corner looks more symmetrical.
Sketch each use as a loose bubble on tracing paper over the base map. Bubbles are not finished bed shapes; they are a quick way to test where activities fit. Put a seating area near the door it will use, place a compost bin where it is reachable without crossing a wet or planted bed, and leave room around a shed for doors to open and materials to move. Add labels and approximate dimensions so “lounge area” does not remain an unmeasurable oval.
Think about the people using the space. A family with young children may want an open sightline from the kitchen to play space. Someone who gardens often may prefer a short route from the back door to tools and water. If mobility, wheelchair access, or reduced bending matters, include generous circulation and comfortable working heights early, rather than treating accessibility as a late addition. Gardeners’ World also emphasizes matching a garden to how people will use and maintain it, as well as its budget and conditions.
Make two or three concept versions before refining one. One plan can prioritize open lawn, another can prioritize beds and a sitting area. Comparing alternatives is faster on tracing paper than after buying stone, plants, or lumber.
Draw paths before planting beds
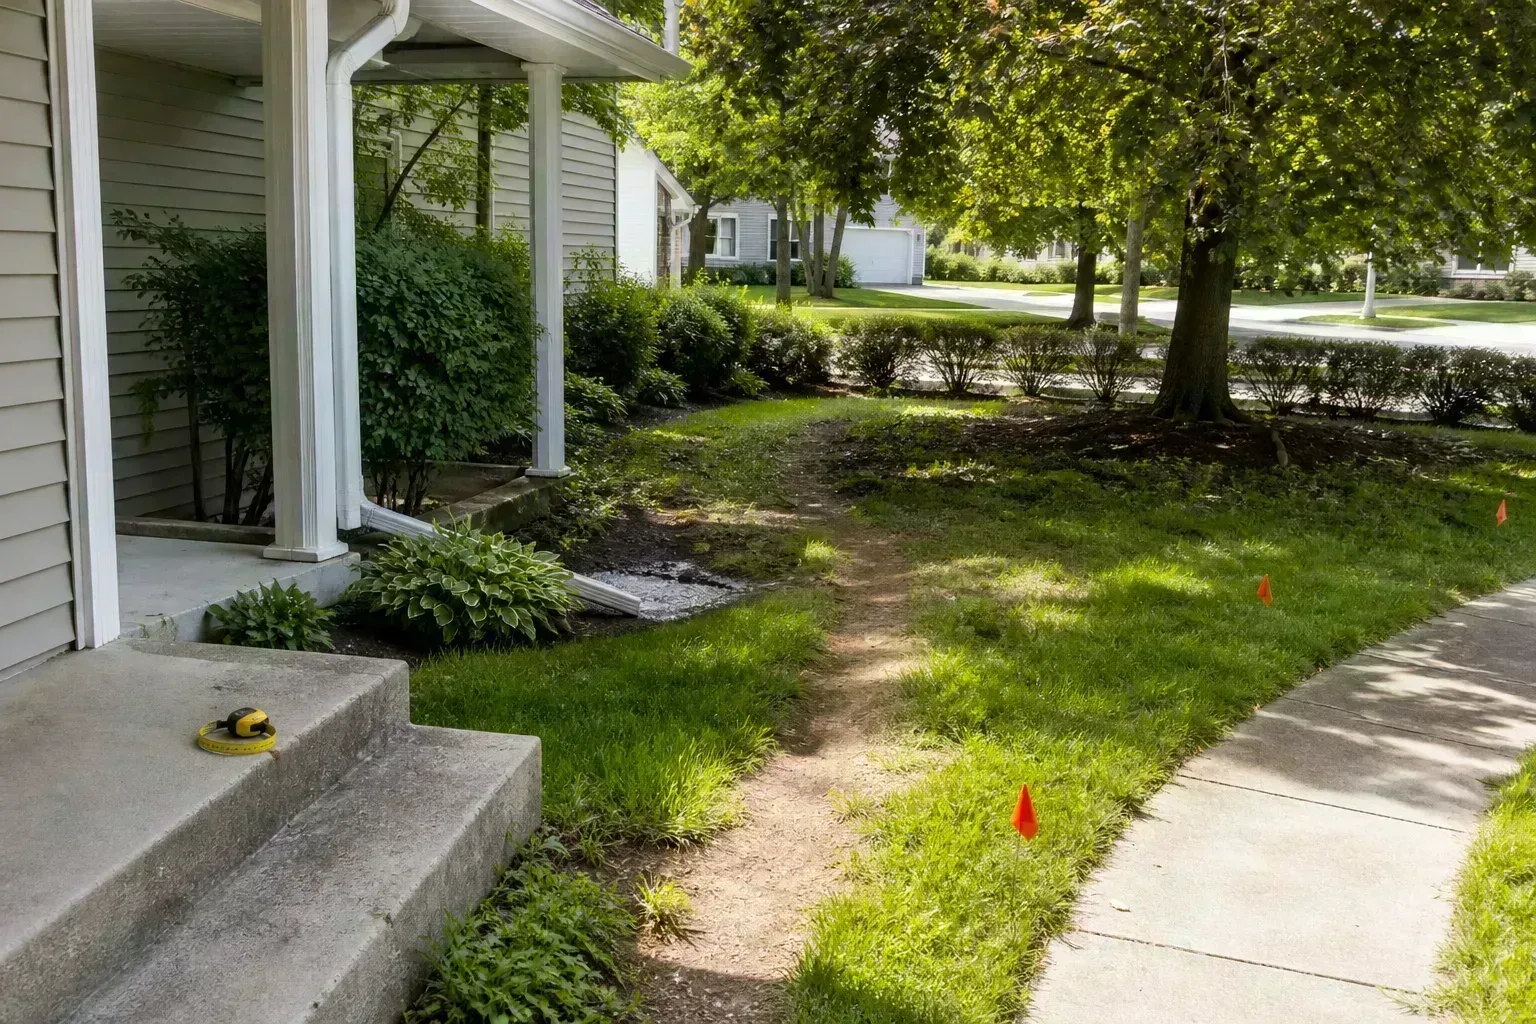
Circulation connects zones and often determines the shapes left for planting. Draw the route from the driveway or street to the front door, and from the house to the patio, shed, clothesline, garden, or compost area. Check whether the shortest path is actually the route people take. If it is not, a direct-looking line on paper can become a muddy shortcut through a bed.
A path needs enough width for its job, not merely a line between two points. Consider whether two people should pass, whether a wheelbarrow or mower must fit, and whether steps or gates narrow the route. Keep doors, gates, bins, and hose reels from opening into the only passage. On the plan, show the path edge as a band with a width, not a hairline; it consumes real space and has material and drainage implications.
Use a curve only when it improves how the yard is experienced or avoids an obstacle. A meandering path may invite exploration through a large garden, but it can add cost and length when someone just needs a quick route to the shed. Conversely, a straight path from a patio to a service area can make the yard easier to use. BBC Gardeners’ World notes that breaking up space can create separate rooms and reveal the garden gradually; apply that idea only where the space and maintenance goals support it.
Add structures and mature plant sizes
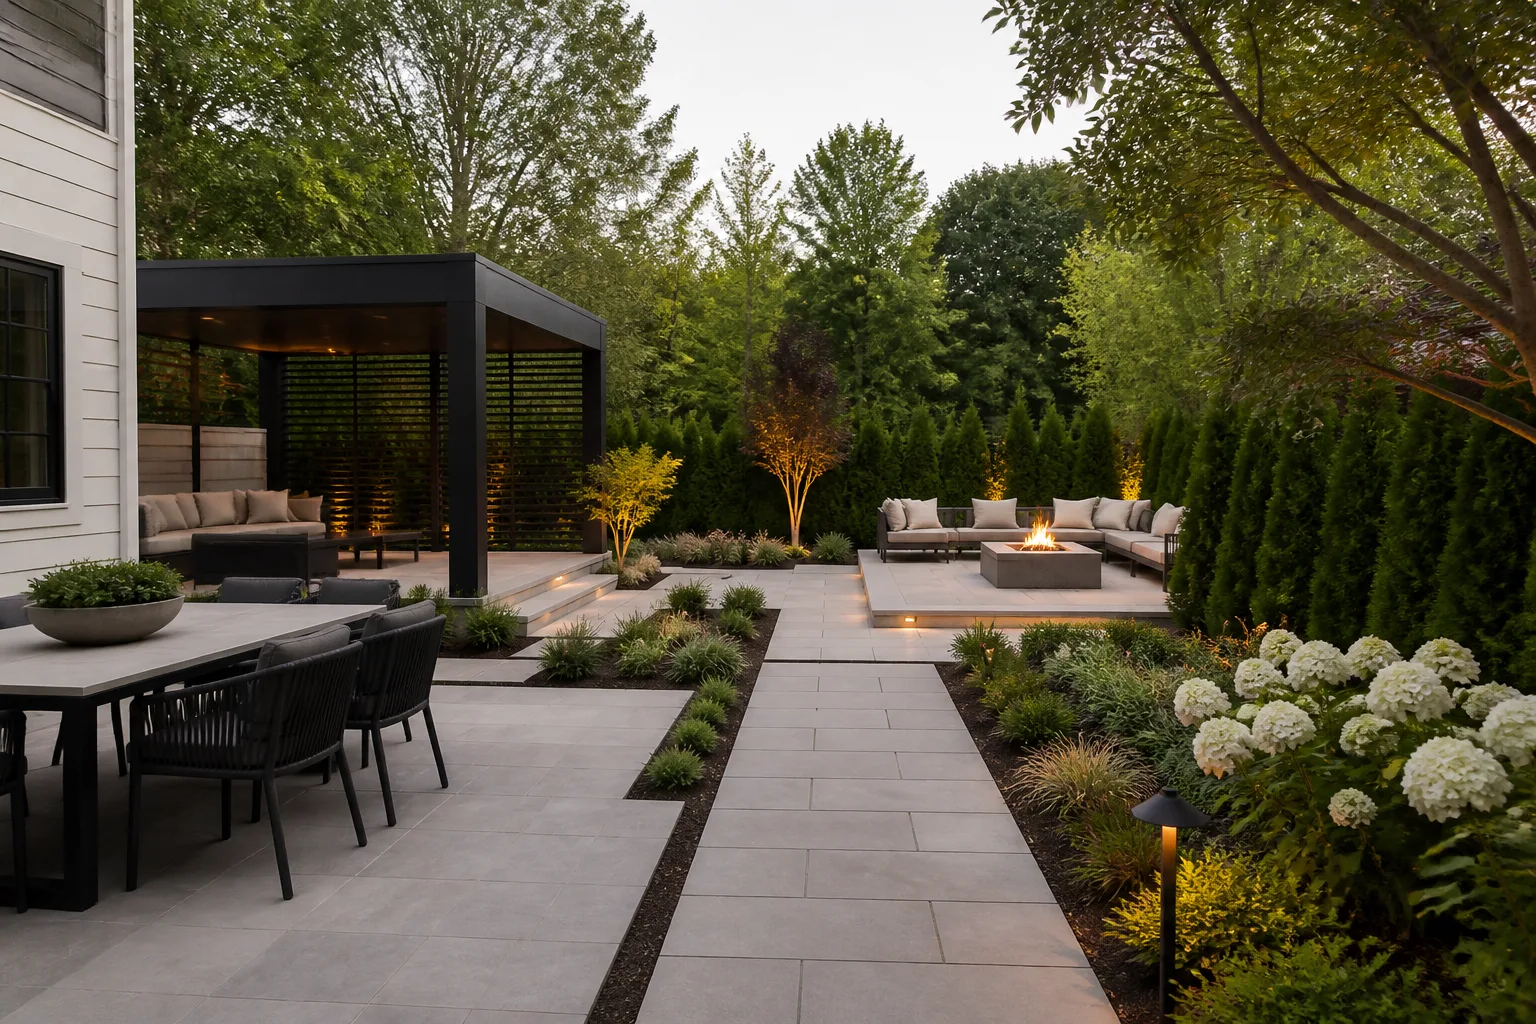
Place large, hard-to-move features before small plants. Mark patios, decks, sheds, fences, retaining edges, raised beds, play equipment, and water features at their approximate dimensions. Check clearances at doors, windows, air-conditioning equipment, property edges, and utility access points. For a structure, the amount of space it needs is larger than its outline: include construction access, drainage, seating clearance, and maintenance access.
Represent a tree with a trunk point or small center mark plus a circle for the expected canopy. Represent shrubs with a circle or oval based on their mature spread, not the nursery pot size. If a label gives a range, draw the larger realistic width unless you plan to prune regularly and know the plant tolerates it. Mature size is not an exact prediction—cultivars, climate, pruning, and site conditions affect growth—but planning for the expected spread reduces crowding and avoids designing a bed that depends on perpetual hard pruning.
Use a simple legend so symbols stay consistent. A small square can mean a utility box, a dashed line can mark an easement, and a circle can stand for a retained tree canopy. Label existing features differently from proposed ones, for example with a solid line for existing and a dashed line for planned. Include the north arrow, scale, date, and notes about any assumptions.
Do not let the plan become visually attractive but operationally impossible. Leave access to meters, hose connections, cleanouts, valves, and the underside of decks. Keep a large tree’s eventual crown and root zone in mind near buildings and paving, and research the needs and mature dimensions of the species before finalizing placement.
Test the plan at full scale outside
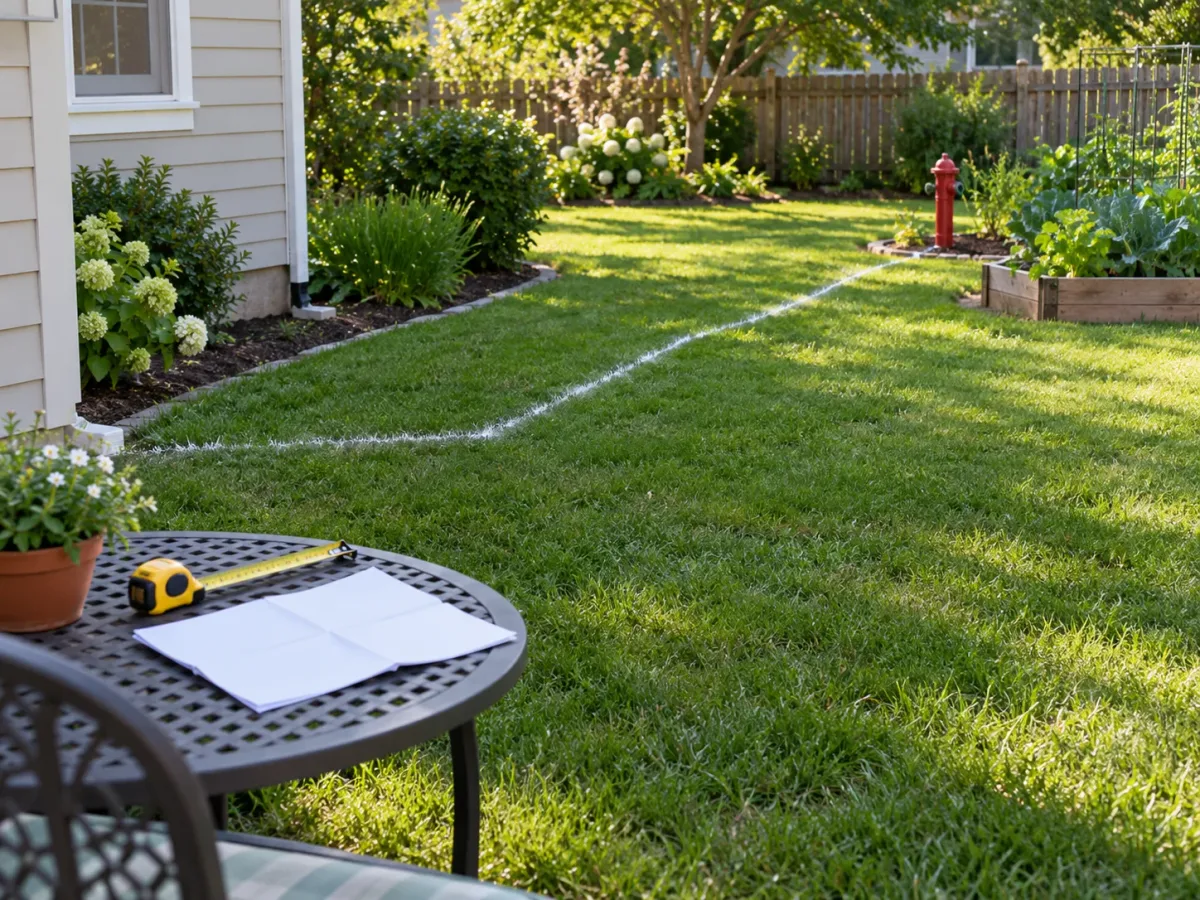
A drawing can look spacious while feeling cramped on the ground. Before committing, mark the outline of a bed or patio with a garden hose, rope, stakes, or temporary flags. Walk the routes carrying the objects that will use them: a wheelbarrow, trash bin, garden hose, or outdoor chair. Sit where a proposed table will go and check the view, shade, and distance to the door.
Test more than the footprint. Open gates, move bins, run a hose, and imagine how you will mow or carry compost to the far bed. Stand at a window and check whether a proposed screen blocks a view you want to keep. If a curve looks forced, move the hose; if the path pinches at a corner, adjust it before the plan hardens. This field test turns a concept from an abstract drawing into a sequence of everyday movements.
For a bed with a curved boundary, record the hose’s position with a few offset measurements from a fixed baseline. For a planned patio, measure the actual furniture dimensions and mark chairs pulled out from a table. For plants, place empty nursery pots or cardboard circles at expected mature spacing. A photo from above a tall ladder can help, but it does not replace checking routes and clearances at ground level.
Revise the overlay, not the underlying base map. Make another copy if a major concept changes. That way, you retain the measured record of the property while comparing different designs.
Turn the concept into a planting plan
Once zones, circulation, and structures work, draw a separate planting layer. Start with constraints: sun, soil, moisture, wind, mature size, and the amount of care you can realistically provide. Then choose plants suited to each spot and to your region. Do not select a plant just because it suits the design style; if its light or drainage requirements conflict with the site, it will demand extra care or fail.
Use groupings and repeat a few plants where they fit. This creates visual rhythm and makes a shopping list more manageable than scattering one of everything across the plan. Draw plant circles at mature spread, then add labels or numbered symbols linked to a plant schedule. The schedule can list common and botanical names, quantity, spacing, mature width and height, light, water, bloom season, and source or cultivar. If you do not know the cultivar yet, use a temporary code and fill it in after checking local availability.
Keep the planting plan distinct from the concept plan. You may want to compare a shrub screen with a mixed perennial border without redrawing the patio and path. Likewise, note the difference between a tree’s trunk location and the area of its canopy; one symbol should not try to communicate both.
Published garden plans can be useful starting points, but their plant lists and conditions are specific. Better Homes & Gardens organizes plans around exposures and situations such as full sun, clay soil, and slopes. Treat any ready-made plan as a pattern to adapt, not proof that the exact plants or spacing will work in your climate, soil, and light.
Pick hand drawing, an app, or CAD
Hand drawing is often the fastest way to measure a modest yard and test alternatives. A pencil, eraser, ruler, graph paper, tracing paper, and a tape measure will do. You can revise an overlay without deleting the accurate base map, and each paper layer can represent a different decision. Gardenista’s hand-drawn approach uses this simple combination: record the existing layout on one sheet and try additions on tracing paper.
A garden-planning app or CAD tool is useful when you want to revise dimensions repeatedly, compare options, print multiple scales, or share a file with a designer. Use one that allows real units, dimensions, and a scale bar. A photorealistic rendering can help you discuss appearance, but a pretty perspective image may hide inaccurate lengths, property constraints, or mature plant spread. Confirm its measurements instead of assuming the visual rendering is a construction-ready plan.
Choose a tool based on what you need to decide. If the project is a small border, digital drafting may add more setup time than value. If you are coordinating several zones, irrigation, grading, and hardscape with a contractor, a clean, dimensioned digital drawing can make communication easier. Either way, the drawing is only as accurate as the survey, measurements, and notes behind it.
Catch mistakes before you buy materials
Use a short review before ordering. Check that the scale and north arrow appear on every drawing; dimensions add up across the footprint; doors and gates can open; paths connect the places people will actually go; plants fit mature widths; and access remains around meters, cleanouts, and equipment. Compare the design with a wet-weather observation and with the sun notes, not just the yard’s appearance on the day you drew it.
The biggest costly mistake is turning uncertain information into an exact-looking plan. Satellite images may be old or distorted, parcel maps may not align with the ground, and an unknown boundary cannot be solved by drawing a straighter line. Label estimates. Verify property limits with a surveyor when a structure, fence, retaining wall, or excavation is close to a boundary or regulated setback.
In the United States, contact 811 before digging, even for a small planting project; utility lines can be shallow, and the locate request should be made before excavation. The specific process and required lead time vary by state, so follow the instructions from your local 811 center. Do not treat marks as a survey of every private line: irrigation, lighting, and homeowner-installed utilities may need separate records or locating.
Avoid proposing a drainage fix based only on where water appears during one storm. If a plan changes grade, concentrates runoff, adds a retaining wall, or might redirect water toward a building or neighbor, seek local technical guidance before building. Confirm permits, easements, HOA restrictions, visibility rules at intersections, and local requirements before pricing a permanent feature.
Example: plan a 40-by-60-foot backyard
Suppose the usable backyard is roughly 40 feet wide by 60 feet deep, with the house along the north edge and a gate on the east fence. At a scale of 1 inch = 10 feet, draw a 4-by-6-inch rectangle for the yard, leaving room on the page for the house, a few dimensions, and a legend. The rectangle is only a starting boundary: measure the actual footprint and any jogs, then add the patio, trees, fence, downspouts, meters, and gate.
In the first layer, mark a sunny strip, the afternoon shade from a retained tree, and the low area where water lingers. In the concept overlay, place a small dining area near the back door, a continuous path to the east gate, and a vegetable bed in the sunnier part. Keep the lowest wet spot as a separate condition to investigate rather than drawing a thirsty vegetable bed there. This plan records what is known without pretending you already know why water collects.
Now mark each proposed element outdoors. If a table makes the patio block the gate route, shrink or shift the patio. If the route turns through the bed because the direct path is not obvious, make the entry clearer. Only after the spaces work should you draw plant circles at their mature dimensions and check that the chosen species tolerate the measured light and moisture. One weekend of measuring and testing can save you from buying the wrong amount of pavers or plants.
Know when to bring in a professional
A DIY plan is appropriate for many planting beds, small lawn changes, and concept layouts. Consider a landscape designer when you want help connecting style, function, plant selection, and phased costs across the property. A designer can also identify opportunities and conflicts that may be hard to see when you are focused on a single feature.
Hire a licensed surveyor if the legal property line or elevation must be precise. Bring in a qualified landscape architect, civil engineer, or other locally licensed professional when the work involves significant grading, retaining walls, stormwater routing, steep slopes, structures, drainage near a foundation, or permit drawings. Requirements vary by location and project; check with the local building or planning office before assuming a drawing is sufficient.
A professional’s plan does not replace utility marking, permits, or field verification. Ask what the drawing covers: concept only, planting schedule, construction dimensions, drainage details, or bid documents. A clear scope helps you compare fees and prevents the common misunderstanding that a color rendering contains enough information for a contractor to build from it.
Make the plan buildable in phases
A landscape plan can show the destination while a phasing note shows how to get there. Divide work into logical stages: resolve safety and drainage questions; install utilities or structural hardscape; prepare soil; plant trees and large shrubs; add smaller planting; then finish decorative details. The correct sequence depends on the project, but heavy equipment and construction are easier before fragile beds are planted.
Add a rough budget beside each phase. Include materials, delivery, equipment rental, disposal, soil amendments, irrigation, and labor—not just plant prices. If the total is too high, adjust the size or material of an element on paper, compare alternatives, or delay an optional feature. Avoid saving money by omitting a necessary utility locate or by building drainage features without understanding where the water will go.
Date the drawings and keep a copy of the final measurements, plant schedule, invoices, and changes made in the yard. As the project develops, update the record rather than relying on memory. A landscape plan is a working document; its value is that it keeps decisions connected, not that every original line remains unchanged.
Conclusion
To draw a landscape plan, first record the property as it is, then use a separate layer to test what it could become. Choose a scale that fits the site and sheet, measure from fixed points, map sunlight and water, and lay out functions and paths before placing plants. Marking a concept outdoors exposes problems a drawing can hide.
Keep uncertainty visible and match the plan’s precision to the work. A simple bed sketch does not need professional drafting, but boundary-dependent construction, grading, walls, and drainage often need verified measurements and local expertise. With a clear base map, a realistic concept, and a planting layer built around actual site conditions, you can make better decisions before money and effort go into the ground.



