How to Direct Sow Seeds: Timing, Depth, and Care
Learn when to direct sow, how deep to plant, and how to keep seedbeds moist, protect seedlings, thin rows, and troubleshoot patchy germination.
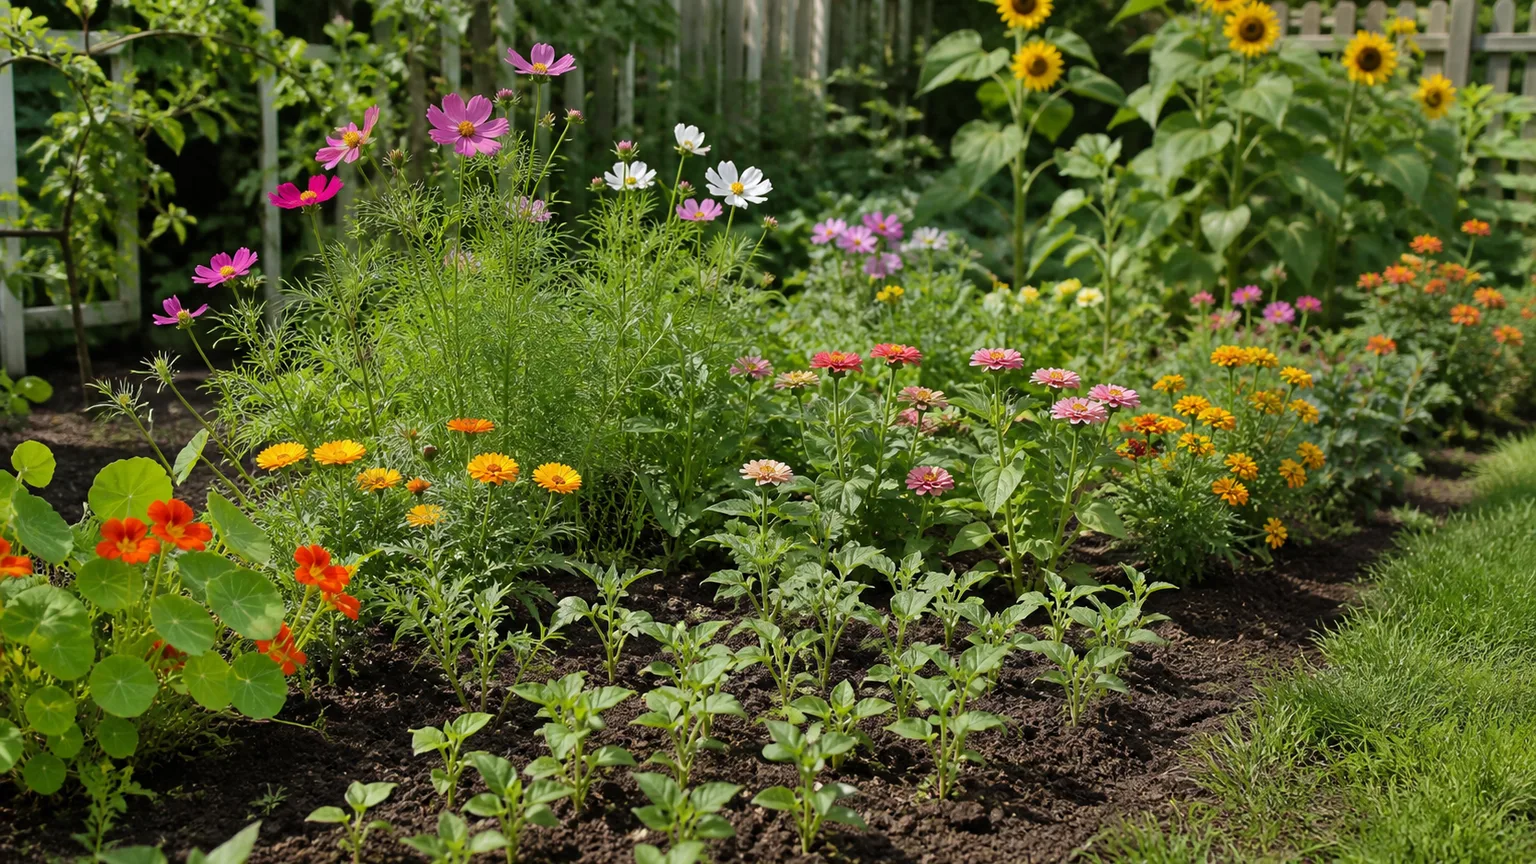
Direct sowing means putting seeds outdoors in the bed or container where the plants will grow to maturity. It is simple, avoids transplanting, and gives you access to crops that resent root disturbance—but the seeds must survive the conditions at soil level, where a dry afternoon, cold night, hard rain, or hungry bird can undo a careful planting.
The most reliable approach is to make three decisions before opening a packet: is this crop a good candidate for sowing in place, is the soil ready for this seed, and can you keep the seed zone evenly moist until emergence? A well-timed, well-watered short row is more useful than a large bed planted by the calendar and left to chance.
Decide whether direct sowing fits the crop
Direct sowing works especially well for crops that grow quickly, tolerate outdoor temperature swings, or dislike having their roots disturbed. Carrots, parsnips, radishes, and many other root crops are usually sown where they will mature because transplanting can deform or interrupt the edible root. Peas, beans, beets, lettuce, spinach, cucumbers, squash, and many annual flowers also make practical outdoor sowings when their temperature and season requirements match your garden.
The method has a real advantage over transplanting: seedlings establish without the pause that can follow moving them from a pot into the ground. It also eliminates indoor lights, trays, potting mix, and the transition outdoors. But direct-sown plants cannot get a head start in a protected room, and the garden bed exposes them to weeds, crusting soil, wind, pests, and irregular rain.
Crops that usually benefit from sowing in place
Start with seeds whose packets explicitly recommend outdoor sowing or list direct sowing as the primary method. Root crops are the clearest examples, while beans, peas, corn, and cucurbits are usually sown outside once conditions are warm enough; Purdue Extension describes cucurbits as warm-season crops, so a calendar date alone cannot make cold soil suitable for them. Purdue Extension’s cucurbit guide explains the warm-season requirement and practical planting choices.
Fast-growing salad crops and hardy annuals can be sown in small batches rather than all at once. That makes it easier to harvest leaves while young and to replace a cleared patch with another sowing. For flowers, direct sowing is useful when you want a natural drift or a plant that develops a long taproot, but check whether the species needs cold stratification, surface light, or a long season before choosing spring sowing.
When indoor starts or transplants are the better choice
Choose a transplant or indoor start when a crop needs more warm growing days than your outdoor season can provide. Tomatoes, peppers, and eggplants are common examples in short-season regions: seeds placed in cold spring ground can sit for weeks, rot, or emerge too late to produce well before autumn. An indoor start gives them a protected beginning; a purchased transplant may be more practical if you cannot provide bright light and the right temperatures indoors.
Direct sowing is also a poor fit when you cannot keep the top layer damp, when the bed floods after storms, or when birds and rodents repeatedly dig up seed. You can still sow there, but first solve the specific constraint with a raised or better-drained bed, a temporary cover, or a container that can be monitored. For help weighing protected starts against sowing outdoors, see whether to start seeds indoors or outdoors; for crop ideas, browse easy seeds to direct sow.
Choose a window by crop, soil, and weather
Planting time is not one date on a calendar. A seed germinates in the conditions around it, so its needs depend on crop, local climate, soil temperature, moisture, and the number of growing days left before heat or frost returns. Cool-season crops such as peas, spinach, and some lettuce can tolerate cooler soil; beans, cucumbers, squash, and corn generally need warmer ground. A soil thermometer inserted at the intended planting depth is more useful than the afternoon air temperature for deciding whether a warm-season seed is ready.
Virginia Tech’s vegetable seed guidance lists different optimum germination ranges by crop and explains that depth depends on seed size, soil, and season. Those ranges are targets, not guarantees that every seed will germinate at the lower end; use the variety’s packet first, then use local Extension guidance to interpret it. Virginia Cooperative Extension’s seed guide is a useful reference when a generic “plant after frost” rule conflicts with a specific crop’s needs.
Use the packet as a local growing brief
Read the whole packet before sowing, not just the planting depth. Note the recommended soil temperature or season, days to emergence, seed spacing, row spacing, mature plant size, light requirement, and whether the seed needs soaking, scarification, or a cold period. The packet describes a specific cultivar; a general rule can help you estimate, but it cannot replace that variety’s directions.
Then check the near-term forecast and your bed. A dry, windy spell can desiccate surface-sown lettuce even when the soil was moist at planting, and a heavy storm can wash a shallow row into a low spot. If several days of gentle weather and manageable watering are ahead, sowing is easier to monitor; if a heat wave or downpour is imminent, wait or cover the bed with a suitable temporary barrier.
For a fall crop, count backward from the expected first hard frost using the packet’s days to maturity plus a margin for slower autumn growth. For spring crops, consider both the average last frost and the actual soil temperature. A frost date is a planning estimate, not a warm-soil signal—and seedlings emerging aboveground may still need protection from a late cold snap.
Prepare a seedbed that holds moisture without crusting
Seeds need contact with damp soil, oxygen, and a path to the surface. A seedbed full of large clods creates uneven depth and air pockets; an overworked, powdery surface can seal into a crust after rain. Aim for a level, finely textured top layer over soil that is loose enough for young roots to enter, not a deep bed of fluffy dust.
Remove weeds before they set seed, then clear stones, sticks, and coarse mulch from the sowing strip. If the bed is compacted, loosen the surface and root zone with a fork; do not work clay soil while it is wet, when it smears and clods instead of crumbling. A simple check is to squeeze a handful: soil that forms a sticky, shiny lump is too wet to cultivate, while soil that crumbles when nudged is easier to rake into a seedbed.
Work the surface only when the soil is ready
Rake the row or small patch smooth and break clods only as far as needed for the crop. You do not need to excavate or enrich every bed before every sowing. A soil test can tell you whether pH or nutrient amendments are needed; adding a thick layer of rich compost by habit may create a soft, uneven surface and is unnecessary if the soil already grows the crop well.
In heavy clay or silt, use the seed packet’s shallow end of the depth range and keep the furrow narrow. Virginia Tech notes that fine-textured soils can make emergence harder and describes a thin band of fine material over a row as one way to reduce surface crusting. In sandy or very organic soil, a seed may be covered somewhat more deeply if the packet permits, because the loose surface dries faster; the packet still wins if the crop has a precise requirement.
Water the prepared bed before sowing if the soil is dry. Pre-moistening lets the water soak in without later dislodging seeds, and makes it easier to keep the germination zone steadily damp with lighter follow-up watering. Remove mulch from the seed row; once seedlings are established and the soil has warmed, you can return a thin layer between rows, keeping it away from tiny stems.
Choose a layout that fits the seed and plant habit
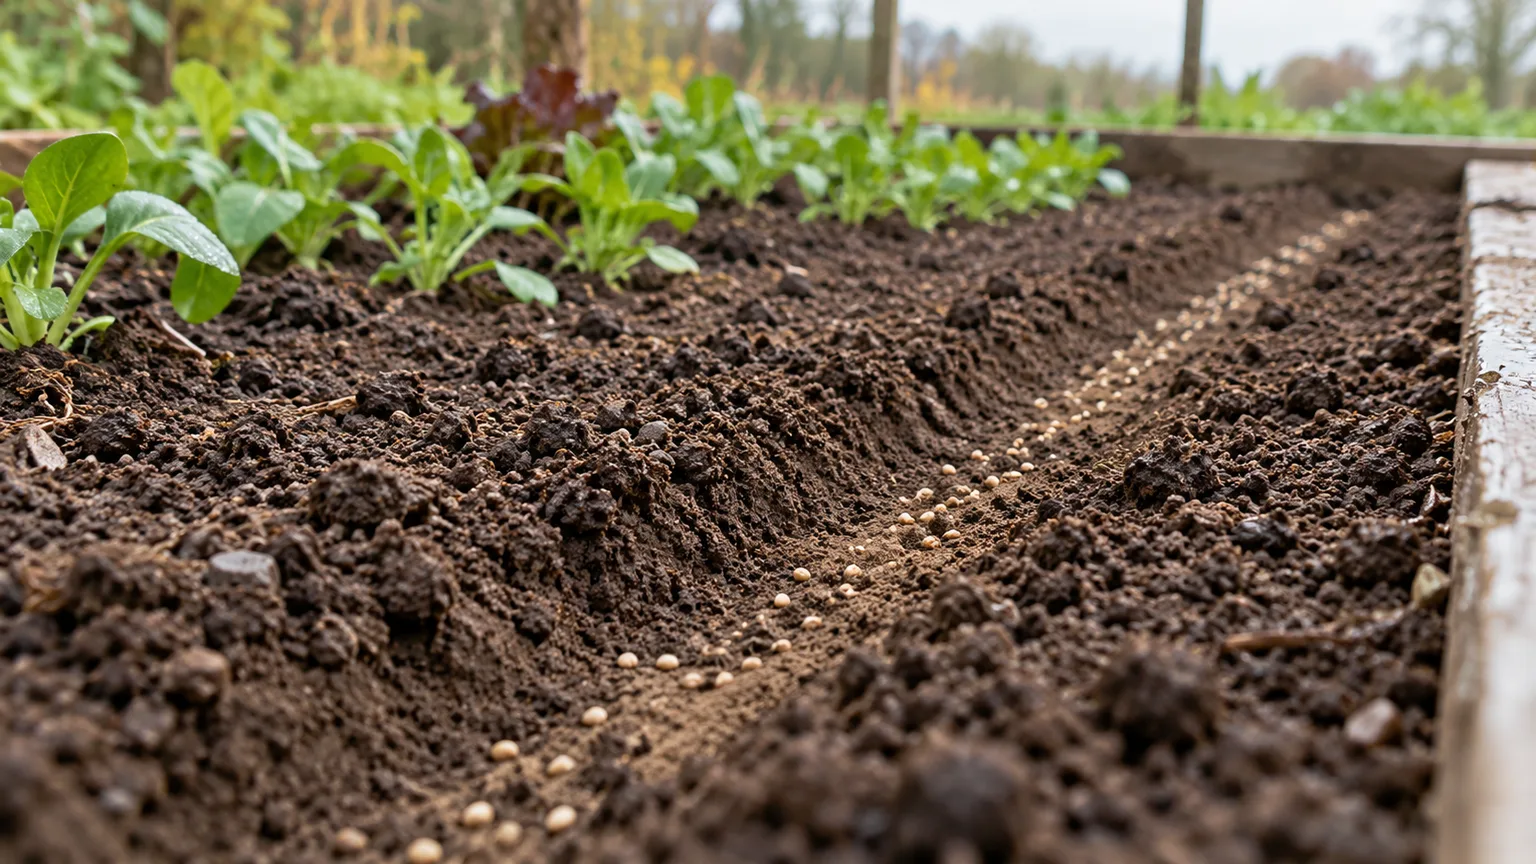
Use rows when you want to distinguish seedlings from weeds and cultivate or harvest along a clear line. A taut string and a shallow furrow made with a hoe handle, trowel edge, or dibber are enough; place the label at the row end before sowing so the line is visible even if emergence takes time. For narrow beds, a wide band may use space more efficiently than several widely spaced single rows, but it still needs room for airflow and access.
Larger sprawling crops often suit stations or hills—small groups of seed placed at the spacing shown on the packet. The shape is not magic: it is a practical way to reserve space for mature vines and to water a known root zone. Use a trellis, support, or row cover support at sowing time if the crop will need it later; installing it after vines tangle through seedlings can damage roots.
Rows, hills, wide bands, and broadcast sowing
Choose rows for carrots, beans, peas, and crops you plan to harvest in sequence; choose stations for beans, cucumbers, or squash when the packet calls for room between planting points. Sow a wide band or scatter mix for cut-and-come-again greens or a flower drift, but scatter lightly enough that the eventual thinning job remains manageable. Fine Gardening’s direct-sowing guide all four approaches—row, hill, clump, and scatter—as useful when matched to the crop rather than applied as one standard method.
Tiny seeds are difficult to distribute evenly between fingertips. A folded paper packet, pinch-and-tap method, or a very small amount of dry, inert sand can help you see where seed lands; test the approach over a tray first so you do not bury the seed in a mound. Do not mix seed into wet sand, fertilizer, or a heavy soil blend, which can clump and make spacing less predictable.
Set depth by the seed, packet, and soil texture
A seed planted too deep may run out of stored energy before it reaches the light; one placed too shallow may dry out, blow away, or fail to make good soil contact. The common “twice the seed size” rule is only a starting estimate, not a universal formula. Virginia Tech gives a general range of roughly four to five times the seed’s width for many vegetable and flower seeds, with many planted about a quarter to a half inch deep, but it also highlights exceptions: celery is very shallow, some seeds need light, and beans or vine crops can be planted an inch or more deep.
The apparent disagreement between simple ratios is a reminder to measure the dimension named by the recommendation. A flattened seed’s length may be much greater than its width, and seed sizes differ sharply between lettuce and a large bean. For an unfamiliar seed, check packet directions and a trusted crop guide; use the seed’s width as a rough cross-check, then adjust for soil that is heavy and crust-prone.
Handle tiny or light-dependent seeds differently
Some seeds germinate better when exposed to light. The packet may say “surface sow,” “press into soil,” or “do not cover”; follow it by pressing seeds gently against moist soil rather than burying them under a thick layer. If wind is a concern, use a very thin dusting of fine material or a secured breathable cover, not a deep mulch that blocks light.
A light cover can also help very small seeds stay in place, but avoid a general “three times as deep as the seed” rule when the packet says otherwise. University of Maine Cooperative Extension explains that seeds can respond differently to light, water, oxygen, and temperature; its guidance underscores why an individual seed’s germination needs matter more than a one-size depth chart. Maine Extension’s plant propagation bulletin covers those germination factors and special treatments such as stratification.
Water gently and protect the germination zone
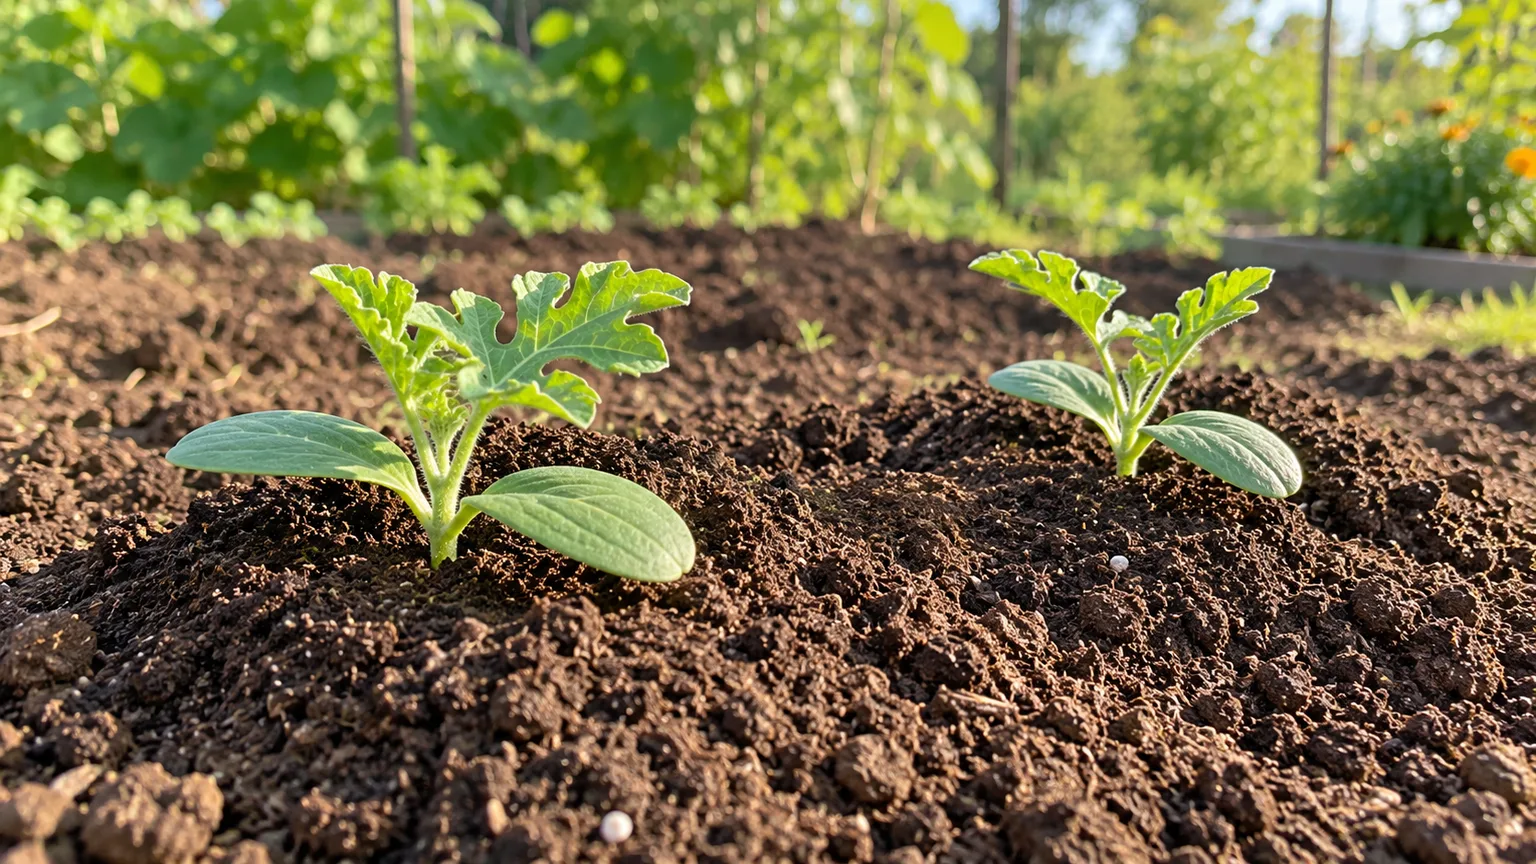
After sowing, cover the furrow with the bed’s own fine soil or the light material the packet recommends, then press just enough to settle soil around seed. Water with a rose, shower, or fine spray so the soil darkens evenly without forming puddles or moving seed into clumps. Gardeners’ World’s outdoor-sowing guide likewise recommends gentle watering along the drill and keeping the soil moist as seeds germinate and establish.
Check the bed at least once a day during dry, windy weather, and more often if the seed is shallow or the top few millimeters dry quickly. The goal is a consistently damp seed zone, not saturated ground: waterlogged soil has less air for respiration, while a seed that has begun to absorb water can be harmed if it dries completely. Maine Extension identifies water, oxygen, light, and temperature as the basic germination conditions, which is why repeated flooding is not a substitute for steady moisture.
Newly sown rows may need protection from heavy rain, birds, squirrels, or digging pets. A secured floating row cover or fine insect mesh can shield the surface while allowing light and water through; use hoops if the cover would press on emerging seedlings. Fine Gardening notes that covers can help with pests and light frost, but remove insect barriers before pollination is needed on crops that depend on visiting bees, and check the covered bed on hot days so heat does not build up.
Avoid thick mulch directly over the row until seedlings are established. A board placed temporarily over a row can slow drying for some seeds, but it also blocks light and can trap heat; inspect it daily and remove it as soon as germination begins. For surface-sown flowers or lettuce, breathable shade or a secured cover is safer than leaving an opaque board in place.
Mark the row, identify seedlings, and thin with care
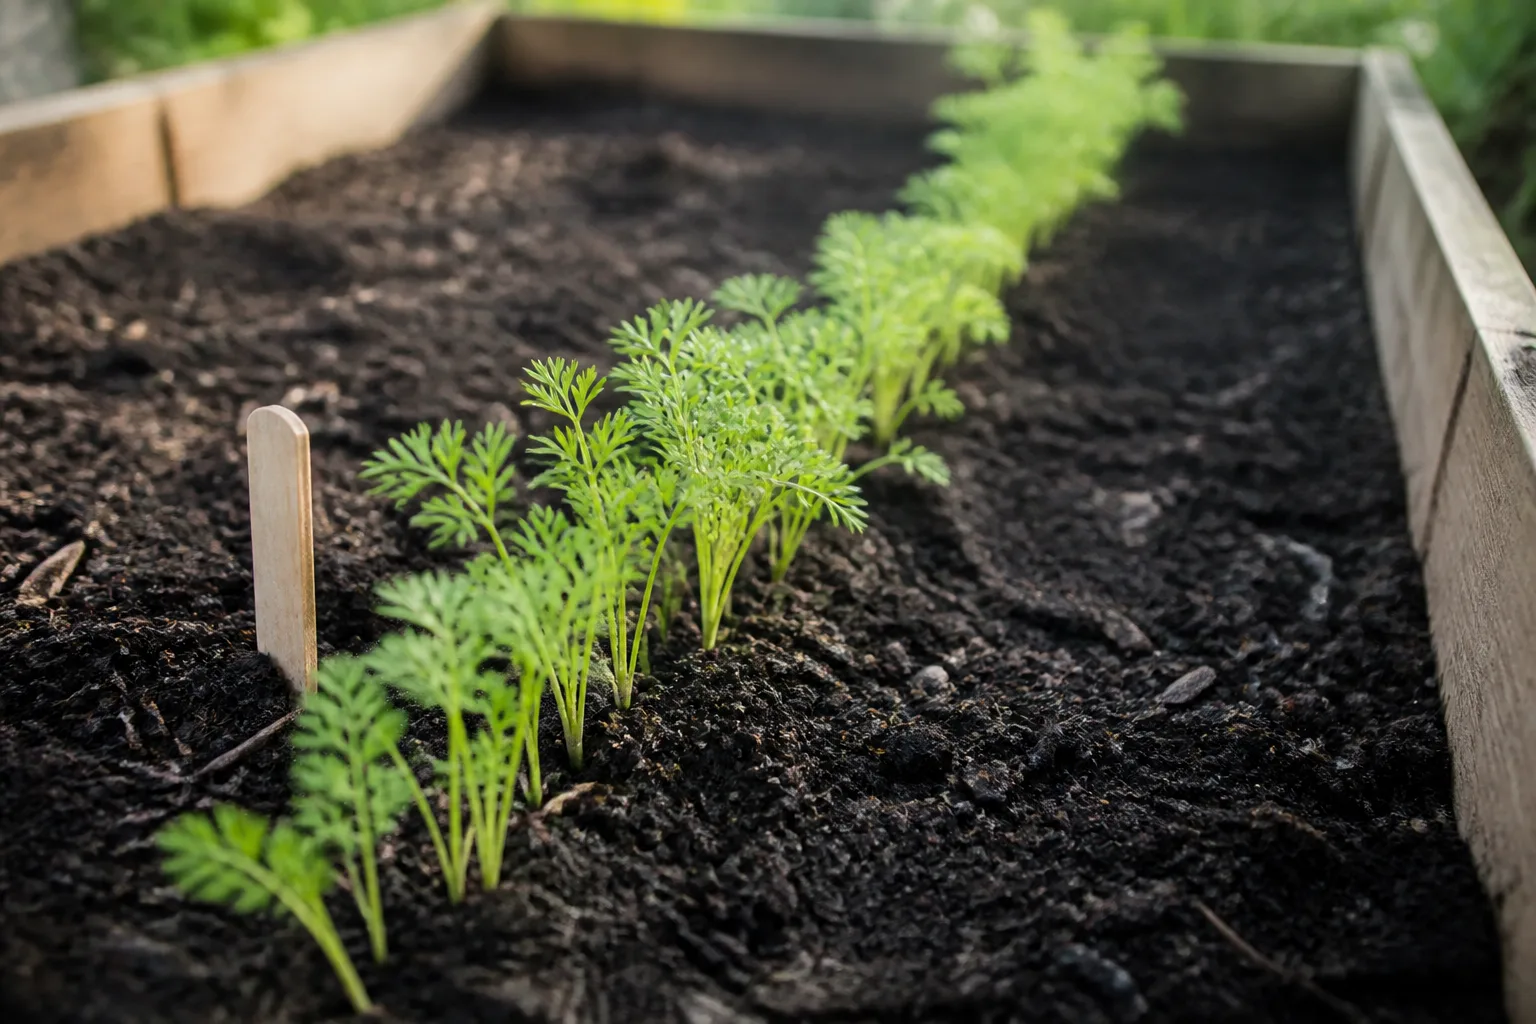
Label every sowing with crop, variety, and date. A marker also helps you track expected emergence and prevents you from hoeing away an unrecognized row. Keep a short garden note about soil temperature, rain, and whether the bed dried out; that record makes the next sowing more precise than relying on memory.
When seedlings appear, distinguish their first leaves from true leaves. Cotyledons are the initial seed leaves and may not resemble the mature foliage closely; wait until the first true leaves are visible before removing plants if you are unsure. Weed around the row by hand while seedlings are small, because a shallow hoe can sever their roots or bury them under soil.
Thin according to the packet’s final plant spacing and the crop’s use. If you sowed densely, use scissors to snip extras at the soil line when seedlings are small, which avoids tugging on neighbors’ roots. For beets, a seed ball can produce several sprouts, so thinning is part of getting a usable root; for salad greens, you can eat some young thinnings, while carrots should be spaced early enough that their roots do not press into one another.
Keep weather and seed predators from undoing the work
Check under covers after rain and during heat. A cover that protects against birds can also hide slug activity, keep the surface too wet, or become too warm in direct sun. Anchor edges so wind cannot lift the cover, but leave enough room for plants to grow; if you use fine insect mesh, ensure it does not block the pollinators needed later.
If seedlings are missing in patches, inspect the pattern before blaming seed quality. A clean furrow with holes may indicate digging; a washed-out low end points to runoff; scattered empty spaces can result from uneven sowing or a dry surface. Small changes—moving the row away from a runoff channel, pressing seed into the surface, or protecting only the vulnerable first weeks—are more reliable than applying one deterrent across the whole garden.
Diagnose a bare or uneven row before reseeding
No emergence does not automatically mean the seed is dead. First compare the time since sowing with the packet’s expected emergence window, remembering that cold soil can slow germination and that the number on a packet is not a promise for every outdoor bed. Then check the conditions that matter in sequence: was the seed planted at the right depth, did the soil stay moist, was the bed warm or cool enough for that crop, and could water or wildlife have displaced it?
If the expected window has passed, gently uncover one or two seeds at the end of a row rather than digging through the whole bed. A swollen, firm seed may simply need more time; a soft, collapsed, or foul-smelling seed likely rotted, while a hard, dry seed may never have received enough moisture. If you see healthy seedlings in a neighboring section, leave them undisturbed and reseed only the obvious gaps after correcting the likely cause.
| What you see | Likely check | Practical next step |
|---|---|---|
| No sprouts and soil is cold | Crop’s germination temperature | Wait for warming or resow a cool-season crop suited to current conditions |
| Seeds are missing or scattered | Runoff, wind, birds, or digging | Re-form the furrow, water gently, and secure a breathable cover |
| Seedlings emerge then collapse | Saturated soil, crusting, or damping-off conditions | Improve drainage, avoid constant saturation, and loosen only the surface crust carefully |
| A few seedlings in a long row | Uneven sowing, dry patches, old seed, or depth variation | Check one seed at the edge, then reseed thin gaps at the correct depth |
| Tiny shoots cannot break through | Planting too deep or a hard surface crust | Lightly break the crust beside the row; do not rake across emerging stems |
Do not automatically blame old seed. If storage history is uncertain, a small germination test on a damp paper towel can help estimate viability before you spend time preparing a large bed. Even fresh seed may have less than perfect germination; sowing a few extra seeds and thinning later is sensible when the crop tolerates it, but excessive sowing creates needless crowding and labor.
Keep young plants growing after emergence
Once most seeds have emerged, reduce watering frequency gradually while watering deeply enough to moisten the growing root zone. The top surface no longer has to stay continuously wet, but the young roots still need regular water; use rainfall and a finger check beside the row rather than a rigid daily schedule. A thin layer of mulch between established rows helps limit weeds and evaporation, but keep it away from tiny seedlings until they are sturdy enough not to be buried.
Weed early and often, taking care not to disturb shallow roots. Do not rush to feed a seedling just because it is small; follow crop-specific guidance and correct poor soil fertility based on a soil test rather than applying a strong fertilizer over a new row. If seedlings are leaning, crowded, or pale, identify the actual cause—light, spacing, water, drainage, or nutrients—before adding fertilizer.
For a continuous harvest, sow small amounts at intervals recommended for your crop rather than planting the whole packet on one day. Succession sowing also spreads risk: if the first row encounters a cold snap or washout, the later planting may still succeed. Keep the same variety and date labels, and stop sowing when the remaining season is too short for the crop to reach harvest.
Conclusion
Successful direct sowing depends less on a perfect tool than on matching the seed to the place and the moment. Choose a crop that can mature in your season, wait until the soil meets its temperature needs, prepare a crumbly but moisture-holding surface, follow the packet’s depth and spacing, and protect the seed zone from drying, flooding, or disturbance.
The first few weeks are the work: gentle watering, clear labels, early weed control, and patient observation. If a row fails, diagnose temperature, moisture, depth, and disturbance before you reseed; if it succeeds, thin on time and use what you learned to make the next sowing more even.



