Should You Start Seeds Indoors or Outdoors?
Should you start seeds indoors or outdoors? Use crop, climate, frost, root, and setup clues to choose, then follow the right sowing or transplanting steps.
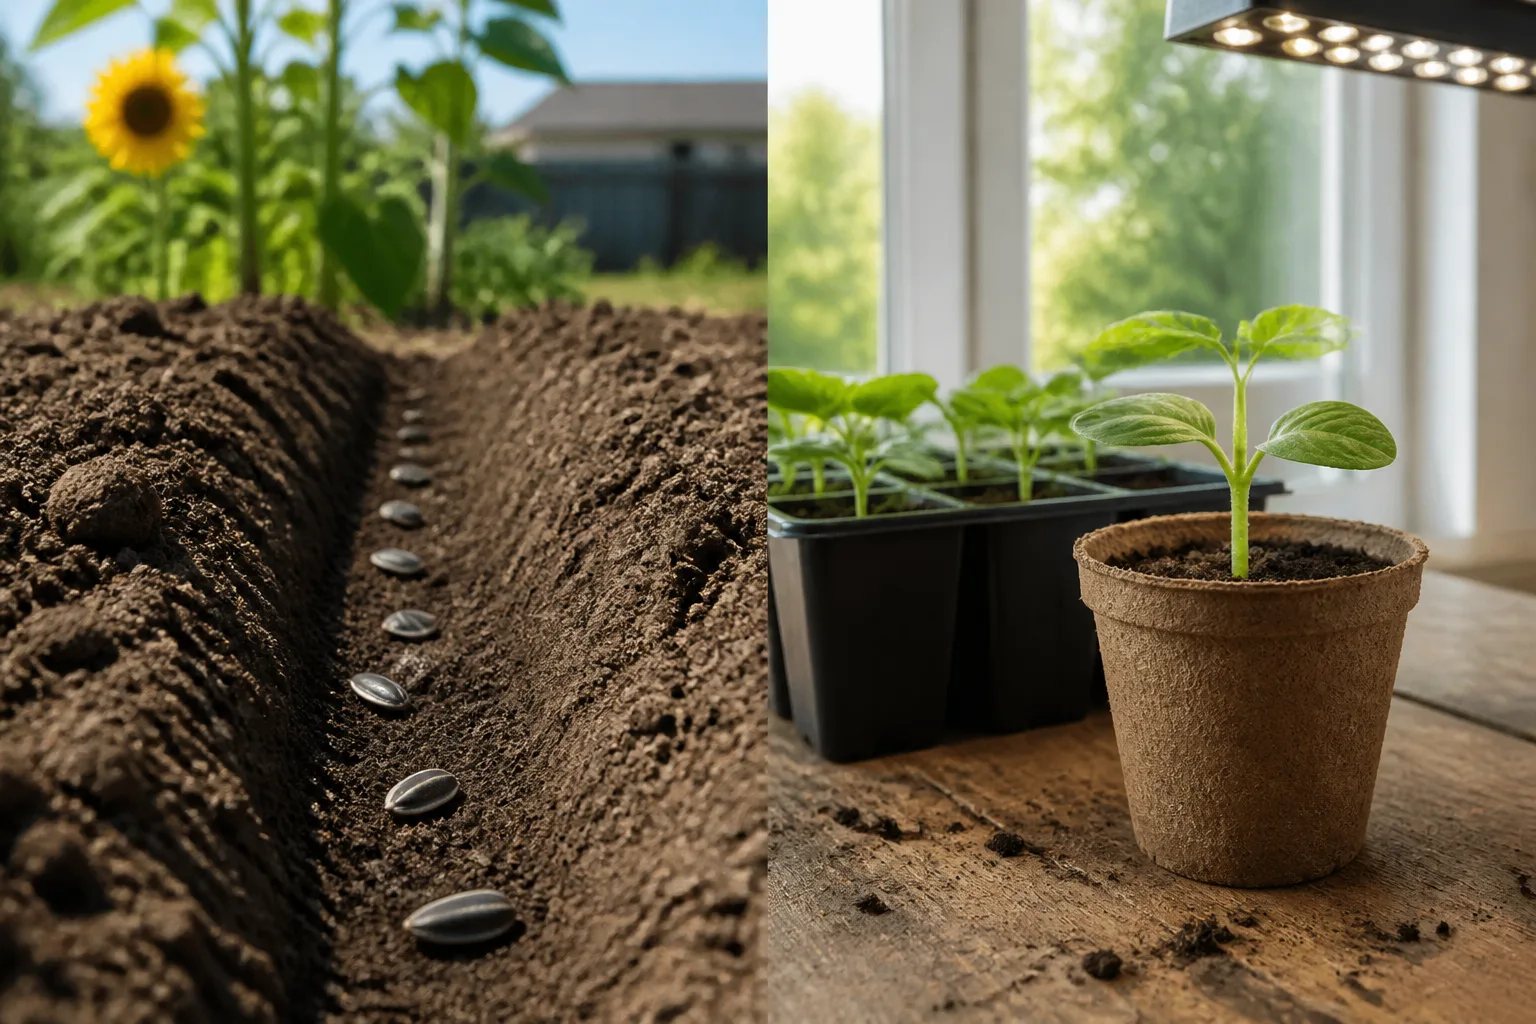
The best place to start a seed is the place where it can keep growing after it sprouts. That may be a tray under a light, a protected cold frame, or the final garden bed. Starting seeds indoors is not automatically better, and direct sowing is not automatically easier; the right choice depends on the crop’s tolerance for cold, root disturbance, and your remaining growing season.
Here is the useful shortcut: start indoors when you need to create warmth, gain weeks, or grow a variety that is hard to find as a transplant. Direct sow when the seed grows quickly, dislikes having its roots moved, or can use the outdoor season immediately. If both methods are reasonable, choose the one your setup can support reliably.
The short answer: choose the place that matches the crop
Direct sowing means planting the seed outdoors in the spot where it will mature. It gives the plant uninterrupted root growth and avoids the transition from sheltered indoor conditions to sun, wind, and changing temperatures. It also means the seed must tolerate the soil and weather that exist at planting time, not the conditions you wish you had.
Starting indoors means germinating and growing a young plant in a container before moving it outside. This can extend the season for tender crops, make slow-growing plants reach harvest or bloom sooner, and give you access to more cultivars. The cost is equipment, daily attention, and a transplant step that can fail if the seedling is weak, root-bound, overwatered, or moved outdoors too abruptly.
The deciding question is not “Which method gives the strongest seedling?” It is “Which method gives this crop the least stressful path from seed to a productive plant?” Utah State University Extension frames that decision around climate, cold tolerance, days to maturity, and whether the crop is adapted to direct sowing or transplanting in the first place. (USU Extension)
The real decision is season, crop, and growing setup
Before you fill a tray or open a furrow, look at four constraints: the crop, the soil temperature, the time between now and the next damaging cold event, and the conditions you can provide. A gardener with a 200-day frost-free season may direct sow a crop that a short-season gardener must start indoors. A gardener with no strong light may get a better result by waiting and sowing outside than by growing pale seedlings on a windowsill.
Start indoors when warmth, time, or variety is the limiting factor
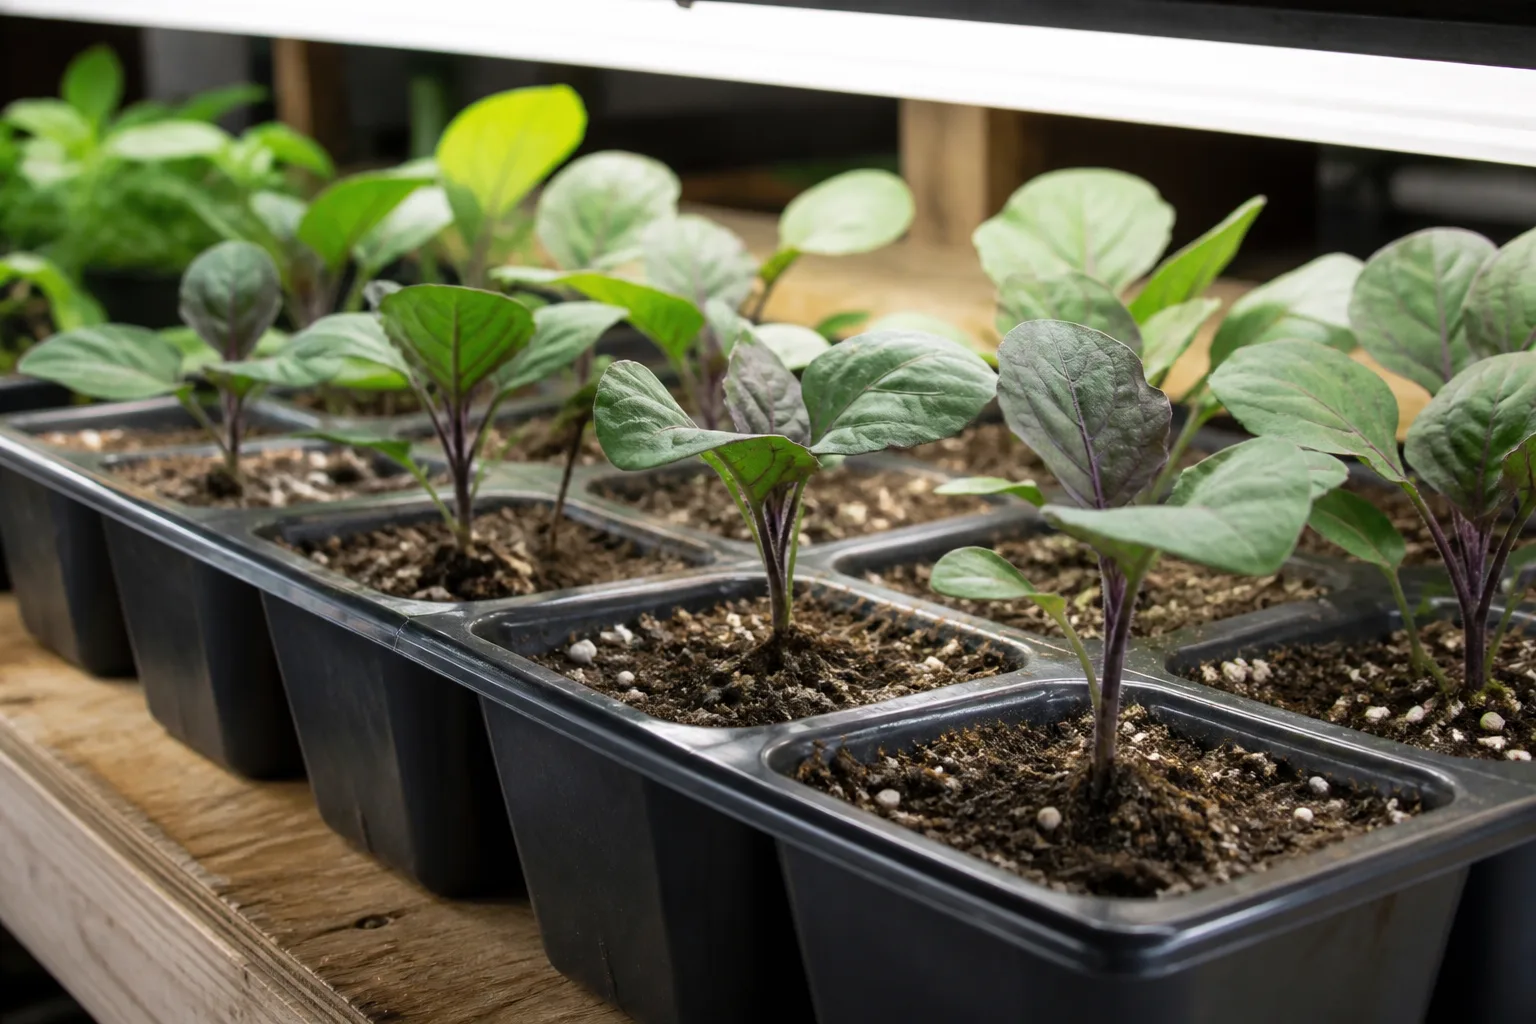
Indoor starting is most useful for tender, heat-loving crops whose outdoor growth would begin too late or stop too soon. Tomatoes, peppers, eggplant, and many long-season flowers are classic examples. They need warm soil and a long stretch of favorable weather, so an indoor head start can turn a marginal season into a productive one.
It is also useful when your garden has a short spring window. Some cool-season crops can be sown outdoors, but if spring jumps quickly from chilly to hot, an indoor transplant can get the crop growing during the narrow period it prefers. USU Extension notes this tension clearly: hardy or semi-hardy crops may dislike heat, while tender crops may need a head start to finish before the season closes.
Choose indoors when you want a particular cultivar that local nurseries will not carry, when you need many plants at a lower per-plant cost, or when a protected setup lets you control moisture and germination temperature. But count the labor honestly. If you cannot provide adequate light, check trays daily, and harden seedlings off, the theoretical advantage disappears.
Direct sow when roots, timing, or outdoor conditions are the advantage
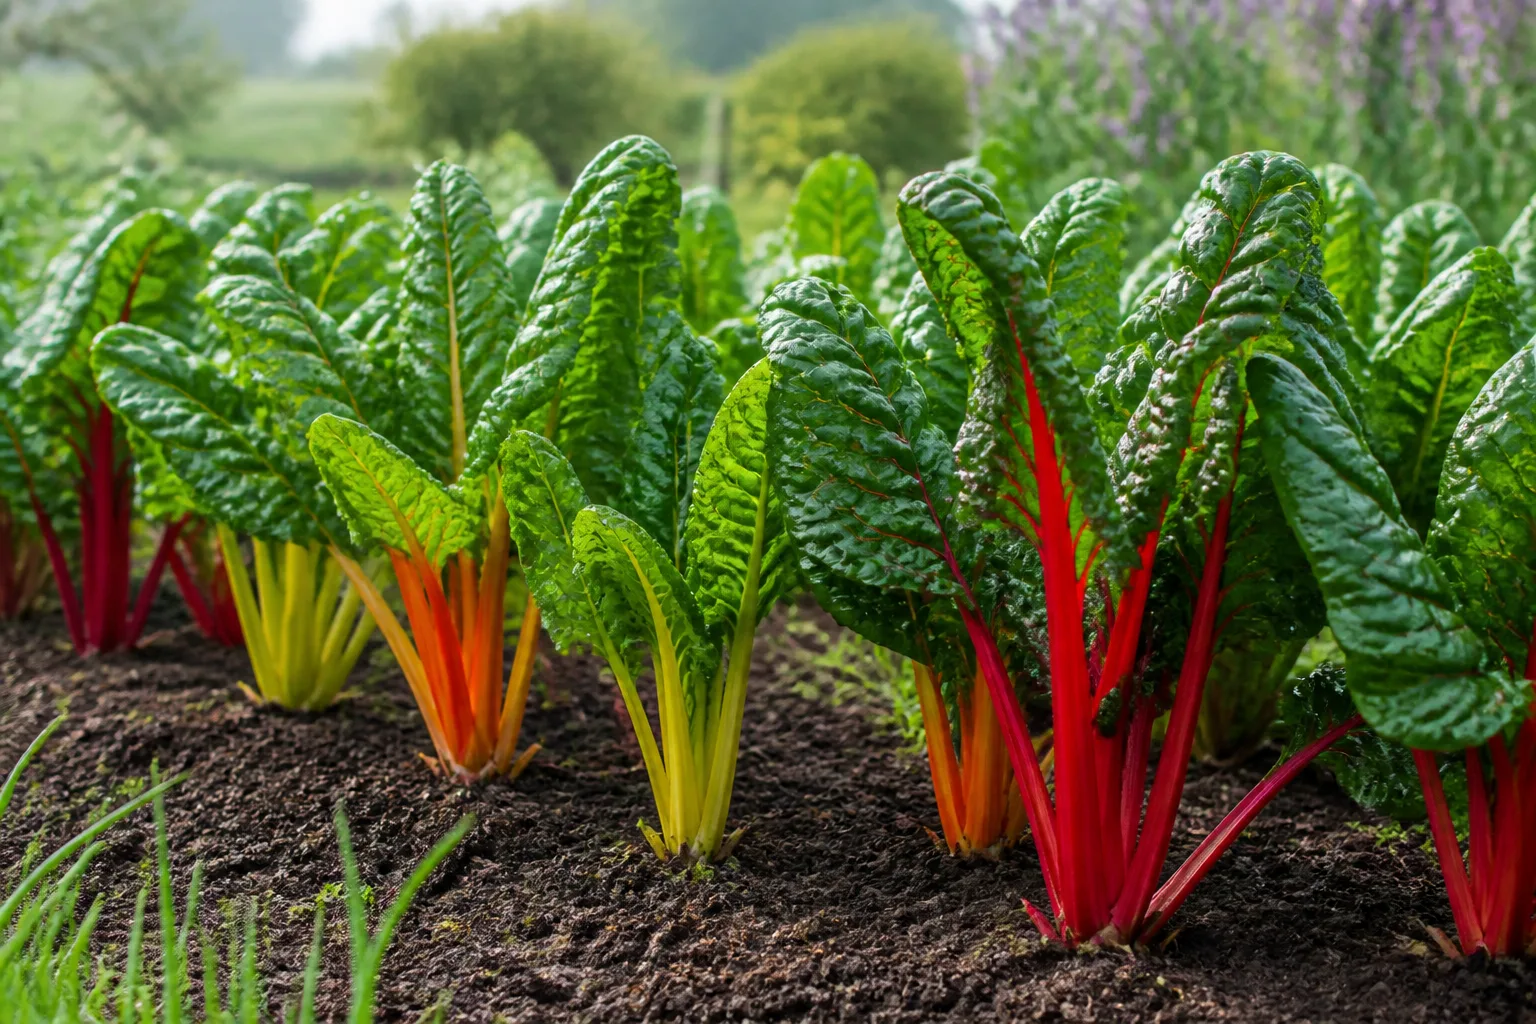
Direct sowing is usually the better choice for crops with a taproot or an edible root, including carrots, parsnips, radishes, and many beets. Moving a young root can fork, bend, or slow the portion you actually want to harvest. Peas and beans are also simple, fast crops that can use the bed as soon as the soil and weather are suitable.
The same logic applies to cucumbers, squash, melons, and sunflowers in a long enough season. These crops grow rapidly once conditions are warm, and a transplant may spend time recovering just as a direct-sown plant is establishing. If your season is short, starting cucurbits indoors for only a few weeks can still be useful, but the container must be large enough and the transplant must be young and handled gently.
Direct sowing is also the sounder choice when the outdoor bed is ready before your indoor setup is. A seed in a prepared bed can develop roots in the actual soil, light, wind, and moisture pattern it will live with. Penn State Extension groups root crops, peas, and beans among the vegetables that are generally best sown directly, while noting that cucumbers, melons, and squash can go either way depending on the length of the growing season. (Penn State Extension)
A crop-by-crop guide to the better starting method
Use the table as a starting decision, then check the packet for the exact cultivar. “Usually indoors” does not mean “always indoors,” and “usually outdoors” does not mean the crop cannot be transplanted under the right conditions.
| Crop group | Usually start indoors when | Usually direct sow when | Main reason |
|---|---|---|---|
| Tomatoes, peppers, eggplant | The season is short or spring nights are cool | The climate is long, warm, and reliable | Warmth and days to maturity |
| Cucumbers, squash, melons | You need a few extra weeks | The soil is warm and the season is long | Fast growth and root sensitivity |
| Carrots, parsnips, radishes | Rarely worth it | Almost always | Root shape and uninterrupted growth |
| Peas and beans | Rarely necessary | As soon as conditions fit the crop | Fast growth and simple timing |
| Lettuce, spinach, kale | To catch a brief cool window | For repeated spring or fall sowings | Cool temperatures and quick harvest |
| Broccoli, cabbage, cauliflower | To beat a short spring or fall window | When you can sow in the crop’s preferred season | Flexible, but heat can shorten the window |
| Zinnias, cosmos, sunflowers | To gain earlier flowers in a short season | After soil and air warm | Warmth, speed, and transplant tolerance |
| Cornflowers, calendula, some hardy annuals | For an earlier display | In cool spring or fall soil, depending on the species | Cold tolerance and seed behavior |
Warm-season and long-season crops usually benefit from indoor starts
Tomatoes, peppers, eggplant, and many tender flowers are the clearest indoor candidates. Their seeds may germinate well in warmth, but seedlings still need strong light and moderate temperatures after emergence. Starting too early creates a different problem: a plant that outgrows its container and spends weeks becoming leggy or root-bound while you wait for safe planting weather.
The goal is not to grow the biggest transplant possible. The goal is a compact, actively growing plant with healthy roots that can move outside after the soil and nighttime temperatures suit it. Penn State gives a useful field indicator for tomatoes, peppers, and eggplant: transplant when nights are around 60°F and days around 70°F in the context of its regional guidance. Treat that as a crop-and-region example, not a universal rule; your packet and local extension guidance take priority.
Root crops, peas, beans, and quick greens usually prefer direct sowing
Carrots and parsnips are the obvious examples because the root is the harvest. Radishes mature so quickly that starting them indoors adds a transplant step without buying much time. Peas favor cool growing conditions and can be sown early enough that an indoor start often adds little value.
Beans, corn, cucumbers, and squash are generally easy to place in the bed once the soil is warm. For beans, direct sowing also makes succession planting simple: sow another short row every couple of weeks if you want a steadier harvest rather than one large flush.
Greens are flexible. Lettuce, spinach, kale, and mustard can be direct sown in spring or fall, and direct sowing lets you repeat plantings as older plants become bitter or bolt. Starting a small batch indoors can help when the outdoor season is compressed, but a cool, timely outdoor sowing is often less work and less stressful.
Cool-season vegetables and flower seeds need a middle-ground decision
Broccoli, cabbage, cauliflower, and kale transplant well enough that indoor starts can be worthwhile, especially for an early crop or a short spring. But these plants are not heat-loving; a late indoor start that sits in a warm room may be less successful than an outdoor sowing timed for cooler weather. Fall sowing is another option because a crop that is hard to start in spring may thrive when late-summer heat breaks.
Flowers are equally varied. Zinnias and cosmos are warm-season annuals that can be direct sown after the danger of frost and after temperatures are consistently warm, or started indoors for earlier blooms. Cornflower and calendula are more cold-tolerant choices for early outdoor sowing in suitable climates. Penn State’s annual-seed guidance recommends counting backward from the planting date and allowing acclimation time rather than treating every flower as a six-week indoor project. (Penn State’s annual-seed guide)
Build a seed-starting calendar from the planting-out date
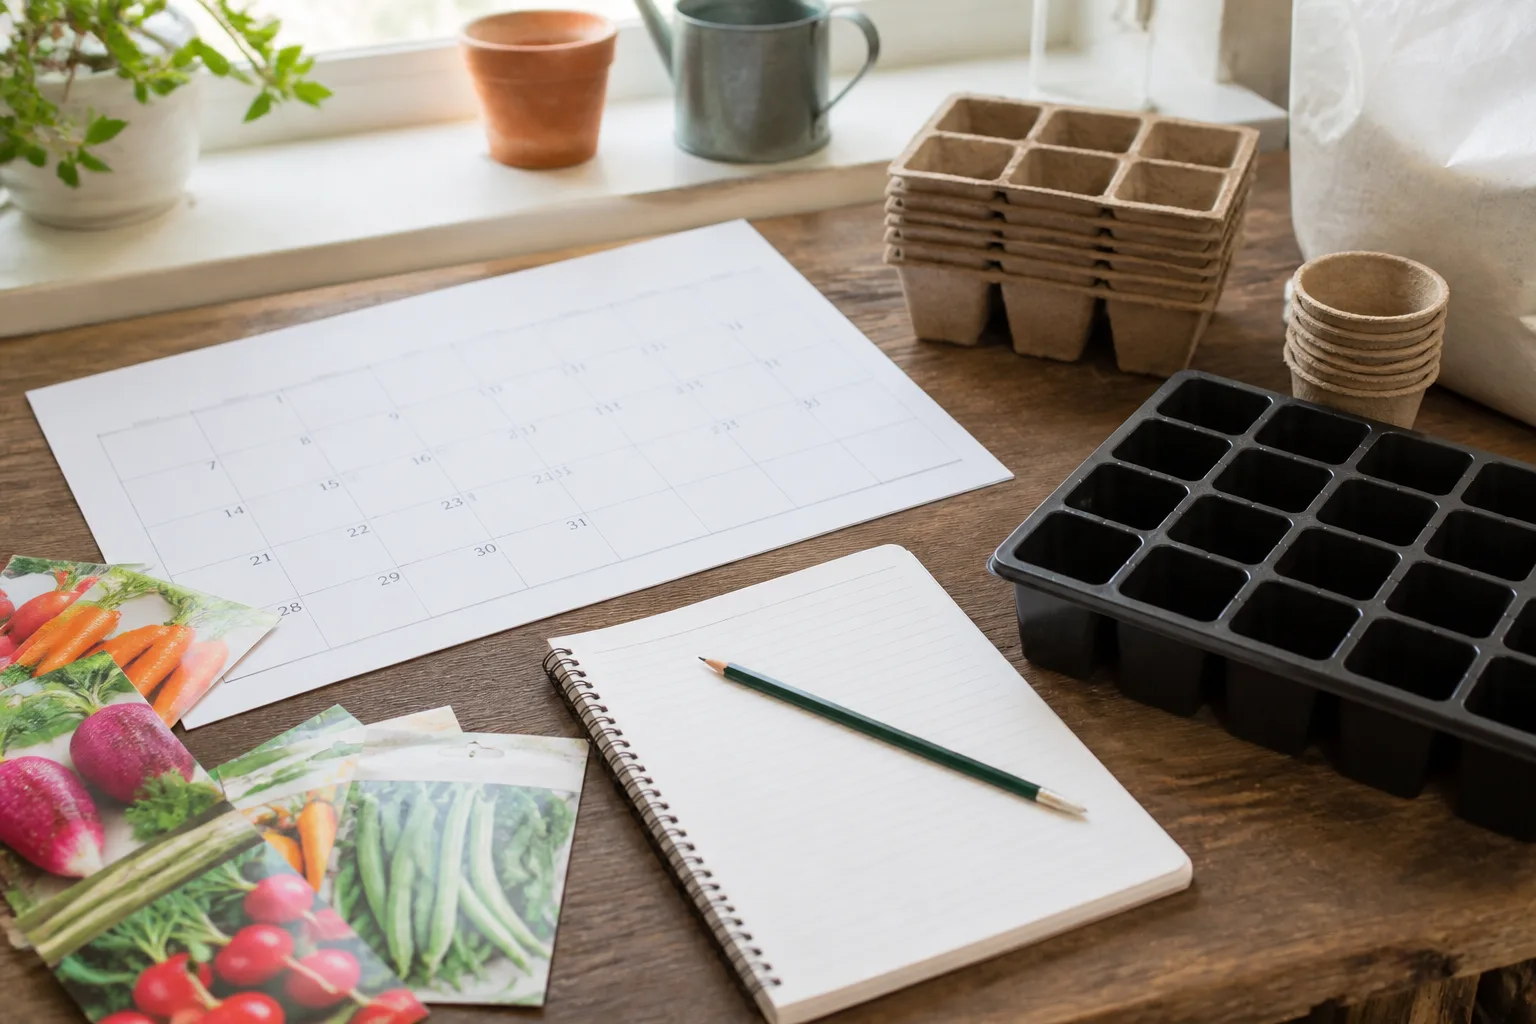
Start with the date the plant can safely live outside, not the date you feel like sowing. Average last-frost dates are useful planning landmarks, but they are averages, not promises; a low garden, exposed balcony, or warm south-facing wall can differ from the nearest weather station. USU Extension recommends pairing freeze information with the crop’s cold-tolerance group, days to maturity, and your own garden observations.
Count backward from suitable weather, not just the last frost date
Use this simple formula:
Indoor sowing date = target outdoor planting date − indoor growing time − hardening-off time.
For example, suppose a tomato should go outside on May 20, the packet or local guidance suggests six weeks indoors, and you want ten days for hardening off. Count back six weeks to April 8, then back ten more days: sow around March 29. The exact date is less important than the logic. If the seedling will be ready before May 20, wait to sow; if the weather is still cold, do not force the transplant simply because the calendar says it is time.
Use the packet’s days to maturity carefully. USU notes that this number usually starts at outdoor planting and varies with cultivar, temperature, irrigation, soil, and harvest stage. A “55 days” tomato is not necessarily 55 days from the day you sow indoors, and baby greens may be harvested long before full-size greens.
Build in a buffer for slow germination, cloudy weather, a missed watering, or a delayed planting window. If your planned transplant date keeps moving, hold a seedling in bright light, avoid overfeeding it, pot it up when the root system fills the container, and continue to protect it until the bed is ready. Do not solve a calendar error by growing a tall, crowded transplant for another month.
If you start indoors, build a setup seedlings can actually use
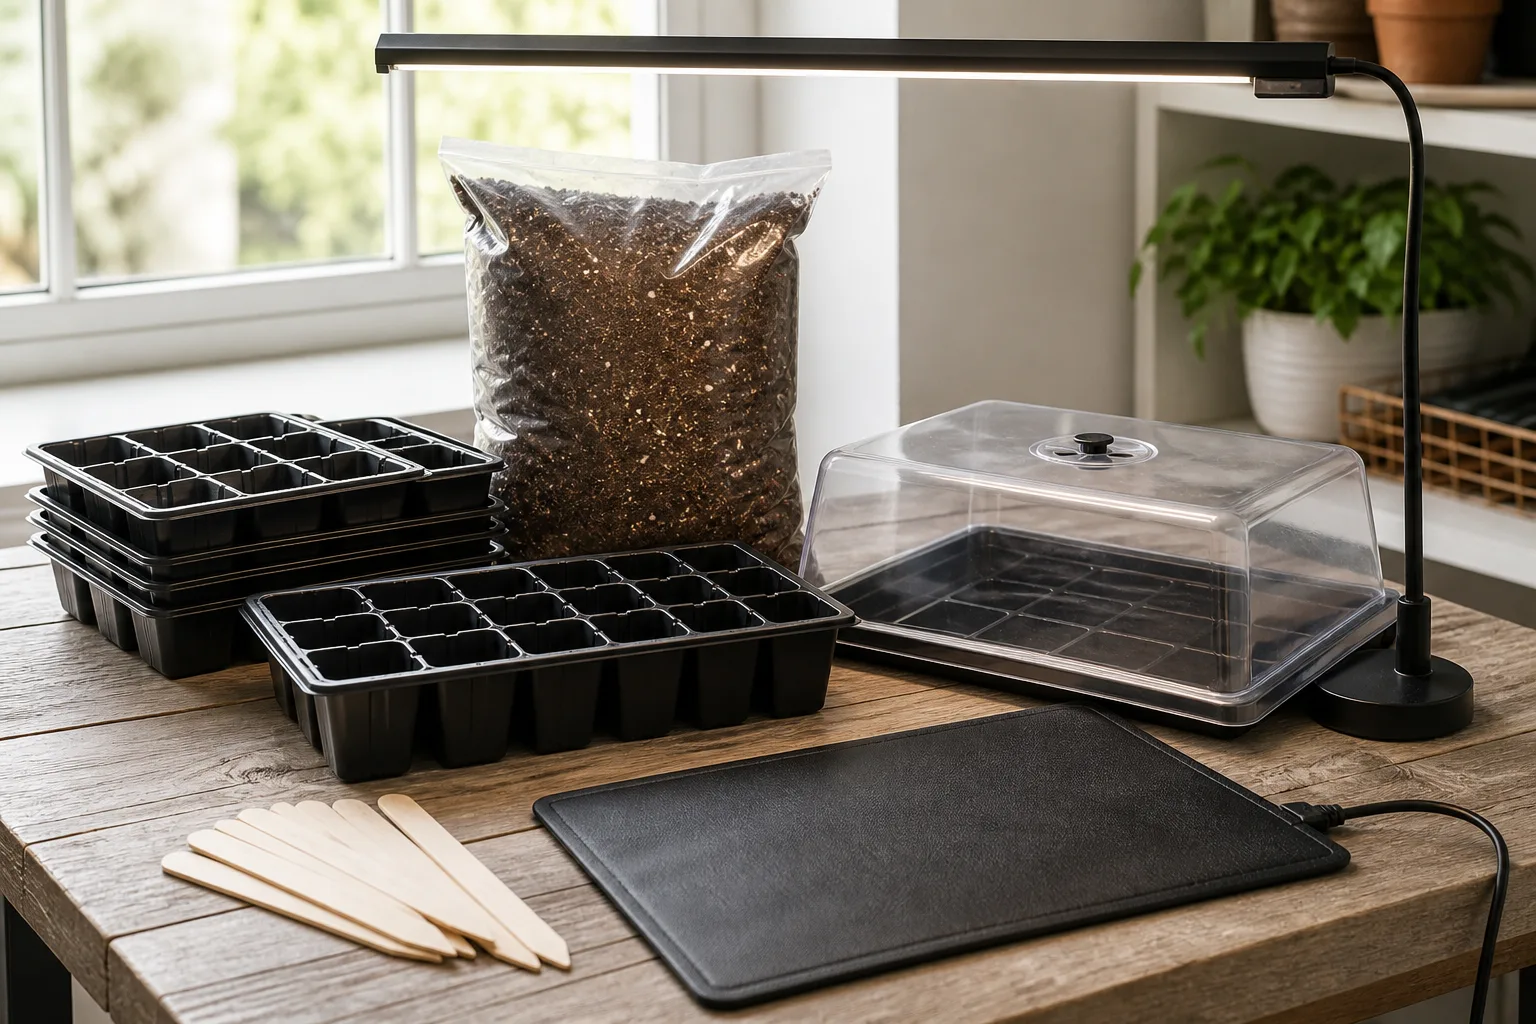
Most indoor seed-starting failures are not mysterious. The seed was too deep, the mix stayed saturated, the air was still, or the plant was growing faster than the available light could support. A humidity dome can help seeds germinate, but it is not a long-term seedling greenhouse; remove it once seedlings emerge so leaves can dry and air can move.
Light, temperature, water, and airflow determine transplant quality
Light is usually the first limiting factor. A bright window may be enough for a few seedlings, but it often produces one-sided, stretched growth as the plants lean toward the glass. USU Extension recommends supplemental light for actively growing seedlings, with 12–14 or more hours a day in its current guidance; WSU Extension similarly describes artificial light as a way to lengthen the day and reduce stringy growth. Keep lights close enough to the canopy for useful intensity, follow the fixture’s instructions, and raise them as plants grow.
Temperature should match the crop. Many seeds germinate readily around 65–75°F, while some cool-season crops prefer cooler soil and tomatoes or peppers may need more warmth to germinate. Once seedlings emerge, excessive heat paired with weak light encourages thin stems. Remove a heat mat if the growing space is already warm enough; warmth is not a substitute for light.
Water until the mix is evenly moist, then let it move toward moderately dry before watering again. Do not let a cell become bone dry, but do not leave the roots in a saturated tray. USU Extension suggests checking the weight of the container and discarding drainage water; bottom watering can wet the mix evenly, while occasional gentle top watering helps flush accumulated salts.
Give seedlings room and gentle airflow. Thin crowded cells to one strong plant, separate trays so leaves do not overlap, and use a small fan on a low, intermittent setting if the air is stagnant. Too much airflow dries small cells quickly, so watch the mix rather than turning the fan into a wind tunnel. These small choices are what make an indoor-grown transplant sturdy enough to leave the protected setup.
How to direct sow seeds without losing the first week
Prepare the bed before opening the packet. Pull emerging weeds, remove rocks and hard clods, and make a fine, level seedbed with enough moisture below the surface for the seed to imbibe. Burpee’s direct-sowing guidance emphasizes the same basic sequence: choose an adequately sunny spot, use well-draining soil with organic matter, follow packet depth and spacing, and water gently so seeds are not displaced. (Burpee Garden Guide)
Read the packet for depth, but use two to three times the seed’s diameter as a general starting rule unless the crop requires light to germinate. Tiny seeds may need only a surface press or a very thin covering. Firm the soil lightly over the seed to improve contact, label the row, and water with a fine spray or gentle rose rather than a strong stream.
Keep the seed zone consistently moist until emergence. A loose row cover can slow evaporation, reduce crusting, and discourage birds from scratching out the row, but remove it promptly when seedlings emerge or the plants may stretch and overheat. Once true leaves appear, thin to the packet spacing. Leaving every seedling in place feels efficient, but crowding produces weaker roots, poorer airflow, and smaller harvests.
For a difficult first sowing, plant a short test row instead of committing the whole bed. You will learn whether the soil is warm enough, whether irrigation washes the seed away, and how quickly weeds emerge. That information is more valuable than guessing at a single “perfect” sowing date.
Harden off indoor seedlings before they meet the garden
Indoor-grown seedlings are adapted to stable temperatures, gentle air, and filtered or artificial light. Outdoor sun is far brighter, wind increases water loss, and nights can be much colder than the room where the tray sat. Hardening off is the gradual exposure that lets the seedling adjust before transplanting; skipping it is one of the fastest ways to turn a healthy tray into wilted or sun-scorched plants.
Plan on about seven to fourteen days, using the longer end when weather is changeable or the seedlings are especially tender. Start with one to two hours in a protected, shaded place. Add time first, then morning sun, then stronger afternoon light and more wind. Bring warm-season crops indoors whenever temperatures approach their lower limit, and do not expose unhardened seedlings to freezing conditions.
Growing In The Garden’s practical schedule begins with a shaded, protected placement, increases daily exposure over the first week, and reserves full days and nights outdoors for the end of the process. (Growing In The Garden) The exact schedule is less important than the response of the plant: wilting while the mix is moist, bleached patches, or crispy leaf edges means you advanced too quickly.
Water seedlings before taking them outside, but do not fertilize heavily to push new growth during acclimation. Check the forecast each day. If high wind, a sharp cold front, or intense sun interrupts the sequence, move back to the previous safe exposure level and continue when conditions improve. A cloudy, calm day or late afternoon is a gentler planting window than hot midday sun.
Transplant at the right size and protect the root ball
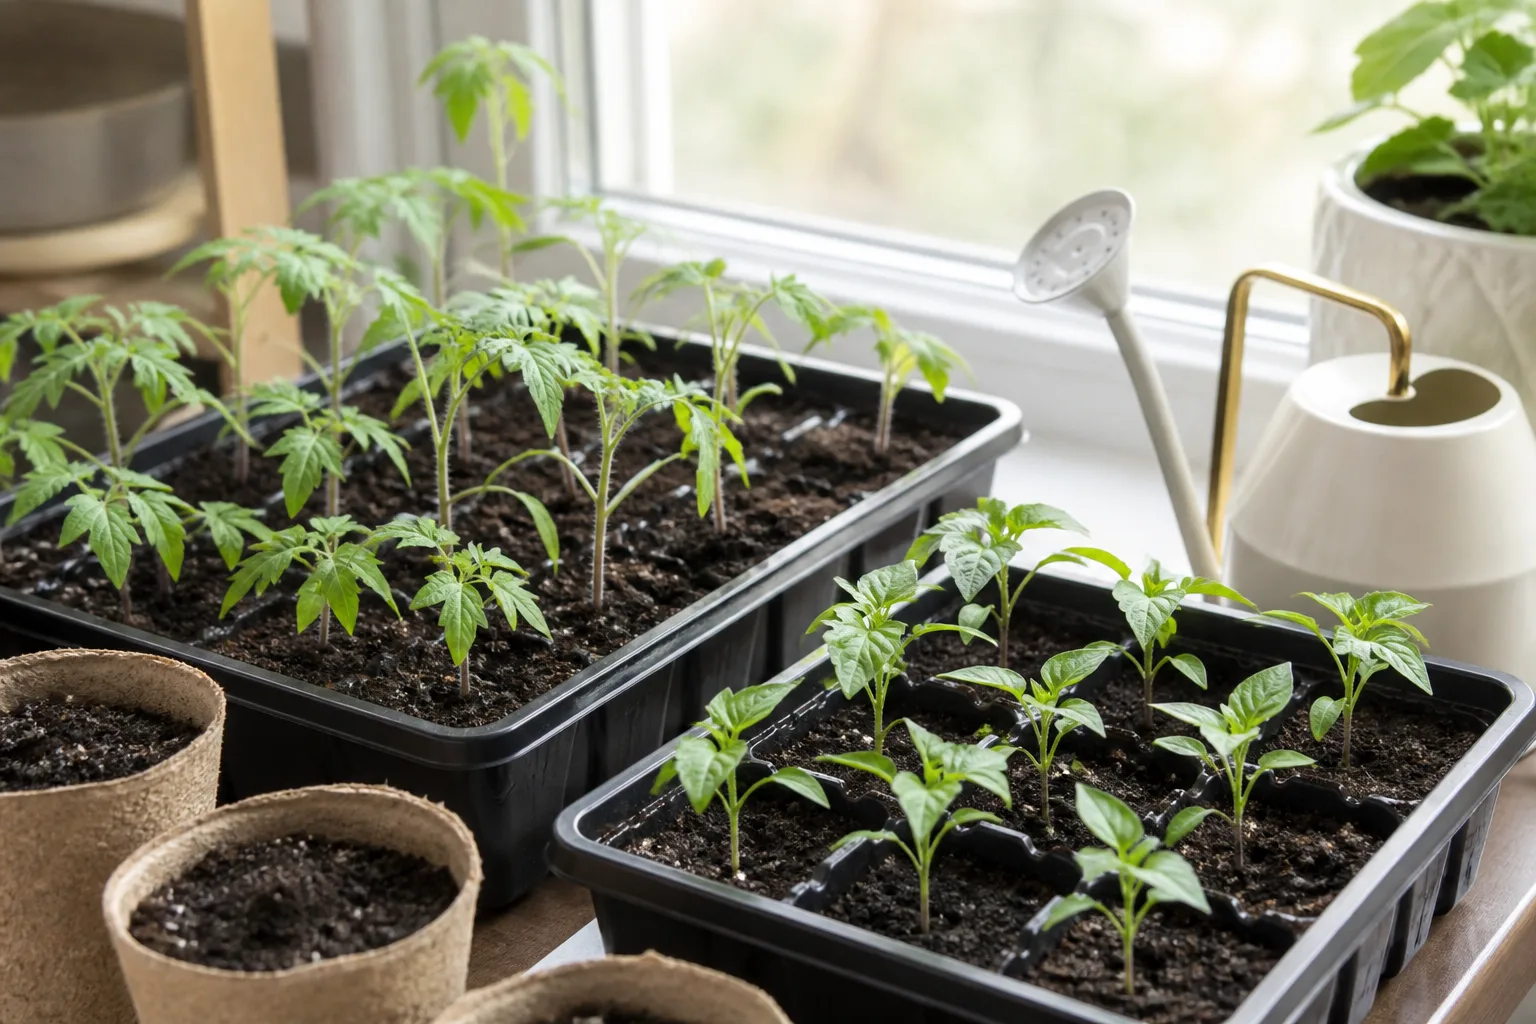
A seedling is ready when it is compact, upright, actively growing, and has a healthy root system—not simply because it has reached a certain age. If roots form a dense mat, leaves overlap neighboring plants, or the container dries almost immediately, pot up into a slightly larger container rather than allowing the plant to stall. If the plant is tall, pale, or weak, improve light and airflow before moving it outside; transplanting does not repair poor indoor culture.
Water the tray so the root ball holds together, then push the plant out from below when possible. Handle it by the leaves or root ball rather than squeezing the stem, and keep the roots from drying while the hole is prepared. Dig a hole about twice as wide as the root mass and no deeper than the soil level the plant was already growing at, except for crops such as tomatoes that can tolerate deeper planting along the stem.
Set the plant, firm soil around the roots, and water immediately to settle air pockets. Keep the root zone damp while new roots establish, but not permanently soggy. USU Extension recommends morning or cloudy-day transplanting, while WSU Extension emphasizes protecting new plants from drafts, heat, cold, and rapid moisture loss during the first days. (USU Extension transplanting guidance)
If a transplant is slightly root-bound, loosen the outer roots gently or make a few shallow vertical cuts in a firm circular mat. Do not aggressively tear apart a small, intact root ball just because you read that every root must be disturbed. Root disruption is a tool for correcting a constricted mass, not a ritual that improves every transplant.
Troubleshoot the choice when seeds or seedlings struggle
When a seed fails, first ask whether the problem happened before or after germination. No sprouts usually points to old seed, incorrect temperature, planting too deeply, or a moisture problem. A seed that germinates and then collapses may be suffering from damping-off, which is encouraged by cool, wet, crowded conditions. Use fresh or properly stored seed, clean containers, a suitable mix, correct depth, and even moisture rather than adding more water in frustration.
Tall, thin stems almost always put insufficient light at the top of the list. Move the light closer according to its instructions, increase the daily light period if appropriate, reduce crowding, and avoid overly warm conditions. Turning a windowsill tray can correct leaning, but it cannot create the intensity the plant needs; add supplemental light or change the plan.
If a direct-sown row is patchy, check for crusted soil, washout, birds, drying, and temperature before reseeding. A short second sowing may be smarter than disturbing every emerging plant. If a transplant wilts after planting, check soil moisture and weather before adding fertilizer. Wind, hot sun, damaged roots, or a cold night can all stall a plant that is otherwise alive.
Finally, remember that “indoor versus outdoor” is not a permanent identity. You can sow a first batch indoors for an early harvest, direct sow a later batch for succession, and use a cold frame or row cover to bridge a weather gap. The best gardeners change methods when the crop, forecast, or available setup changes.
Conclusion: start where the seed can keep growing
Start seeds indoors when you need warmth, extra calendar time, or a specific variety—and only when you can provide strong light, controlled moisture, airflow, and a hardening-off period. Direct sow when the crop grows quickly, has a sensitive root system, prefers cool conditions, or can use the outdoor bed without waiting for a transplant.
To make the decision repeatable, read the packet, identify the crop’s cold and root-disturbance limits, estimate the actual outdoor planting window, and count backward if you are starting indoors. Then make the first action fit the method: prepare a fine, moist seedbed for direct sowing or set up light and drainage before filling the tray. Seeds thrive when the conditions after germination continue to match the biology of the crop.



