Spider Plant Care: Light, Water, Babies & Brown Tips
Grow a healthier spider plant: choose the right window, water by soil dryness, root plantlets, fix brown tips, and keep this pet-safe houseplant thriving for years.
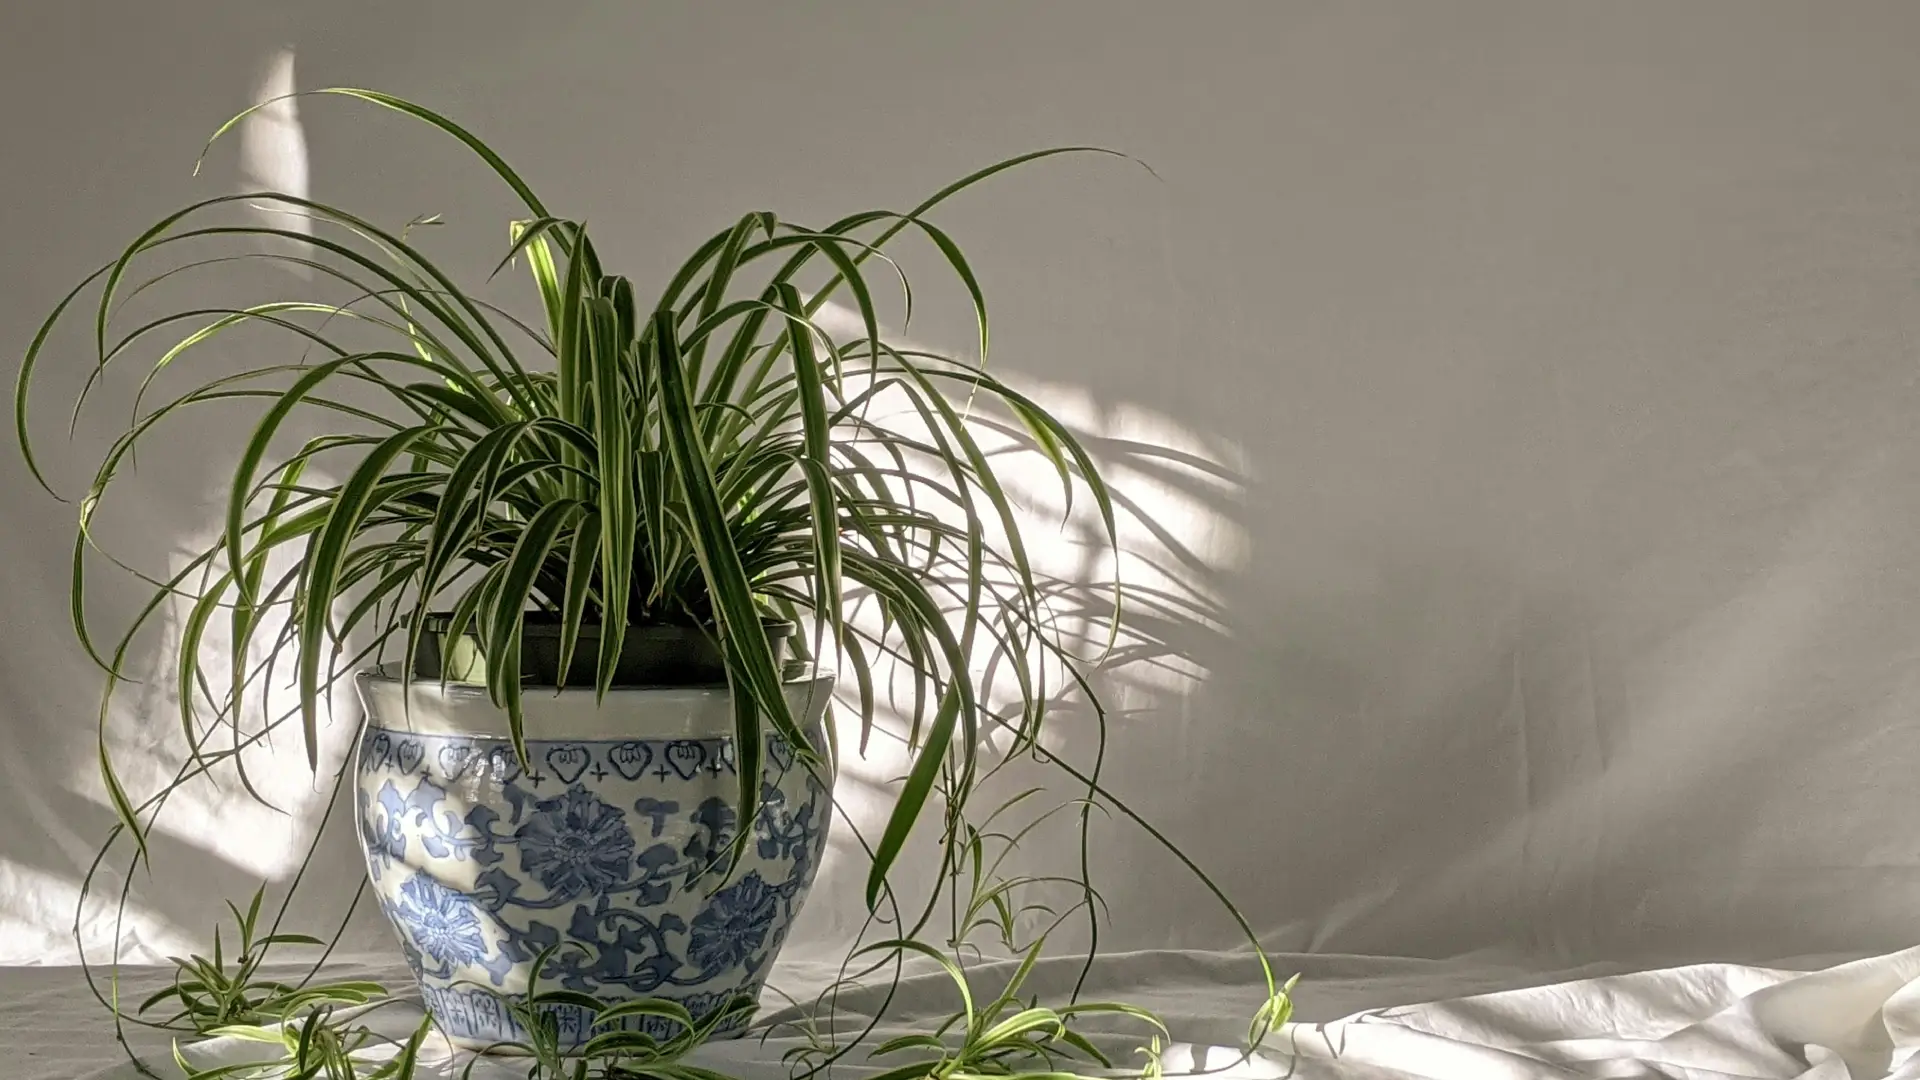
Spider plant care gets easier when you treat Chlorophytum comosum as a fast-growing foliage plant with water-storing roots—not as a succulent that wants bone-dry soil or a tropical that wants constant dampness. The arching strap leaves and dangling plantlets make it one of the most recognizable houseplants in the world, but the same features also expose stress quickly: brown tips, pale variegation, and a mother plant that survives without making babies.
The practical goal is straightforward. Give the plant bright filtered light, an airy potting mix that dries slightly between drinks, and a container with a real drainage hole. Do that consistently and a spider plant will grow for years, produce free offsets on mature specimens, and tolerate more beginner mistakes than most foliage plants before it fails outright.
What Chlorophytum comosum Actually Is
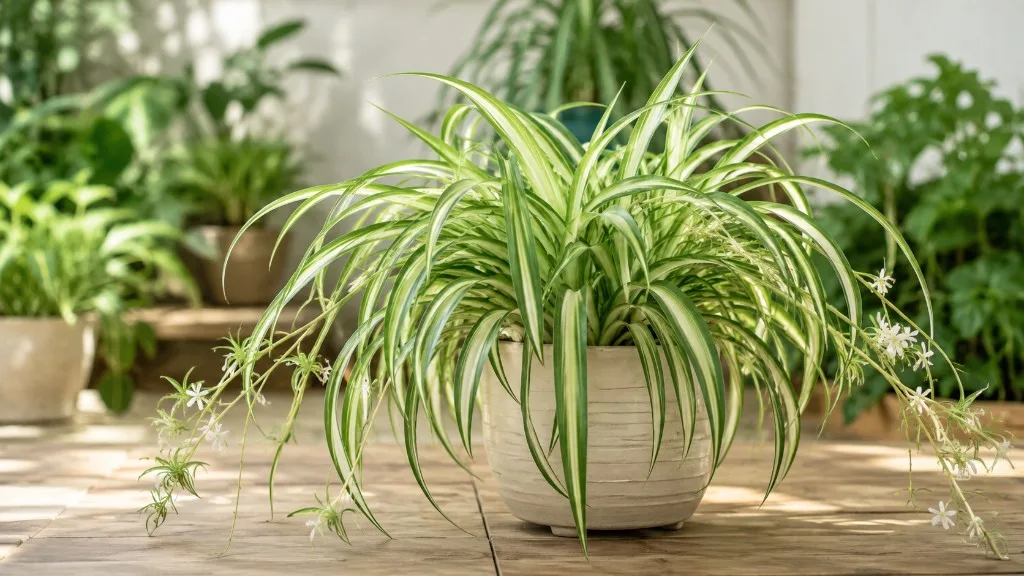
Chlorophytum comosum is a clump-forming herbaceous perennial in the asparagus family (Asparagaceae). It is native to coastal and tropical regions of Africa, from West Africa through Ethiopia to South Africa, where it grows in filtered light with reliable moisture and good drainage. Indoors it typically reaches 12 to 24 inches (30 to 60 cm) tall and wide, with individual leaves stretching 12 to 18 inches (30 to 45 cm) on healthy plants.
The leaves are narrow, strap-shaped, and often channeled or folded down the center. They may be solid green or striped with white or cream. Below the soil, thick fleshy roots and rhizomes store water, which is why the plant survives inconsistent watering better than many tropicals—but also why it rots when a pot stays wet for weeks. NC State Extension notes that spider plants prefer moist soil and medium humidity yet tolerate drought and dry soil, and they are intolerant of direct sunlight. (NC State Extension)
Long wiry stolons carry small white star-shaped flowers and, after flowering, the familiar plantlets (also called spiderettes or babies) that root easily. Those stolons can reach 2 feet (60 cm) or more on a vigorous plant. Common names include spider plant, spider ivy, ribbon plant, and anthericum; all refer to the same species for practical care purposes, though leaf patterns differ between cultivars.
Why Spider Plants Stay Popular After a Century
Spider plants earned their reputation for reasons that still hold today. They adapt to ordinary indoor temperatures, grow quickly in good light, and produce abundant free plants on trailing stems. Wisconsin Extension describes them as especially popular with beginners because they are easy to grow and propagate, tolerant of neglect, and able to thrive in a wide range of indoor conditions. (Wisconsin Extension)
They also solve a specific design problem: a full, cascading plant that does not need a floor stand. A hanging basket lets the leaves arch and the plantlets dangle without consuming counter space. For pet households, spider plants are widely listed as non-toxic to cats and dogs, which makes them one of the safer large-leaf options at nose level—though chewing any plant can still cause stomach upset.
The trade-off is visibility. Long leaves show water-quality stress as brown tips, and a plant in too little light will stay alive while growing sparse, pale, and baby-free. Spider plants are forgiving, not invisible. When something is wrong, the foliage usually tells you before the roots fail completely.
Spider Plant Care at a Glance
Use this table as a starting point, then adjust for your window, pot, and season. “Easy care” means fewer rescue interventions—not that the plant thrives in a dark, wet corner.
| Care factor | Practical starting point | What changes the decision |
|---|---|---|
| Light | Bright indirect light; gentle morning sun acceptable | Window direction, curtains, variegation, and season |
| Water | When top 1–2 inches of mix feel dry; soak until runoff | Pot size, material, light level, and room temperature |
| Soil | Loose peat- or coir-based mix with perlite or bark | How fast the mix dries in your room |
| Pot | Drainage hole; usually only one size up at repot | Root crowding, stability, and drying speed |
| Temperature | Normal indoor warmth; protect from cold glass and drafts | Winter windows, AC vents, outdoor moves |
| Humidity | Average home humidity is usually adequate | Very dry air may worsen tip burn; do not overwater to compensate |
| Fertilizer | Diluted balanced feed during active growth only | Fresh repotting mix, winter pause, and plant health |
| Propagation | Plantlets on stolons, division, or seed | Light level, maturity, and whether plant is slightly root-bound |
| Pet safety | Listed non-toxic to cats and dogs | Chewing behavior and access |
Light and Placement Indoors
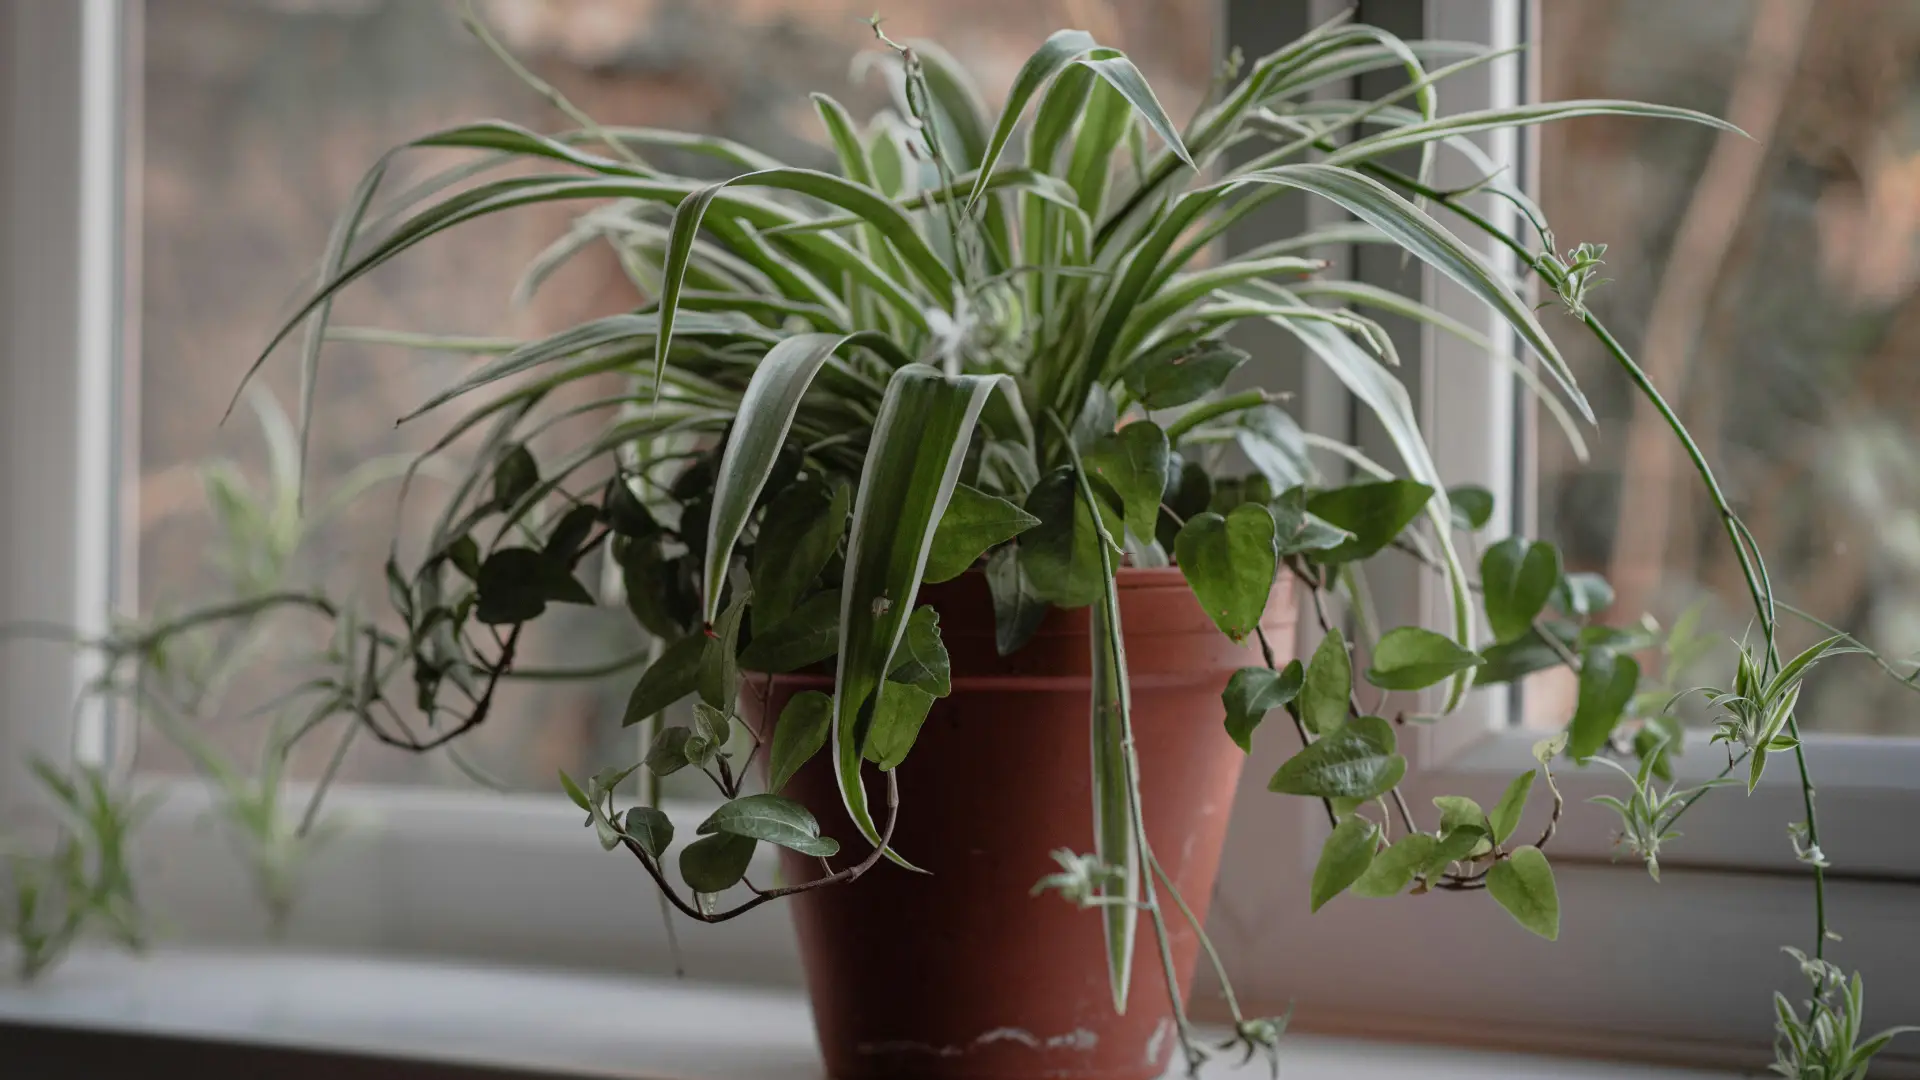
Place a spider plant where it receives bright, filtered light for much of the day. An east-facing window is an easy default. A few feet back from a south- or west-facing window, or behind a sheer curtain, also works well. Wisconsin Extension recommends medium to bright light throughout the year indoors. (Wisconsin Extension)
Spider plants tolerate low light longer than many houseplants, but low light is a survival setting, not a growth promise. In deep shade, growth slows, variegation fades, and plantlet production drops. If the plant has not made new leaves for many months, move it closer to the window before adding fertilizer. Pale, stretched leaves with wide spacing between them are a reliable sign the plant wants more light.
Direct afternoon sun through glass can scorch or bleach leaves, especially on variegated cultivars with less chlorophyll. Gentle morning sun is usually safe. If you move a plant into stronger light, do it gradually over two to three weeks and watch the window-facing side for papery brown patches. Damaged tissue will not green up again; protect new growth instead.
Rotate the pot every week or two so one side does not become dense while the other stretches toward the glass. Hanging baskets dry faster than pots on a shelf, and they also swing in HVAC drafts—keep them away from heating vents and cold winter glass.
Soil, Pots, and Drainage
Spider plants grow in a range of mixes, but they perform best in loose, well-drained potting soil with plenty of air space. A standard houseplant mix amended with perlite, bark, or pumice is a solid default. NC State Extension describes preference for moist soil with good drainage and notes intolerance of waterlogged conditions. (NC State Extension)
The pot must have a drainage hole. A decorative outer cachepot is fine only if you empty it after every watering. Spider plant roots need oxygen; a pot that holds runoff at the bottom creates the same problem as overwatering even when you think you watered correctly.
Terracotta dries faster and can help chronic overwaterers because moisture escapes through the sides. Plastic or glazed ceramic holds water longer, which suits bright rooms and attentive dry-down checks. Choose the material that matches how fast your mix actually dries, not the look of the shelf.
Spider plants grow quickly and can become root-bound. Slight crowding often encourages plantlet formation, but a pot so packed that water runs straight through without wetting the root ball is too far. If water channels down the sides instantly, the mix may have compacted or the roots may need division rather than a bigger pot alone.
Watering Rhythm That Prevents Root Rot
Water when the top 1 to 2 inches (2.5 to 5 cm) of mix feel dry and the pot feels noticeably lighter. Then soak thoroughly until water exits the drainage hole and discard the saucer water. Wisconsin Extension advises allowing the soil to dry slightly between thorough waterings. (Wisconsin Extension)
In bright, warm conditions a hanging basket might need water every five to seven days during summer. In a cool, dim room or winter, the same plant might go two weeks or longer. The fleshy roots store moisture, so a short dry spell will not kill a healthy plant—but roots sitting in wet mix for days will.
Use room-temperature water when possible. Spider plants are among the houseplants most sensitive to fluoride and chlorine in tap water, which can cause brown leaf tips even when watering frequency is correct. NC State Extension recommends avoiding tap water when tip burn appears and suggests distilled water, rainwater, or filtered water instead. (NC State Extension) If you must use tap water, let it sit open overnight to off-gas some chlorine, or flush the pot with extra water monthly when drainage is good.
Reduce watering in winter when growth slows, but do not abandon the plant entirely. The goal is slightly drier soil between drinks, not a desert. A plant in active growth with bone-dry mix for weeks will show wilt, brown tips, and reduced plantlet production.
How to Check Moisture Before You Pour
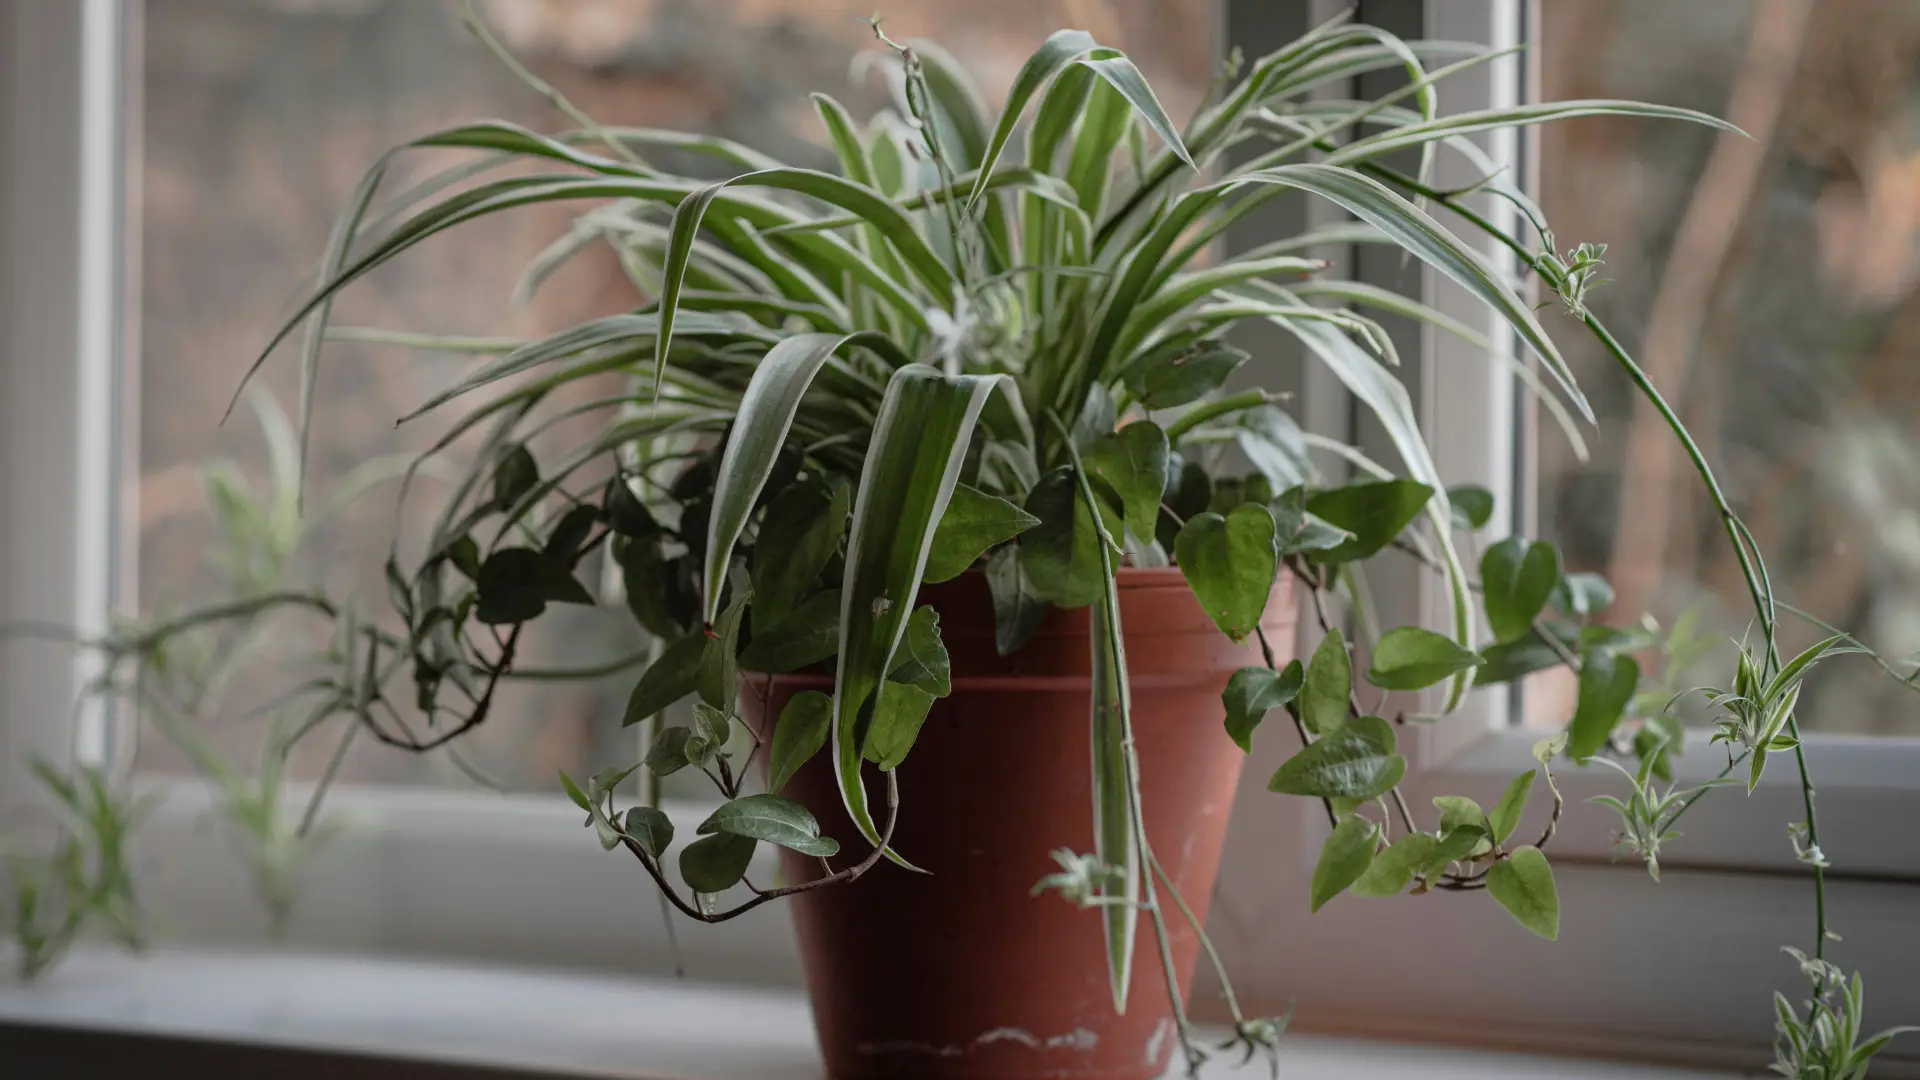
Use more than the surface. Push a finger or wooden skewer into the pot, lift the inner pot to compare weight with a recently watered one, and check whether the lower mix feels cool or damp. If the skewer comes out with moist mix clinging to it, wait.
On a large hanging basket, the top may dry while the center stays wet—exactly the pattern that causes rot in an apparently “dry” plant. If symptoms suggest overwatering but the surface looks dry, slide the plant out and inspect the root ball before adding more water.
If the mix has pulled away from the pot sides, rehydrate slowly in two passes so water absorbs instead of running down a channel. If water rushes through immediately every time, the mix may be compacted or the roots may be circling; repotting or dividing may be the real fix, not more frequent shallow splashes.
Temperature, Humidity, and Airflow
Spider plants prefer normal indoor temperatures roughly between 55 and 80°F (13 and 27°C). NC State Extension advises keeping temperatures above 45°F (7°C) and avoiding cold drafts. (NC State Extension) Leaves pressed against frosty winter glass can show dark water-soaked patches that will not recover; move the plant inward or add a curtain barrier.
Average household humidity is usually adequate. Spider plants do not need a humidifier to survive, though very dry air can worsen tip burn on plants already stressed by minerals or inconsistent watering. Do not respond to dry air by keeping soil wet—that trades one problem for root rot.
Give the plant space from walls and vents so air moves around the foliage. In bathrooms, the combination of low light and high humidity is a stronger rot risk than humidity alone. A bright kitchen windowsill often outperforms a dim shower corner.
Fertilizer Without Burning the Tips
Spider plants are moderate feeders, not heavy ones. During spring and summer, apply a balanced houseplant fertilizer at half the label strength every three to four weeks, or follow Wisconsin Extension’s simpler guideline of feeding every three to four months at full label rate if growth is steady. (Wisconsin Extension)
Heavily fertilized plants may produce fewer plantlets, and excess fertilizer is a common cause of brown leaf tips. Skip feeding in fall and winter, after a fresh repot, when the plant is stressed, or when tip burn is already spreading. More fertilizer is not a reliable fix for pale leaves in low light.
If white crust builds on the soil surface or pot rim, flush the pot with plenty of water through a functioning drainage hole, let it drain fully, then resume a lighter feeding schedule. Salt buildup and fluoride sensitivity can look similar on the leaf tips; checking moisture and drainage comes first in either case.
Spider Plant Varieties Worth Knowing
Most nursery spider plants are selections of Chlorophytum comosum with different stripe patterns and growth habits. The care basics stay the same; light demand and silhouette change.
‘Vittatum’ has medium green leaves with a wide creamy white stripe down the center and white leaf stems. It tends to grow more slowly than solid green types and needs brighter filtered light to hold strong contrast. ‘Variegatum’ (often sold as reverse variegatum) has green centers with white margins and can produce fewer plantlets than other types.
‘Bonnie’ is compact with loosely curling leaves and creamy center stripes—popular in smaller hanging baskets. ‘Milky Way’ has a broad white or cream leaf center with green margins, creating a lighter overall look. ‘Ocean’ and similar newer introductions often have shorter, wider leaves with thin cream edges.
Variegated cultivars need enough light to keep their pattern but burn more easily in harsh sun. Solid green plants are the most forgiving choice for dim rooms, though they still need enough light to grow. For a deeper cultivar comparison, see the types of spider plants guide on LeafyPixels.
Pruning and Everyday Maintenance
Remove fully dead or brown leaves at the base with clean scissors. If only the tips are brown, you may trim along the natural leaf shape for appearance, but correcting water quality and moisture is what stops new damage. Do not cut healthy green tissue hoping to force bushier growth—spider plant leaves do not branch from a cut tip.
Plantlets can stay on the mother plant for decoration or be removed to redirect energy. Wisconsin Extension notes that removing plantlets can help a leggy plant look fuller, but it is optional, not mandatory for health. If the stolons become tangled or the basket looks chaotic, trim spent flower stems and rooted babies you do not plan to keep.
Wipe dust from both sides of leaves with a damp cloth a few times a year. Avoid leaf shine products and oils. Check the crown when you water; mushy tissue at the base needs immediate inspection, not another drink.
How to Propagate Spider Plant Babies
Propagation is the spider plant’s superpower. Mature plants send out stolons with plantlets that already carry small root initials at the nodes. Wisconsin Extension describes two easy methods: pin a plantlet to moist mix while still attached to the mother, or pot up a plantlet that has already formed roots. (Wisconsin Extension)
Pin-to-soil method (highest success rate): Set a small pot of moist, well-drained mix beside the parent. Rest the plantlet on the surface with its node touching the mix. Hold it in place with a bent paper clip or loop of wire. Keep the mix lightly moist and leave the stolon attached until roots hold the soil—usually two to four weeks. Then cut the stolon between the mother and the new plant.
Detached plantlets: If roots are already visible, snip the plantlet off where the stolon meets the baby, plant it in a 3-inch (8 cm) pot, and keep the mix evenly moist but not soggy. Bright indirect light and stable temperatures speed rooting.
Water rooting: Place a plantlet in a clean jar so only the base touches water. Change the water weekly. Move to mix once roots are 1 to 2 inches (2.5 to 5 cm) long. Water-grown roots are fragile; plant gently and keep humidity stable for the first week in soil.
For step-by-step photos and timing, see the spider plant propagation guide and the spider plant propagation cluster page.
Stolon Plantlets vs. Division vs. Seed
Plantlets are fastest for beginners and preserve the parent’s variegation because each baby is a clone. Division suits an overcrowded pot: unpot the clump, gently pull apart sections with roots attached, and replant each division. Work in spring when possible and water once after repotting.
Seed is uncommon indoors. Flowers must be cross-pollinated to produce viable seed, and seedlings may not match the parent’s stripe pattern. Vegetative propagation is more reliable for home growers.
Plantlet formation is light-dependent. NC State Extension explains that stolons and plantlets develop when the mother plant receives short days and long, uninterrupted nights—less than 12 hours of light daily for at least three weeks. (NC State Extension) Indoors, plantlets may appear at any time of year on a mature, well-lit plant, but a dark corner or a freshly repotted specimen often pauses baby production until growth stabilizes.
When and How to Repot
Spider plants grow quickly and may need repotting every two to three years, though many perform well slightly root-bound. Repot when roots circle densely, water runs straight through without wetting the mix, the plant dries out within a day of watering, or the pot becomes unstable from top weight.
Choose a container only one size larger—about one-third wider than the root ball is a useful limit. Too large a pot surrounds small roots with wet mix and delays drying. Use fresh, airy potting mix and the same depth as before; do not bury the crown.
Spring is the best season, but do not delay if the plant is rotting or the pot has cracked. After repotting, water once, then return to soil-first checks rather than a fixed schedule. Expect a short pause in plantlet production while the plant re-establishes.
For a focused repotting walkthrough, see the spider plant repotting page.
Growing Spider Plants Outdoors
In USDA zones 9 through 11, spider plants can grow outdoors year-round as edging, ground cover, or container plants in partial shade. They need bright light but burn in full afternoon sun. Wisconsin Extension notes they work well in outdoor planters and hanging baskets in warm climates and can be used as annual bedding in cool regions after the last frost. (Wisconsin Extension)
In colder zones, treat them as frost-tender annuals or bring pots indoors before nights drop below 50°F (10°C). Outdoor spider plants in summer often grow faster and use more water than indoor specimens—check hanging baskets daily in heat waves.
Pests and Disease Issues
Spider plants are generally healthy, but scale insects, mealybugs, aphids, whiteflies, and spider mites can appear, especially on stressed plants in dry, dusty conditions. Inspect leaf joints and undersides when you water. Early infestations often respond to a thorough shower or wipe with diluted insecticidal soap; isolate affected plants so pests do not spread to neighbors.
Root rot follows chronic overwatering, poor drainage, or a mix that stays wet too long. Symptoms include yellowing lower leaves, soft bases, sour-smelling soil, and brown mushy roots. Trim rotted tissue, repot into fresh mix only if firm roots remain, and correct the watering rhythm before fertilizing.
Fungus gnats are a nuisance more than a killer on established plants, but they signal soil that stays moist on the surface. Let the top layer dry slightly between waterings and avoid leaving fallen leaf debris on the mix.
Fix Brown Tips, Sparse Growth, and Yellow Leaves
Brown tips are the most common spider plant complaint and usually cosmetic, but they point to a correctable stress. Work through causes in this order: inconsistent moisture (both too dry and too wet), fluoride or chlorine in tap water, salt or fertilizer buildup, low humidity on an already stressed plant, and direct sun scorch. Check soil and roots before buying a humidifier or switching water sources alone.
If tips brown after every watering with tap water, try rainwater, distilled water, or filtered water for a month while keeping the same dry-down rhythm. If crust accumulates on the pot rim, flush salts when drainage is good. Trim dead tip tissue only after you change the underlying cause.
Sparse or leggy growth means the plant wants more light. Move it closer to a bright window, rotate the pot, and remove only the worst leaves. A dark plant may live for years without making babies; light is the first fix, not fertilizer.
Yellow leaves on one old lower leaf can be normal aging. Widespread yellowing with wet soil suggests overwatering or root trouble. Yellowing with bone-dry mix and limp leaves suggests underwatering or a root system too crowded to take up water. Match the fix to the soil test, not to the calendar.
No plantlets on an otherwise healthy mature plant often traces to low light, recent repotting, heavy fertilizing, or immaturity. Give bright indirect light, avoid oversizing the pot, and wait. Slight root-bound conditions can encourage flowering and stolon formation on some specimens.
For cultivar-specific symptom photos, see the spider plant brown tips page on LeafyPixels.
Air Purification Claims, Realistically
Spider plants appeared in the NASA Clean Air Study (1989), which tested plants in sealed chambers for their ability to remove certain volatile compounds. The study is real, but the scale does not translate to “one plant cleans your living room.” Wisconsin Extension cites research showing spider plants can absorb chemicals including formaldehyde, xylene, benzene, and carbon monoxide in controlled settings. (Wisconsin Extension)
In an ordinary home, you would need dozens to hundreds of full-size plants to approach the chamber results—far more than practical décor. Ventilation, source control, and mechanical air filtration matter more than houseplant count for indoor air quality. Grow spider plants because they are attractive, easy, and pet-safe—not because a single hanging basket will purify the apartment.
Pet Safety and Household Placement
The ASPCA lists Chlorophytum comosum as non-toxic to cats and dogs. (ASPCA) That makes spider plants one of the better choices for homes with curious pets, especially compared to many popular foliage plants that carry real toxicity risk.
Non-toxic does not mean edible. Cats in particular may chew spider plants because the grass-like leaves move in drafts, and some reports suggest the plant has a mild attraction for felines. Chewing can cause vomiting or stomach upset even when the plant is not poisonous. Place hanging baskets high enough to reduce temptation, offer appropriate cat grass if needed, and contact a veterinarian if a pet eats a large amount or shows persistent symptoms.
Conclusion
Spider plant care comes down to three habits: bright filtered light, slightly dry soil between thorough waterings, and a pot that drains freely. The plant’s fleshy roots forgive a missed drink, but they will not forgive weeks of wet mix. Brown tips are usually a water-quality or moisture-pattern signal, not a death sentence—fix the cause, then trim damaged tissue if you care about appearance.
Once the parent plant is growing steadily in good light, plantlets are easy to root and share. Pin them to soil while attached, or pot up babies with visible roots. Repot when the root ball outgrows the container, not on a rigid calendar. With steady care, a spider plant can last for decades—and hand off free babies to the next room or the next generation.



