How to Propagate Spider Plants: 4 Easy Methods
Propagate spider plants four ways: water, soil, pinning while attached, and division. Learn when plantlets are ready, timelines, and fixes for rot or no babies.
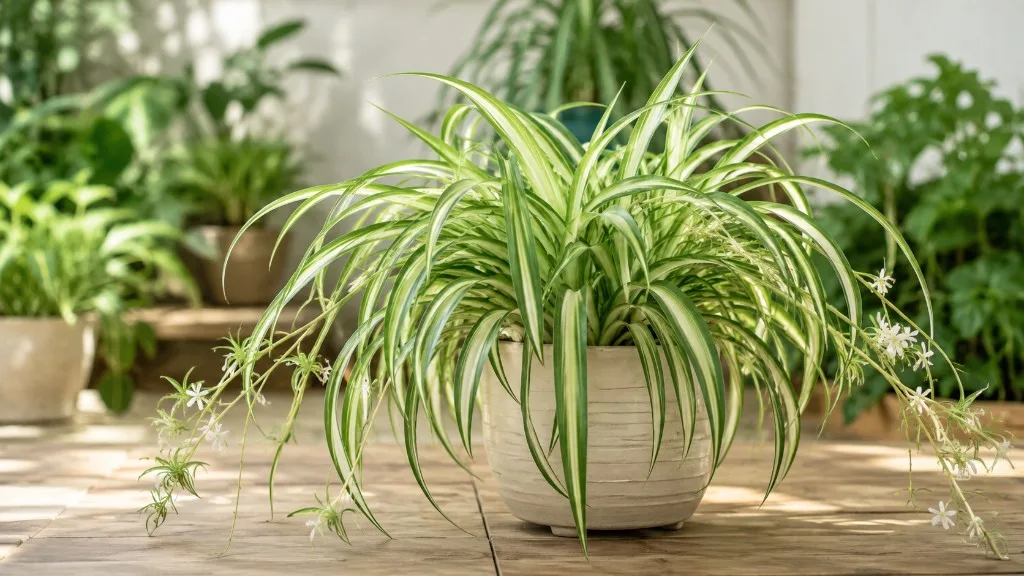
A mature Chlorophytum comosum does something most houseplants never bother with: it manufactures ready-made offspring on long arching stems and dangles them in the air until you decide what to do with them. Spider plant propagation is less about coaxing reluctant tissue into rooting and more about finishing a process the parent already started. Those miniature rosettes — plantlets, spiderettes, pups, or offsets — often arrive with leaves fully formed and pale root nubs visible at the base before you touch a pair of scissors.
That biological head start is why spider plants rank among the most forgiving propagation projects indoors. The practical question is not whether it works — healthy material almost always roots — but which of the four reliable methods fits your plantlet right now: water for visible root watching, direct soil for stronger roots from the start, pinning while still attached for maximum success, or division when the main clump has outgrown its pot. This guide covers readiness signals, step-by-step instructions for every route, realistic timelines, aftercare through the fragile first month, and the fixes that turn a rotting jar into a shelf of new plants.
Why Spider Plants Are Among the Easiest Plants to Multiply
Spider plants belong to a group of houseplants that spread in nature partly through vegetative reproduction — producing genetically identical copies on trailing stems rather than waiting for seed. The University of Wisconsin–Madison Extension notes that thick, fleshy roots and rhizomes store water, which helps both parent plants and detached babies survive the inconsistent watering that often accompanies propagation experiments. Indoors, that same architecture means a slightly neglected plantlet in a sunny window still has a fighting chance.
Most specimens need at least a year of stable bright light before they flower and send out stolons, though a well-grown plant in a slightly snug pot often produces babies sooner. Once runners appear, a single stolon can carry multiple plantlets along its length, each a clone of the parent — important for variegated cultivars like ‘Variegatum’ and ‘Vittatum’, where seed-grown plants may not match the parent’s stripe pattern.
What Plantlets, Stolons, and Root Nubs Actually Are
The stolon is the thin, wire-like stem arching from the main rosette — sometimes two feet long on a happy plant. At the tip or along the runner, a plantlet forms: a small rosette of narrow leaves with a compressed stem base where roots emerge. Until you cut it free, the baby draws sugars and water through the stolon from the parent’s root system, which is why tiny spiderettes can survive on the runner for weeks while they bulk up.
Root initiation on plantlets is adventitious — roots form from stem tissue rather than from an existing root ball. You will see this as pale bumps or short white nubs at the plantlet base once it matures. The RHS describes propagation by offsets as one of the easiest houseplant multiplication methods, recommending either detaching rooted plantlets or pinning them into moist compost while still connected. That official guidance matches what most experienced growers observe: plantlets are pre-rooting modules, not conventional cuttings you must nurse from zero.
According to the Missouri Botanical Garden, plantlets form when the spider plant receives short days and long, uninterrupted nights for at least three weeks — though indoors, stolons may appear at any time of year when light and maturity align. Heavily fertilized parents, however, may produce fewer plantlets, and excess fertilizer can contribute to leaf-tip browning on both parent and offspring.
Is Your Spider Plant Baby Ready to Propagate?
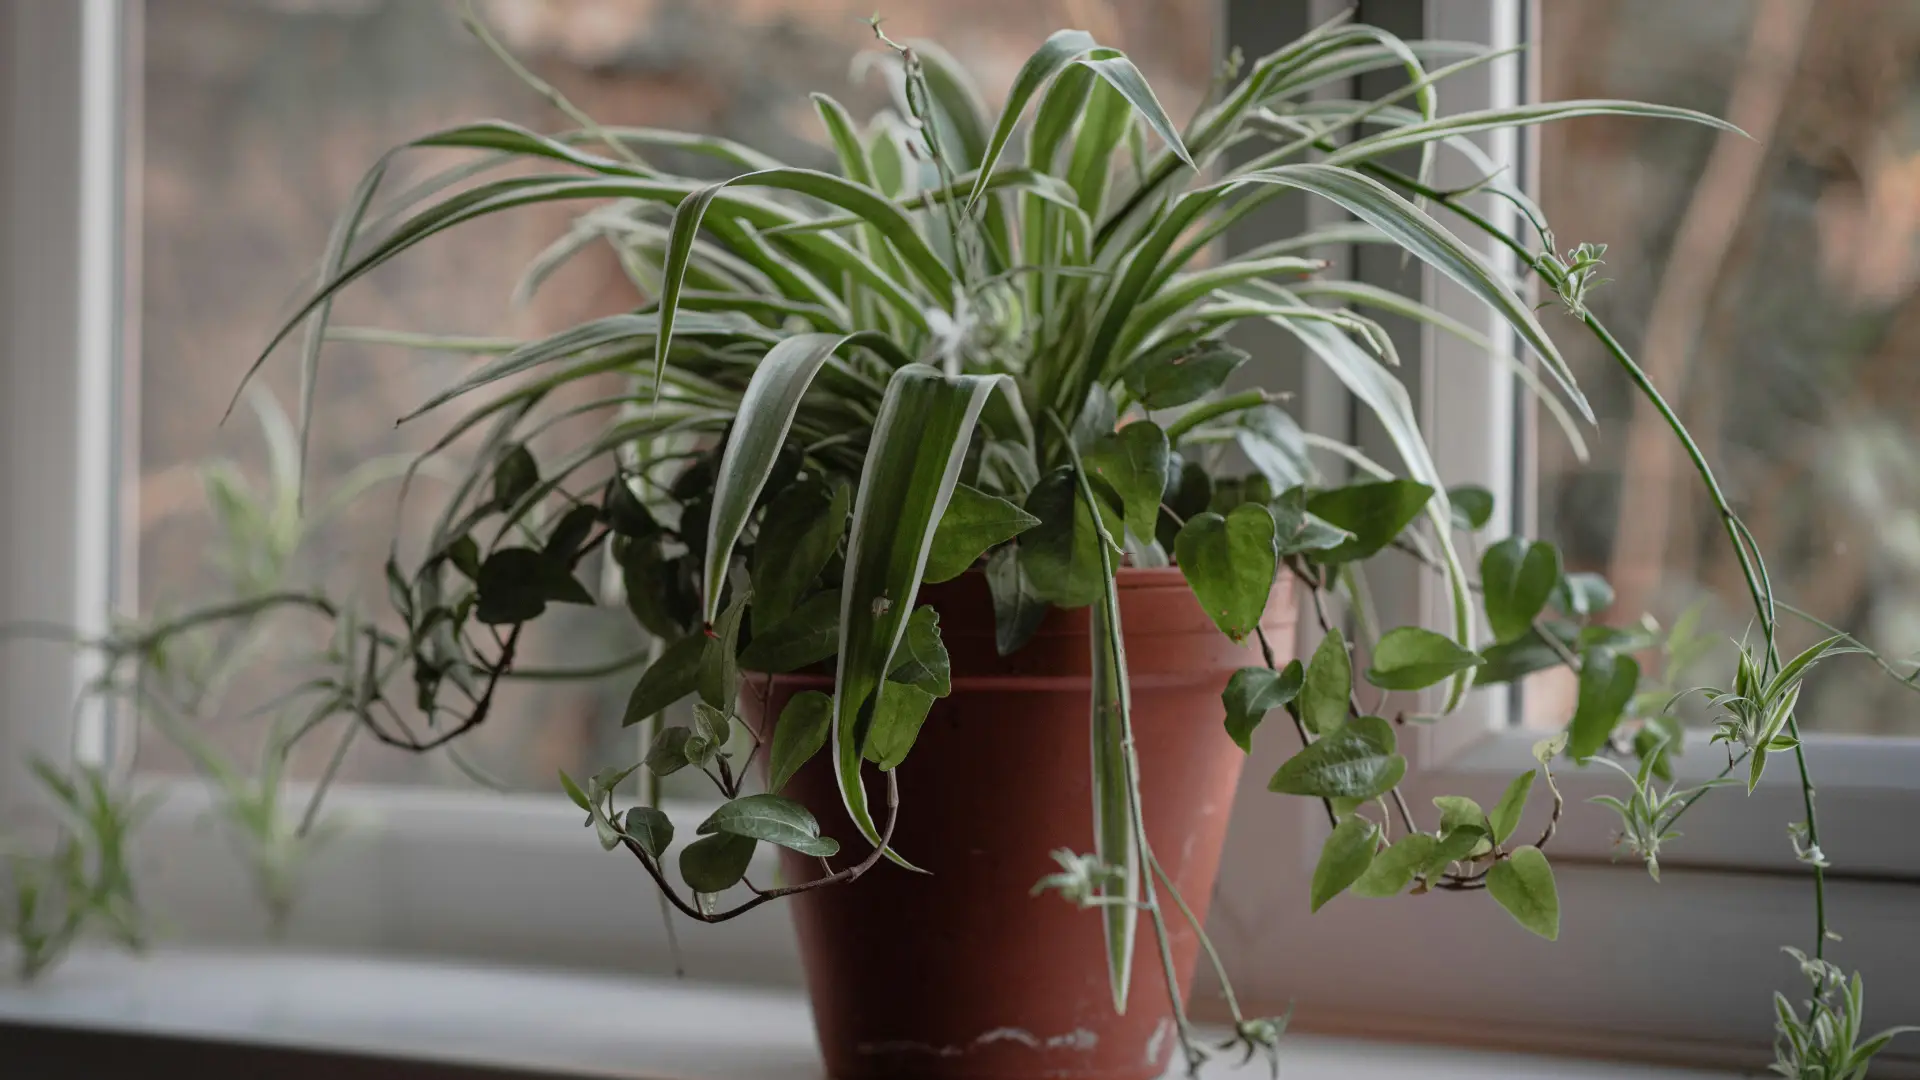
Cutting too early is the most common reason water propagation fails. An immature plantlet with only two tiny leaves and no root nubs relies entirely on stored energy and rots easily when submerged. Waiting until the baby shows clear readiness signals dramatically improves your odds across every method.
Signs a Plantlet Is Mature Enough to Cut
A spiderette is ready for detachment when it has several mature leaves (roughly three or more at usable size), visible root nubs or short aerial roots at the base, and enough bulk that the rosette does not wilt within hours of cutting. If you are propagating in water, those nubs are especially important — they tell you the plant has already committed to rooting.
You can also test readiness on a pinned or soil-rooted baby with a gentle tug: slight resistance means roots have anchored; the plantlet pulls free easily when roots are still forming. For water propagation, wait until roots reach at least 1–2 inches (2.5–5 cm) before potting — enough length to bury securely without burying leaf tissue.
When to Leave Babies on the Parent Plant
You do not have to remove spiderettes at all. Babies are a sign of a healthy parent, and leaving them attached costs nothing except visual clutter. Trim runners only when plantlets become heavy and gnarled, when you want a cleaner look, or when you are ready to propagate.
If a baby is still tiny with no nubs, leave it on the stolon and consider pinning it into a neighboring pot while attached — the parent continues supplying energy while roots form. The Wisconsin Extension specifically recommends setting the plantlet on the surface of a pot while still connected to the mother plant and severing the stem only after roots develop.
Which Propagation Method Should You Use?
No single method wins every time. Your choice depends on whether the plantlet already has roots, whether you want to watch progress, and how many babies you are processing at once.
Quick Comparison of the Four Methods
Pinning while attached (layering on the stolon) delivers the highest success rate for most growers because the mother plant feeds the baby until roots anchor. Use this when you can place a small pot beside the parent and have patience for two to four weeks before cutting the runner.
Direct soil propagation skips the water-to-soil transition and often produces tougher roots from the start. Choose this for plantlets with visible nubs, batch propagation of multiple babies, or when you do not want jars on the windowsill.
Water propagation is fastest to observe — roots often appear in 7–14 days on mature plantlets — and works well for teaching or sharing cuttings. The trade-off is a transplant step when moving to soil; water-formed roots are structurally different and need careful acclimation.
Division suits mature, crowded parents — especially cultivars that do not produce plantlets at all, such as Chlorophytum capense ‘Variegatum’ and C. orchidastrum ‘Green Orange’, per the RHS. Division also refreshes an old plant whose center has gone bare while offsets ring the pot edge.
What You Need Before You Start
Gather supplies once and propagate several babies in one session. You will need sanitized scissors, snips, or a sharp knife (wipe blades with rubbing alcohol between cuts), small pots with drainage holes (4-inch size works well for individual plantlets), and peat-free potting mix or seed-starting medium blended with perlite for drainage. The RHS recommends peat-free multi-purpose or houseplant compost for spider plants generally.
For water propagation, use a clear glass jar so you can monitor root growth and spot rot early. For pinning, bend a paper clip or piece of wire into a U-shape to hold the plantlet against moist soil without crushing the stem. Rooting hormone is optional — spider plantlets root readily without it — but a light dip can help marginal or slightly immature cuttings in soil.
Timing matters less than plant health, but spring through early fall brings the fastest rooting because warmth and longer days support active growth. Winter propagation still works indoors; expect timelines to double in cool, dim conditions. Keep temperatures roughly 65–80°F (18–27°C) and bright indirect light throughout — direct sun on a fragile new root system causes wilting and leaf scorch.
Spider plants are non-toxic to cats and dogs according to the ASPCA, which makes them one of the safer choices for pet-owning households — though curious pets may still knock over propagation jars or dig in fresh soil.
Method 1: Water Propagation (Step by Step)
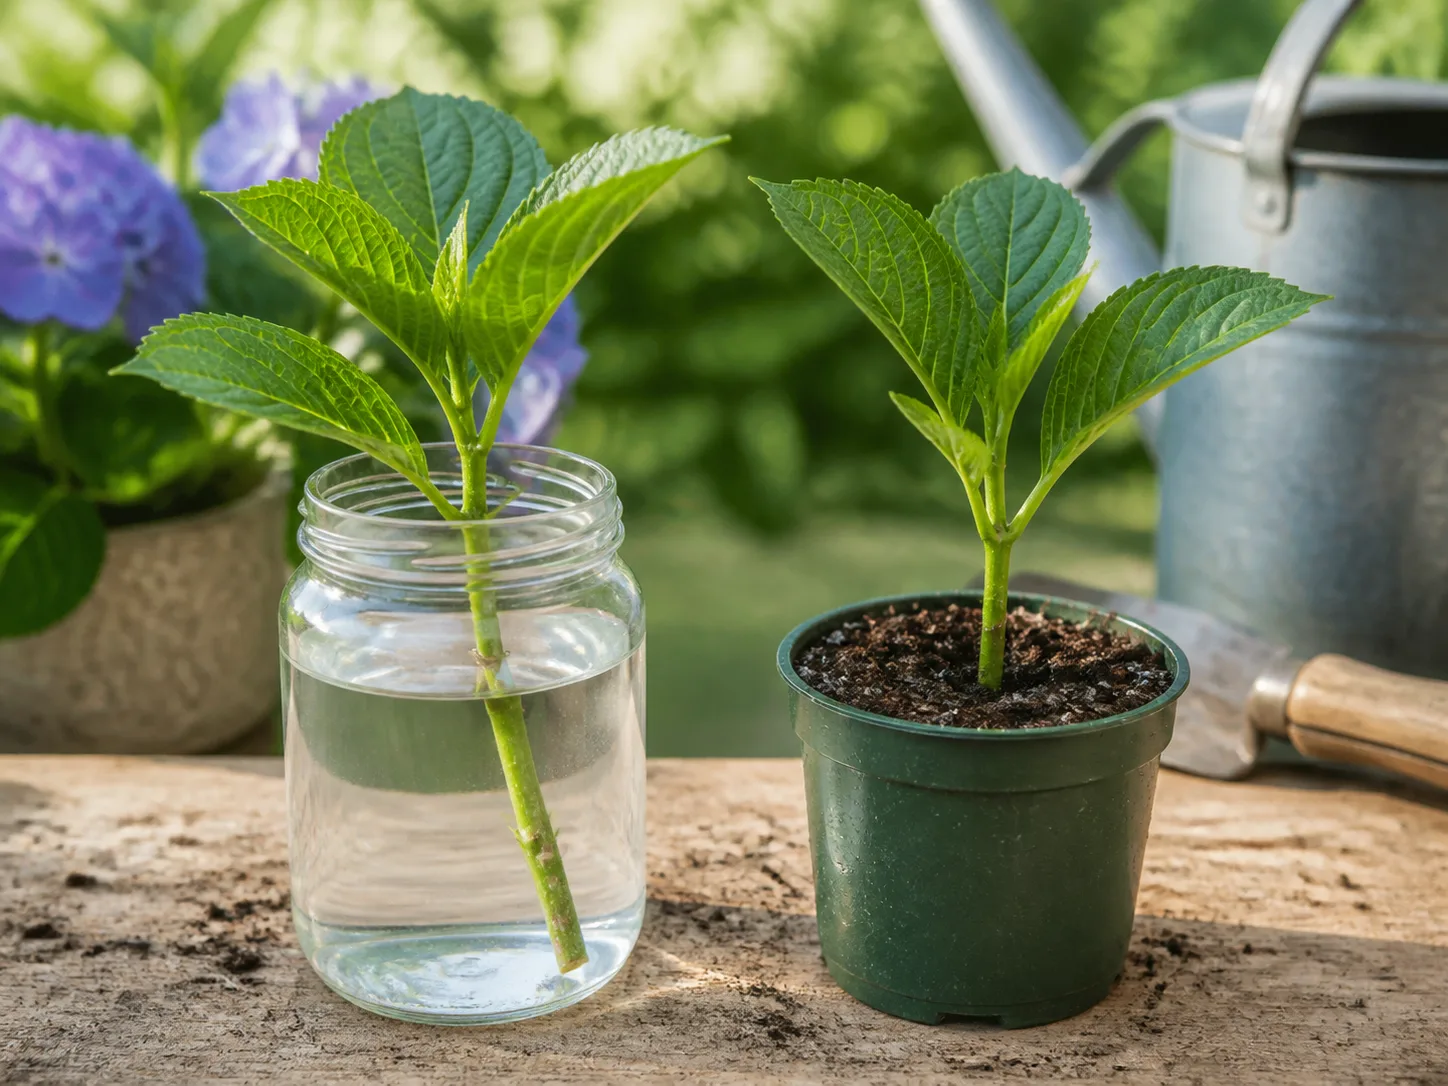
Water propagation suits plantlets with root nubs, growers who want to see progress, and anyone sharing babies with friends before potting. The entire process from cut to potted plant typically takes two to four weeks during active growth.
Step 1 — Prepare the jar. Fill a clean, clear container with room-temperature water. If your tap water is heavily chlorinated or high in fluoride — both can brown leaf tips on spider plants — let it sit uncovered for several hours or use filtered water or rainwater.
Step 2 — Cut the plantlet. Sterilize your blade, then snip the spiderette from the stolon right at its base where it meets the runner. You can leave the empty stolon on the parent; more babies often form along it.
Step 3 — Submerge only the base. Place the cutting in the jar so only the bottom inch contacts water. All leaves must stay above the waterline — submerged foliage is the primary cause of rot. Use a narrow jar or prop the plantlet so leaves rest on the rim.
Step 4 — Provide bright indirect light. A north- or east-facing windowsill works well. Change the water every two to three days, or whenever it looks cloudy. Roots typically emerge within 7–14 days on a mature plantlet.
Step 5 — Pot when roots are long enough. Wait until roots reach 1–2 inches (2.5–5 cm) with several branch points. At that stage, move to soil using the transition steps below rather than planting immediately into dry mix.
Moving Water-Rooted Spiderettes into Soil Without Shock
Water roots are adapted to constant moisture; dry potting mix shocks them. Pre-moisten your mix until it feels like a wrung-out sponge, then make a deep hole with a pencil or dibber. Set the plantlet so the root crown sits at soil level — never bury leaves. Firm soil gently around roots and water lightly to settle.
For the first 7–10 days after transplant, keep the mix consistently moist (not waterlogged) and humidity slightly elevated if your air is dry — a loose plastic bag propped over the pot works, removed daily for airflow. Gradually extend the drying interval toward normal spider plant watering once new growth appears. A gentle tug test after two weeks should show increasing resistance as soil roots replace water roots.
Method 2: Direct Soil Propagation
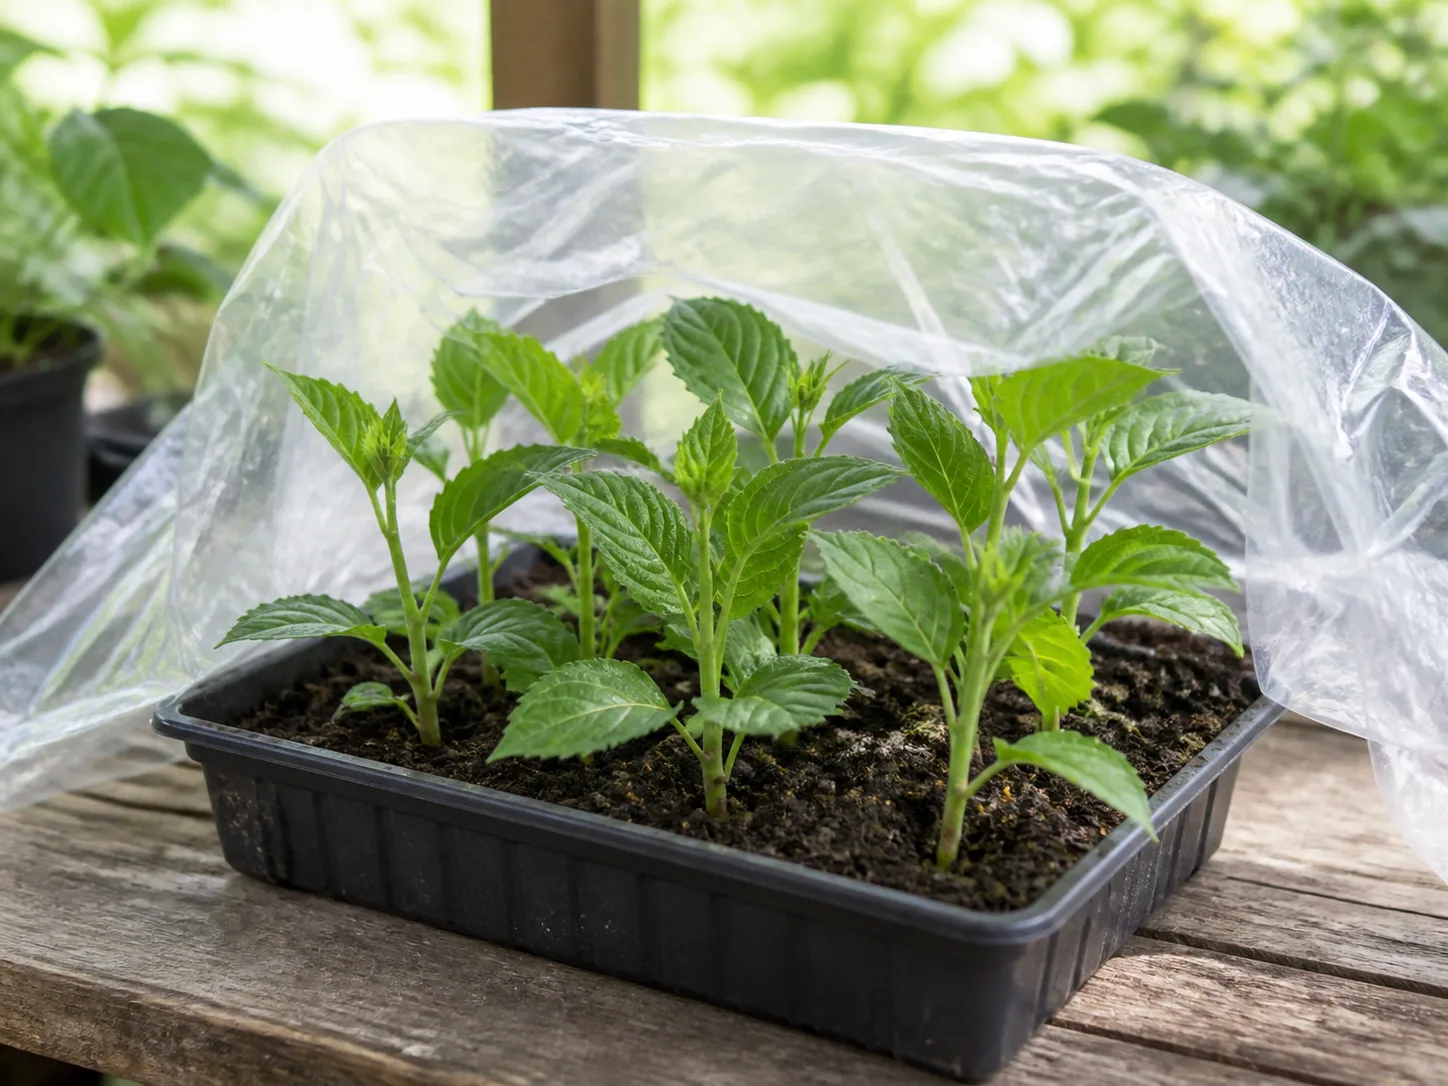
Soil propagation is the straightforward one-step finish: cut, plant, wait. It takes slightly longer before you see evidence of success — typically two to four weeks to anchor during warm weather — but roots that form in soil are structurally ready for soil life from day one.
Step 1 — Prepare the pot. Fill a 4-inch container with moistened, well-draining potting mix. Make a hole deep enough for the plantlet base and any existing root nubs.
Step 2 — Cut and plant immediately. Detach a mature spiderette and plant it so the base sits level with the soil surface. If using rooting hormone, dip only the bottom quarter-inch per product instructions — more is not better.
Step 3 — Water and place. Moisten the mix without saturating it. Position the pot in bright indirect light away from heating vents and cold drafts.
Step 4 — Test for roots. After two weeks, give a gentle upward tug. Resistance means roots have formed; easy movement means wait another week. Avoid repeated tugging — once per week is enough.
Plantlets that already show short white roots while still on the stolon are ideal candidates for this method. They often anchor faster than fully detached immature babies because rooting has already begun.
Method 3: Pin Spiderettes While Still Attached (Layering)
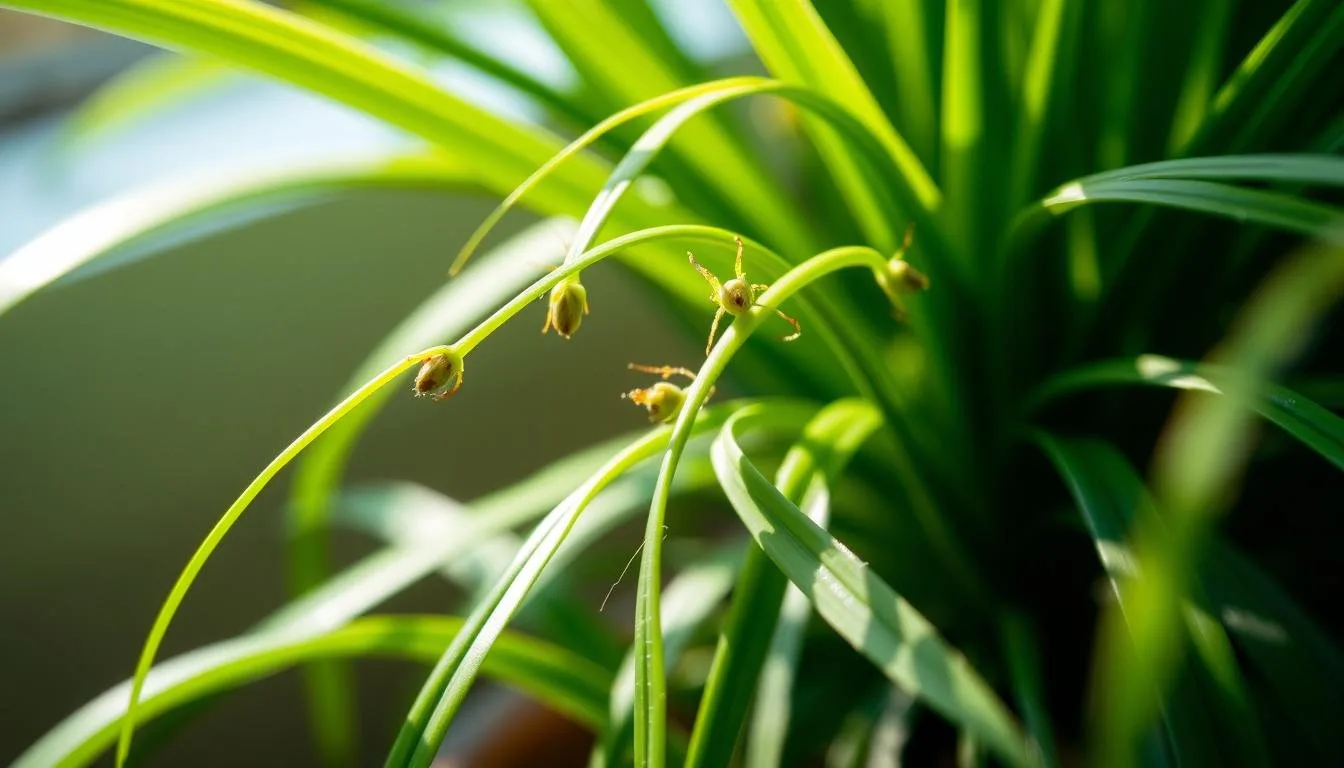
This is the method extension services recommend first, and for good reason: the parent plant continues supplying energy through the stolon while the baby develops its own root system. Wisconsin Extension describes pinning the plantlet onto a pot of soilless medium and severing the connecting stem only after roots form — a technique that converts the highest percentage of babies into independent plants.
Step 1 — Set up a satellite pot. Place a small pot filled with moist potting mix beside the parent plant. The pot can sit on the same shelf or hang next to a basket — the stolon only needs to reach.
Step 2 — Position the plantlet. Rest the spiderette on the soil surface with root nubs contacting the mix. Use a U-shaped wire or bent paper clip to pin the base gently against the soil without cutting or crushing the stolon.
Step 3 — Keep soil moist. Water the satellite pot when the top inch dries. The mother plant still feeds the baby through the runner, so the plantlet rarely wilts even while rooting.
Step 4 — Wait for the tug test. After two to four weeks in warm conditions, test with a gentle tug on the plantlet only (not the stolon). When you feel resistance, roots have anchored.
Step 5 — Sever the stolon. Cut the runner close to the new plant’s base, or between the mother and baby depending on your aesthetic preference. The parent will produce fresh stolons and more babies over time.
This method works even on slightly immature plantlets that would struggle if cut and placed in water, because the parental connection compensates for limited stored reserves.
Method 4: Division for Mature or Crowded Plants
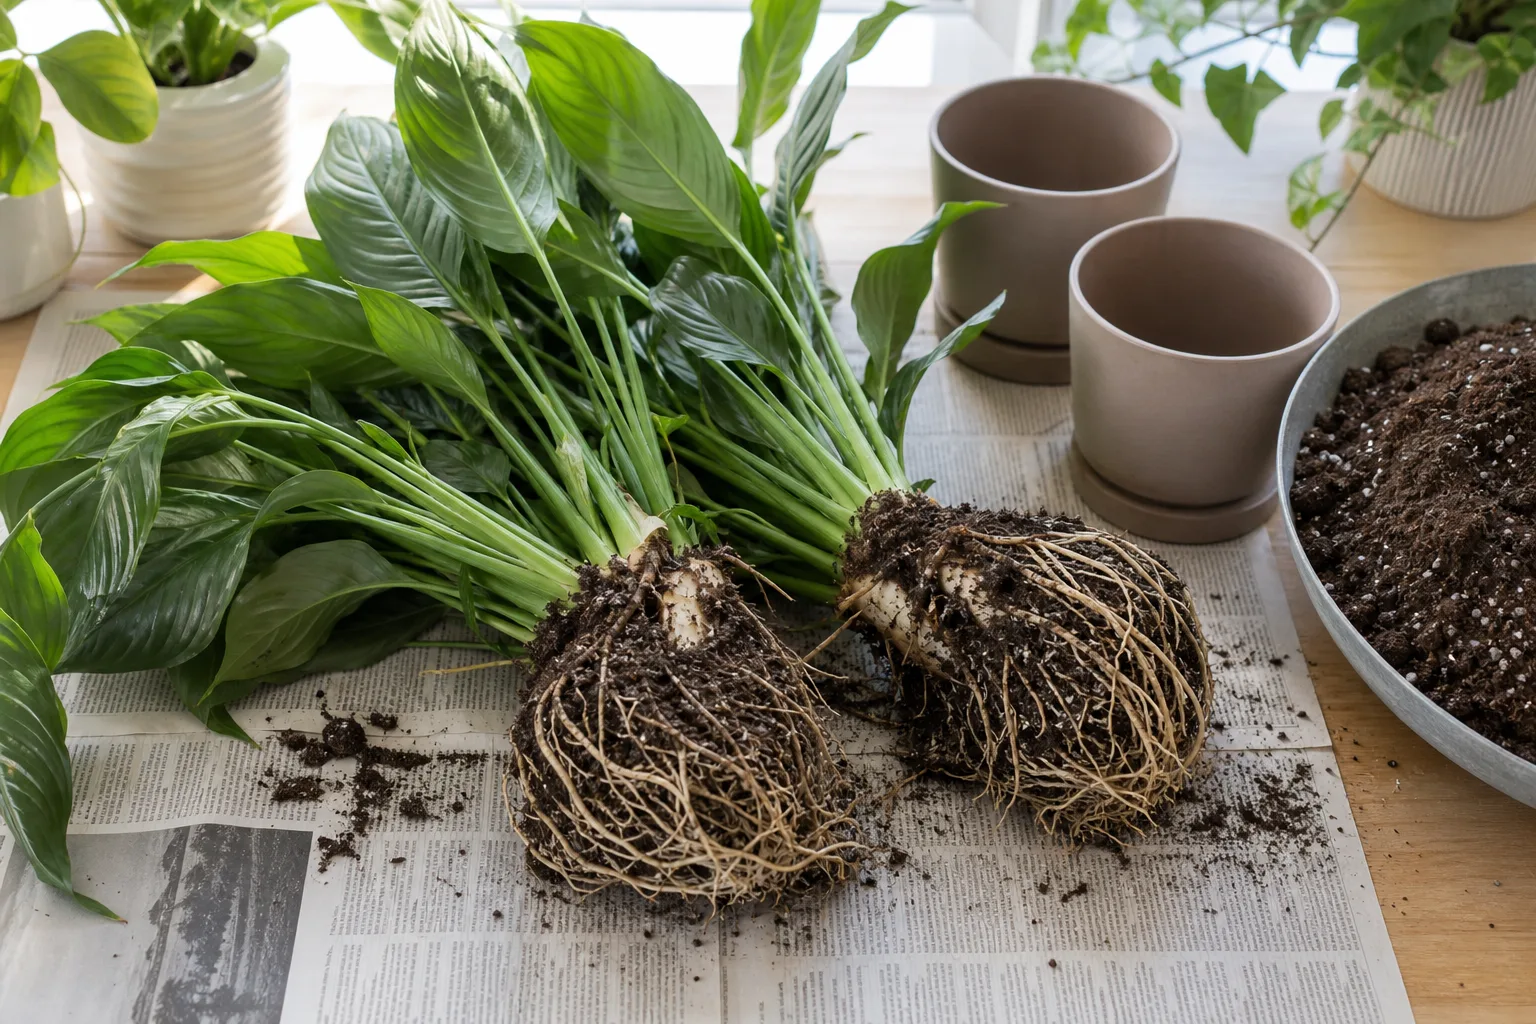
Division does not use plantlets at all. Instead, you split the parent’s fleshy root ball and rhizomes into sections, each with at least one growing point (a rosette of leaves), and repot separately. The RHS recommends division for mature plants and especially for cultivars that never produce offsets.
Step 1 — Unpot the parent. Water lightly the day before so roots are flexible. Tip the plant out and brush away loose soil to expose the rhizome network.
Step 2 — Identify natural divisions. Look for separate rosettes with their own root clusters. Spider plant roots are thick and fleshy; crowded pots often show obvious sections pulling apart by hand.
Step 3 — Separate. Gently tease sections apart. If roots will not separate cleanly, use a sterilized knife to slice through the rhizome, ensuring each section has roots and at least one leaf crown.
Step 4 — Repot immediately. Plant each division in fresh peat-free mix at the same depth it grew before. Water to settle soil and place in bright indirect light. Expect some leaf droop for 7–14 days while roots recover — normal transplant stress, not failure.
When Division Makes More Sense Than Plantlets
Choose division when the parent has become too large or pot-bound, when the center has died back and offsets ring the edge, or when you are growing a non-plantlet cultivar. Division also resets a neglected plant: the RHS suggests cutting all foliage to 2–3 inches (5–8 cm) on a damaged specimen and repotting divisions to force fresh growth from the crown — drastic but effective when a plant is mostly brown tips and split leaves.
Division yields fewer total plants than a prolific baby-maker but produces full-size specimens immediately rather than months of waiting for a tiny spiderette to fill out.
Aftercare for Newly Rooted Spider Plants
The first four to six weeks after rooting determine whether your propagation becomes a thriving plant or a stalled cutting. Treat new spider plants like seedlings: consistent moisture, no harsh sun, and patience before fertilizing.
Keep soil lightly moist — let the top inch dry slightly between waterings rather than following a rigid calendar. Bright indirect light supports growth; a few hours of gentle morning sun is fine once established, but avoid south-facing glass directly on a fresh transplant. Hold fertilizer until you see active new leaves — usually four to six weeks after potting — then feed at half strength monthly during spring and summer.
Repot into a slightly larger container when roots circle the pot bottom — typically within 6–12 months for a vigorously growing baby. Spider plants tolerate being slightly pot-bound, which can even encourage the parent to produce more stolons, but a root-bound propagation dries out too fast to water consistently.
For deeper ongoing care — light, humidity, brown-tip fixes, and pest checks — see the full spider plant care guide and the spider plant hub for species-specific watering and soil detail.
Troubleshooting Spider Plant Propagation Problems
Even an easy plant hits snags. Most propagation failures trace back to immature cuttings, submerged leaves, or environmental stress — all fixable once you identify the cause.
No Plantlets, Rot in Water, and Weak Roots
No babies on the parent. Most spider plants will not flower or produce plantlets until at least one year old. Beyond age, the usual culprits are too little light, an oversized pot (the plant pours energy into roots instead of stolons), cool temperatures, or heavy fertilization — Missouri Botanical Garden notes that heavily fed plants may form fewer plantlets. Move the parent to brighter indirect light, let it become slightly pot-bound, and ease off fertilizer for a season. Confirm your cultivar actually produces offsets; some Chlorophytum species never do.
Rot in water. Mushy bases mean leaf tissue was submerged, water was not changed frequently enough, or the plantlet was too immature. Trim blackened tissue with sterile scissors, restart with only firm base tissue in fresh water, and keep all leaves above the line. If the base is fully soft, discard and select a more mature baby.
Weak or slow roots. Cool rooms, dim light, and tiny immature cuttings all slow rooting. Move propagation to a warmer spot with brighter indirect light. For water-rooted plants that wilt after potting, increase post-transplant humidity and keep soil more consistently moist for an extra week.
Wilting after division. Normal for 7–14 days if each section had adequate roots. Shade slightly, maintain even moisture, and remove any leaves that go fully yellow. Persistent wilting after three weeks suggests a section was too small or rootless — pot it back with the parent or discard.
Pests on new plants. Check plantlets for mealybugs and scale before propagating — pests transfer from parent to baby on the stolon. Inspect leaf bases and runners; treat the parent before multiplying problems across several new pots.
Conclusion
Spider plant propagation rewards patience more than skill. Read the plantlet before you cut: root nubs, mature leaves, and a healthy parent matter more than which jar or potting mix you choose. Pinning while attached remains the highest-success route for most growers; water propagation wins when you want visible progress; direct soil suits batches of ready babies; and division refreshes mature clumps that have outgrown their space or never produced runners at all.
Start with one method on your best-looking spiderette this week. Within a month, you will likely have an independent plant — and a parent already sending out the next round of free babies to try again.



