How to Dry Lavender and Keep It Smelling Lovely
Learn when to harvest lavender, how to air-dry, rack-dry, dehydrate, and store it, plus the checks that prevent mold and fading fragrance.
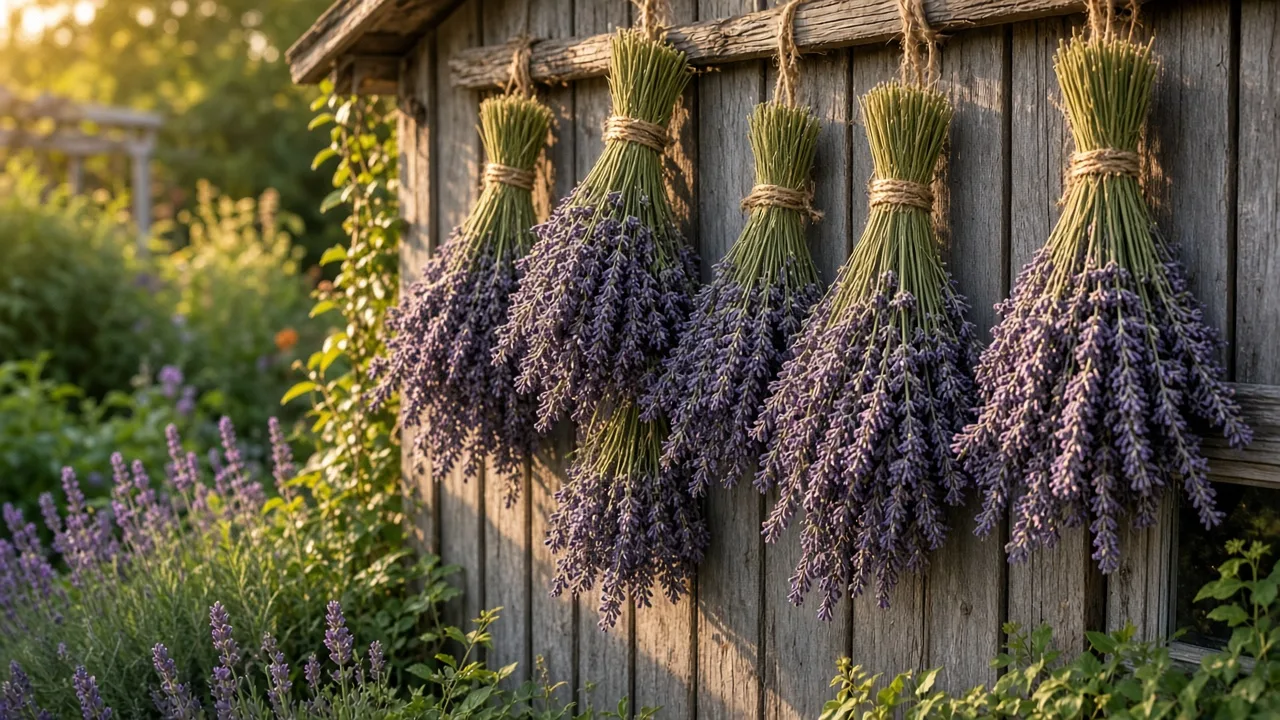
Dry lavender when the flower spikes are developed but most individual florets are still closed, then remove surface moisture, keep the bundles small, and give them shade and moving air. That sequence matters more than any single gadget. A dehydrator or low oven can shorten the wait, but too much heat can flatten the fragrance you are trying to preserve.
The best method depends on what you want at the end. Long stems suit a vase or wreath, loose buds suit sachets and potpourri, and culinary batches deserve extra care about plant identity and growing conditions. The guide below covers each route, including the signs that a batch is ready for storage and the warning signs that it should not be kept.
What part of lavender should you dry?
The flowers carry the most obvious fragrance, but lavender’s leaves and stems are aromatic too. The RHS growing guide lists both leaves and flowers as suitable for drying, while the Missouri Botanical Garden’s English lavender profile describes the foliage and flower spikes as highly aromatic. In practice, the flower spikes are the most versatile part to preserve because they look good intact and release buds easily after drying.
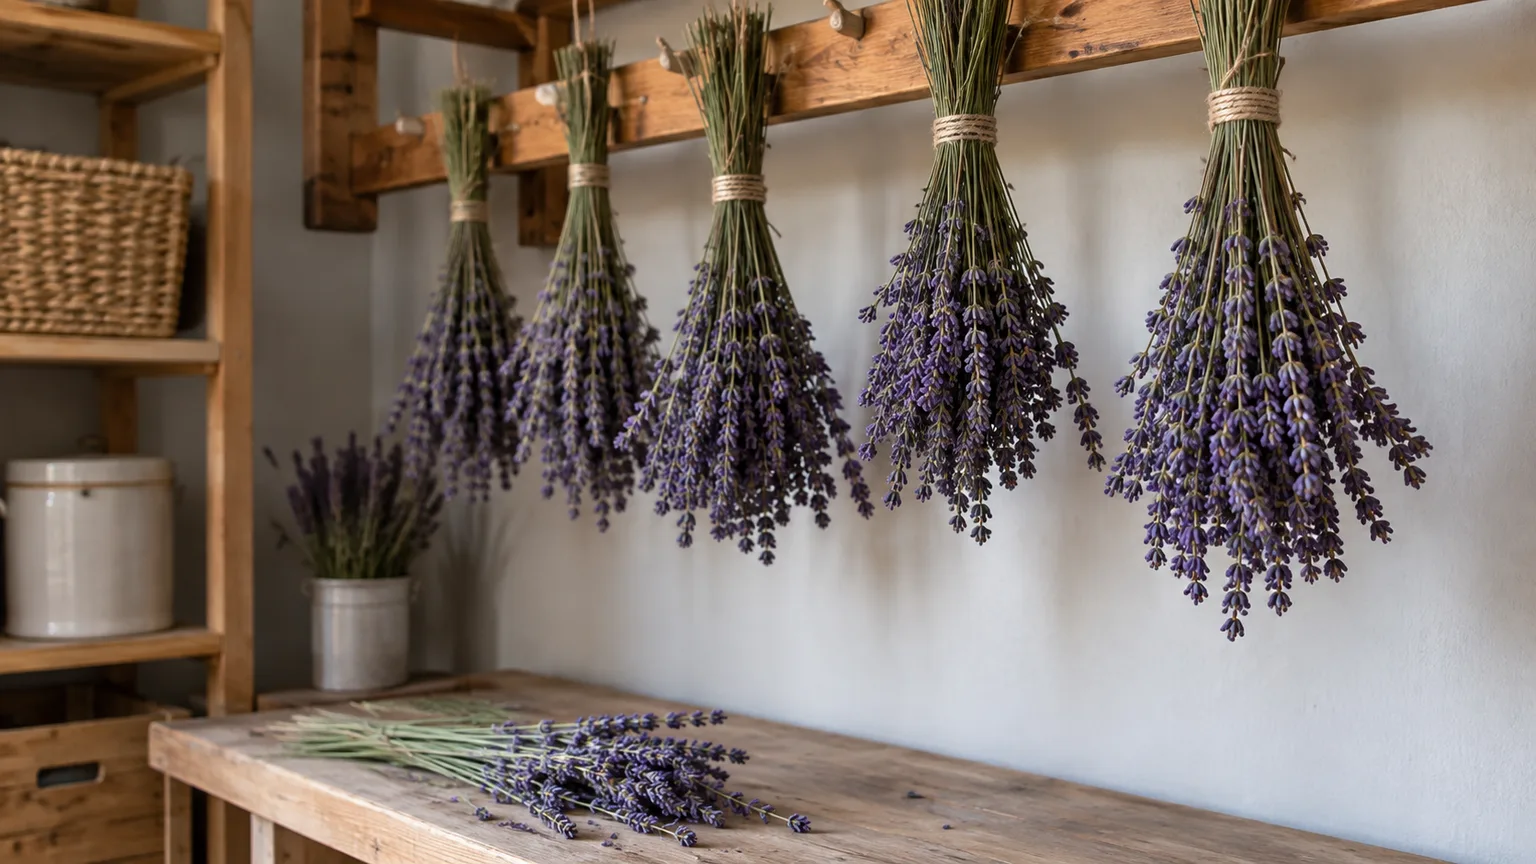
Keep stems for decoration; strip buds for loose uses
Decide the finished form before you cut. For a dried arrangement, harvest long stems and leave the flower heads attached. For a sachet, jar of buds, or potpourri blend, stems can be shorter because you will rub the dried buds free later. If you want both, make two piles while harvesting instead of trimming every stem to the same length.
Long stems also help you handle a fragile bunch without touching the flowers repeatedly. Short pieces are easier to spread on a screen or dehydrator tray, but they shed more readily when they become crisp. Neither form is inherently better; it is a question of whether display value or easy bud removal matters more.
Harvest at the right flower stage
Harvest timing is the biggest quality decision in the process. A spike that is too young may give you little usable material, while a spike that is fully open has already spent more of its volatile fragrance and is more likely to shed florets during handling.
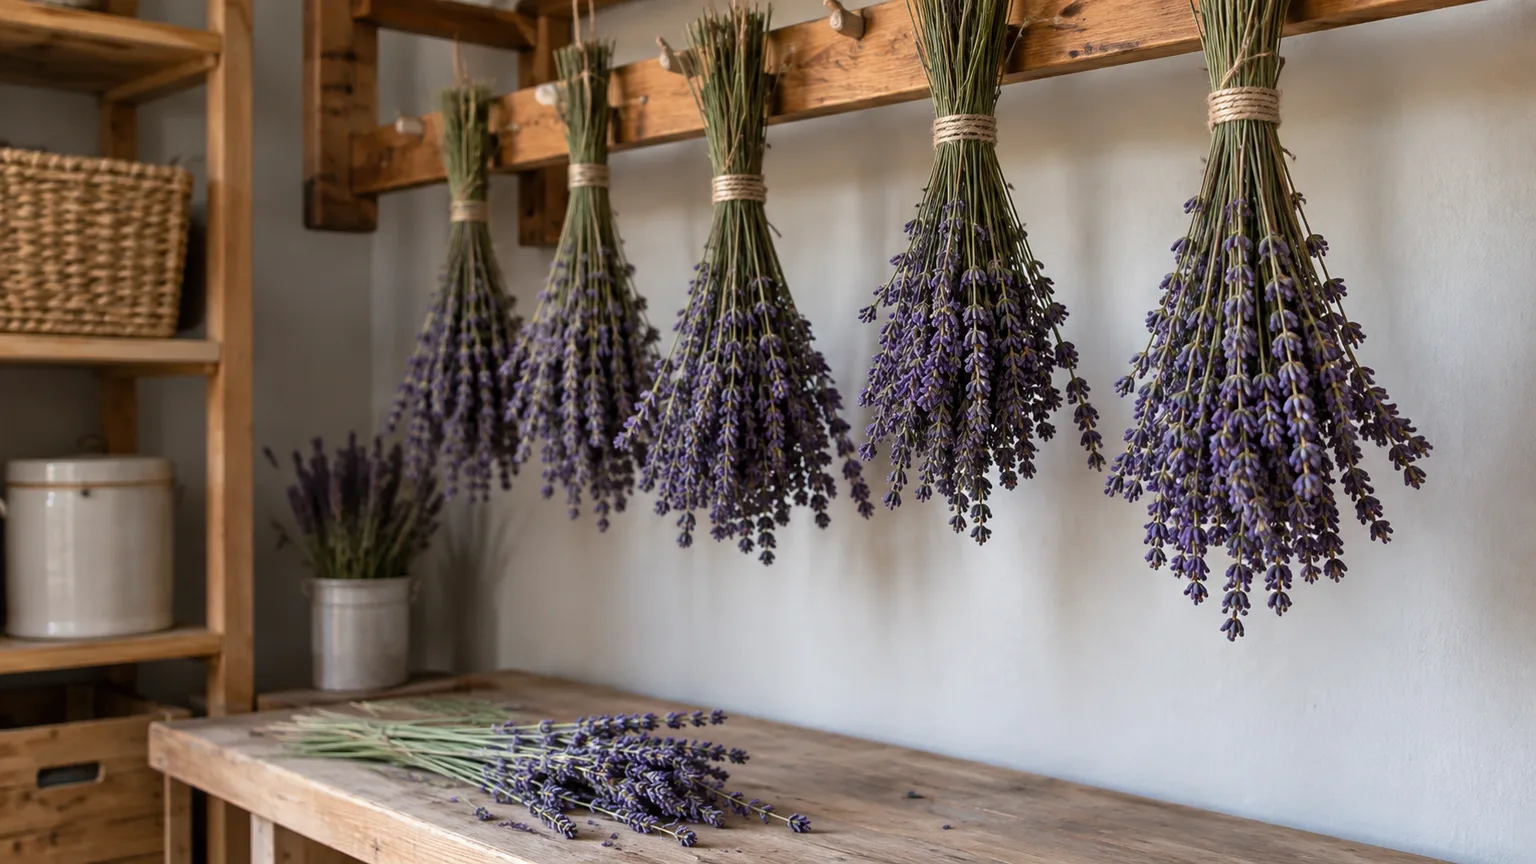
Read the unopened-bud window
Look for flower spikes that are fully extended and strongly colored, with the first few florets beginning to loosen but most buds still closed. The BBC Gardeners’ World Magazine guide to drying lavender recommends cutting well-developed spikes before the individual florets open; it also highlights long-spiked cultivars such as ‘Grosso’ and ‘Sawyers’ for bunches.
That cue is more useful than a calendar date because cultivars and climates move at different speeds. If you are harvesting a mixed planting, do not cut the entire bed just because one plant is ready. Take the spikes at the right stage, then return for a later flush.
Cut after dew dries and before the day’s heat
Choose a dry morning after the dew has evaporated, ideally before strong sun heats the flower heads. Wet stems add unnecessary moisture to the bundle and make slow drying less forgiving. Skip a harvest immediately after rain, even if the flowers look clean; wait until the surface and the inner stems have had time to dry.
Use sharp, clean secateurs or scissors. Cut just above a leafy node or pair of leaves, leaving enough stem for the finished use, and avoid cutting deep into the old woody base. Lavender does not reliably push new growth from bare old wood, so an enthusiastic harvest should not compromise the plant’s shape or next season’s growth.
Prepare lavender before drying
Preparation is simple, but each small choice affects airflow. Bring the cut stems indoors promptly, keep them out of a hot car or sunny window, and sort them before you tie anything. Discard stems with brown, slimy, spotted, or obviously damaged flowers; one poor stem can add moisture or mold to a dense bunch.
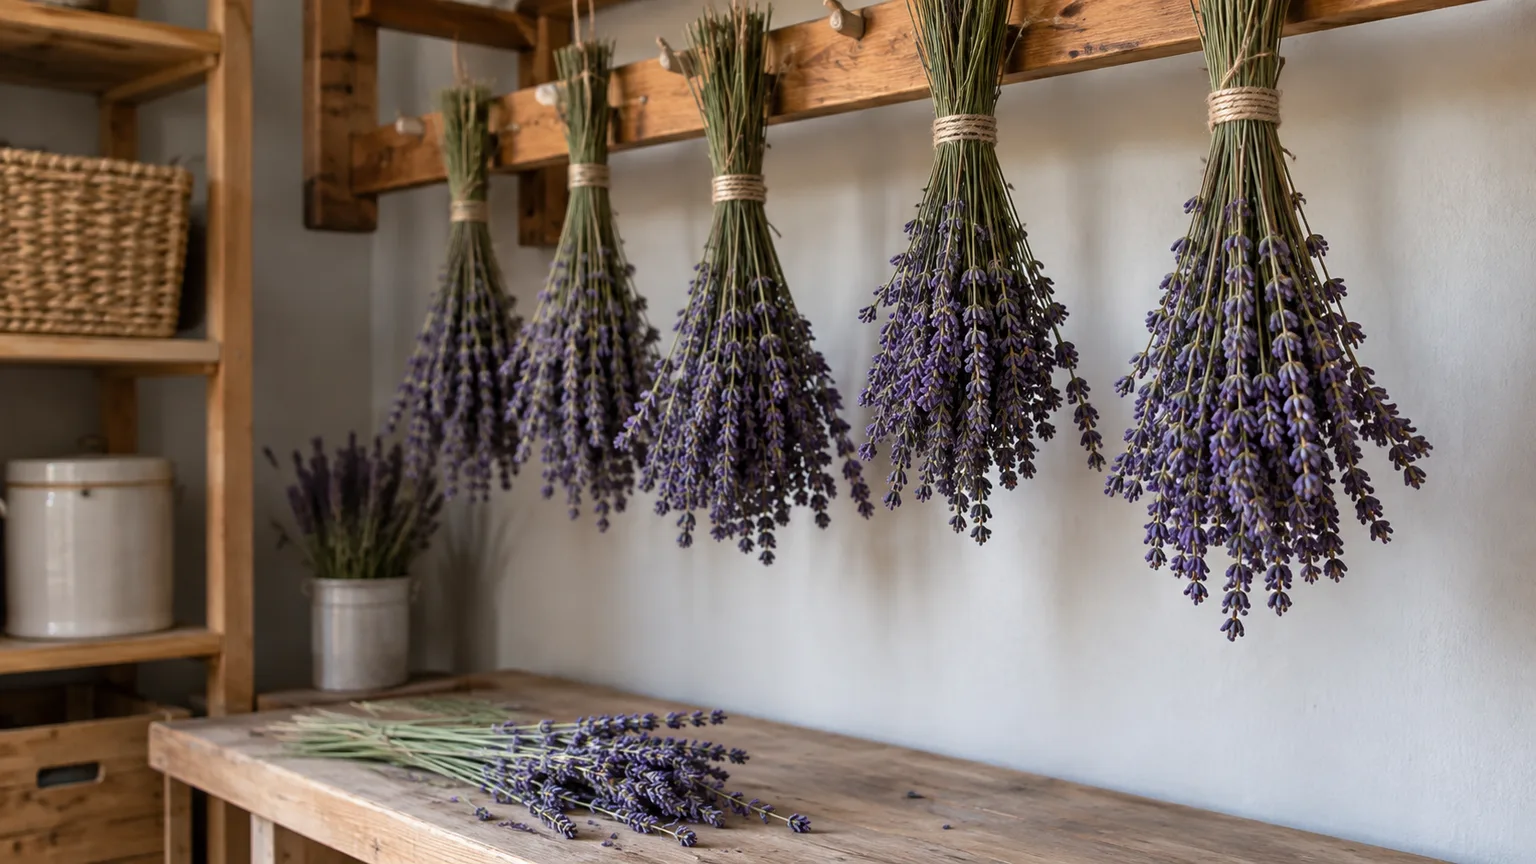
Clean it without adding water
Do not rinse a clean-looking harvest as a default. Gently shake or tap the stems outdoors to release loose soil and insects, then pick out visible debris. Water trapped around the florets takes longer to leave and can turn an otherwise easy batch into a mold-prone one. A truly dirty harvest can be lightly rinsed, but it must be spread in a single layer and surface-dried completely before it goes into a bundle.
If the flowers are intended for tea, baking, or another edible use, cleanliness begins in the garden. Use only plants that have been grown and identified for culinary use, and do not treat a decorative florist bundle or a plant exposed to unknown sprays as food. English lavender is a common culinary choice because its flavor is generally sweeter and less camphor-like than some other types, but confirm the cultivar and growing history before eating it.
Make small, breathable bundles
Strip leaves from the lower few inches so the tied section is clean and air can move between stems. Gather roughly 10 to 20 stems per bunch, depending on their thickness, then secure the base with a rubber band. The stems shrink as they dry; a rubber band stays snug while string or twine can loosen and let the bunch fall apart.
Keep a humid room from dictating the size of the whole harvest. In damp climates, make bundles closer to 10 stems, leave generous space between bunches, and add gentle air movement. A small fan aimed across the room—not blasting directly at the flowers—can reduce still, damp pockets without scattering the buds.
Air-dry lavender bundles for the best all-purpose result
Hanging is the most forgiving method when you want intact stems, good color, and strong fragrance without special equipment. A practical lavender-drying guide from Little Yellow Wheelbarrow also recommends small bundles, shade, and good ventilation, with a longer two-to-four-week range in some homes. Treat that as a useful working window rather than a deadline.
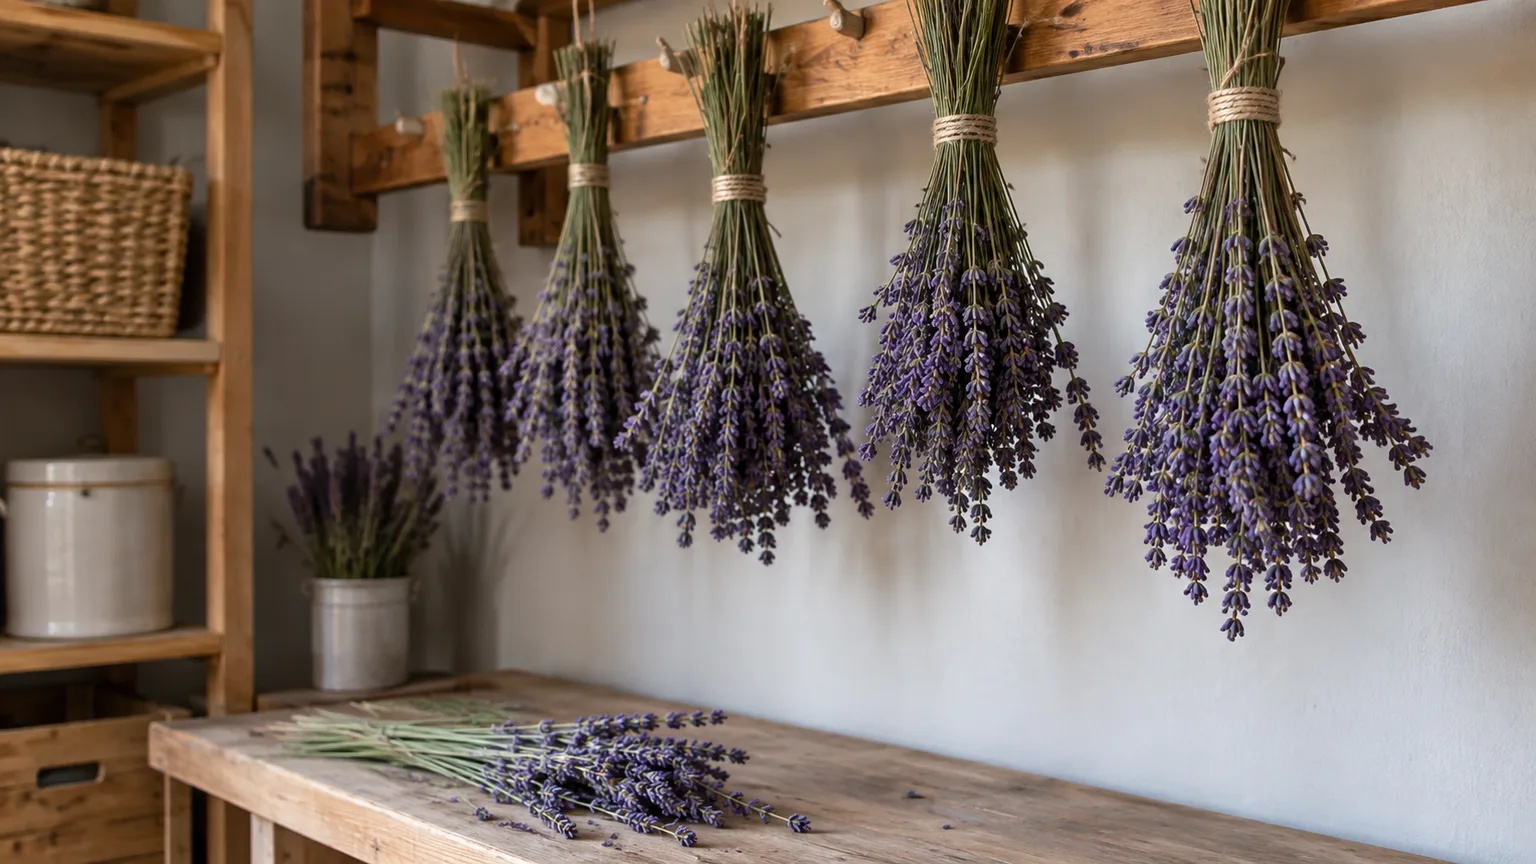
Hang the bunches upside down in a cool, dry, dim place with airflow: a spare room, pantry with ventilation, shaded porch, or dry utility area can work. Avoid a steamy kitchen, damp bathroom, closed plastic box, direct sunlight, and a spot directly above a heater. Heat can speed evaporation, but it also encourages brittle flowers and faster loss of aroma.
Leave space around each bunch instead of lining them up shoulder to shoulder. Check the center of the thickest bundle after several days. If the inner stems still feel cool, flexible, or slightly soft while the outside feels crisp, split the bunch and continue drying. Most home batches take about one to three weeks; a humid room, thick stems, or a cool season can extend that time.
Use a screen or rack for a flatter batch
A mesh screen is a good compromise when you want loose buds or do not have a safe hanging point. Prop the screen above a table so air can pass underneath, lay the lavender in one layer, and keep stems from overlapping. A clean, thin cloth or breathable paper cover can protect the batch from dust without sealing in moisture.
Turn or rearrange the stems every day or two, especially in a humid room. This prevents the underside from staying damp and makes the final texture more even. The method usually takes several days to a couple of weeks, depending on the amount of plant material and the room’s humidity.
The screen method also makes it easier to separate buds from stems once dry. Hold a stem over a bowl and slide your fingers gently from the cut end toward the flower head. If buds smear, feel cool, or resist because they are still pliable, return the material to the screen rather than sealing it prematurely.
Use a dehydrator when speed matters
A food dehydrator is useful for a small harvest that needs to be ready the same day. Remove excess leaves, spread the stems or buds loosely on the trays, and use the lowest setting or an herb setting. Start checking after about one hour, then check frequently; thin buds can finish much sooner than thick flower-covered stems.
Low, controlled heat is preferable to a hot setting because lavender’s fragrance comes from volatile compounds. Research on drying plant material, including a review available through the National Library of Medicine, explains that higher temperatures can increase the loss of volatile compounds even when the plant looks dry. That does not create one universal temperature for every dehydrator, but it supports the practical rule to use gentle heat and stop as soon as the material is crisp.
If the dehydrator is also used for strongly flavored foods, expect the scent to linger. Clean the trays and decide whether that matters for your household. For a short lavender batch, lining a tray with a breathable mesh insert can reduce small buds falling through without blocking airflow.
Use a low oven carefully
An oven can help when you need a batch sooner and do not own a dehydrator, but it is the least forgiving common method. Ovens often run warmer than their display suggests, and lavender can go from fragrant to flat or scorched before it appears dramatically different.
Spread the stems in one layer on a parchment-lined baking sheet. Use the lowest reliable temperature—ideally close to a low dehydrator setting—and leave the door slightly ajar only if your oven manual and setup make that safe. Check frequently rather than following a rigid multi-hour schedule, and turn the stems if one side is drying faster.
Stop when the stems and buds feel dry and crisp, then let the batch cool fully before you judge it. Warm lavender can seem softer or more aromatic than it will be at room temperature. If the oven cannot hold a genuinely low temperature, choose a rack or air-drying method instead; slower is better than overheated.
Choose the method by your goal
| Your priority | Best starting method | Typical working range | Main trade-off |
|---|---|---|---|
| Strong scent and intact stems | Hanging bundles | 1–3 weeks | Needs a dry, ventilated space |
| Loose buds and even airflow | Mesh screen | Several days to 2 weeks | Requires turning and more surface area |
| Same-day results | Dehydrator | About 1–4 hours | Equipment may retain the aroma |
| No special equipment | Low oven | About 30 minutes to several hours | Greater risk of heat damage |
| Tiny emergency batch | Microwave in short intervals | Seconds to minutes | Uneven drying and weaker aroma are more likely |
The ranges are deliberately broad. Bundle thickness, stem moisture, flower stage, room humidity, and equipment accuracy can matter more than the number printed in a recipe. For a first batch, sacrifice a few stems to testing and record what worked in your climate.
Check that lavender is fully dry
Do not rely on the calendar or the outside of a bunch. A finished stem should snap rather than bend, the flower heads should feel crisp rather than cool or rubbery, and the center of a bundle should feel as dry as the outside. Buds should separate cleanly and show no damp clumps.
Cool the batch to room temperature before the final check. Then place a small sample in a clean jar for a day with the lid closed. If the glass fogs, the buds soften, or a fresh green or musty odor develops, moisture remains. Re-spread the lavender and dry it further; if you see visible mold or a horse-like, sour, or distinctly musty smell, discard the batch instead of trying to mask it with essential oil.
Store dried lavender to protect its scent
Once the material passes the dryness test, remove buds from stems if that is how you plan to use them. Work over a bowl and handle the flowers gently; crushing releases fragrance immediately, which is useful at the moment but reduces what remains in long-term storage.
For loose buds, use a clean, dry, airtight glass jar with a tight lid. Label the jar with the variety, harvest date, and intended use. Store it in a cool, dark cupboard away from a sunny windowsill, radiator, oven, or damp sink area. Light and heat gradually fade both color and scent; moisture creates the more serious problem because it can restart spoilage inside a sealed container.
Keep decorative stems in a dry vase or box with room around them. Do not add water, and do not store a fresh-cut bunch in a sealed container while it is still drying. That traps the very moisture you are trying to remove.
Scent life is not a fixed expiration date. A well-dried, well-sealed batch may stay noticeably fragrant for many months and remain useful longer for crafts, but culinary flavor and delicate aroma are usually best earlier. Open the jar only when needed, and refresh older buds by gently squeezing a small amount in your fingers rather than crushing the entire supply.
Fix faded fragrance and discard moldy batches
Weak scent usually starts with one of four causes: late harvest, direct sun, excessive heat, or repeated exposure to open air. Move a fading jar to a cooler, darker cabinet, and test a small pinch by rubbing it. If the aroma returns, use the batch soon in sachets or potpourri; if it smells dusty, sour, or moldy, do not try to save it.
Color and scent do not always decline together. A brown batch can still smell pleasant, while a purple batch can be nearly odorless after months in a hot room. Judge the intended use by aroma, texture, and cleanliness rather than color alone.
If only the outer stems dried but the middle stayed soft, the fix is to split the bunch and re-dry it with more air. If the flowers became dark and brittle immediately after oven or dehydrator use, the heat was probably too high or the batch was left in too long. That material may still work as a visual craft filler, but it will not regain fragrance through storage.
Use dried lavender safely and creatively
Intact stems make simple arrangements, wreaths, and drawer bundles. Loose buds work well in breathable sachets, small potpourri bowls, and homemade craft mixes. The RHS lavender-bag activity uses dried flowers in a small fabric pouch, a straightforward way to keep the buds contained while allowing the aroma to escape.
For food, use only lavender that is correctly identified, grown without prohibited chemicals, and intended for culinary use. Start with a small amount because the flavor becomes bitter and perfumey quickly, and keep decorative or florist lavender out of the kitchen. A separate jar for culinary buds prevents accidental mixing with craft materials, fragrance oils, or unknown batches.
Dried lavender is also a useful teaching harvest: keep one small bundle intact for display, remove buds from another for a jar, and compare air-dried and low-heat samples. That side-by-side test shows how your own room, cultivar, and equipment affect the result better than a universal promise about drying time.
Conclusion
The reliable formula is simple: cut lavender while most florets are still closed, harvest only after surface moisture has dried, keep bundles small, and dry them in shade with steady airflow. Choose hanging or rack drying when fragrance and appearance matter most; use a dehydrator or very low oven when time matters more, and stop as soon as the batch is crisp.
Store fully dry buds in a cool, dark, airtight jar and keep decorative stems dry. If a batch develops moisture, soft centers, or moldy odor, fix the airflow early or discard it. With those checks in place, a short harvest can stay useful for sachets, arrangements, crafts, and carefully chosen culinary projects long after the garden has finished flowering.



