How to Get Rid of Mice: 5 Easy Ways to Start Today
Learn how to get rid of mice with a safer five-step plan: find their routes, secure food, seal entry gaps, place snap traps, and clean activity safely.
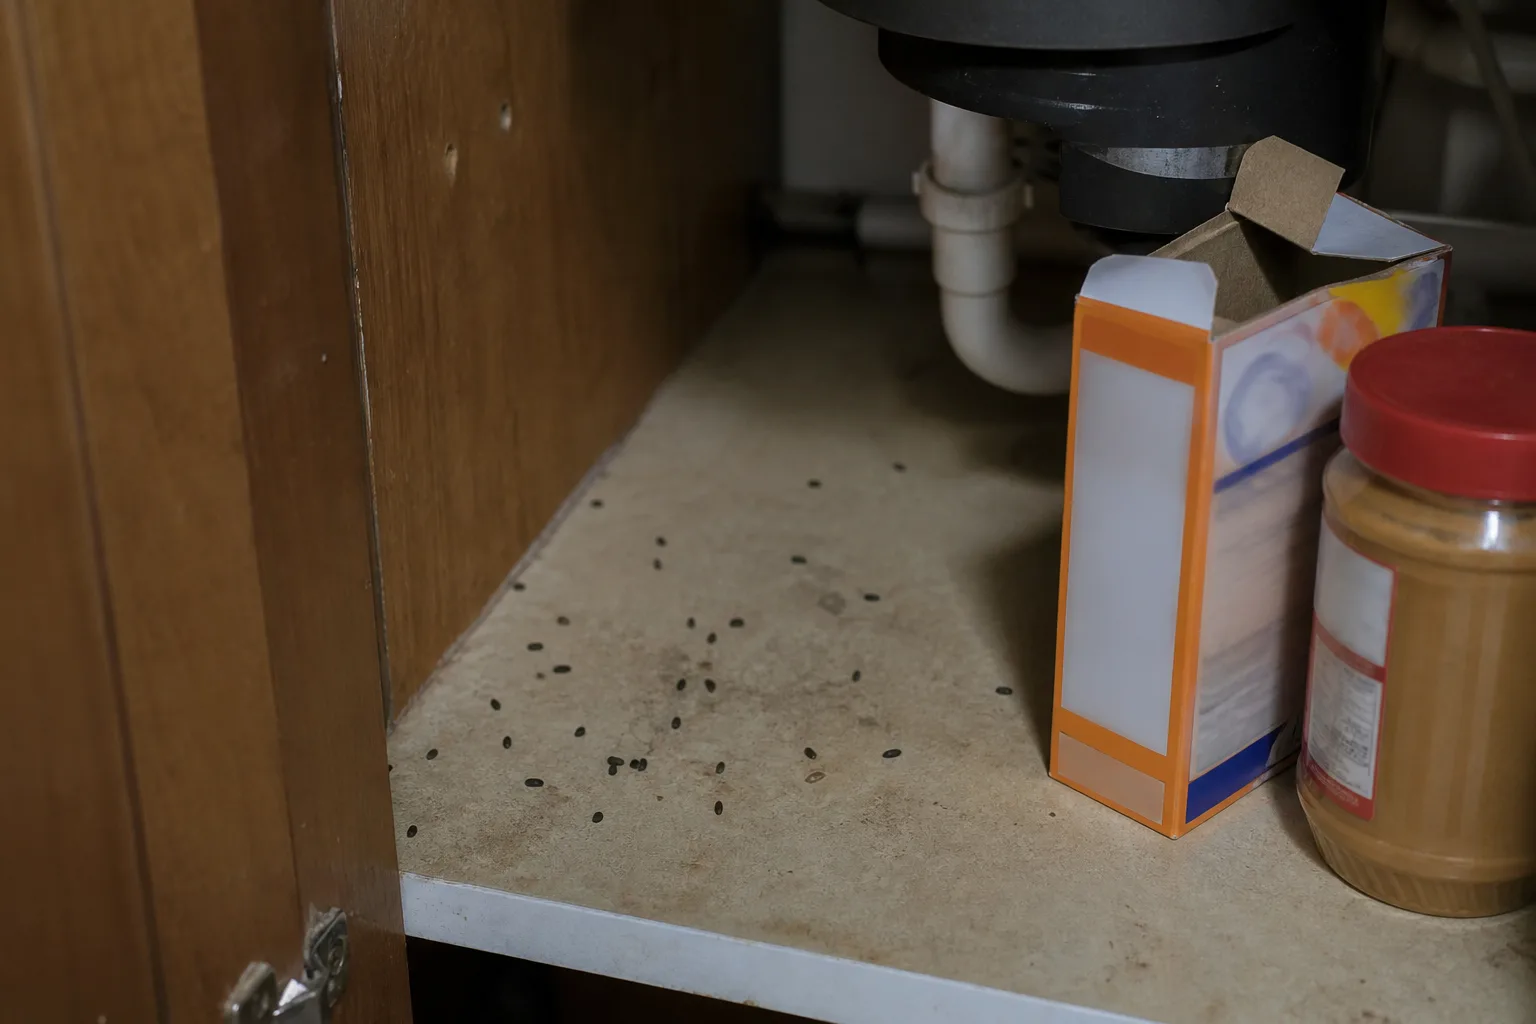
To get rid of mice, combine food control, exclusion, trapping, safe cleanup, and monitoring. A trap may catch a mouse already inside, but only closing its route in and removing easy food makes the result last. Start by locating fresh activity, then work through the five steps below instead of scattering traps or relying on strong smells.
If you find droppings, don’t sweep or vacuum them. Mouse urine, saliva, and waste can spread germs, and dry cleanup can put contaminated particles into the air. The CDC’s rodent-control guidance recommends reducing food, water, and shelter, then sealing openings, trapping, and cleaning safely.
First, confirm where mice are active
Read the signs without disturbing droppings
Mice tend to stay close to shelter and food, so the first useful question is not “How many traps should I buy?” It is “Where are they moving, and what are they reaching?”
Check quietly with a flashlight in the kitchen, pantry, garage, basement, laundry area, and along the walls that connect them. Look behind—not inside—appliances, beneath sinks, beside pet-food storage, and near pipe or cable openings.
Fresh droppings, gnawed packaging, shredded paper, greasy smudges along a baseboard, and nighttime scratching can all point to activity. Scratching alone is inconclusive; plumbing, birds, squirrels, or other animals can make sounds in walls and ceilings.
Droppings can also be hard to identify by appearance alone, so don’t handle or crush them to test what animal left them. The CDC notes that cleaning an area safely and checking whether new droppings appear is a more useful way to assess continuing activity.
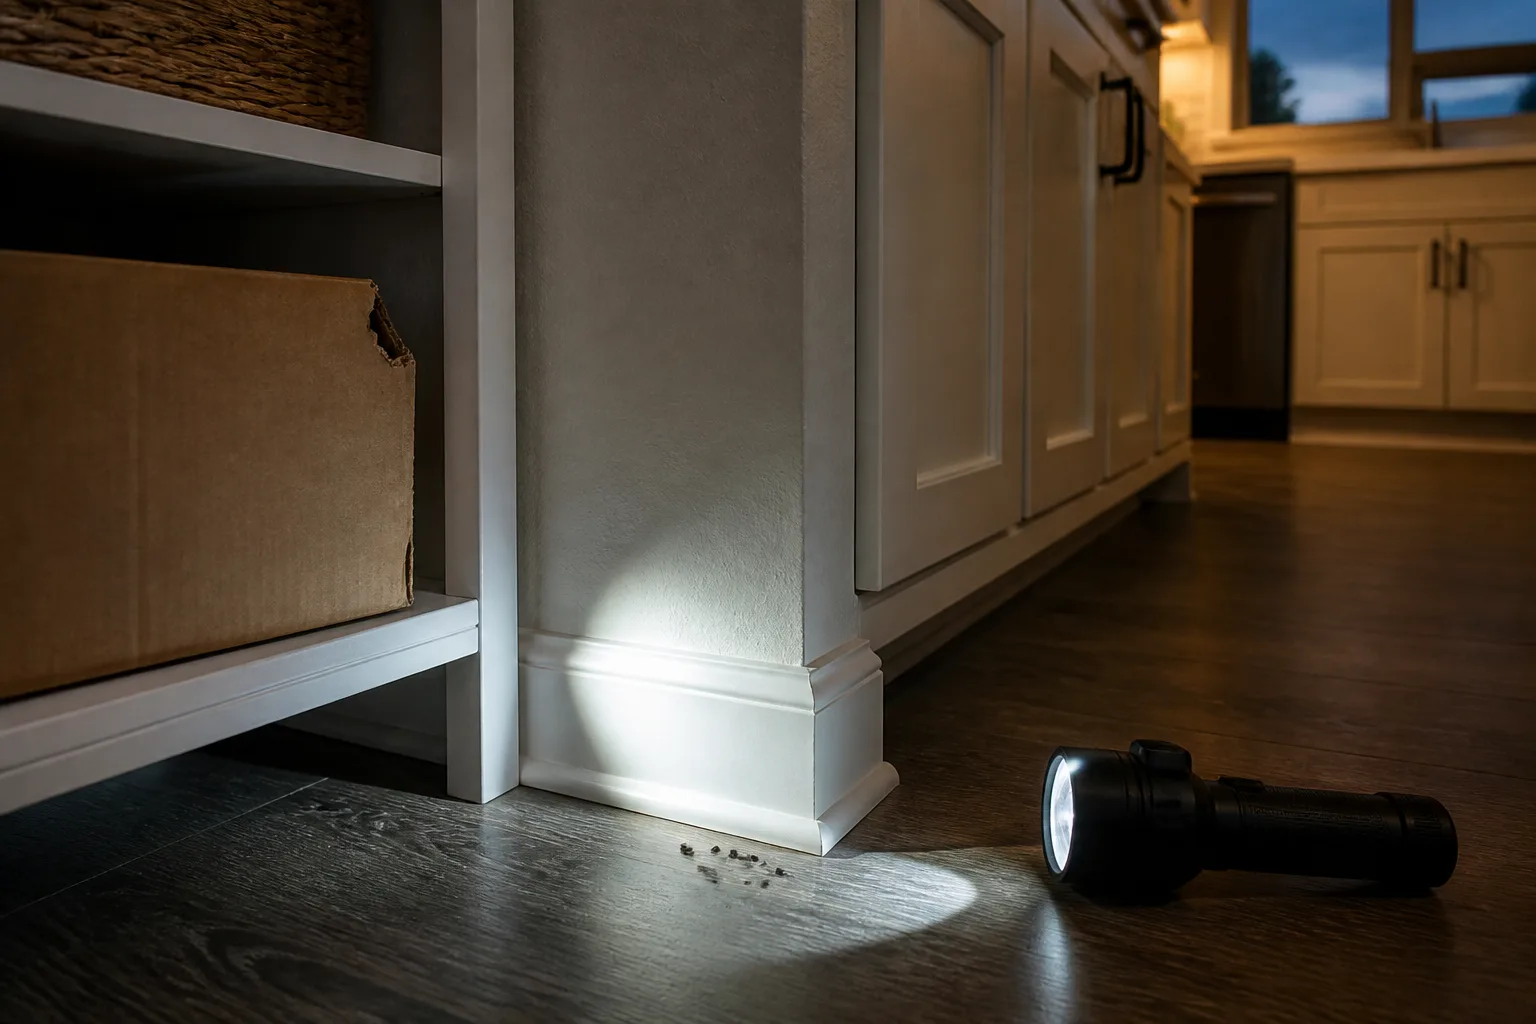
Make a simple room-by-room note of the newest signs, likely routes, and possible entry points. This gives you a baseline: after cleaning a small accessible area correctly, you can see whether droppings return; after setting traps, you can tell which locations are active.
If the signs are large, widespread, or seem more consistent with rats, a professional can identify the rodent and adjust the plan. Mouse-sized traps may not catch a larger animal, and the size comparison is not worth touching waste to investigate.
The five-step plan for getting rid of mice
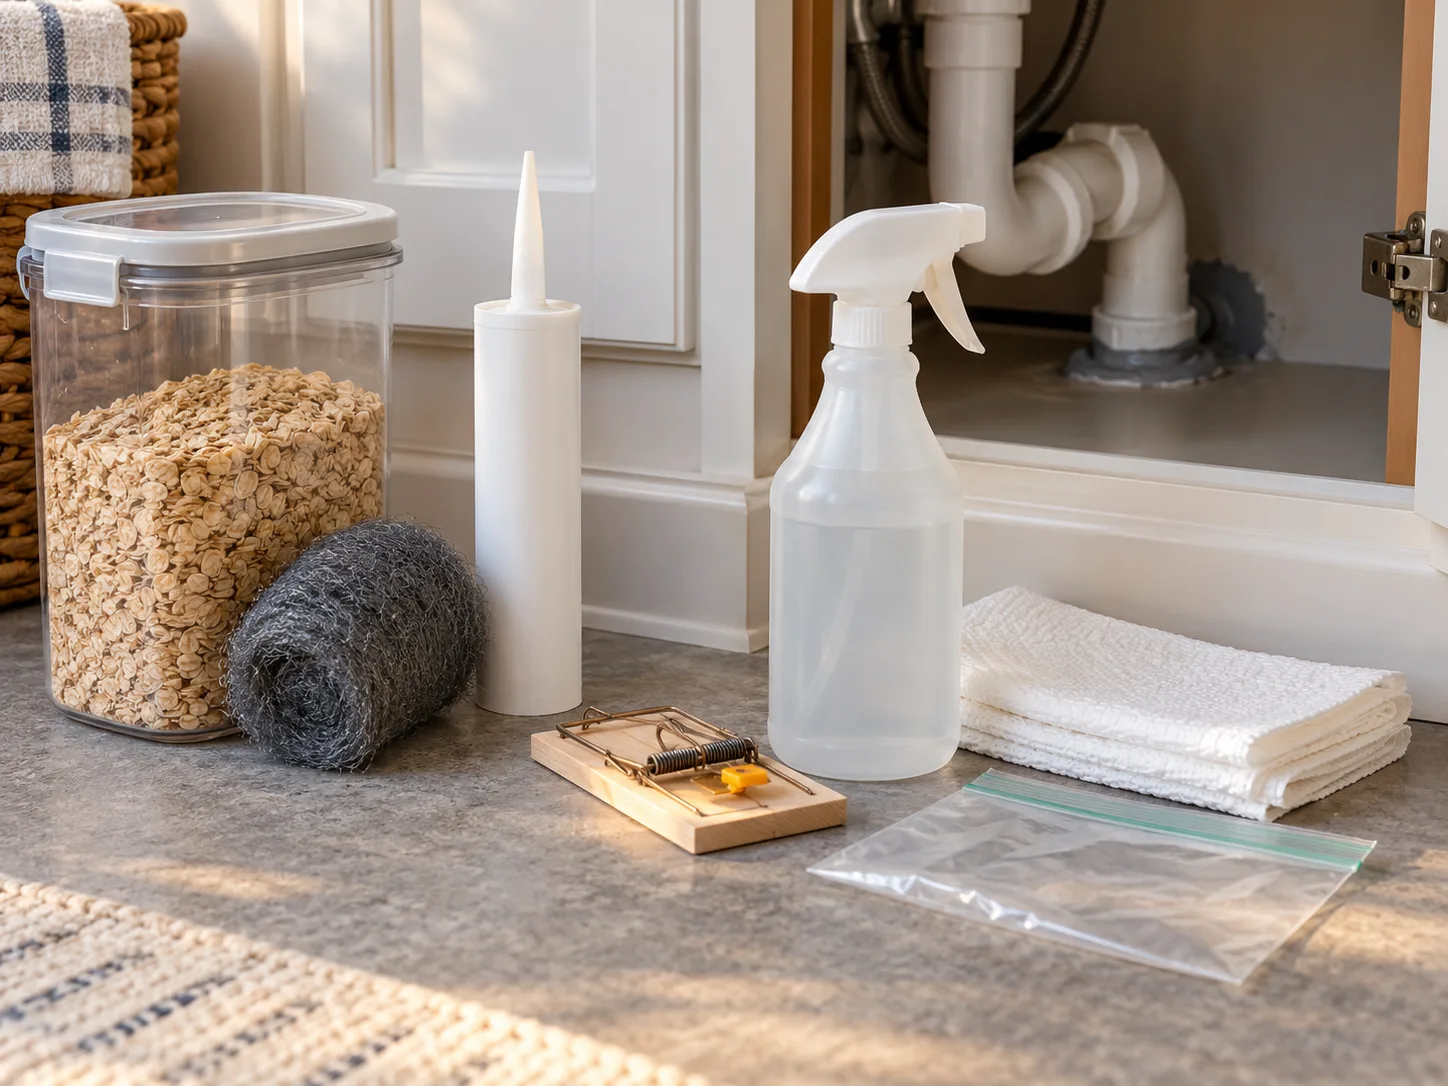
Treat this as a connected routine, not five competing tricks. Food storage and sealing reduce the reasons mice enter, traps remove animals already using the home, and safe cleanup protects people while you check whether the plan is working.
The University of California’s IPM program describes sanitation, structural exclusion, and population control as parts of rodent management. That page focuses on rats; CDC guidance gives the more specific household instructions for mice.
1. Remove food, water, and nesting cover
Start with the easy rewards. Transfer cereal, grains, pet food, birdseed, and other dry goods from cardboard or thin bags into thick plastic, metal, or glass containers with tight lids.
Wipe crumbs and spills, close trash lids, empty food waste regularly, and put pet food away after meals. Fix a dripping faucet or pipe if it is creating a persistent water source, and don’t leave a water bowl or kibble out overnight where you can avoid it.
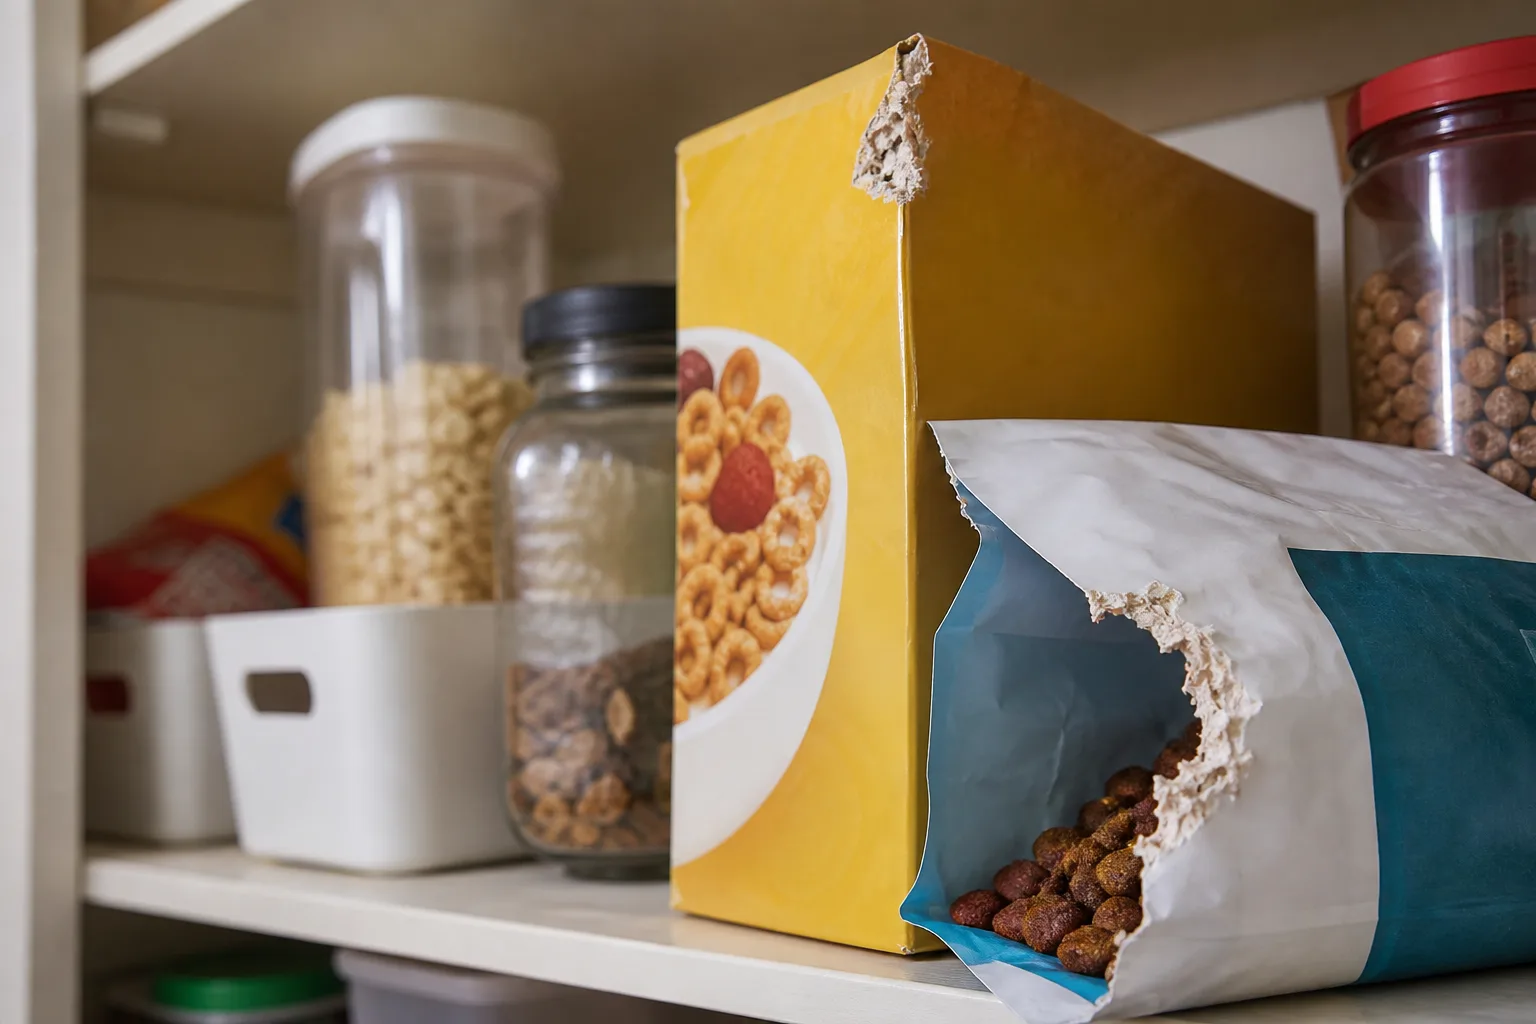
Reduce clutter where it hides activity or supplies nesting material. Cardboard boxes, paper, fabric, and stored bags can make quiet shelter, especially in a garage, attic, or basement. You don’t need a spotless house; focus on the places where food and droppings appear, and use lidded, cleanable storage bins for items that must stay.
Outdoors, move fallen fruit and spilled birdseed, keep rubbish containers closed, and trim dense growth directly against the foundation if it gives rodents cover. A tidy perimeter helps, but it does not replace closing a hole.
2. Seal gaps with chew-resistant materials
A mouse can squeeze through an opening about ¼ inch (6 millimeters) wide—roughly the width of a pencil. Inspect the inside and outside of your home, concentrating on gaps around doors, windows, the foundation, vents, and plumbing, electrical, cable, or gas lines.
Check under kitchen and bathroom sinks, behind appliances, around the garage door, and where utility pipes pass through walls. The CDC’s sealing guide includes an illustrated checklist for these locations.
For a small opening, pack it with steel wool and secure the edge with caulk; the sealant keeps the packing from shifting. For larger gaps, use a material suited to the opening—such as metal mesh or hardware cloth, metal flashing, mortar, or cement—and finish the repair so there is no loose edge a mouse can pull away.
Spray foam by itself is not a durable mouse barrier because rodents can gnaw through it. Foam or caulk may help hold a metal barrier in place, but they should not be the only chew-resistant layer.
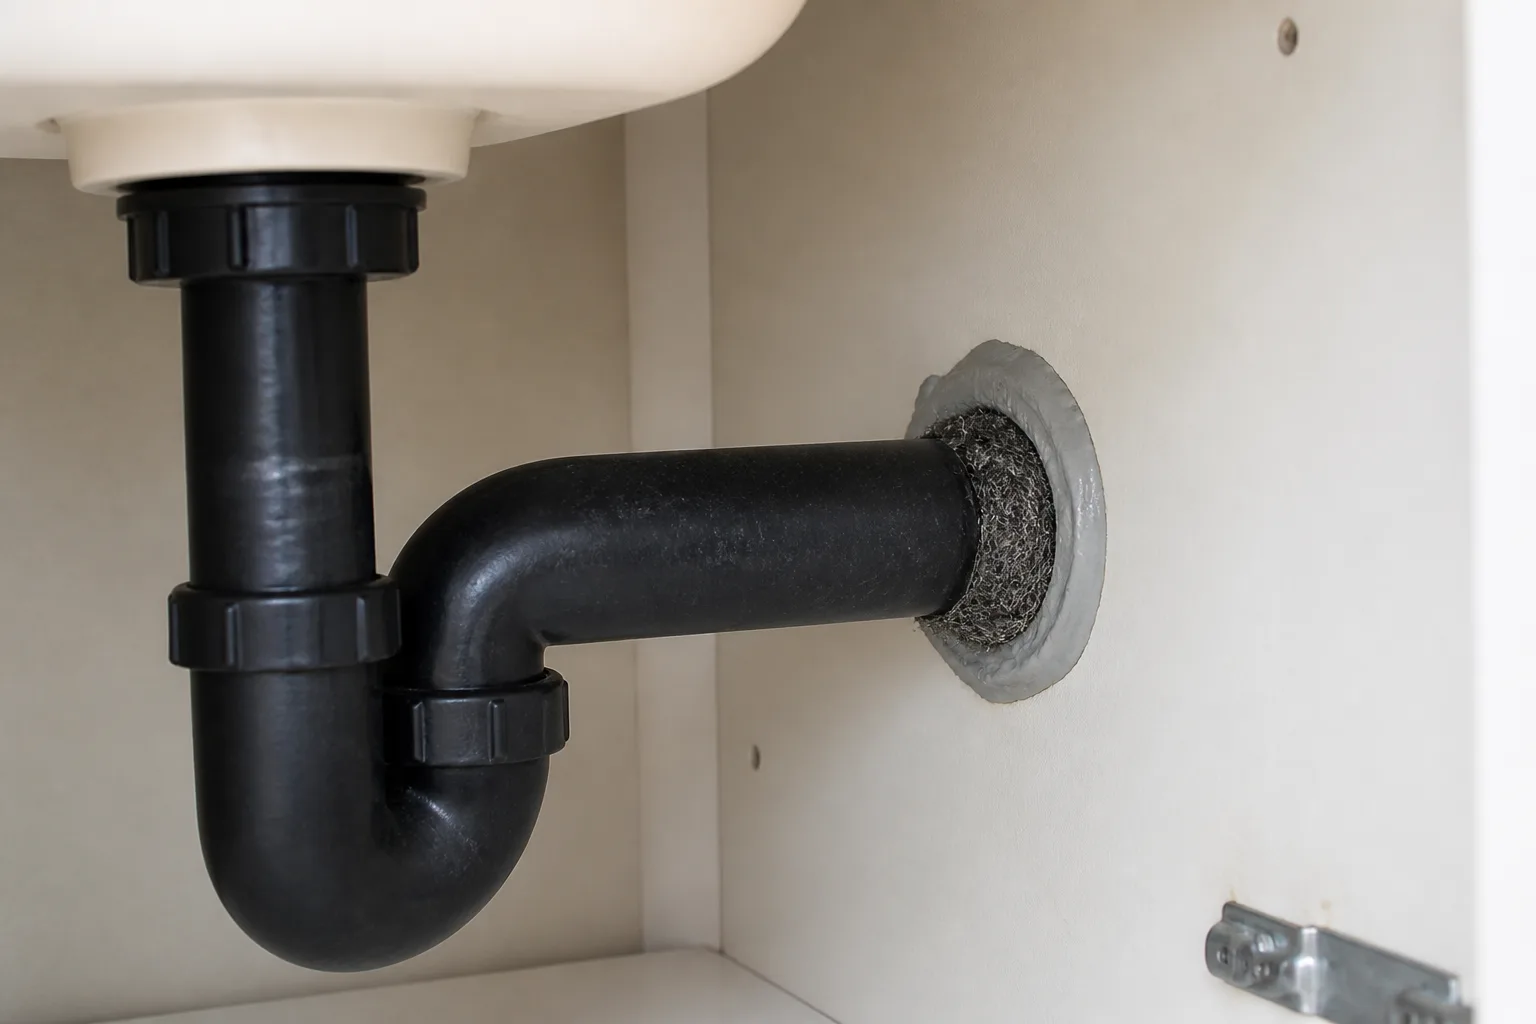
Fit exterior doors with sound weatherstripping or a door sweep, and repair damaged screens or vent covers with appropriate metal mesh. Don’t block a combustion-air opening, dryer exhaust, or a required drain path; use a correctly rated cover and follow building or appliance guidance. If you find a hole into a wall cavity, roof space, or shared building structure, note it for the landlord or a qualified repair or pest professional rather than packing a hidden void blindly.
3. Set mouse-sized snap traps along runways
If you see active indoor signs, traditional snap traps are a practical first choice for the mice already inside. Buy a trap made for mice, not a larger rat model, and follow its manufacturer’s setup instructions.
A pea-sized amount of bait such as peanut butter or another food the mouse is already reaching can work; avoid adding so much that the mouse can feed without triggering the mechanism. The CDC’s trapping instructions recommend placing the baited end next to a wall so the trap sits like a “T,” since rodents commonly travel along edges.
Use more than one trap when signs appear in several spots, but place each one where you can check it and where children, pets, and non-target animals cannot reach it. Common locations include behind a refrigerator or stove if the area is safely accessible, inside the back of a cabinet, or along a basement wall with fresh droppings.
Don’t put a trap where it could be kicked, forgotten, or touched during routine cleaning. If curious children or pets are in the home, use a secured protective box designed for the trap or choose a placement they cannot access.
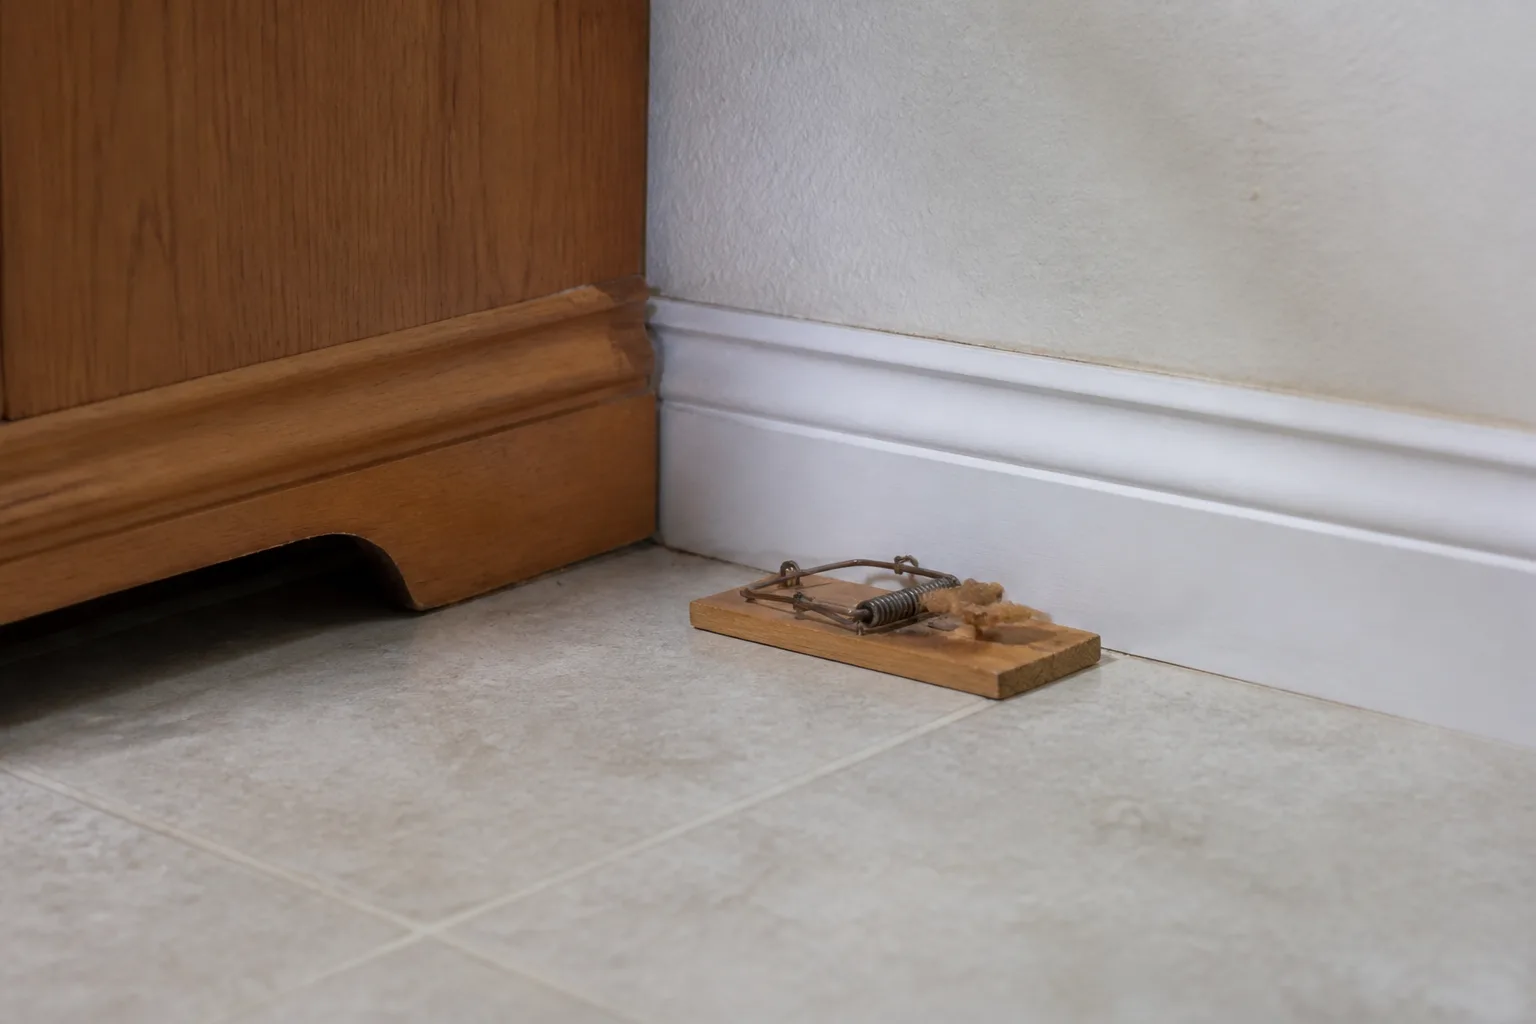
Check traps daily. If a trap has no activity, move it closer to fresh signs instead of adding more bait at random. If you catch a mouse, use gloves and follow safe disposal instructions; don’t handle it barehanded.
Keep trapping while fresh droppings, gnawing, or catches continue. The CDC advises continuing until a week passes without captures and without new rodent signs; treat that as a practical checkpoint and keep watching if activity was widespread or you have had previous problems.
4. Clean droppings and nests safely
For a small, accessible mess, use a disinfectant labeled for the surface or follow the CDC’s current cleanup directions. Put on rubber or plastic gloves.
Wet droppings and urine thoroughly with the disinfectant and let it sit for the time on the product label—the CDC’s general guidance specifies five minutes unless the label says otherwise—then wipe the material up with paper towels and discard them. Clean the hard surface again with disinfectant, remove gloves carefully, and wash your hands with soap and water.
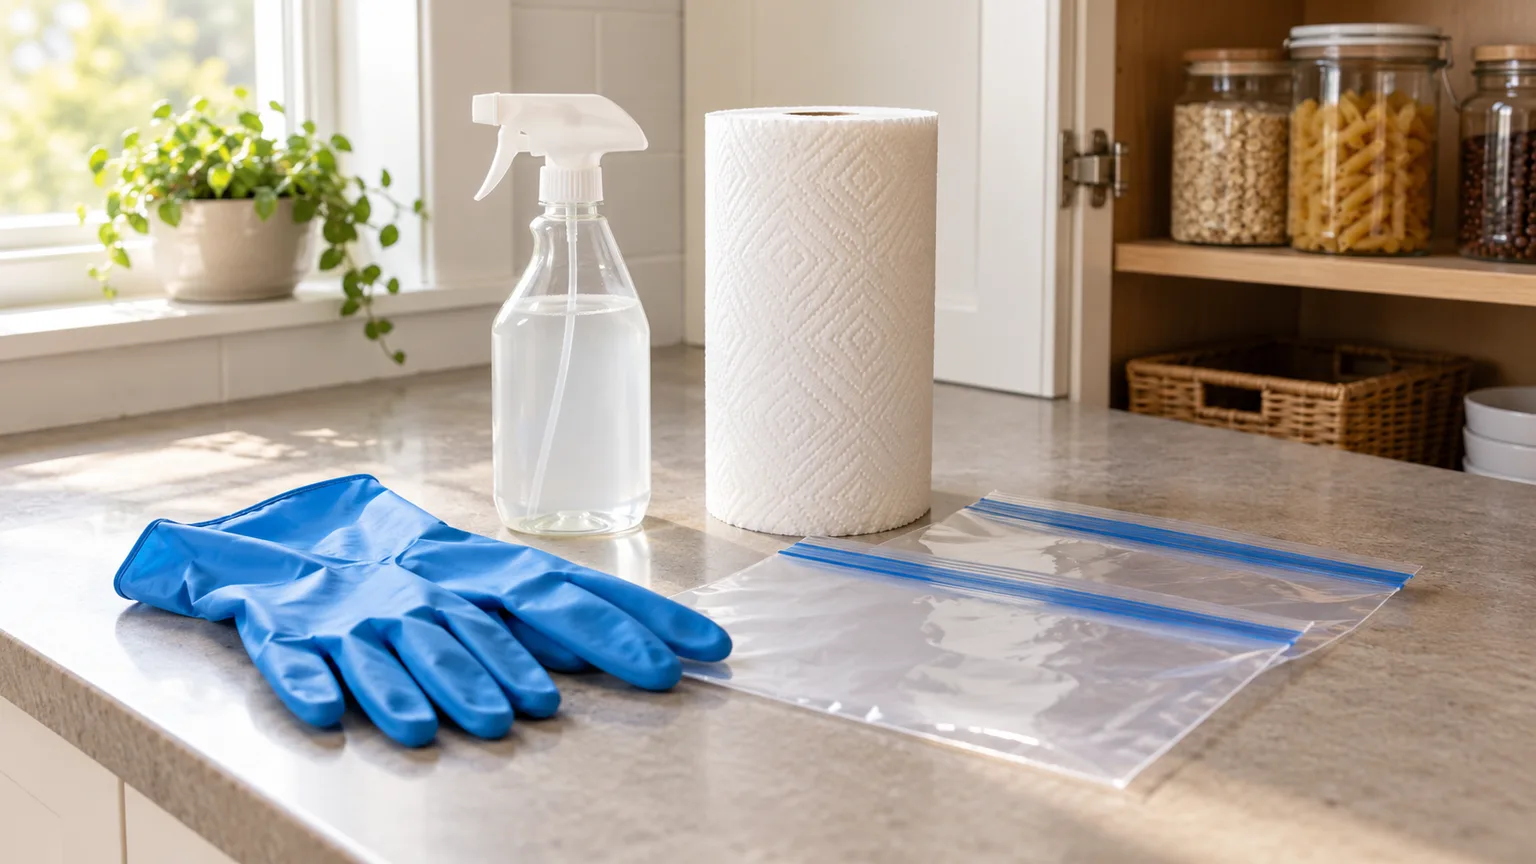
Never sweep or vacuum dry droppings, urine, or nesting material. That can stir contaminated dust into the air. Don’t dry-brush the area or use a household vacuum to speed up the job.
Avoid mixing cleaners; never combine bleach with ammonia or another product. If you choose a bleach solution, the CDC directs readers to use a fresh mixture of 1 part household bleach to 9 parts water, or use a labeled disinfectant according to its label. Keep cleaning products away from children and pets while you work.
For a dead mouse or nest, wear gloves, wet the material with disinfectant, allow the required contact time, pick it up with paper towels, and seal it in a bag; the CDC recommends double-bagging a dead rodent or nesting material. Wash the reusable trap only as its instructions and public-health guidance allow. Discard food packages that have been chewed or contaminated.
If droppings cover a large area, contaminate insulation, sit in an inaccessible wall or ventilation system, or are in a shed or outbuilding with heavy activity, pause and seek local health-department or professional cleanup advice. The CDC gives additional ventilation and cleanup precautions for outbuildings and recommends professional help for rodent activity in air ducts.
5. Monitor results and escalate when needed
Revisit the marked locations each day while traps are active. Record catches, fresh droppings, and gnaw marks; reset or move a trap if a new sign shows that activity is occurring elsewhere.
After cleaning a small spot, new droppings in the same location are a stronger clue that mice remain than old marks elsewhere. Continue checking the entry points and food storage too, because a successful catch does not show that the route has been closed.
There is no single timeline that proves every house is mouse-free. A week with no catches and no new signs is a useful minimum checkpoint in CDC guidance, but hidden access, neighboring units, or a large initial infestation can complicate the picture. If signs continue despite consistent trapping and sealing, or if you are hearing activity in walls and cannot locate an opening, ask a licensed pest-management professional to inspect the structure and explain the plan before treatment begins.
Where to place mouse traps
Think like a mouse using the edge of a room for cover. Set the trap perpendicular to the wall with the bait end close to it, near fresh droppings or gnawing and between likely shelter and food.
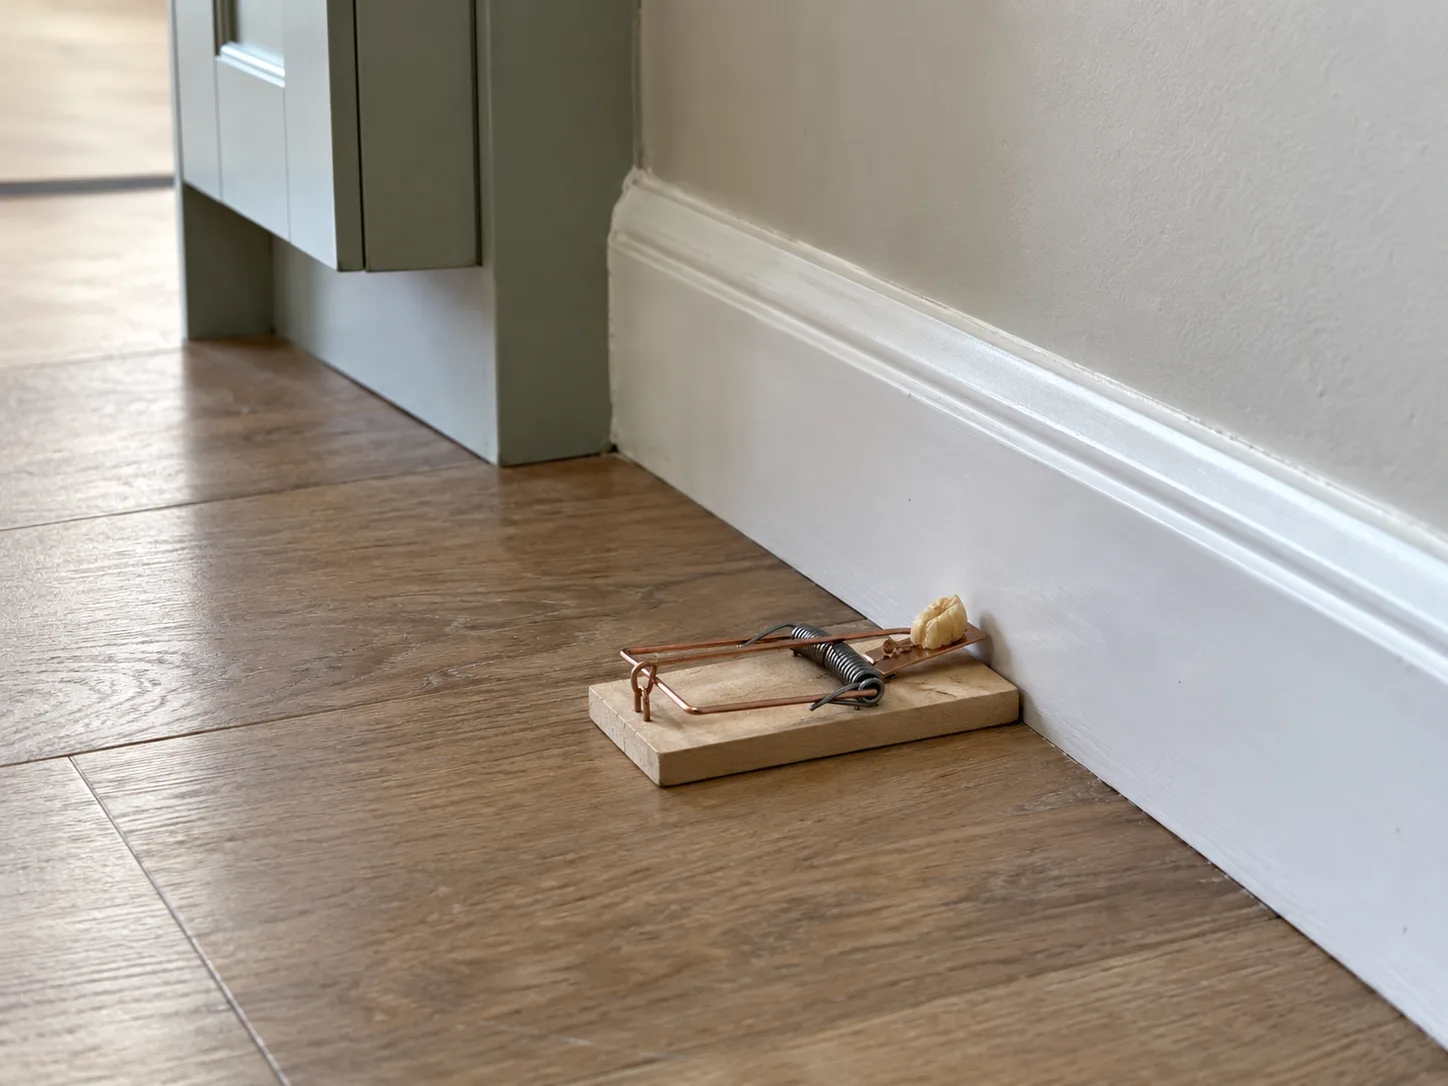
An expert-reviewed homeowner guide to mouse control likewise advises finding likely entry and nesting areas before placing traps instead of scattering them across an open floor. A practical inspection-first mouse-control guide also emphasizes checking basements, crawl spaces, doors, windows, and food storage before choosing a control method.
Place traps behind appliances only if you can reach them safely and check them daily. Avoid locations where a child or pet can paw at a trap, where water may splash onto it, or where it might be buried behind stored items.
Do not set snap traps high on counters near food preparation or where someone may touch them accidentally. A trap’s location matters more than putting it in the most visible spot: use evidence to guide placement, then change one or two locations when signs shift.
Traps, repellents, or rodenticide: what to choose
A snap trap is a direct way to remove an active mouse, and sealing plus sanitation lower the chance that another mouse will take its place. Electric traps may be an option if their instructions suit the location and household, but every device needs correct placement, daily checks, and safe disposal.
Glue boards and live traps are poor default choices. The CDC advises against them because a frightened rodent may urinate, raising the chance of contact with contaminated material; live release also leaves the animal’s fate and local rules unresolved.
Peppermint oil, dryer sheets, ultrasonic plug-ins, cats, and other scent or sound ideas do not close entry holes or remove mice already nesting out of reach. A smell may change where a mouse moves for a short time, but that is not dependable population control.
Treat any repellent as unproven for solving an established infestation, and don’t delay sealing and trapping to test one. Homemade bucket or bottle traps can also create handling, escape, and sanitation problems; they are not a substitute for correctly placed, monitored equipment.
Rodenticide bait is a pesticide, not a harmless pantry shortcut. Use it only when a persistent problem justifies it, choose a product registered and labeled for the exact indoor or outdoor use, and follow every direction. Keep bait in the specified tamper-resistant station and inaccessible to children, pets, and wildlife; promptly remove dead rodents according to label and local disposal rules.
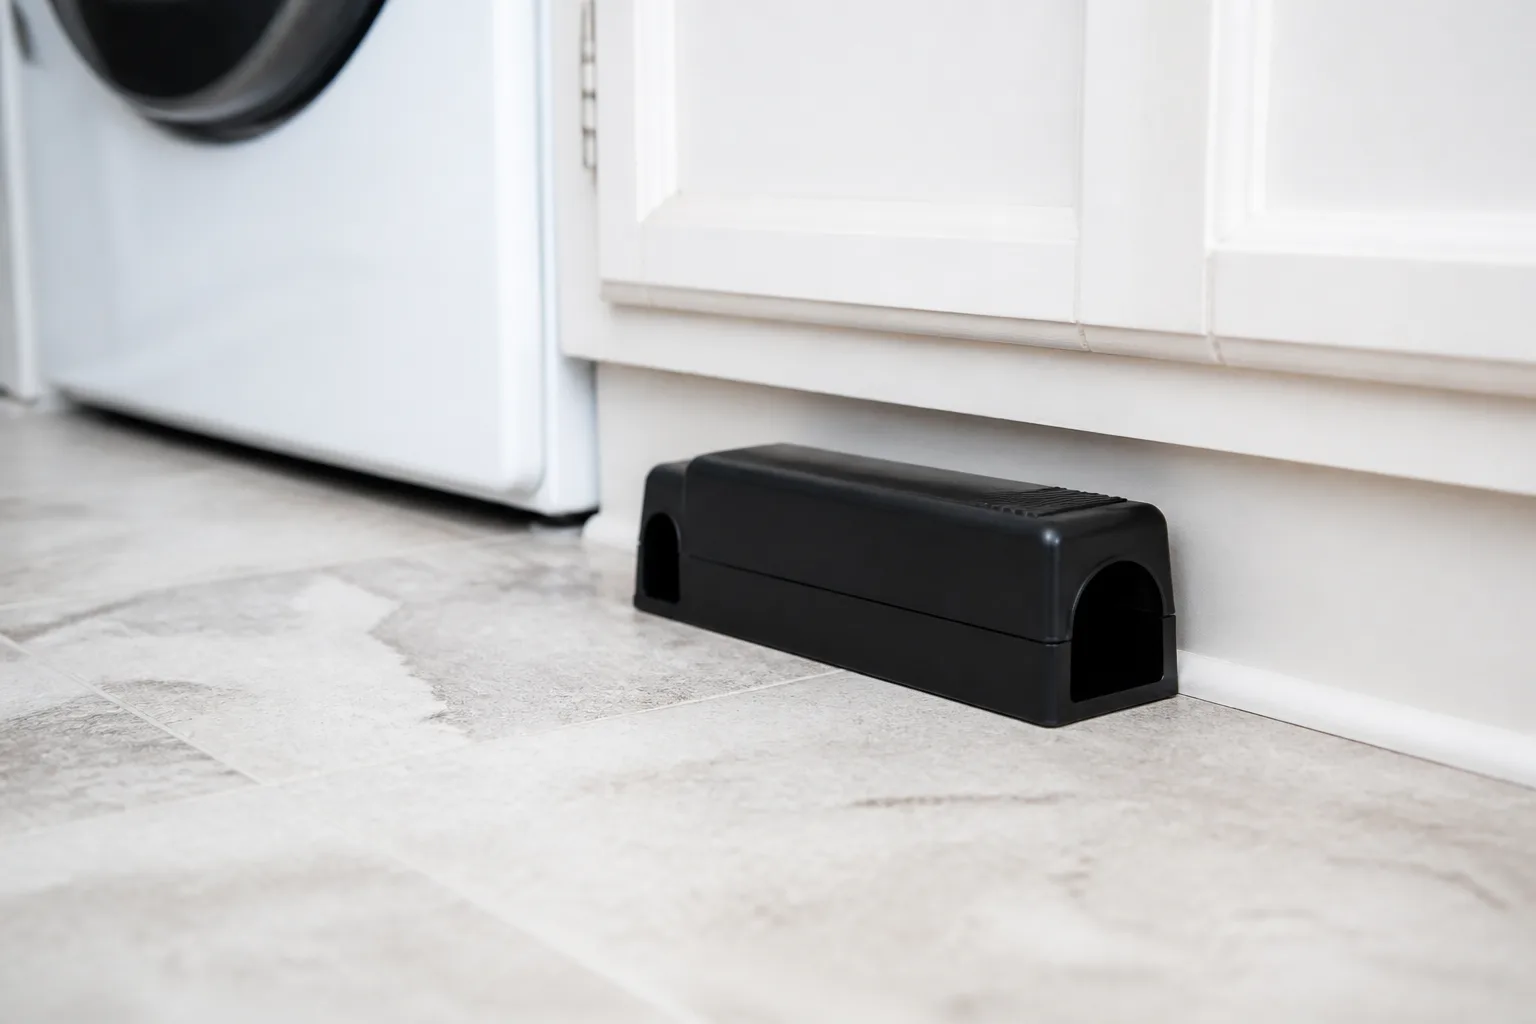
Bait can pose risks even at a small exposure, and it does not seal the route that brought mice inside. The National Pesticide Information Center explains rodenticide risks and label precautions; if a person may have been exposed in the United States, call Poison Control at 1-800-222-1222, and contact a veterinarian promptly for a pet exposure.
Keep mice from returning
Keep the repair work in place after activity stops. Check door sweeps, garage-door edges, screens, and the seals around utility pipes when you notice drafts or new gnawing.
Store pantry food and pet supplies in sturdy containers with fitted lids, and clean crumbs under appliances or shelving on a regular schedule. Use a lidded trash can and move birdseed, animal feed, and compost away from the immediate foundation when practical.
A short weekly scan is easier than waiting for a new infestation. Look under sinks, behind stored boxes, at the back of the pantry, and along the garage perimeter; check for fresh droppings or disturbed packaging without touching waste.
If you rent, document openings and repeat activity and notify the property manager promptly, especially if mice may be moving through shared walls. In a multi-unit building, lasting control may require coordinated repairs and sanitation beyond one apartment.
Common mistakes that prolong an infestation
The most common mistake is putting down one trap, catching one mouse, and assuming the job is finished. A second is sealing only the obvious hole while leaving a gap under a garage door or around plumbing. Others include leaving pet food out overnight, using foam alone in a chewable opening, placing traps in the middle of a room, or failing to check them each day.
Avoid disturbing droppings before you know how to clean them, and do not use loose poison bait where a child or pet can reach it. Don’t rely on a cat to solve an infestation; a pet may not catch mice, and its food can become another attractant.
And do not keep changing methods without a record. Note what you saw, where you placed traps, and what changed, so you can tell whether activity is declining or whether you need a professional assessment.
When to call a pest professional or health department
Call a licensed pest professional when captures and fresh signs continue after you have secured food and repaired accessible gaps, when activity appears in several rooms, or when mice are in wall cavities, a crawl space, attic, or heating and cooling ducts. A professional can inspect hidden routes, distinguish mice from rats or other animals, and recommend a plan that accounts for children, pets, food areas, and structural hazards. Ask what products will be used, where they will be placed, how access will be restricted, and what repairs or monitoring you should complete.
Contact your local health department for advice if you are unsure about the health risks in your area or encounter extensive contamination. Use professional cleanup help for heavy droppings, contaminated insulation, or inaccessible nests rather than pulling material from walls or ducts yourself. A mouse problem is often manageable, but the safest boundary for DIY work is the mess you can reach, identify, disinfect, and monitor without disturbing a large enclosed space.
Conclusion
The most dependable way to get rid of mice is to combine actions: remove food and nesting cover, seal pencil-width openings with chew-resistant materials, set mouse-sized snap traps along active routes, clean waste without sweeping or vacuuming, and keep monitoring. The steps reinforce one another; no scent, trap, or bait station can do all five jobs.
Start today by noting the newest signs and securing exposed food. Then seal what you can reach, place traps where the evidence points, and use CDC cleanup precautions for droppings or a dead mouse. If activity spreads, contamination is extensive, or mice remain after a consistent effort, bring in a qualified professional or local health authority.