How to Get Rid of Mold in Your Shower Quickly
Clean shower mold without damaging grout or mixing dangerous products. Get a safe step-by-step method, prevention routine, and clear signs to call a pro.
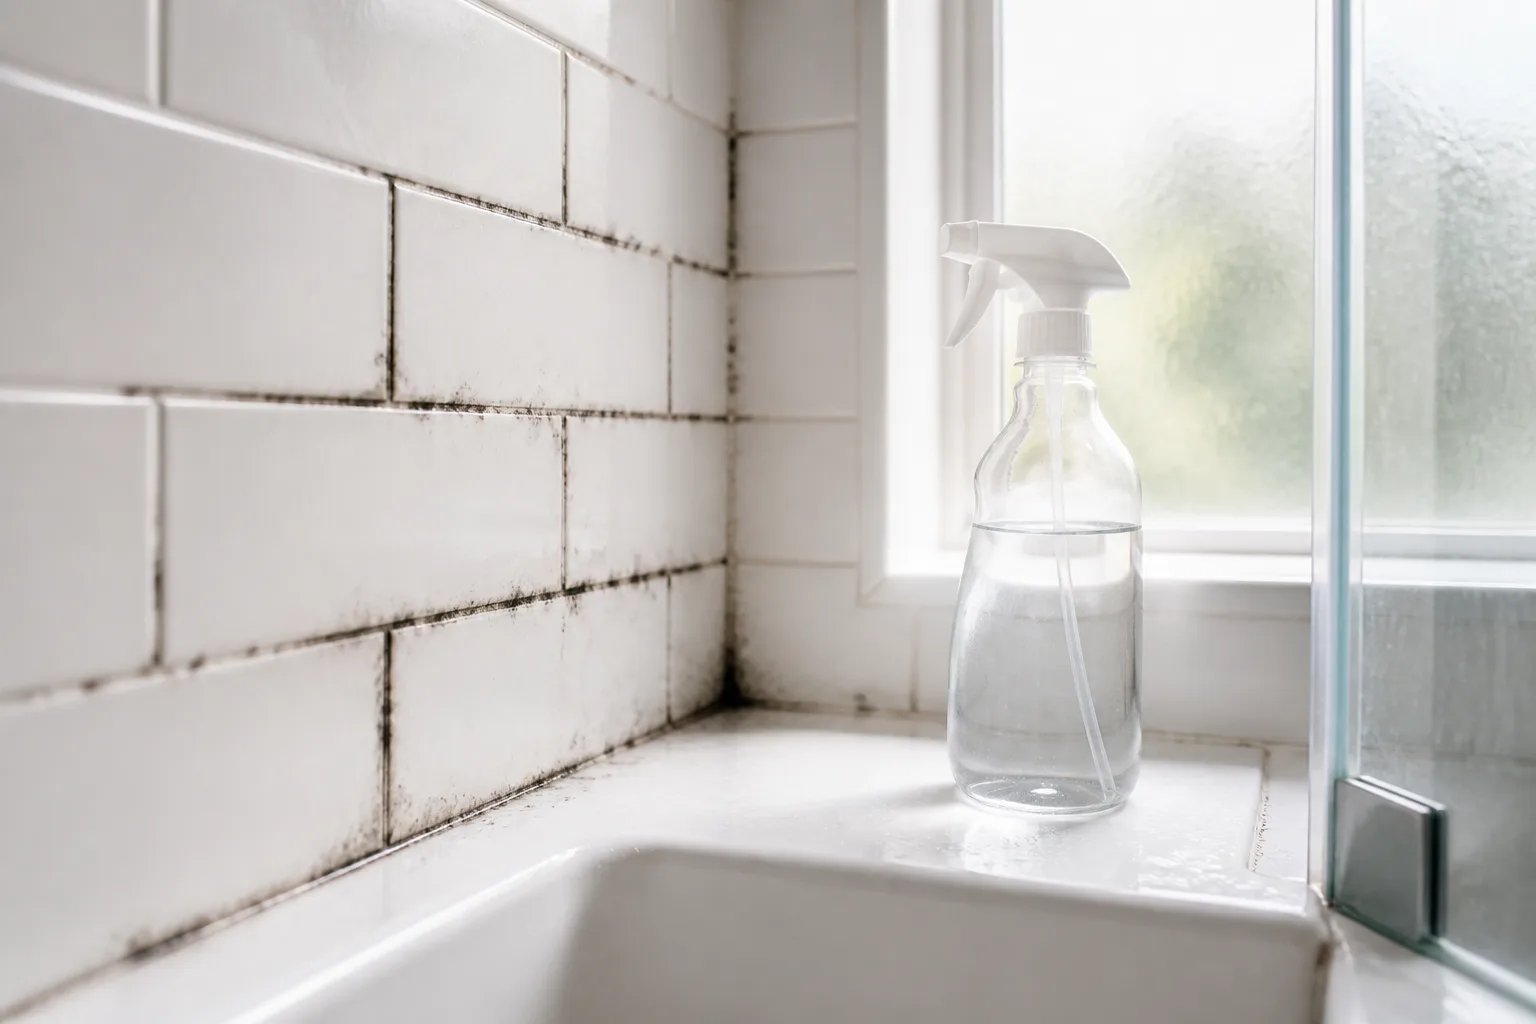
A small spot on glazed shower tile is usually a straightforward cleaning job. The quickest safe approach is to identify the surface, ventilate the bathroom, wash the spot with detergent and water or a cleaner labeled for that material, then rinse and dry it completely. A spray of bleach is not a universal shortcut: grout absorbs liquid, silicone can hold growth beneath its surface, and a stain that returns often points to moisture that cleaning alone cannot fix.
That distinction also helps avoid unnecessary panic. A dark mark is not enough to identify a mold species or its risk, and color does not tell you whether water is leaking behind the wall. Start with the material, the size of the affected patch, and whether the joint or surrounding wall is wet, soft, cracked, or repeatedly discolored.
Quick Answer: Match the Cleaner to the Surface
For a small patch on intact, nonporous tile or glass, put on gloves and eye protection, turn on an exhaust fan that vents outdoors, and keep the area aired out. Wipe or scrub with a cloth or soft nylon brush dampened with dish detergent and water; rinse the residue away, then dry the surface and the shower. The CDC says bleach or dish detergent can be used for home mold cleanup, but it also emphasizes fresh air and warns never to mix bleach with ammonia or any other cleanser.
For a bleach-safe, hard surface, use bleach only if its product label and the surface manufacturer permit it. CDC says to use no more than 1 cup of household bleach per 1 gallon of water for mold cleanup; that is a maximum, not a reason to ignore a product label or apply bleach to every material. The EPA does not recommend bleach as a routine mold-cleanup practice, so detergent and water are a reasonable first choice for a small shower patch.
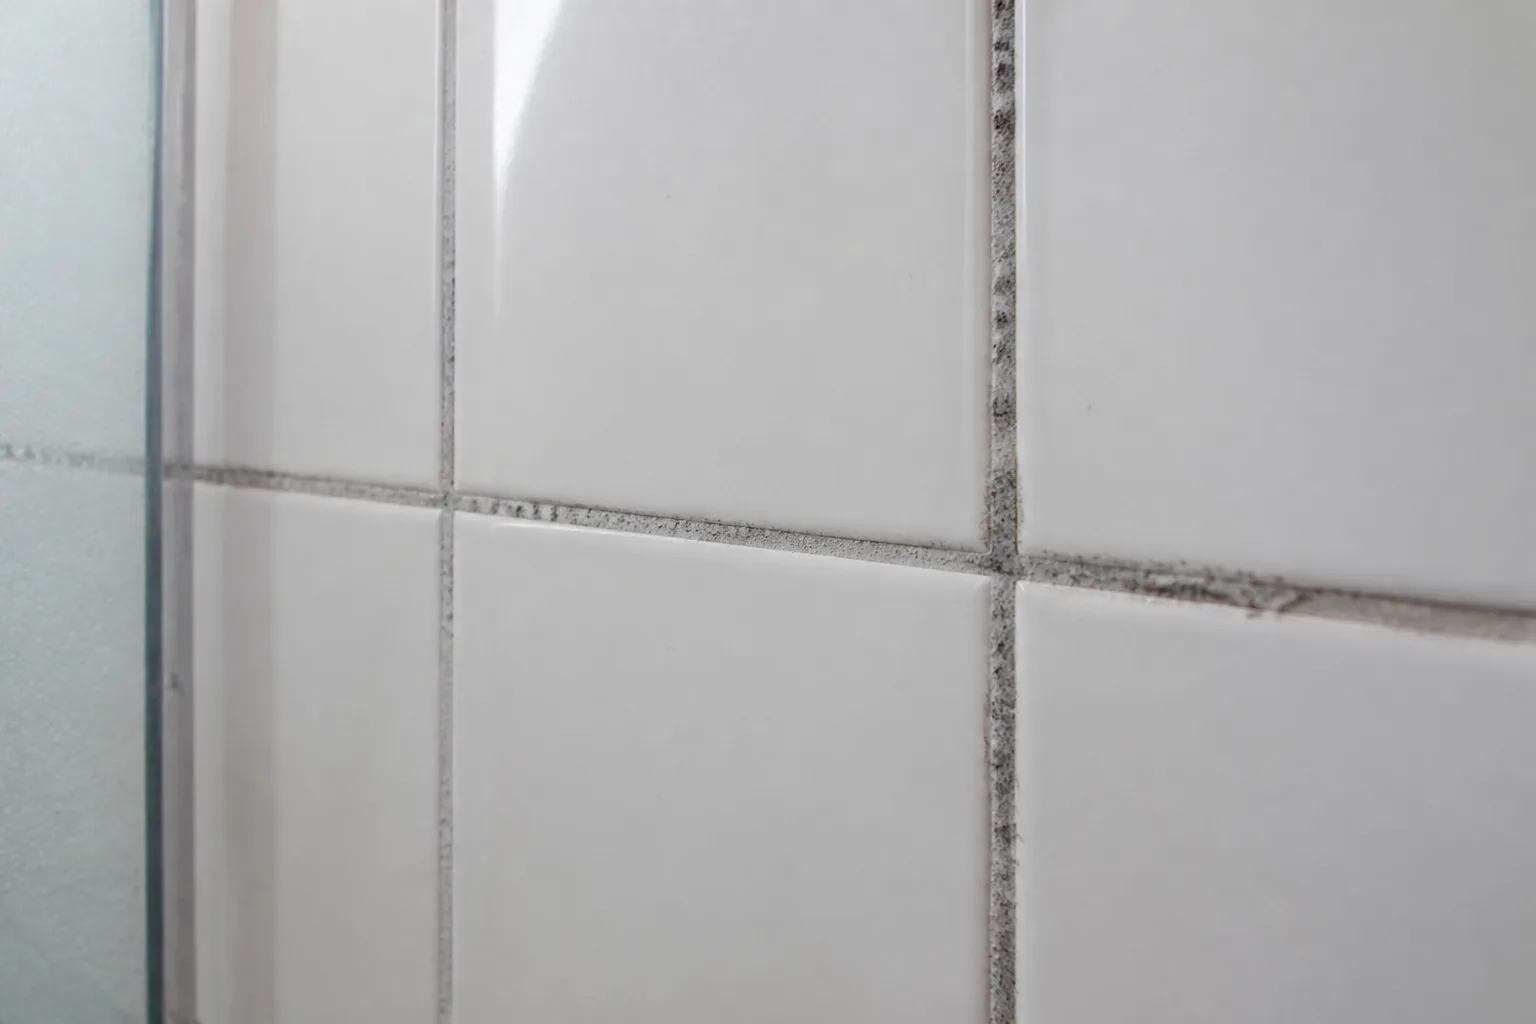
Grout needs a lighter touch because it is more absorbent than glazed tile. Use a damp brush and a small amount of cleaner, avoid soaking the seam, and dry it promptly. If black spots sit inside cracked or peeling silicone, or if the same growth returns after cleaning, stop repeating treatments and check for a damaged seal or water source.
Decide Whether a Shower Mold Patch Is a DIY Job
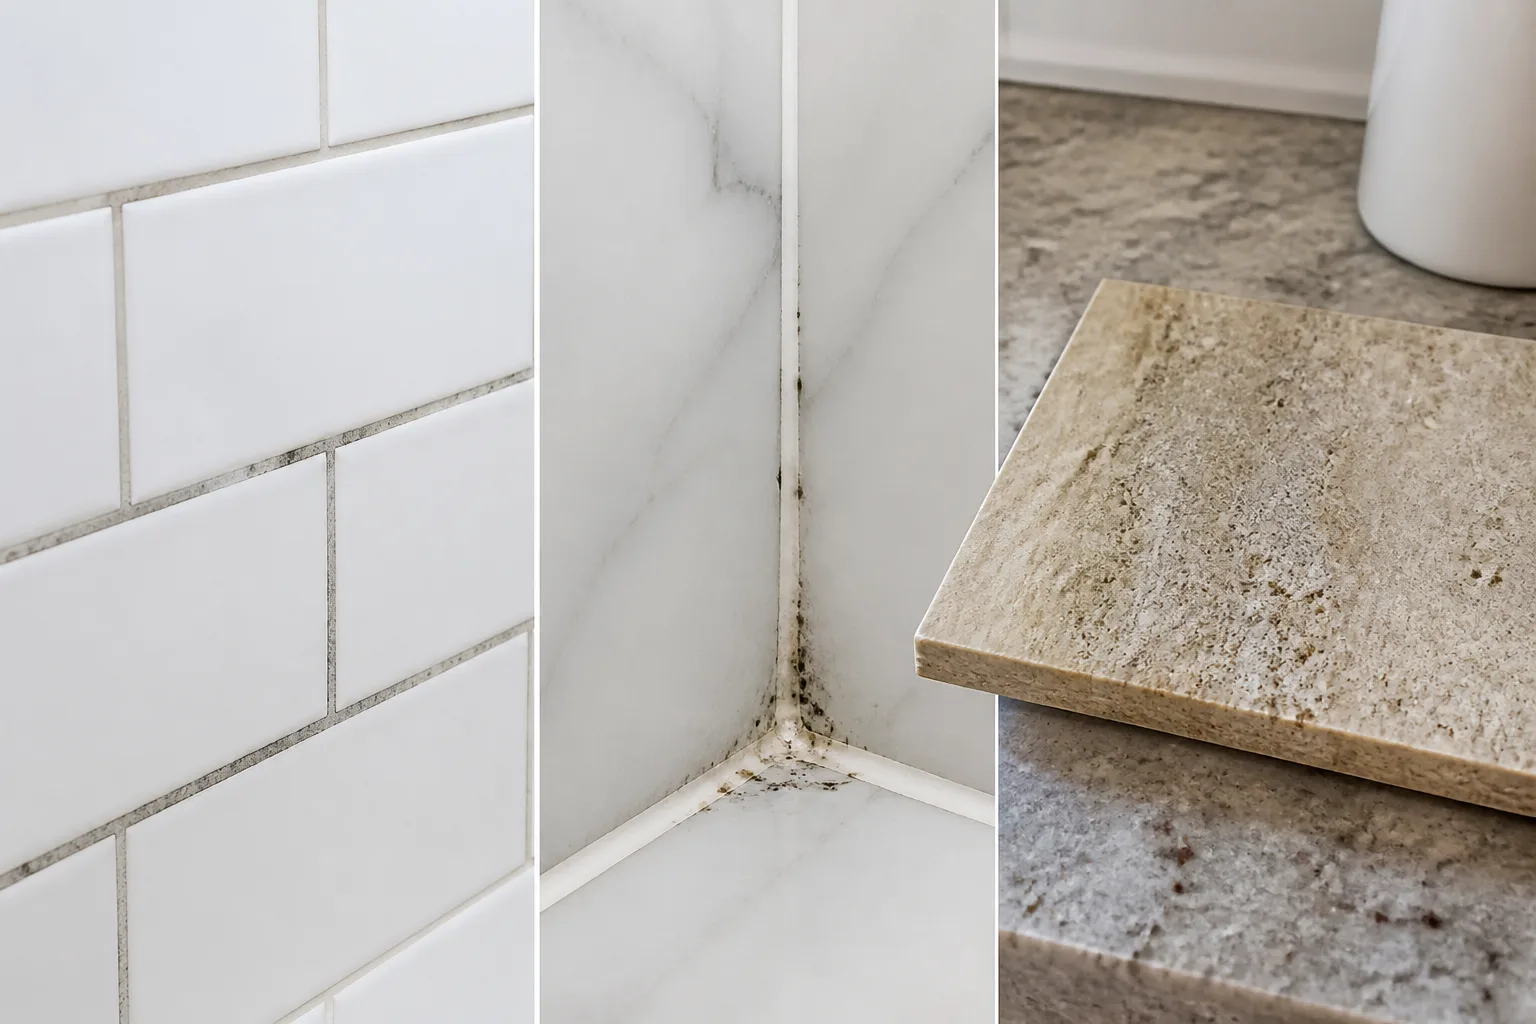
Routine cleaning is a reasonable first step when the growth is limited to a small, visible patch on a sound shower surface and there is no sign of a leak or water damage. Look closely at the edges of the tub, corners, grout lines, and the wall just outside the shower. A film that wipes off a tile face is a different job from a damp, swollen wall or mold spreading beneath a failing bead of caulk.
Treating every mark with one fast recipe skips an important distinction. That can lead people to keep wetting porous material or to mistake a temporarily lighter stain for a repaired surface. Instead, decide whether the visible spot is only on the surface, whether the underlying material is intact, and whether you can keep other household members out of the work area while it dries.
Use the size rule as a screening tool
The EPA and university environmental-health guidance use about 10 square feet as a practical dividing line for considering professional help, roughly a patch about 3 feet by 3 feet. The University of Florida’s Environmental Health and Safety cleanup guidance is specifically for small cleanup projects under approximately that size; it recommends detergent and water for nonporous surfaces and cautions that larger jobs may require added safeguards. Treat the number as a screening tool, not a guarantee that every smaller patch is safe to tackle.
Even a smaller patch deserves a professional assessment if it is widespread across multiple shower surfaces, keeps returning quickly, follows a leak, or involves drywall, ceiling material, insulation, or a cavity you cannot inspect. A small visible spot can be the exposed edge of a larger wet area. If anyone at home has asthma, chronic lung disease, a mold allergy, or a weakened immune system, the CDC advises that they should not take part in mold cleanup; have someone else handle a limited task or ask a professional for guidance.
Look for evidence of a hidden moisture problem
Before cleaning, check whether the wall feels soft or swollen, paint is bubbling, grout is missing, silicone has pulled away, or the ceiling below an upstairs shower has a new stain. A musty smell that persists after the room dries also deserves investigation. These clues matter more than the mold’s color because the cleaner cannot stop water entering through a failed joint, plumbing connection, or wall assembly.
If a shower valve, pipe, drain, or wall is actively leaking, stop using that shower if practical and arrange a repair. Clean only after the water source has been addressed and the area can dry. The UConn Extension guide to home mold cleanup explains that dampness and leaks sustain growth, and it recommends bathroom exhaust ventilation that moves humid air outdoors.
Protect Yourself Before Cleaning
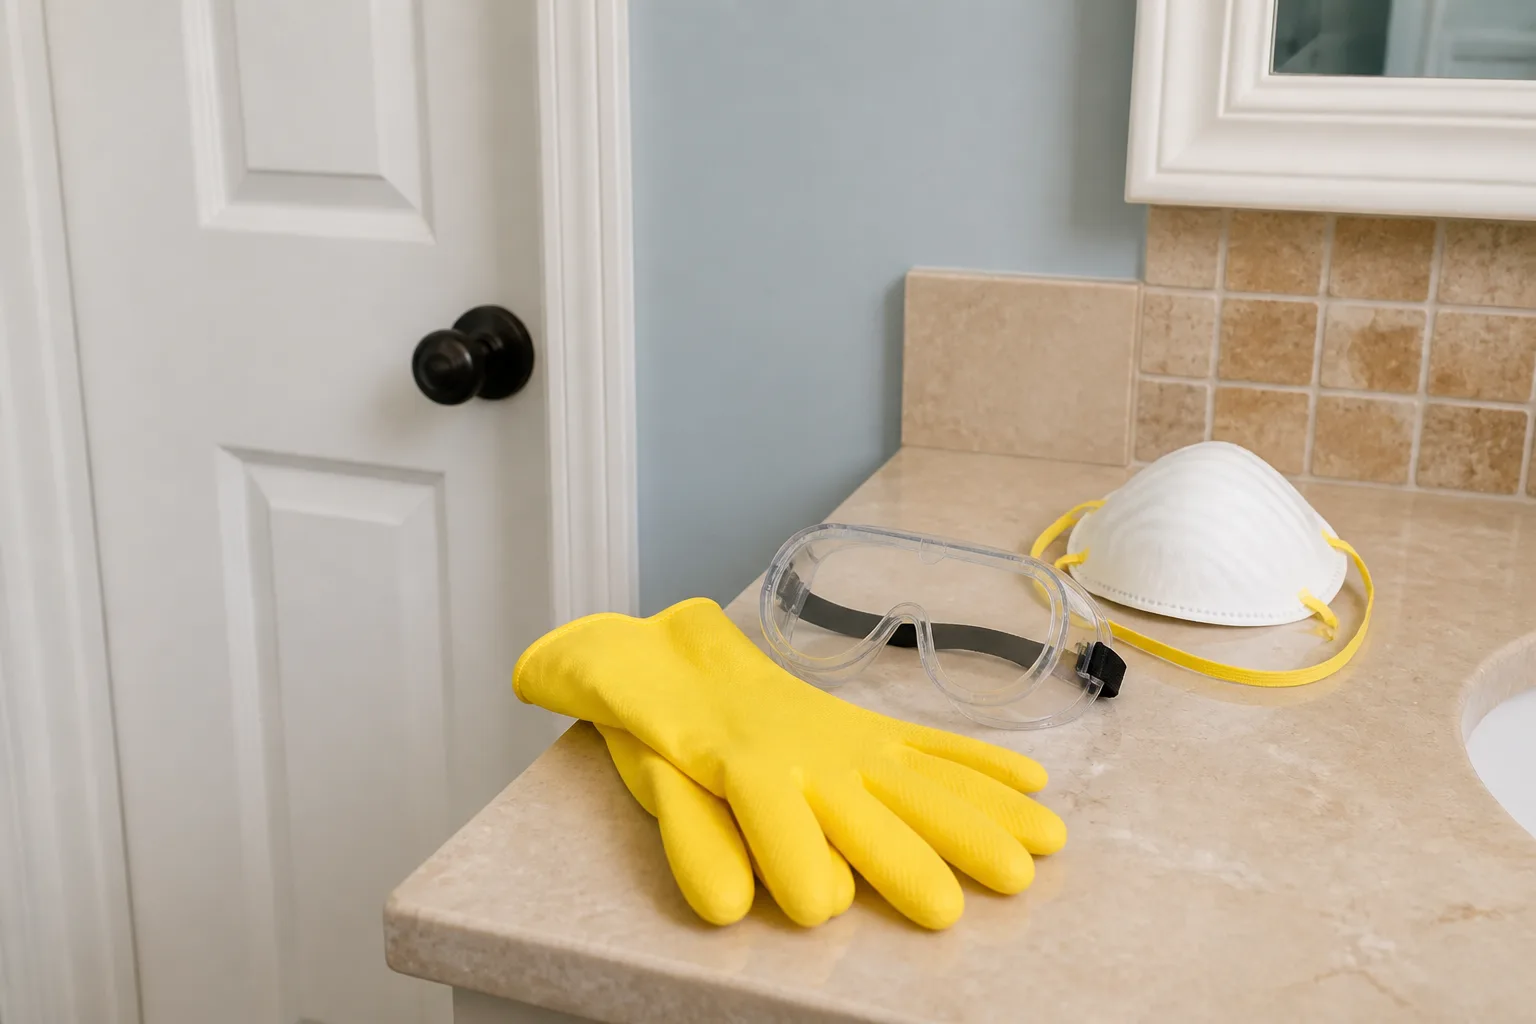
Mold cleanup is a small job only if the surface, room, and person doing it make it small. Do not dry-brush a moldy seam, sand it, or blast it with a strong spray; those moves can scatter debris and cleaner droplets. Remove towels, bathmats, toiletries, and other items that could be splashed, and keep children and pets away until the surface is rinsed and dry.
Wear gloves and goggles that protect the sides of your eyes. The CDC recommends at least a NIOSH-approved N95 respirator for mold cleanup, along with gloves and goggles; people with asthma, allergies, immune suppression, or chronic lung disease should not do the cleanup themselves. If you cannot ventilate the room or cannot tolerate the product you plan to use, choose a milder labeled cleaner or get help rather than pushing through fumes.
Ventilate and use protective equipment
Turn on a bathroom exhaust fan that vents outdoors before you start, and keep it running while the room dries. If there is a window, open it when you can do so without compromising safety. A recirculating fan that blows across the mold is not a substitute for exhaust: it can move particles around without removing humid air.
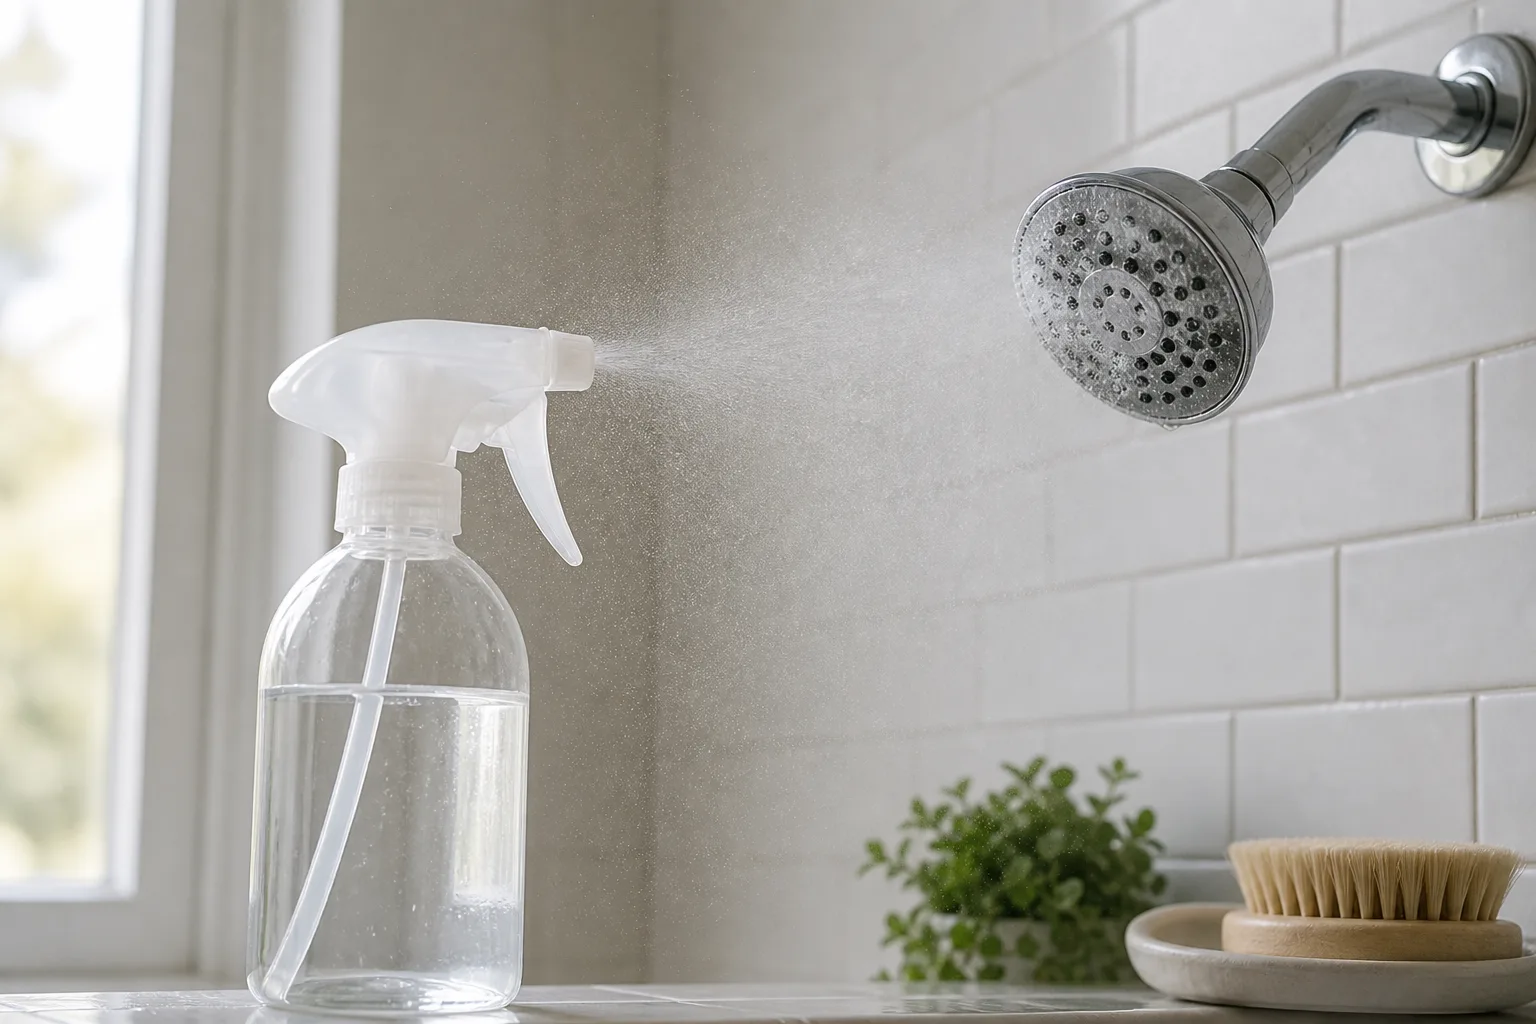
Choose a cloth or brush application over fine misting when the label allows it. This reduces airborne droplets and helps keep cleaner off nearby metal, natural stone, and painted surfaces. If a product label calls for a specific mask, gloves, dwell time, or ventilation condition, follow that label; a respirator is not permission to use a product in a closed room.
Never mix bleach with ammonia, acids, or other cleaners
Never mix bleach with ammonia, vinegar or other acids, toilet-bowl cleaner, hydrogen peroxide, or any other household cleaner. The CDC says not to combine bleach with ammonia or any other cleanser. Mixing chlorine bleach with ammonia or acids can release hazardous gases, and using two products back-to-back on a still-wet surface can create the same kind of risk as mixing them in a bottle.
Pick one cleaning method for the session. If you change methods later, rinse the surface thoroughly with water, let it dry, read both product labels, and confirm the next product is compatible with the surface and anything left from the first treatment. Never combine a commercial mold remover with a homemade vinegar, peroxide, or baking-soda mixture.
The Fast, Safe Method for Tile and Glass
For intact ceramic tile, porcelain, and glass, begin with the least aggressive method that can physically remove the surface growth. This is often faster than setting up a strong chemical, waiting for a fixed number of minutes, and then discovering the mark is soap residue or mineral staining. The Good Housekeeping shower-cleaning guide likewise separates shower cleaning from other mold jobs and recommends ventilation, a surface-appropriate cleaner, gentle scrubbing if spots remain, and rinsing and drying.
Clean, apply, follow the label, rinse, and dry
- Clear and ventilate. Move loose items away, run an exhaust fan that vents outside, and put on gloves and goggles. Keep the room aired out during the work and until it no longer smells damp or of cleaner.
- Dampen the spot. Avoid brushing a dry patch. Wet a cloth or soft nylon brush with a small amount of detergent solution or the chosen label-approved cleaner; do not flood grout or the joint behind the tile.
- Apply one cleaner. If using detergent, work it over the spot gently. If using a mold-and-mildew product, apply it exactly as directed and only to compatible material. Do not assume every product needs the same contact time; keep it wet only for the time printed on its label.
- Agitate gently. Use a soft brush for the grout line and a non-scratch pad or cloth on tile. Scrubbing harder does not reach mold behind a wall, and abrasive pads can dull acrylic, scratch metal, or erode grout.
- Rinse completely. Use clean water and a cloth, cup, or showerhead to remove the cleaner. Keep rinse water from running into adjacent drywall or under a loose caulk edge.
- Dry the surface. Wipe tile and glass with a clean towel and leave the shower open so air can circulate. Keep the exhaust fan on as the room dries.
- Recheck after drying. If the visible growth is gone but a faint stain remains, do not keep layering cleaners. If it returns, the next step is to investigate moisture and the condition of the joint—not automatically switch to a harsher chemical.
The final drying step is part of the cleanup, not an optional polish. A wet shower can look clean and still recreate the conditions that let growth return. The UF guidance for small mold cleanups recommends damp wiping nonporous surfaces with water and detergent while avoiding soaked cloths that add unnecessary water.
Clean Mold From Grout Without Wearing It Away
Grout is not the same as the glazed tile around it. Cement-based grout is porous and can hold moisture, skin oils, soap film, and dirt; repeated soaking or aggressive abrasion may leave it rough or crumbly. The Good Housekeeping grout guide recommends matching the cleaning method to grout rather than treating it like a smooth tile face.
Use a damp nylon grout brush and a surface-compatible cleaner. Work along a short section at a time, rinse the brush often, and wipe away residue with a clean damp cloth so dirty solution does not dry back into the groove. Avoid steel wool, stiff metal brushes, and flooding a seam; if the grout is sealed, check the sealer and tile manufacturer’s care instructions before applying bleach or acids.
If the spot is lighter after cleaning but remains visible, pause before repeating. Staining can remain even after the surface has been cleaned, while a crumbling or missing section may be more than a stain. Repeated bleaching can discolor surrounding finishes without repairing the joint; repair or replace damaged grout only after the shower is dry and the source of water is understood.
A practical Southern Living guide to shower grout also treats persistent marks and soft grout as reasons to inspect airflow and joint condition rather than just scrub harder. Those are useful maintenance clues, not a way to identify mold species or prove that growth has reached the wall behind the tile.
What to Do About Moldy Shower Caulk and Silicone
First check whether the growth is sitting on the caulk or appears to be under it. A new film on intact sealant may wipe from the surface with a compatible cleaner and a soft cloth. Dark dots that remain embedded, a bead that has split or lifted, or water that collects behind the sealant suggests the material may have failed.
Do not leave a strong bleach gel on silicone for hours as a standard fix. Product labels and sealant manufacturers differ, and prolonged chemical contact can damage a finish or fail to remove growth inside the bead. If careful surface cleaning does not clear the spot, remove the failed caulk, clean the exposed joint with a compatible product, let it dry fully, and install bathroom-rated sealant according to its instructions—or hire a tile or plumbing professional if water is getting behind the wall.
Avoid sealing over mold or applying new caulk while the joint is damp. That traps the moisture problem and may hide it until the bead separates again. If you are unsure whether the material is surface residue or growth beneath the sealant, treat the joint as a repair question rather than repeating stronger cleaner applications.
Choose a Cleaner by Shower Surface
“Bathroom cleaner” is not a single material category. What is safe on glazed ceramic can discolor brass, dull natural stone, or damage an acrylic surround. Read the product label and the shower surface manufacturer’s instructions before choosing a cleaner, and spot-test an inconspicuous area if the label recommends it.
Glazed tile, glass, acrylic, stone, and metal
For glazed tile and glass, detergent and water can remove a small amount of surface growth without adding a second chemical to the task. For acrylic or fiberglass shower panels, use only nonabrasive cleaners approved by the manufacturer. Do not assume that an all-purpose bathroom spray, bleach, or powdered scrub is safe on every plastic surface.
Natural stone such as marble, limestone, and travertine needs its own care instructions. Avoid acids such as vinegar unless the stone manufacturer explicitly allows them; acids can etch some stone. Bleach and high-pH products can also affect stone sealers and grout. On chrome, brass, and other fixtures, keep mold cleaner off the metal where possible, rinse splashes promptly, and follow the finish manufacturer’s guidance.
Curtains, ceilings, and porous wall materials
For a washable plastic liner, check the care label and clean it separately using an allowed method; rinse and hang it fully open to dry. Fabric curtains should follow their laundering label. Do not put a moldy curtain or liner into a cleaning mix that contains bleach and detergent unless the label specifically instructs that combination.
Shower ceilings and painted drywall need more caution than tile. A little surface mildew on intact paint is different from a soft, bubbling, stained, or crumbling ceiling. Avoid aggressive overhead scrubbing that splashes cleaner into your eyes; if a stain follows a leak or appears on porous material, find the water source and get an assessment rather than wetting the ceiling repeatedly.
Keep Mold From Returning With a Drying Routine
Cleaning removes the visible growth; reducing the time surfaces stay wet makes recurrence less likely. Run the bathroom exhaust fan during a shower and leave it on afterward long enough for mirrors and tile to clear. Confirm that the fan actually vents outdoors; a fan that exhausts into an attic or simply recirculates air will not remove bathroom moisture from the building.
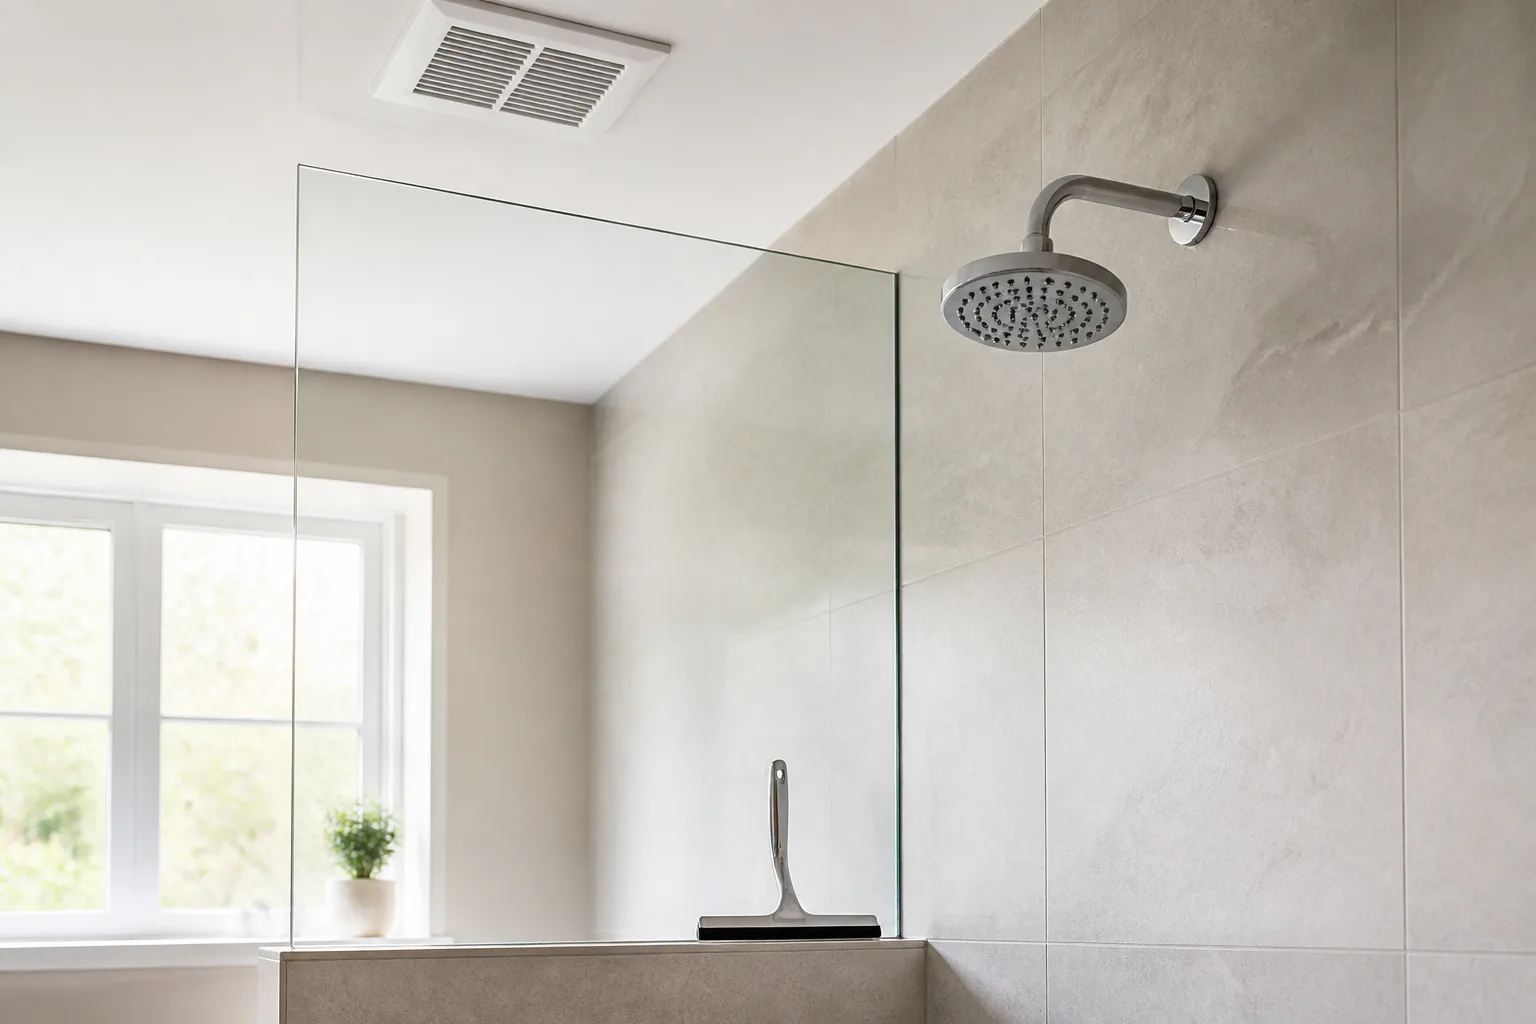
After showering, squeegee glass or tile if water tends to collect, wipe puddles from ledges, and spread the curtain or leave the door open so the enclosure can dry. Hang bathmats and towels where air reaches both sides. These simple habits take less time than a second cleaning and help reveal whether the room has enough airflow to dry between showers.
The UConn Extension guide recommends fixing leaks, using exhaust fans that vent outdoors, and keeping indoor relative humidity below 50 percent as prevention measures. A small hygrometer can show whether humidity remains high after showering. If it does, improve ventilation, repair the fan, or use a dehumidifier where appropriate; a fragrance spray only masks the musty smell.
If mold returns to one corner, inspect the closest joint, plumbing penetration, shower door track, and wall on the other side. Recurrence in one location often means water is staying in that exact place or entering from behind it. If mold appears across several unrelated surfaces, check the room’s ventilation and overall humidity as well as any plumbing leak.
When to Call a Mold or Repair Professional
Arrange an assessment if visible mold covers more than about 10 square feet, if it is inside a wall or ceiling, if drywall or insulation is wet, or if growth follows a continuing plumbing leak. Also stop if a room smells musty but the source is hidden, the shower surround is pulling away, or the same patch returns after the joint has been cleaned and dried. The EPA and university guidance use size thresholds as a starting point; hidden water damage and vulnerable occupants can make a much smaller patch a professional job.
The right professional depends on the clue. A licensed plumber or qualified bathroom contractor can diagnose leaking pipes, failed waterproofing, or missing grout; a mold-remediation contractor can assess larger or concealed growth and explain containment. If you rent, notify the property manager about a leak or recurring mold and document the area before it is repaired. Avoid paying for a mail-in species test before anyone has fixed the water source; a test cannot repair a failed seal or wet wall.
People with asthma, chronic lung disease, allergies to mold, or weakened immune systems should stay out of the cleanup area and ask someone else or a professional to handle the work. If cleaning chemicals cause breathing difficulty or eye injury, leave the room and follow the product label’s first-aid directions; seek urgent help for severe symptoms. This is not a diagnosis of a health condition, but a reminder to treat exposure and chemical use cautiously.
Conclusion
For a small shower spot, identify the surface first, ventilate, protect yourself, clean gently with detergent and water or one compatible labeled product, rinse, and dry. Use less liquid on grout, do not expect bleach to rescue failed silicone, and never combine bleach with ammonia, vinegar, or other cleaners. If the patch is large, the wall is damp or damaged, or mold keeps returning, fix the moisture source and get a professional assessment instead of repeating the same scrub.