How to Heat a Greenhouse: 8 Practical Methods for Winter
Learn how to heat a greenhouse safely: set a crop-specific night temperature, reduce heat loss, size a heater, and compare eight heating methods for your crops.
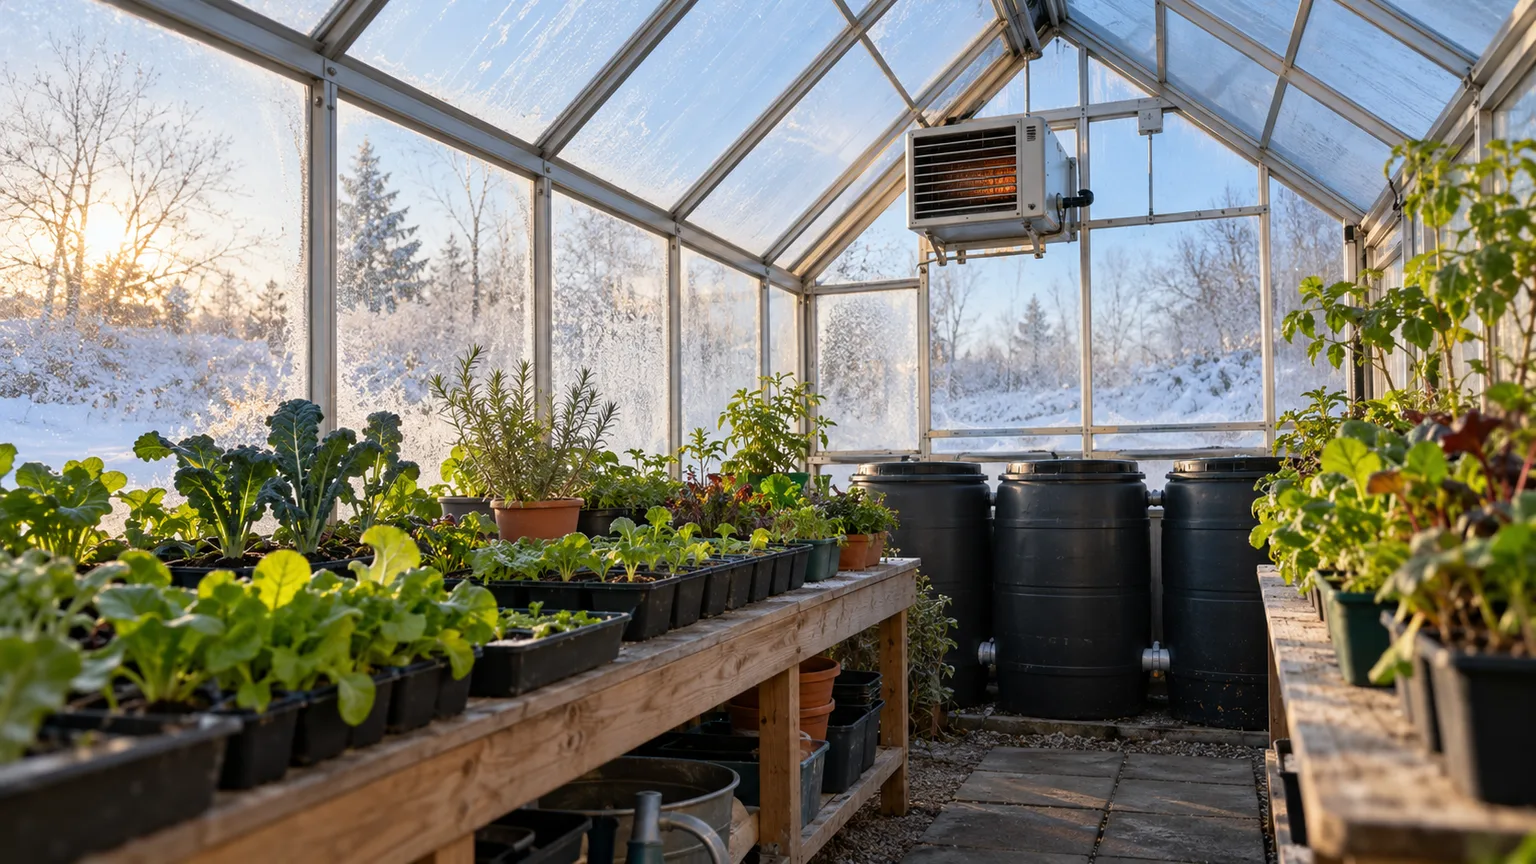
A greenhouse does not need to feel like a living room to protect plants. It needs to stay above the minimum temperature your particular crops can tolerate, at the coldest point in the structure, through the hours when sunlight is unavailable. The reliable order is simple: set that temperature, stop avoidable heat loss, choose a heat source that fits the greenhouse and local conditions, then monitor the result at plant height.
That approach can save more than shopping for a larger heater first. A leaky door, an uninsulated north wall, or a thermostat mounted next to a heater can make an otherwise adequate system fail. The right setup for a few trays of hardy greens is also very different from one intended to keep tropical seedlings growing through a long, cloudy winter.
Choose a night temperature for your plants
Start with the crop, not a generic greenhouse temperature. The University of Georgia Cooperative Extension’s current greenhouse engineering bulletin separates cool and warm greenhouse crops: it lists about 50°F (10°C) as a suitable night temperature for many cool crops and 65°F (18°C) for many warm crops, while tropical plants may need around 70°F (21°C). Those are useful examples, not universal prescriptions; species, cultivar, growth stage, and acclimation all affect cold tolerance. Check the guidance for the plants you actually grow, then set the heater only high enough to protect the most temperature-sensitive crop you plan to keep inside.
| Greenhouse goal | A reasonable starting point | What to keep in mind |
|---|---|---|
| Frost protection for hardy plants | Near 40°F (4°C), if the crop tolerates it | This prevents some freeze damage but does not create fast growth. |
| Cool-season crops and many seedlings | Around 50°F (10°C) at night | Use crop-specific advice; germination may need warmer media. |
| Warm-season crops | Around 60–65°F (16–18°C) at night | More heat can mean higher operating cost and faster growth only if light is adequate. |
| Tropical or heat-loving plants | Around 65–70°F (18–21°C) at night | Keep these plants together so the whole structure does not need the same high setpoint. |
Measure air at canopy height, not against the roof or on the heater’s warm side. A minimum-maximum thermometer gives you the overnight low and the daytime high; a separate probe in the cold corner helps reveal whether the central reading is misleading. The aim is not the highest temperature a plant can endure. It is the lowest dependable temperature that avoids damage and supports the growth you want.
Reduce heat loss before adding a heater
Heating demand depends on the indoor-outdoor temperature difference and on how quickly the greenhouse loses heat through its covering, leaks, floor, and ventilation. The University of Georgia Cooperative Extension’s greenhouse heating bulletin describes heat loss through conduction, air movement, and radiation. That matters in practice because a more powerful heater cannot compensate efficiently for every gap, and the heat may never reach the benches evenly.
Start with a windy-night inspection. Close the door and look for torn film, loose glazing bars, failed gaskets, gaps around vents, and fan shutters that do not close fully. Repair openings that are not needed for ventilation, but do not seal a fuel-burning heater into an unventilated room. Insulation, air sealing, and proper ventilation have different jobs: block uncontrolled drafts, retain heat through the envelope, and still remove excess moisture or heat when conditions require it.
Improve glazing and seal leaks
A second layer of greenhouse film or a properly fitted thermal curtain can slow heat loss, especially over a large roof area. UGA Extension gives a higher R-value to separated double-layer polyethylene than single-layer film, which means less heat flow through that covering under the same temperature difference. The exact gain depends on how the layers are installed and whether air can still leak around edges; loose plastic that flaps in wind or blocks a needed vent can create new problems.
For a small greenhouse, horticultural bubble insulation or a removable inner curtain can be a practical seasonal measure. Attach it so it does not touch hot surfaces, cover vents, or stay in the way of daytime solar gain when you need light. Insulate the coldest wall first if it is a solid boundary with little useful winter sun, and keep clear glazing clean. A dark, insulated backing wall can help reduce losses, but covering every sunny panel may reduce the light your seedlings need.
A thermal screen that closes at night and retracts during the day is often easier to manage than permanent opaque insulation. Gardening Know How’s greenhouse-insulation guide likewise treats the roof and walls as heat-loss pathways; keep any opaque layer off glazing that supplies essential winter light. Seal the floor-to-wall edge and door carefully, then check the greenhouse again after the first windy night. If the heater cycles constantly or the cold corner remains far below the setpoint, look for leakage and distribution issues before buying more capacity.
Keep ventilation on a control plan
A greenhouse can overheat on a bright winter afternoon and still freeze after sunset. It also collects water vapor from moist growing media, transpiring plants, and combustion appliances. UGA Extension notes that high humidity and condensation can encourage disease and that winter ventilation should avoid cold drafts on plants. Keep an air-circulation fan running at low speed when it helps mix warm and cool layers, but do not confuse that fan with an exhaust fan that brings in outside air.
Use roof vents, louvers, or an exhaust fan to manage daytime heat and moisture, then close them when temperatures fall unless your heater’s installation instructions require a specific air supply. When you do ventilate in cold weather, favor a brief, controlled exchange and distribute incoming air above or away from plants rather than aiming a cold jet at seedlings. Monitor relative humidity and condensation on the glazing: persistent wet leaves or dripping panels are signals to improve air movement or moisture management, not to leave a door open all night.
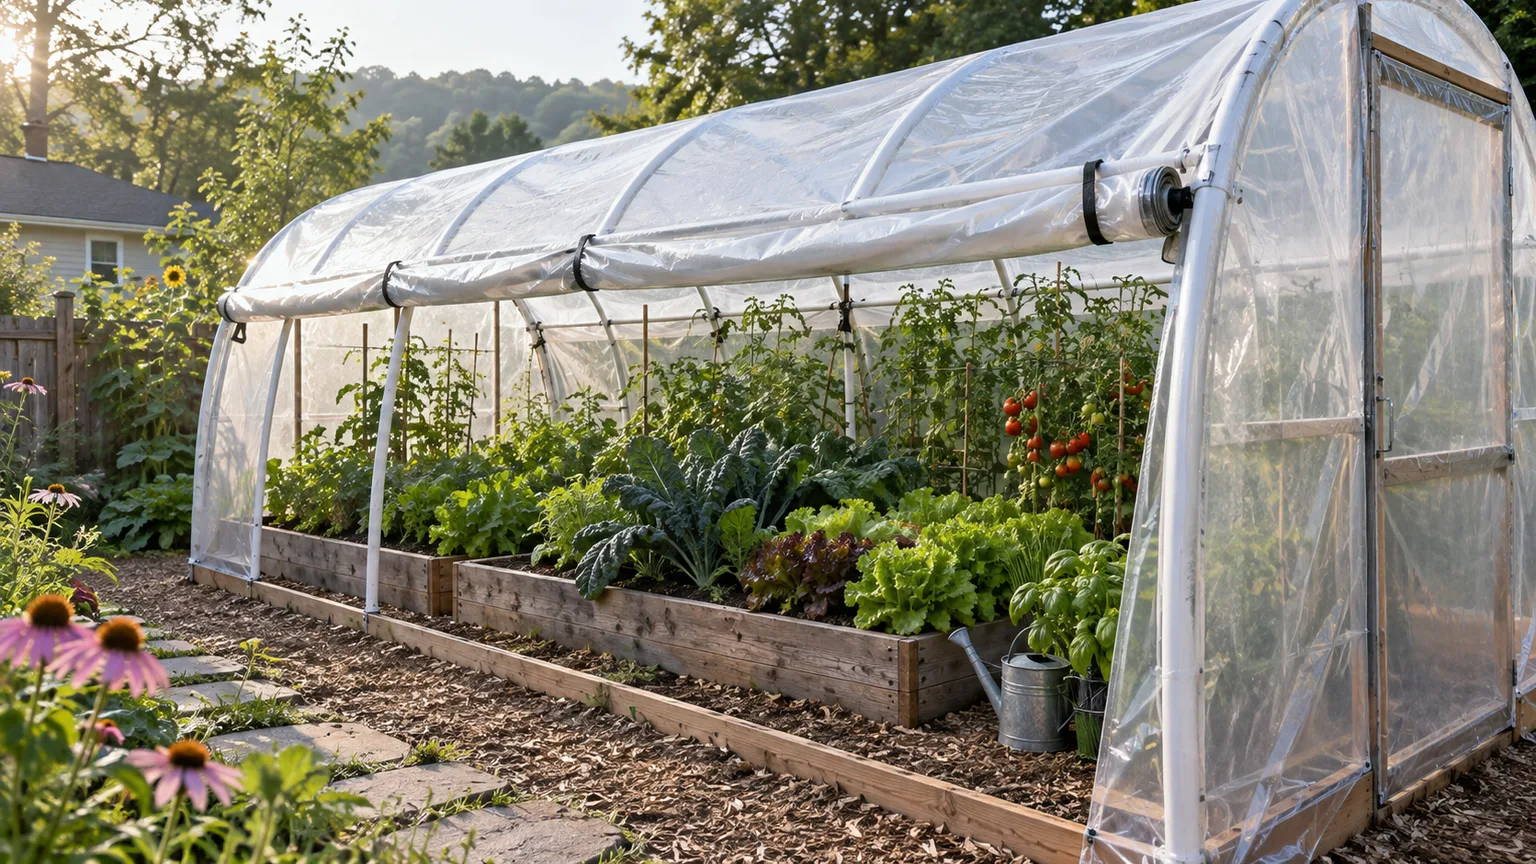
Eight ways to heat a greenhouse
The options below are not eight interchangeable appliances. Some reduce the amount of heat you need; others create heat; solar panels provide electricity that must be stored if it is needed after dark. A small, sunny greenhouse in a mild climate may need only passive measures and backup frost protection. A large structure in a colder region needs a properly sized system and a plan for outages.
1. Passive solar heat and thermal mass
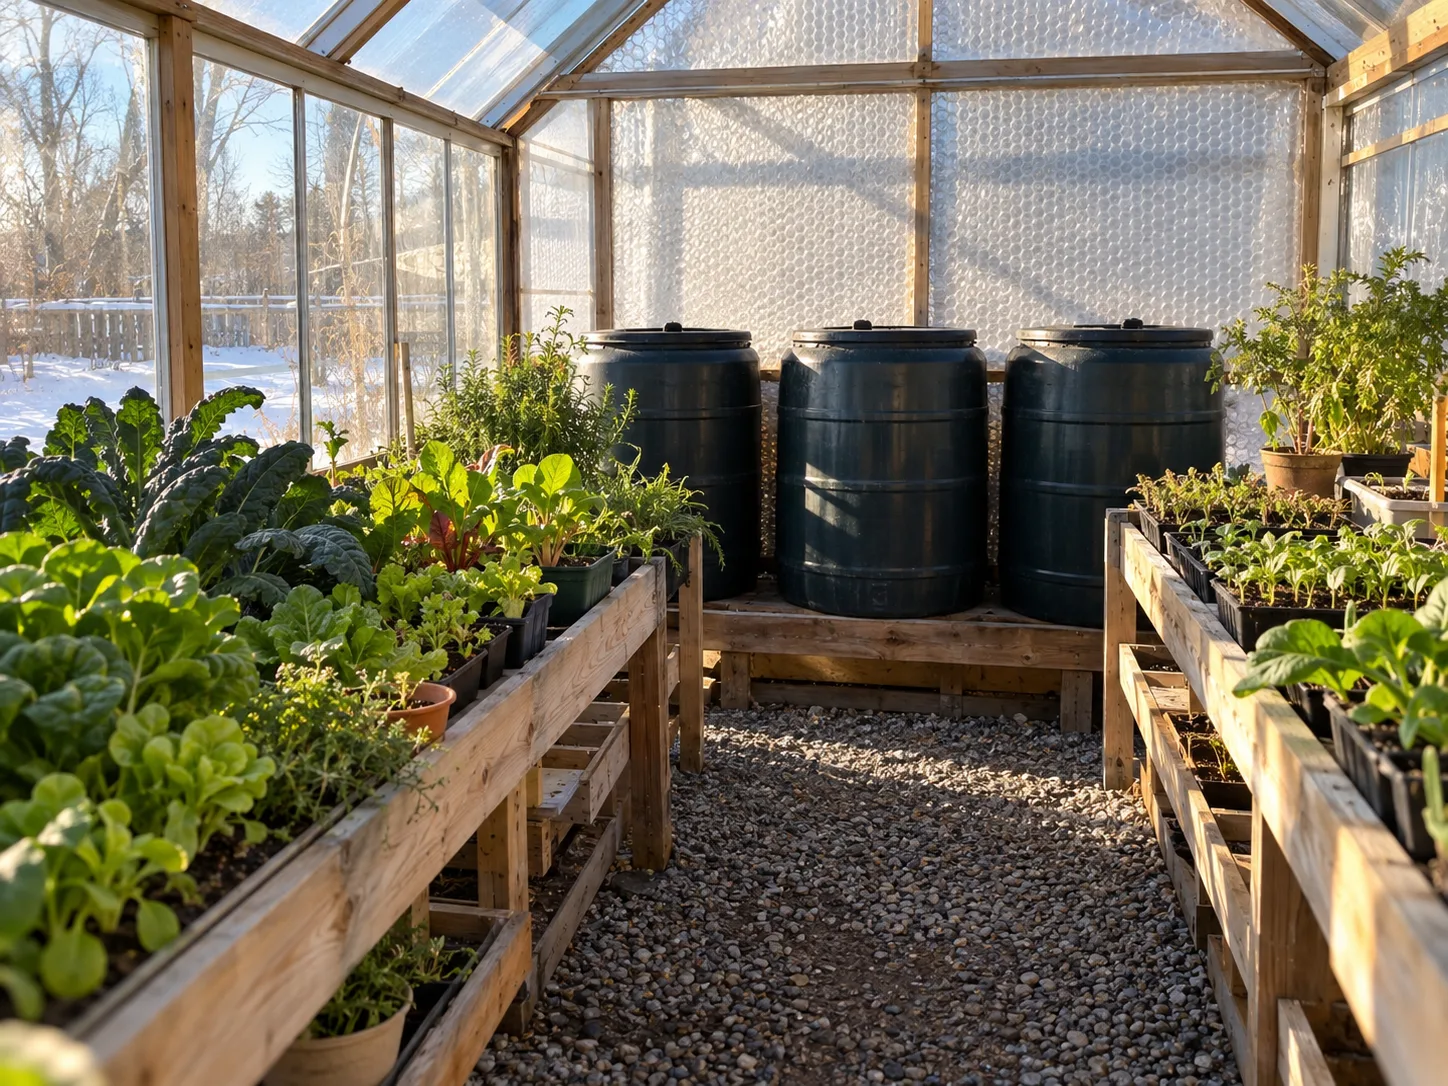
A greenhouse already collects solar energy when the sun warms its soil, benches, pots, and plants. Thermal mass—often water in dark barrels or tanks—absorbs some of that daytime heat and releases it as the air cools. Place containers where winter sun reaches them, without blocking the light from crop benches. The method works best when the structure has several hours of direct sun, the cold night is not extreme, and the mass is large enough for the greenhouse volume.
Water slows temperature swings; it does not create heat. As a rough illustration, three 55-gallon drums hold about 1,375 pounds of water. If all of that water warms by 20°F during the day, it stores roughly 27,500 Btu; released evenly over 12 hours, that is about 2,300 Btu per hour before accounting for real-world losses. A 1,500-watt electric heater can deliver about 5,100 Btu per hour while running. The comparison is not a heater-sizing formula, but it shows why a few barrels can reduce a dip without guaranteeing frost protection all night.
Savvy Gardening’s winter-greenhouse guidance describes water barrels as a heat sink and pairs them with cold-tolerant crops and row covers. That is a better expectation than treating thermal mass as a replacement for backup heat in a severe freeze. Use a thermometer to test the overnight low after adding mass; do not assume a container’s color or size guarantees a particular temperature.
2. Solar panels paired with a heater
Photovoltaic panels can run an electric heater when the sun is shining, or charge a battery for later use. The battery and inverter—not the panels alone—are what make nighttime heating possible. This distinction is easy to miss: a panel may produce power during a sunny afternoon, while the coldest hours often arrive long after it stops producing.
Estimate the energy requirement before buying a solar kit. A 1,500-watt resistance heater running continuously for 10 hours would consume 15 kilowatt-hours before inverter losses; a thermostat may reduce actual runtime, but that varies with the weather, insulation, and heater output. The battery, inverter, panel array, and wiring all need to match the load, and the setup must account for several cloudy days rather than one ideal afternoon. A small photovoltaic system may be excellent for sensors, fans, and alarm communications while remaining too small to heat the entire greenhouse overnight.
Solar-powered heating is most suitable where the growing season is sunny, the target temperature is modest, and the structure is insulated. Treat it as a designed electrical system, not a small panel plugged directly into a space heater. If you need guaranteed heat through a prolonged outage, plan a tested backup source or a crop-protection method that does not depend on the same battery.
3. Geothermal or earth-tube heating
An earth-tube system moves outside air through buried pipe so the surrounding soil tempers it before it enters the greenhouse. A ground-source heat pump instead transfers heat from soil or water and raises its temperature for use in the structure. These are distinct designs: earth tubes may deliver only modest warming, while a heat pump can provide a larger temperature lift using electricity.
Farm Energy Extension’s geothermal overview reports that soil around 5 to 6 feet below the surface averages near 50°F in many settings, with seasonal variation and a lag behind surface temperatures. That makes ground-source heat useful for frost protection or as the lower-temperature side of a heat-pump system, but soil temperature alone will not hold a tropical greenhouse at 70°F on a cold night. The article also recommends improving conservation measures before sizing a geothermal system, since less heat loss can reduce the system required.
Geothermal is a long-term infrastructure choice, not a quick winter fix. Excavation, land, soil conditions, loop length, pump sizing, drainage, and professional installation determine whether it makes sense. Compare projected annual energy savings with the full installed cost and the years you expect to use the greenhouse; do not apply a payback estimate from a commercial operation to a small hobby structure.
4. Electric forced-air heater
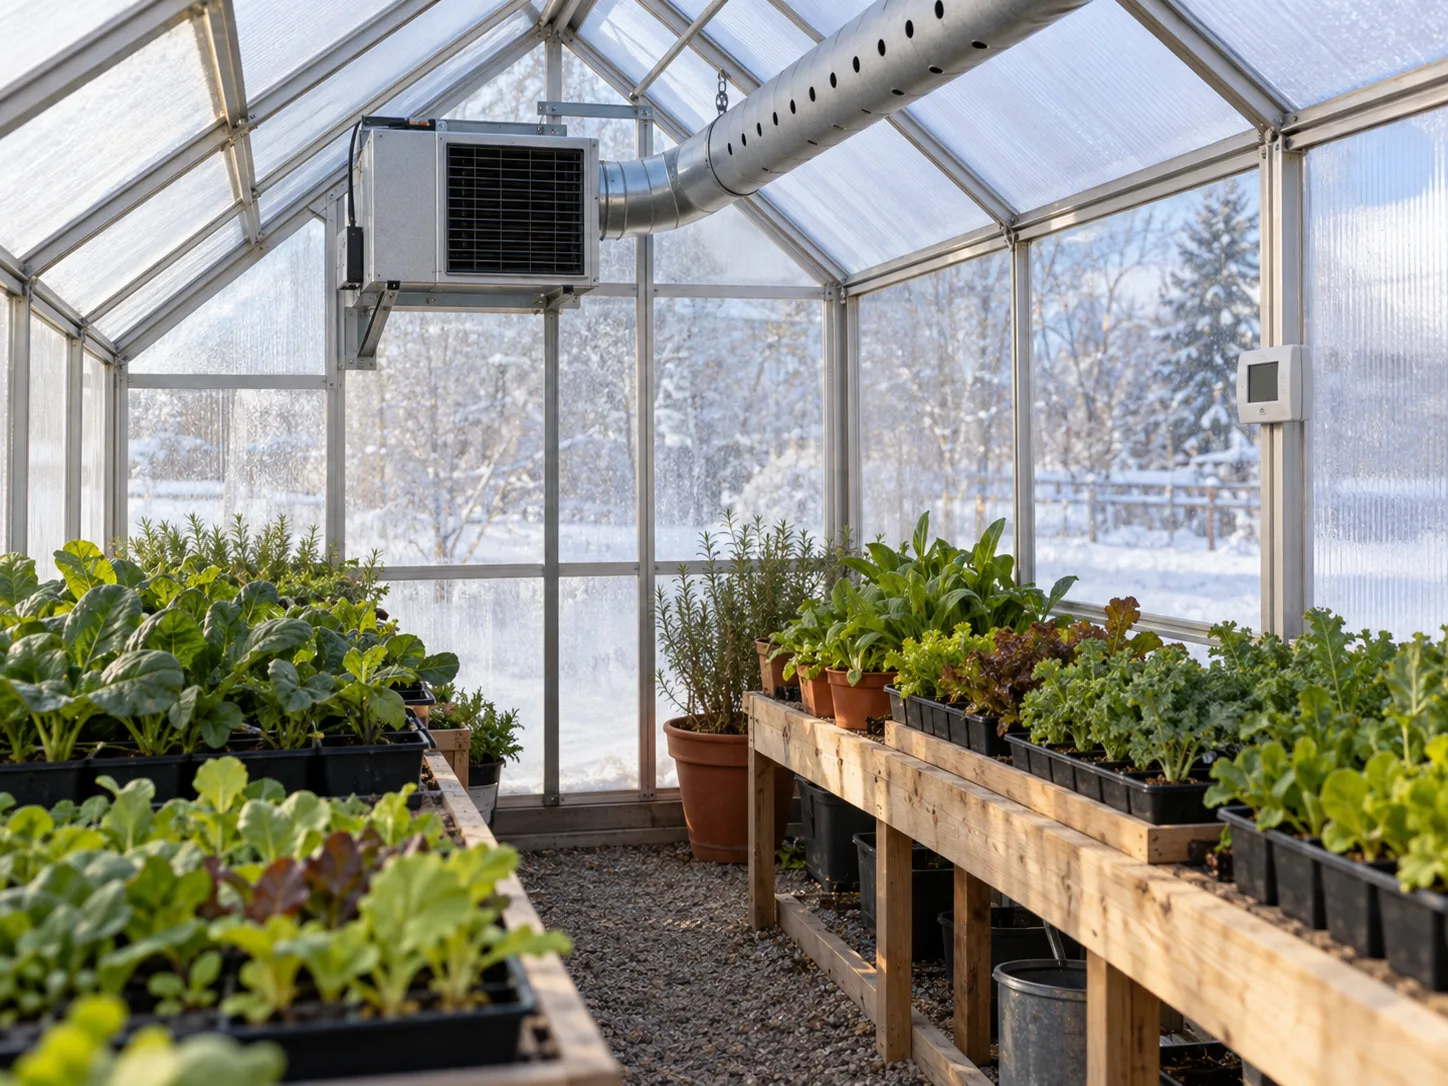
A greenhouse-rated electric fan heater is one of the simplest ways to raise air temperature quickly. The fan can help reduce cold pockets, especially when the heater is positioned to move air along the length of a greenhouse rather than directly at tender leaves. In longer structures, a perforated distribution tube or multiple correctly sized heaters can spread warmth more evenly than one unit at a single end.
The main trade-off is the electrical load. A portable heater may draw close to 1,500 watts on a standard household circuit, so check the nameplate, circuit rating, and manufacturer’s clearance requirements; do not assume that a household extension cord or power strip is safe. The U.S. Consumer Product Safety Commission advises plugging electric space heaters directly into a wall outlet and keeping them at least 3 feet from combustible materials. A damp greenhouse adds moisture and condensation risk, so select equipment and electrical protection designed for the actual setting, and ask a qualified electrician about permanent installation.
5. Infrared radiant heat
Infrared equipment warms surfaces and objects in its field—such as benches, pots, soil, and leaves—rather than relying only on heated air. That can be useful when you want to protect a particular bench or propagation area while allowing the rest of the greenhouse to remain cooler. Root-zone cables or hot-water bench pipes serve a related purpose: they concentrate heat where roots need it instead of paying to raise the temperature of the entire air volume.
Radiant heat is directional. Plants behind opaque objects may receive less warmth, and a lamp placed too close can overheat a small patch even when a thermometer across the room reads cool. Follow the heater’s spacing and mounting instructions, use a thermostat or controller that measures the target zone, and compare leaf or media conditions at several positions. UGA Extension describes localized radiant and soil heating as established greenhouse approaches; the practical choice is whether targeted warmth meets your crop goal more efficiently than whole-house air heating.
6. Oil-filled electric radiator
An oil-filled radiator is a portable electric resistance heater whose internal oil stores heat after the element switches off. Its steady output can reduce the abrupt hot-air blast from some fan heaters, which may be useful in a small greenhouse with gentle circulation from a separate fan. The oil does not generate free heat or make the appliance more efficient than an equivalent resistance heater; it changes how the heat is stored and released.
These radiators warm up gradually, so they are not ideal as the only protection when temperatures are dropping fast or a greenhouse loses heat quickly. They also need safe, stable placement and clearance from pots, dry plant debris, plastic film, and watering splash. Choose a model approved for the environment where it will operate, plug it into the proper circuit as directed, and use a thermostat that can cycle the unit at the crop’s minimum. If the greenhouse is very humid or unoccupied for long periods, a permanently installed heater with a suitable controller may be easier to protect and monitor.
7. Vented gas heating
Natural gas or propane can supply dependable heat where fuel is available and the heater is sized for the structure. A fixed unit heater can respond quickly to a thermostat and may be practical for a larger greenhouse or a location where electricity is costly or limited. The installed system must distribute heat without leaving cold corners, and its venting and combustion-air requirements must be followed exactly.
Use a greenhouse-appropriate, correctly vented appliance installed and maintained by a qualified professional. Do not improvise a flue, run an indoor patio or camping heater inside a greenhouse, or assume that an open door makes an unvented burner safe. Fuel combustion can create carbon monoxide and plant-damaging gases; it can also add moisture. Follow the appliance manual, local codes, and service schedule, and keep flammable materials at the listed clearances. UGA Extension’s hobby-greenhouse guidance calls for a fresh-air supply and unobstructed exhaust with fuel-burning heaters. Its current greenhouse-heating bulletin also emphasizes uniform temperature control and avoiding emissions harmful to plants; that is as important as the fuel bill.
8. Kerosene heating for short emergencies
Kerosene heaters appear in older greenhouse guidance because they can produce heat without household electricity, but they deserve more caution than a plug-in thermostat-controlled unit. Combustion quality, fuel grade, air supply, venting, burner maintenance, and shutdown procedures all affect the risks. Sulfur dioxide, ethylene, and carbon monoxide can injure plants or people; carbon monoxide is odorless, so smell is not a reliable warning.
Do not use an unvented household kerosene heater as routine greenhouse heat. Only consider a model whose manufacturer explicitly approves the greenhouse conditions and gives clear ventilation and venting requirements, and follow local fire and building rules. Never refuel a running or hot portable heater; CPSC says to turn it off and let it cool first. For most small greenhouses, an electric heater on a suitable circuit or a professionally installed vented system is easier to control. If a fuel heater is only emergency backup, store fuel safely outside living areas, test the system before a cold snap, and keep a separate plan for power failure and safe exit.
Size the system for the coldest design night
Heater capacity depends on the greenhouse’s surface area, glazing, air leakage, wind exposure, desired indoor temperature, and the local outdoor design temperature. The UGA Extension heating bulletin gives a basic conduction estimate: heat loss in Btu per hour is approximately surface area in square feet multiplied by the indoor-outdoor temperature difference, then divided by the covering’s R-value. For example, 100 square feet of a surface with an R-value of 0.83 and a 40°F temperature difference loses about 4,800 Btu per hour by conduction alone. Double-layer film with a listed R-value of 1.43 would lose about 2,800 Btu per hour under those same simplified assumptions.
That example does not include air leakage, the floor perimeter, wind, doors opening, thermal bridges, or unusual geometry. UGA’s full method adds an estimate for infiltration and ground-perimeter losses; its bulletin also says minimum outdoor design temperatures should reflect local climate rather than a national average. Use the calculation to understand why a bigger temperature gap, more exposed area, or a poor envelope raises demand—not as a final purchase specification. For anything beyond a small hobby greenhouse, have an installer or greenhouse supplier size the system using the structure, glazing, and location.
Avoid sizing solely from floor area or a heater’s advertised square-foot rating. Those ratings often assume a better-insulated room than a greenhouse and do not capture wind or glazing. Leave a safety margin recommended by the manufacturer, but do not oversize so dramatically that the heater short-cycles, creates hot spots, or costs more than needed. Two properly controlled units can provide more resilience than one if a failure would threaten valuable plants; either way, an alarm matters because no heater is immune to a tripped breaker or fuel interruption.
Place sensors, controls, and backup alarms
A thermostat should sense the crop zone, not the warm air at the heater outlet or direct sun on a sensor housing. Place the probe around plant-canopy height, out of direct radiant heat, away from a doorway draft, and near the area most likely to become cold. If the greenhouse has separate rooms, benches, or tiers, use more than one sensor or move plants with different temperature needs into separate zones.
Set a deadband wide enough to avoid rapid on-off cycling, and verify the reading with a second thermometer before relying on it. After the first cold night, compare the thermostat’s low reading with the minimum-maximum thermometer near the plants and adjust the probe or heat distribution if they disagree. A temperature alarm that sends a message or sounds in an occupied area can warn you about a failed heater, open door, or power outage before plants freeze. UGA Extension specifically recommends warning devices for extreme temperatures or power failure; a battery-backed alarm is especially useful where a brief outage could drop the temperature quickly.
Test backup systems while the weather is still mild. Check that a generator or battery is rated for the load, that fuel is stored safely, that cords and connections are protected from water, and that the backup heater does not depend on the same failed component as the primary system. A small alarm and a well-placed probe can be more valuable than an extra barrel if the real risk is that you will not notice a problem until morning.
Match the setup to how you grow
For a small greenhouse that only needs frost protection, start with air sealing, a night curtain, cold-tolerant crops, and a modest thermostat-controlled heater. If your goal is winter salad greens, it may be cheaper to protect the beds with row covers and heat a smaller volume than to maintain tropical temperatures across the whole greenhouse. Savvy Gardening’s winter-growing examples show that an unheated structure can still support hardy crops in a cold climate when the crop choice and protection match the season; it is not necessary to heat every greenhouse for every crop.
For seed starting, warm the propagation bench or root zone if the rest of the greenhouse can stay cooler. For warm-season tomatoes, citrus, or tropical collections, group heat-demanding plants together and calculate the added load before expanding the heated area. For a large structure used year-round, compare forced-air, hydronic, geothermal, and solar-assisted systems on installed cost, local fuel price, controls, and maintenance rather than choosing by headline efficiency alone.
If the greenhouse is used only for a few weeks of shoulder season, portable electric heat may be simpler than burying a geothermal loop or installing a gas line. If nights are routinely far below freezing, sunshine is limited, and the greenhouse is single-pane glass with leaks, first decide whether the operating cost is worth the crop value. Sometimes a cold frame, insulated propagation cabinet, or indoor seed shelf solves the actual problem with far less energy.
Fix the common reasons a heated greenhouse still gets cold
If plants are cold while the thermostat says the target is met, measure at the leaves and at root level: the sensor may be too close to the heater, while a bench corner is cold. Add a circulation fan, move the probe, or redirect the duct so warm air reaches the far end without blasting seedlings. If the whole structure runs below setpoint, look for a tripped circuit, open vent, stuck door, torn film, fuel interruption, or heater capacity that was calculated for a milder night.
If the heater runs continuously, compare the actual outdoor low with the design temperature used to size it. Check for air leaks and wet or damaged insulation before blaming the heater; wet materials can conduct more heat, and air infiltration can overwhelm a small unit. If leaves develop condensation or fungal symptoms, heating alone may not solve the problem: add gentle air movement, water earlier in the day, and use controlled ventilation when outside conditions allow it. Avoid solving humidity by leaving the greenhouse open overnight, because the cold air exchange can erase the heat you paid to add.
If temperatures spike on sunny days, add an automatic vent or a reliable manual check schedule. A greenhouse is a heat trap in both seasons, so the system needs a way to prevent overheating while the heater is off. Record inside and outside lows for a week after each change; those observations tell you whether the fix reduced heat loss, shifted the cold spot, or simply moved the problem to another part of the structure.
Conclusion
The best greenhouse heating setup is the smallest safe system that holds the temperature your plants need through your coldest ordinary nights. Begin with the crop minimum, improve the envelope, and treat passive solar barrels as heat storage rather than a guaranteed heat source. Then compare electric, radiant, fuel-fired, solar-assisted, and geothermal options against the greenhouse’s actual heat loss and the energy available at your site.
Install controls where plants grow, circulate heat without creating damaging drafts, and add a tested low-temperature alarm. If you only need to protect a few trays, heat that small zone instead of the entire structure. A measured, crop-specific plan is more dependable than trying to make every greenhouse warm all winter.



