How to Remove a Wallpaper Border Without Damage
Remove a wallpaper border with the gentlest method that works. Learn when to peel dry, add moisture, use remover or steam, and protect paint and drywall.
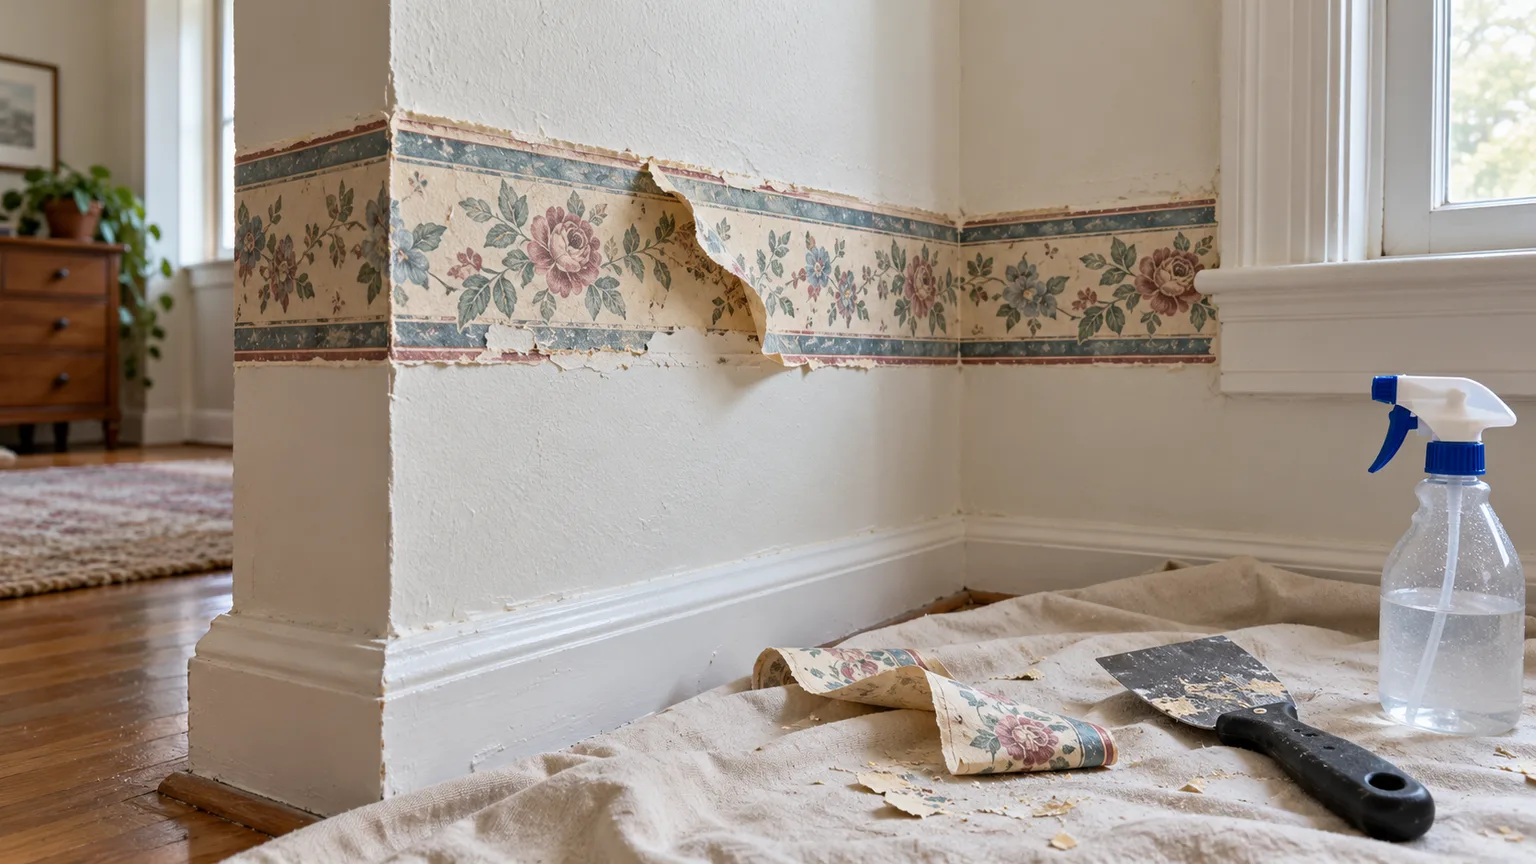
The safest way to remove a wallpaper border is to start dry, work from a seam or corner, and use the lightest method that actually loosens the paper. Do not begin by soaking the whole strip or scoring it from end to end: that can spread moisture, mark the paint, or cut through wallpaper you meant to keep. Test a small, inconspicuous section first; if the border lifts cleanly, continue slowly, and if the paint or wall surface starts coming with it, stop and change course.
The right method depends on three things: whether the border’s face is porous or coated, what is underneath it, and how sound that surface is. A painted plaster wall may tolerate more moisture than fragile drywall paper, while a border laid over wallpaper you want to preserve calls for a nearly dry approach. To limit collateral damage, test first, peel, dampen selectively, and consider a remover or steamer only if the wall can take it.
| Method | Best first use | Main caution |
|---|---|---|
| Dry lift and peel | Loose seams, strippable paper, wallpaper below that must stay | Pulling hard can lift paint or lower wallpaper |
| Damp sponge or warm-water spray | Paper border on a sound, washable painted wall | Too much moisture can soften drywall facing and nearby wallpaper |
| Wallpaper remover | Adhesive that remains stubborn after a test with water | Follow the product label and test a hidden patch |
| Wallpaper steamer | A firmly bonded border on a suitable bare wall surface | Steam can scald and may damage paint, drywall, or wallpaper underneath |
Identify the border and the wall before choosing a method
Before reaching for a bottle, look at the border’s cut edge and the wall around it. Some borders are designed to peel off, some have a decorative face that separates from a paper backing, and others are coated or painted over so water cannot reach the paste easily. A border that has been on the wall for years may also be brittle, layered, or bonded to paint that is already failing; the initial test tells you more than the age of the paper alone.
Test whether the border has a strippable top layer
Choose a hidden corner or an end near a doorway, then gently nudge the edge with a fingernail or the rounded corner of a flexible putty knife. If the decorative layer lifts in a wide sheet, pull it back slowly at a low angle and watch what remains. A thin backing left on the wall means you have removed only the face; that backing may need a separate, carefully controlled moisture pass if the wall underneath is painted and sound.
Glossy, wipeable, or vinyl-like surfaces often resist a light mist because water beads rather than soaking in, so moisture may need access through an exposed edge or, if the wall and lower layer are safe to treat, tiny perforations made with a wallpaper scorer. Scoring is not a routine first step: deep cuts can scar paint or drywall, and a tool can pierce the wallpaper underneath. If a simple dry pull already works, leave the scorer in the drawer.
This Old House also begins its border-removal guidance with a dry lift before moving to wet or heat-based approaches when the paper resists (This Old House’s wallpaper-border guide). That order is useful because every additional method adds either moisture, heat, chemicals, or blade contact. A small test gives you a chance to stop before any of those risks become a full-wall problem.
Match the method to drywall, plaster, and painted surfaces
Drywall has a paper facing over a gypsum core. If you soak it or dig at it with a sharp blade, the facing can tear, swell, or fuzz; once the paper layer is damaged, the next job may be patching and sealing rather than simple decorating. Plaster is more solid, but its paint can still chip or release, so “plaster” does not mean “safe to scrape aggressively.”
Paint finish matters too. A sound, washable finish is more forgiving than chalky, flaking, blistered, or very old paint. If the coating is already loose, even mild adhesive can take it with the border; when you see a bubble, crack, or loose edge, do not use the border as a lever and work only where the finish is stable, prepared to repair the strip afterward.
In the United States, take extra care in a home built before 1978 if the border sits over old paint. CDC identifies chipping or peeling paint in buildings from before 1978 as a potential lead-exposure source, and says a certified lead inspector can test a home (CDC guidance on childhood lead poisoning prevention). If old paint is deteriorating or you have a specific reason to suspect lead, do not dry-sand, aggressively score, or scrape it as a casual wallpaper project; pause and get qualified lead-safe guidance before disturbing the surface.
Protect wallpaper you plan to keep
When the border sits on top of wallpaper that you intend to preserve, treat the lower layer as the fragile surface. Begin with a dry lift only, keep the scraper nearly parallel to the wall, and stop if the lower wallpaper’s print, seam, or surface begins to pull up. Water, vinegar solution, commercial remover, and steam can soften or stain the underlying paper or its seams, so they are poor escalation choices when preservation is the priority.
If the border will not separate dry, decide whether you are willing to replace or repair the wallpaper beneath it. It is tempting to mist just the border and assume the liquid will stay exactly there, but paper wicks moisture beyond the visible strip and liquid can run behind an edge. When the lower wallpaper is valuable, brittle, or difficult to match, a wallpaper installer may be able to test a hidden spot and advise whether controlled removal is realistic.
Protect the room and set up a controlled work area
Move small furniture and wall decor away from the work zone, and cover the floor directly below the border with a drop cloth or plastic-backed protective sheet. If you use water or remover, keep an absorbent towel at the baseboard so drips do not sit on wood trim, carpet, or flooring seams. Work one short section at a time; a contained area is easier to keep damp enough to loosen paste without wetting the room.
Gather a spray bottle or sponge, a flexible putty knife or wallpaper scraper with a smooth edge, clean cloths, a small bucket of warm water, and a trash bag. Add gloves and eye protection if a product label calls for them, and ventilate the room when using a chemical remover. A scoring tool and steamer are optional tools for later, not a required kit; leaving them unused is a good outcome if the border lifts with less force.
Keep sprays, wet sponges, and steam away from receptacles, switches, light fittings, and other electrical openings. Do not assume that painter’s tape makes an electrical opening safe to wet. If the border runs tightly across an outlet or switch, keep the treatment dry at that spot or have a qualified person make the area safe before using liquid or a steamer nearby.
Start with a dry peel
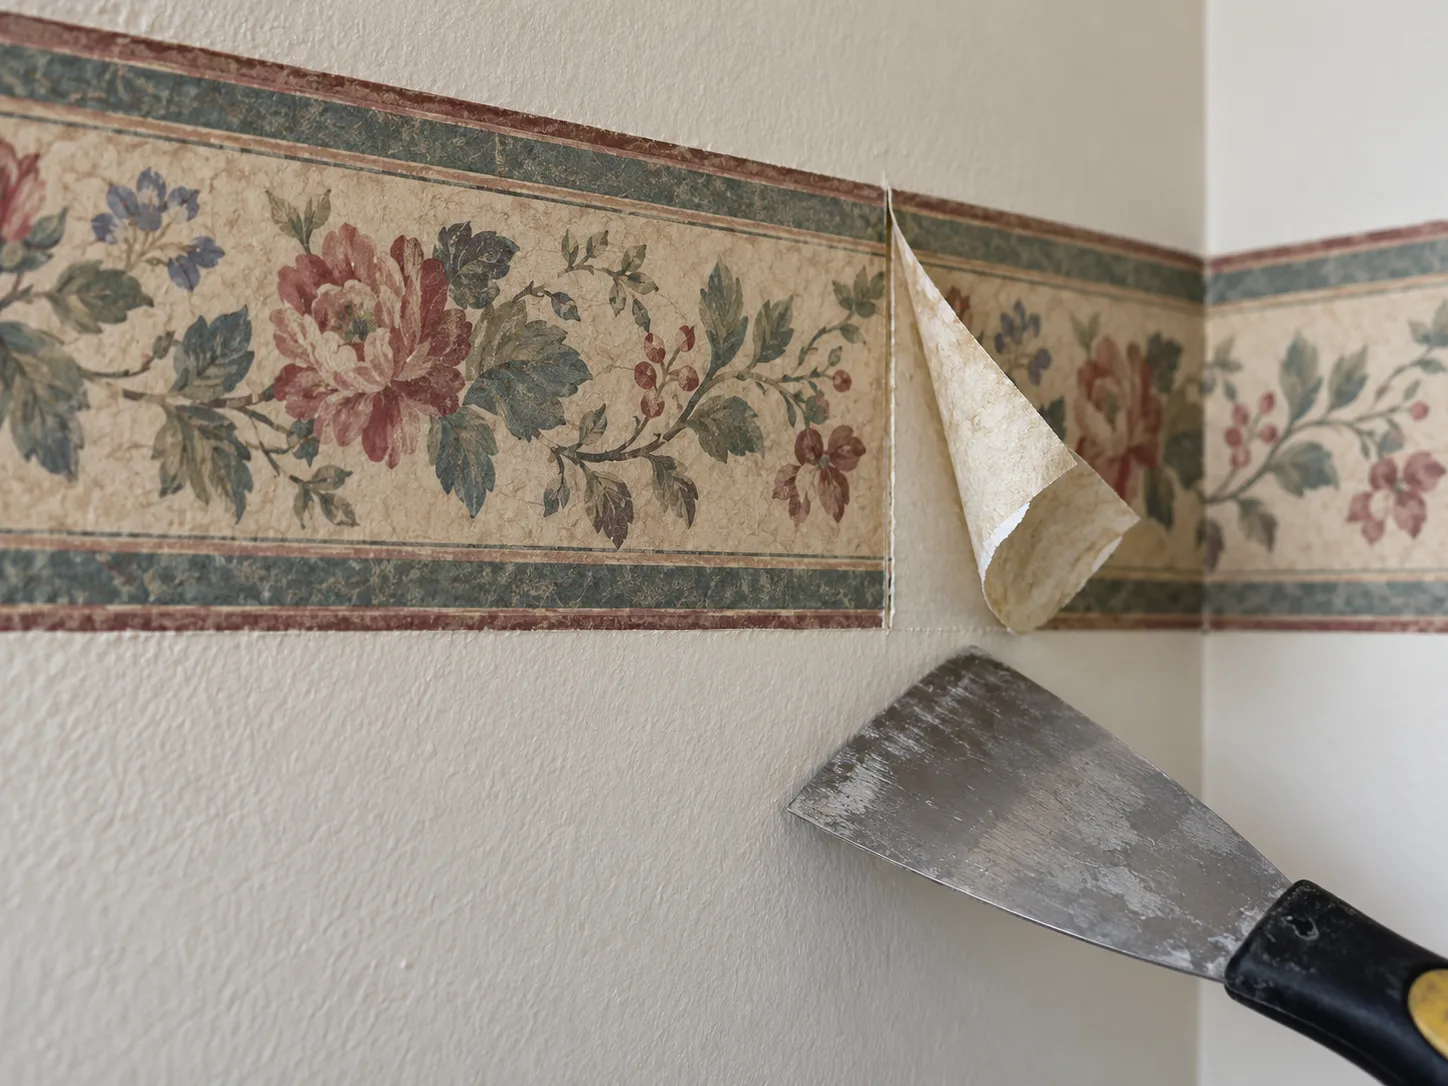
Find a seam, corner, or edge where the border already has a slight gap. Use a fingernail first; if you need help, slide the rounded edge of the scraper only far enough to raise a tab. Keep the blade almost flat against the wall, rather than pushing its sharp edge toward the surface, and pull the paper back over itself slowly at a shallow angle.
If a strip lifts steadily, continue along only a manageable stretch, supporting the paper close to the wall so its weight does not yank down on the paint. When the paper begins to resist, do not tug harder or jerk it away; adhesive strength can change along the wall, and one stubborn patch can suddenly take the paint film or drywall facing with it. Reposition, try a different seam, or stop to decide whether a small amount of moisture is appropriate.
If the border comes off in small flakes, inspect the exposed edge for a coated face, a second backing layer, old paint, or a layer that has been painted over; lift a tiny corner separately rather than widening a tear with the scraper. Bob Vila’s practical border-removal guide likewise describes lifting a corner and pulling as much paper as possible in a continuous strip, with solution added for sections that resist (Bob Vila’s wallpaper-border guide).
Add controlled moisture only if the border resists
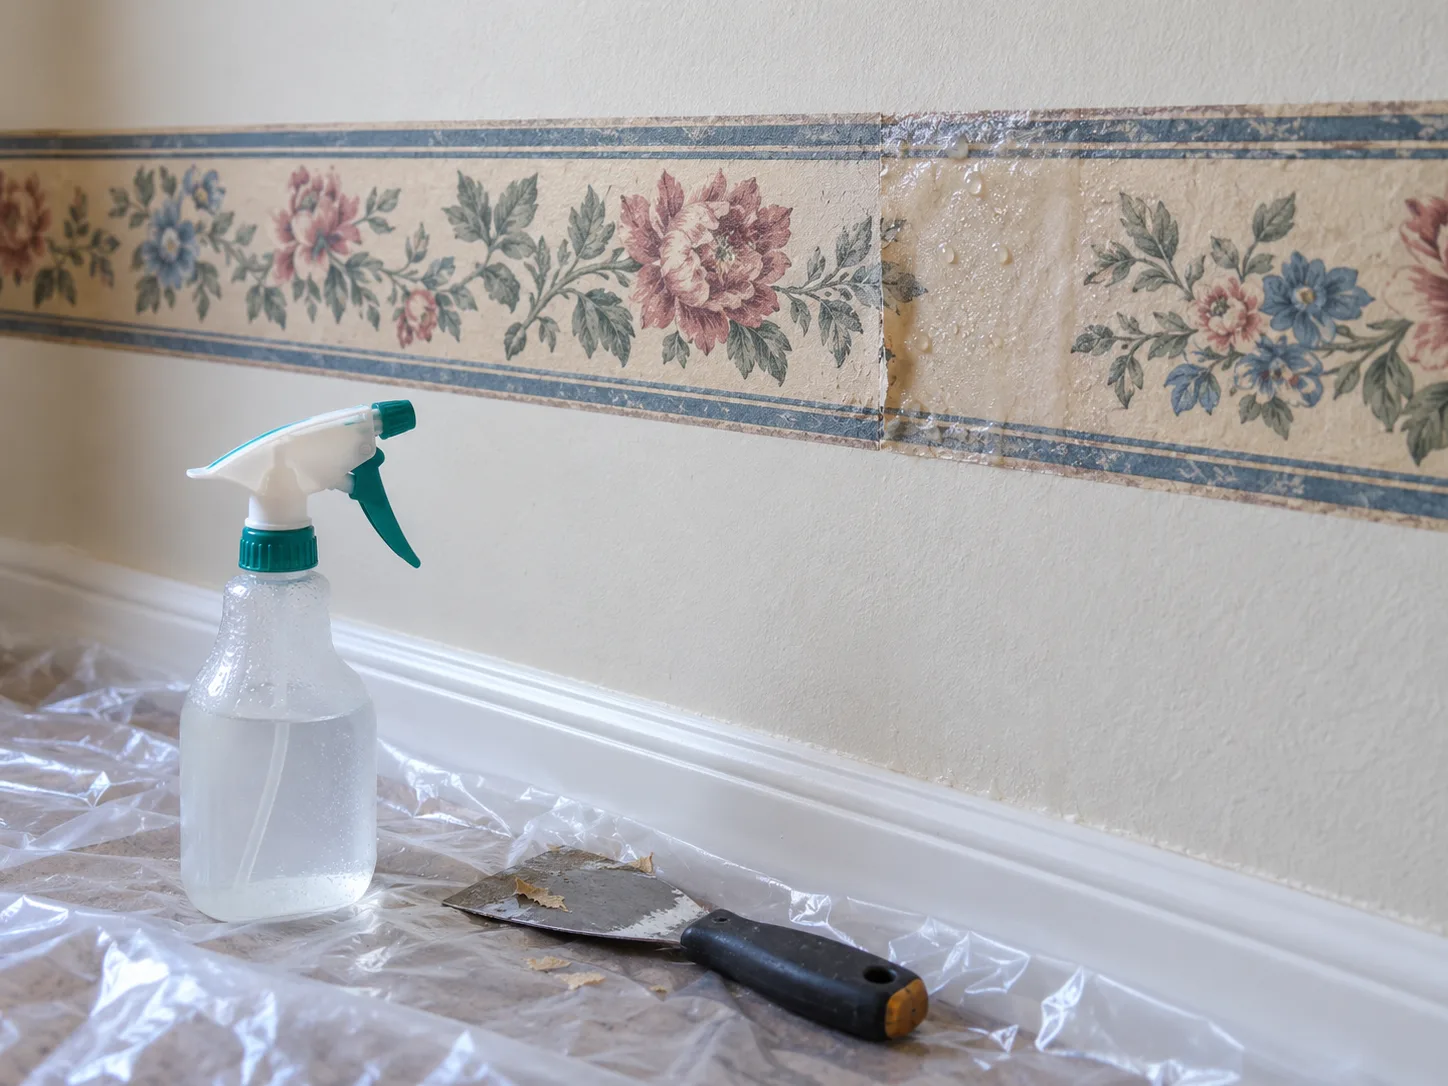
Moisture can soften water-based wallpaper paste, but the goal is to wet the adhesive through the border, not saturate the wall. Start with a lightly damp sponge on a short test patch; a spray bottle can work too, but aim at the paper rather than flooding the upper wall. Wait briefly, then try the edge again; if the paper releases more easily, repeat the limited treatment on a small area and move along as the adhesive softens.
Use warm water rather than boiling water; warmth does not make the wall invulnerable, and very hot water increases burn risk without guaranteeing that a resistant coating will let moisture through. If the border is over drywall, a painted wallpaper layer, or porous plaster, use less liquid and take longer to re-test. If the test section turns soggy, the paint wrinkles, the wall darkens unevenly, or moisture creeps under wallpaper you planned to keep, stop and let it dry before evaluating the surface.
Choose plain water before a homemade mixture
Plain water is the simplest first wet method because it lets you judge whether moisture alone is enough. Apply a small amount, give it a short period to work, and test the same edge again. If it has not helped, adding more liquid to the whole border is not automatically the answer; the coating may be blocking penetration, or the adhesive may need a product designed for wallpaper removal.
Some DIY guides suggest diluted vinegar and water, which may be worth testing on an expendable painted surface, but “natural” does not guarantee that a solution will preserve paint or wallpaper. The useful distinction remains whether the surface tolerates moisture; if plain water loosens the paste, a stronger-smelling mix adds little. Never combine vinegar with bleach or another cleaner, or apply homemade liquid where it can run behind wallpaper you want to save.
Use wallpaper remover according to its label
When a painted wall can tolerate a wet method but water alone does not release the adhesive, try a wallpaper remover made for the job. Read the product label before opening it: products differ in dilution, application method, dwell time, ventilation advice, and required protective equipment. Test the diluted or ready-to-use product on a hidden section first, and use only the amount and wait time specified by its manufacturer rather than borrowing a timing rule from another bottle.
Apply remover to a small length of border, allow the labeled time for it to work, then lift from the edge with a flexible scraper. If paper tears, reapply only as directed and let the product soften the residue instead of scraping harder. Keep the liquid off floors, trim, outlets, and any wallpaper or finish you want to preserve; do not mix remover with vinegar, bleach, detergent, or another chemical.
Bob Vila’s instructions also emphasize preparing the remover according to its label, treating one section at a time, and respraying areas that still resist (Bob Vila’s removal steps). That local approach limits how much solution sits on the wall and makes it easier to notice a reaction before it spreads. A label is the authority for a specific product; an online recipe or another product’s wait time is not a substitute.
Reserve scoring and steam for suitable walls
Scoring and steam are escalation methods, not proof that the border is “really stuck” and must be forced off. If the border is porous and already lifting, they add unnecessary tool contact and moisture. Consider them only when the wall is sound, the layer below can be exposed to treatment, and easier methods have failed on a small test patch.
If a coated face blocks a remover, a wallpaper scoring tool can create small openings for the product to reach adhesive; use the lightest pressure that perforates the border and do not carve through to the wall. Skip scoring entirely over wallpaper that must stay, fragile paint, damaged drywall, or suspected lead-based paint; a pinhole that crosses the border and scratches the wall can cost more time than several careful scraper passes.
A wallpaper steamer uses hot vapor to loosen paste, but it creates two risks: scalding from steam or drips and moisture damage to the wall assembly. Read the steamer’s manual, wear its specified protective gear, keep your face and body out of the steam and condensate path, and use short passes only on a surface suitable for heat and water; do not hold the unit overhead, lean under it, or work near electrical openings. If water runs behind the paper, paint blisters, or the wall feels soft, stop because more steam will not make that condition safer.
Steam is a poor choice if the border sits over wallpaper you want to save. It can loosen the lower wallpaper’s paste along with the border’s glue, and heat may also change the finish or lift weak paint. If your only concern is a narrow strip on sound plaster, a product label or the steamer manual can guide treatment; on painted drywall or uncertain layers, cautious moisture and hand removal give you better control.
Remove adhesive without gouging the wall
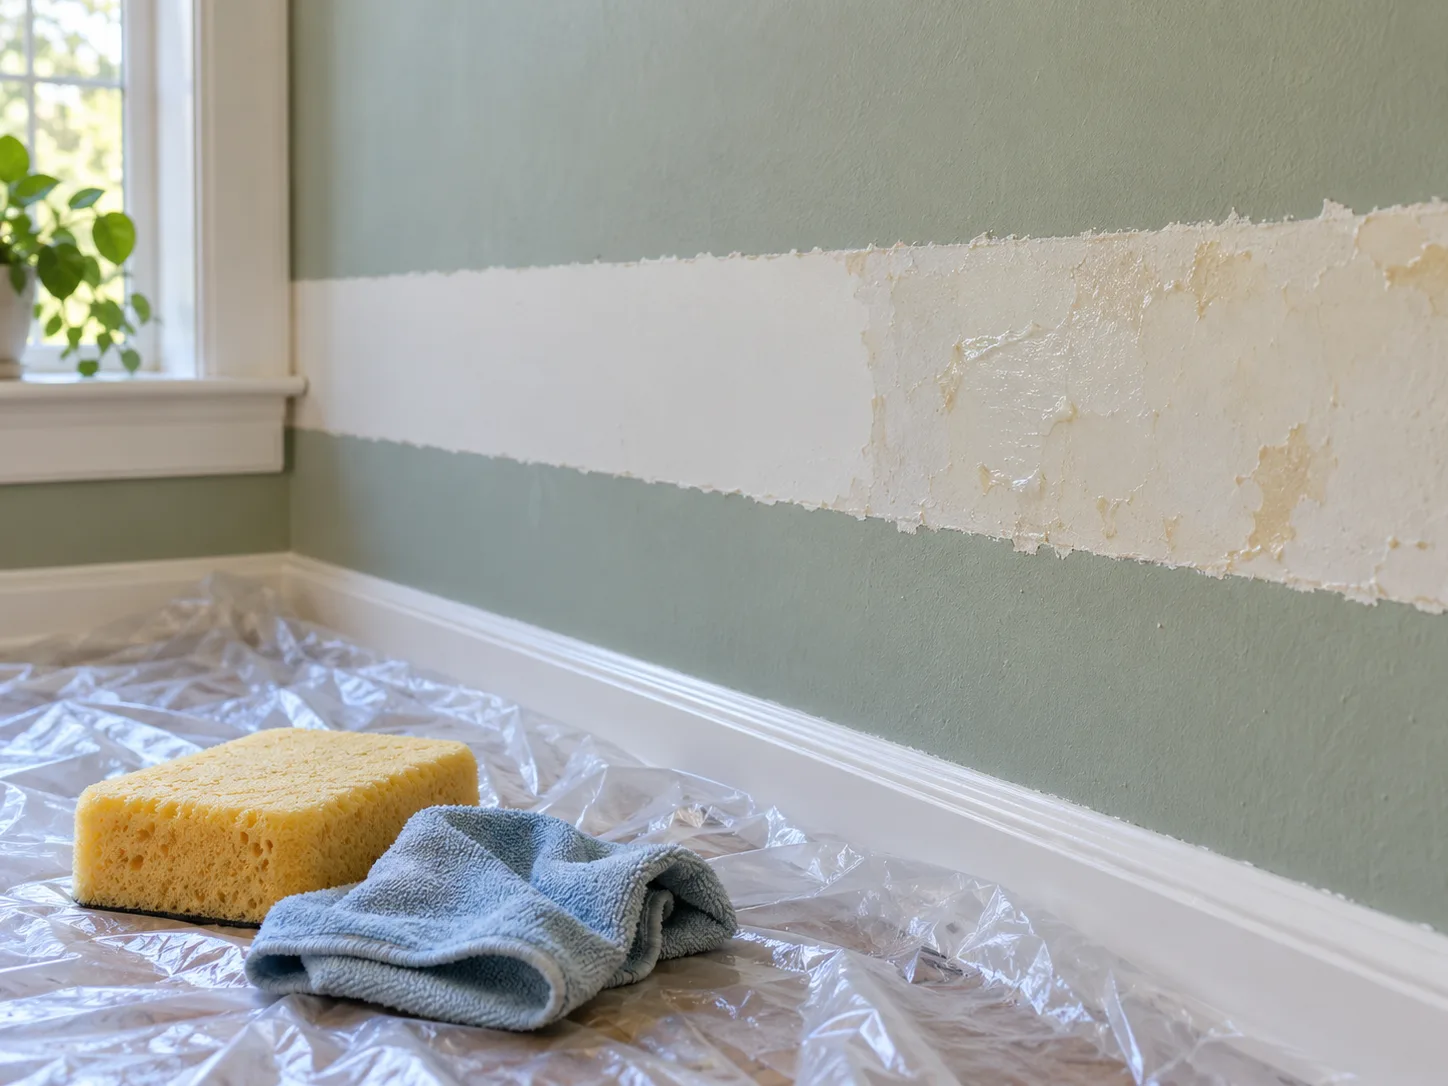
After the border lifts, pause before scraping every shiny patch: apparent “glue” may be softened adhesive, a paint sheen, primer, or the wallpaper’s thin backing. Test a small spot with a damp cloth and light pressure; if the residue turns tacky and transfers, continue wiping in small sections and rinse the cloth often so you do not spread paste around.
For remaining glue on a washable painted wall, use a damp sponge or the wallpaper remover’s labeled cleanup directions. Let moisture do the work for a moment, then use a flexible scraper with its edge almost parallel to the surface. Avoid abrasive scrub pads, aggressive sanding, or sharp blades unless you are intentionally preparing a surface for repair and have assessed the paint and substrate; removing a glossy patch by force can expose drywall paper or leave a broad scar.
Rinse away any film left by the remover according to its label, then wipe with clean water if that is allowed for the wall finish. A slick or tacky feel can signal residue, while a smooth, dry surface is a better base for primer or paint. Let the area dry thoroughly before deciding whether it needs more cleaning, patching, or a new finish.
Troubleshoot tearing, paint lift, and stubborn edges
The border keeps tearing. Stop pulling at the tiny pieces and check whether you removed only the face and left a backing or whether the border is coated. Work from a new seam, soften a small patch if the wall can take moisture, and support the paper close to the wall as you peel; if the paint follows the backing, stop before widening the damaged strip.
Paint comes away with the border. Do not score around the paint and keep pulling; a utility knife can sharpen the edge without fixing poor adhesion. Remove only material that is already loose and safe to handle, then assess whether the wall needs spot repair, primer, or repainting. With older paint and lead concerns, do not scrape or sand until you have obtained lead-safe advice.
The drywall face looks fuzzy or tears. Stop wetting and scraping. The paper facing is vulnerable once torn, so further removal can enlarge the damage and create an uneven surface. Let it dry, then use a repair approach intended for damaged drywall paper or call a drywall professional if the damage is broad; do not cover a damp, fuzzy surface with primer or paint.
The edge will not lift at a corner. Try another seam rather than digging into the wall at one point. A blunt plastic scraper may be safer than a metal blade on delicate paint, while a sharp-edged tool can slip and gouge the wall. If every edge is sealed beneath caulk or trim, remove only a small amount of that obstruction after confirming it is not covering a joint that should remain intact.
The wall stays sticky after the paper is gone. Treat the residue, not the entire wall, and repeat a mild cleaning pass before escalating. Leftover paste can interfere with a new finish, but overscrubbing can remove sound paint; give the cleaned area time to dry and check it in angled light and by touch. If adhesive remains embedded or the surface is damaged, a primer or wall repair may be more appropriate than stronger household chemicals.
Repair, dry, and prepare the wall for its next finish
Once the paper and adhesive are removed, inspect the full band in normal and angled light. Look for shallow scraper marks, peeled paint edges, raised drywall fibers, holes where a scoring tool went too deep, and a color difference left by the border. These defects are common reasons a wall still looks unfinished even after the strip is gone; removing the paper is only the first part of making the surface paint-ready.
Wipe off remaining paste without flooding the wall and allow the area to dry fully. A damp or cool-looking patch may need more drying time before you sand, patch, prime, or paint. Avoid trying to speed drying with a heat gun; it can create uneven heating and does not correct moisture trapped beneath a coating.
For small dents or shallow scrapes in otherwise sound drywall, patching compound can fill the low spots after the surface is dry. Let the compound cure as directed, sand only the repair where appropriate, remove dust, and prime the repair before repainting. If a large sheet of drywall facing has lifted or the surface is bubbled, delaminated, or wet, use a repair method designed for that condition rather than simply painting over it.
For paint that lifted in a thin strip, remove loose edges carefully only after considering lead risk and the condition of the existing coating. Feathering a repair and applying a suitable primer can help the patch accept paint more evenly, but a visible difference in sheen or color may mean repainting the whole wall is the cleanest finish. Test any cleaner, primer, or paint in an inconspicuous place when the existing finish is unknown.
Know when to stop and get help
Stop the DIY attempt if paint or drywall paper repeatedly lifts, the wall becomes soft or wet, the border reveals several unknown layers, or you cannot tell whether the surface below is wallpaper or paint. A professional paperhanger or painter can test a small section and help compare the cost of careful removal with repair or replacement. That is especially useful when the lower wallpaper is valuable, the border covers a broad area, or a finished wall has already begun to delaminate.
In an older U.S. home, pause if work would disturb paint that may contain lead, particularly where children live or spend time. CDC notes that exposure can occur from paint chips or dust and points homeowners to certified lead inspectors for testing; do not rely on a date guess, a visual check, or wallpaper as proof that the paint beneath is lead-free. Get a qualified assessment before scraping, sanding, or creating dust.
Likewise, stop if water or steam would reach live electrical parts, or if you have to reach awkwardly from a ladder to work along a ceiling. Moving a ladder repeatedly is slower than stretching, but it gives you better control over the scraper and reduces the chance of a slip or an accidental gouge. A small border should not require taking risks with electricity, a hot steamer, or unstable footing.
Conclusion
Remove a wallpaper border by starting with a small dry test, peeling slowly from a seam, and adding moisture only when the wall and any lower wallpaper can tolerate it. Plain water is a reasonable next step on a sound painted surface; a labeled remover or steamer belongs later in the sequence, with the product directions and wall condition guiding the choice. If paint lifts, drywall paper tears, a lower wallpaper layer must stay, or old paint raises a lead concern, stop before the damage grows; then clean adhesive, let the wall dry, and repair the exposed band before applying its next finish.