How to Save Tomato Seeds for Next Year
Save tomato seeds with a clear method for choosing fruit, fermenting the gel, drying seeds safely, labeling them, and testing them before planting.
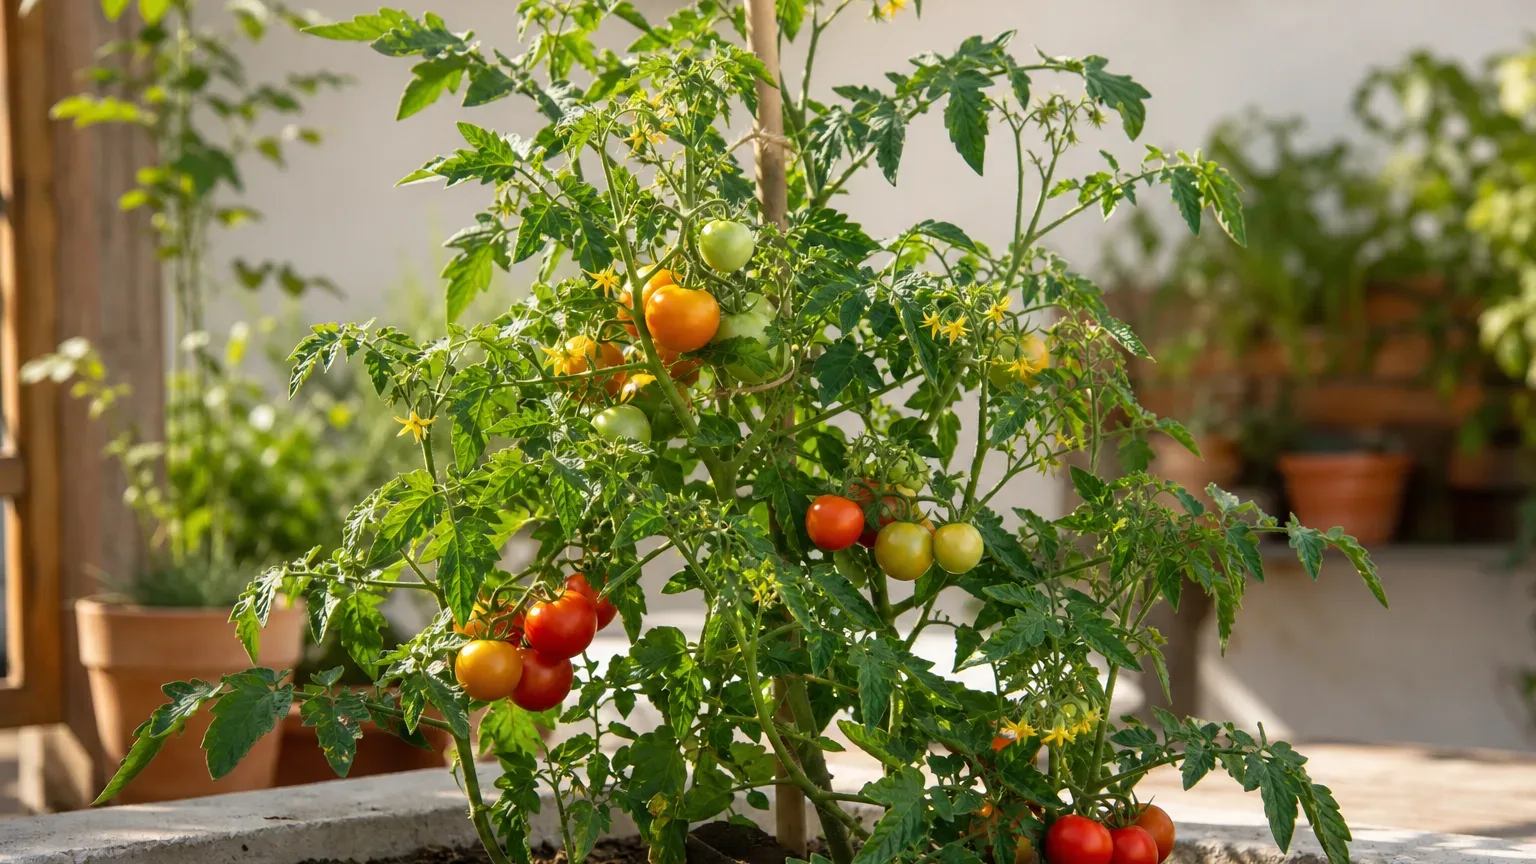
Saving tomato seeds is easy once you separate two goals that are often mixed together: keeping a seed alive and preserving the same tomato variety. A seed may sprout perfectly well but still produce fruit that differs from the tomato you saved it from if the parent was a hybrid or was cross-pollinated.
For the most dependable result, choose a fully mature tomato from a healthy, productive plant, confirm that the variety is open-pollinated, ferment the seed pulp for about two to four days, rinse away the gel, dry the seeds until they are truly hard, and store them in a labeled, low-humidity container. That process gives you clean, loose seed that is easy to sow and easy to identify next spring.
The short answer: choose, ferment, dry, and store
Pick a tomato that is fully colored and ripe, ideally from the plant that gave you the best flavor, yield, and health. Scoop the seeds and their gel into a clean jar, add a little water, cover the jar loosely, and leave it at room temperature until the pulp breaks down and the seeds settle.
Rinse the heavy seeds in a fine-mesh strainer, spread them in a thin layer where air can circulate, and let them dry for several days. Once dry, place them in a labeled envelope inside an airtight container and store them in a cool, dark, dry place. If you are unsure whether they are ready, test a few seeds before planting the whole batch.
Choose a tomato that is worth saving
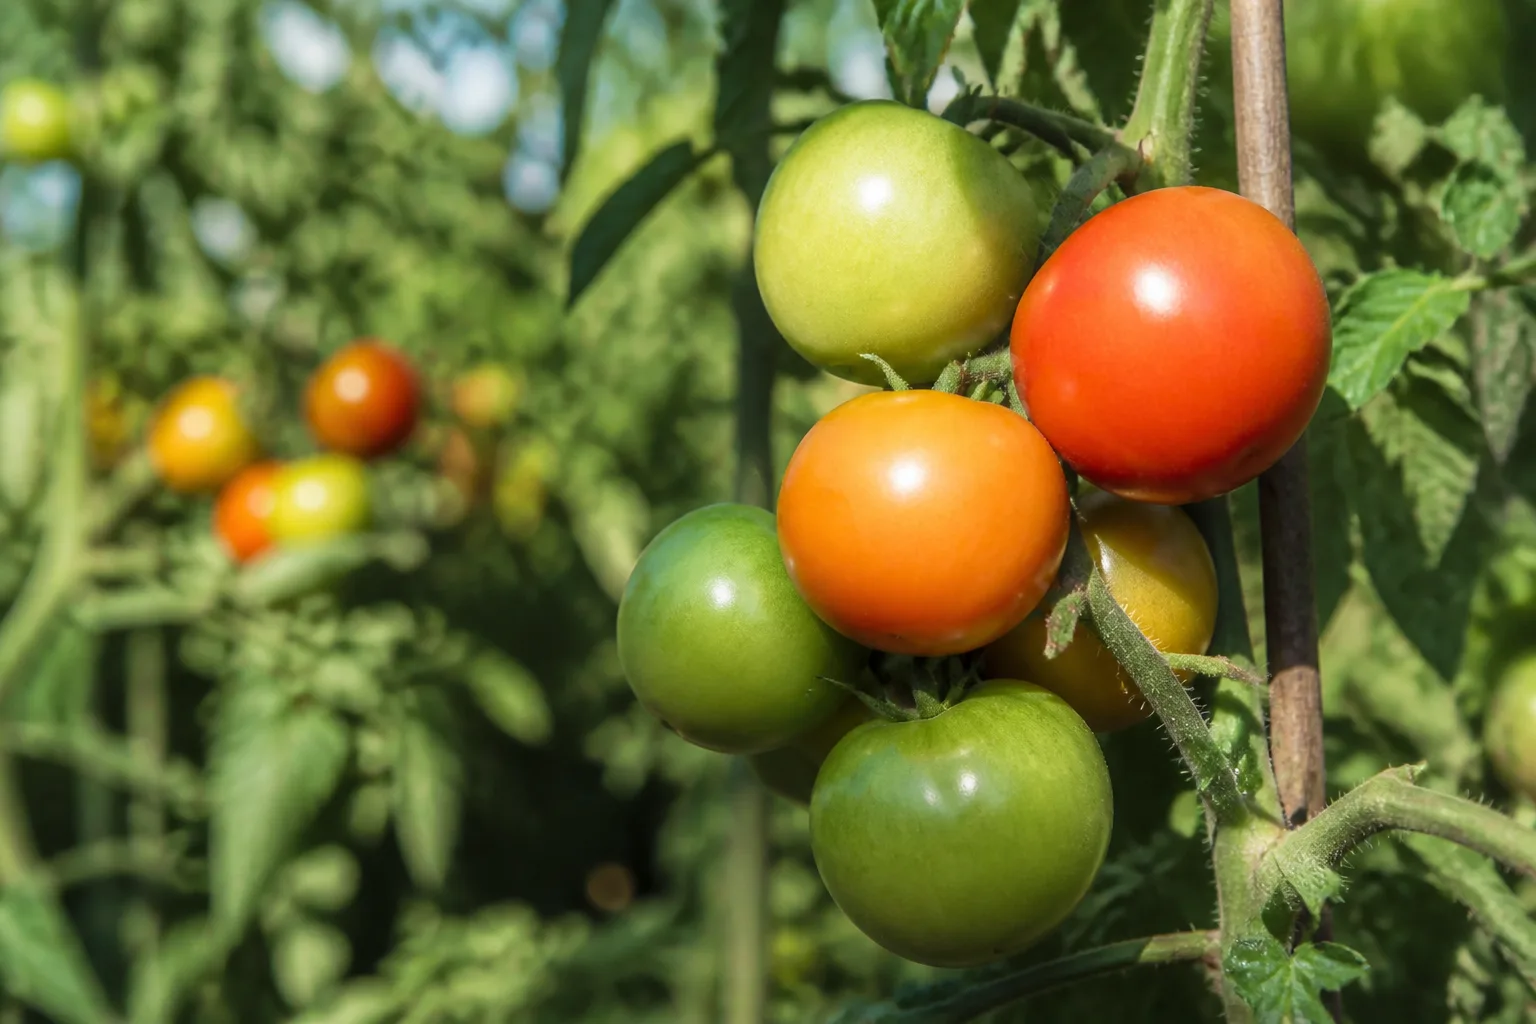
Seed saving is a form of selection. The seeds carry the genetic possibilities of the fruit and plant you chose, so do not automatically save seed from the first tomato that turns red. Choose fruit from a plant that stayed vigorous, produced well in your conditions, and gave you tomatoes you genuinely want to grow again.
Avoid fruit from a plant with a serious, spreading disease or from a crop that struggled throughout the season. A cracked tomato is not automatically unusable for seed, but discard fruit with active rot, soft decay, or suspicious lesions. Saving from a healthy parent does not guarantee disease-free seedlings, but it is a sensible first filter.
Open-pollinated, heirloom, and hybrid varieties
Look for open-pollinated or OP on the seed packet or variety description. Heirlooms are open-pollinated varieties with a history of being maintained over generations, but “heirloom” and “open-pollinated” are not interchangeable labels: an open-pollinated variety does not have to be an heirloom. UC Agriculture and Natural Resources explains the distinction and why open-pollinated seed can reproduce the parent type when cross-pollination is controlled.
Seeds saved from a hybrid tomato may germinate and grow into healthy plants. The catch is that the offspring can combine traits from the hybrid’s parent lines in unexpected ways, so fruit size, flavor, color, disease resistance, or growth habit may change. The N.C. Cooperative Extension guidance on saving seed recommends open-pollinated varieties when you want reliable offspring.
That does not make hybrid seed useless. Save it if you enjoy surprises or want to experiment, but label it honestly as “hybrid saved seed” rather than promising yourself an exact repeat. If the tomato is a treasured F1 hybrid and you want the same plant next year, buying fresh seed or taking a healthy cutting is more predictable than saving its seed.
Tomatoes from a grocery store or market deserve the same caution. They may be open-pollinated, hybrid, or simply sold without a reliable variety name, so the seeds may grow but the result may be impossible to identify. Use a known variety when preserving flavor or shape matters; use an unknown tomato only when you are comfortable treating the seedlings as an experiment.
Cross-pollination changes the next generation
Tomato flowers usually pollinate themselves, which is why many backyard gardeners save seed successfully even when several varieties grow nearby. However, insects can move pollen between varieties, and a cross affects the seeds inside the fruit, not the appearance of the fruit that grew this season.
If you grow two or more tomato varieties and want to preserve one closely, create as much separation as your garden allows. N.C. Cooperative Extension suggests roughly 20 to 30 feet between varieties when possible; UCANR gives a similar 20- to 25-foot precaution and notes that a barrier or pollen-producing planting can help distract bees. In a small garden, you can accept some uncertainty, save seed from several fruits, and grow a few seedlings next year to see whether the type stays consistent.
For the highest varietal purity, protect a flower cluster before it opens with a breathable bag or save from a plant grown away from other tomato varieties. That extra care is worthwhile for a rare heirloom or for seed you plan to share. It is optional for a casual supply of tomatoes for your own garden.
Gather a small, practical seed-saving kit
You do not need special equipment. Set aside a clean knife and spoon, a small glass jar or bowl, a loose cover such as a coffee filter or cloth, a fine-mesh strainer, a plate or screen for drying, paper envelopes, and a pen or pencil.
Label each jar or plate before you scoop out the tomato. Wet pulp makes handwriting smear, and seeds from different varieties become almost impossible to distinguish once they are clean. Record the variety name, the year, and any useful note such as “best flavor,” “saved from bagged flower,” or “hybrid—expect variation.”
Use a separate jar and strainer for each variety, or wash everything between batches. A small amount of leftover pulp can make your carefully labeled seed lot ambiguous, especially when you are working with tomatoes of similar color.
Harvest mature seeds from the best fruit
Wait until the tomato has reached its normal mature color and soft-ripe stage. Fully ripe fruit is the simplest choice because the seeds have had time to develop, but a fully grown tomato that is only beginning to color can also contain mature seed. The practical test is the gel: mature tomato seeds are surrounded by a slippery coating rather than being dry, flat, or easily cut through.
Cut the tomato across its equator or from stem to blossom end; either direction works. Squeeze or spoon the seed-filled gel into the labeled jar, keeping as much of the flesh as you want for cooking. There is no need to save the entire tomato or remove every bit of pulp before fermentation.
Use only enough fruit to provide the seed you need. One good tomato can produce far more seed than a home garden requires, so choose two or three fruits from the same variety if you want a broader sample rather than a jar full of seed from one fruit. Do not mix different plants or varieties under one label.
Ferment tomato seeds to remove the gel
The gel around a tomato seed contains compounds that help delay germination while the seed is inside the fruit. In nature, an overripe tomato falls, softens, and ferments; you can reproduce that short process in a jar. Fermentation is not a magical requirement for a seed to live, but it leaves you with loose, clean seed and generally makes later sowing more convenient.
Add roughly an equal amount of water to the seed pulp, or enough to keep the seeds covered. A little extra water is fine; the goal is a workable slurry, not a precise recipe. Cover the jar loosely so fruit flies stay out while fermentation gases can escape. Do not seal a fermenting jar tightly.
Keep the jar out of direct sun at ordinary room temperature. Warm conditions speed the process, while a cool room may take longer. In most homes, expect about two to four days. Fruition Seeds describes a three- to five-day range that changes with temperature, while Garden Betty’s practical method uses a surface film and the condition of the pulp as visual cues rather than relying on the calendar alone.
How to tell when fermentation is finished
Check the jar once a day. The mixture may become cloudy, develop bubbles, or form a pale film on the surface. It will smell sour or fermented rather than fresh. The pulp should be loosening, and the heavier, mature seeds should be settling toward the bottom while lighter pulp and immature material remain above them.
Stop when the gel has broken down enough for the seeds to rinse clean, usually before the seeds begin to germinate in the jar. Do not wait for the most dramatic moldy appearance. A day or two of fermentation is often enough in a warm room, and a cool room may need more time. If seeds are already sending out tiny roots, rinse them immediately and sow them rather than returning them to storage.
Rinse, separate, and sort the seeds
Pour the jar slowly into a fine-mesh strainer, or add clean water, swirl, and pour off the upper layer several times before straining. The goal is to remove the loose pulp, the slippery gel, and any surface material without washing seeds down the drain.
Rinse under a gentle stream and rub the seeds carefully against the mesh with a spoon or your fingertips. Clean seed should feel less slick and should not be coated with a thick layer of tomato pulp. Keep the lot together until it is clean, then spread it immediately so the seeds do not sit in a wet clump.
Seed density can help with sorting, but it is not a perfect viability test. Many healthy seeds sink, while light pulp and some immature seeds float; a floating seed is not automatically dead. If you are uncertain, keep a representative sample, dry it, and let a germination test—not a single moment in the wash water—make the final decision.
Dry tomato seeds completely before storage
Drying is the step most likely to determine whether your saved seed is useful next year. Seeds that feel dry on the surface can still hold moisture inside a clump, and that moisture can encourage mold or shorten storage life in a sealed container.
Spread the rinsed seeds in one layer on a glass or ceramic plate, a coffee filter, or a fine screen. A non-porous surface makes loose seed easier to remove, while a screen gives air access from below. Avoid piling several varieties together, and leave enough space that you can break up clumps after the first day.
Set the seeds in a warm, dry, well-ventilated place away from direct sun. A fan across the room can help move humid air, but do not use a hot oven, radiator, or heated dehydrator. Excess heat can damage the embryo even when the seeds look beautifully dry. Fruition Seeds recommends airflow and a warm room while warning against heat that effectively cooks the seed.
Expect several days of drying, and longer if your home is humid. Turn or gently stir the seeds once a day so the underside is exposed. When they are partly dry, separate stubborn clumps with clean, dry fingers; trying to peel apart wet seeds is more likely to tear them or leave gel behind.
The simple dryness check
Take a few representative seeds and press them gently between two hard surfaces or with the tips of clean tweezers. A thoroughly dry seed feels hard and tends to snap; a seed that bends, feels rubbery, or smears still needs more time. Do not sacrifice your entire batch to an aggressive test—use only a few seeds.
If you cannot tell, wait another day. A small delay is safer than sealing damp seed. The seeds do not need to be bleached white or perfectly separated to be viable, but they do need to be dry enough that no cool, soft center remains in a clump.
Store labeled seeds for next year’s planting
Put fully dry seed into a paper envelope or small packet labeled with the variety and year, then place that packet inside an airtight jar or other moisture-resistant container. Add a desiccant packet if you have one, but treat it as extra protection rather than a substitute for drying.
Store the container in a cool, dark, dry location. A refrigerator can work well when the seeds are sealed against humidity, but let the closed container return to room temperature before opening it. Opening a cold jar in a warm, humid room can introduce condensation directly onto the seed.
Do not rely on the word “airtight” alone. A container that was closed while the packet was still damp simply traps the problem, and repeated opening lets humid air in. Make one packet for each variety, keep a backup if the fruit is special, and write the year in a format you will still understand when the packet is several seasons old.
Keep the jar away from a stove, dishwasher, sunny window, or damp shed. Under good storage conditions, many vegetable seeds remain viable for several years; N.C. Cooperative Extension gives three to five years as a useful expectation for many properly stored seeds, not a guarantee. Germination declines gradually, so save more than you expect to need and test older lots.
When to skip fermentation and use the paper-towel method
You can save tomato seeds without fermentation if your priority is speed and you only need a small amount for your own garden. Scrape the seed gel onto a labeled paper towel, spread the pulp thinly, and let it dry completely. The seeds will remain attached to the paper, but you can cut or tear off a small square and plant it with the seed.
This shortcut is useful when you want to save a few seeds from a tomato while cooking or when you do not want a jar of fermenting pulp on the counter. It is less convenient if you want loose seed to share, count, or store in a small packet. Lovely Greens demonstrates the paper-towel approach and notes that fermentation is what makes the seeds separate cleanly from one another.
The trade-off is not “viable versus nonviable.” Non-fermented seed can sprout, but the gel and dried pulp may make seed lots stick together and germinate less evenly. Fermentation is the better default when you are preserving a favorite open-pollinated variety, saving a large quantity, or trying to reduce the amount of material carried into storage.
Troubleshoot common tomato seed-saving failures
Small changes in temperature, fruit maturity, and drying conditions can make two batches behave differently. Use the appearance and feel of the seed to diagnose the problem rather than assuming every dark or floating seed is worthless.
Mold, odor, or seeds sprouting in the jar
A pale surface film, bubbles, and a sour smell can be normal signs that fermentation is active. Garden Betty describes a frothy white film as a common fermentation indicator, but a thick fuzzy growth with an intensely rotten odor is different. When the mixture looks questionable, rinse a small portion: if the seeds are firm and clean up normally, dry that sample separately; if the seeds are soft, slimy, or visibly damaged, discard the batch.
Colored or fuzzy mold usually means the jar sat too long, was contaminated, or was kept unusually warm. Do not try to rescue a badly decomposed batch by extending fermentation. Next time, use a clean jar, keep the pulp covered, check daily, and stop as soon as the gel loosens and the seeds can be rinsed.
If seeds start sprouting in the jar, they have stayed wet and warm past the safe storage point. Rinse them and plant them immediately if only a few have sprouted and you have room for an experiment. Sprouted seed should not be dried and labeled as long-term seed.
Seeds stick together or germinate poorly
Seeds that stick to the plate usually were dried on a porous paper surface or were not rinsed fully. Let the clump dry completely, then flex the paper or gently rub the seed mass apart. For future batches, use glass, ceramic, or a screen when you want loose seed.
Poor germination can come from immature fruit, an overly long or hot fermentation, damp storage, old seed, or a seed lot that never had good genetic viability. It can also reflect a mistaken expectation: seeds from a hybrid may germinate while producing a very different tomato. Check the packet or variety record before blaming the cleaning method.
Do not save seed from a single disappointing test and conclude that the variety has failed. Test several seeds, repeat with another lot if you have one, and plant a few seedlings rather than filling an entire bed with unverified seed.
Plan a small germination test before sowing
About a week or two before you need seedlings, test 10 saved seeds. Place them in a folded, damp—not dripping—paper towel, put the towel in a loosely closed bag or container, and keep it in a warm indoor spot. Check it every day or two for roots and refresh the towel if it dries out.
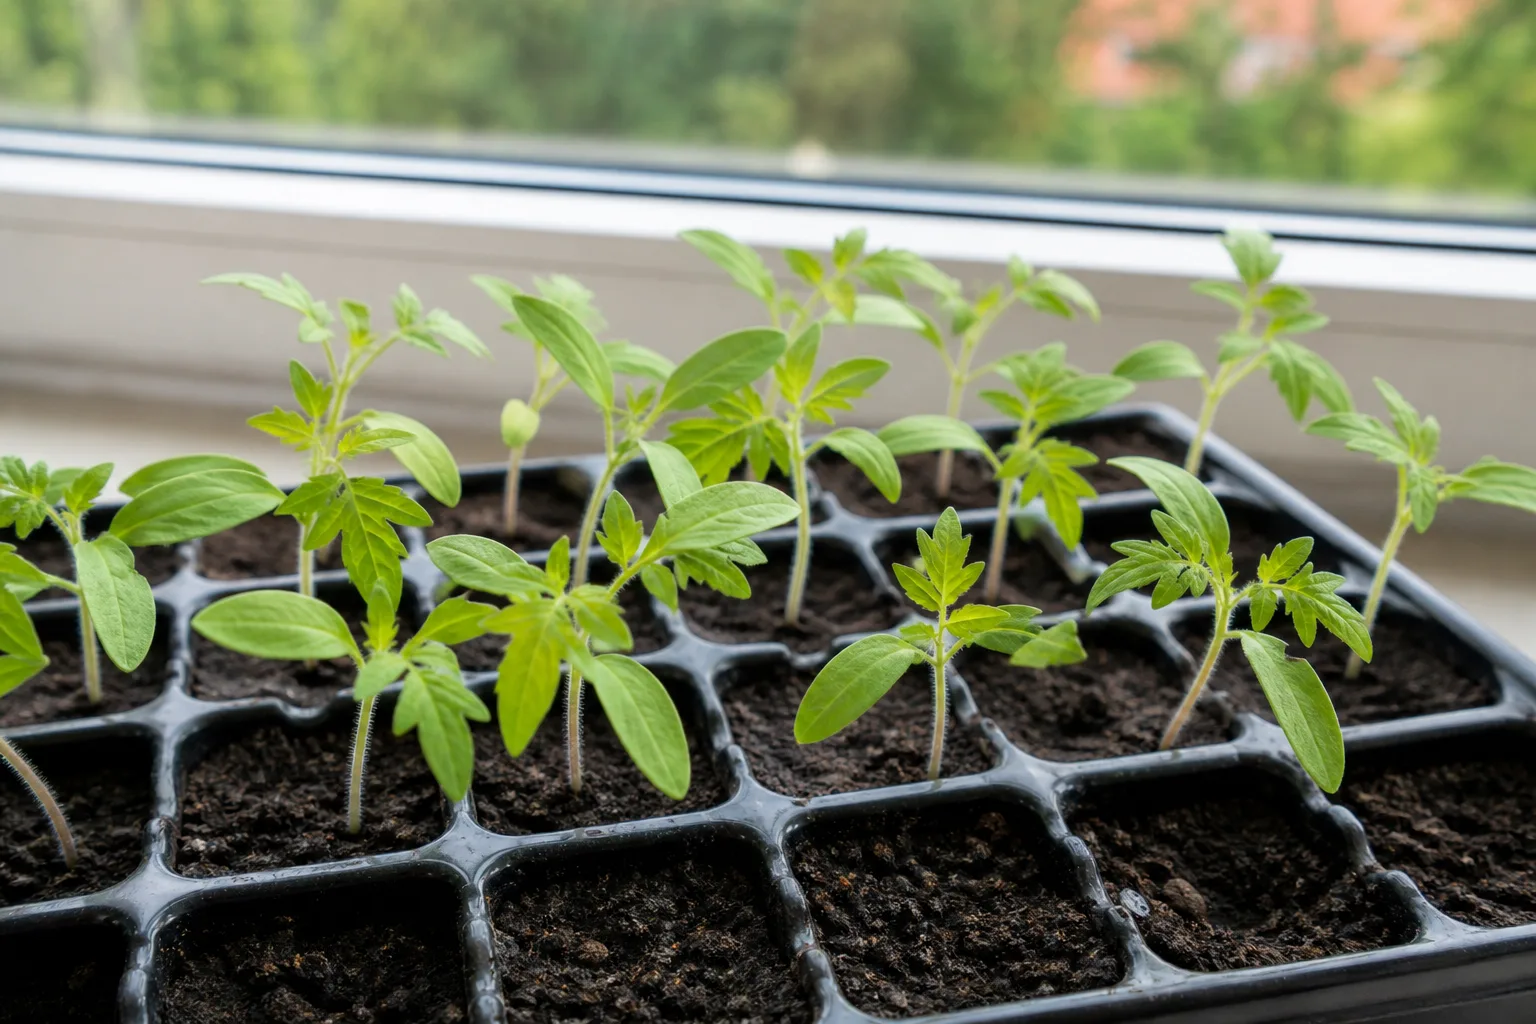
Count how many seeds sprout and record the result. If eight of 10 sprout, you have a useful rough estimate of 80 percent and can sow a few extra to allow for losses. If only one or two sprout, sow more densely, start a second lot, or buy fresh seed rather than giving the entire garden over to an uncertain batch.
The test also reveals whether your label is accurate. If you saved three varieties, test them separately and keep the envelopes separate. A short record of variety, year, parent plant, storage location, and germination result turns a jar of mystery seeds into a useful seed supply.
Conclusion: save the variety, not just the seed
The most reliable tomato seed-saving routine is selective, clean, and patient: choose healthy, fully mature fruit from an open-pollinated variety; account for possible cross-pollination; ferment the gel for only as long as needed; rinse well; dry until the seeds are hard; and label them before storage.
The paper-towel method is a legitimate shortcut for small personal batches, while fermentation is the better all-purpose method when you want loose, clean seed. Either way, a simple germination test next season will tell you what you actually saved—and give you time to adjust before planting out your tomatoes.