How to Grow Venus Flytrap Seeds Step by Step
Learn how to grow a Venus flytrap from seed, from choosing fresh seed and surface sowing to transplanting seedlings and preparing them for dormancy.
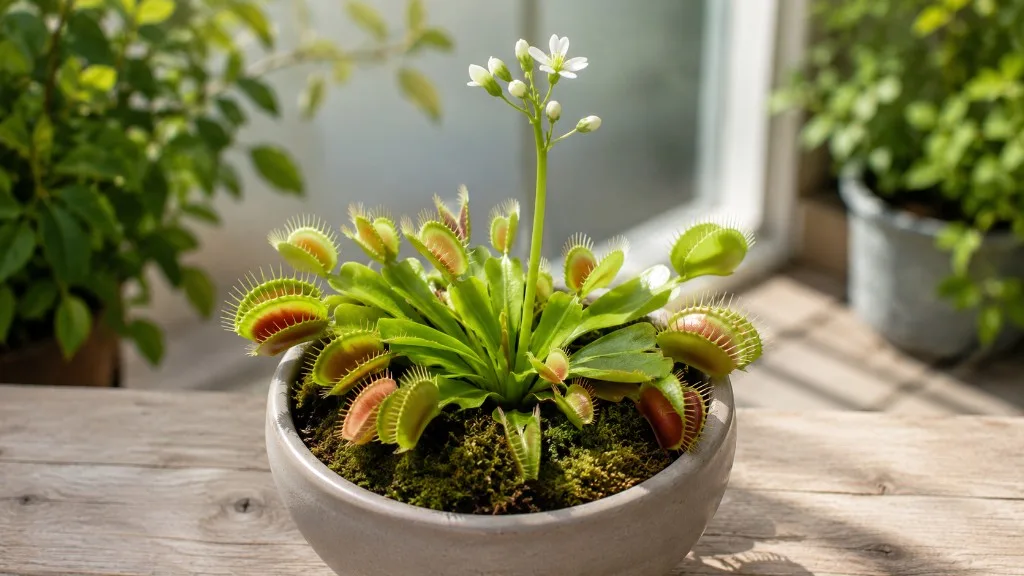
Growing a Venus flytrap (Dionaea muscipula) from seed is doable, but it asks for a different kind of patience than starting a tomato or marigold. The seeds are tiny, the first seedlings are easy to damage, and a plant that has just formed its first trap is still years away from looking like a nursery specimen.
The most reliable approach is simple once you understand the plant’s needs: sow fresh seed on the surface of a clean, nutrient-poor medium; keep it warm and evenly moist with mineral-free water; give the covered tray bright light without letting it overheat; and wait to transplant until the seedling has a real trap and enough root to handle. The details below help you avoid the common mistakes that make a viable batch appear to fail.
Before You Start: Seed Is a Slow, Variable Route
Seed propagation is rewarding when you want to raise several plants, observe their development, or grow something with more variation than a clone. It is not the quickest way to get a large, mature flytrap. A seedling usually spends its early months building a small rosette and root system before it produces traps that look familiar, and reaching flowering size can take several years. One specialist grower gives three to five years as a typical route to maturity, but light, season length, and general care make that a range rather than a deadline. FlyTrapCare’s seed-growing guide describes the long seed-to-adult timeline.
There is also a genetics trade-off. A plant grown from seed is an individual, not a copy of its parent; if a named cultivar’s exact trap shape or color is the goal, buy a division or tissue-cultured plant from a reputable nursery instead. Seed is the better choice when the process itself matters and you are willing to let the seedlings develop at their own pace.
Choose Fresh Seed and Sow in the Warm Growing Season
If you can choose, start with fresh, correctly identified seed from a specialist carnivorous-plant grower. Venus flytrap seeds are small and dark, but appearance alone does not prove that a packet is viable; age, storage conditions, and whether the seller has correctly identified the seed all matter. Ask when the seed was harvested and how it was stored, and be cautious about listings that promise unusual colors or instant maturity.
For Northern Hemisphere growers, late spring through summer is a practical sowing window because it aligns with the plant’s warm-season growth and the usual seed availability after flowering. Indoor sowing under a stable grow light can work at other times, but seedlings started late in the year may have less time to establish before their first winter. The plant is native to a small area of the Carolinas, where it grows in sunny, wet, nutrient-poor habitats; that ecology is a better guide than ordinary houseplant seed-starting advice. NC State Extension describes its habitat and cultivation needs, while Monticello’s plant profile traces the species to coastal Carolina bogs.
If You Harvest Seed Yourself
A flower stalk is a decision point. Let it grow only if you actually want seed; flowering takes energy that a small or recently stressed plant could put into leaves and roots. If seed is not your goal, remove the stalk while it is still young, using clean scissors, so the plant can keep growing.
To collect seed, leave a healthy flower stalk through bloom and allow the seed capsules to mature. The capsules darken and open as they dry, releasing small black seeds; collect them over a clean sheet of paper so they do not disappear into the growing medium. If you have multiple open flowers, a small clean brush can move pollen between them, but seed production is not guaranteed. Do not collect plants or seed from wild populations: NC State Extension identifies the Venus flytrap as endangered and says it cannot legally be collected from the wild. Use nursery-grown plants and ethically sourced seed.
Venus flytrap seeds do not need cold-moist stratification to germinate. Refrigeration is a storage method some growers use to preserve seed for later sowing, not a prerequisite that the seed must experience before sprouting. If you must wait, keep the packet dry, labeled, and sealed in a cool refrigerator, then sow a small test portion if the seed has been stored for a long time; no storage method can restore seed that was already old or poorly handled. FlyTrapCare reports that fresh seed commonly germinates within weeks and that refrigeration can extend its useful life, while noting that results depend on seed condition.
Gather a Low-Mineral Setup
You do not need a terrarium or specialized electric propagator to begin. A shallow plastic seed tray or small pot with drainage holes, a clear lid or loose cover, a spray bottle, a shallow water tray, and a steady source of bright light are enough. A thermometer is useful if the tray will sit on a heat mat, because a covered container can run warmer than the room.
Use distilled water, reverse-osmosis water, or clean rainwater for mixing and watering. Many Venus flytrap failures start with something that seems harmless in conventional gardening: fertilizer in the potting mix, a mineral-rich “carnivorous plant” blend, or repeated use of hard tap water. These plants evolved in nutrient-poor wet ground and are sensitive to dissolved minerals; North Carolina State Extension recommends rainwater or distilled water and warns against hard or treated water and fertilizer.
Choose the Medium and Container Carefully
A dependable starting mix is equal parts unfertilized peat moss and washed silica sand by volume. Long-fiber sphagnum is another suitable medium used by specialist growers. Whichever option you choose, avoid ordinary potting soil, compost, manure, fertilizer, water-retaining crystals, and unknown additives; they can raise nutrient or mineral levels the roots are not adapted to.
Pre-moisten the medium with low-mineral water before filling the tray so it is uniformly damp rather than dusty or dripping. Press it only enough to remove large air pockets, then leave the surface loose enough for roots to enter. Choose a container with drainage instead of a sealed glass vessel; water should move through the medium, and the lid should help hold humidity while still allowing some air exchange. A clean container and fresh medium lower the chance of algae or mold, but they do not make the setup sterile forever.
How to Sow Venus Flytrap Seeds
Work with a small batch first if you have plenty of seed. That lets you test how the seed responds to your room temperature, light, and watering routine before committing the entire packet. Label the tray with the sowing date and source; this prevents normal slow germination from being mistaken for a lost batch.
Fill the container with pre-moistened medium, level the surface, and distribute the seed as evenly as you can. If seeds land in clusters, do not try to separate them with your fingers after wetting; the seedlings are more vulnerable to disturbance than a slightly crowded tray. Leave enough room to see individual sprouts, and keep the tray on a stable surface where it will not be bumped or moved every day.
Surface Sow and Cover Only With a Visible Dusting
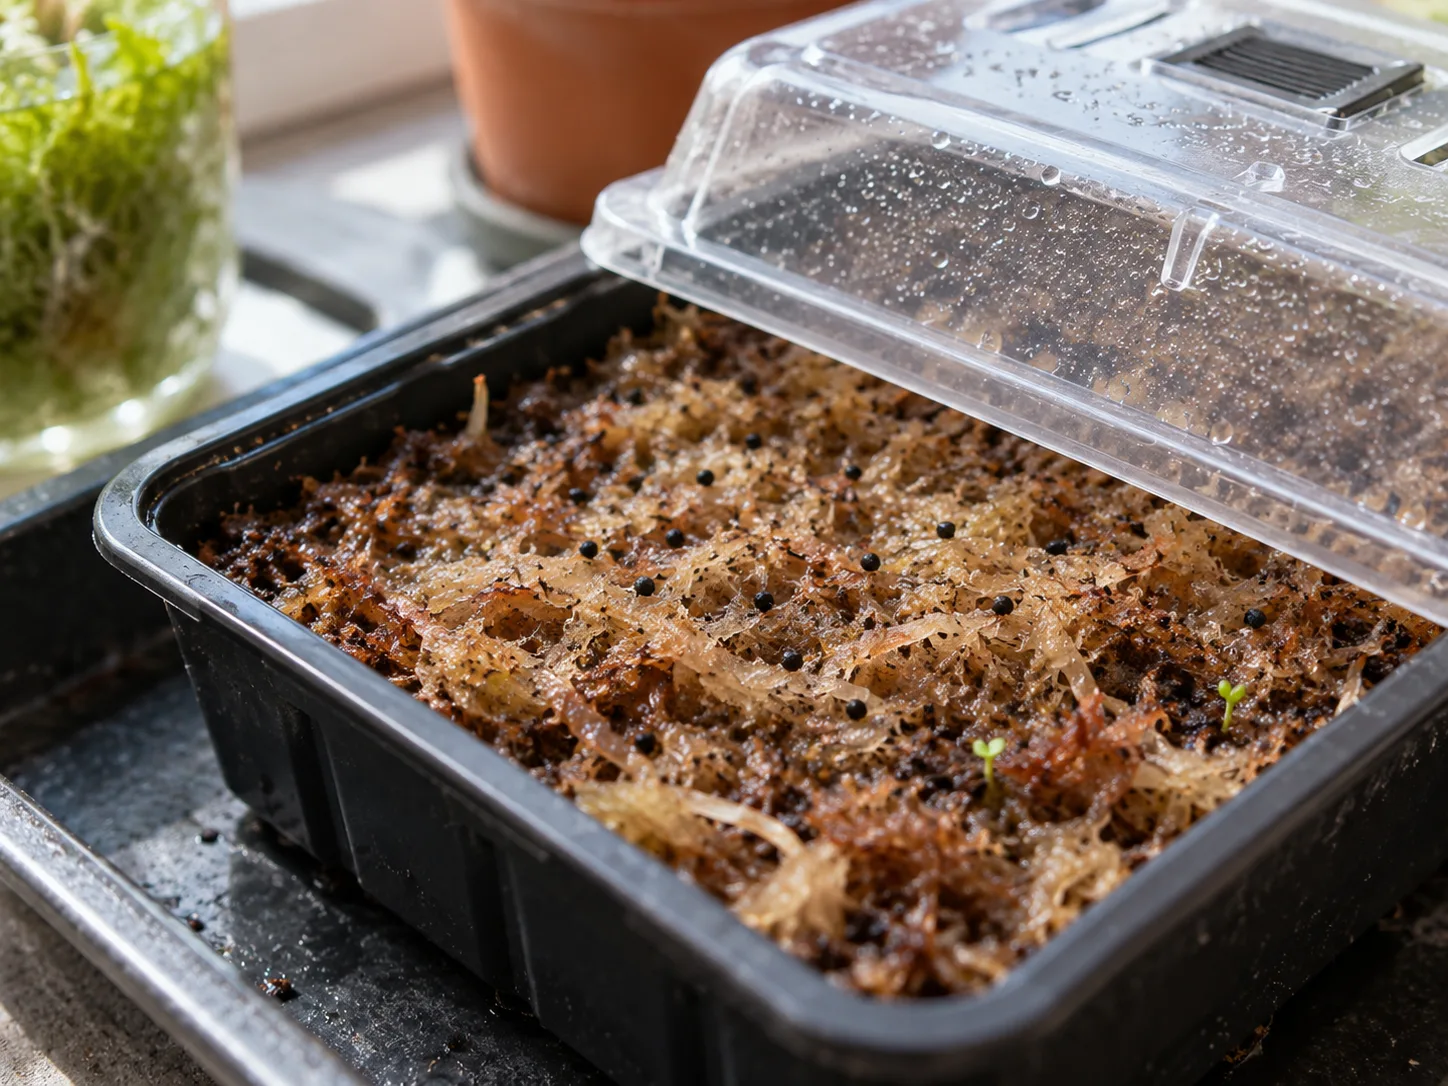
Scatter the seeds directly onto the damp surface. Do not bury them under a layer of soil: buried seed can lack the light and easy access to the surface that support germination, and the newly emerging root needs to reach the medium rather than push through a deep covering. If a few seeds stick to a wet fingertip, use a clean toothpick or the end of a damp label to place them.
A very light dusting of finely chopped sphagnum or peat can help hold moisture around the seed, but it should be thin enough that you can still see the seed through it. You are not trying to cover the seed like a bean. Mist the surface until the dusting is damp, then stop before water pools over the seeds or washes them to one side. This small distinction—surface sowing with a faint cover rather than burying—makes it much easier to inspect the tray and keep moisture consistent.
Set Up a Warm, Bright, Ventilated Germination Chamber
Cover the tray with a clear lid that has small ventilation holes, or use a loose clear cover that you can lift once a day. The goal is to slow evaporation, not to create a sealed sauna. Keep the medium from drying while allowing fresh air to reach the surface; condensation that runs down the lid and drips onto one patch can displace seed and leave other areas too wet.
Aim for steady warmth around 78 to 85°F (about 26 to 29°C), and avoid letting a sunlit covered tray climb above roughly 90°F. A heat mat can help in a cool room, but place a thermometer at seed level and adjust it rather than assuming the mat’s setting equals the tray temperature. Give the tray bright light from a grow light or a bright window out of direct midday sun; direct sun on a closed clear lid can overheat a tiny chamber even when the room feels comfortable. FlyTrapCare’s propagation guide describes warm, bright conditions and cautions against overheating covered seed containers.
Open the lid briefly each day to renew the air and check that the surface remains evenly moist. Do not fan vigorously, mist automatically on a fixed schedule, or keep the lid open so long that the medium dries; respond to the actual condition of the tray. If the cover is heavily fogged all day, increase the vent opening or shorten the covered period, especially if green algae or fuzzy growth appears.
How Long Germination Takes and What to Watch For
Under warm, steady conditions, some seeds sprout in about two weeks, but it is reasonable for germination to take several weeks and for seeds in one tray to emerge at different times. Cooler temperatures, older seed, uneven moisture, and thick covering can all slow or prevent germination. A few empty patches do not prove the whole batch has failed.
The first signs are tiny green growths at the surface, not miniature open traps. The first pair of seed leaves, or cotyledons, appears before the recognizable trap leaves; give the seedling time to build a root and its first true trap. Keep the tray labeled and resist the urge to dig up unsprouted seeds to check them. If nothing has appeared after six weeks, review the temperature, water source, sowing depth, and whether the medium dried; if those conditions were sound, keep the tray going a little longer before discarding it.
Care for Seedlings After They Emerge
Once sprouts appear, the job changes from protecting an unseen seed to growing a tiny, functioning plant. Continue to keep the medium damp, maintain bright light, and leave space for air movement. Do not fertilize the seedlings, add nutrient-rich fish food, or trigger traps to “exercise” them; they obtain most of the energy they need from photosynthesis, and an immature seedling is too small to benefit from repeated trap closure.
Thin only if seedlings are so crowded that they press against one another or remain shaded. It is usually safer to wait until they can be moved with a visible root and the first true trap than to pull at tiny sprouts just to create tidy spacing. A few seedlings sharing a tray is manageable when light reaches them evenly and the surface does not stay continuously flooded.
Reduce Humidity Gradually
When most seedlings have emerged and the first traps are developing, begin opening the cover for longer periods over several days. A seedling raised under constant humidity can wilt if the cover disappears all at once, even when its roots are wet. Increase ventilation first, then move the tray into brighter conditions as the seedlings adjust.
If a sprout collapses soon after uncovering, check for sudden exposure to dry indoor air, hot direct sun, or a dried surface rather than immediately assuming it is diseased. Restore a looser cover temporarily and acclimate more slowly, keeping the medium moist. Once seedlings are established, they do not need to live in a sealed terrarium; airflow helps keep the crown and leaves from staying wet and lowers the chance of persistent mold.
Keep the Root Zone Moist With Low-Mineral Water
The sowing surface should not dry out, but the entire tray does not need to sit under deep standing water. Use a shallow bottom-watering tray or gently add water at the edge, then let excess drain; keep the medium damp and airy rather than soupy. In a small seed container, inspect more often during warm, bright weather because it can lose moisture quickly.
Continue to use distilled, reverse-osmosis, or rainwater. Do not assume that filtered, softened, bottled spring, or ordinary tap water is suitable just because it tastes clean; household filters and softeners do not all remove the dissolved salts that matter to a sensitive carnivorous plant. If white crust forms on the pot or medium, or if the source water is hard, switch to a low-mineral source and rinse the tray with it rather than adding fertilizer or a soil “tonic.”
Transplant Only When the First True Trap Forms
Use the seedling, not the calendar, to decide when to move it. A good cue is when the cotyledons have opened and the first tiny trap is beginning to form; at that stage the plant has a clearer base and root than it did at emergence. Moving an earlier sprout usually adds risk without saving meaningful time, while waiting until a crowded tray tangles roots can make separation harder.
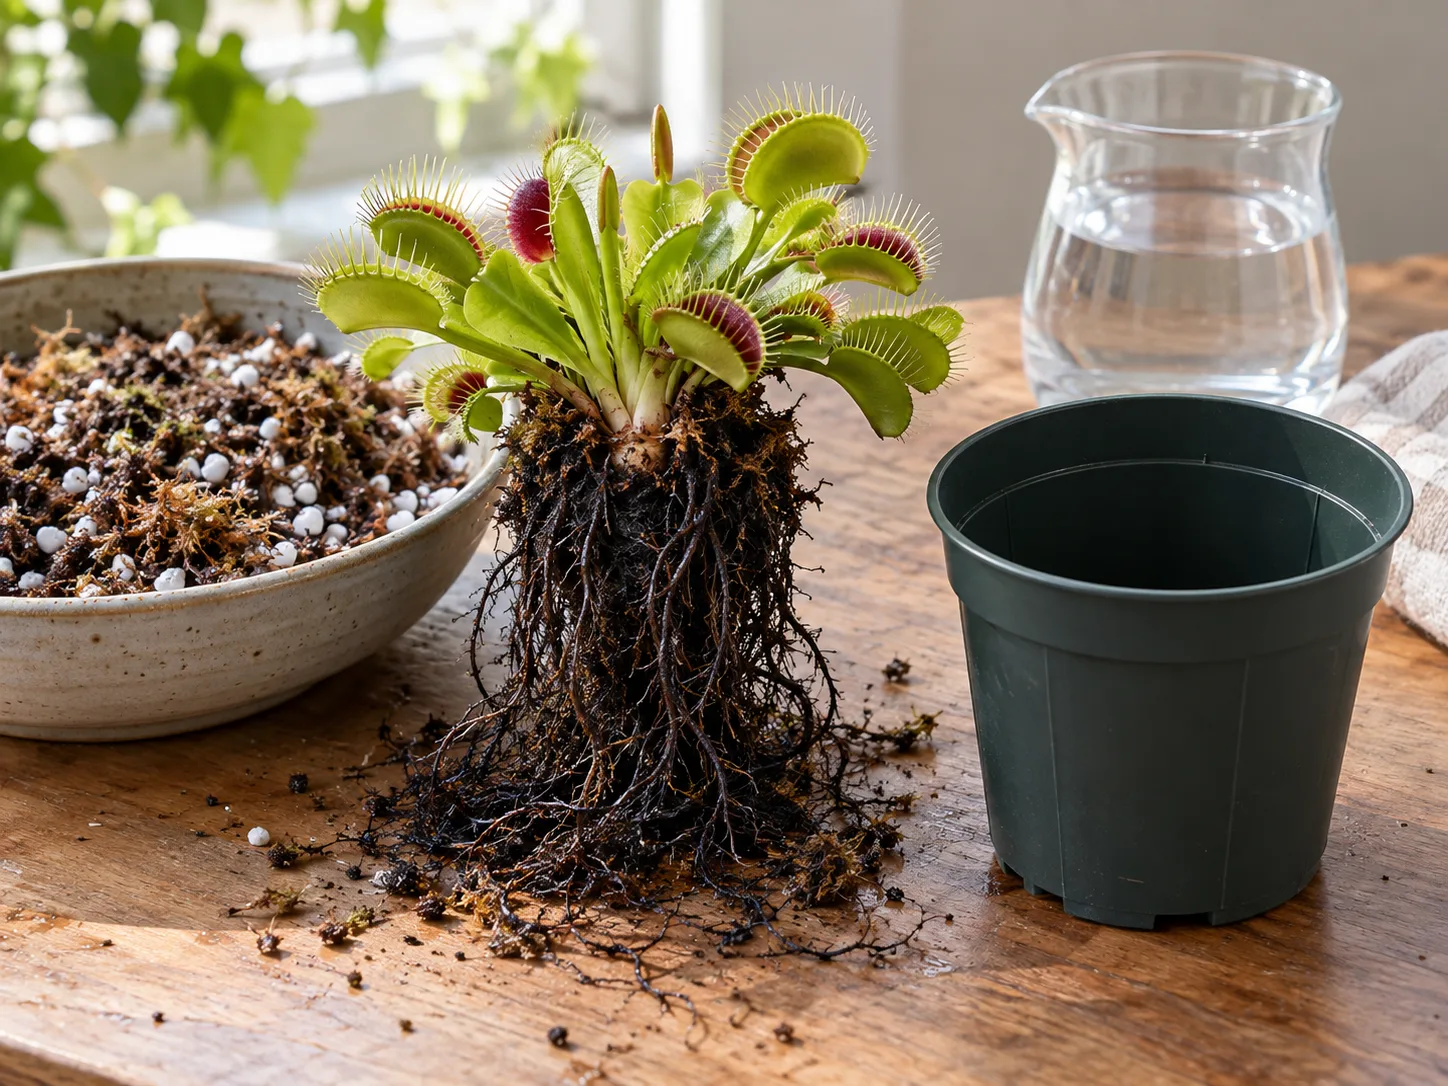
Prepare the new pot and medium before lifting anything. Moisten the same nutrient-poor mix with low-mineral water, make a small planting hole, and use a damp toothpick or narrow label to ease the seedling out with as much root attached as possible. Hold it by a seed leaf rather than squeezing its base or trap, lower the root into the hole, and settle the mix lightly around it; burying the crown can trap moisture where the leaves emerge. A tray of separate small pots is easier to monitor, while a wider pot can hold several seedlings if they have room and are not touching.
After transplanting, keep the new medium moist and give the plant a few days of bright indirect light before increasing direct sun. Some older leaves may pause or look tired after the move; judge recovery by the appearance of new growth rather than repeatedly pulling at the plant. Gardener’s Path gives practical guidance on the species’ water, light, and transplant needs, while FlyTrapCare describes using the first true trap as a useful seedling transplant cue.
Give Seedlings Strong Light Without Overheating
Light is a common reason Venus flytrap seedlings stay small or stretched. After the covered germination phase, give them a bright grow light or gradually acclimate them to a sunny outdoor position. A mature flytrap is not a low-light terrarium plant: NC State Extension lists full sun to partial shade, and Gardener’s Path recommends several hours of direct sunlight for established plants. Seedlings need strong light too, but their transition from a dim room or a covered tray should be gradual.
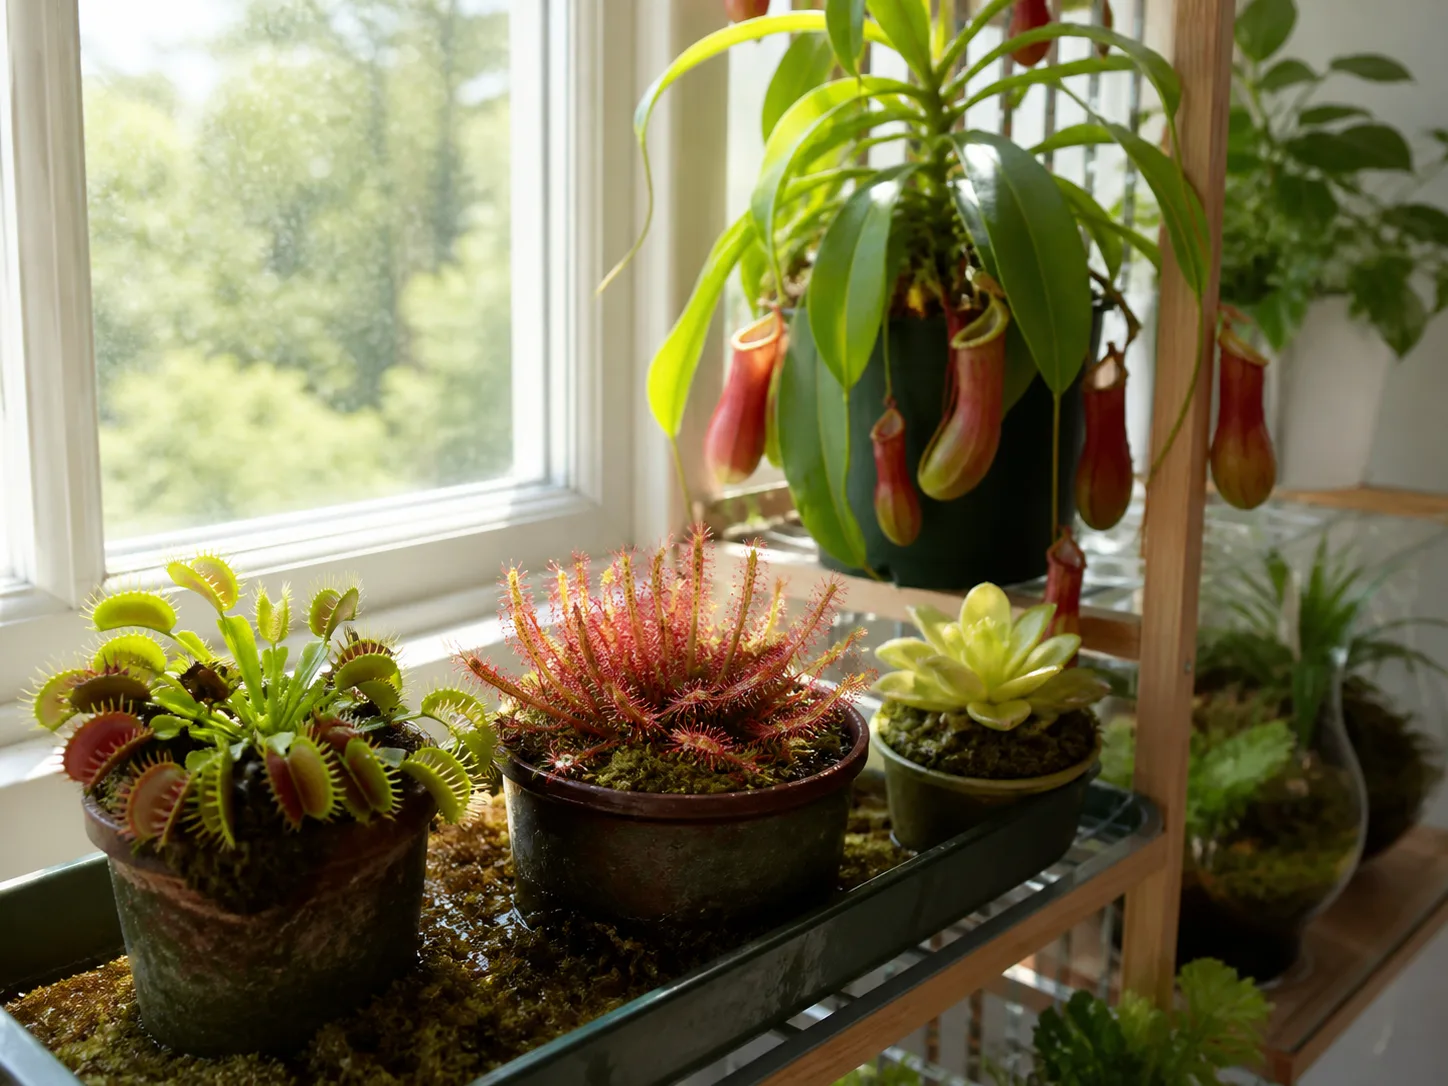
For indoor growing, use a grow light positioned close enough to prevent weak, elongated growth but far enough away that it does not heat the leaves or dry the surface. A timer provides a consistent long day during active growth; follow the fixture’s instructions because distance and brightness vary between models. If moving plants outdoors, start with morning sun and shade during the harshest part of the day, then increase exposure over a week or two. Acclimation is more reliable than putting a nursery-grown seedling straight into all-day summer sun.
Watch the tray’s temperature as well as the leaf color. Red coloring inside the traps can be normal in strong light, but a hot, covered tray or pale, bleached patches on leaves point to stress rather than healthy development. A seedling that leans strongly toward the window may need more even light, while one that wilts at midday may need a slower sun transition or more consistent root moisture.
Plan for Dormancy as Seedlings Mature
A key distinction prevents a lot of confusion: Venus flytrap seeds do not need a cold stratification period, but established plants have a seasonal winter dormancy cycle. Cold-moist stratification is a treatment applied to a seed before sowing; dormancy is a resting phase in the living plant after the growing season. Refrigerating a seed packet and keeping a growing plant cool through winter are not interchangeable instructions.
For a first-year seedling, prioritize health and adequate growth rather than forcing an abrupt refrigerator dormancy. If it has spent the growing season outdoors in a temperate climate, it can follow local seasonal cues in a sheltered, appropriately cool place; keep the medium from drying and protect the pot from prolonged hard freezes. Tiny seedlings grown indoors may need a carefully managed plan based on their size, light, and local winter conditions, and growers differ on whether very small plants should enter a full first dormancy. Avoid treating a tropical, heated room as the plant’s permanent year-round environment once it matures; the species is a temperate perennial, not a tropical houseplant. NC State Extension describes its hardiness and perennial nature, and Gardener’s Path explains the seasonal rest period.
Troubleshoot Slow or Failing Seed Batches
If the tray is empty after a few days, do not change everything at once. Check the sowing date and temperature, confirm the water has low mineral content, make sure the medium has not dried, and look at whether the seeds are still visible at the surface. The most useful adjustment is usually correcting one condition and giving the tray time, not adding fertilizer, soaking seed in a new solution, or disturbing the medium.
If a white or green film develops, it is often algae or mold encouraged by stagnant air, excess moisture, or debris on the medium. Remove any dead plant material with clean tweezers, increase ventilation, and reduce standing water while keeping the substrate moist; do not let the tray dry to “fix” the growth. A thin film on the medium is not the same as a seedling rotting at the crown, so check whether the sprouts are still firm and making new leaves before deciding that the batch is lost.
If seedlings emerge but then collapse, look for a sudden change in humidity, direct sun on a covered container, a waterlogged surface, or mineral contamination. If only the surface dries between checks, mist with low-mineral water and consider a cover with better control; if the medium smells sour or stays flooded, empty the standing water and improve drainage. If several seedlings fail in one corner, compare that spot’s light and moisture with the rest of the tray before blaming the seed lot. When the original seed source is uncertain, sowing a small second batch from a specialist grower can help distinguish poor viability from a setup problem.
Conclusion
To grow a Venus flytrap from seed, use fresh seed, a low-nutrient medium, low-mineral water, warm conditions, bright light, and a ventilated cover. Scatter the seed on the surface instead of burying it, keep the medium evenly moist, and wait for expanded seed leaves and the first true trap before transplanting.
The growing process rewards consistency more than constant intervention. Keep notes on seed source, sowing date, temperature, and first emergence; make changes gradually; and give each seedling time to build into a plant. The first trap is a milestone, not the finish line, but it means the most delicate stage has passed.