How to Seed a Lawn From Scratch: Timing and Soil Prep
Learn how to seed a lawn from scratch: choose grass and timing, prepare soil, calculate seed, water through germination, and prevent bare patches step by step.
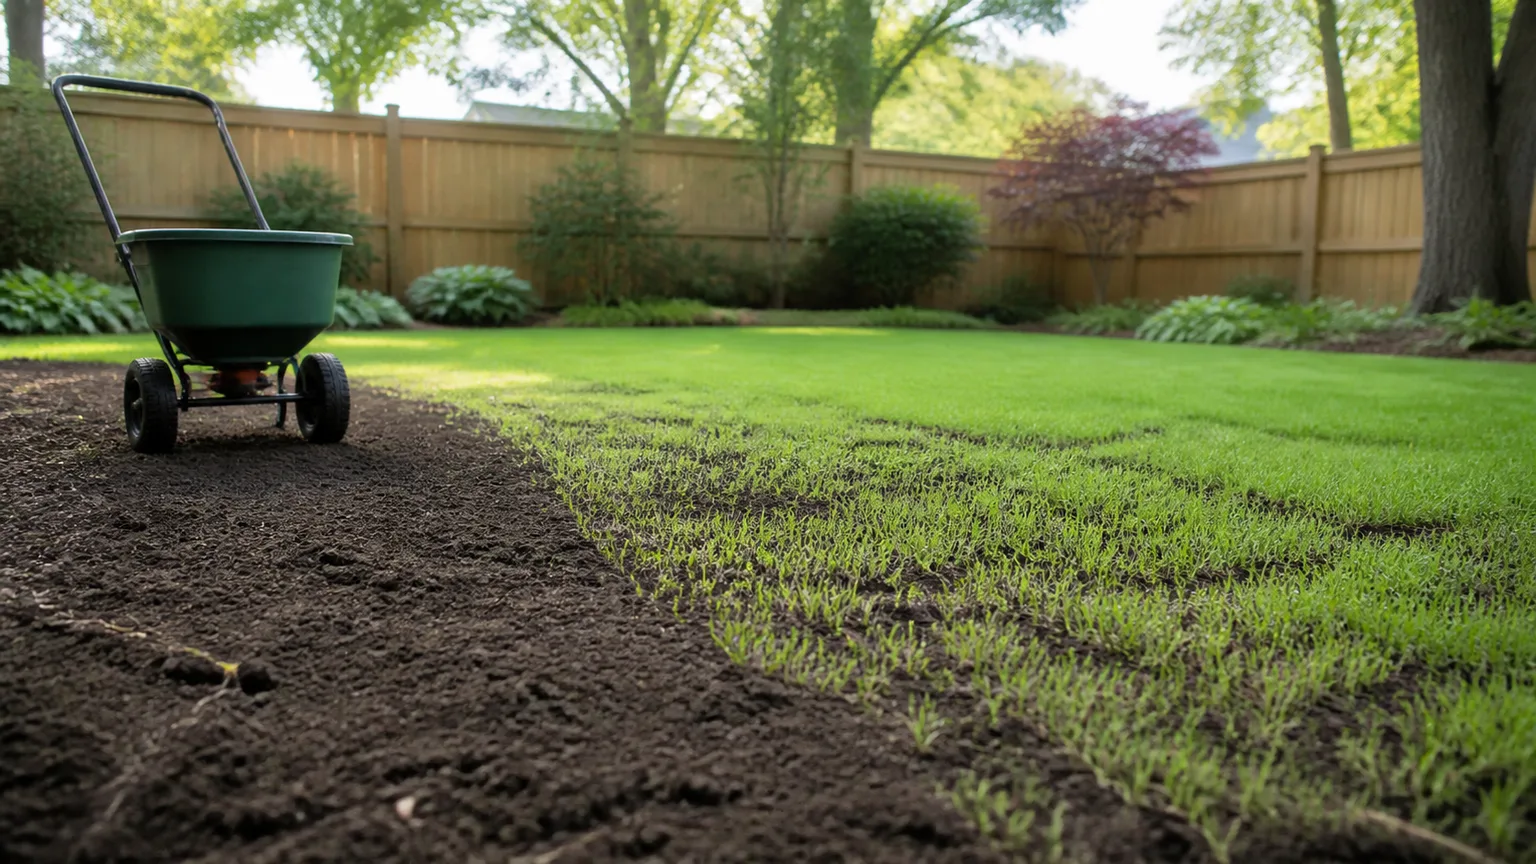
A new lawn succeeds or fails before the first blade appears. Choose grass that suits your climate and the amount of sun the site gets, prepare a smooth but not powdery seedbed, sow the measured amount at the right time, and keep the seed zone damp until roots can reach deeper soil. Getting those choices right makes the rest of the job simpler and reduces the need to reseed.
Decide whether seed fits the site
Seeding is usually the lower-cost way to cover a large area and gives you more choice among grass types and blends. It also takes time: the soil may show green shoots in days or weeks, but a durable lawn needs repeated mowing and enough root growth to hold together before it can take normal foot traffic. Seed is a good fit if you can protect the area and keep up with watering through the germination period.
Sod can make more sense when you need immediate cover, have a steep slope where seed would wash away, or cannot water a bare seedbed consistently. Before choosing either, consider whether the site should be lawn at all. Deep shade, poor drainage, roots from mature trees, or a narrow steep bank may be better handled with a groundcover or planting bed than by repeatedly forcing turf to grow.
Choose grass for your climate and yard
Start with your region, then match the seed to the light, soil moisture, foot traffic, and maintenance you can provide. A blend can balance strengths—for example, several cool-season grasses may establish at different speeds—but a bag labeled for “sun and shade” is not a substitute for checking which species and cultivars are inside. Read the seed label for the actual grass types, germination information, coverage rate, and any weed-seed disclosures.
Sun exposure is measured across the growing season, not by one quick midday glance. A lawn shaded by a building in the afternoon may receive very different light from one beneath a tree, where roots also compete for water. If the area receives little direct light, choose a locally recommended shade-tolerant mix and expect slower, thinner growth than in open sun; no seed blend can make dense shade behave like a sunny field.
Match cool-season and warm-season grass to region
Cool-season grasses such as tall fescue, fine fescue, Kentucky bluegrass, and perennial ryegrass grow most actively in cooler parts of the year and suit much of the northern and transition regions of the United States. Their strengths differ: tall fescue often handles heat and some shade better than bluegrass, fine fescues can fit lower-traffic or shaded areas, and perennial ryegrass tends to show green quickly. Match the choice to local extension advice rather than choosing by name alone.
Warm-season grasses such as bermudagrass, zoysiagrass, and centipedegrass grow when weather is hot and generally go dormant or brown during cool weather. Some warm-season lawns cannot be established from ordinary seed: St. Augustinegrass and many hybrid bermudagrass cultivars are typically installed vegetatively, while seeded types are available for some species and regions. The University of Georgia Extension’s grass overview describes these regional differences and cautions that grass choices vary by local climate.
Time planting for a long rooting window
For cool-season lawns, late summer to early fall is generally the strongest window: soil is still warm enough for germination, air temperatures are easing, and seedlings have a chance to root before summer heat returns. Purdue Extension’s turfgrass establishment guide gives different optimum dates for different parts of Indiana and Illinois, illustrating why a state or county extension calendar is more useful than one nationwide date. In colder regions, do not wait until seedlings have only a short stretch before freezing weather.
For warm-season seed, wait until frost danger has passed and the soil is warm enough for that grass to grow steadily; this often means late spring or early summer, but regional calendars differ. The UC IPM timing and rate guide distinguishes cool-season from warm-season planting windows and notes that not every turfgrass species is seedable. Avoid the hottest, driest part of summer for cool-season seedlings, which have shallow roots and can lose water faster than they can replace it.
If you miss the best window, decide whether to wait or use a local dormant-seeding recommendation rather than sowing into conditions that trigger germination just before a hard freeze. Dormant seeding is a specialized cool-season option for cold climates, not a routine shortcut for every full lawn; it can fail if a warm spell starts germination or runoff moves exposed seed. A specialist lawn-care guide to dormant seeding explains the trade-offs and cites university guidance for regional timing.
Measure the area and calculate seed
Measure the actual lawn area before buying seed. For a simple rectangle, multiply length by width; split an L-shaped yard into rectangles and add them. Subtract large beds, patios, and other areas that will not be seeded. Keep the result in square feet if the package rate is given per 1,000 square feet.
Use the new-lawn rate on the seed label, not an overseeding rate. Rates vary substantially by species and mixture: Purdue Extension’s regional recommendations, for example, list a much lower weight for Kentucky bluegrass than for tall fescue. If a label calls for 6 pounds per 1,000 square feet and your measured lawn is 1,250 square feet, the calculation is 6 × 1.25, or 7.5 pounds. Keep a small amount in reserve for edges or later spot repairs instead of spreading extra seed across the whole lawn.
A seed calculator can help with irregular sites, but it cannot tell you which species belongs in your yard. Check the package rate, whether it covers a new lawn or an existing one, and whether the blend includes a coating that changes the weight. Too much seed does not make a lawn fill in faster; crowded seedlings compete for light, water, and nutrients.
Test soil and plan corrections
A soil test is the clearest way to decide whether the site needs lime, nutrients, or a pH adjustment. Collect a representative sample according to the lab’s directions and keep separate areas with different soil or past use separate. Amendments are not interchangeable: lime changes acidity, fertilizer supplies nutrients, and compost adds organic matter. Applying the wrong product—or applying it at a guess-based rate—can make the site harder to establish.
A test report can also help you avoid unnecessary starter fertilizer. Some guides recommend phosphorus-rich starter products, but phosphorus needs and local rules differ; use the soil-test recommendation and product label rather than treating a particular N-P-K formula as mandatory. Purdue Extension’s establishment guide recommends testing first and basing corrections on the report, while UC IPM’s soil-preparation guide emphasizes site grading, settling, and soil preparation as parts of establishment.
Clear old turf, weeds, and debris
Remove construction scraps, stones, dead sod, and weeds before smoothing the surface. Perennial weeds with persistent roots are especially important to remove; chopping them into many pieces with a tiller can spread the problem. If the site has an established lawn, a sod cutter or careful removal with a spade can create a clean starting point without relying on a broad herbicide treatment.
If you use any weed-control product, follow its label for reseeding intervals and the grass species involved. Many pre-emergent products are designed to stop seeds from growing, including grass seed, so applying one around seeding can undermine the project. For a heavily infested area, identify the weeds and choose a control method early enough that you can still meet the recommended planting window.
Build a level, firm seedbed
Work the ground when it is moist enough to crumble but not wet. Wet clay smears and forms hard clods, while very dry soil is difficult to level. Break up large compacted areas, remove buried debris, and rake the surface so water can soak in rather than run off. You do not need to pulverize every clod or rototill a stable yard several times; excessive cultivation can leave a fluffy surface that later settles into bumps and hollows.
Set the grade before you seed. The surface should shed water away from the house, avoid abrupt dips that collect puddles, and remain within safe, gentle slopes. UC IPM advises a slight grade away from buildings and a firm, level planting site; do not redirect runoff toward a neighbor or across a path. If the area needs major grading or has standing water after ordinary rain, resolve that problem before buying seed. The A practical lawn-preparation guide also recommends working the ground when it is moist but not wet and firming it before sowing.
The final bed should feel firm underfoot but not compacted like pavement. A light footprint should leave a shallow impression, not sink deeply or disappear in loose dust. If the area has been loosened or amended, allow it to settle and rake again; otherwise, the first rain can expose unevenness just as seedlings begin to emerge.
Add amendments only where the soil test or site calls for them
If a test or site inspection shows a need, incorporate a modest amount of suitable organic matter into the upper soil rather than laying a thin, rich layer on top of poor soil. A sharp layer between imported topsoil and native soil can interfere with water movement, and a thick blanket after sowing can bury seed. For a few low spots, fill and firm them before the final rake so the mower will not scalp the new grass later.
Sow in two directions for even coverage
Choose a calm day so seed does not blow into beds or collect on one side of the yard. Split the measured seed into two equal portions. Apply the first portion in parallel passes, then spread the second portion at a right angle to the first. A drop spreader can give clean edges; a broadcast spreader covers larger areas quickly. Either works when you walk steadily and follow its setting guidance.
For a small lawn, a hand spreader or careful hand sowing can work, but first practice on a measured strip and keep the rate consistent. Purdue Extension and the UC IPM guide to establishing a lawn from seed both recommend dividing seed and crossing passes for even coverage. If you can see thick stripes or piles, rake them out before watering; clumps produce crowded grass beside bare gaps.
Cover seed without burying it
Grass seed needs contact with soil and access to light. Rake gently so most seed is just covered; UC IPM describes a very shallow cover of roughly 1/16 to 1/8 inch. A useful visual check is that you can still see scattered seed through the soil surface rather than a dark layer of earth over everything. Do not add a thick layer of topsoil after sowing.
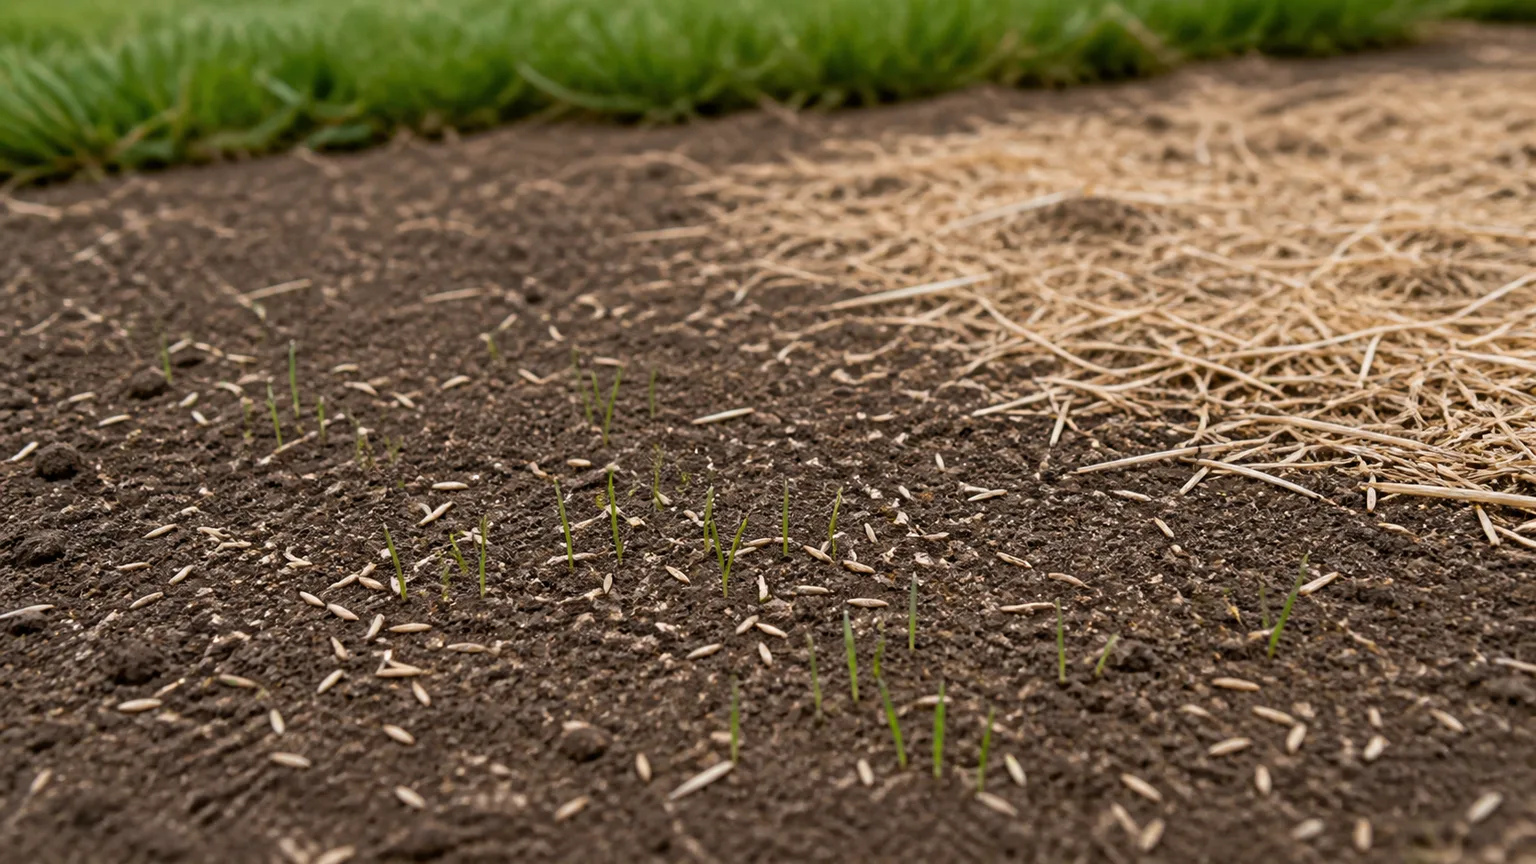
A light pass with an empty lawn roller or a flat board can firm seed into the surface, especially on a very loose bed, but it is optional. The goal is contact, not compaction. On an exposed slope or a site that cannot be watered often, a thin layer of clean straw or a purpose-made erosion blanket can slow drying and keep seed in place; lay it loosely enough that light reaches the soil. Purdue Extension cautions that heavy mulch shades seedlings, so the soil should remain visible through a straw covering.
Water often enough to protect germination
Water gently as soon as you finish seeding. Before roots form, the top portion of the seedbed must stay evenly moist, so a newly seeded area often needs short, frequent watering rather than one long soak. Purdue Extension describes watering two to four times per day depending on weather and keeping the top half-inch to inch moist; that is a condition to monitor, not a fixed schedule for every sprinkler, soil, or climate.
Use a fine spray or sprinkler that does not dig channels or move seed. Check several places, including sunny edges and slopes, because one sprinkler can leave dry corners even when the center looks wet. If water starts pooling or running downhill, stop, let it soak in, and resume with shorter cycles. Reduce watering after rain, and avoid watering so late in the day that the seedbed stays saturated overnight.
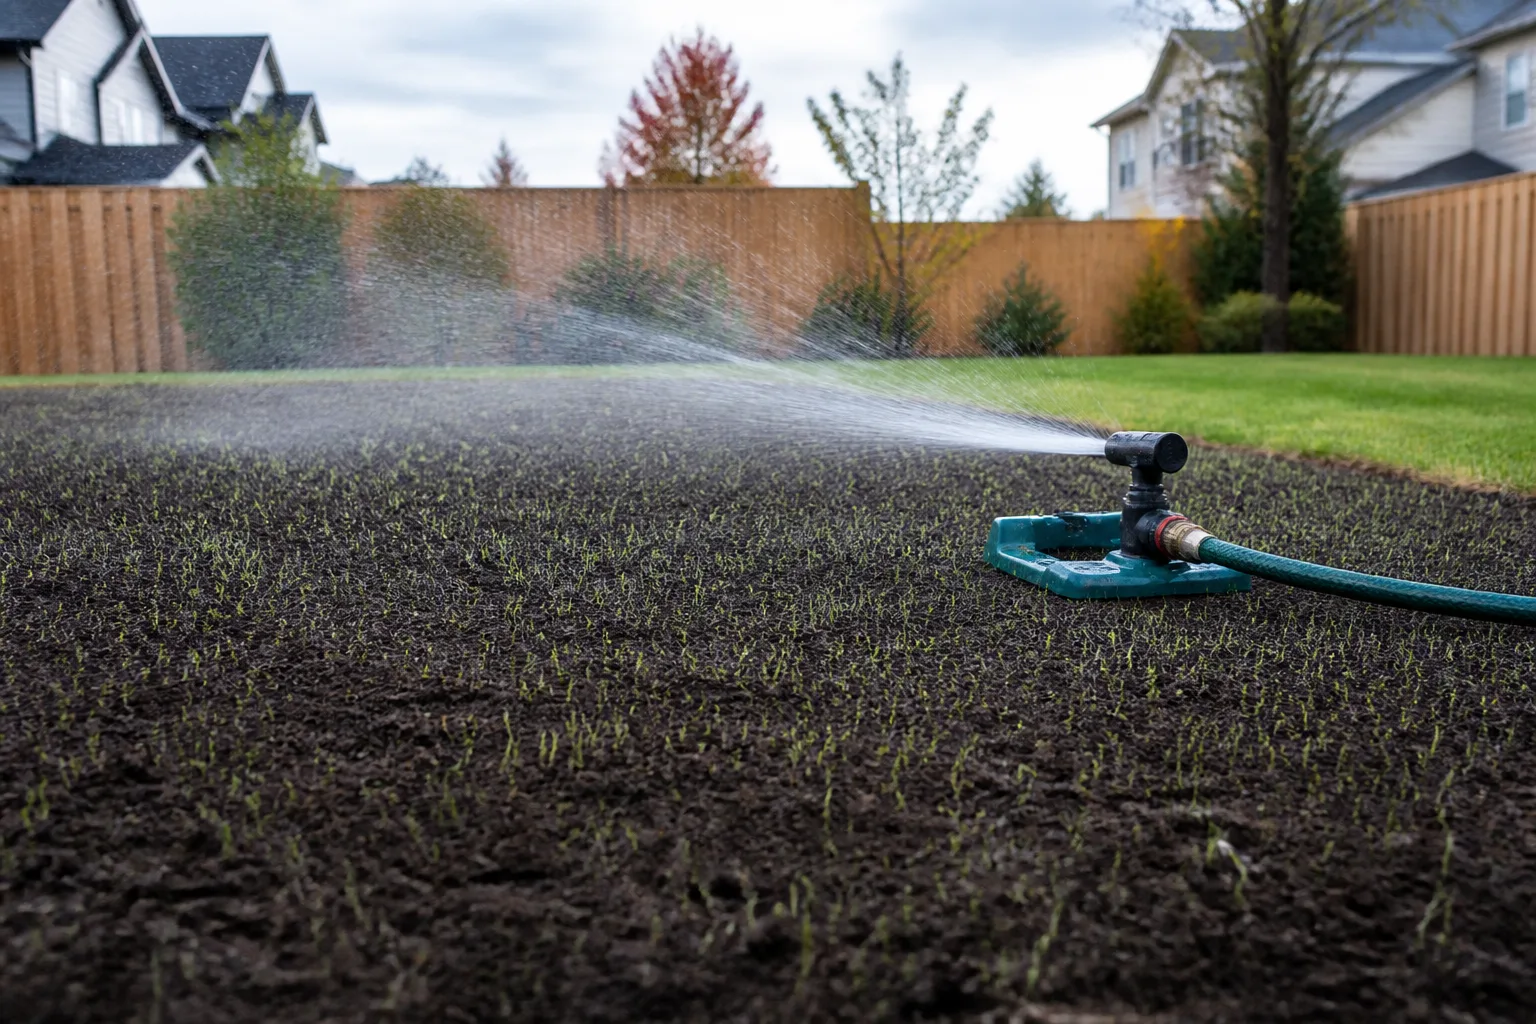
Shift from frequent misting to deeper watering
As shoots appear and grow, the roots reach farther into the soil. Gradually reduce the number of watering sessions while increasing the amount applied each time so moisture reaches deeper than the seed surface. Purdue Extension suggests beginning this transition once seedlings reach about 2 inches; adjust more slowly in hot, windy weather and more quickly when cool weather keeps the soil damp.
After the grass has been mowed a few times and is rooted, move toward the watering pattern recommended for that grass type and your climate. Deep, less frequent watering encourages roots to explore more soil than daily surface wetting. A simple check is to push a screwdriver into the ground after watering: if it stops at dry, hard soil just below the surface, the water did not reach far enough.
Track germination before you judge the lawn
Do not expect every seed in a blend to sprout at once. Species, soil temperature, moisture, and seed quality affect the schedule; fast-germinating grasses may appear first while slower grasses are still below the soil. A practical grass-germination guide notes that grass seed can germinate in under a week in favorable conditions, while other types may take up to a couple of weeks. Check the seed label’s germination window before treating a quiet patch as a failure.
While waiting, keep the surface moist and avoid walking, playing, or letting pets cross the area. A few footprints can displace seed or compact the soft bed. If birds take some exposed seed, do not scatter more everywhere immediately; wait through the expected germination period, then inspect the pattern and reseed only the thin patches.
Mow, fertilize, and limit traffic while it establishes
Once the grass reaches the first mowing height recommended for the blend, mow when the soil is firm enough that wheels will not rut it. Use a sharp blade and remove no more than one-third of the leaf at one time. Waiting until grass is very tall can tear seedlings or leave clumps that smother them, but mowing too early on wet soil can pull young plants out.
Keep people and pets off the lawn until the seedlings are anchored and have handled several mowings; there is no single safe date because growth depends on species and weather. Use a temporary barrier if the area gets regular traffic. Follow the soil test and fertilizer label for any additional feeding, and delay weed-control products until the grass has reached the stage specified on the label or by local extension advice. Do not assume that a product safe on established turf is safe on newly germinated grass.
Troubleshoot thin or uneven growth
First compare the lawn with the seed label’s full germination range. If the slowest species may still be emerging, continue to water and wait before adding seed. Then look at the pattern: broad dry strips often point to sprinkler coverage; seed gathered at the bottom of a slope points to runoff; a bare patch with hard, crusted soil may need loosening; and a thin area under a tree may simply be too shaded or too dry for the chosen mix.
| What you see | Likely cause | What to do |
|---|---|---|
| Bare lines between green rows | Uneven spreading or missed passes | Measure the thin areas and reseed them in two directions. |
| Seed visible on the surface or washed into piles | Poor contact, heavy rain, or slope runoff | Rake the affected soil lightly, add a thin erosion cover if needed, and reseed after the bed is stable. |
| Seedlings wilt between waterings | Surface is drying too quickly | Shorten the interval between light waterings until roots deepen; check sunny edges separately. |
| Little growth after the label’s germination window | Drying, seed buried too deeply, old seed, unsuitable temperature, or a soil issue | Check moisture and depth first; test soil and verify the seed type before reseeding. |
| Grass emerges but stays thin under a tree | Shade or root competition | Use a locally suitable shade mix only if enough light reaches the site; otherwise change the planting plan. |
When you reseed, fix the cause first. Adding seed to compacted, poorly drained, or deeply shaded soil repeats the same failure at extra cost. If germination is scattered after the expected window, scratch only the bare areas, use the package’s new-lawn rate for those square feet, and keep them moist without flooding the established seedlings.
Get help for drainage, slopes, or persistent weeds
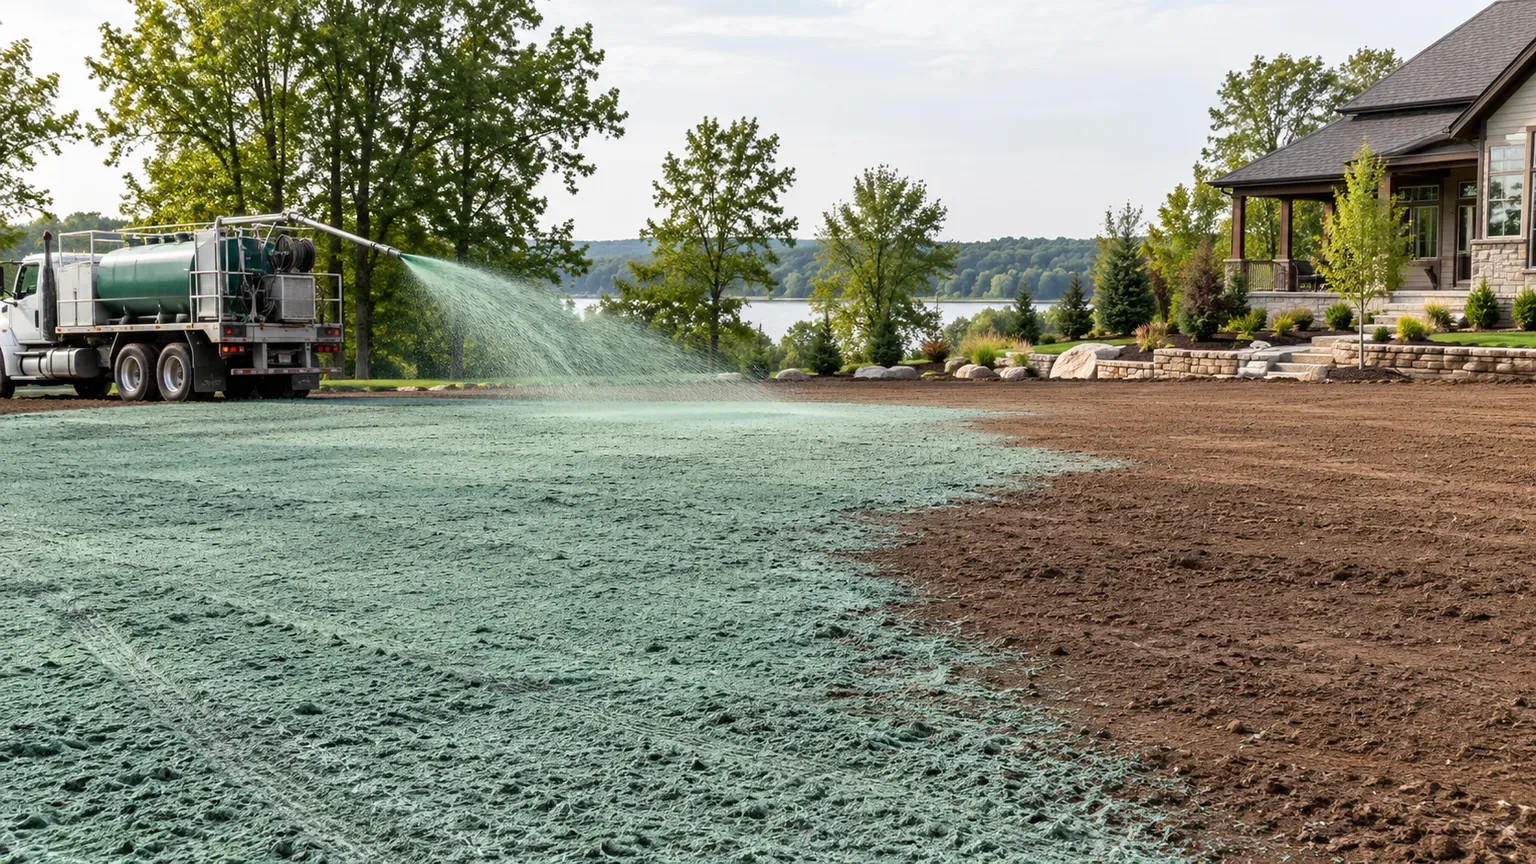
Ask a local extension office or turf professional to identify grass and soil issues when the yard has standing water, severe compaction, steep grades, persistent perennial weeds, or a history of failed seedings. A soil laboratory can help separate pH or nutrient issues from watering and species problems. For larger or difficult slopes, a professional can compare seed, erosion blankets, hydroseeding, and sod based on the site rather than treating all bare ground the same way.
If you hire help, ask what seed blend they plan to use, whether it is suitable for your sun and region, how they will prepare the grade, and what watering the new lawn will require. A precise plan should state the seed rate and the first-mowing and weed-control milestones. That makes it easier to maintain the lawn consistently after installation.
Conclusion
The reliable way to seed a lawn from scratch is to fit the grass to the site, sow during its best local window, prepare a firm bed with good drainage, and use the rate on the seed label. Spread half the seed in each of two directions, cover it only lightly, then keep the seed zone moist until the roots can take over. If the lawn comes in unevenly, diagnose the pattern before you reseed; correcting the cause is what turns a first attempt into a lasting lawn.