How to Prune Orchids the Right Way
Find out how to prune orchids after flowering, sterilize tools, trim dead roots, and decide whether a green moth-orchid spike should stay or go.
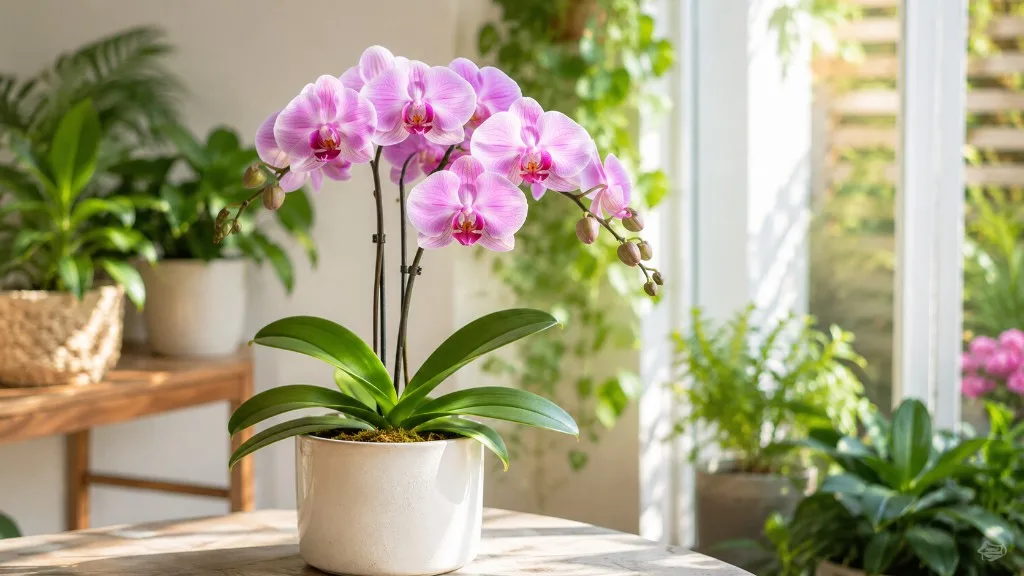
When an orchid’s flowers fade, pause before cutting the entire stem. On the common moth orchid, or Phalaenopsis, a green flower spike may produce another branch, while a dry brown spike is finished. Other orchids follow different rules: the thick cane or swollen pseudobulb that looks like a stem may store energy for later growth, so removing it can cost the plant more than one season’s flowers.
The safe method is to identify the orchid, decide whether you are removing a flower spike or damaged tissue, and make a clean cut with a sterile tool. Pruning is usually light grooming, not a routine haircut. Healthy roots, leaves, canes, and pseudobulbs stay attached; dead, diseased, or fully spent parts are the ones to remove.
The quick answer: prune only what has finished or is damaged
For most home-grown Phalaenopsis orchids, wait until the flowers have dropped, then inspect the spike. If it is still green and the plant is strong, you can leave it in place or shorten it above an unused node to try for a side branch. If the spike has turned yellow or brown, cut it near its base without nicking the crown. If the plant is weak, recently repotted, or recovering from root loss, removing the spike at the base can give it a chance to put energy into roots and leaves instead.
For other orchid groups, first separate the flower spike from the structure that supports it. A flower spike carries buds and blossoms; a cane or pseudobulb may remain useful after the flowers are gone. Trim dead leaves and clearly dead roots only when needed. If you cannot identify the plant, avoid cutting a firm green stem until you can match its growth habit to the right instructions.
Identify your orchid’s growth type before cutting
The same word, “stem,” is often used casually for several orchid parts that do different jobs. The plant’s growth pattern gives you a quick way to tell what you are looking at and how cautious to be. Most popular orchids fall into one of two broad patterns: monopodial or sympodial.
Monopodial orchids grow from one central stem
Phalaenopsis and Vanda are monopodial. They grow upward from one central axis, adding leaves near the top and roots along the stem; flower spikes emerge from between the leaves. Because the plant has one main growing point, a cut into the crown or stem can injure the part that produces future leaves. Keep the blade on the flower spike, not down in the tight space where the leaves meet.
On a Phalaenopsis, a flower spike is usually thinner, flatter, and jointed, with small triangular bracts at its nodes. The leaves are broad and fleshy, growing in a close stack. If the “stem” you are considering cutting is thick, leaf-bearing, or rooted, stop: it may be part of the plant’s main axis rather than an old flower spike.
Sympodial orchids grow through canes or pseudobulbs
Cattleya, Oncidium, and Cymbidium are examples of sympodial orchids. They expand sideways along a rhizome and make successive growths; these may be swollen pseudobulbs or upright canes. A new growth can produce leaves and flowers, while older growths may continue to store water and carbohydrates even after blooming. A flower stalk is separate from that storage structure, so remove only the stalk unless the cane or pseudobulb is truly dead.
The American Orchid Society notes that most genera flower only once from a particular spike, while some orchids can flower repeatedly on the same spike. It specifically warns that green novelty Phalaenopsis spikes and certain other types should not be cut while they remain capable of flowering. The American Orchid Society’s spike guide is useful if your plant is not the familiar supermarket moth orchid. For more detail on structural differences, Gardener’s Path’s orchid pruning overview also distinguishes flower stalks from pseudobulbs.
When to prune an orchid
For routine post-bloom cleanup, prune after the flowers have faded and dropped, not on a fixed date. Orchids bloom at different times depending on species, hybrid, light, temperature, and growing conditions. The end of flowering is a better cue than the month on the calendar. If a spike is still producing flowers or unopened buds, leave it alone unless it is damaged or diseased.
You do not need to cut an orchid after every bloom cycle. If a Phalaenopsis spike stays green, it may branch; leaving it untouched is also a valid choice. The Royal Horticultural Society recommends cutting a moth orchid’s flower spike back to the highest node as one way to encourage a possible repeat bloom, while the American Orchid Society describes cutting above the second unused node. These are alternative approaches, not a guarantee: the best choice depends on the plant’s health and how much you want to prioritize another near-term display over recovery.
Do not wait for the post-bloom window if a part is actively rotting. Remove tissue that is clearly soft, collapsing, or spreading disease, and isolate the orchid from nearby plants while you investigate the cause. Sterile tools matter especially for these corrective cuts because the American Orchid Society notes that orchids can carry viruses and recommends a sterile cutting tool when plant tissue is cut.
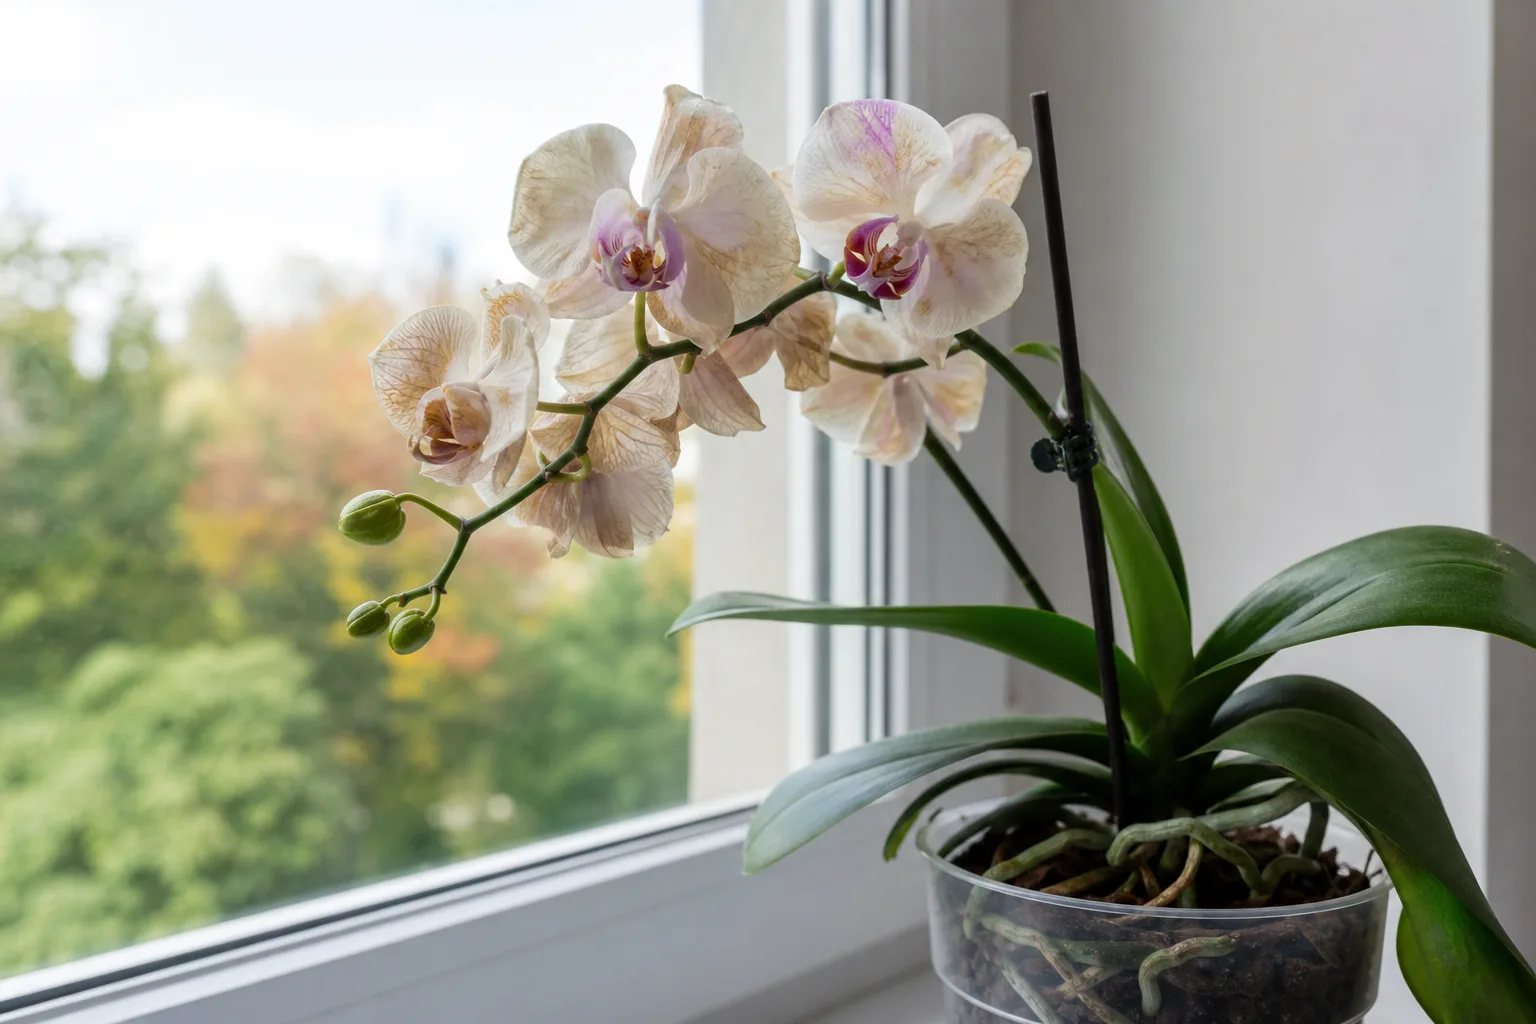
A fading Phalaenopsis spike is a cue to inspect the stem and plant, not an instruction to cut every green section immediately.
Prepare clean, sharp tools
For a thin flower spike, clean florist snips, small bypass scissors, or a new single-use razor blade can make a controlled cut. You do not need large garden pruners. A sharp blade leaves a neat edge; a dull or serrated tool can crush the stem and make it harder to avoid nearby leaves and the crown.
Before cutting, remove soil and plant debris from the blades, then disinfect them with 70% isopropyl alcohol and let the surface dry. Clean the tool again before moving to another orchid, and use a fresh blade or disinfect between cuts if you are removing tissue from a plant with suspected disease. This is a simple barrier against carrying pathogens from one plant to another. The AOS emphasizes sterile tools for orchid cutting because of the risk of virus transmission.
Set the orchid on a stable surface with good light so you can see the nodes and the base of the spike. Keep a small container nearby for the removed material, and do not lay a dirty blade on the potting mix. Avoid applying fungicide, cinnamon, or hydrogen peroxide automatically to every cut; routine healthy-spike pruning does not require a coating, and unnecessary treatments can irritate or damage plant tissue. If you are managing a diagnosed disease, follow a reliable orchid-specific recommendation for that disease rather than improvising with a household remedy.
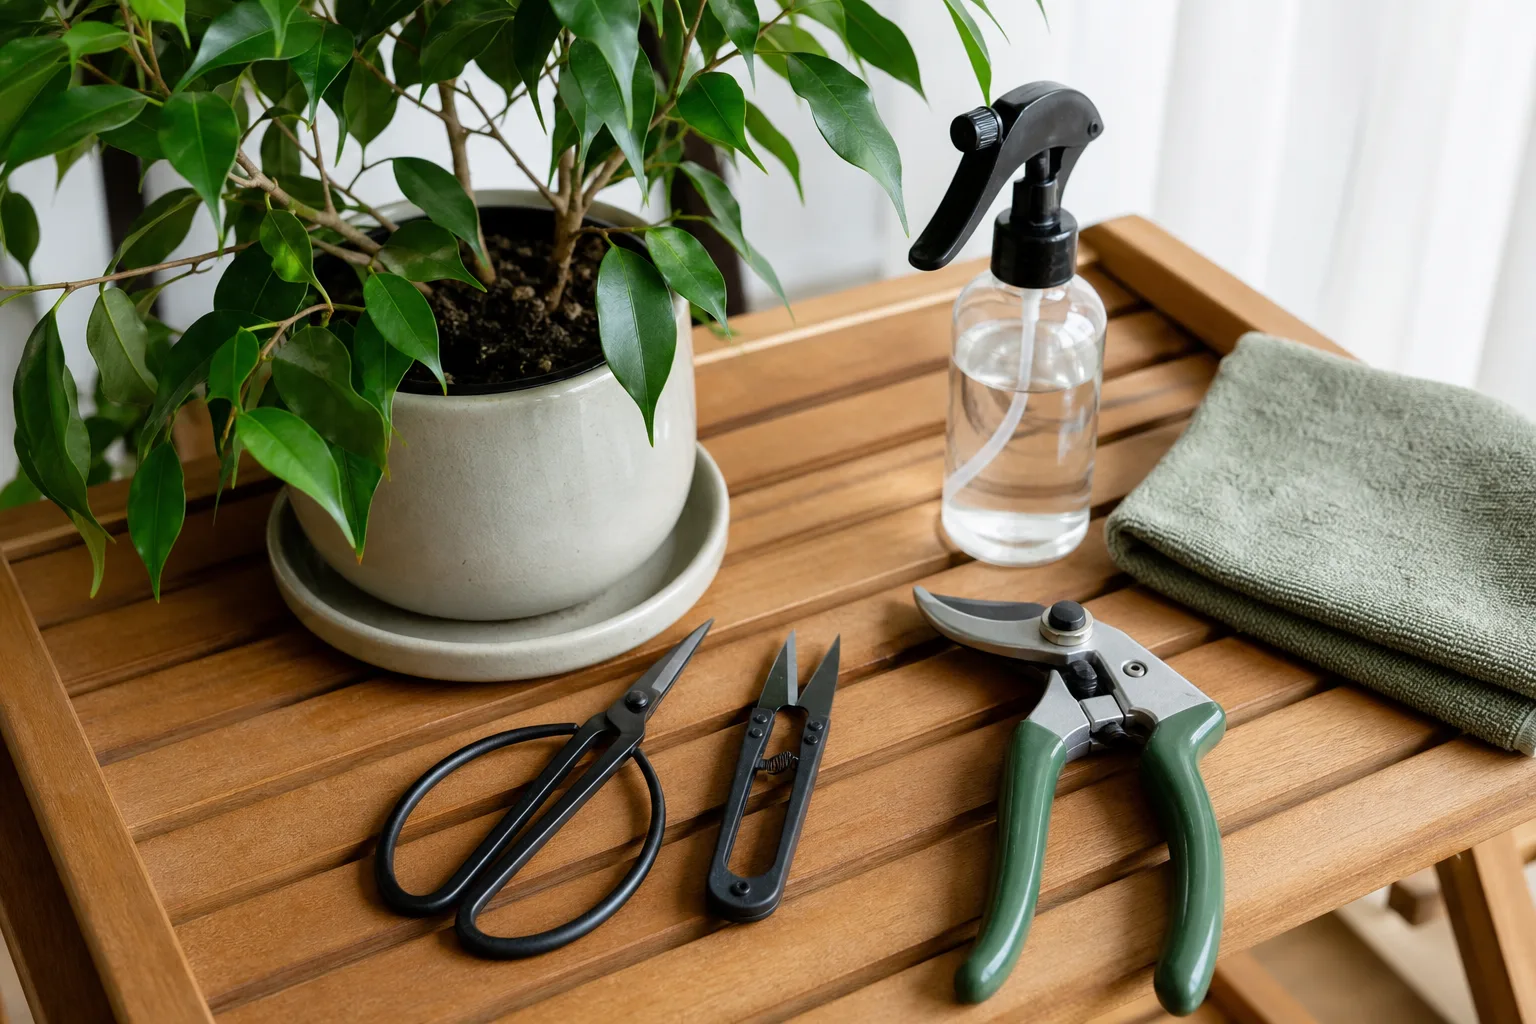
A small, sharp cutting tool is easier to control around an orchid’s leaves and crown than oversized pruners.
How to prune a Phalaenopsis flower spike
First, confirm that the flowers are finished. If buds are still opening, you can remove individual spent flowers if appearance matters, but leave the green spike in place. Once flowering stops, look along the spike for nodes: the small joints or bumps where a branch, flower, or keiki may form. Nodes with a small bract lying close against the spike are generally unused; a node whose bract has been pushed aside has already grown something.
Keep or shorten a green spike?
If the plant is vigorous, has several firm leaves, and has healthy roots, you have two reasonable options. Leave the entire green spike and see whether it branches on its own, or cut the spike just above the second unused node below the lowest spent flower. Make a clean, slightly angled cut with a short stub above the node rather than slicing into the node itself. This can encourage a side branch, but it is not a promise of flowers; a secondary bloom may be smaller and can place extra demand on the plant.
Choose the recovery option when the orchid is young, has only a few leaves, has recently lost roots, or is struggling with wrinkled leaves or poor growth. In that case, cut the spike near its base and allow the plant to rebuild. The American Orchid Society says a second inflorescence can stress the orchid and may produce a weaker display, so a rest period can be the better choice for a plant that is not robust. If you are unsure, preserving plant strength is usually more valuable than trying to coax one more small flush.
Guidance differs on exactly how far down to cut a green moth-orchid spike: the RHS recommends the highest node, whereas AOS describes the second unused node. Both approaches aim to leave a live node that may branch. The practical decision is not to chase a supposedly perfect number; it is to make the cut only if the spike is green, the node is visibly unused, and the plant can support another bloom. The RHS’s wording “may well re-flower” correctly leaves room for uncertainty.
Remove a yellow or brown spike
When the spike is yellowing from the tip down or has turned dry and brown, it is no longer a useful green branch. Follow the color change toward the base and cut the dead spike about an inch above where it emerges, taking care not to cut a leaf or the central stem. If the spike is only partly yellow, cut back to firm green tissue only when that remaining section has a healthy node you intend to keep; otherwise remove the whole spent spike cleanly.
Do not tug a dry spike to break it off. The base can be tightly lodged between leaves, and pulling may tear the plant. Support the spike with one hand if needed, use a sharp tool, and pause if you cannot see the base clearly. Let the small stub dry naturally rather than sealing it with an unneeded product.
Prune other orchid types without cutting their storage stems
The word “orchid” covers plants with different flowering habits, so the safest approach is to identify the genus or at least the structure you are about to cut. A flower spike is the expendable stalk; a cane or pseudobulb is part of the plant’s body. Gardening Know How’s orchid pruning guide discusses common genera, but use the exact plant’s culture information when its flowering pattern is unfamiliar.
Remove a sympodial flower spike, not its pseudobulb
On many Cattleya, Oncidium, and Cymbidium orchids, the flower spike is spent after blooming and can be removed close to its point of origin. Trace it to the base and check that it is a narrow flower stalk, not the thickened pseudobulb or the new green growth beside it. The pseudobulb may look old or wrinkled, but if it is firm and still has green tissue, leave it attached. It can help support the plant even if it will not flower again itself.
Some spikes emerge from or beside a sheath on a pseudobulb. Remove the finished stalk after the flowers fade without cutting into the sheath, leaf, or bulb. If the sheath remains green and you are unsure whether it contains another bud, wait until it yellows or dries; patience costs little, while cutting the developing flower stalk costs the whole display.
Keep healthy Dendrobium canes
Dendrobium care deserves a separate check because a cane can be mistaken for a spent flower stem. The cane is the upright, often jointed structure that bears leaves and may produce flowers at several nodes. A bare, firm, green cane can still store resources or support later flowering, so do not cut it simply because the flowers are gone. Remove the flower stalk itself when it is finished; cut a cane only when it is fully dead or when a species-specific care guide says otherwise.
Dendrobium species and hybrids do not all behave identically. Some flower again along an existing cane or spike, while others produce blooms on newer growths. If you are uncertain whether the thin structure is a flower spike or the cane, wait until the plant’s growth makes the distinction clearer or consult the grower’s label. The same caution applies to novelty Phalaenopsis and other orchids that may reuse a green spike.
Remove damaged leaves selectively
Leaves make the energy that supports new roots and flowers, so do not trim them just to make the orchid look symmetrical. A leaf with a small dry tip can stay if the rest of it is healthy. An older leaf may yellow as it ages; let it finish declining and detach naturally if it is not diseased. Removing healthy green leaf area reduces the plant’s capacity to recover.
Cut a leaf at its base only when it is fully dead, rotting, or clearly diseased, or when a significant section is damaged and the cause has been addressed. Use sterile scissors and avoid cutting into the central stem or the newest leaf. If rot or a suspicious lesion is spreading, isolate the plant and remove affected tissue in a way that does not drag the blade across healthy leaves. Pruning symptoms alone will not cure the underlying cause, such as water collecting in the crown, poor airflow, or a root problem.
Trim orchid roots only when there is a reason
Roots are often the part people are most tempted to tidy, especially when they spill over a pot. For epiphytic orchids such as Phalaenopsis, aerial roots are normal: they help anchor the plant and take up water and nutrients from humid air. A root that looks silver or pale when dry is not automatically dead. Water it or let it absorb moisture, then judge its firmness and condition before reaching for the scissors.
Root pruning makes sense mainly during repotting, when the plant is already out of its container and you can inspect the whole root system. Trim roots that are mushy, hollow, badly damaged, or dry and papery all the way through. Cut back to firm tissue with a sterile tool, and do not shorten every long healthy root to make it fit a small pot. If a root is only awkwardly placed, guide it gently rather than forcing a bend that cracks it.
A clear pot helps you inspect roots without pulling healthy aerial roots or trimming them for appearance.
Tell a healthy root from a dead one
Healthy orchid roots are usually firm, plump, and covered in an intact outer layer. Depending on moisture and light exposure, they may look green, silvery, cream, or pale tan. Color by itself is a weak test: a dry living root can look gray, and a root can turn yellow where it has been shaded inside a dense pot without being rotten.
Dead roots tend to collapse, feel hollow, turn mushy, or shed their outer covering when handled. Brown or black color is a warning sign when it appears with softness, a bad smell, or loss of structure. If most roots look compromised, remove only the clearly dead sections, repot into fresh airy orchid medium if needed, and correct the conditions that caused the damage. Severe root loss can take months to recover from, so avoid adding extra cuts that do not solve a clear problem.
What to do if a keiki grows on the spike
A keiki is a small plantlet that can form at a node on some orchid spikes. It is not a flower bud: it develops leaves and eventually its own roots. If you see a keiki on a spike, do not cut it off along with a spent flower stem if you want to keep it. Leave it attached while it develops; the American Orchid Society advises waiting until the plantlet’s roots have grown a couple of inches long before removing it with a sterile knife and potting it separately.
Not every node becomes a keiki, and there is no need to encourage one unless you want another plant. A newly formed plantlet depends on the mother orchid, so separating it too early can leave it without enough roots to take up water. If it is attached to a spike you would otherwise remove, keep the section supporting the keiki until it is ready to separate, then cut cleanly on either side of the plantlet.
Care for the orchid after pruning
After an ordinary flower-spike cut, return the orchid to its usual bright, indirect light and normal watering routine. Do not drench the plant or add fertilizer to “heal” the cut; there is no special feeding required just because a spent spike was removed. Water based on the potting medium and the plant’s needs, allow excess water to drain, and keep water from sitting in the crown.
If you removed damaged roots or repotted the plant, aftercare is different because the root system has been disturbed. Use a fresh, airy orchid mix if the old medium has broken down, choose a pot that fits the remaining roots, and make sure it drains freely. Resume watering according to how quickly the medium dries in your room rather than following a fixed weekly rule. Avoid keeping the plant constantly wet while cut roots and disturbed tissue settle.
Do not expect a trimmed plant to flower immediately. A new spike depends on the orchid’s species and growing conditions, especially light, temperature, and the maturity of new growth. If a Phalaenopsis is healthy but does not bloom after the old spike is removed, review its light and seasonal temperature pattern instead of cutting more leaves or roots. Pruning is cleanup; it cannot substitute for the conditions that trigger flowering.
Pruning mistakes that can set an orchid back
The most common mistake is treating every orchid like a Phalaenopsis. A plant with canes or pseudobulbs may keep using those structures after flowering, and a spike that repeats bloom should not be removed just because one flower has faded. Identify the plant or preserve any firm green structure when you are unsure. Waiting is safer than making a cut you cannot reverse.
Another mistake is cutting every green Phalaenopsis spike to the base without considering the trade-off. That is a valid option when the plant needs recovery, but it is not the only choice for a healthy plant with unused nodes. At the opposite extreme, leaving a clearly dead spike because you hope it will turn green again wastes time; a dry, brown spike will not revive. Follow the plant’s condition rather than a rigid rule to always cut or always leave.
Do not trim aerial roots because they look untidy, remove a whole yellowing leaf while it still has large healthy sections, or repot every time you prune. Those are separate decisions. Repot when the medium is breaking down, the plant has outgrown its container, or the roots need inspection; routine spike removal alone is not a reason to disturb the root ball. Above all, keep tools clean and make fewer, more deliberate cuts.
Conclusion
To prune an orchid safely, identify what you are cutting before you start. For a Phalaenopsis, keep or shorten a healthy green spike only if the plant can support another bloom, and remove a dry brown spike near its base. For sympodial orchids, remove spent flower stalks while preserving firm canes and pseudobulbs; trim leaves and roots only when they are clearly dead, damaged, or diseased.
Use a sharp sterile tool, make the smallest cut that solves the problem, and return the orchid to steady species-appropriate care. When the plant type or stem is uncertain, wait and confirm its structure. That pause is often the most useful pruning decision you can make.



