How to Make Garden Stepping Stones That Stay Level
Learn how to make garden stepping stones with the right concrete mix, safe molds, curing time, path spacing, and a stable sand or gravel base.
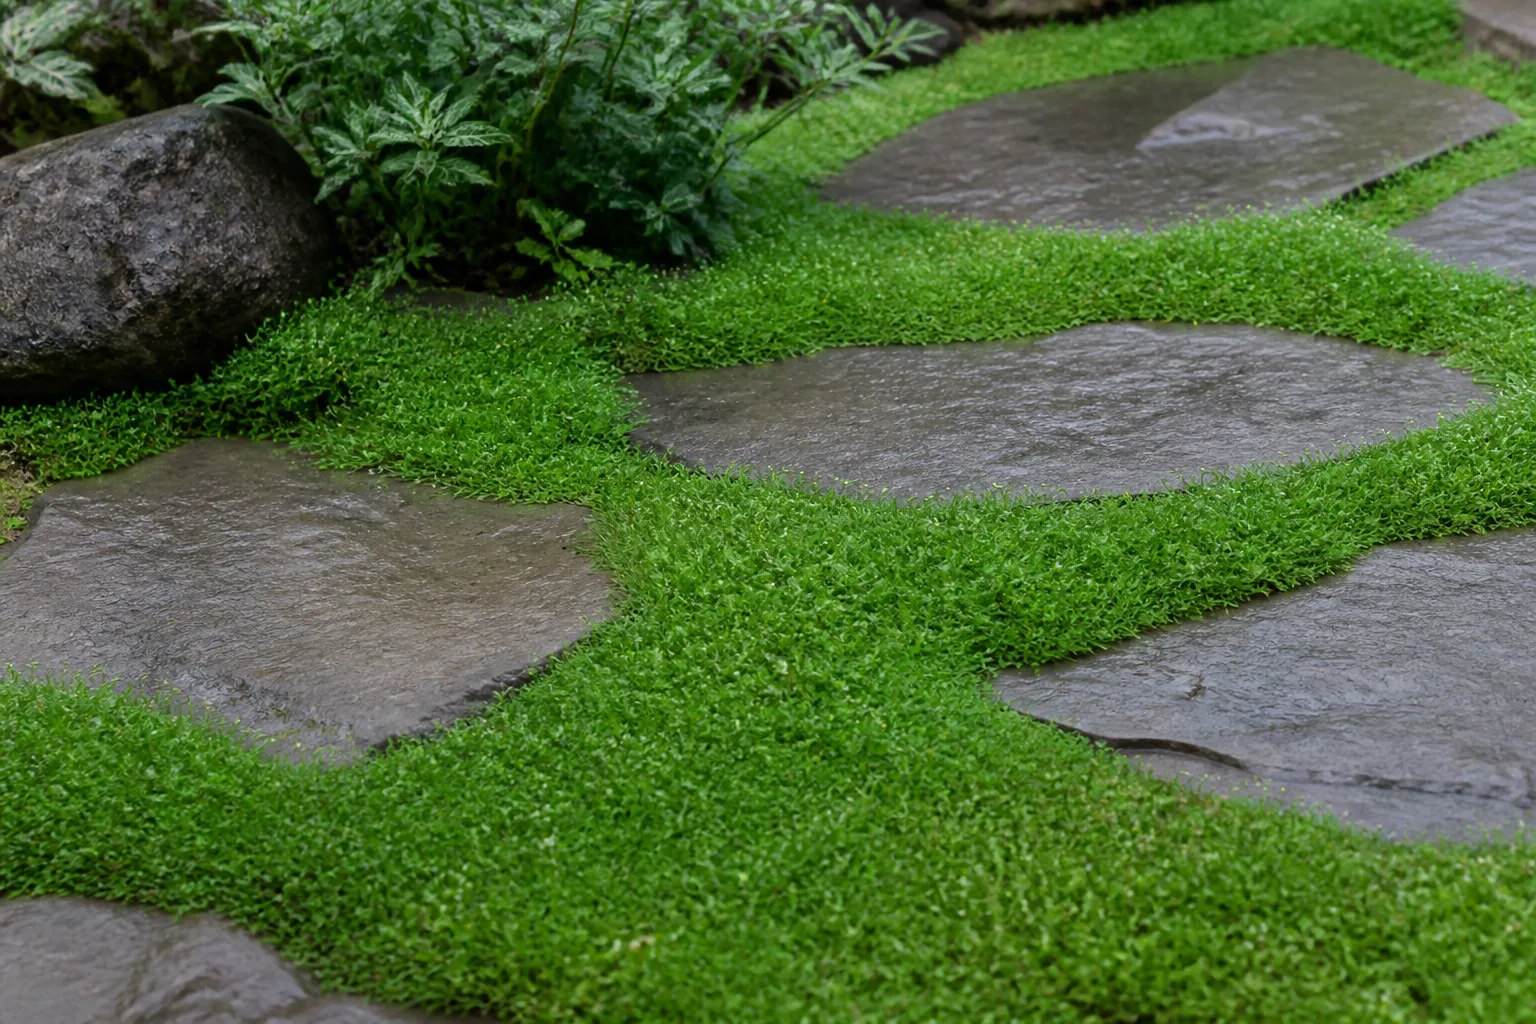
Garden stepping stones turn a route through lawn or planting beds into a defined path without covering the whole area. You can cast them in reusable molds, decorate the surface, then set each cured stone into a prepared recess. The project is straightforward, but the concrete mix, curing conditions, and ground under each stone determine whether the finished path stays solid.
The most reliable approach is to plan the path first, cast stones with a mix suited to the mold, protect fresh concrete as it cures, and install each piece on ground that will not wash or compress unevenly. Treat casting and installation as separate stages: a strong stone can still wobble on a poor base, and a well-built path cannot rescue a stone that was overwatered or moved too early.
Choose the Right Path and Stone Style
Start with the job the path needs to do. A few broad stones can protect a short lawn crossing from repeated foot traffic, while a longer route through a garden bed may need more stones, closer spacing, and a surface that stays visible after mulch shifts. If people will carry a full watering can, walk in rain, or push a wheelbarrow along it, function should guide shape and spacing before decoration does.
Concrete gives you control over shape, color, and embedded details; natural stone or reclaimed pavers avoid the casting and curing work. A winding route can soften a narrow garden and reveal the next view gradually, while a straight line is easier to navigate and suits a direct connection between two doors or work areas. BBC Gardeners’ World Magazine’s garden-path guide recommends considering purpose, width, shape, materials, and winter slipperiness when planning a garden path; those choices matter just as much for separated stepping stones as for a continuous path.
A stepping-stone path is not the best surface for every user. Its gaps and uneven transitions can be difficult for a person using a cane, walker, wheelchair, or cart, so choose a continuous, firm walkway when reliable rolling access matters. In a mixed-use garden, you can reserve stepping stones for informal routes and provide a smooth route to essential areas.
Pick a Mix, Mold, and Practical Stone Size
Use a packaged concrete mix intended for exterior foot traffic and follow the bag’s directions for minimum thickness, water quantity, curing, and temperature. A general-purpose mix contains cement, sand, and coarse aggregate; in a shallow mold, large stones in the mix may not fit evenly around corners or fine surface details. A sand or topping mix has finer aggregate and can make a smoother casting, but the product label still controls whether it suits the intended thickness and outdoor use.
Match the mix to mold depth
For individual garden stones, a practical starting point is a shape wide enough to land a foot comfortably and thick enough to resist handling damage. Many garden molds are roughly 2 inches deep, but use the mix manufacturer’s minimum rather than treating that dimension as universal. Very thin castings are more likely to snap when lifted or when a corner settles; oversized stones are harder to move and can become awkward to reset.
Don’t pour from a bag marked for a different application just because it is called “cement.” Cement is the binder in concrete, while a concrete mix includes aggregate; mortar and grout have different proportions and intended uses. Compare product labels for strength, aggregate size, exterior exposure, and permitted thickness before buying. The QUIKRETE concrete-mix page, for example, distinguishes its general mix from specialized products; use the instructions for the product you actually choose.
Choose a mold that releases cleanly
A commercial plastic stepping-stone mold is convenient if you plan to make several identical pieces. For one-off shapes, a sturdy plastic tray, shallow plant saucer, or rigid container can work if it is wide, deep, and strong enough to hold wet concrete without bowing. Flexible disposable pans can distort under the mix and leave stones with thin edges, so support them on a flat board while filling.
Apply a very thin coat of the release agent recommended for the mold. Too much oil or petroleum jelly can leave a blotchy surface that resists later coatings, and some plastics release cleanly without any coating at all. Test one small stone before coating a whole batch, especially if you want to paint or seal the finished surface.
Gather Tools and Protect Yourself
Set out the mold, a mixing tub or wheelbarrow, a shovel or hoe, a measuring container, a trowel, and a straight board or screed. A hand tamper helps prepare the installation base; a level helps you check each stone after placement. Keep clean water, disposable rags, and a protected work surface nearby so you can clean up before the concrete hardens.
Dry concrete mix is dusty, and wet cement can irritate or burn skin. NIOSH’s review of Portland cement describes wet cement’s alkaline, abrasive, and hygroscopic properties, which are associated with cement dermatitis; the review also notes eye, skin, and mucous-membrane irritation from cement dust. Wear waterproof gloves, eye protection, long sleeves, long pants, and closed footwear, and avoid breathing dust when opening or pouring the bag. The Royal Horticultural Society’s safety guidance likewise recommends protective clothing and equipment appropriate to the task, including waterproof gloves and eye protection for work that can produce debris.
Work outdoors in a calm area, keep children and pets away from the mixing zone, and do not kneel or reach into wet concrete with bare skin. If mix gets on your skin or inside a glove, stop and rinse it off promptly with clean water; remove contaminated clothing rather than letting it sit against skin. Lift bags with a straight back and the load close to your body, or split the work into smaller batches instead of trying to move a heavy bag alone.
Plan the Path Before You Cast
Place sample stones or cardboard cutouts on the ground where you expect the path to run. Walk the route at your normal pace, then adjust the positions so the center of each stone meets a comfortable step. A fixed measurement is only a starting point: shorter strides, children, guests carrying tools, and a route used with a cart all call for different spacing.

Better Homes & Gardens’ guide to making a stepping-stone path recommends laying stones in place before excavating and checking the route as you go. That dry layout is especially useful when your molds make stones that vary slightly in size. It lets you test curves, gaps, and turning points before the concrete commits the design.
Check drainage as well as appearance. Avoid placing a route in a low hollow where rain stands, across a downspout outlet, or where the stones would dam water against a bed edge. Keep roots and irrigation lines in mind before digging, and contact your local utility-locating service when the project involves digging near underground lines.
Prepare the Mold and Add Decorations
Set the mold on a firm, level surface that you can leave undisturbed. If you are making several stones, support each mold on a flat board or stable table and keep the work area out of direct wind and intense sun; rapid moisture loss can make fresh concrete harder to finish and cure consistently. Have decorations ready before mixing because workable concrete does not wait while you sort through a box of glass or tiles.
If you want a pattern, plan where each piece will sit and press it into the concrete after the surface has firmed enough to hold it but before it becomes hard. Keep glass, shells, stones, and tile flush with the surface so they cannot catch a toe or cut bare feet. Avoid sharp fragments and slippery glossy finishes on a route that gets wet; a lightly textured, broomed, or natural finish usually offers more grip than a polished one.
You can also color concrete with a pigment specifically intended for cement products. Add liquid color to the measured mixing water when the product instructions call for it, and mix enough batches for one consistent color run; changing water or pigment amounts from batch to batch can make stones vary. Surface paint is a separate option, but choose a coating rated for exterior concrete and follow its cure and slip-resistance directions.
Mix Concrete to a Workable Consistency
Read the product label before opening the bag. Measure the water, reserve some rather than adding it all at once, and mix in a tub large enough to turn the material without spilling. If you make only a few stones, a smaller batch is easier to mix uniformly and less likely to stiffen before you finish filling the molds.
Add water gradually while turning the mix from the bottom and sides toward the center. The target is a cohesive, damp mix that fills corners and holds together without watery sheen or puddles. QUIKRETE’s hand-mixing guidance describes workable concrete as thick oatmeal that holds its shape when squeezed, and warns that adding extra water can reduce strength; treat its quantities as product-specific and follow your own bag’s directions.
A mix that is too dry leaves voids and ragged edges because it will not flow into the mold. A mix that is soupy may look easier to pour, but excess water weakens the finished concrete and increases the chance of shrinkage cracks or a dusty surface. If you are unsure, fill one test mold first and adjust the next batch according to the label rather than pouring extra water into all of the mix.
Fill and Finish Each Mold
Scoop concrete into the mold in layers, pushing it into corners with a trowel. Tap the outside of the mold or gently jostle its support to release trapped air; do not strike so hard that the mold shifts or the mixture separates. For a deep form, fill halfway, press the mix into the edges, then fill to the top.
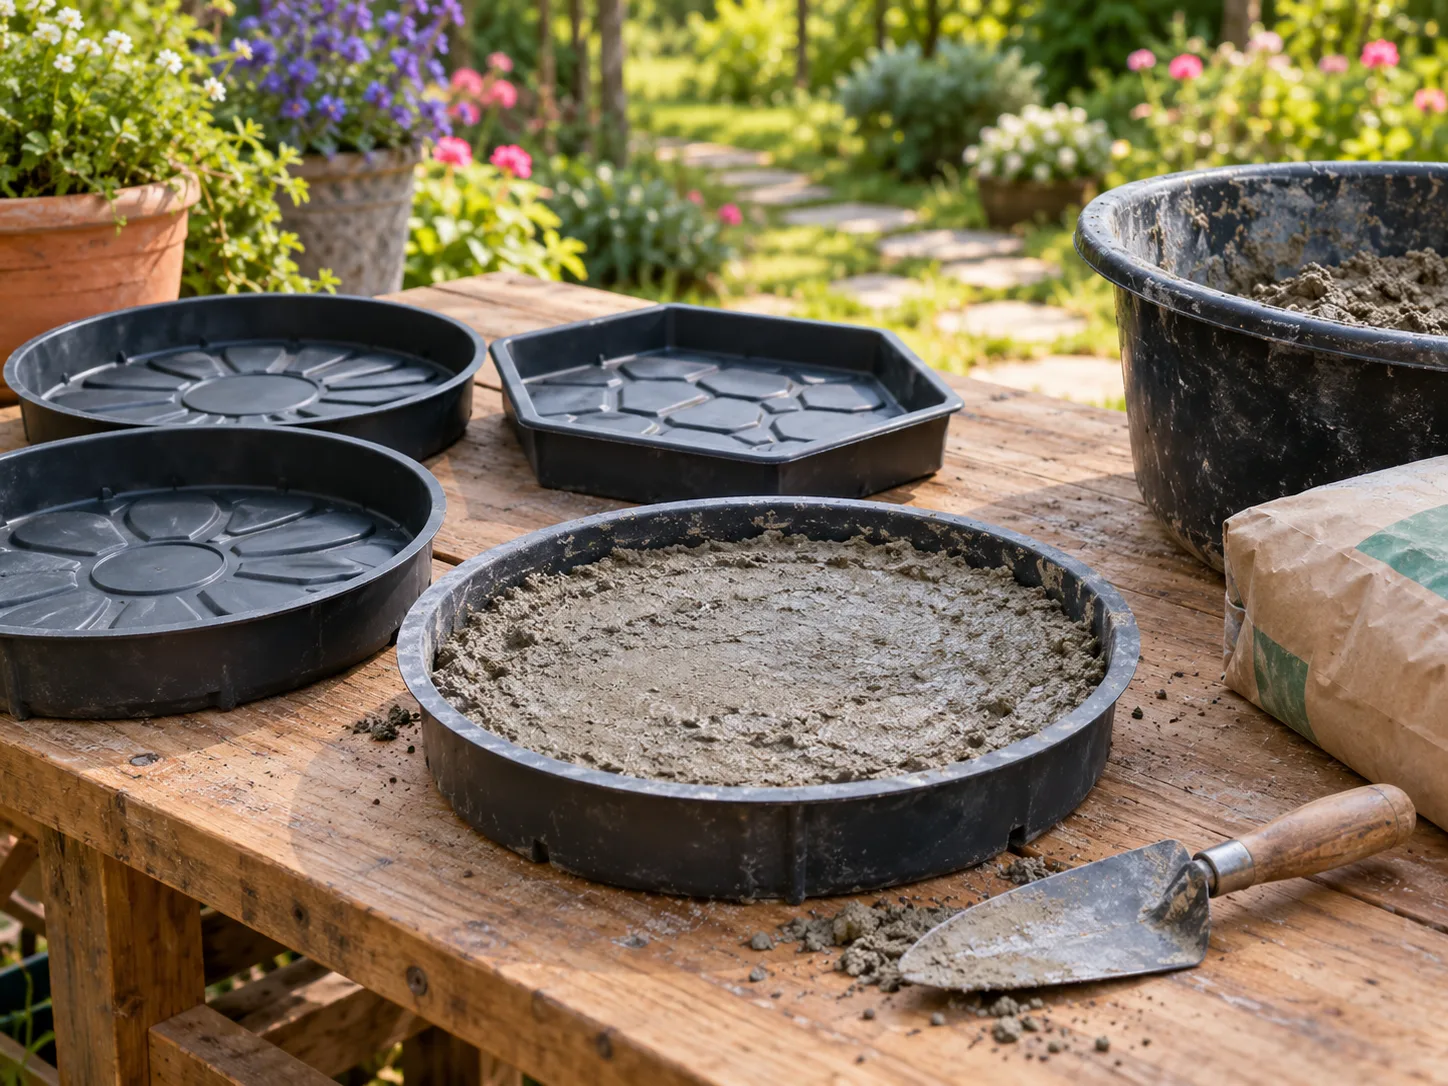
Slightly overfill the mold and draw a straight board across the top in a short sawing motion to remove excess mix. Smooth the surface with a trowel only enough to close gaps and create the texture you want. Repeatedly working the surface can bring water and fine cement paste to the top, leaving a weaker, slicker layer than the body of the stone.
The small stepping stones described here generally do not need a loose piece of chicken wire to become stronger. If reinforcement is not sized and positioned correctly, it can sit too near the surface or poke through an edge; it also will not compensate for a stone that is too thin or poorly supported. For heavier, unusually large pieces, use a mix and reinforcement method designed for that application, or choose manufactured pavers instead of improvising structural reinforcement.
Cure the Stones Before Moving Them
Concrete does not simply “dry”; it hardens through a chemical reaction that continues after the surface looks firm. Early hardening is not a signal that the stone is ready for rough handling or foot traffic. The right time to remove a mold depends on the product, the casting thickness, and the temperature, so follow the package and do not pry a soft edge just to meet a calendar deadline.
After demolding, protect stones from drying too quickly and from freezing while they are young. QUIKRETE’s WalkMaker project instructions call for beginning curing after the surface sheen disappears and water-curing fresh work for at least three to five days; those instructions apply to that product, so follow the directions for the mix you use. A light mist or a loose plastic cover can help retain moisture when the manufacturer’s instructions allow it, while standing water or a cover that mars the surface can damage the finish.
Warm, windy, sunny conditions can pull moisture from the top faster than the rest of the stone cures; cold weather slows hardening and introduces freeze risk. Choose a mild-weather window, keep each casting shaded from intense sun, and let the full curing period pass before installing or walking on the stones. When in doubt, give them more protected curing time rather than testing a corner with a hard lift.
Install Each Stone on a Stable Base
Once the stones are strong enough to handle, place them on prepared ground rather than dropping them onto loose lawn clippings or deep mulch. Remove the stone, cut around its outline, lift out the sod, and excavate enough depth for the stone plus its bedding layer. Tamp the exposed soil so it is firm; a soft pocket beneath one edge is a common reason a stone rocks after rain.
For a lightly used path in firm, well-drained soil, a thin bed of coarse bedding sand can help you make fine height adjustments. Better Homes & Gardens’ path instructions use a sand recess beneath each stone, a practical simple method for that type of installation. In wet, soft, or clay-heavy ground, or where freeze-thaw cycles are common, a compacted layer of angular crushed stone beneath a thin sand leveling layer is more resistant to pumping and settlement than loose sand alone.
Keep the base level from side to side, but let the path follow the natural slope of the yard so water can drain away. After the stone is set, check it with a level and press down on each corner. It should not rock, sit noticeably proud of the lawn, or form a bowl that traps water.
Set stones in a lawn
For a lawn path, set each stone at or just above the surrounding soil so the mower can pass without hitting a raised edge. Leave enough height that grass and soil do not swallow the stone over time, but avoid a raised lip that catches a toe. Backfill around the perimeter with soil, firm it gently, and replace a thin layer of grass or seed where the excavation disturbed the turf.
If you expect to mow over the stones, confirm the mower deck clears the surface before using the route. Keep the stones level and avoid decorative pieces that stick up. A stone path through grass may need occasional lifting and re-leveling as roots grow and soil settles.
Set stones in a planting bed
In a mulched or planted bed, remove mulch from beneath each stone before setting it. Mulch is loose and compressible, so a stone placed directly on top can tilt as the material shifts or breaks down. Seat the stone on firm mineral soil or a prepared base, then pull mulch back around the edges without covering the walking surface.
Leave enough room for nearby plants to grow without swallowing the path. If groundcovers are meant to soften the edges, keep them low and check that they do not creep over the walking surface. A path should remain easy to see after rain, leaf fall, and seasonal growth.
Set Spacing and Height for a Safe Walk
Once a few stones are installed, walk the path again at a natural pace. Adjust the next stone so each step lands near the center instead of forcing a long reach or a short shuffle. The Better Homes & Gardens path guide notes that spacing changes how a person moves along a stepping-stone route; treat its example distances as design cues, not a universal stride measurement.
Keep the walking faces stable and reasonably even. A stone that is higher on one side can roll an ankle, and a deep gap can catch the toe of a shoe or the wheel of a garden cart. If the path must carry equipment, make a test run with the actual wheelbarrow or cart before filling the whole route, or use a continuous surface with a suitable width.
Troubleshoot Cracks and Uneven Stones
A stone that cracks while being lifted was likely moved before it had enough strength, cast too thin for its size, or left with a void underneath. Recast a piece that has a sharp fracture or a loose corner instead of hiding the defect with paint. For a stone that rocks in place, lift it, add or remove base material, tamp the support, and reset it level.
A powdery surface or weak, crumbly edges can point to too much mixing water, a dry or windy cure, an unsuitable mix, or damage during demolding. A surface that flakes after winter may have absorbed water and been exposed to freezing before the concrete was adequately cured or protected. QUIKRETE’s winterizing guidance explains how water and freeze-thaw cycles can worsen damage in exterior concrete; repair or replace stones with loose, sharp, or unstable pieces rather than leaving them as a trip hazard.
If a decorative stone releases with chipped corners, check that the mold was supported and that the release agent was compatible with it. If a stone sinks later, the problem is usually below the concrete: soft soil, an uncompressed base, or water moving the bedding layer. Correct the base instead of adding a surface patch that leaves the stone uneven.
Maintain and Refresh the Path
Check stones after heavy rain and again after winter in climates with freezing weather. Reset any stone that rocks, and clear soil or mulch that has risen above the surface. Remove algae and slippery debris with a stiff brush and water; avoid aggressive pressure washing that can erode a soft or already damaged surface.
Replace a stone if it has a sharp break, a loose embedded decoration, or a crack that moves underfoot. For small cosmetic marks, an exterior concrete repair product may be suitable, but a patch will not restore a badly split stone’s stability. If the path has become difficult to walk, widen or simplify the route instead of continually adjusting stones to compensate for an unsuitable layout.
Conclusion
To make garden stepping stones that last, match the mix to the mold, measure water instead of guessing, fill corners without overworking the surface, and protect the castings while they cure. Then give every stone a firm, draining base and test the spacing with a real walk before finishing the route.
A custom path can be informal and decorative while still being comfortable underfoot. When a stone cracks, rocks, or becomes slippery, fix the cause or replace it; stable footing matters more than preserving a piece that no longer works.



