How to Make a Fairy Garden in 6 Easy Steps at Home
Make a fairy garden with the right container, scale, plants, drainage, and weather-ready details. Follow six clear steps and keep it thriving after planting.
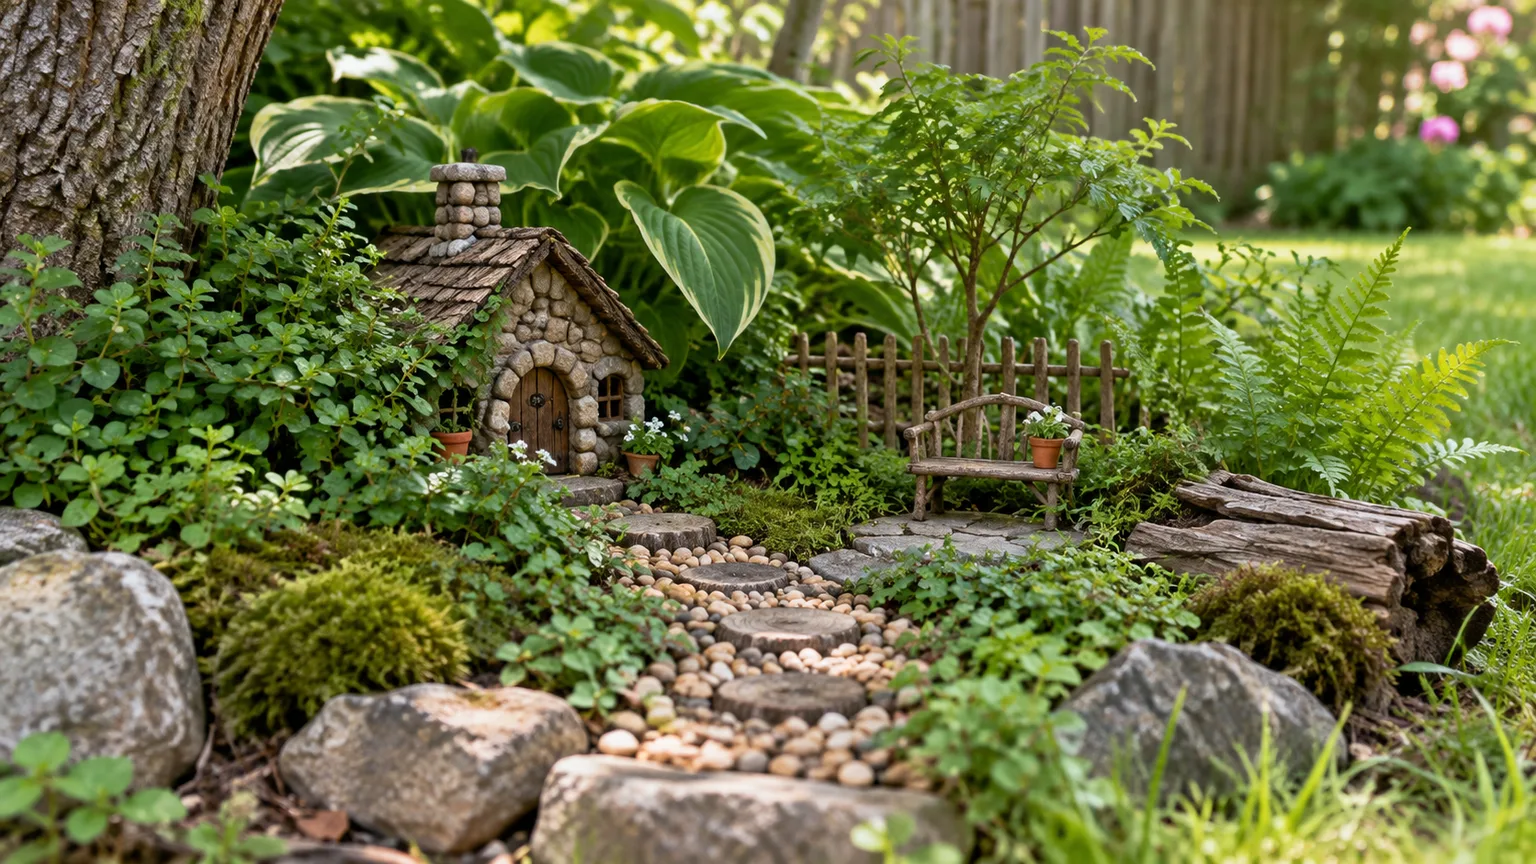
A fairy garden is a small planted landscape with a miniature feature—a cottage, path, bridge, or tiny bench—that suggests a story. The living plants still need the right light, drainage, and room for roots; the miniature pieces make the scene fun, but they cannot compensate for a poor growing spot.
The easiest way to get both parts right is to design in this order: choose where the garden will live, pick plants for that exact exposure, then fit the container and decorations around them. The six steps below work for a tabletop pot, a patio planter, or a small outdoor nook.
Before You Start: Choose the Right Kind of Miniature Garden
A container fairy garden is the most predictable first project. It gives you a defined boundary, makes it easier to arrange a tiny path and focal point, and can be moved if the light or weather turns out to be wrong. A shallow bowl or salvaged pot is charming, but the container still needs enough depth for the roots of the plants you choose.
A few small-leaved plants, a short path, and one focal structure can suggest a complete miniature world; leaving open space keeps the scale readable and gives plants room to grow.
Gather Materials That Fit the Project
Set out a container or a small bed area, suitable potting mix, two to four compact plants, a hand trowel or scoop, a watering can with a narrow spout, and a few pieces of hardscape such as pebbles or bark. Choose one main ornament—often a house or a natural feature—then add only the details that support the scene. A small tray under an indoor pot protects furniture, but remove standing water after watering.
You do not need a kit or specialty miniature tools. A clean yogurt cup can help with scooping mix, a chopstick can open a planting pocket, and a handful of stones can become a path. Before reusing a bucket, basket, or wooden box, check that it has no chemical residue, splinters, sharp edges, or coating that may flake into the soil; add drainage holes if it will hold live plants and can safely be drilled.
Step 1: Choose a Site and Container
Start with the spot, not the miniature cottage. Look at how many hours of direct sun it gets, whether it is sheltered from strong wind and driving rain, and whether you can reach it easily with water. A bright indoor windowsill, a covered porch, a sunny patio, and a shady garden corner can all work, but they call for different plants and different materials.
A good site also makes the garden easier to maintain. Avoid a narrow walkway where a pot could be knocked over, a hot dark surface that heats the roots, or a place where roof runoff repeatedly floods the container. If children or pets use the area, choose a position that is visible and easy to supervise rather than a hidden corner behind furniture.
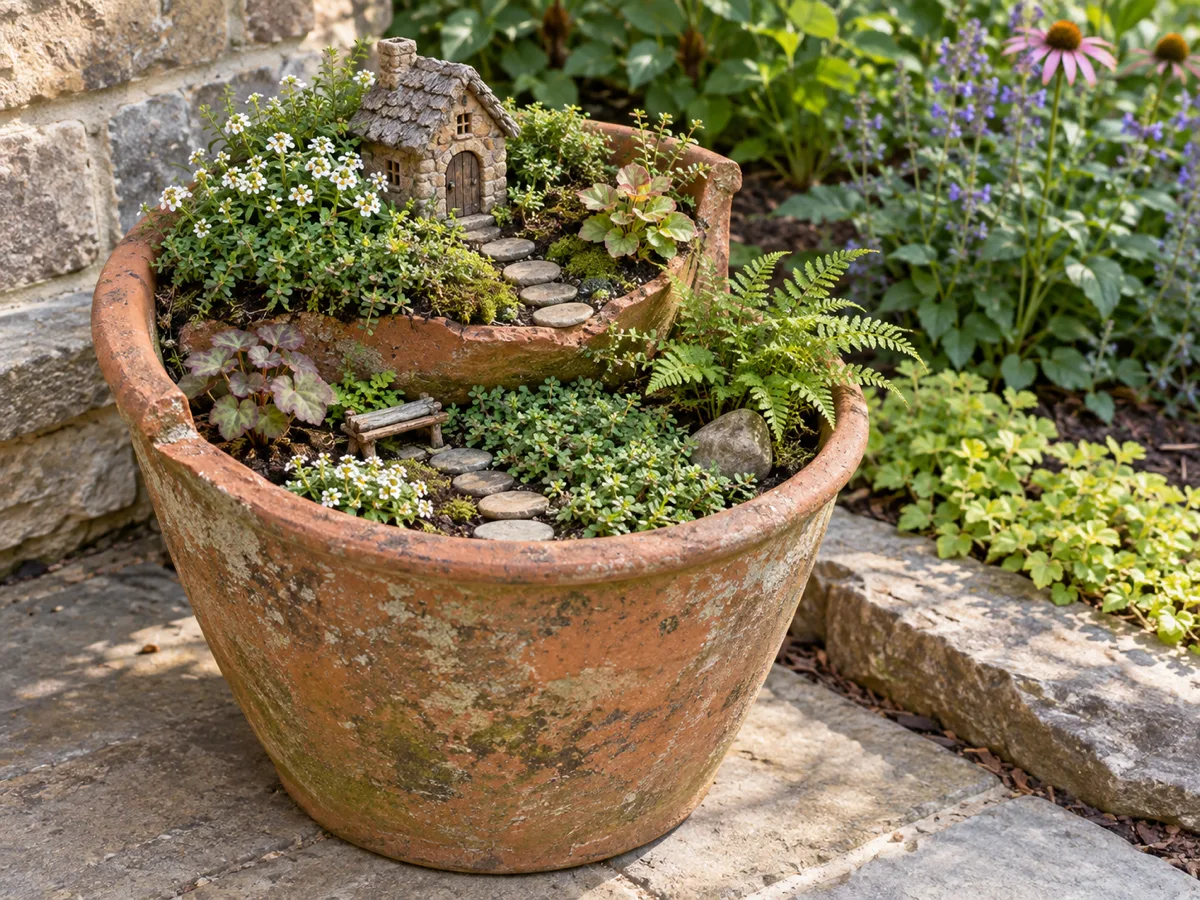
Decide Between Indoors, Outdoors, and In-Ground
Indoors, choose plants that tolerate the available window light and keep the container on a waterproof saucer. A typical room is not automatically a good plant location: low-light shelves may keep foliage alive for a while but will not support sun-loving herbs or succulents. If the window is dim, pick shade-tolerant foliage or use artificial plants for the miniature backdrop instead of forcing living plants to stretch toward light.
Outdoors, select plants for the actual microclimate, not a generic “garden” label. A south- or west-facing patio can become hot and dry, while a north-facing porch stays cooler and shadier; a sheltered location may also be warmer in winter than an exposed balcony. Container plants experience more temperature swings than plants in the ground, so hardy outdoor plants may still need pot protection in severe cold. The RHS notes that container roots are more exposed to cold and that winter waterlogging is a risk when drainage is poor.Royal Horticultural Society Colorado State University Extension also cautions that porous containers can crack when damp media repeatedly freezes and thaws; gardeners in other regions should use locally adapted winter advice for their plants and materials.Colorado State University Extension
An in-ground version has more freedom to grow, so choose slow or compact plants and define its edge with stones or a low border. If you build beneath a tree, place the scene on top of existing soil or around a stump rather than cutting thick roots to make a flat pocket. A natural area where plants are already thriving is usually a safer starting point than a bare patch created by aggressive digging.
Choose a Container That Can Drain
For live plants, choose a pot with one or more open drainage holes. Terracotta dries faster than glazed ceramic or plastic, which can be useful in a rainy spot but means more frequent watering in sun; a lightweight plastic or resin container is easier to move, while a small ceramic bowl may crack if it freezes with wet soil inside. The RHS recommends drainage holes and notes that recycled objects can serve as planters when they are adapted to drain.Royal Horticultural Society Colorado State University Extension likewise distinguishes porous clay and wood, which lose moisture quickly, from nonporous glazed, metal, and plastic containers, which hold water longer; use that trade-off to match the pot to your site and watering routine.Colorado State University Extension
A container should hold the root balls without crowding them, with enough soil depth for their roots and room for a shallow path. Avoid using a very large vessel just because it is available: excess damp mix around a small root system can stay wet longer than the plants can use it. A basket or open-sided object may need a liner, but the liner must have drainage openings; a decorative cachepot can work as an outer sleeve only if you remove the inner pot to drain after watering.
If you want to use a vessel without holes, keep the plants in their original nursery pots and treat the outer vessel as a display cover. Remove each pot for watering, let it drain fully, and return it only after excess water has stopped running. A sealed glass bowl can look like a terrarium but is a poor default for a mixed fairy garden: it traps humidity and makes watering errors harder to correct.
Step 2: Choose a Story and Set the Scale
Pick one simple idea: a woodland cottage, a beach path, a herb-garden gate, or a tiny reading nook beneath a fern. A theme is useful because it limits purchases and helps you choose a small color palette, but it does not need a full narrative or a special brand of accessories. The most convincing miniature gardens use a few repeated materials—such as bark, stone, and weathered wood—rather than unrelated novelty objects.
Before planting, place the container where it will stay and set the house, plants, and stones on the surface. This dry layout makes it easy to move items without disturbing roots and shows whether a path has enough space to read as a path. Make the main structure the focal point, then keep one open area around it so the eye can understand the scene.
Keep the Composition Readable
Scale is the relationship between each object and the miniature world. If the cottage door is smaller than a plant’s leaf, the plant will read as a tree; that may be fine in a forest scene, but it can overwhelm a tiny patio or village. Choose foliage with leaves and growth habits that support the effect you want, and do not mix a dollhouse-sized bench with oversized stones that look like boulders unless that contrast is intentional.
A simple layout gives the scene breathing room: put the tallest plant behind the house, a low groundcover near the front, and a curved path between them. Let one or two bare patches remain for stones or a small seat. The practical test is to look at the arrangement from a few feet away; if the house disappears or the accessories compete for attention, remove a plant or prop rather than adding another.
Step 3: Select Plants for Light, Water, and Scale
Match Plants by Care, Not Just Appearance
Choose plants by care requirements first and appearance second. The smallest plant at the store is not always a miniature variety; it may simply be young and can quickly outgrow the scene. Look for compact cultivars, slow-growing species, or plants that tolerate light pinching, and confirm their mature size on the tag. Gardening Know How’s miniature-garden guidance likewise emphasizes small or prunable plants and matching the garden to its location.Gardening Know How
Next group plants by light and moisture. A sunny, fast-draining bowl is a good setting for small sedums or hens and chicks, while a cooler, evenly moist shaded container is better for a miniature fern or baby’s tears. Do not plant those two groups together just because both look tiny: succulents want the mix to dry between waterings, while ferns and baby’s tears typically need more consistent moisture. One plant with the wrong needs can make the entire arrangement harder to care for.
Use this quick guide when you are choosing:
- Sunny and dry: small sedums, hens and chicks, or creeping thyme in a container with quick drainage. These need bright light and should not sit in wet mix.
- Bright shade with regular moisture: compact ferns, baby’s tears, or other small-leaved foliage that tolerates indirect light. Keep the mix lightly moist, not waterlogged.
- Outdoor woodland shade: a small fern or a miniature hosta cultivar can work if your climate and winter conditions suit it. Check the mature spread; common hostas can become much too large for a small pot.
- Indoor mixed foliage: choose two or three compact houseplants with similar light and watering needs, then use stones or bark for the dry-looking groundcover instead of adding a succulent to a moisture-loving group.
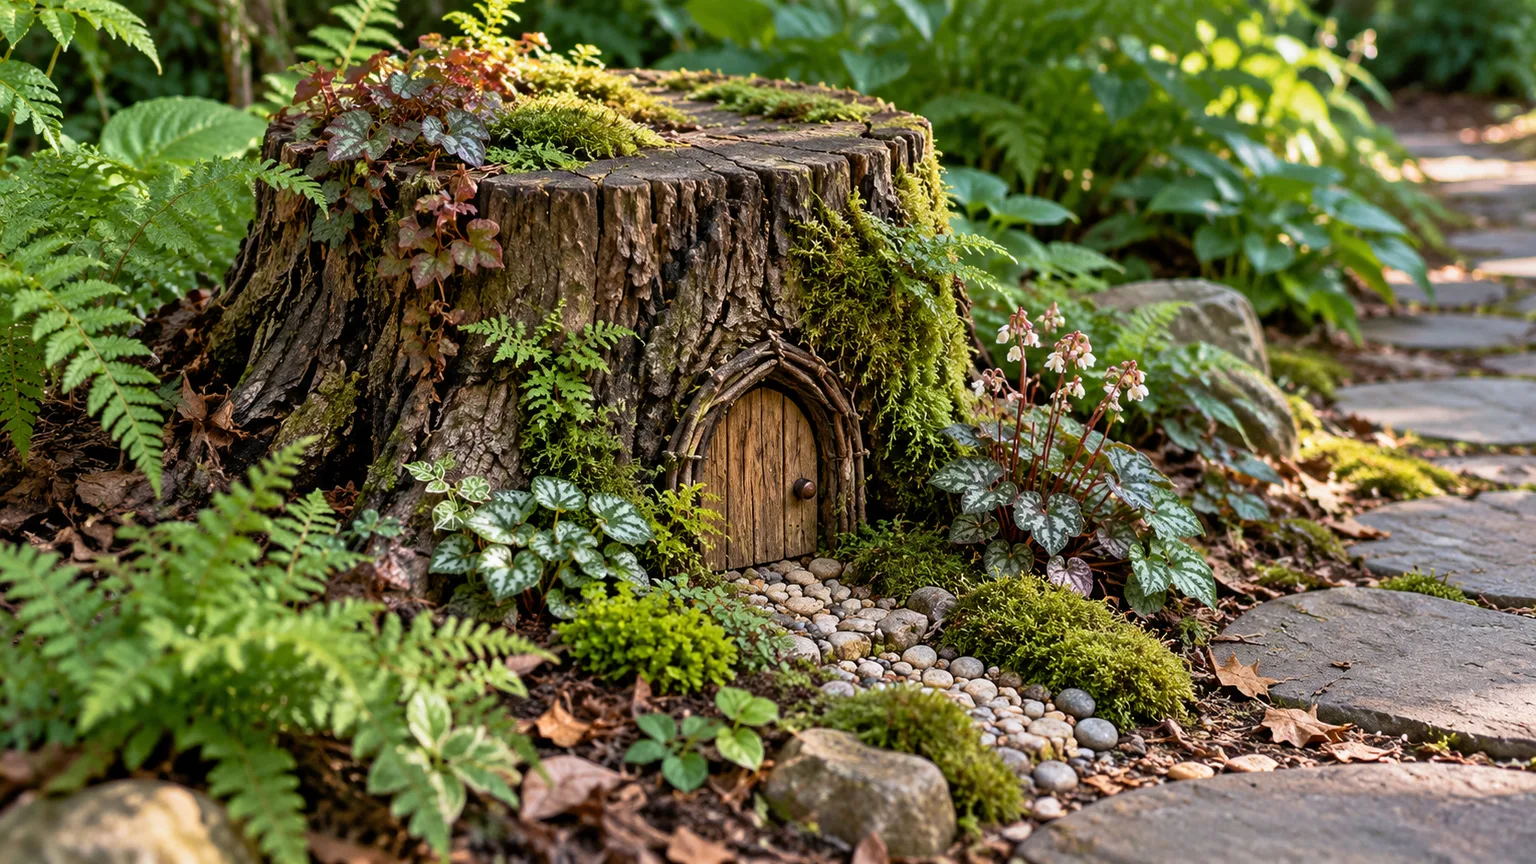
Keep the palette restrained. Two or three foliage textures usually create more depth than a row of unrelated flowers, and tiny flowers can be attractive without becoming a maintenance burden. If you want flowers, select a compact plant suited to the site and accept that it may need deadheading or seasonal replacement; foliage remains legible when blooms fade.
Some plants marketed as moss-like groundcover are not true moss and have different needs. Irish moss and Scotch moss are small flowering plants that usually prefer cool, moist conditions; creeping thyme tolerates sun and drier soil. Read the botanical name and care tag rather than relying on a common name or a miniature-looking photo. When you have limited space, one vigorous groundcover can fill the whole planter, so start with a single small division and trim it as it spreads.
If pets may chew the plants, check each plant’s exact scientific name against a reliable species-specific list before bringing it home. ASPCA Poison Control explains that its toxic and non-toxic list is not exhaustive and that eating any plant material can cause stomach upset in cats or dogs; a “non-toxic” listing is not permission to let an animal graze freely.ASPCA Poison Control For a garden children may touch, use known plant names, supervise young children, and avoid presenting leaves, berries, or flowers as edible unless they are positively identified food plants.
Step 4: Prepare the Container and Potting Mix
If you are planting in a pot, cover a large drainage hole with a small piece of mesh or a curved shard so the mix does not wash out, while leaving the opening clear. Fill the container with a fresh potting mix suited to the plants: an all-purpose container mix for most foliage plants, or a cactus and succulent mix for plants that need sharper drainage. Do not scoop heavy garden soil into a small container; it can compact and hold too much water around roots.
Why a Gravel Layer Does Not Fix Drainage
Skip the layer of pebbles, gravel, or broken pottery at the bottom. It does not make a pot drain better; it takes away root space and can leave the saturated zone closer to the roots. Better Homes & Gardens advises using potting mix and keeping drainage holes unobstructed rather than adding rocks beneath the soil.Better Homes & Gardens If you want a visible gravel stream or path, build it on top of the mix as a decorative feature, not as a drainage system.
Moisten the potting mix slightly before planting if it is very dry, then fill the container to a level that leaves room to water without spilling over the rim. The surface should be below the top edge, but not so low that the plants disappear behind a tall wall. If your planter is shallow, use only shallow-rooted plants and expect to check moisture more often; a tiny saucer does not hold the same soil volume as a deep pot.
For an in-ground garden, do not add a layer of potting mix over compacted soil and assume the whole bed is fixed. Loosen only the small area you need, remove weeds, and amend the planting pocket according to the existing soil and the plants selected. Keep miniature houses and stones out of direct contact with crowns and stems so the base of the plant can dry and new growth has room.
Step 5: Plant the Scene and Build a Path
Plant the largest or tallest specimen first, then set the cottage and path where you planned them. Slide each plant from its nursery pot gently, loosen circling roots only if they are tightly bound, and position the root ball at its former soil level. Backfill around it with potting mix and press lightly to close large air gaps; packing the soil hard can make it harder for water and air to move through the root zone.
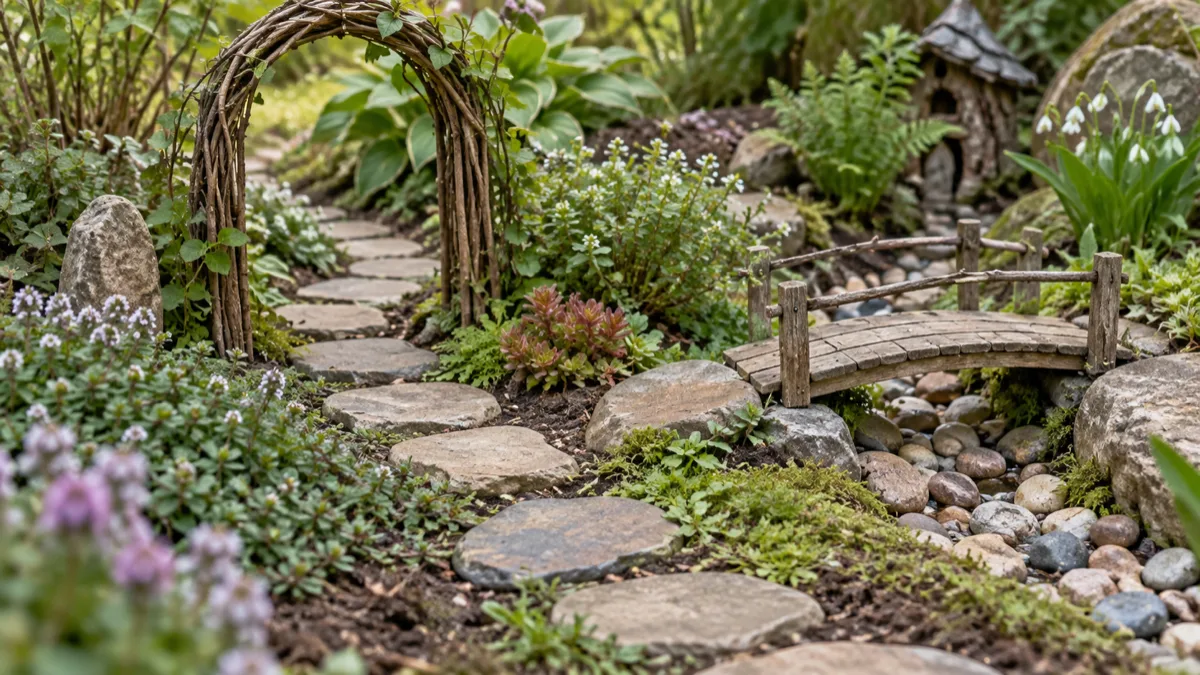
Place the path after the plants are in. Press small flat stones, bark pieces, or coarse sand gently into the surface rather than burying them deeply. Leave a narrow gap between a path and stems, and keep heavy objects from resting on the root crown. A path that curves toward the house gives the eye a route through the garden, while a straight line can make a small scene feel like a miniature walkway.
In a broken-pot or stump design, use the natural levels as terraces. Put the house on a stable shelf, the path on a lower plane, and plants where they will not be crushed when you water. If the container has a crack that could widen, keep it under cover or use a stable inner planter; a “recycled” container is only useful if it can safely hold damp mix over time.
Water slowly at the soil surface until the mix is evenly moist and excess water exits the bottom. The first watering helps settle the mix around roots, but do not keep pouring once the soil is saturated. Empty any saucer underneath, then check the arrangement the next day: top up settled mix, stand up displaced stones, and make sure foliage is not pressed against a wet house wall or fence.
Step 6: Add Weather-Ready Accessories
Add the small details after the plants are stable. A single house, a short bench, a bridge, a pebble “pond,” a twig fence, or a short run of shell steps can finish the story; choose a few elements that fit the same scale rather than filling every open patch. A pebble pond can be a mirror-like piece of blue glass or a shallow dish that you empty after use, but avoid leaving standing water where it can become a mosquito source or a hazard for a small child.
For an outdoor garden, use accessories rated for outdoor exposure or made from materials that can handle rain, sun, and temperature changes. Resin, stone, and fired ceramic generally tolerate weather better than untreated cardboard, paper, or thin craft wood, but any material can degrade if the finish is not intended for outdoors. Keep painted pieces out of edible planting areas unless the paint is appropriate for that use and fully cured; when in doubt, keep the decor separate from any herbs you plan to eat.
Anchor light objects with a small amount of soil or a stable stone, and bring delicate pieces inside before severe weather or winter. Low-cost dollhouse furniture or craft supplies may fade, loosen, rust, or split when left outside; that is not a failure of the garden, just a sign that the accessory belongs indoors. If you prefer a year-round outdoor scene, keep the living plants hardy for your climate and treat the miniature house as a removable seasonal detail.
Make the Garden Safer for Pets and Children
If a toddler can reach the garden, leave out marbles, loose beads, tiny shells, miniature food, magnets, button batteries, sharp wire, and any ornament with a part that can detach. AAP’s HealthyChildren.org identifies small objects and toys with small or detachable parts as choking risks for young children.HealthyChildren.org Choose larger, securely fixed pieces, smooth stones too large to swallow, and a location where an adult can see the garden during play.
For pets, assume a curious cat or dog may nibble leaves or knock over a pot. Confirm the exact plant and cultivar, avoid plants known to be toxic to that animal, and place the garden where chewing is unlikely; no short list covers every plant or every exposure. Keep fertilizers, pesticides, and potting mix out of reach, wash hands after handling soil, and do not use sharp or fragile accents that could be scattered if the container tips.
Care for the Fairy Garden After Planting
Do not water by the calendar alone. Touch the potting mix near the plants: if the top layer has dried and the root zone is approaching dry for that plant group, water thoroughly; if it is still damp, wait. Small shallow containers can dry faster than large pots, particularly in sun and wind, while a shaded container may stay wet for several days. The RHS notes that container plants have limited compost and depend on gardeners for regular watering and feeding, so make moisture checks part of the routine rather than assuming a miniature garden is self-sustaining.Royal Horticultural Society
Aim the water at the soil instead of spraying the miniatures. A narrow-spout watering can, squeeze bottle, or turkey baster can deliver a small stream without flooding a path or lifting moss and gravel. Let excess water drain fully, remove the saucer’s contents, and make sure the holes are not blocked by roots or compacted mix. If water pools on the surface, check for clogged holes, dense soil, or a decorative insert that is blocking drainage before watering again.
Once plants start to grow, pinch or snip back soft tips to preserve the scene’s scale, using clean small scissors. Trim before the plant crowds the house or shades its neighbors, not after it has formed a dense mat that is difficult to separate. If one plant needs frequent cutting or repeatedly shades the others, lift it and replace it with a slower grower; pruning is not a permanent solution for a plant that is simply too large for the space.
Remove fallen leaves, weeds, algae, and dead flowers as they appear. Debris against a tiny structure can keep it damp and encourage decay, while a weed can quickly dominate a small pot. Feed only when the mix or plant label calls for it, at the label’s container rate; extra fertilizer often produces fast, oversized growth that spoils scale and increases pruning.
Adjust for Heat, Rain, and Winter
In hot weather, check small outdoor gardens more often, especially if the pot is shallow, terracotta, or exposed to afternoon sun. If the leaves wilt but the mix is wet, do not add more water; move the container out of the harshest heat and confirm that the roots are not sitting in water. During prolonged rain, elevate a pot so its holes can drain and remove a saucer that traps water.
Before cold weather, check the plant’s hardiness and the pot material. A perennial that survives in the ground may be more vulnerable in a small container because its roots have less soil around them; move it to a sheltered, unheated spot or protect the container according to local winter conditions. Bring tropical houseplants indoors before cold nights, but do not put outdoor hardy plants in a warm room if they need winter dormancy.
Outdoor accessories need a seasonal check too. Lift out wooden pieces that are soft, splitting, or holding water; wipe down resin or ceramic items; and reset stones loosened by freeze-thaw cycles or storms. If the planting has become a tangle, use the end of the growing season to divide, thin, or replant it rather than trimming everything into a tight hedge.
Fix Common Fairy Garden Problems
The plants are growing too fast. The plants may be vigorous species rather than miniature cultivars. Pinch new growth, remove one plant if the container is crowded, and replace an oversized specimen with a compact plant that shares the same light and water needs; adding more accessories will not solve a plant-size mismatch.
The soil stays wet or smells sour. Stop watering and check that the drainage holes are open. If the mix is dense or the container has no outlet, move the plants into fresh, airy potting mix in a pot with drainage; do not try to correct waterlogging by adding stones underneath the existing soil.
The scene dries out between checks. A shallow pot, porous container, sunny exposure, and thirsty plants can combine to create frequent watering. Move it to gentler light if the plants allow, use a slightly deeper container, or choose drought-tolerant plants together; do not solve the problem by pairing dry-growing succulents with moisture-loving ferns.
The accessories keep tipping over or getting dirty. Set them on a stable base and keep them away from the direct water stream. For an outdoor scene, remove lightweight pieces before storms and use larger, securely placed stones instead of tiny loose decor.
The garden looks crowded. Remove one plant or ornament and reopen a patch of visible soil or path. A miniature landscape needs negative space just as much as a full-size garden; space also makes pruning and watering easier.
Conclusion
A lasting fairy garden begins with a growing spot and a few compatible plants, then adds one clear story in miniature. Choose a container that drains, use a suitable potting mix, keep the plants in scale with the house and path, and add only accessories that can handle the setting and the people or pets who use it.
Check moisture rather than following a rigid schedule, trim before plants overtake the scene, and move or protect the garden when weather exceeds what its plants and materials can handle. Starting with a simple, well-matched arrangement gives you room to add details later without making the plants harder to care for.



