Compacted Soil: Signs, Causes, and Plant-Safe Fixes
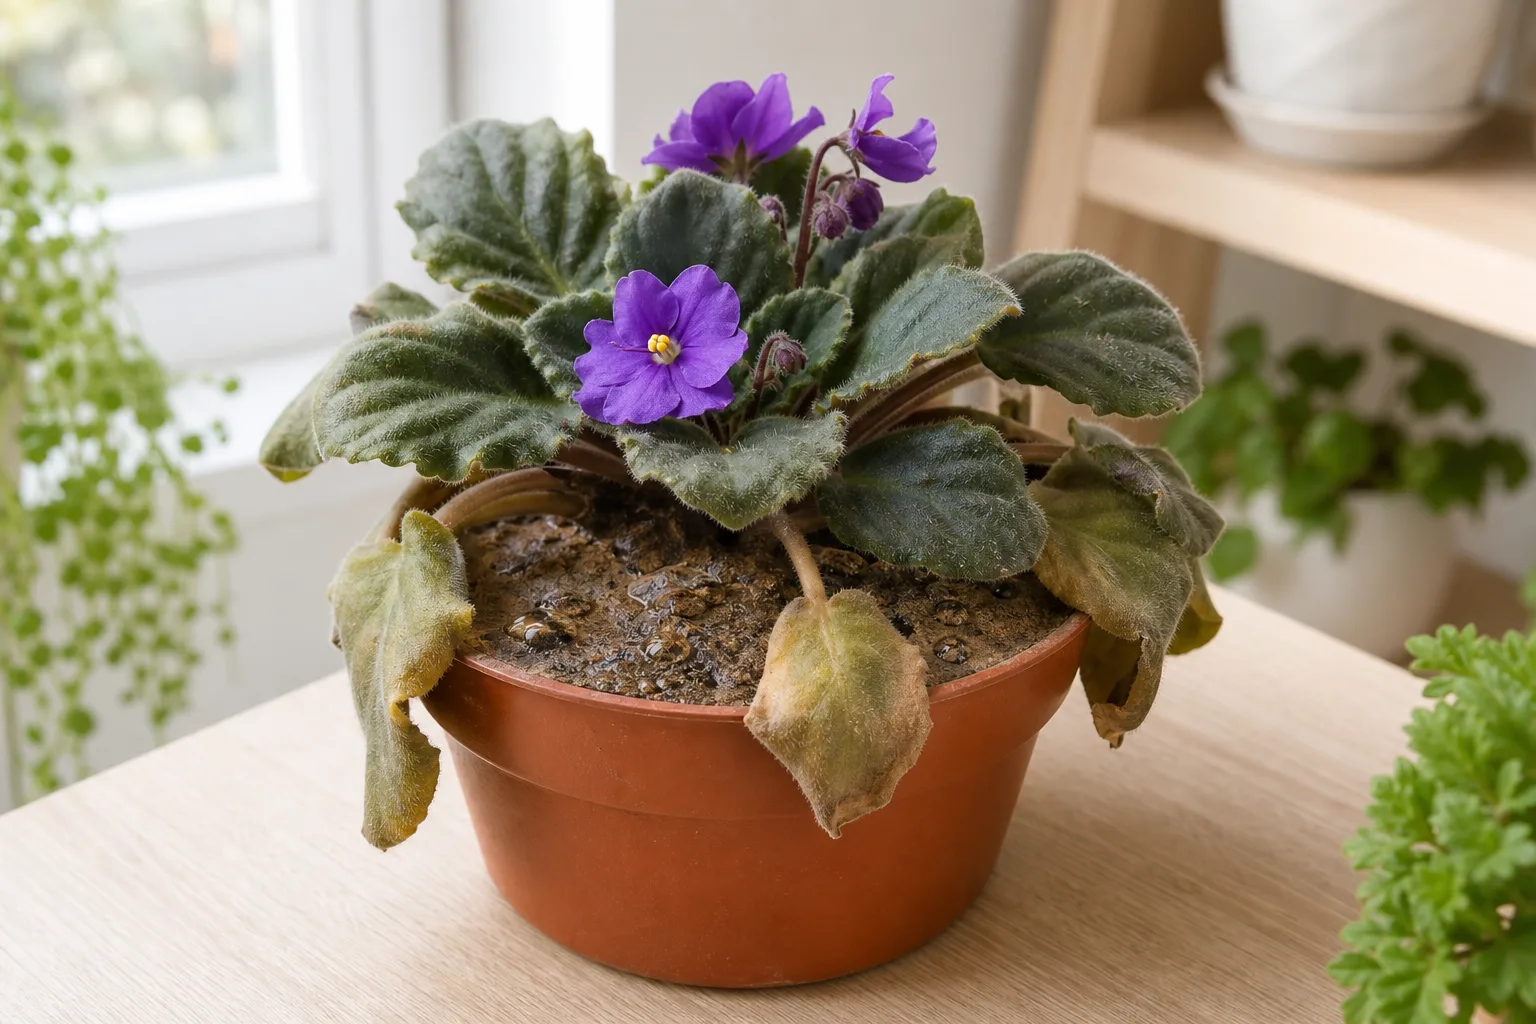
Potting mix is the foundation of houseplant health. When you see Water sits on top, roots struggle, slow growth, the soil may be holding too much water, repelling water, or locking out nutrients. Fixing Compacted Soil often means adjusting mix, pot size, or watering habits-not just treating leaves. Track weekly progress after you change care, and note watering, light, and repotting dates so you can tell whether the symptom is improving or returning. Compare upper versus lower leaves, new versus old growth, and soil moisture at root depth before you treat, because the same visible symptom can come from watering, light, pests, or normal aging on different plants.
Compacted Soil on Houseplants
Still unsure?Match your symptoms to the most likely problems in under a minute.Run diagnosis →Understand and fix compacted soil
Potting mix is the foundation of houseplant health. When you see Water sits on top, roots struggle, slow growth, the soil may be holding too much water, repelling water, or locking out nutrients. Fixing Compacted Soil often means adjusting mix, pot size, or watering habits-not just treating leaves. Track weekly progress after you change care, and note watering, light, and repotting dates so you can tell whether the symptom is improving or returning. Compare upper versus lower leaves, new versus old growth, and soil moisture at root depth before you treat, because the same visible symptom can come from watering, light, pests, or normal aging on different plants.
Overview
Potting mix is the foundation of houseplant health. When you see Water sits on top, roots struggle, slow growth, the soil may be holding too much water, repelling water, or locking out nutrients. Fixing Compacted Soil often means adjusting mix, pot size, or watering habits-not just treating leaves. Track weekly progress after you change care, and note watering, light, and repotting dates so you can tell whether the symptom is improving or returning. Compare upper versus lower leaves, new versus old growth, and soil moisture at root depth before you treat, because the same visible symptom can come from watering, light, pests, or normal aging on different plants.
How to identify it
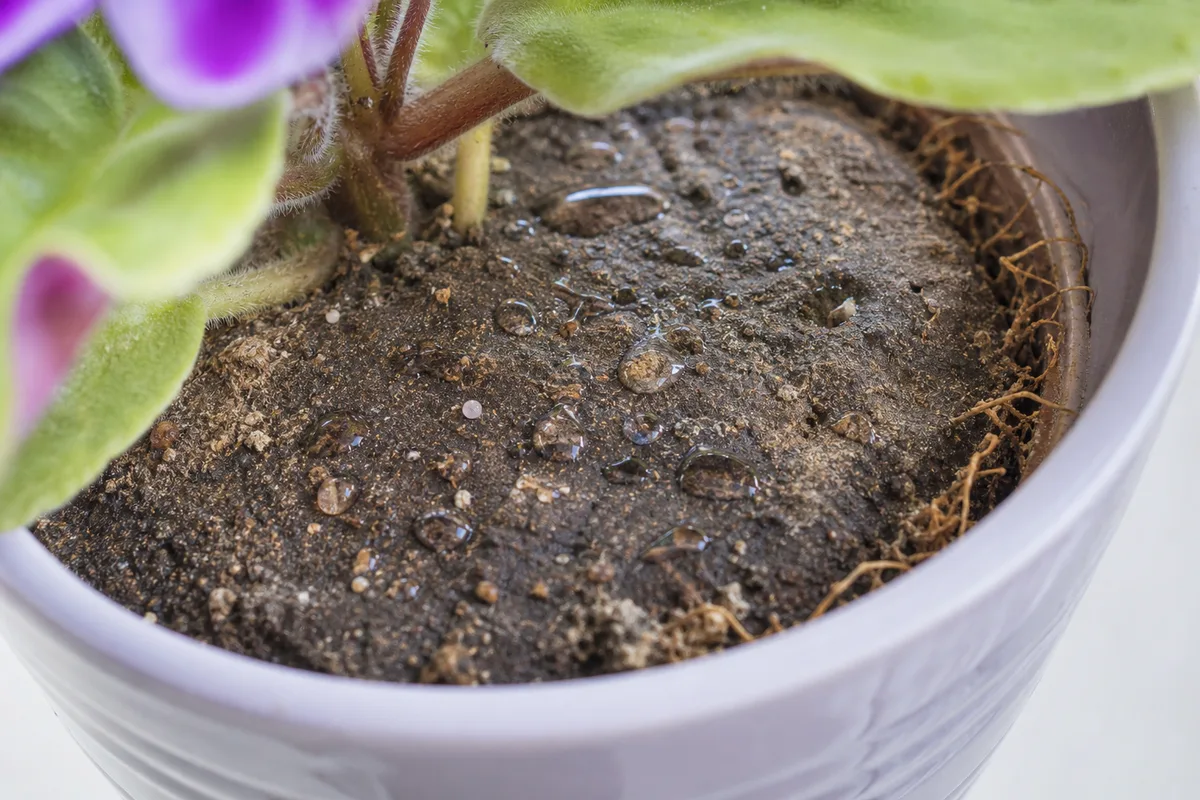
- Water pools on top or runs straight through without soaking in
- Soil stays wet for many days after one watering
- White crust on soil surface or pot rim
- Roots circling tightly or growing out drainage holes
- Musty smell or visible mold on soil surface
When to worry
Roots turning black, plant collapsing despite watering, or salt crust thick on soil means repot and flush before permanent damage.
Common causes
Old, broken-down potting mix
Peat-heavy soil compacts over time, reducing air pockets roots need. Compacted Soil is common in plants not repotted for years.
Wrong mix for the plant type
Succulents in all-peat mix rot; moisture lovers in pure bark dry out too fast. Mismatch shows up as Water sits on top, roots struggle, slow growth.
Salt and mineral buildup
Tap water and fertilizer leave salts that burn roots and cause crusty soil surfaces.
Pot too large for root ball
Excess soil holds water the roots cannot use, leading to chronic sogginess.
Step-by-step fix
Assess soil texture and moisture retention
Slide the plant out and smell the root ball. Crumbly, airy mix is healthy; dense, wet muck needs replacement.
Repot with appropriate fresh mix
Choose a blend matched to your plant-add perlite or bark for drainage, or more water-retentive components for ferns.
Flush salts if crust is present
Water deeply until excess runs from drainage holes. Repeat once, then resume normal care.
Right-size the container
Move up only 1–2 inches in diameter. Too large a pot worsens wet soil problems.
Adjust watering to new mix
Fresh soil dries on a different schedule-recheck moisture daily for the first two weeks.
Prevention tips
- Repot every 1–2 years for fast growers
- Use mixes suited to plant type, not garden soil indoors
- Flush soil periodically if using tap water and fertilizer
- Match pot size to root mass
Common mistakes
- Adding gravel at the bottom instead of using proper mix
- Repotting only with garden soil
- Jumping to a pot much larger than needed
Compacted soil in a plant pot is growing medium that has lost enough connected pore space that water, air, and roots no longer move through it normally. The surface may feel hard, water may pool, and the plant may wilt or grow slowly. Those clues are useful, but none proves compaction alone: dry water-repellent peat, a root-bound plant, blocked drainage, or a crust of mineral salts can look similar.
Container roots live in a small engineered environment. The particles must hold enough water while leaving pores that refill with air after drainage. Cornell’s greenhouse-media overview explains how container media balance air and water; when particles settle and decompose, that balance can shift even if the pot still looks full.
This guide uses “compacted soil” as the reader-facing label, but most houseplants grow in a manufactured growing medium, not field soil. University of Maryland Extension describes the medium’s three jobs as supplying roots with air, water, nutrients, and physical support. The repair decision should therefore be based on lost function, not on whether the material feels firm between two fingers.
What compacted soil means in a container
Garden soil compaction and container-media collapse are related but not identical. Outdoors, machinery, foot traffic, rain impact, and working wet soil can compress mineral soil. In a pot, fine ingredients settle, organic particles break down, roots occupy pores, repeated watering rearranges particles, and mineral deposits may cement the surface.
Compaction does not mean every firm root ball is unhealthy. Some stable media become cohesive while retaining useful pores, and many plants fill a container with roots before declining. The concern is functional: water infiltrates poorly or drains too slowly, gas exchange is restricted, and roots cannot extend through the medium normally.
Air-filled porosity changes after watering. Large connected pores drain and refill with air, while smaller pores retain water. A pot with drainage holes can still have a poorly aerated core when the mix is too fine, decomposed, or compressed. “It drains out the bottom” therefore does not prove the whole root zone is well structured.
Recognize the symptoms
Water that remains on the surface for minutes suggests poor infiltration, but observe what happens next. In compacted medium, the surface and core may both stay dense and wet. In hydrophobic medium, water may pool briefly and then rush down gaps while the center remains dry.
Plants in compacted mix may show slow growth, small new leaves, yellowing, repeated wilting, edema, or leaf drop. These are non-specific stress signals. Roots may cluster near the pot wall or surface where oxygen is more available, and the medium may shrink into a heavy cohesive mass.
Odor and texture add evidence. Healthy moist mix generally smells earthy; sour or anaerobic odor raises concern about oxygen shortage and decay. A hard crust only at the top may be mineral accumulation rather than full-depth compaction, so cut or probe below it before deciding to replace everything.
Rule out similar problems
| Observation | Likely interpretation | Next check |
|---|---|---|
| Water runs down the pot edge, center stays dry | Hydrophobic core or root-ball gap | Compare moisture at center and wall |
| Dense mass is mostly roots | Root-bound plant | Inspect root-to-medium ratio |
| Surface is white and crusty | Mineral or fertilizer salts | Review water and fertilizer history |
| Mix stays wet and smells sour | Poor aeration or root decay | Inspect drainage and roots |
| Surface seals, deeper mix is loose | Local crusting | Gently remove or replace top layer |
| Pot drains slowly despite open holes | Fine or collapsed medium | Inspect full root ball |
A pot can have more than one issue. An old root-bound plant may contain decomposed hydrophobic peat with salt crusting. Treating one feature while ignoring the others can produce a brief improvement followed by the same symptoms.
Do not diagnose from pot weight alone unless you know its normal range. Ceramic material, root mass, and mineral ingredients change weight. Compare the same pot over time and combine weight with a probe and visual inspection.
Test the root zone without guessing
Begin with low-disturbance checks. Note the last watering, pour a measured modest amount slowly, and time infiltration. Look for water escaping immediately from one side. Test moisture at several depths and positions rather than touching only the top centimeter.
A clean wooden skewer can reveal moisture and resistance. Insert it gently near the pot edge and another location away from major stems. Dark damp residue indicates moisture; a clean dry skewer through a pot that was just watered suggests bypass flow. Sudden hard obstruction may be a root or pot fragment, so never force it.
Surface, skewer, and watering tests
Examine whether the surface is uniformly hard or only crusted in patches. Scratch less than a centimeter with a clean tool. Loose particles below a thin crust point toward surface sealing; a dense cohesive profile suggests deeper structural collapse.
During watering, apply water in two or three slow passes. If the mix accepts water and drains within a reasonable period, mild surface compaction may be manageable. If water remains perched, the pot has open holes, and the core stays saturated for many days, replacement is more defensible.
“Reasonable” cannot be reduced to one drainage time. Pot height, particle size, root density, temperature, and species all change the wet–dry cycle. Establish a baseline on a healthy pot of similar construction or record this pot across several cycles; a worsening trend is more diagnostic than an isolated stopwatch reading.
Check drainage physically. Roots, mesh, saucers, and decorative cachepots can obstruct outflow. Clearing an external blockage is safer than changing the entire medium, and it should happen before the plant is labeled “compacted.”
Root-ball inspection
Slide the plant out only when symptoms persist or tests indicate a structural problem. Support the base and root ball rather than pulling stems. Inspect the outside first: healthy roots vary by species but should generally be firm; soft, hollow, sloughing, or foul-smelling roots warrant disease-oriented care.
Slice or tease a narrow window into the medium instead of stripping every root bare. Compare the center with the exterior. A black, wet, paste-like core needs a different response from an airy exterior occupied by many firm roots.
Root density matters. If roots circle densely and little medium remains, the pot may simply be undersized. If few roots occupy a large mass of wet fine mix, overpotting or unsuitable media is more likely. Both can impair drying, but the corrective container size differs.
Understand why potting mix collapses
Organic components change physically as they age. Bark fragments decompose, peat fibers break down, and repeated irrigation moves fine particles into spaces between larger ones. The medium settles, total volume decreases, and the proportion of drainable pores may fall.
Using garden soil in a pot often creates trouble because mineral soil behaves differently under container conditions. Penn State Extension describes the purposes and components of potting media for propagation, emphasizing a managed balance rather than a one-ingredient solution.
Pressure also contributes. Pressing mix firmly during repotting, stacking heavy decorations on the surface, and repeatedly pushing stakes through the same zone can compress it. Heavy overhead watering may break aggregates and create crusting, particularly where the surface is bare.
Roots themselves alter structure. A dense root network can bind the remaining mix, while dead roots and decomposed organic matter change pore distribution. This is why “fluff the top” cannot repair every compacted core.
Choose the least disruptive fix
For a thin surface crust over otherwise sound mix, remove the crust gently and replace the top layer with compatible fresh medium. Water more slowly and review fertilizer concentration. Avoid digging deeply where fine roots are concentrated.
For mild settling with healthy roots, aerate only accessible gaps near the pot edge using a narrow blunt tool. Make a few channels, not dozens of stab wounds. This may improve initial infiltration, but it is a temporary measure when the entire core has collapsed.
If the medium is still structurally sound but the plant is root-bound, repot at an appropriate season into a slightly larger container. If the medium is water-repellent, rewetting may solve infiltration without replacing it. The least disruptive fix is the one matched to evidence.
Never add water repeatedly to a pot that remains saturated simply because wilt continues. Wilting can reflect damaged roots. Stabilize light and temperature while deciding whether drainage, compaction, or disease is limiting uptake.
Repot severely compacted soil safely
Prepare the new pot and medium before exposing roots. Choose a clean container with unobstructed drainage. For most houseplants, avoid a dramatic size increase; excess unused medium can stay wet longer than the recovering root system can manage.
Moisten very dry replacement mix so it handles evenly, but do not turn it into mud. Slide out the plant, remove loose collapsed material, and preserve healthy attached roots. Complete bare-root washing is rarely necessary and can create more injury.
Trim roots only when they are dead, soft, hollow, or severely circling and correction is appropriate for the species. Use clean tools. If a large proportion is lost, choose a container that fits the remaining root mass rather than the original canopy.
Set the crown at the correct depth. Add mix around roots and tap or water it into voids; do not ram it down. Leave watering space below the rim. Water once to settle the medium, allow drainage, and correct large voids with a small addition.
Build a suitable replacement mix
There is no universal “airy mix.” A fern, African violet, cactus, orchid, and citrus tree have different water and anchorage needs. Start with species requirements, container size, local humidity, watering habits, and available ingredients.
Coarse bark can create structure but decomposes over time. Perlite adds lightweight coarse particles but can float and creates dust during handling. Pumice and calcined clay are stable but heavier. Peat and coir retain water, yet their particle size and processing affect behavior. Compost supplies fine organic material and nutrients but can reduce air space when overused.
Use a tested commercial mix when you cannot evaluate raw ingredients. Purdue Extension’s container growing-media publication outlines physical and chemical considerations for soilless media. The LSU AgCenter also treats container-media physical properties as measurable characteristics, not a fixed recipe.
Test a small batch. Wet it thoroughly, let it drain, compress it as you normally pot, and observe whether it remains springy and evenly moist. Record proportions so a successful mix can be reproduced.
Do not treat a home squeeze test as a laboratory porosity measurement. It is a practical comparison between batches, useful for spotting an obviously muddy or collapsing blend. Commercial growers quantify properties such as container capacity and air space; home growers should rely on tested products when a sensitive or valuable plant leaves little margin for experimentation.
Water correctly after repair
Fresh medium may dry at a different rate, so old calendar habits no longer apply. Check the root zone frequently during the first two weeks and water based on species and actual moisture. Ensure the old root mass and new material wet together.
Apply water slowly across the surface until the root zone is evenly moist and excess drains. Empty saucers and cachepots. A fast stream can excavate channels, compact fine surfaces, and create misleading runoff.
Do not keep the medium constantly wet to “help roots settle.” Root growth needs a suitable water-air balance. Conversely, do not allow a moisture-loving plant with injured roots to dry severely. The correct interval is observational, not universal.
Hold concentrated fertilizer until roots resume active function. If the medium contains starter nutrients, additional feeding may be unnecessary. Salt buildup can worsen surface crusting and root stress.
Avoid common quick fixes
Poking many holes with a fork can sever roots and create narrow channels without repairing the surrounding medium. Use limited edge channels only as a temporary measure after locating roots. Persistent full-depth compaction calls for planned repotting.
Adding gravel to the pot bottom does not transform fine mix into an airy root zone. It reduces the volume available for roots and changes where water is retained. Use an appropriate medium and drainage hole throughout the root zone instead.
Mixing dry sand into a dense medium can make it heavier and finer rather than looser, depending on particle sizes and proportions. Amendments work through physical properties, not labels. A handful of “drainage material” is not automatically beneficial.
Do not squeeze the pot repeatedly, insert sharp objects blindly, or pull on the stem to loosen soil. These actions may damage roots and crowns. A controlled repot is often gentler than weeks of improvised aeration.
Monitor root and shoot recovery
Old yellow leaves will not become green because compaction was corrected. Watch new growth, leaf firmness, water use, and the time the medium takes to move from wet to ready for watering. Improvement should be gradual and coherent.
Immediately after repotting, a brief pause or slight wilt can reflect root disturbance. Stabilize conditions and resist another repot unless evidence shows a major error. If the plant continues collapsing, inspect for rot, crown damage, or an incompatible moisture level.
Keep a simple log of watering dates and pot weight or probe results. A root zone that begins drying predictably is a strong functional sign. New white or tan root tips visible near drainage holes can indicate renewed growth, though roots emerging alone do not prove the plant needs another larger pot.
Prevent compaction over time
Select container media designed for the plant and replace it when structure has clearly declined, not on a rigid annual schedule. Store unused mix dry and covered so fines are not washed or compacted before use.
Fill pots gently. Support the plant, distribute medium around roots, tap to settle, and water rather than pressing with body weight. Leave enough headspace for slow watering so the surface is not repeatedly blasted.
Avoid unnecessary foot traffic and heavy ornaments over landscape root zones. For outdoor beds, add organic matter according to soil assessment, protect soil from pounding rain with mulch, and do not work wet clay. Penn State’s soil-management resources provide broader field-soil context.
Review pot size at each repot. Too small can become root-filled quickly; too large can retain water in uncolonized zones. Matching root mass, media, and container makes compaction less likely to become a crisis.
Handle special plant groups
African violets prefer a fine but aerated medium and have delicate roots; work gently and avoid burying the crown. Orchids grown in coarse bark may need replacement when bark decomposes, but their exposed roots and specialized pots require orchid-specific handling.
Succulents need rapid aeration and restrained watering, yet “gritty” does not mean bone-dry immediately after every watering. Ferns and many tropicals often need more water retention. Tailor particle size and moisture rather than copying a recipe from another plant group.
Large tubs and indoor trees are difficult to repot. Top-dressing can renew the surface, but it cannot cure an anaerobic core. If decline is severe, consult an experienced horticulturist about staged root work, partial media replacement, or moving equipment.
Seedling media should be uniform and fine enough for contact but not packed tightly. Small cells dry quickly and leave little margin for error. Use a propagation mix and water gently from an appropriate method to prevent surface sealing.
Self-watering containers need their own diagnosis. A functioning reservoir supplies water through a wick or connected medium, but a compacted core may remain unevenly aerated. Empty, clean, and inspect the reservoir according to the container instructions; do not assume a full reservoir proves uniform root-zone moisture. Mineral deposits on wicks and overflow openings can also alter performance.
Plants grown in semi-hydroponic mineral substrates are not managed like peat-based potting mix. Firm clay aggregate or stone is not “compacted soil” merely because it feels hard; the relevant questions are whether pores remain connected, solution reaches roots, and oxygen is available. Follow the system’s flushing and nutrient protocol rather than adding organic amendments blindly.
In a mixed community planter, one failing plant does not prove the whole bed needs replacement. Root systems, irrigation reach, and species water use can differ within the same container. Probe multiple locations and inspect whether aggressive roots have displaced medium around weaker plants. Separating incompatible species may solve the recurring imbalance more reliably than changing one ingredient.
Finally, consider the source of repeated pressure. Children, pets, frequent pot insertion into a tight cover, and heavy decorative stones can continually compress or seal the surface. Correcting the behavior is part of the fix. Fresh mix will collapse again if the same loading and watering pattern continues.
Keep the original media label and repotting date when possible. Those records help distinguish rapid failure from normal aging and reveal whether the same recipe behaves differently across plant types. Good notes reduce unnecessary repotting and make the next mix decision more precise.
Conclusion
Compacted soil is a loss of useful pore structure, not simply a surface that feels firm. Diagnose it by infiltration, moisture distribution, drainage, odor, particle condition, and root pattern. Rule out hydrophobic media, mineral crusts, blocked holes, and root binding before disturbing the plant.
Use the smallest correction that matches the evidence: replace a thin crust, improve watering technique, or repot a collapsed core into compatible fresh medium. Preserve healthy roots, avoid oversized containers and improvised gravel layers, then track new growth and moisture cycling. Good structure is the foundation; no tonic can substitute for air, water, and roots occupying the same workable space.
Plants commonly affected
These houseplants often struggle with compacted soil. Open a care guide or plant-specific troubleshooting page for tailored fixes.
 Medium
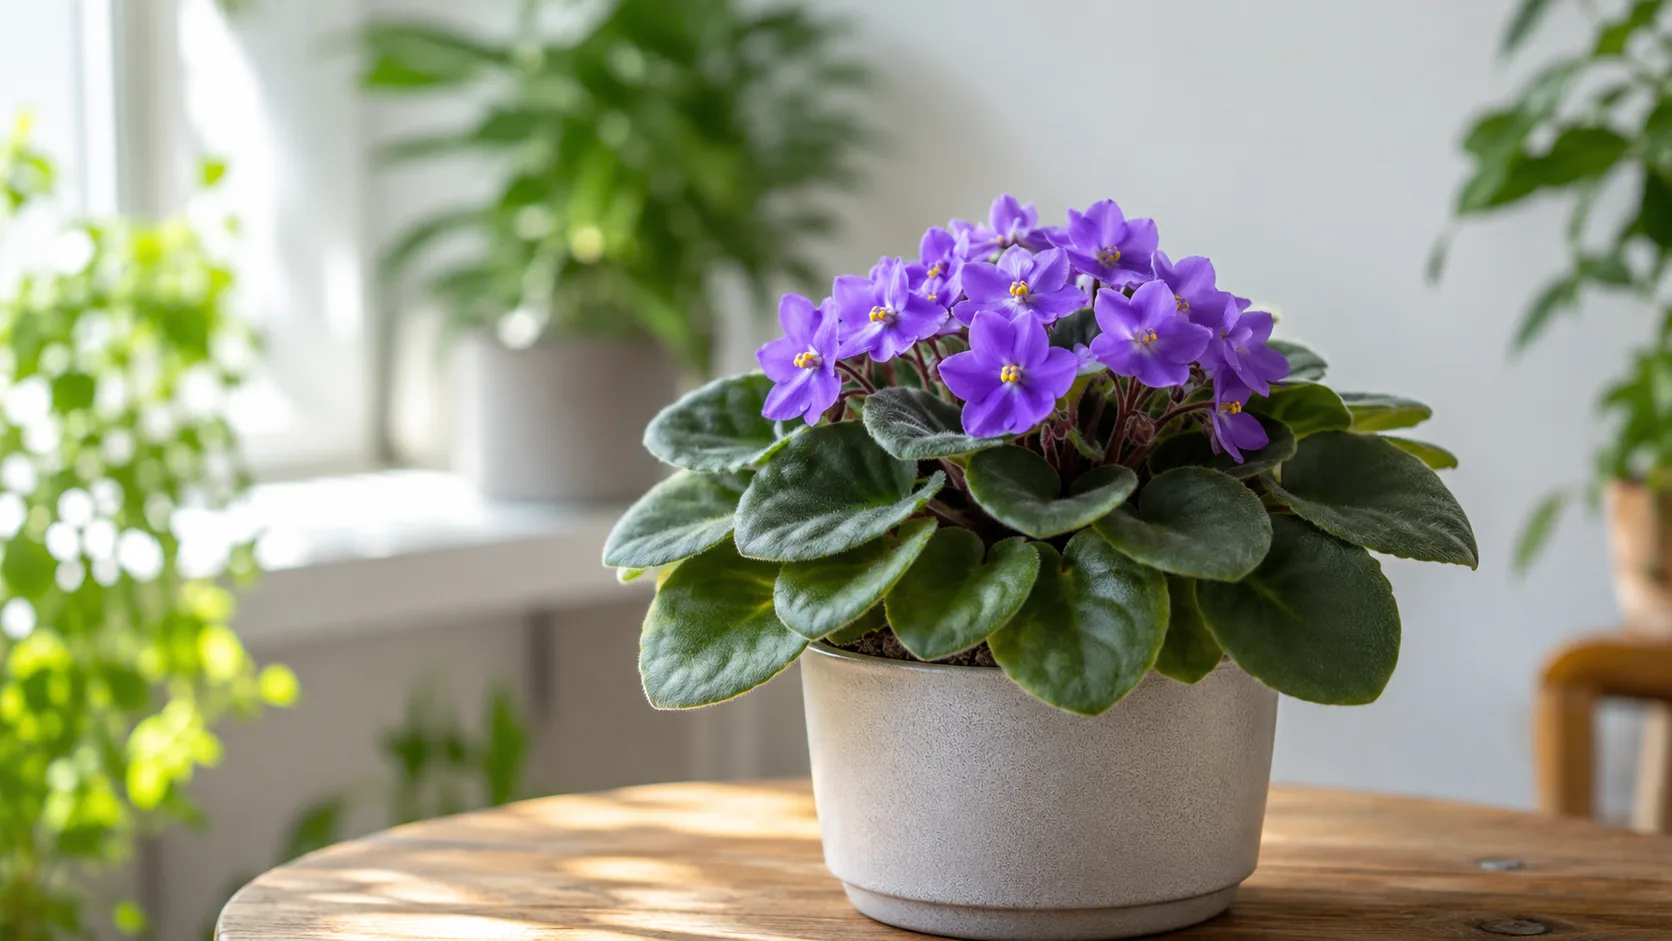
African Violet
Likely causeCompacted Soil on African Violet: African violets are among the most rewarding indoor plants, but they are also among the easiest to damage with the wrong potting mix. Their roots evolved in loose, airy forest debris rather than heavy
Quick fixInspect African Violet, confirm compacted soil matches your symptoms, then adjust care or treat per authoritative guides.
 Medium
Jade Plant
Likely causeJan 19, 2025 · Since jade plants are prone to root rot, choosing the right soil is one of the most important parts of their care. But what type of soil works best – and how can you mix your own for even better results? Let’s take a look at
Quick fixConfirm diagnosis on your Jade Plant, then address the most likely care or pest factor described in current extension guidance.
 Medium
Lavender
Likely causeApr 18, 2026 · This guide compares five soil products that give lavender what it actually needs: fast drainage, slightly alkaline pH, and lean nutrition. I’ve noted which grower type each suits best, what ingredients make them work, and whe
Quick fixConfirm diagnosis on your Lavender, then address the most likely care or pest factor described in current extension guidance.
 Medium
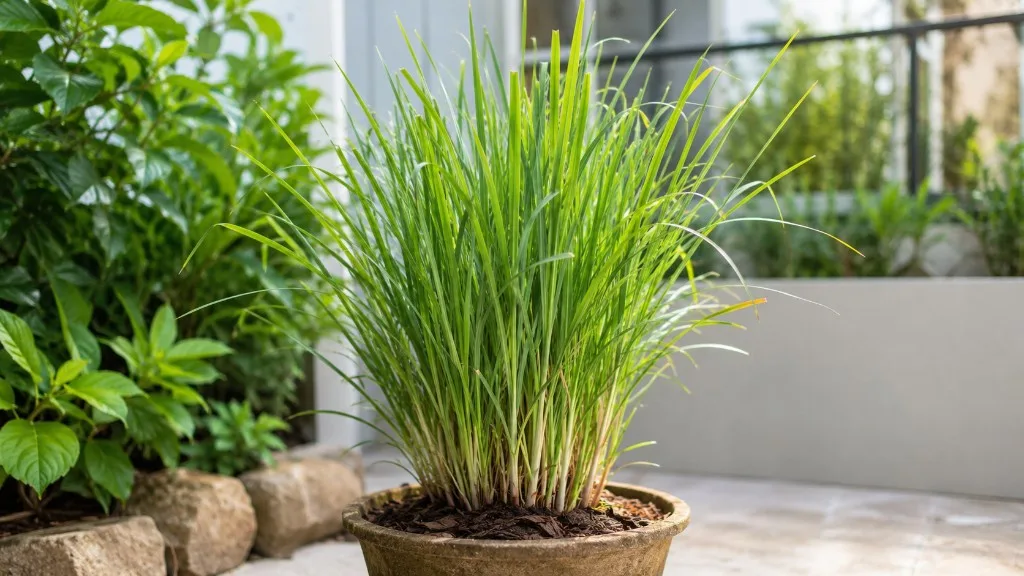
Lemongrass
Likely causeAug 7, 2025 · A DIY soil mix combines two parts quality potting soil , one part coarse sand or perlite, and one part well-rotted compost. This blend offers balanced drainage, aeration, and nutrient availability for healthy lemongrass .
Quick fixConfirm diagnosis on your Lemongrass, then address the most likely care or pest factor described in current extension guidance.
 Medium
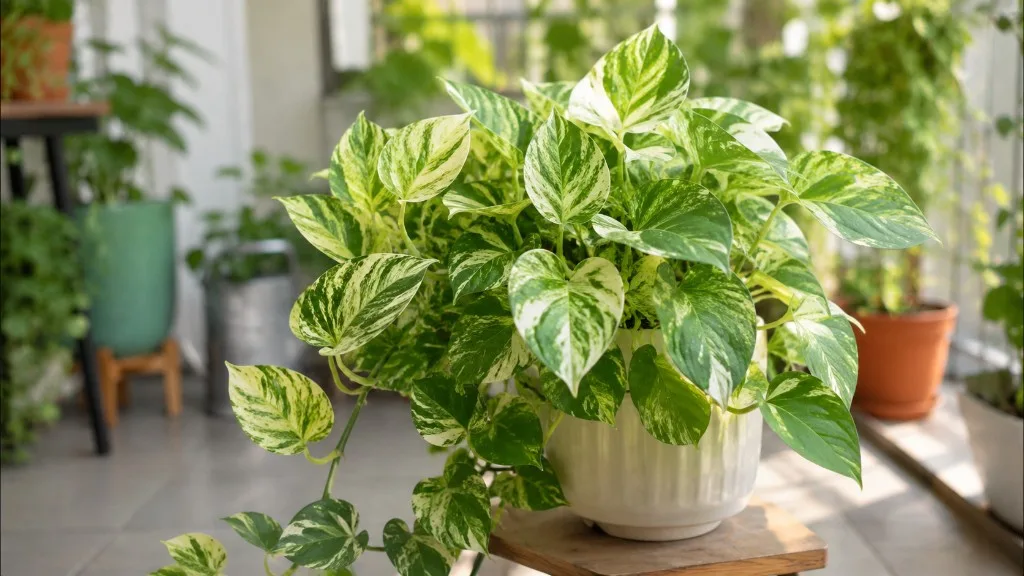
Manjula Pothos
Likely causeJun 18, 2024 · Compacted soil can strangle your Manjula Pothos, preventing proper root expansion and water penetration. If your plant's growth has stalled, it's time to check for soil that's as dense as last year's fruitcake.
Quick fixConfirm diagnosis on your Manjula Pothos, then address the most likely care or pest factor described in current extension guidance.
 Medium
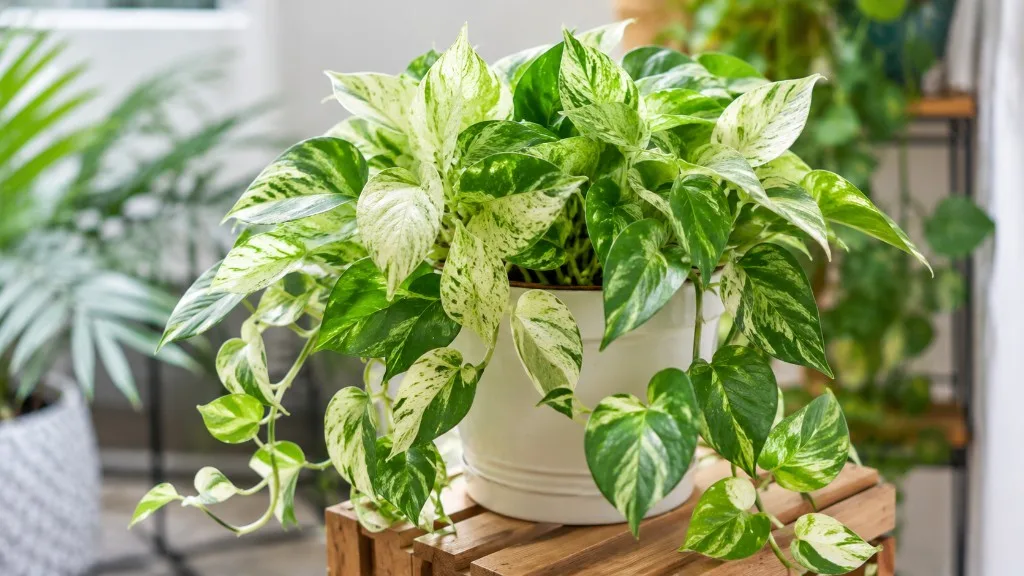
Marble Queen Pothos
Likely causeJan 20, 2024 · In this post, we're going to chat about the best soil for Marble Queen Pothos . We'll look into what makes a good soil mix, how to create or find one, and why it matters.
Quick fixConfirm diagnosis on your Marble Queen Pothos, then address the most likely care or pest factor described in current extension guidance.
 Medium
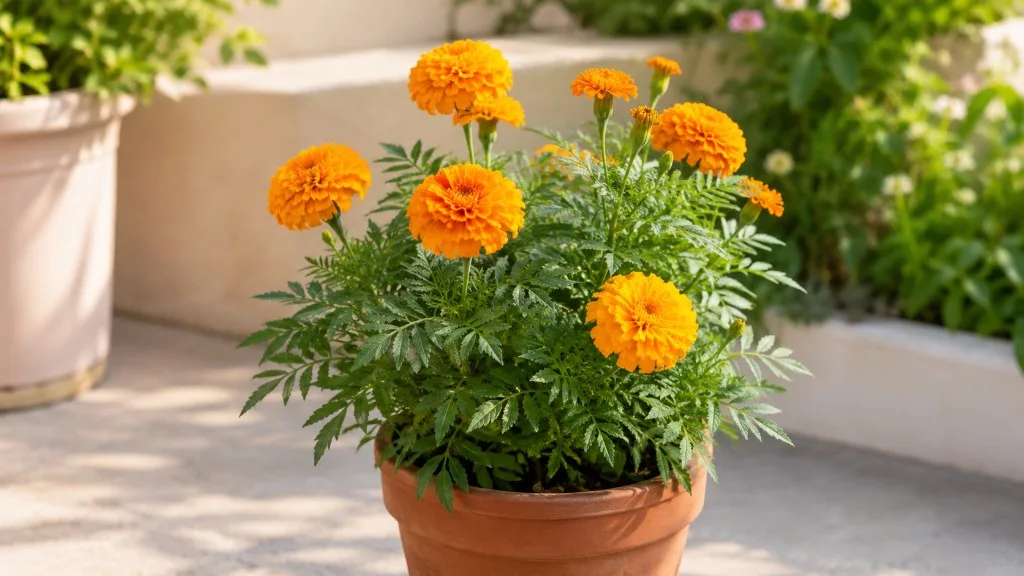
Marigold
Likely causeJul 22, 2024 · Aeration is key; compacted soil suffocates roots. To aerate: Regularly turn the soil gently to avoid compaction . Mix in organic matter such as compost to create a more porous structure. Perform regular soil checks; if water
Quick fixConfirm diagnosis on your Marigold, then address the most likely care or pest factor described in current extension guidance.
 Medium
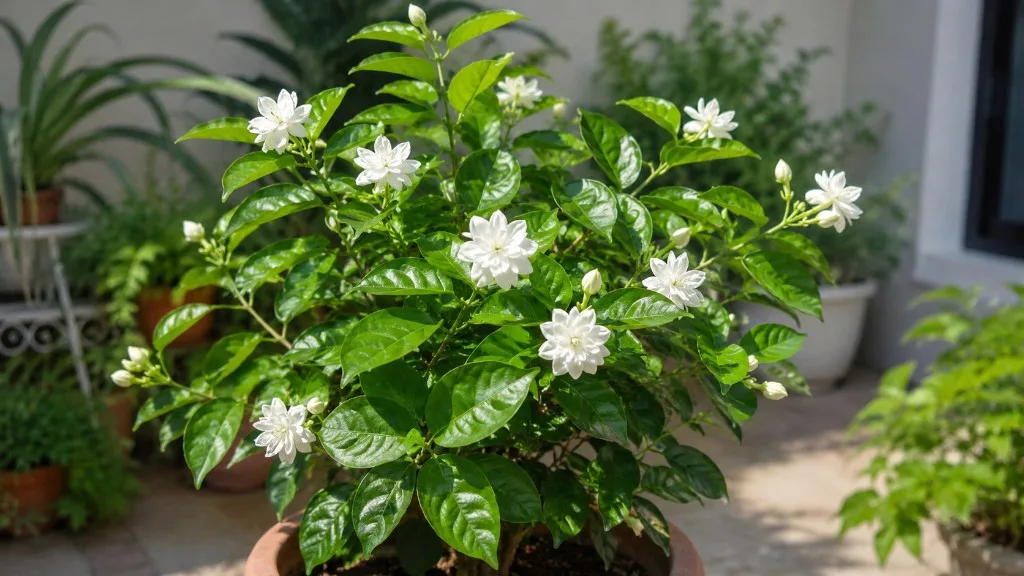
Mogra
Likely causeOct 8, 2025 · 2. Soil Requirements Always grow Arabian Jasmine in well-draining soil under full sun to partial shade. Use soil enriched with compost or organic matter for maximum bloom. For potted plants, add sand or perlite to improve drai
Quick fixConfirm diagnosis on your Mogra, then address the most likely care or pest factor described in current extension guidance.
 Medium
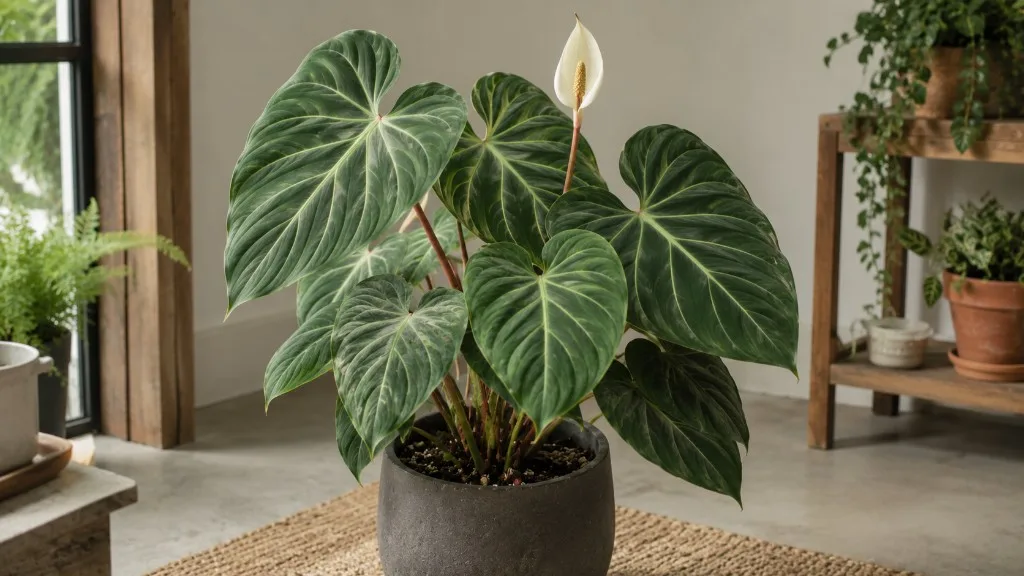
Philodendron Gloriosum
Likely causeLook for these signs that suggest it's time to change the soil : roots emerging from the pot, slow growth despite proper care, and compacted or salt- crusted soil .
Quick fixConfirm diagnosis on your Philodendron Gloriosum, then address the most likely care or pest factor described in current extension guidance.
 Medium
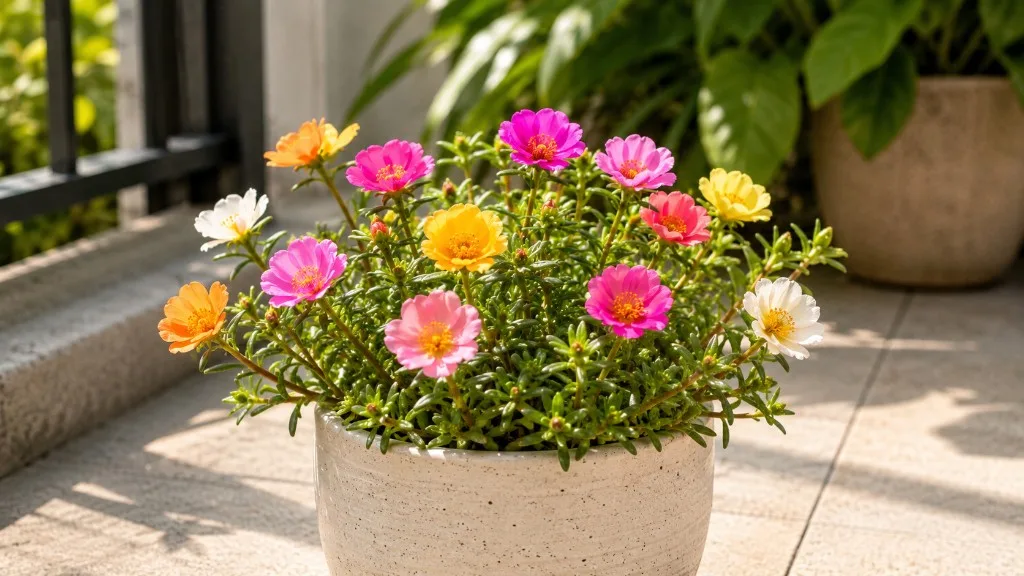
Portulaca
Likely causeJul 10, 2023 · Choosing the right type of soil is essential for growing healthy and vibrant portulaca plants. Sandy soil, loamy soil, sandy loam soil, or a well-draining soil mix are all suitable options.
Quick fixConfirm diagnosis on your Portulaca, then address the most likely care or pest factor described in current extension guidance.
 Medium
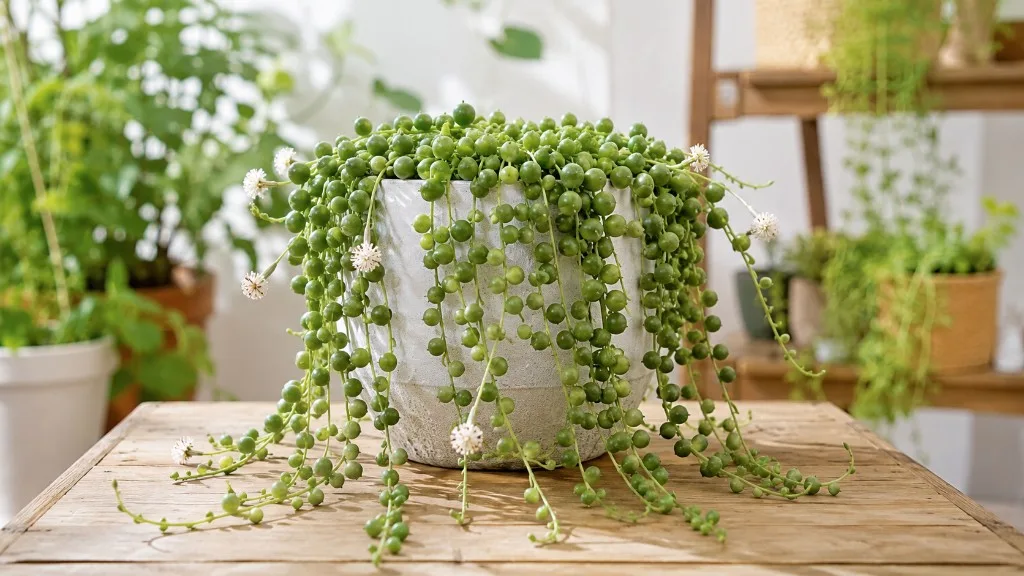
String of Pearls
Likely causeIn testing with string of pearls, this mix prevented dirt compaction even after repeated waterings. The coarse particles create continuous air channels, reducing the risk of rot. Users report zero fungus gnat issues thanks to the peat-free
Quick fixConfirm diagnosis on your String of Pearls, then address the most likely care or pest factor described in current extension guidance.
 Medium
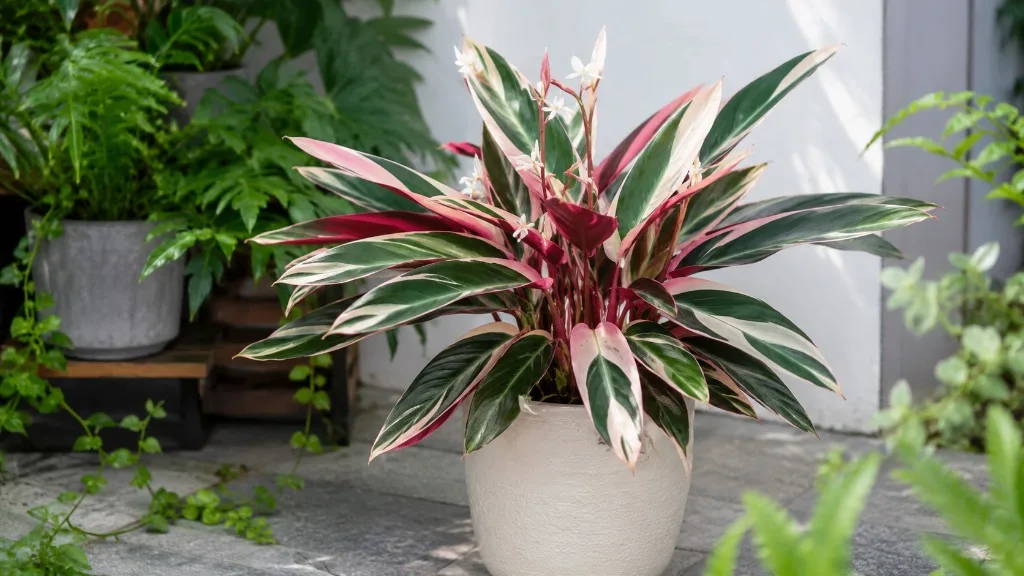
Stromanthe Triostar
Likely causeJan 24, 2026 · For Stromanthe Triostar, this soil supports healthy root development, prevents compaction , and maintains adequate drainage to avoid root rot—a common concern in tropical varieties.
Quick fixConfirm diagnosis on your Stromanthe Triostar, then address the most likely care or pest factor described in current extension guidance.